Starting with simple sketches gives you an easy way to enjoy drawing without feeling overwhelmed. You don’t need advanced skills or fancy tools to create something fun and recognizable. You can build confidence and improve your creativity by practicing easy drawings that are quick and enjoyable to make.
In this article, you’ll explore a variety of lighthearted ideas that keep things simple while still letting you express your style. From playful doodles to calming sketches, you’ll find approachable options that make drawing feel more fun and less stressful.

1) Cute cartoon cat
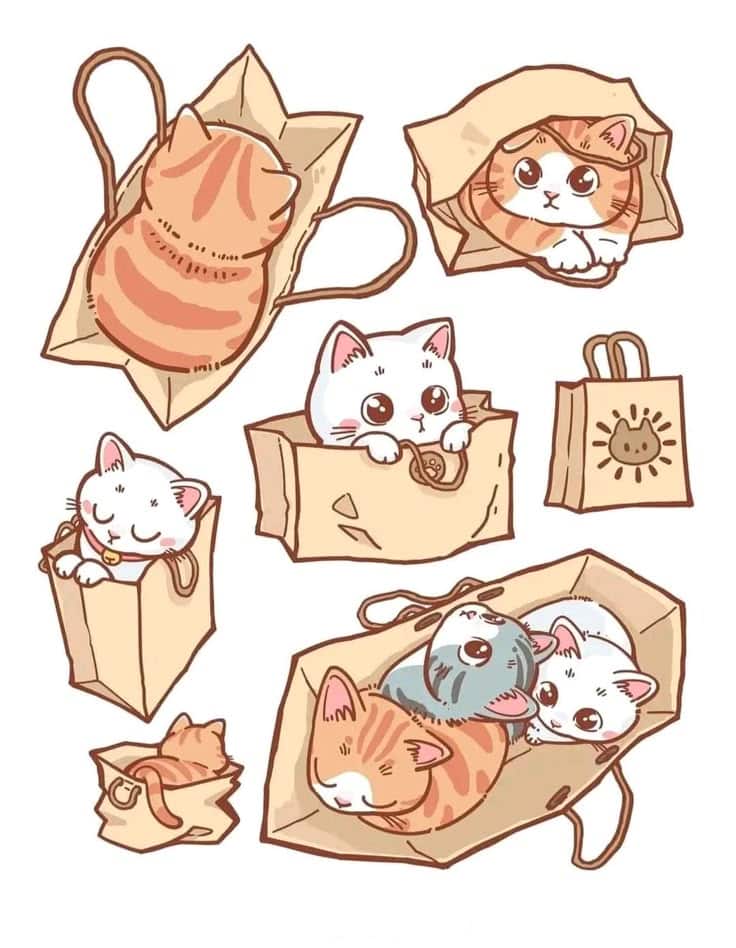
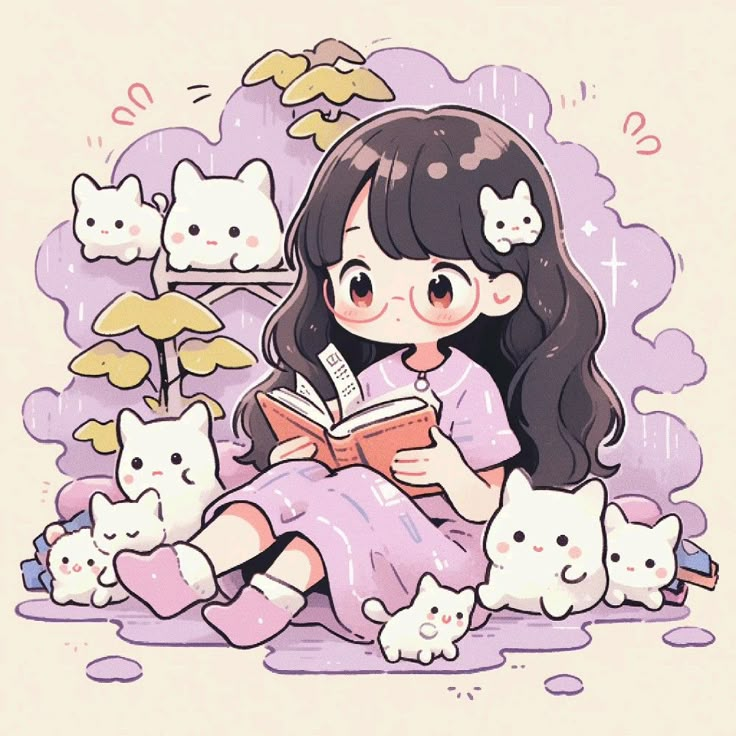
If you want to start with something simple and fun, try drawing a cute cartoon cat. This type of drawing works well for beginners because you can focus on basic shapes without worrying about too much detail.
Begin with a round head and add two small triangle ears. A couple of dots for eyes and a tiny upside-down triangle for the nose will give your cat a friendly face. Keep the mouth as a small curved line to make it look cheerful.
For the body, sketch an oval or circle beneath the head. Add a short tail that curls or points upward, and don’t forget four small legs with rounded paws. You can keep the lines soft and simple to make the cat appear playful.
Once you have the outline, you can add whiskers and light shading. If you like, color the cat with gray, orange, or even fun patterns like stripes or spots. This keeps the drawing personal and gives you room to be creative.
Drawing a cartoon cat is a quick way to practice proportions while still making something cute. With just a few steps, you’ll have a sketch that feels complete and easy to repeat.
2) Simple sunflower sketch
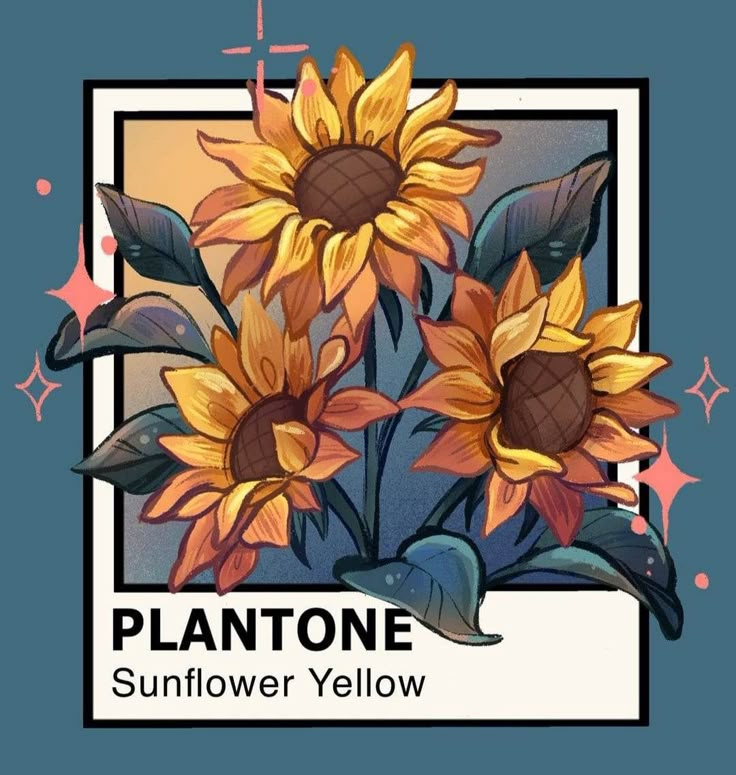
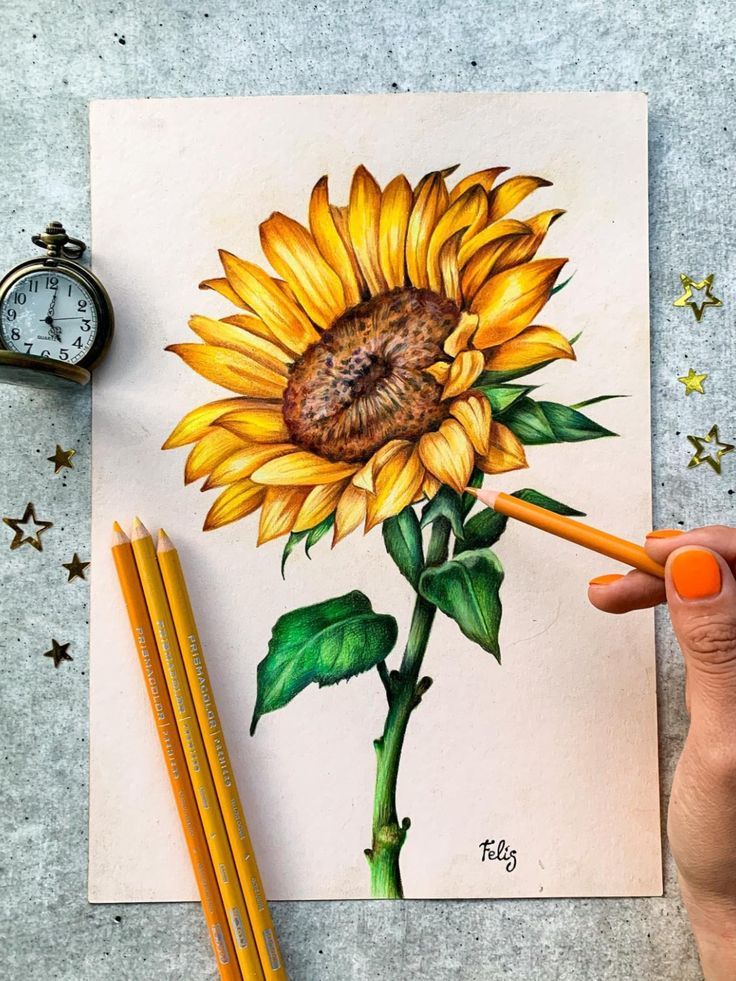
You can start a sunflower sketch with a small circle in the middle of your page. This circle will act as the flower’s center and keep the drawing balanced.
Next, draw long oval petals around the circle. Keep the petals slightly uneven so your sunflower looks more natural. You don’t need to make them perfect—small variations add charm.
Add another layer of petals behind the first row to give the flower a fuller look. Lightly sketch them so they peek out between the front petals.
Once the flower is in place, sketch a straight stem below the center circle. Add a couple of simple leaves on each side of the stem to complete the basic shape.
You can leave the sketch as a pencil outline or add color with crayons, markers, or watercolors. A bright yellow for the petals and green for the leaves will make your sunflower stand out.
This simple approach lets you practice drawing shapes while creating something cheerful. It’s a beginner-friendly project that you can finish quickly and enjoy.
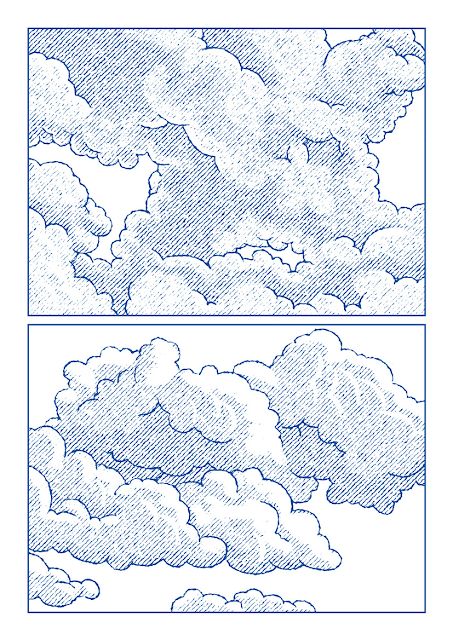
3) Smiling cloud with raindrops
A smiling cloud with raindrops is a simple and cheerful drawing you can create in just a few steps. It works well for kids, beginners, or anyone who wants a lighthearted sketch.
Start by drawing a fluffy cloud shape with soft, rounded curves. Then add two small eyes and a curved smile to give it a friendly expression.
Next, draw several raindrops falling from the bottom of the cloud. You can keep them plain or color each one in different shades, such as the colors of the rainbow, to make the drawing more playful.
This idea is flexible, so you can keep it minimal or decorate it further. Try adding a rainbow in the background or giving the cloud rosy cheeks for extra charm.
You don’t need special tools for this drawing. A pencil, eraser, and some colored pencils or markers are enough to bring your smiling cloud to life.

4) Easy cupcake drawing
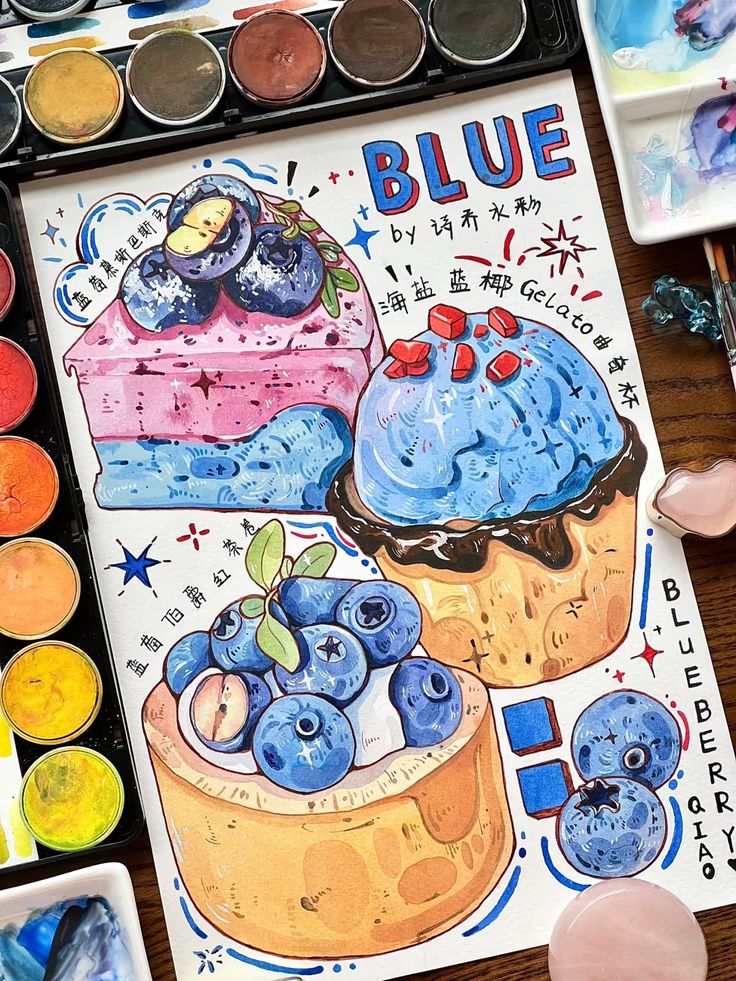
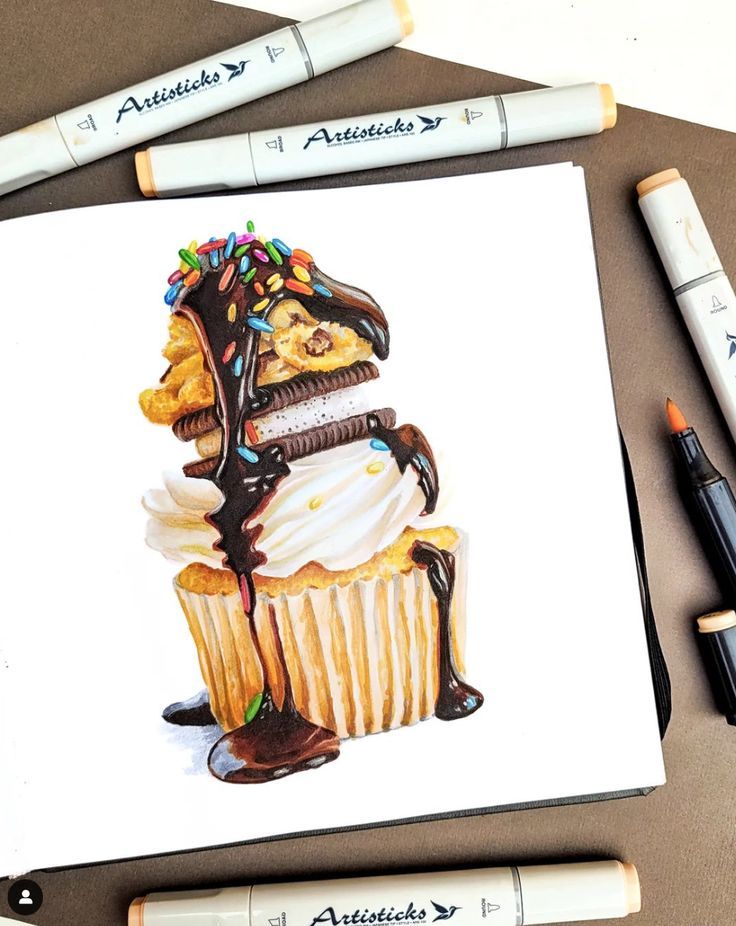
You can start a cupcake drawing with a simple outline of the base. Draw a wide “U” shape for the wrapper, then add straight vertical lines to show the folds. This gives your cupcake a solid foundation.
Next, sketch the frosting on top using curved, wavy lines. You don’t need to make it perfect—uneven swirls look natural and fun. Add a small circle at the top if you want a cherry or candy decoration.
Once the main shapes are done, you can add details like sprinkles or stripes on the wrapper. These small touches make your cupcake look more playful and personal.
Finish by outlining your drawing with a darker pen or marker. You can also color it in with soft pastels, bright markers, or even keep it simple with pencil shading.
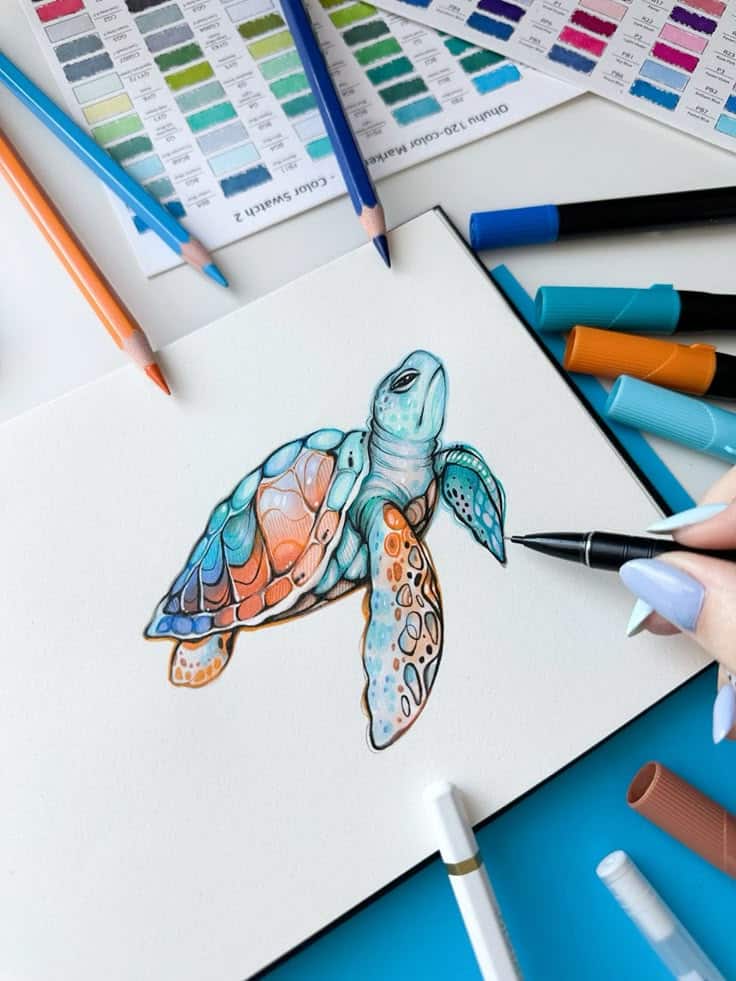
5) Happy turtle doodle
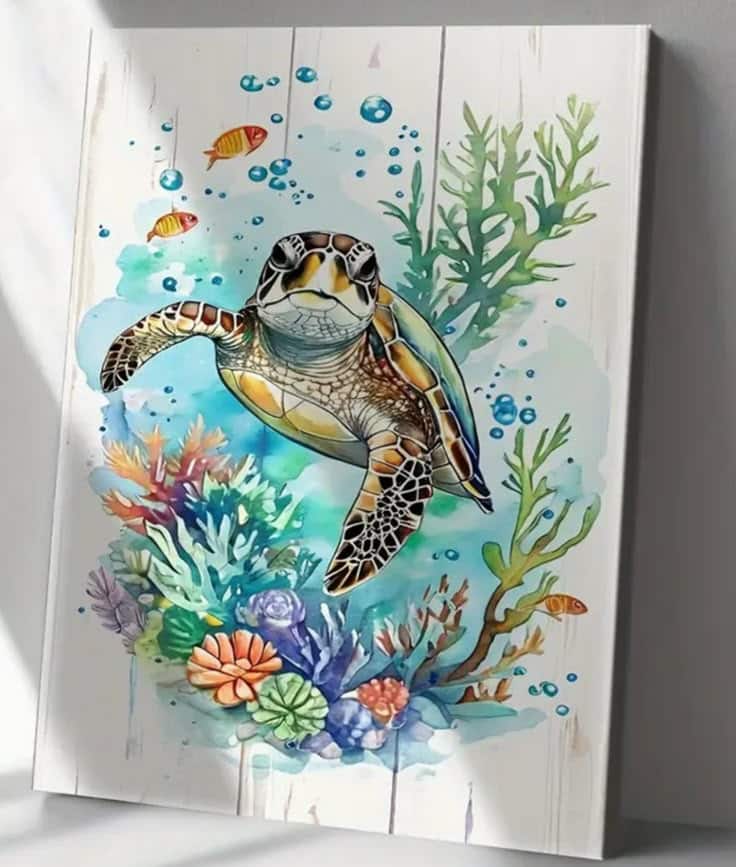
A happy turtle doodle is a simple and fun drawing idea that you can enjoy without needing advanced skills. You only need a few basic shapes to bring it to life.
Start with a round shell as the main shape. Add small legs, a short tail, and a friendly head sticking out from the shell. Keep the lines soft and curved to give it a cheerful look.
When drawing the face, use big eyes and a small smile to make the turtle look happy. You can even add little details like rosy cheeks or a tiny tongue to make it more playful.
If you want to make it stand out, color the shell with bright greens or patterns. You can also add water, sand, or grass around the turtle to give it a simple background.
This doodle works well for kids, beginners, or anyone who just wants a relaxing sketch. It’s quick to draw, easy to customize, and always brings a lighthearted touch to your page.
6) Minimalist mountain range
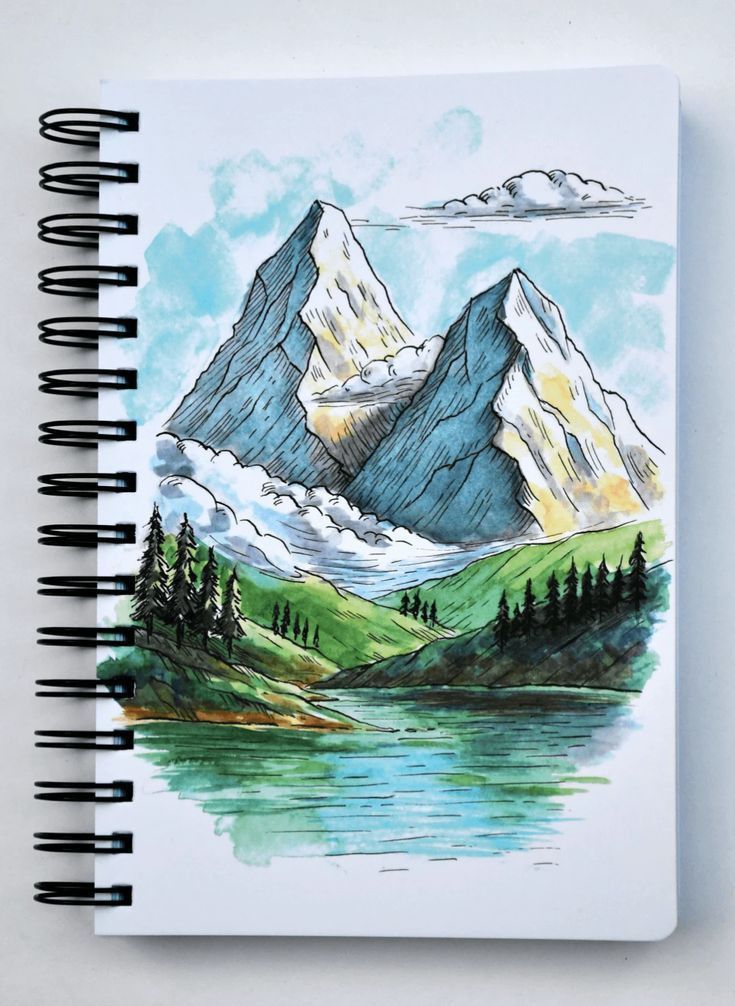
A minimalist mountain range drawing is a simple way to capture nature with just a few clean lines. You don’t need complex shading or detailed textures to make it look appealing. The focus is on basic shapes that suggest peaks and valleys.
Start by sketching a few overlapping triangles or slanted lines to represent mountains. Keep the lines smooth and uncluttered so the drawing feels calm and balanced. You can vary the sizes of the peaks to create depth.
If you want to add more detail, shade the base of one side of a peak or draw a lighter outline for distant mountains. This creates a sense of perspective without making the drawing complicated.
You can also experiment with line thickness. A bold line for the foreground and lighter lines for the background can make your sketch stand out.
This type of drawing works well with pen, pencil, or even digital tools. Since it’s minimal, you can finish it quickly and still have a clean, modern-looking result.

7) Chubby owl on a branch
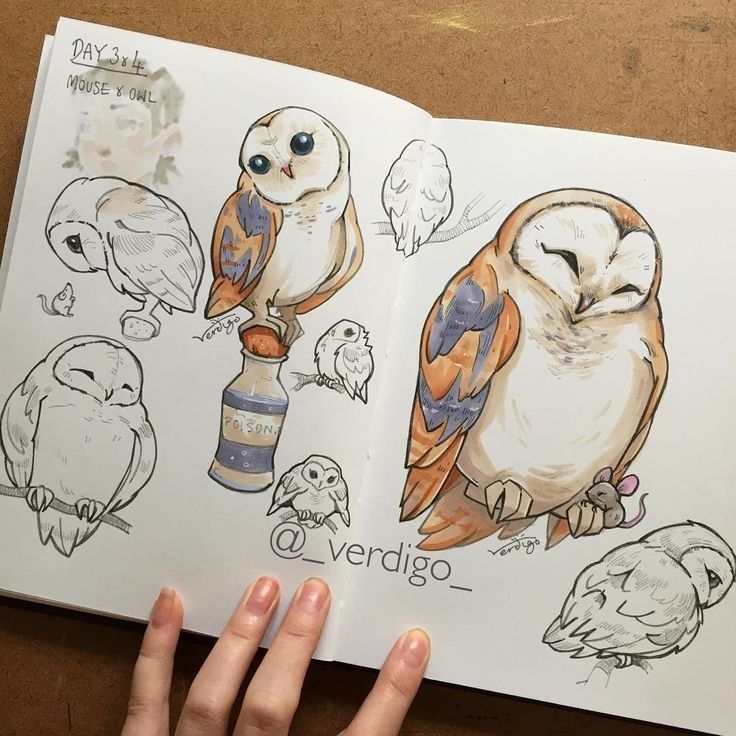
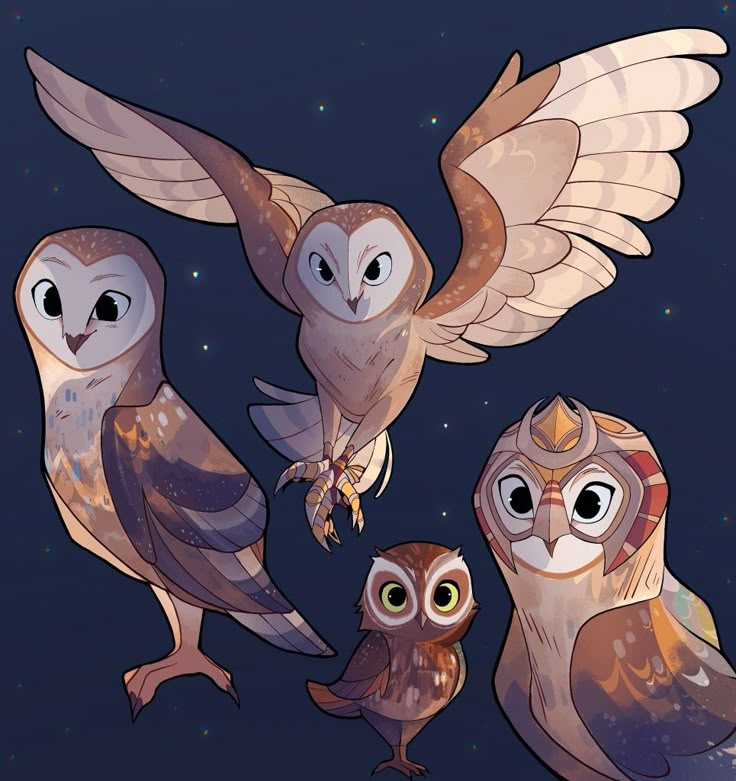
You can start this drawing with a simple round shape for the owl’s body. Keeping the body wide and soft will give it that chubby, playful look. Add a small circle for the head so it sits neatly on top.
Draw two big round eyes and a tiny beak in the center. The large eyes make the owl look cute and approachable, while the small beak keeps the details simple. Don’t worry about perfect symmetry—slight differences add charm.
Sketch short wings on each side of the body using curved lines. Keep them small so the owl looks plump and cozy. Add two short feet at the bottom that rest on the branch.
For the branch, draw a simple horizontal line with a few uneven edges. You can add small leaves or pinecones if you want extra detail, but it works fine plain too.
Finish with light feather patterns across the chest, like curved lines or a few heart-shaped marks. This step adds texture without making the drawing complicated. You now have a friendly chubby owl perched on its branch, ready to color or leave as a clean sketch.
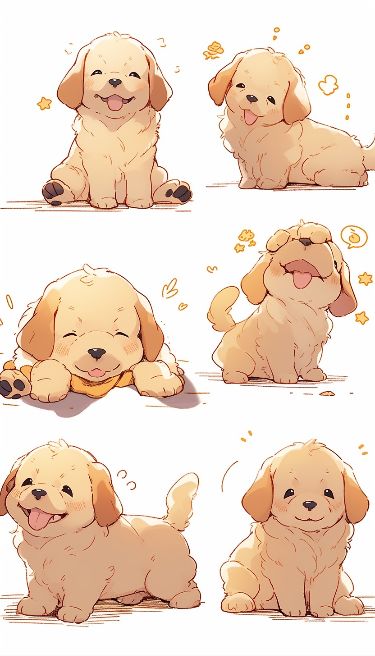
8) Playful puppy face
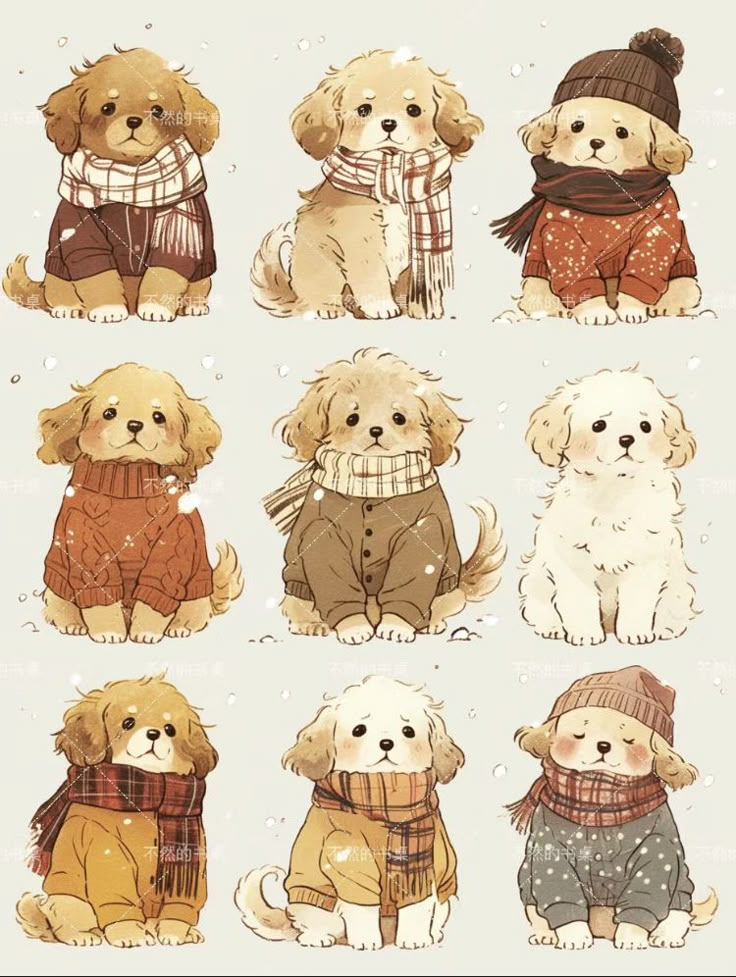
You can start a playful puppy face drawing with a simple circle for the head. Add two floppy ears that hang down on each side, keeping the shapes soft and rounded. This gives your sketch a friendly and approachable look.
Next, draw two big round eyes with small highlights to make them appear lively. Place a small oval nose in the center and a short curved line for the mouth. A slight curve at the corners of the mouth makes the puppy look cheerful.
Add a little tongue sticking out if you want extra character. This tiny detail helps the drawing feel more playful without adding much complexity.
Keep your lines light at first so you can adjust as needed. Once you’re happy with the shapes, trace over them with a darker pencil or pen. You can also add light shading around the eyes and nose for depth.
Finish with a few whisker dots near the nose and soft fur lines around the head. These small touches bring out the puppy’s charm while keeping the drawing simple enough for quick practice.
9) Cheerful ice cream cone
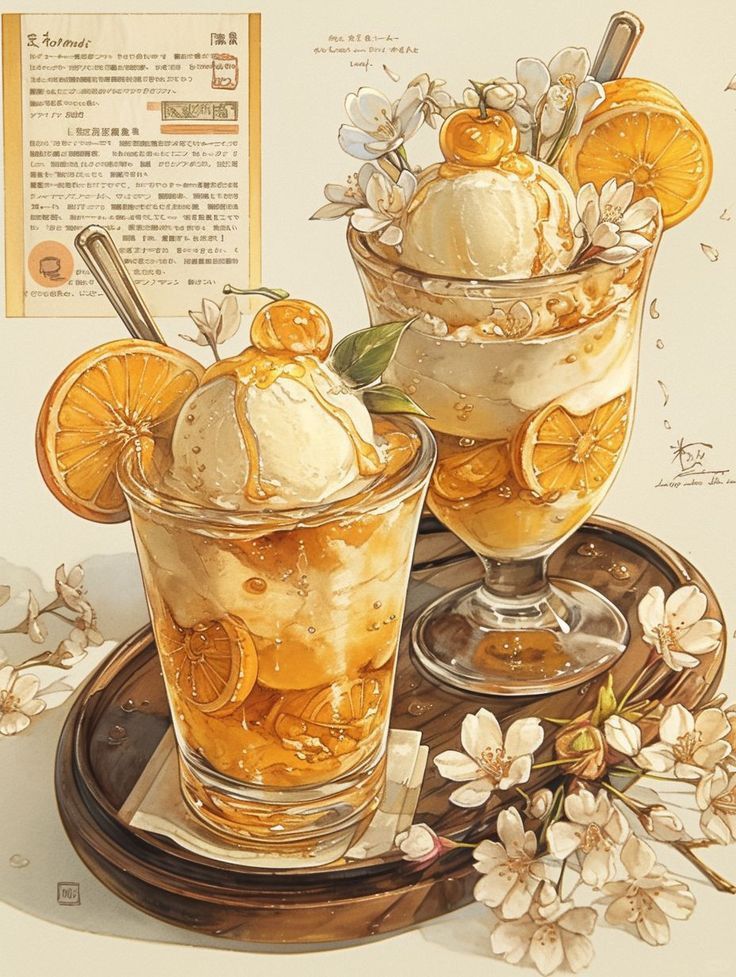
You can bring a little sweetness to your sketchbook by drawing a cheerful ice cream cone. Start with a simple triangle shape for the cone, then add a rounded scoop on top. Keep the lines light so you can adjust as you go.
Add small details to make it more fun. You might draw crisscross lines for the waffle cone or sprinkle dots on the scoop. A smiling face can make the design look playful and friendly.
Use bright colors to finish your drawing. Soft pinks, blues, or yellows can give the ice cream a lively look. You can even add a second scoop or a cherry on top if you want extra variety.
This drawing works well for beginners because it uses basic shapes and simple patterns. With just a few steps, you can create a design that looks cheerful and inviting.
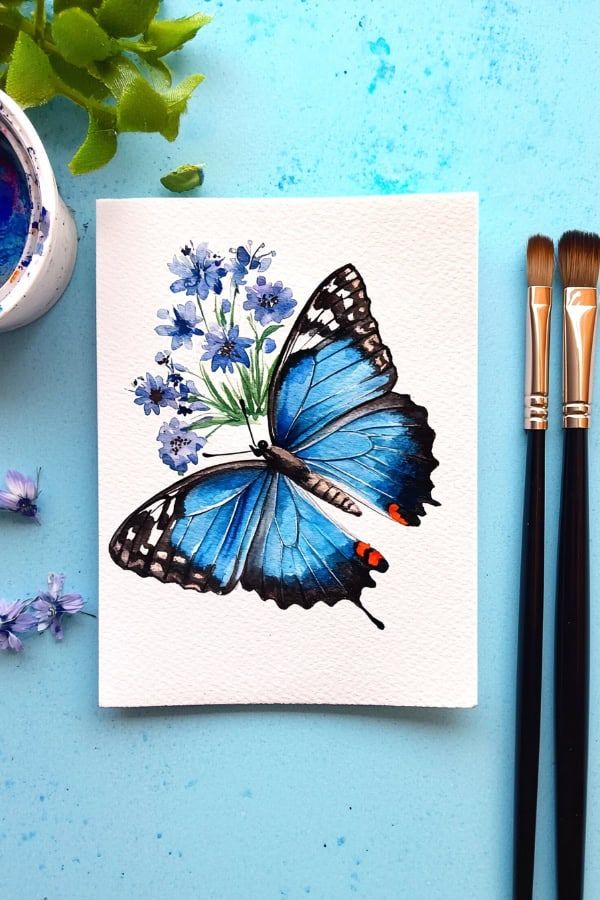
10) Basic butterfly outline
You can start a butterfly drawing by sketching a simple outline. Begin with a small oval for the body and add two thin lines for the antennae. This gives you a clear base to build on.
Next, draw two large wings on the top and two smaller wings on the bottom. Keep the shapes rounded and even, so the butterfly looks balanced. Don’t worry about details at this stage.
Once the outline is ready, you can add light patterns inside the wings. Simple circles, curves, or lines are enough to make the design interesting. Keep it minimal if you want a clean look.
If you’d like to color your drawing, choose a few shades that stand out. Bright or pastel colors both work well, depending on your style. Coloring also helps bring your butterfly to life in an easy way.
This approach keeps the process simple and beginner-friendly. By focusing on the outline first, you can practice proportions and shapes before adding extra details.
Tips for Making Easy Drawings Awesome
Small changes in how you approach your sketches can make them look cleaner, more expressive, and more enjoyable to create. Paying attention to your tools, adding character to simple lines, and practicing beginner-friendly coloring methods will help your drawings stand out without making them complicated.
Choosing the Right Materials
The tools you use can affect how smooth and enjoyable your drawing process feels. A simple set of pencils in different grades, like HB, 2B, and 4B, gives you a range of light to dark lines without needing expensive supplies.
Keep an eraser and a sharpener nearby so you can adjust details without frustration. A kneaded eraser works well for soft corrections, while a regular eraser handles sharper edges.
Paper choice matters too. If you’re sketching casually, standard sketchbook paper is fine, but if you plan to add color later, choose slightly thicker paper to prevent smudging or tearing. Even a small upgrade in paper quality can make your lines look clearer and reduce smears.
You don’t need a large collection of tools. A few reliable basics are enough to support clean and enjoyable sketches.
Adding Personality to Simple Sketches
Even the simplest drawing can feel unique when you add small details that reflect your style. For example, a basic flower sketch looks more lively if you vary the size of petals or tilt them slightly.
Facial expressions are another easy way to add character. A circle with two dots and a line becomes more engaging if you adjust eyebrow angles or curve the mouth differently. These subtle changes make your sketch feel less generic.
You can also play with line weight. Use thicker lines for outlines and thinner lines for details. This creates contrast and gives your drawing more depth without extra effort.
Don’t be afraid to exaggerate certain features. A slightly larger eye or a curved tail can turn a plain doodle into something memorable.
Coloring Techniques for Beginners
Adding color doesn’t need to be complicated. Start with a small set of colored pencils or markers so you can focus on control instead of managing too many shades.
Try light layering by pressing gently at first, then adding more layers for darker tones. This avoids harsh streaks and gives your drawing a smoother look.
Blending is another simple way to improve results. With colored pencils, you can overlap two shades to create a gradient. For markers, stick to quick strokes in the same direction to avoid patchy spots.
If you want to highlight parts of your drawing, leave small areas white instead of filling everything in. This makes your sketch look brighter and more balanced.
Keep your coloring simple and intentional. Even a few well-placed colors can make a drawing feel polished without taking much time.
Common Mistakes to Avoid
When you practice simple drawings, small habits can either help you improve or hold you back. Paying attention to pacing, structure, and simplicity makes your sketches clearer and more enjoyable to create.
Rushing the Drawing Process
It’s easy to grab a pencil and try to finish quickly, but rushing usually leads to uneven lines and missing details. You might notice shapes that don’t connect properly or proportions that feel off.
Take your time with each step. Start with light sketching, then refine gradually. This approach gives you room to adjust before committing to darker lines.
A helpful tip is to pause after finishing a section. Look at your drawing from a distance or flip the page upside down. These quick checks reveal mistakes you may overlook when drawing too fast.
Consistency matters more than speed. Practicing slowly builds better habits, and over time your pace will naturally improve without forcing it.
Ignoring Basic Shapes
Every drawing, no matter how simple, comes down to circles, squares, triangles, and lines. If you skip these foundations, your sketches can look unbalanced or confusing.
For example:
- A face often starts with an oval.
- A house begins with rectangles and triangles.
- An animal’s body can be broken into circles and ovals.
Using these shapes as a guide gives you a framework that’s easy to adjust. You can erase or reshape them before adding detail, which saves you frustration later.
Think of basic shapes as a map. Without them, it’s harder to keep proportions accurate, and your drawing may drift off track. By practicing this step, you’ll notice your drawings feel more solid and intentional.
Overcomplicating Your Design
When you try to add too many details at once, your drawing can become cluttered and harder to finish. Beginners often add extra lines or shading before the main structure is complete.
Focus on the essentials first. Outline the main form clearly, then decide which details matter most. For example, a flower looks complete with petals and a stem—you don’t need every vein or texture right away.
A simple checklist helps:
- Main shape complete?
- Key details in place?
- Extra touches optional?
By keeping designs straightforward, you’ll finish more drawings successfully and enjoy the process more.
- 3.9Kshares
- Facebook0
- Pinterest3.9K
- Twitter0
- Reddit0
