Drawing butterflies might seem challenging, but it’s actually one of the most accessible subjects for beginner artists. The butterfly’s symmetrical design provides a natural structure that makes creating beautiful artwork easier than you might think. With just a few simple shapes and lines, anyone can draw a butterfly that captures the delicate beauty of these fascinating insects.

Butterflies have distinct parts that can be broken down into basic shapes – a central body, symmetrical wings, and antenna. This makes them perfect for learning fundamental drawing techniques. By focusing on these elements one at a time, even children or first-time artists can create impressive butterfly drawings with minimal supplies.
Starting with simple butterfly drawings is also a gateway to more advanced art skills. As you become comfortable with basic butterfly shapes, you can experiment with different wing patterns, colors, and positions to create more complex and realistic butterfly artwork that reflects your personal style.
Key Takeaways
- Butterfly drawings use basic shapes and symmetry principles, making them accessible for artists of all skill levels
- Starting with simple outlines of wings and body creates a foundation for more detailed butterfly illustrations
- Regular practice with butterfly drawing improves overall artistic skills and builds confidence for tackling more complex subjects
Understanding Butterfly Anatomy

To draw butterflies effectively, it helps to understand their basic structure. Butterflies have distinct anatomical features that give them their recognizable appearance. Learning these features will make your drawings more accurate and lifelike.
Wing Patterns and Shapes


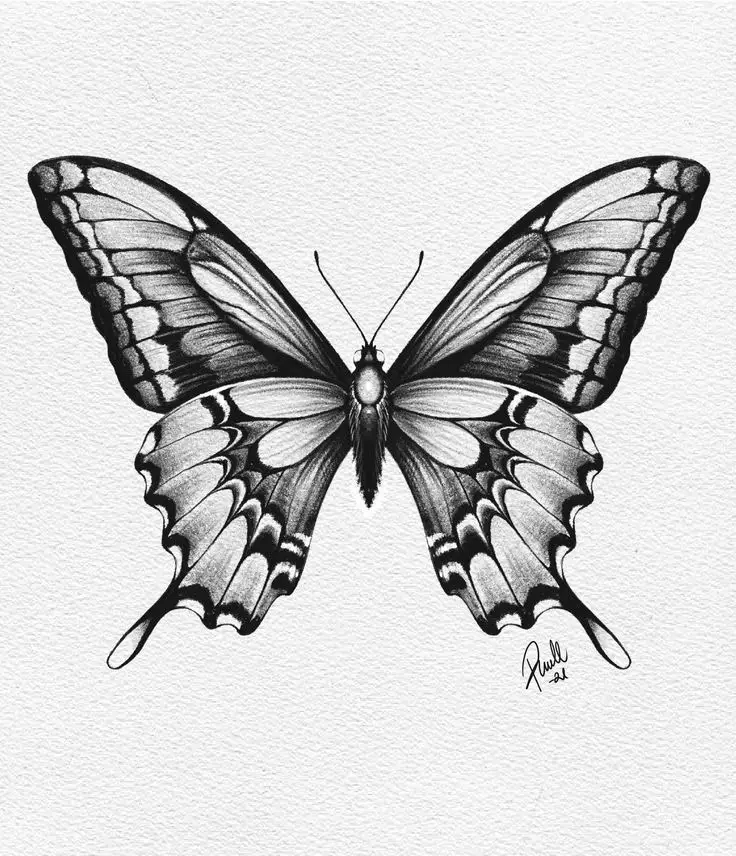
Butterfly wings can be divided into simple and complex patterns. The forewings (front wings) are typically triangular, while hindwings are more rounded. When drawing, pay attention to symmetry – both sides should mirror each other closely.
Most butterflies have four wings total – two on each side. The wing edges might be smooth, scalloped, or have tail-like projections depending on the species. Common patterns include spots, stripes, and eyespots that serve as protection from predators.
For beginners, start by drawing a basic wing outline, then add details. Remember that wings connect at the body’s center and often overlap slightly when at rest. Some butterflies hold their wings vertically when resting, while others spread them flat.
Body Proportions
A butterfly’s body consists of three main parts: head, thorax, and abdomen. The head is small and round with two antennae, compound eyes, and a coiled proboscis (feeding tube) that extends to drink nectar.


The thorax is the middle section where the wings and six legs attach. When drawing, make the thorax slightly wider than the head. The abdomen is the longest part of the body, extending from the thorax to the tip of the butterfly.
For proper proportions, the body length should be about 1/3 to 1/2 the wingspan. Antennae typically extend about the length of the thorax, ending in small clubs or hooks depending on the species.


When drawing legs, remember they’re thin and often hard to see when the butterfly is viewed from above with open wings.
Materials Required

Drawing butterflies doesn’t require fancy art supplies. With a few basic materials, you can create beautiful butterfly illustrations. The right paper, colored pencils, and drawing tools will help you bring your butterfly designs to life with minimal effort.
Types of Paper
Choosing the right paper makes a big difference in butterfly drawings. Plain white printer paper works well for beginners and practice sketches. It’s affordable and easy to find in most homes.
For more detailed work, consider using drawing paper with a bit of texture. This paper holds colored pencil better and allows for more shading techniques. The texture gives your butterfly wings a more natural look.
Watercolor paper is another good option if you plan to add paint to your drawing. It won’t warp or buckle when wet. Look for paper that’s at least 90 lb weight for best results.
For a special touch, try colored paper. Light blue or pale yellow can create an interesting background for your butterfly art.
Choosing Colored Pencils
Colored pencils are perfect for butterfly drawings because they allow for precise detail work. A basic set of 12-24 colors will give you enough variety for most butterfly species.
Look for pencils that blend well. Wax-based colored pencils are good for beginners as they’re easy to layer and mix colors. Oil-based pencils offer richer colors but can be more challenging to work with.
For butterfly wings, having several shades of blue, orange, yellow, and black is helpful. These colors appear frequently in common butterfly species.
Pencil hardness matters: Softer leads create vibrant colors but wear down quickly. Harder leads last longer but produce lighter colors. A mix of both is ideal.
Test your pencils on scrap paper before starting your butterfly drawing to see how the colors will look.
Additional Drawing Tools
Beyond paper and colored pencils, a few extra tools will improve your butterfly drawings. A regular graphite pencil (HB or 2B) is essential for sketching the initial butterfly outline. Use light pressure so it’s easy to erase later.
Good erasers are crucial. A kneaded eraser can lift graphite without damaging paper, while a white vinyl eraser works well for removing colored pencil marks.
A pencil sharpener keeps your tools ready for detailed work on butterfly wing patterns. Electric sharpeners provide a consistent point, but manual ones work fine too.
Other helpful items include:
- A ruler for symmetrical wings
- Blending stumps for smooth color transitions
- Fine-tip black pens for outlining
- White gel pens for adding highlights
A simple circle template can help you draw perfect circles for butterfly body parts and wing spots.
Basic Techniques

Drawing butterflies requires mastering a few fundamental techniques. With the right approach, even beginners can create beautiful butterfly illustrations that capture their delicate beauty.
Pencil Grip and Stroke Control


Holding your pencil correctly is crucial for butterfly drawing. For detailed work, try holding the pencil like you would a writing instrument, but slightly further back for better control. This gives you precision for small details like antennae and wing patterns.
When drawing butterfly outlines, use light, gentle strokes. Start with a simple oval for the body and add basic wing shapes on each side. Many artists find it helpful to rotate their drawing paper throughout the process, making it easier to create smooth, flowing lines for wing edges.
Practice drawing S-curves and crescents, as these shapes appear frequently in butterfly wings. Keep your wrist relaxed to achieve fluid lines that capture the butterfly’s graceful form.
Shading and Color Blending
Butterflies are known for their vibrant colors and patterns. Begin with light layers of colored pencils, gradually building up intensity. This layering technique creates depth and dimension in your butterfly drawing.


For realistic wing effects, use gentle circular motions when applying color. This mimics the natural texture of butterfly wings. Try using complementary colors side by side to create subtle transitions across wing sections.
Light shading near the butterfly’s body creates depth, while leaving some areas lighter near wing edges suggests transparency. This contrast makes wings appear delicate and realistic.
For beginners, start with simple pattern designs using dots and lines before attempting complex patterns. As your skills improve, experiment with blending colors to create the stunning gradient effects seen in many butterfly species.
Step-by-Step Guide to Drawing a Butterfly

Drawing butterflies can be easier than you might think. With a few simple techniques, you’ll be able to create beautiful butterfly artwork even if you’re a beginner. Let’s break down the process into manageable steps.
Sketching the Outline


Start with basic shapes to form your butterfly’s structure. Draw a small oval for the body in the center of your paper. This will serve as the anchor point for the rest of your drawing.
Next, add two large, rounded wing shapes on either side of the body. These don’t need to be perfect – butterflies have natural asymmetry. Draw a light line through the middle of the body to help align the wings evenly.


For the upper wings, create rounded triangular shapes. The lower wings can be more circular with gentle curves. Keep your pencil strokes light so you can easily erase and adjust as needed.
Add antennae by drawing two thin lines extending from the head, with small clubs at the ends. Remember that butterfly antennae are proportionally longer than the body.
Refining the Details
Focus on wing patterns next. Most butterflies have symmetrical patterns, so what you draw on one side should match the other. Common patterns include:
- Curved lines following the wing shape
- Spots or circles of various sizes
- Wavy borders along wing edges
- Small dots arranged in patterns
Add texture to the body by drawing small curved lines to represent the thorax and abdomen segments. The thorax (middle section) is usually thicker than the abdomen.
Don’t forget to refine the head by adding small eyes on either side. These can be simple dots or small circles. The body should taper from the thorax to the end of the abdomen.
Erase any unnecessary guidelines from your initial sketch, leaving only the finalized butterfly shape.
Applying Colors


Butterflies are known for their vibrant colors. You can use colored pencils, markers, or watercolors depending on your preference. Start with light colors and gradually build up to darker shades.
Apply base colors first, covering large areas of the wings. Popular butterfly color combinations include:
- Orange and black (Monarch)
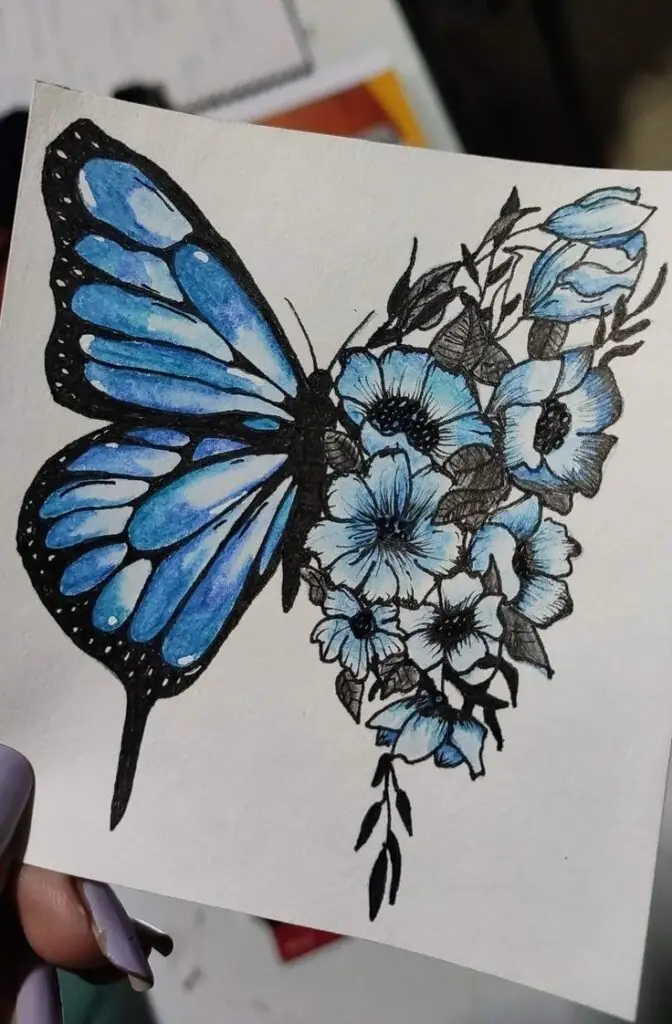
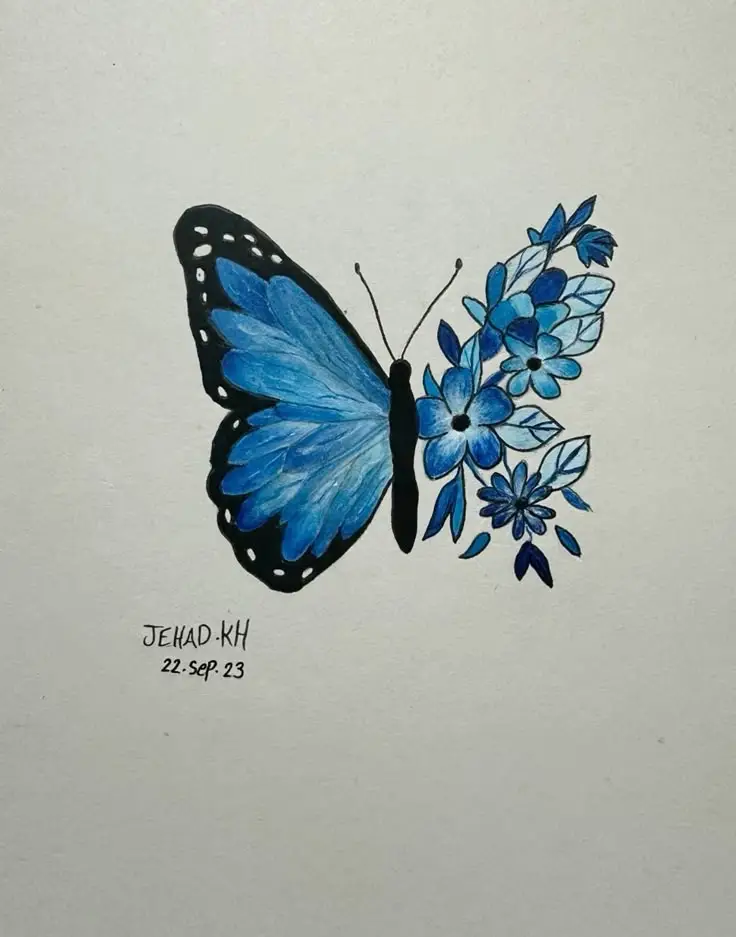
- Blue and black (Morpho)
- Yellow and black (Swallowtail)
- White with black spots (Cabbage White)
Add details with darker colors after the base colors dry. Outline the wing edges and emphasize pattern details. The body is typically darker than the wings, often black or brown.
For a realistic effect, add subtle shading to create dimension. The areas where wings attach to the body should be slightly darker. You can also add white dots for highlights to make certain areas pop.
Advanced Drawing Tips

Taking your butterfly drawings to the next level requires attention to detail and mastering special techniques. These skills transform simple sketches into realistic artwork that captures the delicate beauty of butterflies.
Creating Realistic Textures
Butterfly wings have unique textures that make them special. To create these textures, use short, light strokes that mimic the tiny scales covering real butterfly wings. Think of it as drawing tiny feathers or overlapping fish scales.


Try using different pencil pressures – lighter for delicate areas and slightly firmer for defined patterns. A kneaded eraser can lift graphite to create highlights on wing scales.
For wing patterns, study actual butterfly species. Many have distinctive dots, lines, and color transitions that follow specific patterns. Start with light guidelines before adding detailed textures.
Texture Exercise: Practice drawing small 1-inch squares filled with different scale patterns. This builds muscle memory for when you apply these techniques to full butterfly drawings.
Playing with Light and Shadow
Light and shadow bring butterfly drawings to life. Observe how light hits butterfly wings – they’re not flat surfaces but have subtle curves and folds.
Establish your light source direction first. This determines where highlights appear and where shadows fall. On butterfly wings, the veins often cast tiny shadows, creating natural segmentation.


Shading Tip: Use gradual transitions from light to dark. The body of the butterfly is typically more three-dimensional than the wings, requiring deeper shadows.
For a translucent effect on delicate wings, leave white spaces or use very light shading. This creates the impression of light passing through thin membranes.
Try using a blending stump to soften harsh lines and create smooth transitions between light and dark areas. This mimics the subtle, powdery appearance of real butterfly wings.
Caring for Your Artwork

After creating your beautiful butterfly drawing easy, proper care ensures it will last for years to come. Good preservation practices and thoughtful display choices protect your artwork from damage while showcasing it effectively.
Preservation Techniques
Store butterfly drawings in acid-free folders or sleeves when not displayed. This prevents yellowing and deterioration over time. Keep artwork away from direct sunlight, which can fade colors and damage paper.
Use fixative spray for drawings made with charcoal, pastel, or pencil to prevent smudging. Apply in a well-ventilated area with light, even coats. For watercolor butterfly paintings, ensure they’re completely dry before storage.
Handle artwork by the edges to avoid transferring oils from fingers onto the paper. Consider making digital scans of favorite butterfly drawings as backups.
Clean any dust that accumulates on stored artwork with a soft, dry brush rather than tissue or cloth that might scratch the surface.
Framing and Display
Choose acid-free mats and backing boards when framing butterfly artwork. This creates a professional look while protecting the drawing from acid migration that causes discoloration.
Use UV-protective glass or acrylic to shield the artwork from harmful light exposure. This is especially important for colorful butterfly drawings displayed in bright rooms.
Hang framed butterfly art away from high humidity areas like bathrooms or kitchens. Moisture can warp paper and promote mold growth.
Consider creating a gallery wall of several butterfly drawings grouped together for visual impact. Alternatively, a single framed butterfly drawing makes an elegant focal point in smaller spaces.
Rotate displayed artwork occasionally to prevent uneven fading and to keep your space feeling fresh and interesting.
Additional Resources and Services

Finding the right support for your butterfly drawing journey can make learning easier and more enjoyable. These resources can help artists of all levels improve their skills through guided instruction and community connections.
Online Tutorials
YouTube offers countless free butterfly drawing tutorials for beginners. Channels like Draw So Cute and Art for Kids Hub provide step-by-step guides specifically designed for new artists. These tutorials typically range from 5-15 minutes and break down the process into manageable steps.
Pinterest collections feature thousands of butterfly drawing templates and reference images that can be saved for inspiration. Many artists also share their techniques through blogs with detailed photo instructions.
Apps like Procreate (for digital drawing) and SketchBook include butterfly brushes and templates. Some apps even offer time-lapse recording features so you can watch your progress and identify areas for improvement.
Drawing Classes and Workshops
Local art centers frequently host butterfly-themed workshops, particularly during spring and summer months. These hands-on classes provide immediate feedback from instructors and the chance to learn alongside other enthusiasts. Most workshops provide all necessary materials and cost between $25-$75 depending on duration.


Libraries and community centers sometimes offer free or low-cost drawing programs that include butterfly subjects. These services are especially valuable for students and families on a budget.
Nature centers and butterfly conservatories occasionally partner with artists to teach classes that combine scientific knowledge with artistic techniques. These specialized workshops help artists understand butterfly anatomy and movement for more realistic drawings.
- 2.4Kshares
- Facebook0
- Pinterest2.4K
- Twitter0


