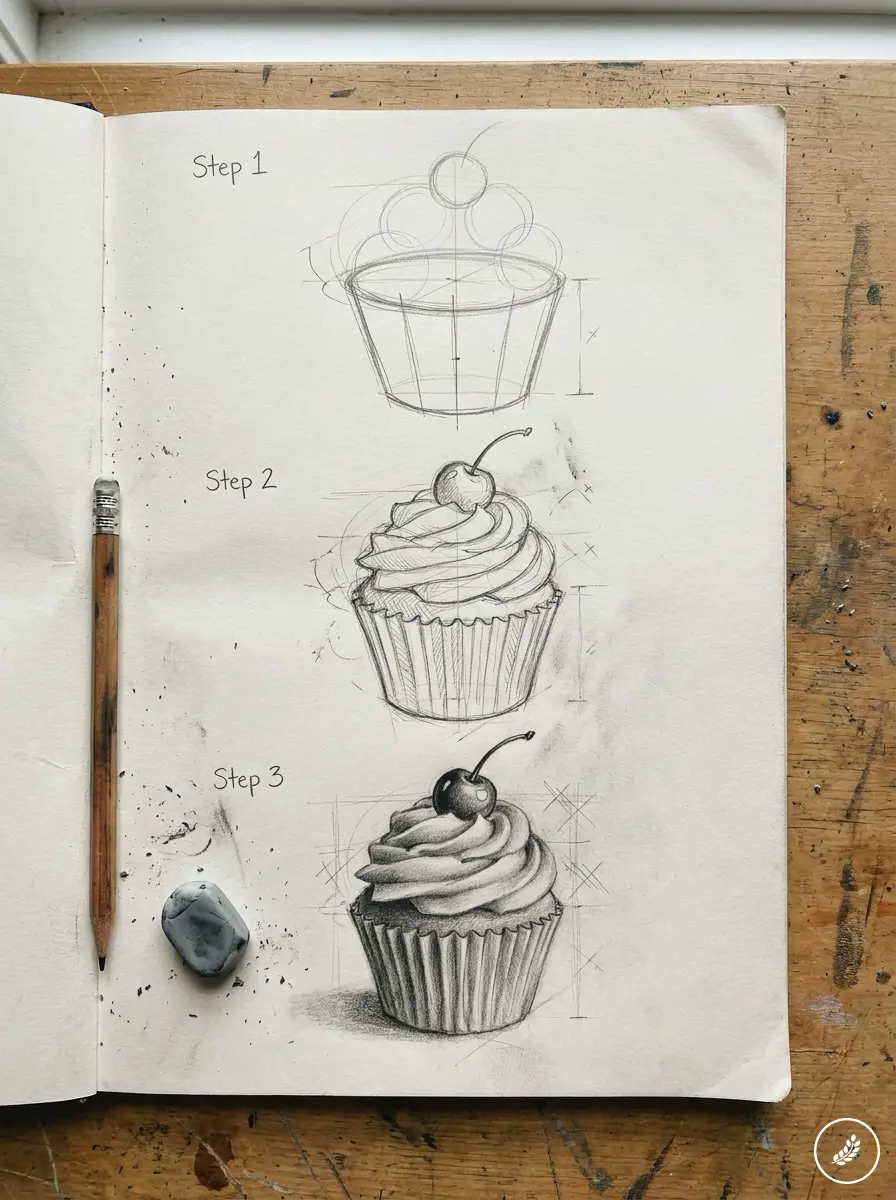
Learning how to draw a cupcake with a cherry is mostly a shape exercise: a wide oval for the top of the wrapper, a tapered cup underneath, soft frosting curves, and one small shiny circle on top. Keep the first lines light, because the cupcake looks better when you can adjust the frosting height and wrapper angle before committing to dark outlines.
I like this subject for beginners because it teaches three useful drawing habits in one small sketch: building with simple forms, controlling line weight, and saving a highlight for something glossy. The cherry is tiny, but it makes the whole drawing feel finished.
Use the steps below with a pencil first, then add color with colored pencils, markers, or watercolor if your paper can handle it. You can keep the cupcake cute and simple, or push it toward a more polished dessert illustration with shading and wrapper folds.
Cupcake drawing at a glance
| Part of the drawing | Simple shape to start with | What to watch |
| Cupcake wrapper | Wide oval plus a tapered trapezoid | Keep both sides even, but not perfectly stiff. |
| Frosting | Stacked curved bumps | Make the curves smaller as they move upward. |
| Cherry | Small circle with a curved stem | Leave a tiny highlight before coloring it red. |
| Wrapper folds | Vertical curved lines | Darken the spaces between folds for depth. |
Materials and tools needed
You do not need a large art kit to draw a cupcake with a cherry. A pencil, eraser, and smooth paper are enough for the line drawing. Color tools are optional, but they make the frosting, wrapper, and cherry easier to read at a glance.
Best paper and pencils for drawing
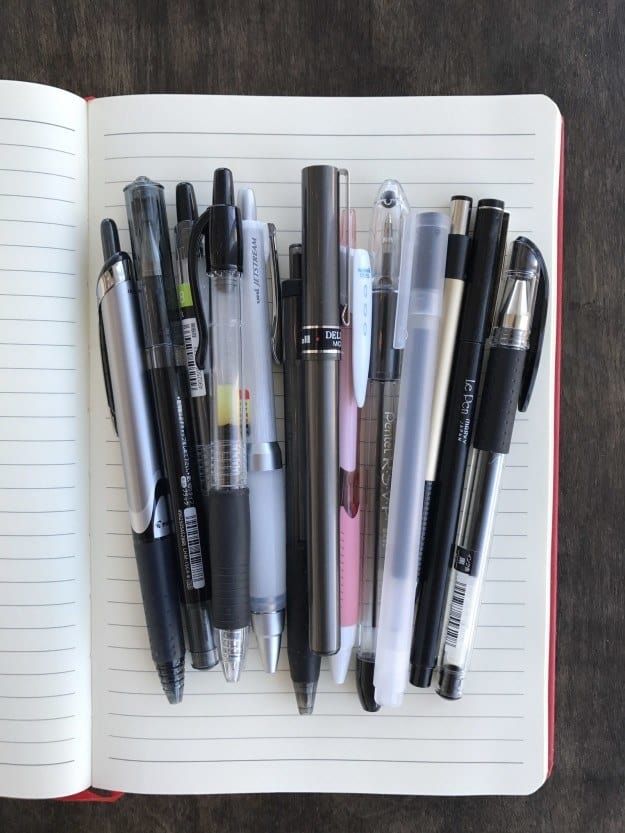
Use smooth sketchbook paper or medium-weight drawing paper. Very thin paper dents quickly when you erase, while heavily textured paper can make small frosting curves look scratchy. A clean, simple surface is easiest for this kind of dessert drawing.
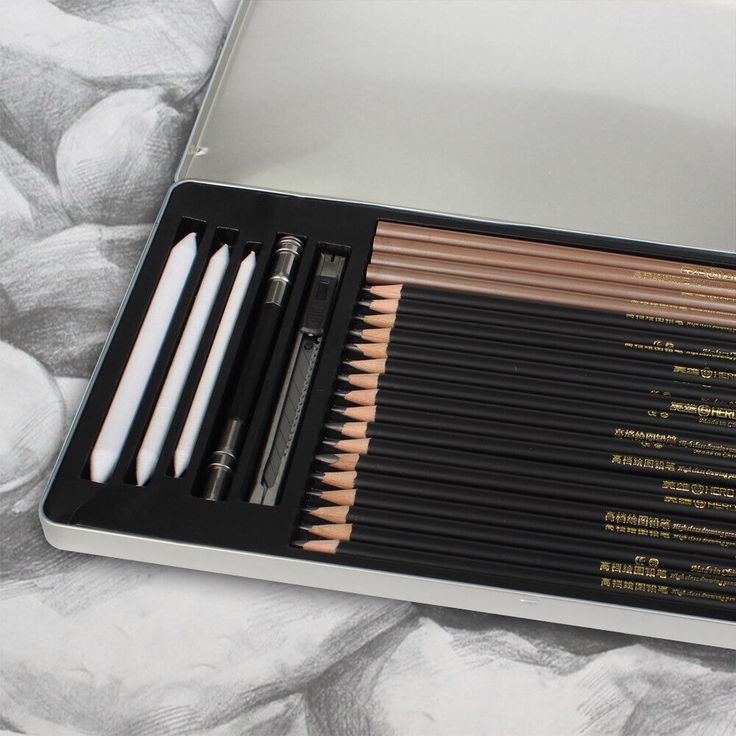
For pencils, start with HB or 2H for the construction lines, then switch to a 2B for the final outline and soft shadows. A kneaded eraser helps lift sketch lines without damaging the paper, especially around the cherry and frosting highlight.
Optional coloring supplies
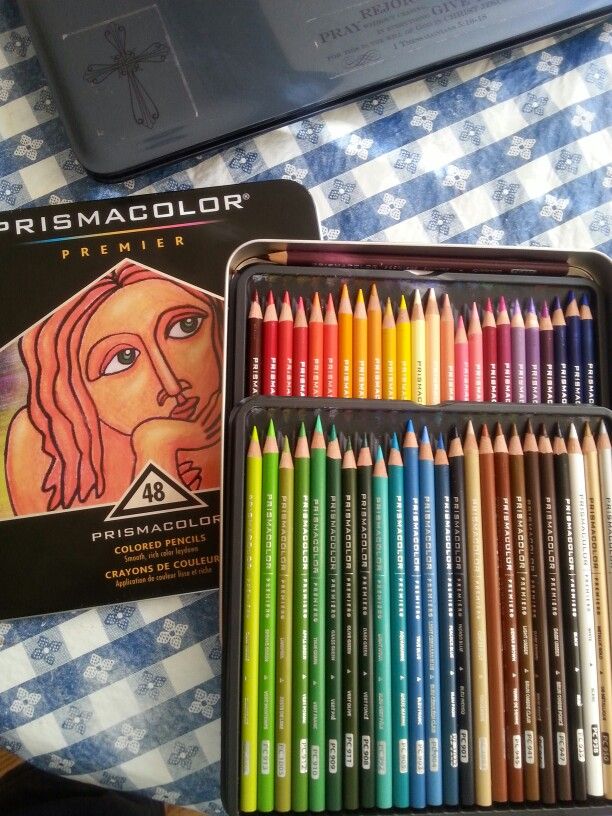
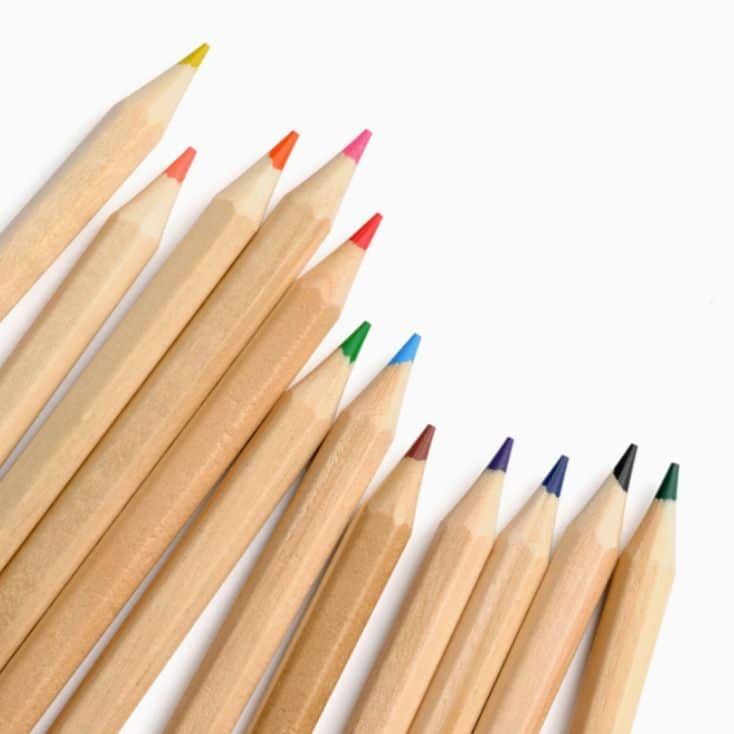
Colored pencils are the easiest choice for this cupcake because you can build color slowly. Try pale pink, cream, or chocolate tones for the frosting, a stronger red for the cherry, and a cooler blue or purple for the wrapper if you want contrast.
Markers and gel pens work well for a brighter cartoon style, but test them on scrap paper first. If you use watercolor, choose thicker paper and keep the first wash light. Too much water will flatten the pencil lines and can make the wrapper edges bleed.
How to draw a cupcake with a cherry step by step
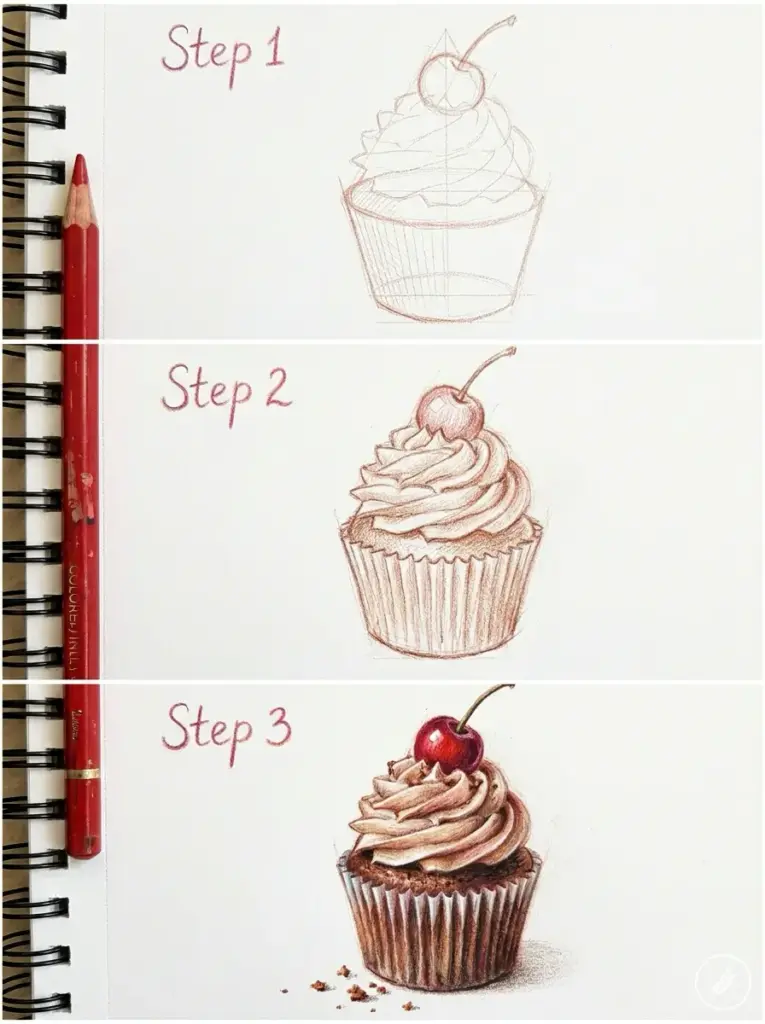
Start with the wrapper and frosting before you draw the cherry. That order keeps the cupcake balanced, because the cherry needs to sit on the highest part of the frosting instead of floating above it.
Sketch the basic cupcake shape
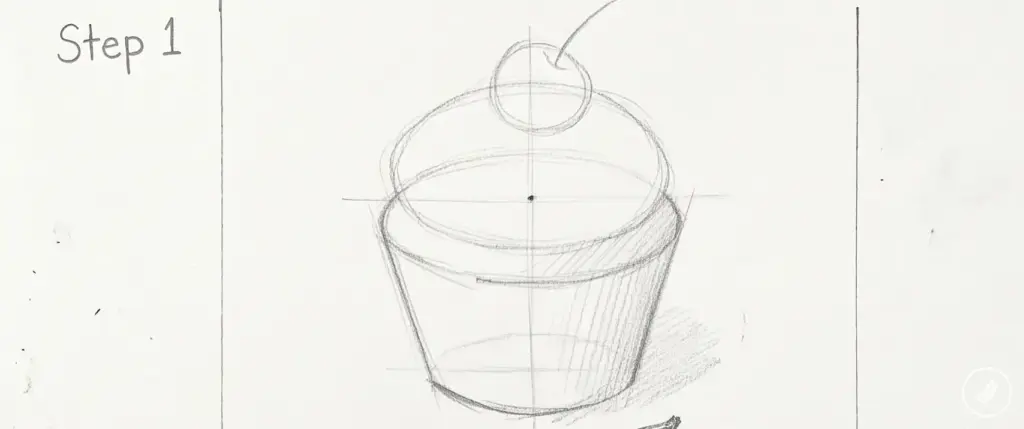
Draw a wide, shallow oval for the top edge of the cupcake wrapper. Under it, add a trapezoid with the wider side at the top and the narrower side at the bottom. Keep these lines pale so you can correct the angle if the cupcake starts leaning.
Check the silhouette before adding details. The wrapper should feel slightly wider at the top, and the oval should give you enough room for the frosting to sit naturally. If the base looks too narrow, widen it now instead of fixing it after the frosting is drawn.
Draw the frosting swirl
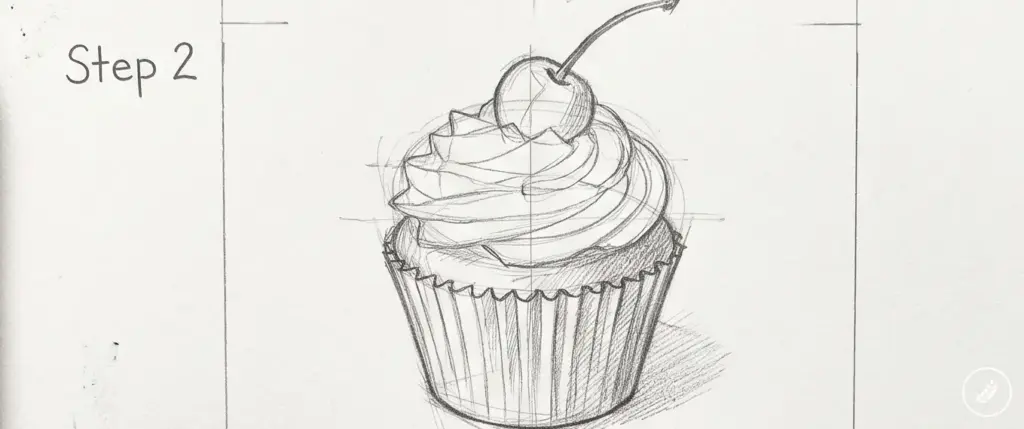
Above the oval, draw a row of rounded frosting curves. Think of them as soft overlapping waves, not sharp spikes. Start wider near the wrapper and make the next curves smaller as they climb toward the top.
Add a second or third frosting layer if you want a taller cupcake. Vary the curve sizes a little so the frosting does not look stamped on. In a real sketch, this is where I slow down and compare the left and right edges, because an uneven frosting silhouette is easy to notice.
Add the cherry on top
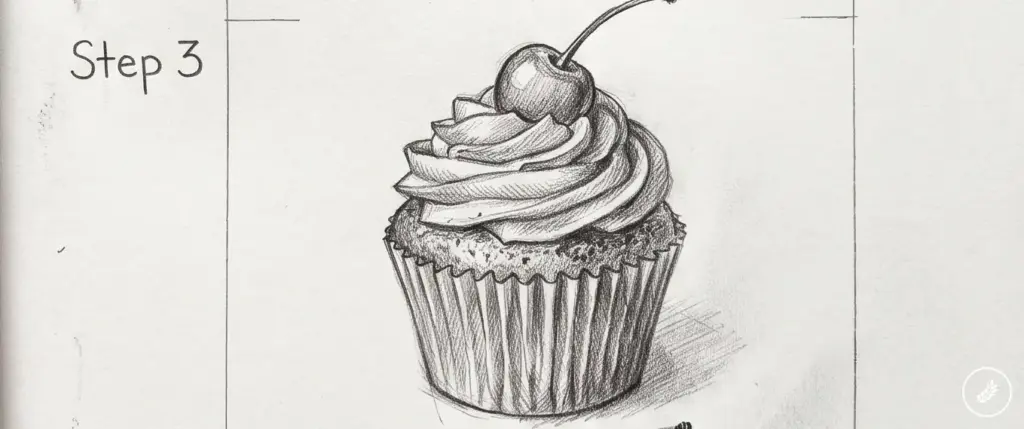
Place a small circle at the highest point of the frosting. Add a short curved stem, then leave a tiny white spot on one side of the cherry for the highlight. That little uncolored spot does more for shine than a heavy outline does.
If the cherry looks flat, shade the side opposite your light source and keep the highlight clean. For a marker version, color around the highlight instead of trying to draw it back in with white pen later.
Detail the cupcake wrapper
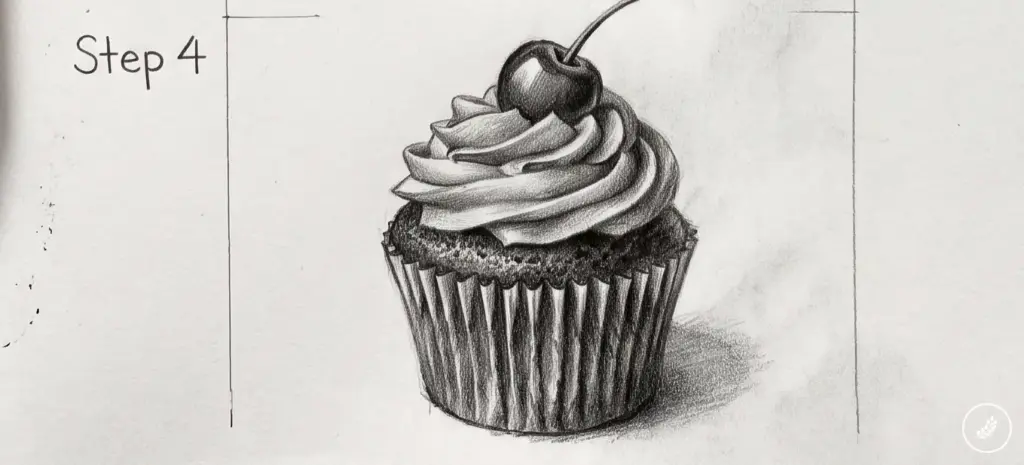
Inside the trapezoid, draw vertical lines for the wrapper folds. Let the lines curve slightly with the shape of the cup. Straight ruler-like lines can make the wrapper look stiff, so keep the pressure relaxed.
Darken the narrow spaces between a few folds and add a horizontal line near the bottom edge. Small dots, dashes, or a scalloped edge can add texture, but stop before the wrapper competes with the frosting.
When the wrapper, frosting, and cherry all read clearly from a distance, the drawing is ready for clean line work or color.
Techniques that make the cupcake drawing look finished
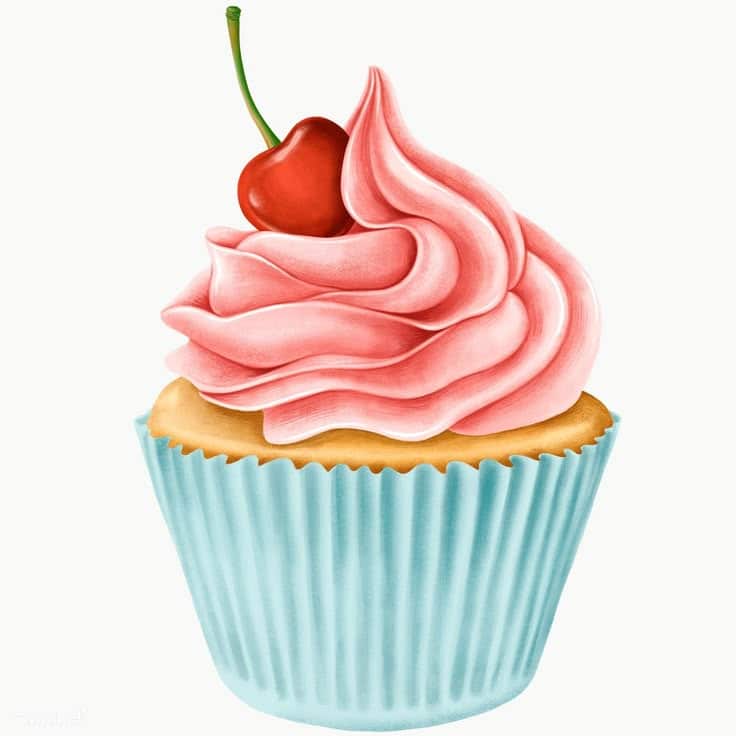
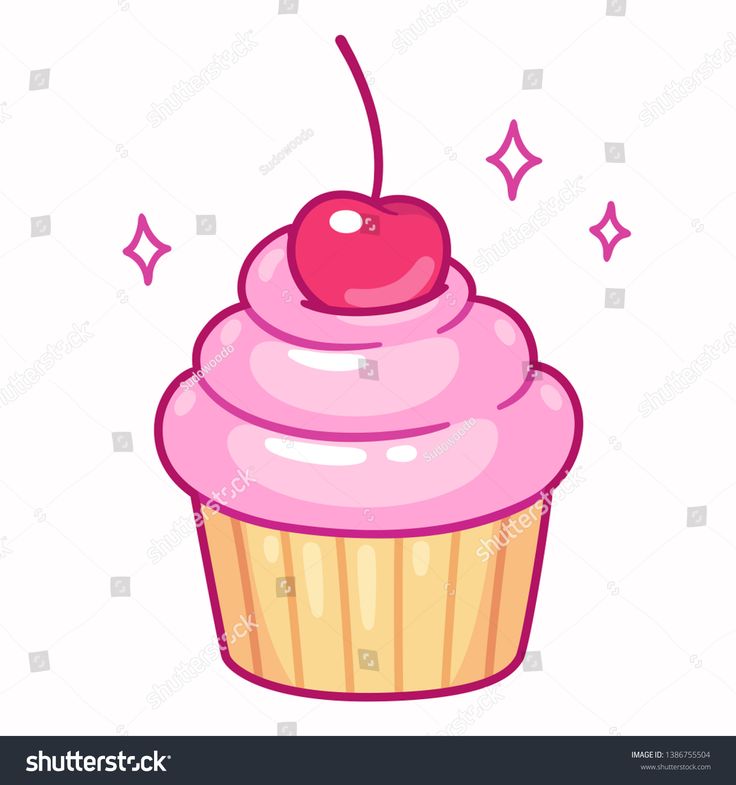
The basic cupcake is cute on its own, but a few drawing choices make it feel more finished. Focus on light direction, edge softness, and small decorations that support the shape instead of covering it.
Shading for depth and realism
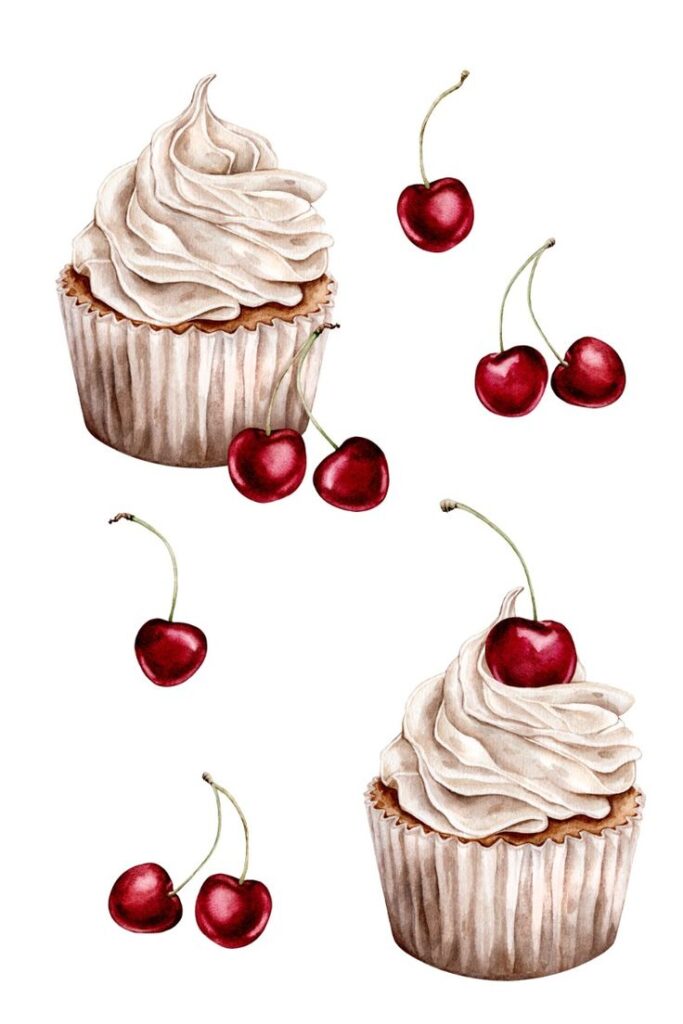
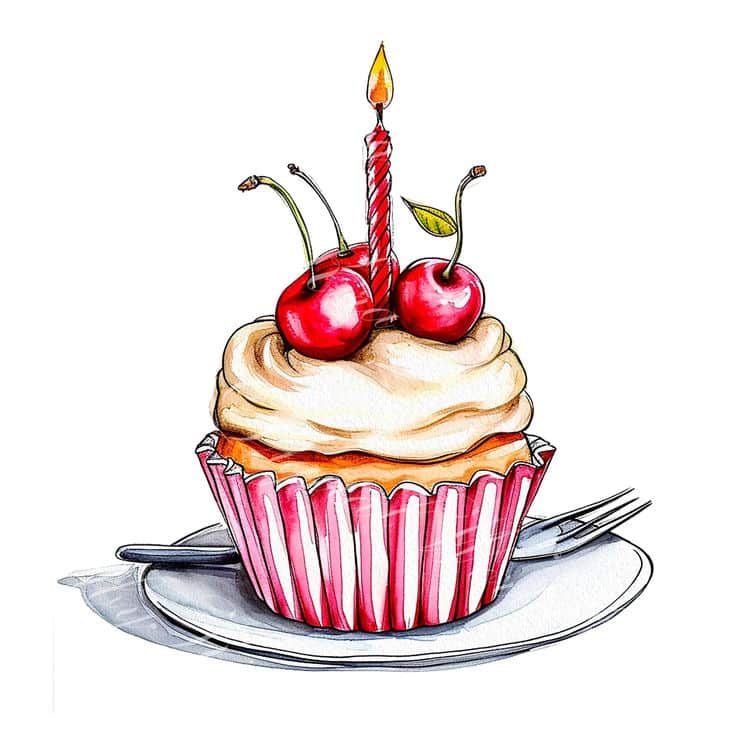
Pick one light direction before shading. If the light comes from the upper left, the left side of the frosting and cherry should stay lighter, while the lower right side of the wrapper can carry deeper shadows.
Use soft pencil strokes for the frosting and darker vertical shadows between wrapper folds. For more practice with value control, the soft pencil shading guide is a useful next step once this cupcake sketch is done.
Blend gently only where the surface should look soft. I would keep the cherry edge a little crisper than the frosting, because a clean edge plus a small highlight makes the fruit look glossy.
Add patterns and decorations
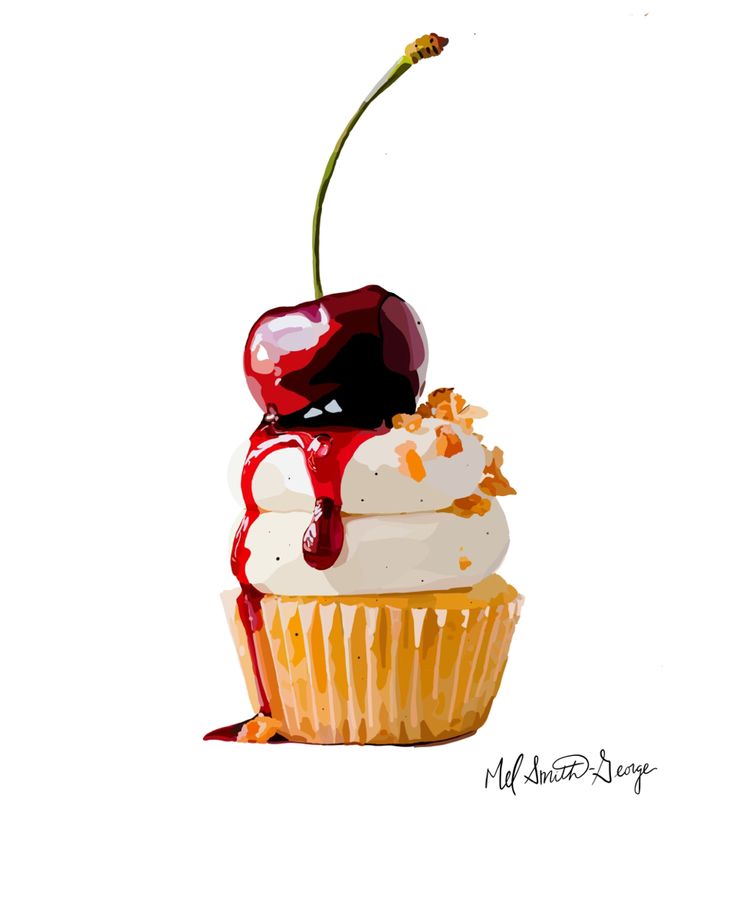
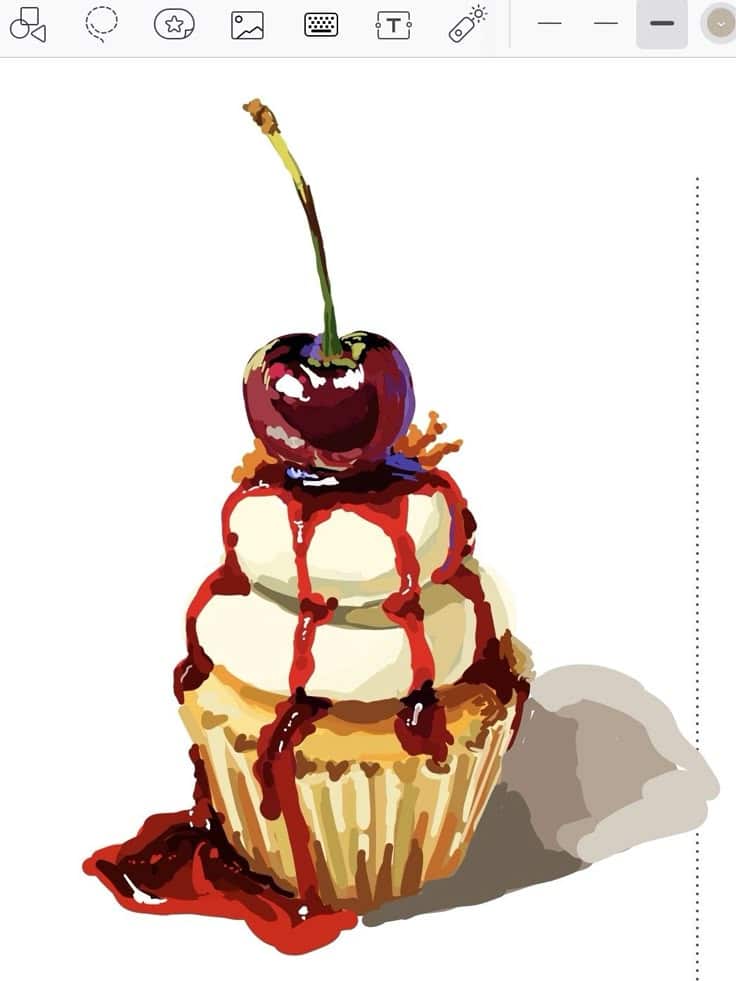
Sprinkles, dots, stars, and drizzle lines can make the cupcake feel playful. Place the largest decorations first, then fill the gaps with smaller marks. This keeps the frosting from turning into visual noise.
For the wrapper, try stripes, tiny dots, or a simple lattice pattern. If you add a busy wrapper, keep the frosting cleaner. If the frosting has lots of sprinkles, let the wrapper stay simple.
A good rule is to decorate after the main cupcake shape already works. Texture should support the drawing, not hide weak proportions.
Creative ideas for cupcake art
Once you understand the basic cupcake structure, it is easy to change the mood. Frosting shape, color temperature, and toppings can make the same drawing feel cute, fancy, spooky, or birthday-themed.
Try different frosting styles

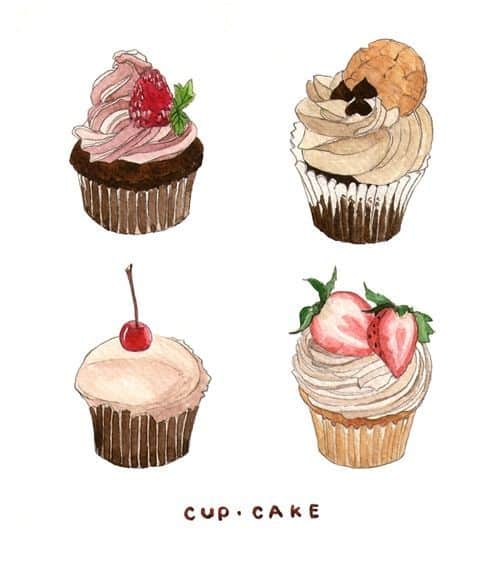
Soft swirled frosting gives the cupcake a classic bakery look. A smooth dome feels cleaner and more graphic. Pointed peaks can look like whipped cream, but they need careful shading so they do not read as sharp spikes.
Pastel colors create a gentle look, while saturated reds, blues, and yellows feel more like a sticker or party illustration. If you want better color control, practice with simple shading techniques before layering heavy pencil color.
You can also change the frosting edge: wavy, scalloped, dripping, or stacked. Try thumbnailing two or three versions before choosing one. The strongest version is usually the one with the clearest silhouette.
Personalize the toppings
A cherry is the classic choice, but you can add sprinkles, candy pieces, fruit slices, chocolate chips, or a tiny candle. Keep each topping simple enough that it still reads at small size.
Themes work well too. Stars and moons can turn the cupcake into a night-sky dessert, leaves can make it feel botanical, and striped candles make it more birthday-like.
Texture is the finishing touch. Use tiny dots for sugar, short curved lines for glossy drizzle, and one clean highlight on the cherry. Small details are stronger when they are placed with intention.
Related drawing practice
If you want to keep building the same skills, try a few nearby exercises after this cupcake drawing.
- Easy step-by-step drawings for more beginner-friendly projects.
- Pencil drawing ideas if you want more sketchbook subjects.
- Basic drawing materials for choosing pencils, erasers, and paper.
- Simple drawing ideas for kids if you want easier shapes to practice.
- Cute things to draw when you need another small, cheerful subject.
- Drawing techniques that make art stand out for line, texture, and composition ideas.
- Color choosing tips if you want a stronger palette for the frosting and wrapper.
Cupcake drawing FAQ
What is the easiest way to draw a cupcake with a cherry?
The easiest way is to build it from simple shapes: a wide oval, a tapered wrapper, stacked frosting curves, and a small cherry circle on top. Keep the first sketch light so you can adjust the wrapper angle and frosting height before adding dark outlines.
What pencil should I use for a cupcake drawing?
Use an HB or 2H pencil for the first sketch because the lines erase cleanly. Switch to a 2B pencil for the final outline, wrapper shadows, and soft shading under the frosting. A kneaded eraser is helpful for lifting highlights.
How do you make the cherry look shiny?
Leave a small white highlight on the cherry before you color it. Shade the opposite side slightly darker, then keep the outline clean. That contrast between the highlight and the darker edge makes the cherry look round and glossy.
How do you draw cupcake frosting without it looking stiff?
Use rounded, uneven curves instead of identical bumps. Make the frosting wider near the wrapper and smaller near the top. Vary the curve size a little, then soften the interior lines so the frosting feels creamy rather than mechanical.
Can kids draw this cupcake with a cherry?
Yes. Kids can simplify the drawing by using one oval, one trapezoid, three frosting bumps, and one cherry circle. Skip heavy shading at first and focus on clean shapes, bright colors, and a few sprinkles.
How should I color a cupcake drawing?
Start with light layers. Use pale pink, cream, or brown for the frosting, red for the cherry, and a contrasting color for the wrapper. Add darker color between wrapper folds and under frosting curves to keep the cupcake from looking flat.
Final tip
Before you call the drawing finished, step back and check the silhouette. If the wrapper, frosting, and cherry are recognizable without color, the structure is working. Color and decoration should make that clear shape sweeter, not busier.
- 599shares
- Facebook0
- Pinterest599
- Twitter0
- Reddit0