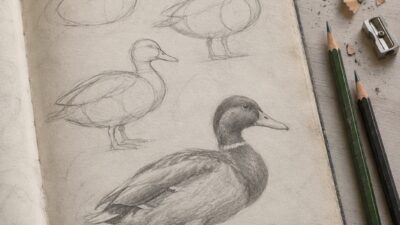
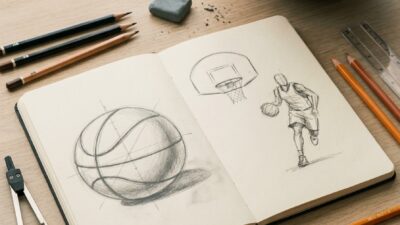
Seven drawing techniques give beginners the biggest return: contour line, controlled shading, proportion checks, perspective, gesture, negative space, and textured marks. Practise them in that order so each skill supports the next. A clean contour defines the subject, value describes its form, and proportion and perspective keep it believable before expressive marks are added.
Quick answer: start each study with light construction lines, choose one light source, check the largest size relationships, and save the darkest marks for the focal area. Work for 10–20 minutes on one skill at a time instead of trying to finish a polished drawing in every session.


Drawing Techniques at a Glance
| Technique | What it trains | 10-minute drill |
|---|---|---|
| Contour line | Edge control and observation | Draw one object without shading; vary pressure only where a plane turns. |
| Shading | Light, volume, and value | Make a five-value scale, then shade a sphere from the same light direction. |
| Proportion | Accurate size relationships | Mark height-to-width ratios and three landmarks before drawing details. |
| Perspective | Depth and spatial consistency | Draw five boxes above and below one horizon line. |
| Gesture | Movement and weight | Make ten 60-second poses using one line of action and two body masses. |
| Negative space | Composition and shape accuracy | Draw only the gaps around a chair, plant, or figure. |
| Texture marks | Surface and directional form | Build three value swatches with hatching, cross-hatching, and stippling. |
Core Drawing Techniques for Structure and Depth
Mastering various drawing techniques can significantly enhance your art. Key aspects include understanding line drawing, shade, tone layering, and the principles of proportion and perspective. Focusing on these fundamentals will elevate the quality of your work.
1. Contour Lines and Line Weight
Line weight is easier to test on cute mini drawings because every mark is visible. Try one thin inside line and one darker outside contour.
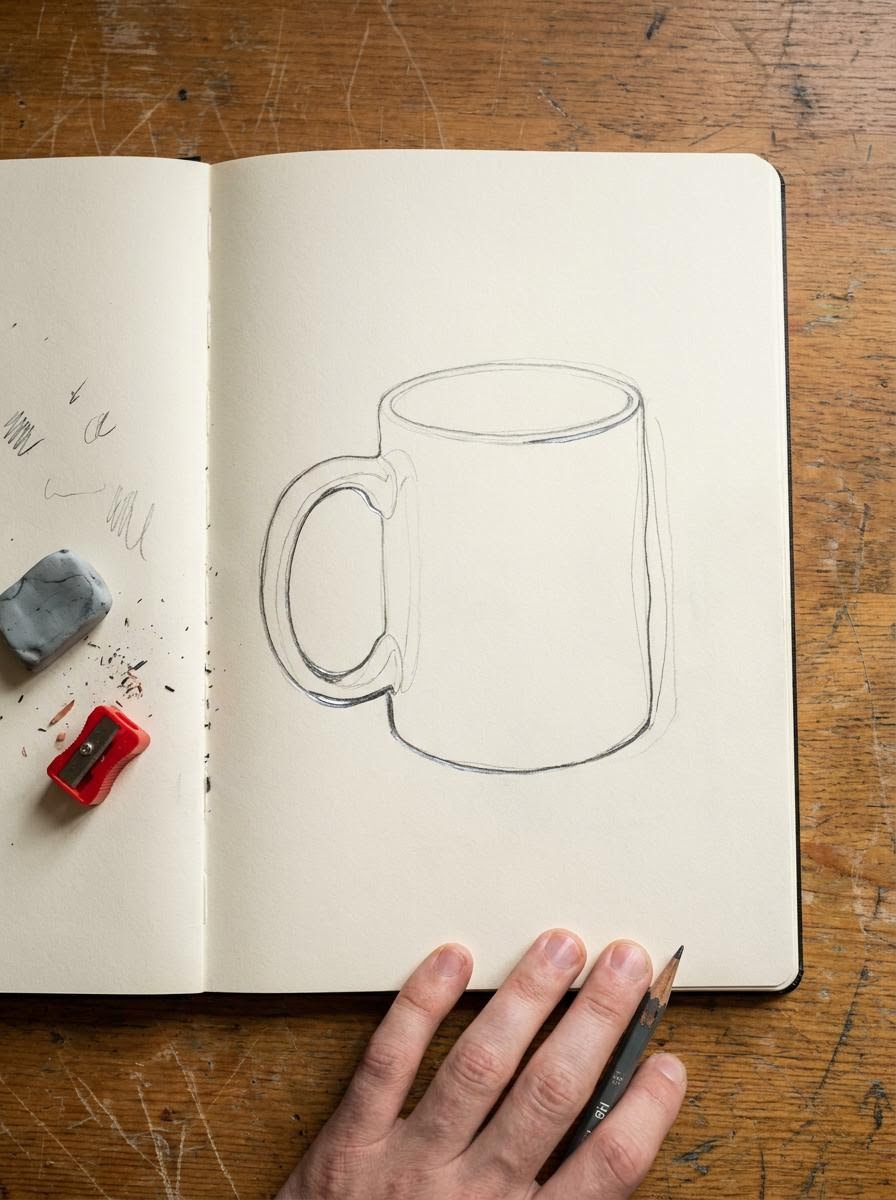
Line drawing is the quickest way to test whether a shape reads. Use your shoulder for long arcs, your wrist for short corrections, and keep construction lines lighter than the final contour. A darker edge should describe overlap or a plane turning away from the light—not outline every part equally.
- Contour lines emphasize the outlines of subjects.
- They capture essential details while maintaining clarity.
Vary line weight deliberately: use a firmer mark at overlaps, under forms, and near the focal point; use thinner or broken edges on the lit side. If every contour is equally dark, the subject will look cut out rather than solid.
2. Shading and Value Control
Shading works only when the light plan stays consistent. Mark the light direction first, separate the subject into light, middle, and dark groups, then use hatching or cross-hatching to refine the transitions. Let the marks curve around the form instead of filling every area with the same pattern.
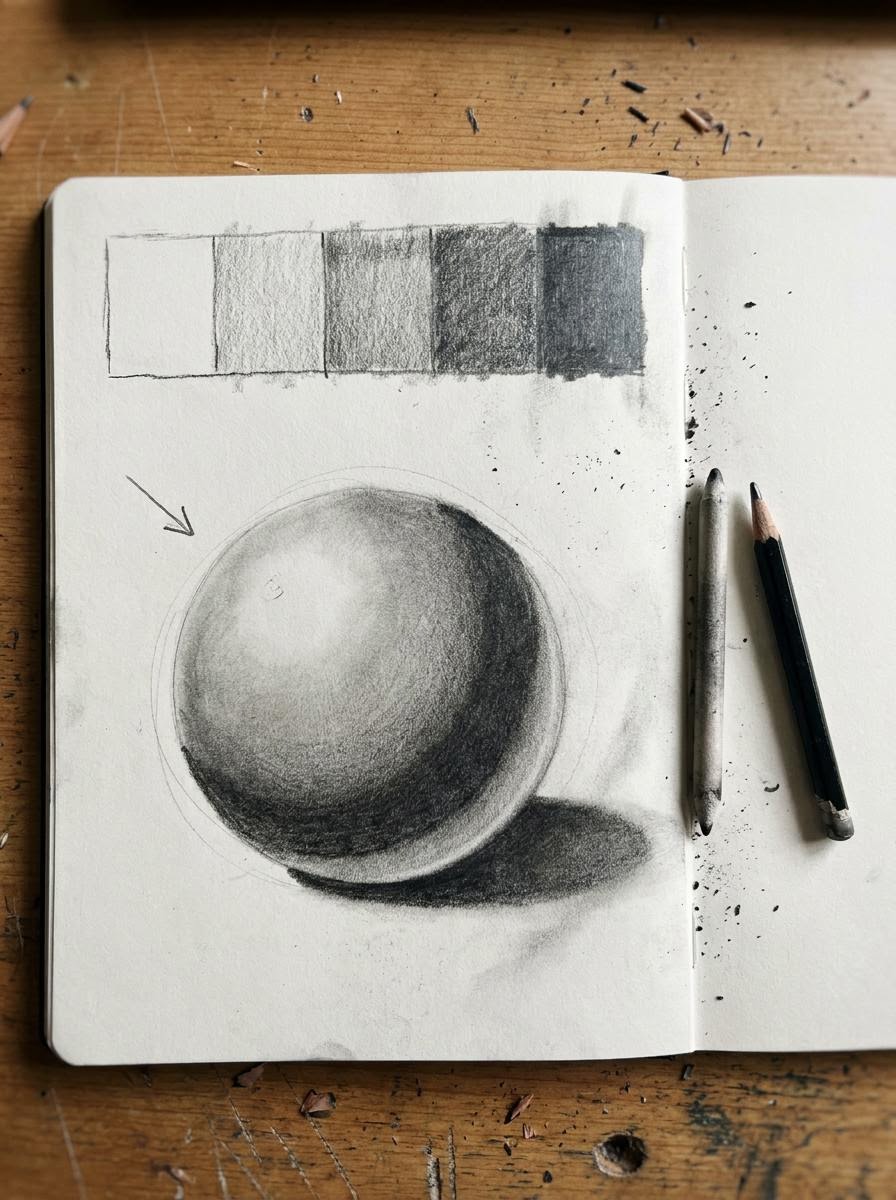
- Tones establish contrasts and define light sources.
- Layering involves applying multiple shades to create depth and texture.
Start with an HB or 2H pencil for the first layer, then use 2B or 4B only where the darkest accents are needed. Build value in several light passes. Over-blending removes useful edge changes, so soften only the transitions that are soft in the reference.
3. Proportion Checks
Proportion is the relationship between sizes, not a collection of isolated measurements. Compare the subject’s total height with its width, place three major landmarks, and check the negative shapes between parts before refining an outline.
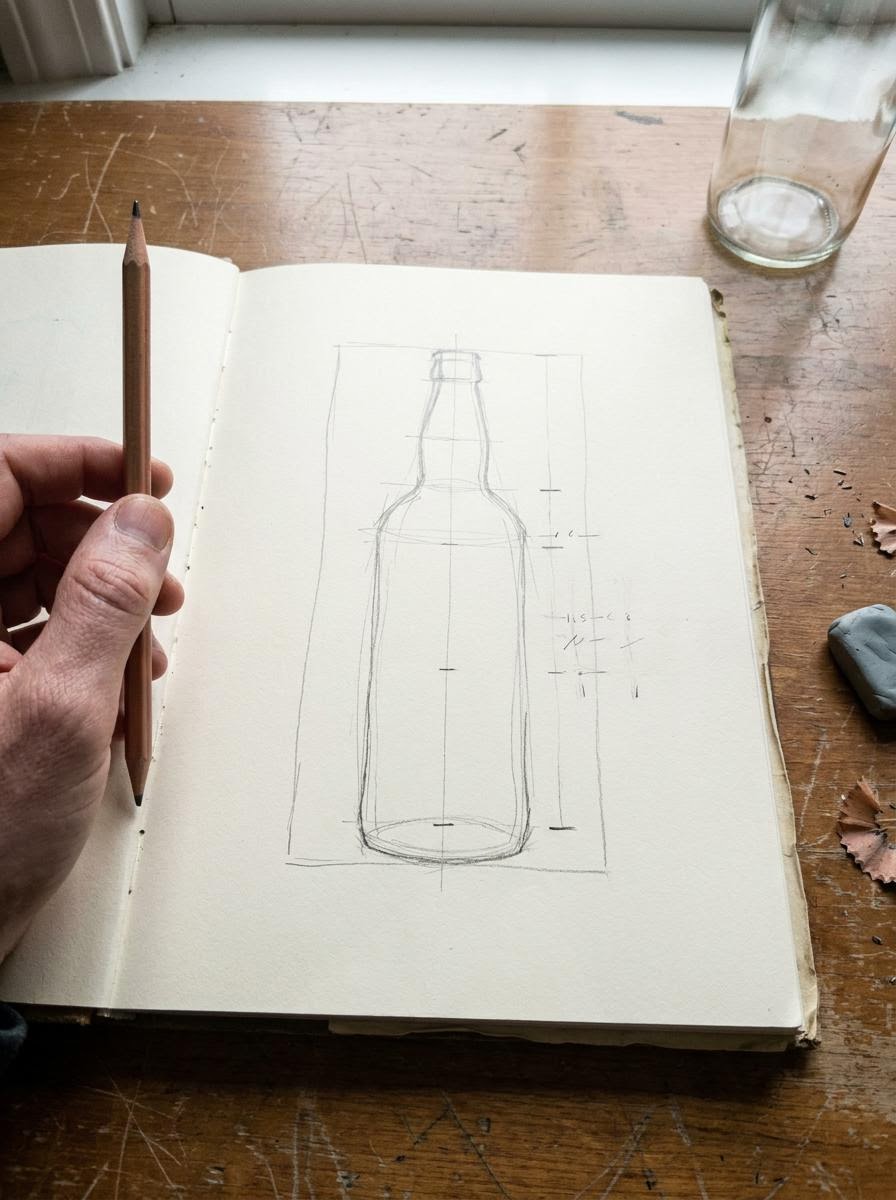
- Use grids or measuring techniques to maintain accuracy.
- Always keep the human figure and objects in proportion to their surroundings.
4. Perspective and Depth
Perspective makes those proportions sit in the same space. Establish the horizon before drawing boxes or buildings, then send parallel edges toward a shared vanishing point. In one-point perspective, one set of edges converges; in two-point perspective, two horizontal sets converge in different directions. Check the large forms before adding windows, furniture, or surface detail.
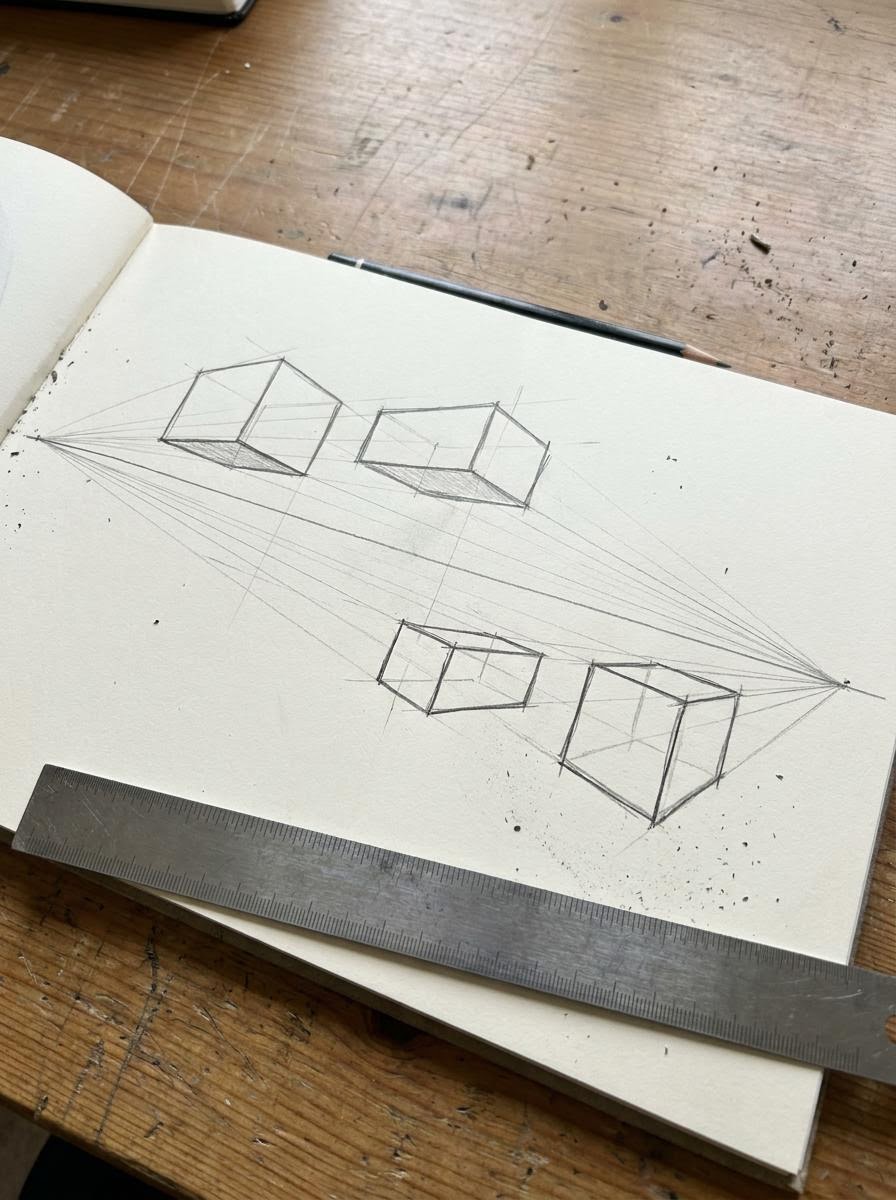
Utilizing these fundamentals will help you create compelling, eye-catching art that stands out.


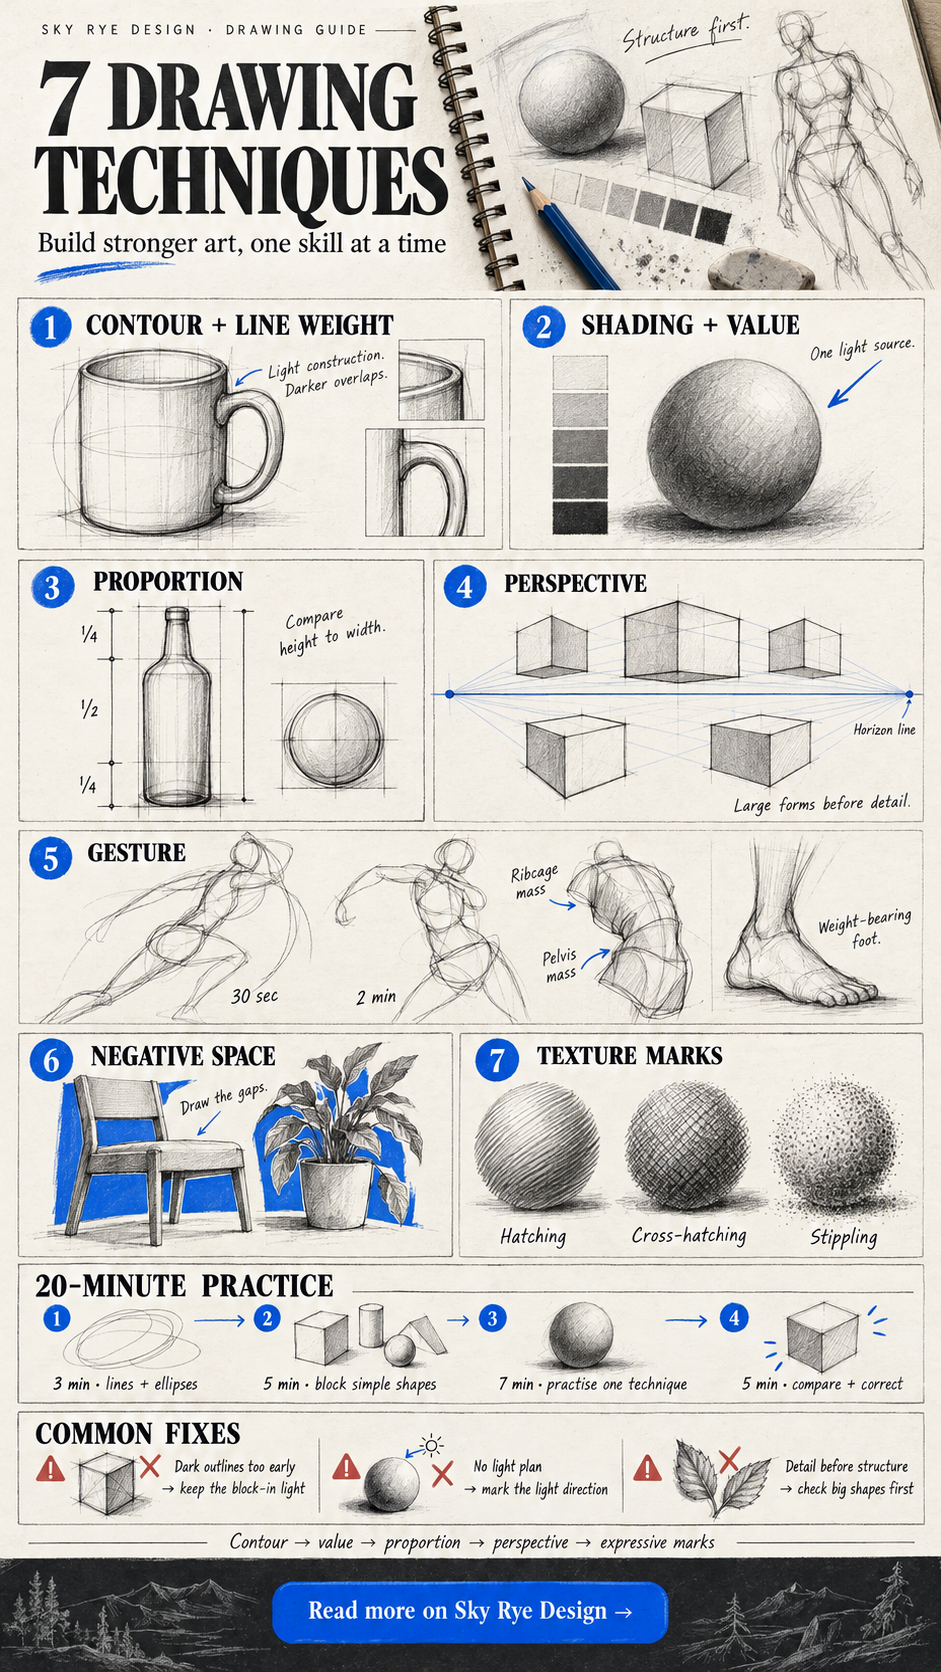
Expressive and Textural Drawing Techniques
Exploring advanced drawing strategies can significantly enhance the quality and expressiveness of your artwork. Techniques like gesture drawing, negative space, and textural mark making can elevate your skills to new levels.
5. Gesture Drawing and the Line of Action
Gesture drawing captures weight and movement before anatomy. Begin with one line of action, add a ribcage and pelvis as two simple masses, then place the weight-bearing foot. Use 30-second poses for direction and two-minute poses for balance; details can wait.
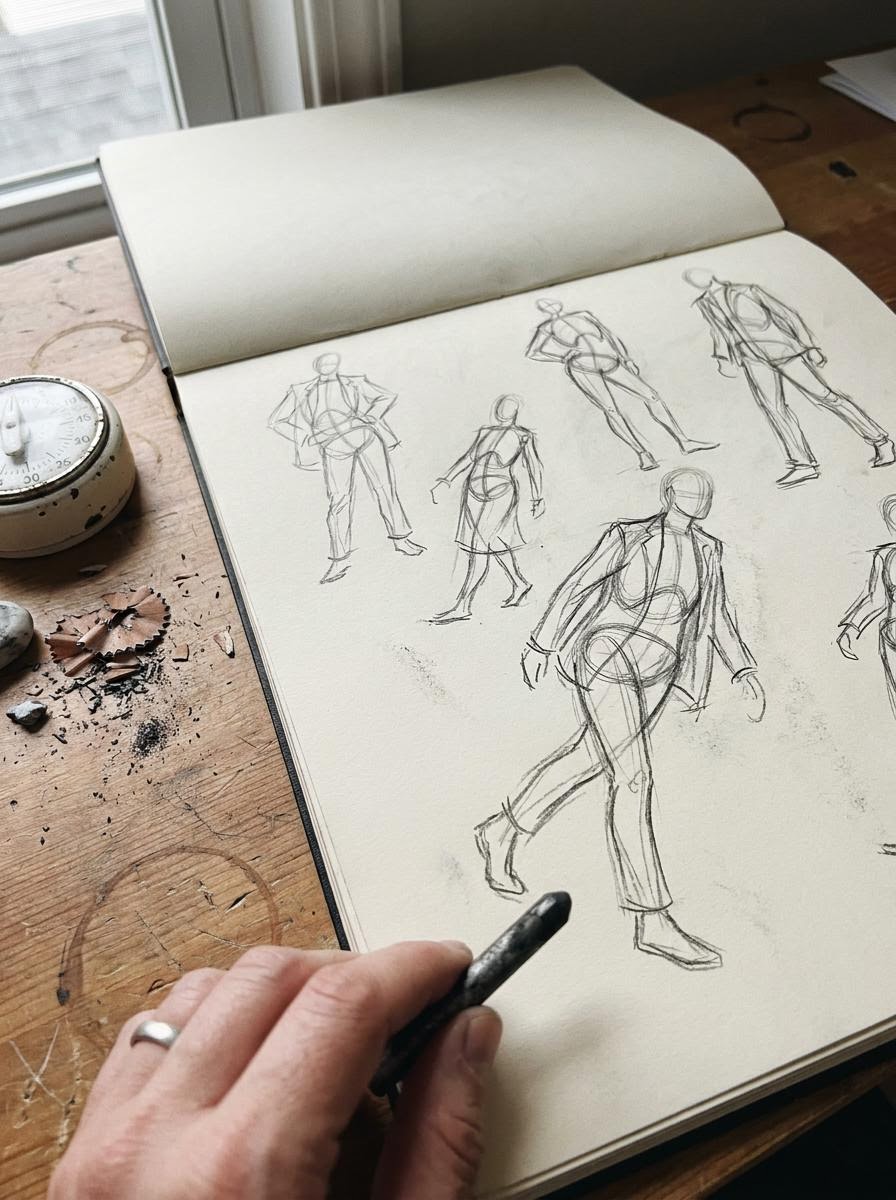
Start with short time limits, such as 30 seconds to two minutes, to encourage fluidity. Use dynamic lines to depict motion and posture, focusing on the overall form and movement.
Focus on the lines of action, which are imaginary lines that encapsulate the main action of your subject. This approach strengthens your understanding of proportion and helps create more lifelike representations.
6. Negative Space for Better Composition
Negative space drawing checks the shapes around the subject. Look at the triangle between an arm and torso, the gap between chair legs, or the margin between a head and the page edge. If those gaps match the reference, the positive shape is usually much closer to correct.
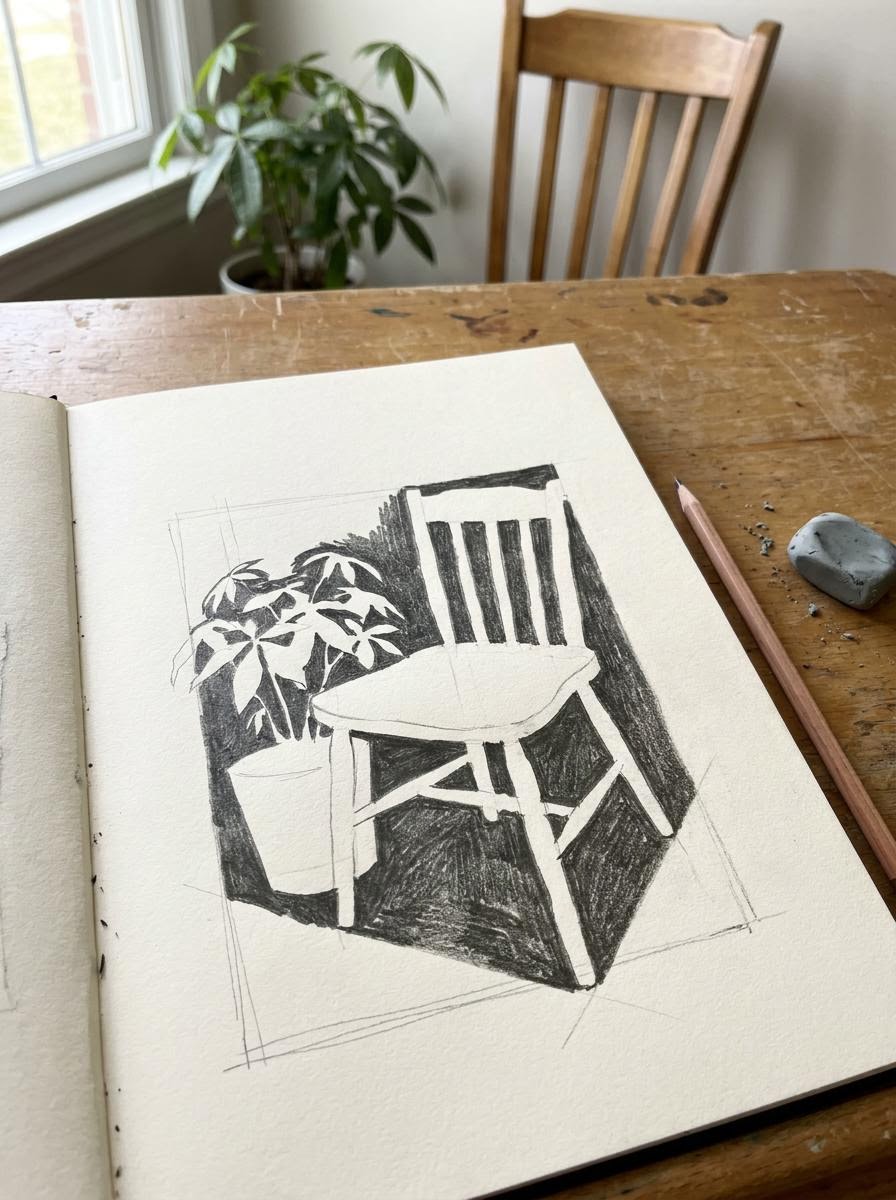
Start by outlining the shapes formed by the spaces around your subject. This technique enhances spatial awareness and can highlight important details that may otherwise go unnoticed.
It also encourages a more abstract interpretation, allowing for innovative representations. Use this strategy to break free from preconceived notions and challenge the way you see forms.
7. Stippling, Hatching, and Texture
Stippling and hatching are mark-making techniques that add depth to your work. Stippling involves creating images using small dots to build texture and shading slowly.
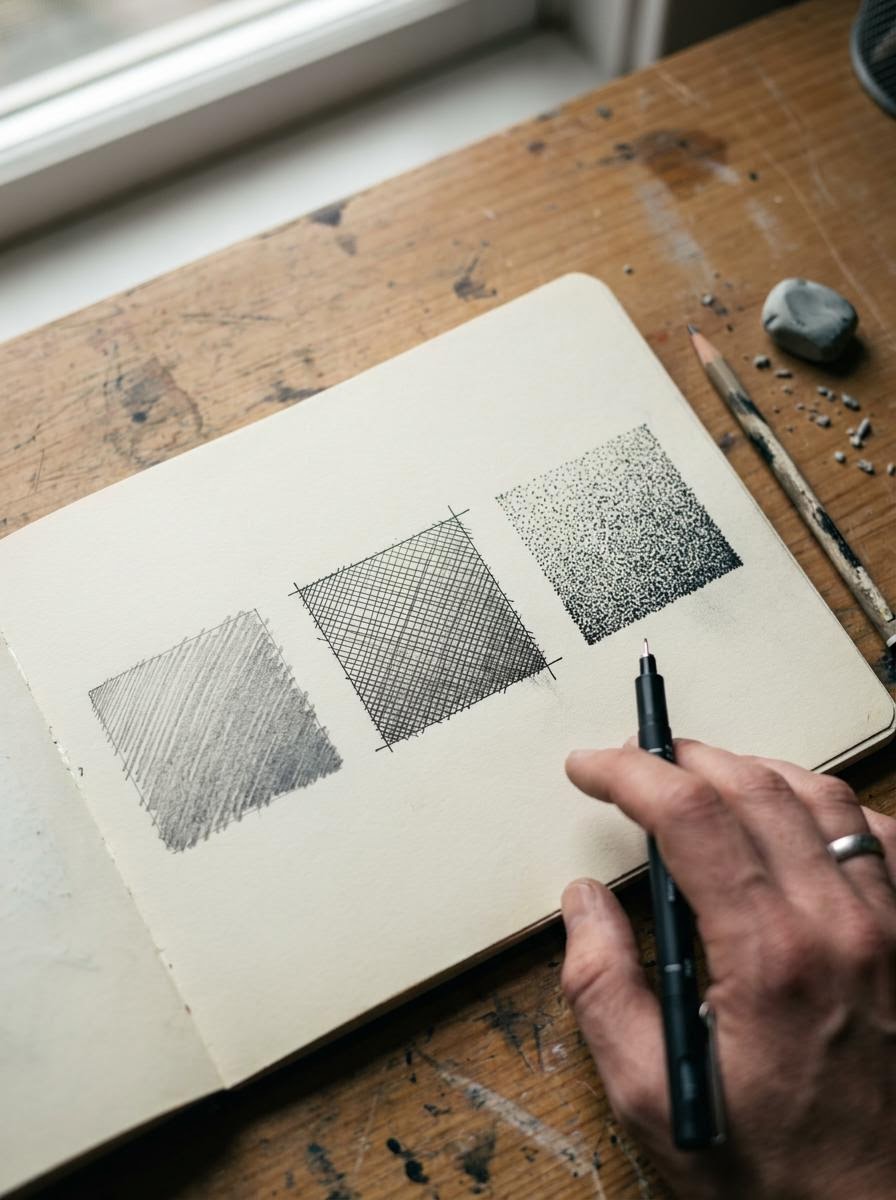
In contrast, hatching uses closely spaced parallel lines. Vary the density and direction of lines to suggest light and shadow effectively.
Combine the techniques by assigning each one a job: use hatching to show the direction of a plane, cross-hatching for deeper values, and stippling for slow tonal shifts or granular surfaces. For pen-specific examples, compare the marks in this ink drawing techniques guide. Keep the mark direction consistent with the form rather than adding texture as decoration.


How to Practise Drawing Techniques and Build Your Style
Technique becomes style through repeated choices. Keep the same subject for several studies, change one variable at a time, and note which edges, values, and marks feel natural. This practical guide to developing an artistic voice can help when you are ready to turn those choices into a consistent body of work.
A 20-Minute Practice Routine
- 3 minutes: draw straight lines, ellipses, and light-to-dark pressure scales.
- 5 minutes: block one subject with simple shapes and check height-to-width ratios.
- 7 minutes: practise one technique from the table, using a reference and a single light source.
- 5 minutes: compare the result with the reference and mark one proportion, edge, and value to correct next time.
Common Mistakes and Fixes
- Dark outlines too early: keep the block-in light until the proportions hold together.
- Shading without a light source: draw a small arrow showing the light direction before adding value.
- Detail before structure: delay eyes, hair, texture, and pattern until the big shapes and perspective are correct.
- Texture that ignores form: curve hatching around cylinders and vary mark density instead of scribbling evenly.
- Practising only finished pieces: keep short drills alongside longer drawings so mistakes are easier to isolate.
Another useful practice path is this impressionism drawing guide, which focuses on broken marks, light masses, and atmosphere rather than tight rendering.
Save the first and last page from each month. Compare line confidence, proportion, value grouping, and edge control—not just polish. That record will show which drawing techniques are improving and which one should lead the next practice session.
If a technique still leaves the sketch looking wrong, use this drawing mistakes checklist to check proportions, line quality, values and composition before restarting.
- 194shares
- Facebook0
- Pinterest194
- Twitter0
- Reddit0