Embarking on the journey of mountain drawing can be a rewarding experience for both beginners and seasoned artists. You are invited to explore the immense beauty and tranquility of mountain landscapes, capturing their essence through your unique artistic style. Whether you prefer utilizing traditional pencils or exploring digital art tools, mastering the art of mountain drawing enhances your skill set and broadens your artistic horizons.
As an artist, you have the opportunity to incorporate panoramic elements in your mountain scenes, enriching the depth and dimension of your artwork. By applying effective drawing techniques, you can create stunning and realistic depictions that evoke a sense of awe. Mountains are a popular subject in art due to their cultural significance and striking natural beauty, offering endless sources of inspiration for your creations.
Key Takeaways
- Enhance your skills with diverse drawing techniques.
- Discover inspiration from cultural significance and natural beauty.
- Explore both traditional and digital tools for unique creations.

Understanding Mountain Drawing
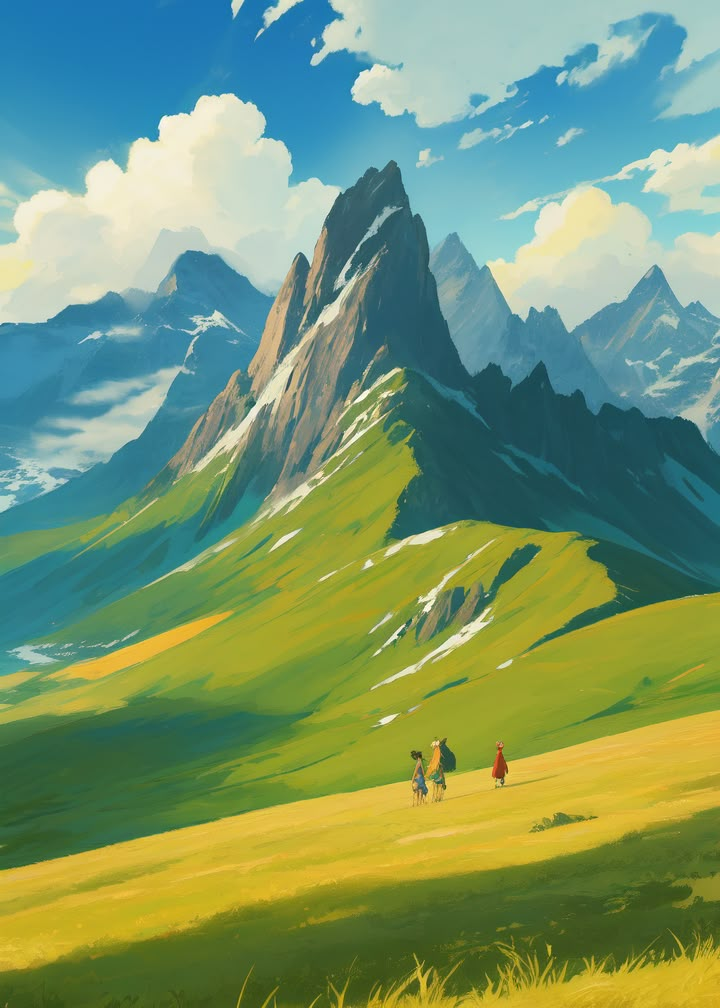
Mountain drawing combines a rich history and various techniques to capture the grandeur of nature. By exploring its historical development and different drawing types, you will gain a deeper appreciation for this art form.
Historical Context
Mountain landscapes have been a popular subject in art for centuries. In ancient Chinese ink paintings, artists conveyed spiritual and philosophical ideas through these natural forms. The Western tradition also holds mountain drawing in high regard, seen in the Romantic era where artists like Caspar David Friedrich created dramatic mountain scenes expressing emotion and awe.
Throughout history, mountains in art have symbolized both physical challenges and personal triumphs. Understanding this historical backdrop adds depth to the practice of drawing them today, reflecting their enduring appeal and symbolic meanings.
Types of Mountain Drawings
Mountain drawings can range from simple line sketches to detailed, realistic depictions. Ink and pen techniques offer a classic style, emphasizing contrast and texture. Pencil sketches focus more on shading and gradation to achieve a sense of depth. Some artists prefer digital tools to incorporate colors and layers for a more modern approach.
Regardless of the medium, different techniques serve different artistic goals. Line work, shading, and color contribute to diverse outcomes. Knowing these types and methods allows you to choose the best style for your artistic vision, whether it’s capturing the majesty of a lone peak or the intricate details of a mountain range.
Drawing Techniques
Mastering mountain drawing involves understanding crucial techniques that bring your landscape to life. Selecting appropriate materials and developing foundational outlines will establish your artwork’s core. Advanced methods like shading and adding texture create a sense of depth, while detailing further enhances realism, capturing the essence of mountainous terrain.
Choosing the Right Tools
Selecting the correct tools significantly impacts your drawing outcome. Pencils in varying hardness levels, like HB for outlines and 2B or 4B for darker areas, are essential. Quality paper can make a difference, offering a smoother texture for detailed work or a rough surface for more expressive strokes.
Erasers, including kneaded and precision ones, provide flexibility for adjustments. A blending stump or tortillon is also useful for smoothing transitions in shaded regions. If you are interested in color, colored pencils or pastels offer vivid options for different mountainous hues. Consider digital tools with vector capabilities if you prefer creating scalable and editable illustrations.
Sketching the Basic Outline
Begin by lightly sketching the mountain’s fundamental shape. Use simple geometric forms like triangles or trapezoids to establish the mountain range. Position larger peaks prominently, considering perspective for a realistic scene.
Ensure you pay attention to the way mountains overlap. This layering creates depth and a sense of distance. As you refine the outline, emphasize jagged contours or smoother slopes depending on the type of mountain. Take the time to lay a solid foundation before adding details, as the initial outline guides the entire drawing process.
Shading and Texture
Incorporating shading elevates the drawing from a flat image to one with dimension. Determine your light source and vary pressure on the pencil to achieve different shadow intensities. Cross-hatching and stippling techniques can add varied textures to simulate rocky surfaces or smoother snowcaps.
Experiment with blending techniques for gradual transitions or harsher lines for rugged textures. Pay attention to how light interacts with different surfaces, highlighting some peaks while casting others in shadow. Texture is crucial as it brings authenticity to your work.
Detailing Peaks and Ridges
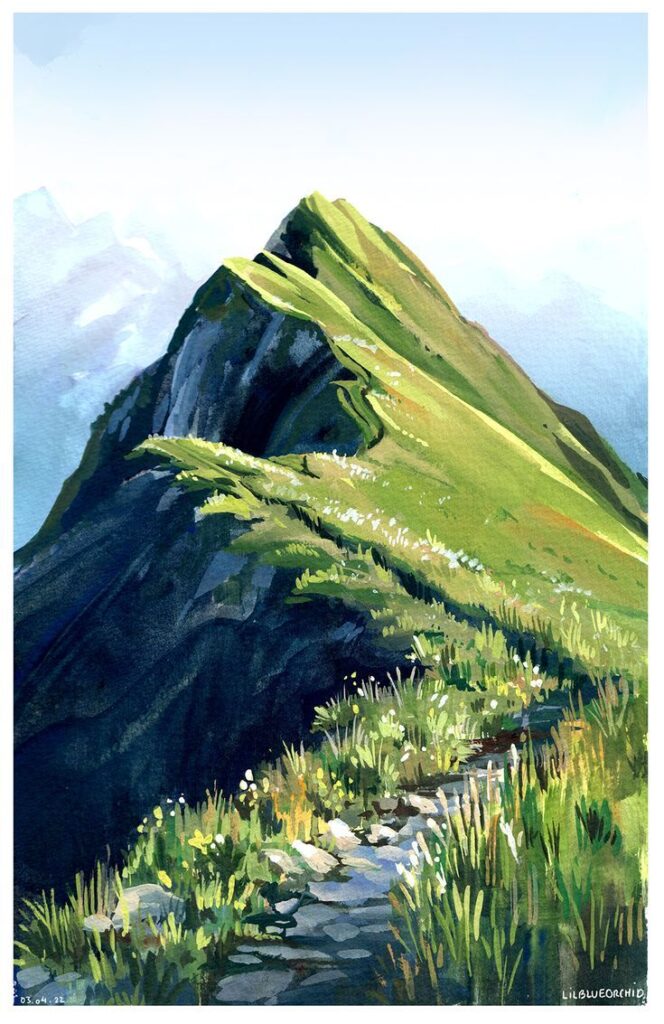
Focusing on peaks and ridges adds intricate details to your drawing. Observe real mountain landscapes or reference photos to identify distinctive features that stand out. Capture the unevenness of peaks using jagged lines and varied thickness.
Consider the geological elements present, like striations or exposed rock faces. These details enhance the natural appearance of the range. Gradually build up layers of detail with fine lines, adjusting the sharpness and boldness to maintain realism. This careful attention to detail solidifies the visual impact of your mountain drawing.


Digital Drawing
In digital drawing, you utilize various technologies to create art with precision and depth. Key components include vector art and 3D modeling, each offering unique approaches for artistic expression.
Vector Art
Vector art is essential for creating crisp, scalable images. It uses mathematical equations to define geometry, enabling infinite scalability without loss of quality. This method is ideal for graphic design projects requiring sharp lines and clear details.
Programs like Adobe Illustrator and CorelDRAW are popular tools, providing powerful features to manipulate vectors easily. You can also access an extensive range of stock photos and vectors online, which can be incorporated into your designs seamlessly.
Exploring vector art opens up opportunities for you to produce professional-quality illustrations and design elements. It is widely used in branding, advertising, and digital art.
3D Modeling
3D modeling involves crafting three-dimensional objects using specialized software. This technique is often used in animation, gaming, and digital painting to add realism and depth. Programs like Blender and Autodesk Maya offer comprehensive tools for detailed modeling and rendering.
With 3D modeling, you can create complex mountain scenes, offering dynamic perspectives and light play. It allows visualization from multiple angles, providing a more immersive experience. Many platforms also feature downloadable 3D models and videos to assist in your design process.
Integrating mountains in 3D art pieces enables you to push creative boundaries and explore new dimensions and textures in your work. It is an invaluable skill for those looking to enhance their digital drawing capabilities.
Mountain Landscapes
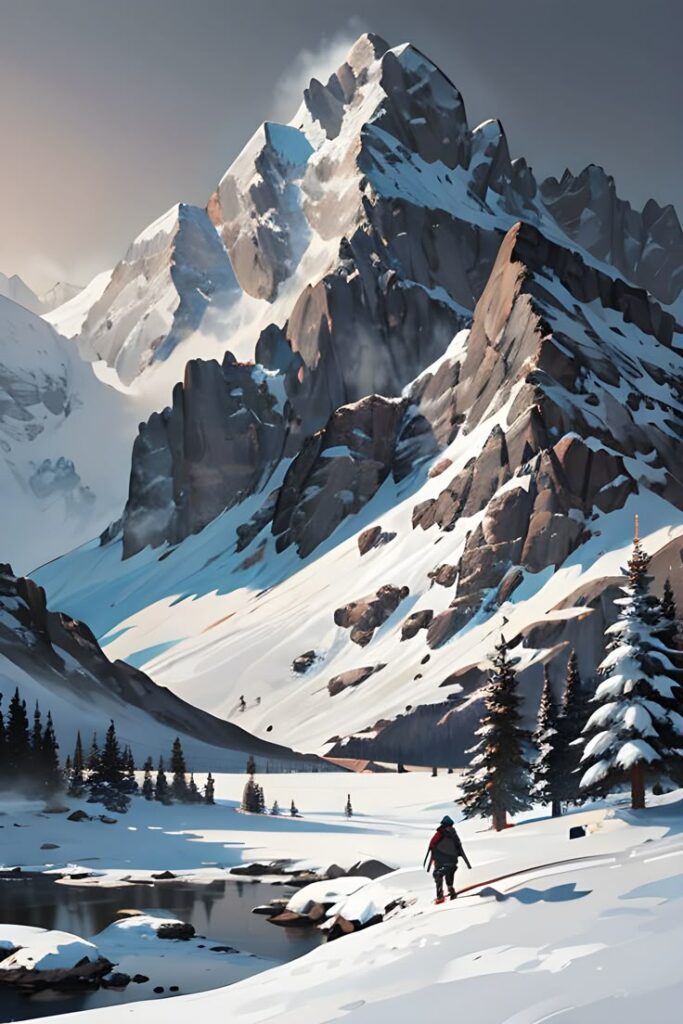
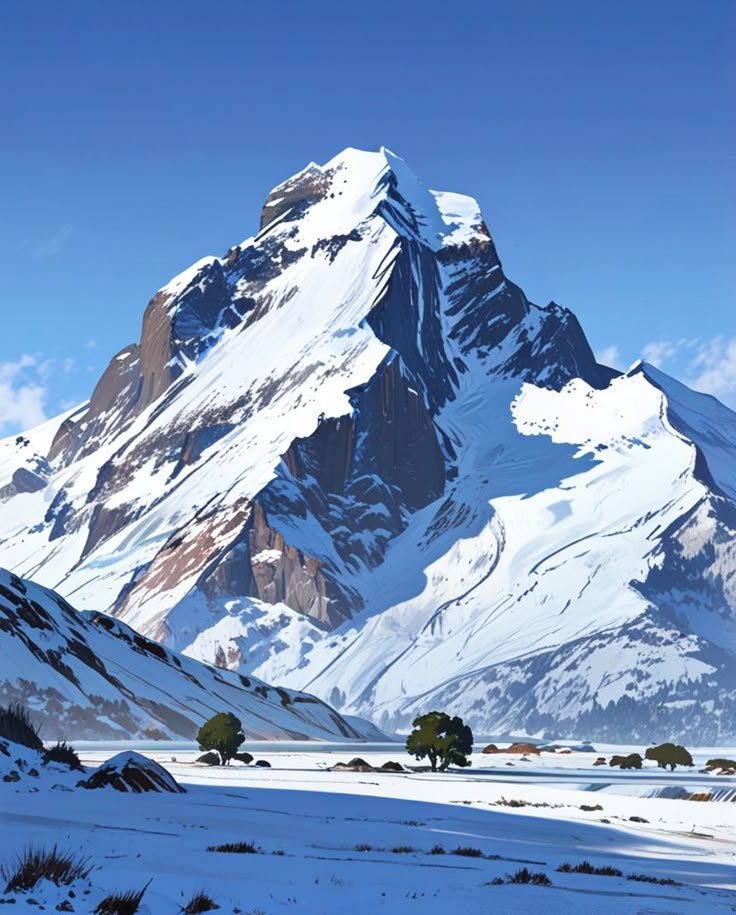
Mountain landscapes offer a rich subject for artists, providing varying forms, tonal contrasts, and unique elements that test and refine your drawing skills. From depicting the vastness of mountainous regions to infusing life with natural details, each aspect presents its opportunities and challenges.
Capturing Scale and Depth
When creating a mountain landscape, it’s essential to convey the vastness and majesty inherent in these scenes. Perspective techniques help illustrate the scale, with distant peaks appearing smaller and less detailed than those in the foreground.
Layering is another vital method to create depth. By overlapping shapes and utilizing gradient shading, you can evoke a sense of distance. Drawing panoramic images allows for a broader viewpoint, effectively capturing the expansive nature of mountain ranges.
Incorporating Flora and Fauna
Including elements of nature such as trees, bushes, and wildlife enriches your drawing, grounding the landscape in reality. Pay attention to how different species adapt to high altitudes—their shapes and colors may differ from those found in lowland areas.
Create diversity in your landscape by varying the size and placement of flora and fauna. Texture is important here: using different stroke techniques can distinguish between various types of foliage. The presence of animals adds life, making the scene dynamic and engaging.
Weather and Atmosphere
The weather can transform a mountain landscape dramatically, adding layers of complexity and emotion. Clouds, fog, and mist should be used to impact the scene visually and offer challenges in shading.
Consider how atmospheric conditions affect light and shadow. Bright sunlight might cast sharp shadows, whereas a misty day results in softer, diffused light. Weather elements like snow or rain introduce textures and reflective qualities, requiring you to adjust your approach to drawing surfaces and highlights.


Incorporating Panoramic Elements
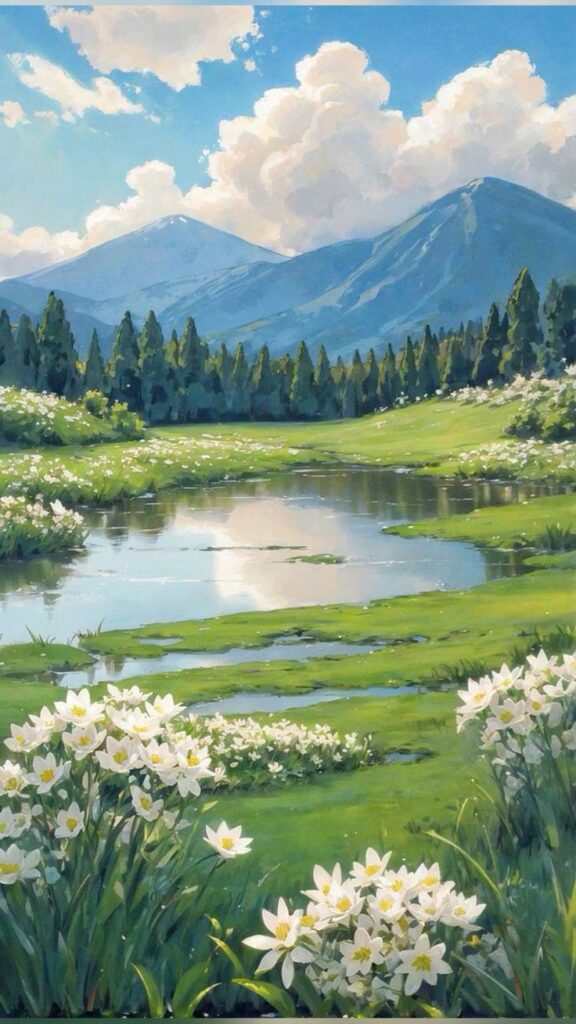
Incorporating panoramic elements in your mountain drawings can add depth, widen perspectives, and bring the majestic landscapes to life. Focusing on techniques to create wide-angle views and 360° panoramas can enhance the realism and beauty of your artwork.
Creating a Panoramic View
Creating a panoramic view involves capturing a wide-angle perspective of the mountain scene. Begin by selecting a horizon line that highlights the vast expanse of the landscape. Use a series of overlapping sketches to portray different sections of the mountains, merging them seamlessly.
Incorporate elements like sky gradients and varying mountain shades to provide a sense of depth. Foreground details such as trees or rocks can serve as anchors, guiding the viewer through the scene. Pay attention to light sources and shadow play to create dynamic and realistic visuals. The use of digital tools like vector illustrations from stock image sites can also be beneficial in refining details without restricting creativity.
360° Panoramic Techniques
To master 360° panoramic techniques, imagine forming a continuous circle around a central point. This approach offers complete immersion. Start by drafting individual sections, ensuring they connect smoothly. Key elements like distant peaks, valleys, and atmospheric conditions should be included to mimic the real-life environment.
Consider digital aids such as 360° panoramic images for reference. These resources illustrate how elements seamlessly connect. Digital drawings can feature layer adjustments to mimic real-world lighting and angles. Maintain coherent transitions between segments. This technique enhances the viewers’ experience, granting them a feeling of standing amidst the mountainous grandeur. Keep practical tools in your repertoire, such as reference images or software, to enhance precision and time efficiency.
Cultural Influence
Mountain drawing has played a significant role in artistic traditions across the world. One notable example is the cultural and historical influence of Japan’s artistic practices.
Mountain Drawing in Japanese Art
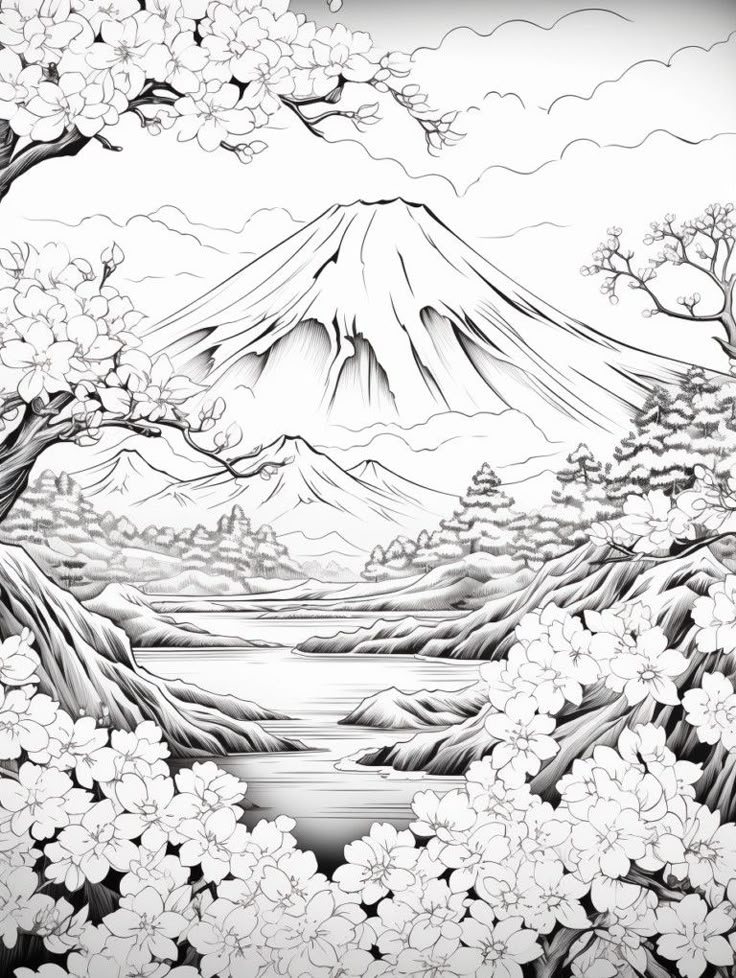
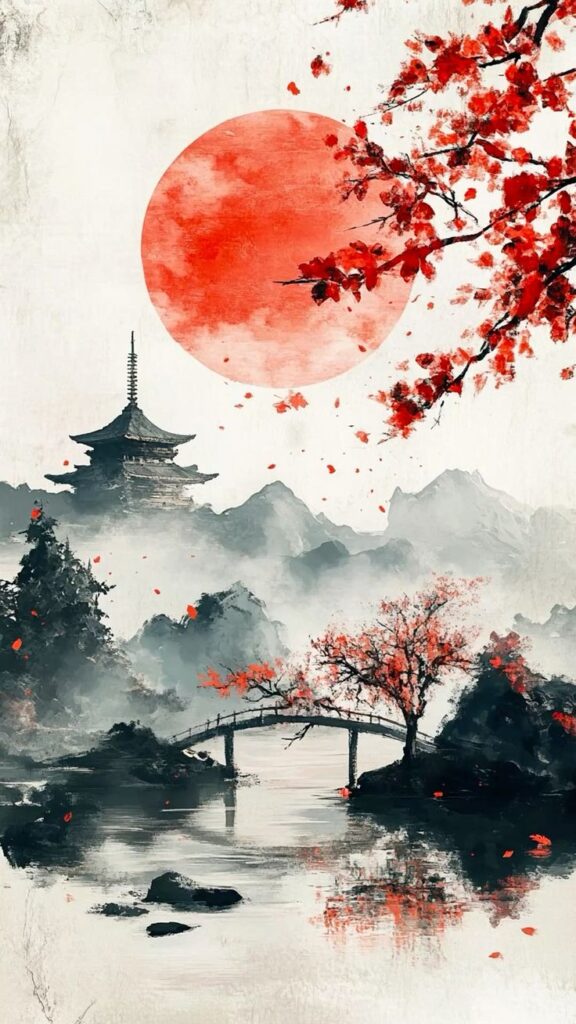
In Japanese art, mountains are more than a visual subject; they hold spiritual significance. Artists often depict mountains in ink wash paintings known as sumi-e, where simplicity and minimalism are prized. Such artworks capture the essence rather than the detailed appearance of mountains.
The representation of mountains reflects underlying concepts from Japanese culture, like tranquility and harmony with nature. Famous works often feature Mount Fuji, which symbolizes endurance and stability. Techniques used in Japanese mountain art focus on delicate brushwork and gradation, creating a peaceful and balanced visual effect that encourages deeper contemplation.
Sources of Inspiration
When drawing mountains, consider looking at real landscapes and existing artwork to spark your creativity. These sources can provide both the technical details and artistic styles needed to create stunning and authentic compositions.
Real Mountains and Ranges
Exploring real mountains and ranges can greatly enrich your drawing experience. Spend time outdoors, observing different landscapes to understand their unique features. Pay attention to how light interacts with surfaces, the textures of rocks, and the way vegetation varies with altitude. This first-hand experience offers an invaluable perspective that enhances your artistic interpretation.
If visiting mountains isn’t feasible, consider virtual tours or documentaries. These forms of media often highlight lesser-known ranges and provide close-up views that a photograph might miss. This way, you can gather inspiration from diverse geographical features without traveling long distances.
Art and Photographs
Viewing existing art and photographs, especially stock photos, can be a powerful tool for inspiration. These resources offer a wide range of styles, from classical paintings to modern digital art, providing different approaches to capturing mountain scenery. Study various techniques artists use to depict texture, scale, and atmosphere.
Photographs are another excellent reference. They help you capture the realism needed for certain projects. Try contrasting black-and-white photos with colorful ones to see how different tones and shades can influence the mood and depth of your art. Using such diverse reference materials can add layers of richness to your mountain drawings.

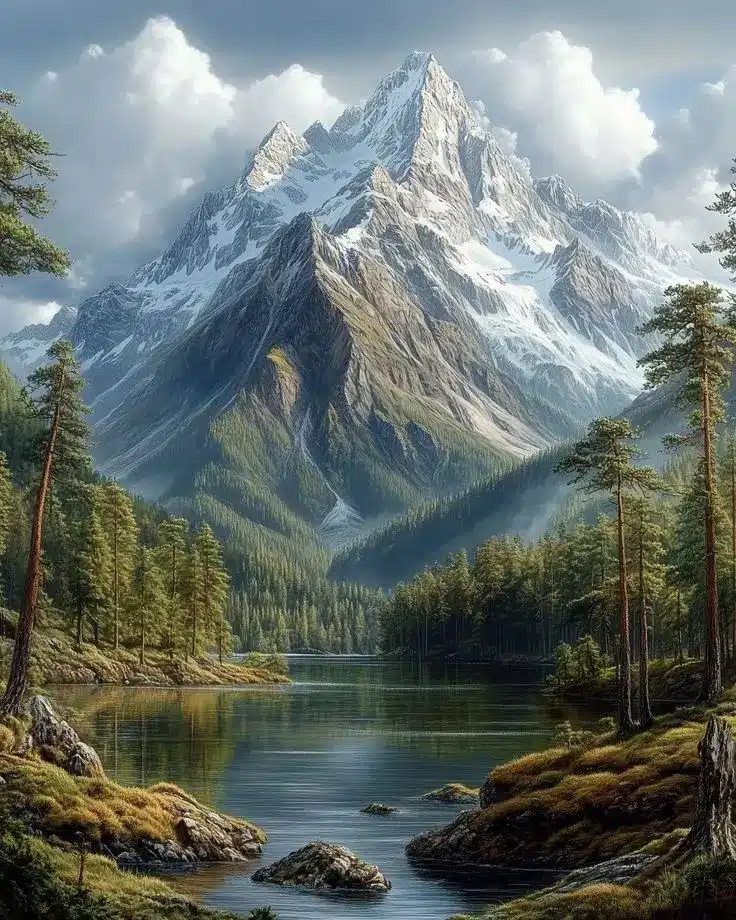
Finalizing and Sharing Your Work
Finalizing your mountain drawing involves critiquing and refining details to enhance its visual impact. Once satisfied, you can publish your work, ensuring proper licensing for wider distribution. Sharing could involve options like stock photo platforms or video tutorials demonstrating your techniques.
Critiquing and Revising
Revising your drawing is an essential step to elevate your work. Evaluate your piece critically, focusing on elements like depth, shading, and proportion. It might be helpful to use references or ask peers for feedback.
Consider adjusting features like the contrast between mountain peaks and valleys to enhance realism. Reflect on whether the foreground elements complement the overall scene, using darker tones to add depth.
Publishing and Licensing
Once you’re content with your piece, explore publishing it on platforms dedicated to art sharing. Stock photo websites can offer a way to monetize your work, while online galleries provide exposure. When publishing, ensure your work is properly licensed to protect your copyrights.
If sharing through videos, consider creating a tutorial. This can illustrate your drawing process and reach a broader audience interested in learning your techniques. Providing detailed steps can engage viewers who wish to recreate similar art.
- 832shares
- Facebook0
- Pinterest829
- Twitter3
- Reddit0


