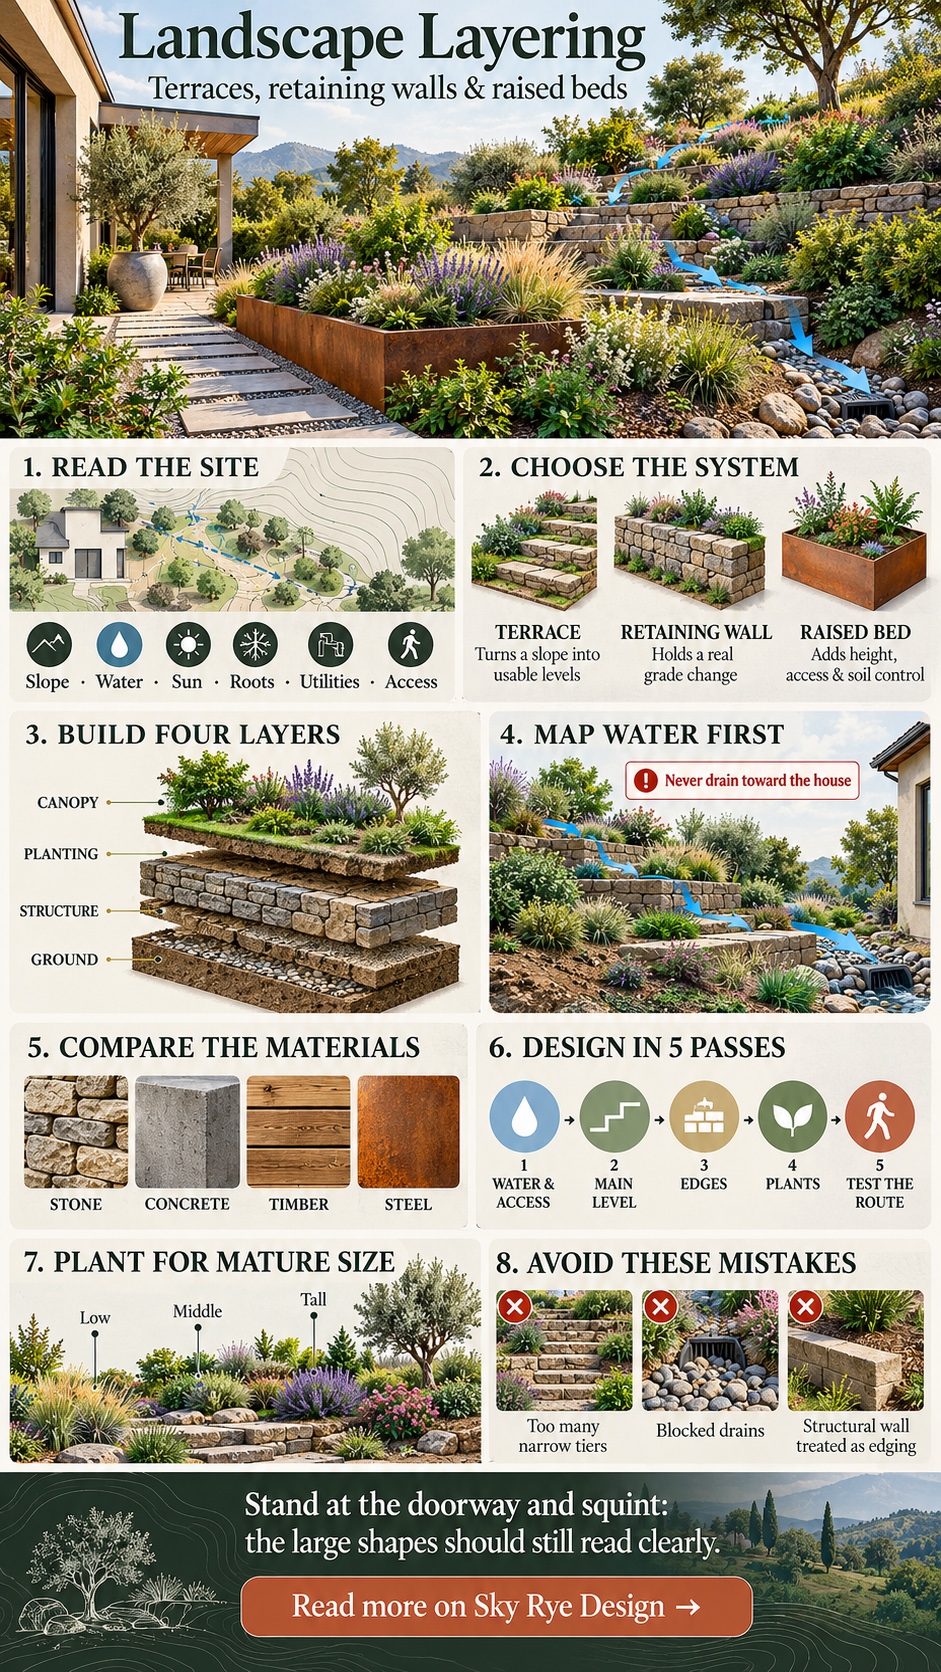
Landscape layering means organizing a yard in readable levels: the ground plane, structural edges, planting beds, and taller vegetation. On a slope, those levels may be terraces or retaining walls. On flat ground, raised beds, low mounds, paths, and planting height can create the same sense of depth without unnecessary construction.
My design rule is to solve water and access before choosing stone, timber, or plants. A beautiful tier that sends runoff toward the house or leaves no practical route for maintenance is not a finished design. The guide below helps you choose the right type of layer, set a clear hierarchy, and know when the structural work needs professional input.
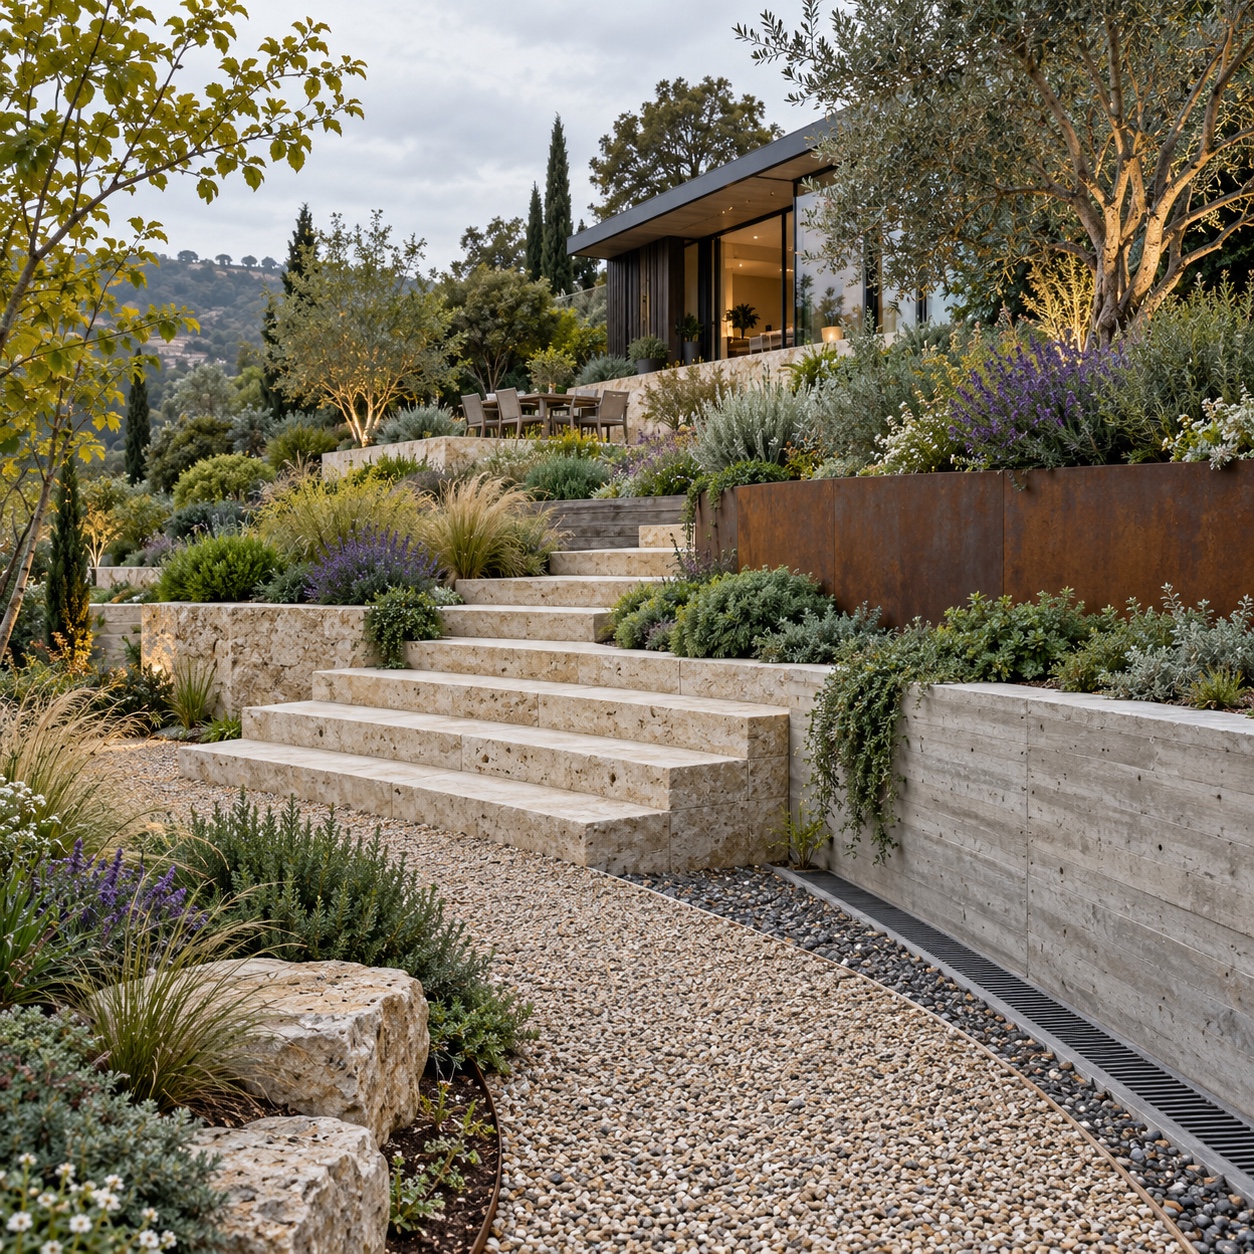
Landscape layering at a glance
| Site condition | Useful layering move | Check first |
|---|---|---|
| Flat yard with little depth | Raised beds, low mounds, paths, and planting-height changes | Drainage, soil depth, and walking routes |
| Gentle slope | Contour beds, broad steps, or low terraces | Runoff direction and safe outlet |
| Steep or unstable slope | Designed retaining system or engineered terracing | Soil, surcharge, drainage, permits, and structure |
| Small garden | One strong edge with three planting heights | Mature plant size and usable floor area |
| Accessibility priority | Elevated beds beside a level route | Reach, path width, surface stability, and irrigation |

What a layered landscape actually includes
A layered landscape is not simply a row of short plants followed by medium and tall plants. The most convincing yards coordinate four systems. The ground plane handles movement and water. Structural edges hold grade changes or define rooms. Planting masses soften those edges and create seasonal depth. Canopy trees, screens, or one strong focal element complete the vertical composition.
Read the yard from the main viewing points: the kitchen window, patio, entry path, and back door. If every level has the same height and visual weight, the scene looks flat. If every edge is raised, outlined, and filled, it feels fragmented. One dominant level, one supporting level, and quieter transitions usually create a clearer result.
Start with the site, not the material
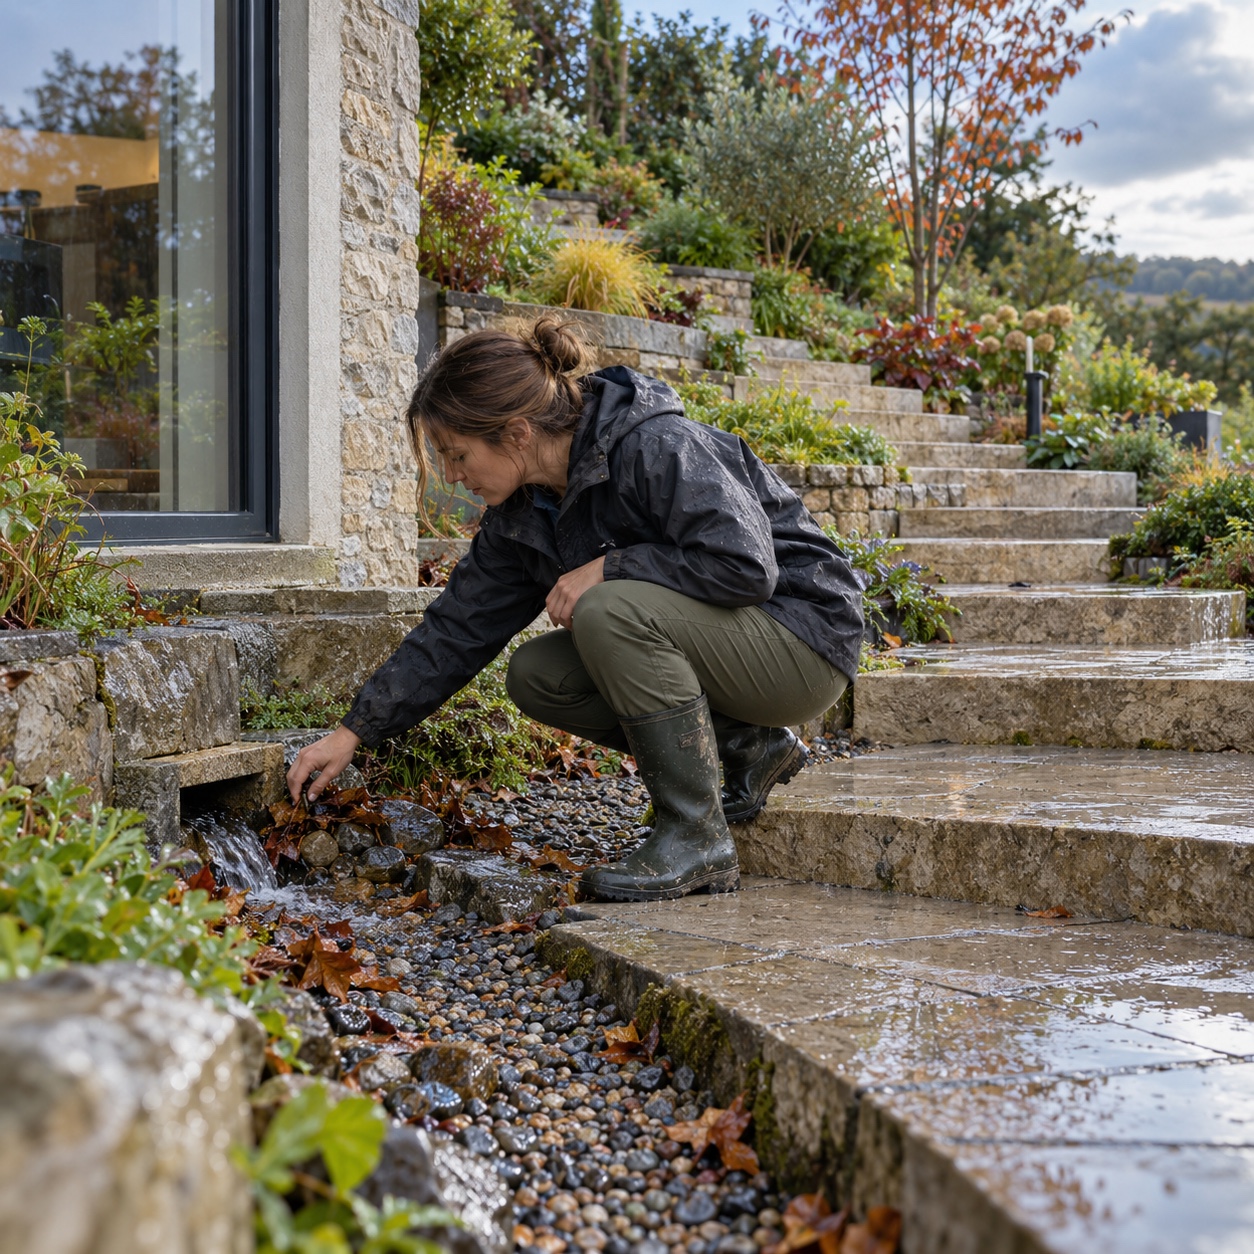
Before sketching tiers, record the high and low points, the direction water travels during rain, areas that stay wet, existing tree roots, utilities, door thresholds, and the routes used for bins, tools, and garden maintenance. Photograph the yard during or just after rain. A dry-day plan often misses the channels that control the whole layout.
Use the landscape design process to organize the survey, concept, hardscape, and planting stages. If standing water or washout is already visible, work through the yard drainage design guide before deciding where a wall or raised bed should sit.
For a soft drainage layer, a rain garden can collect runoff and let it infiltrate rather than sending it directly downhill. The University of Minnesota Extension rain-garden guide is a useful planning reference, but setbacks, soil conditions, and local rules still need to be checked for the actual property.
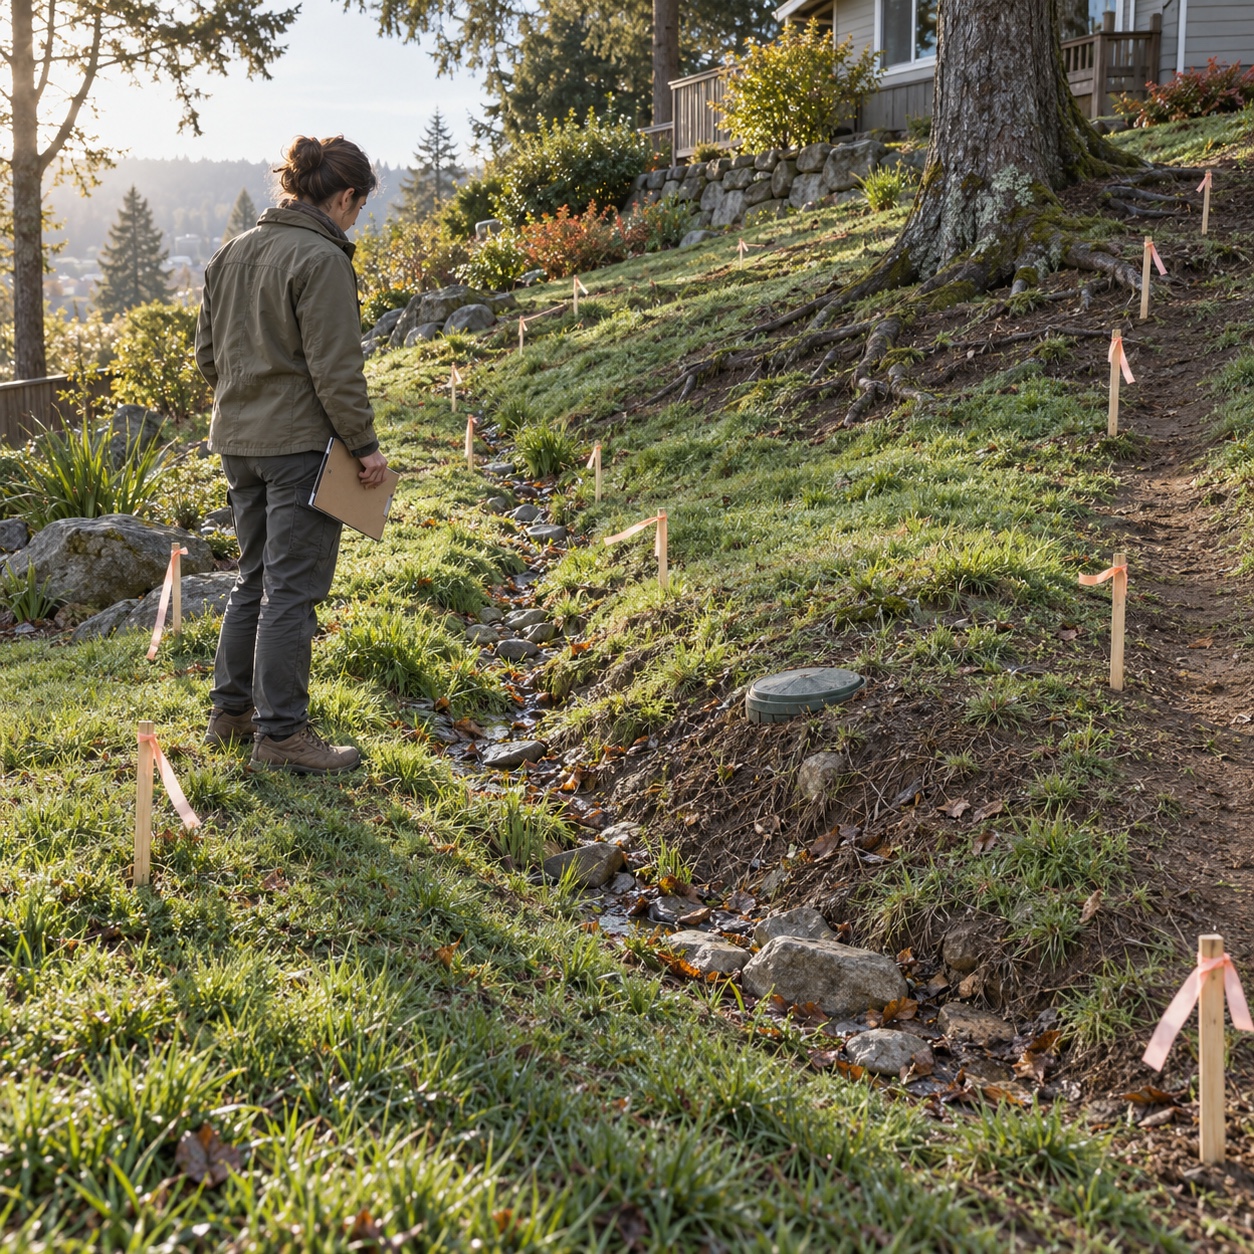
Terraces, retaining walls, or raised beds?
Terraces turn a long slope into usable zones
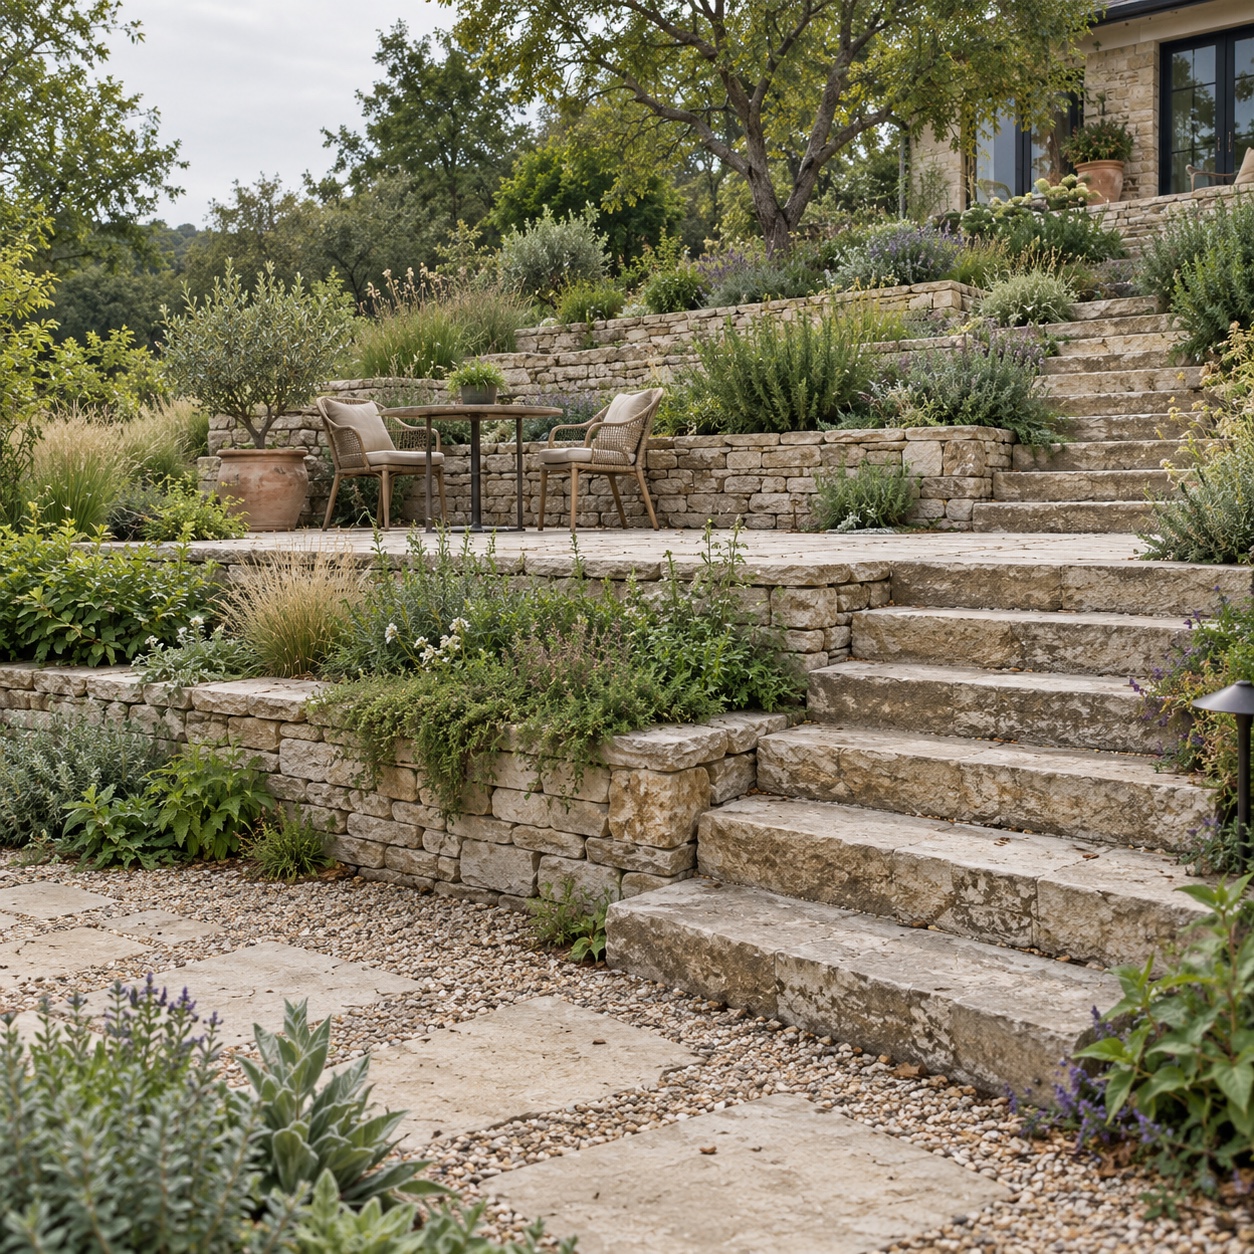
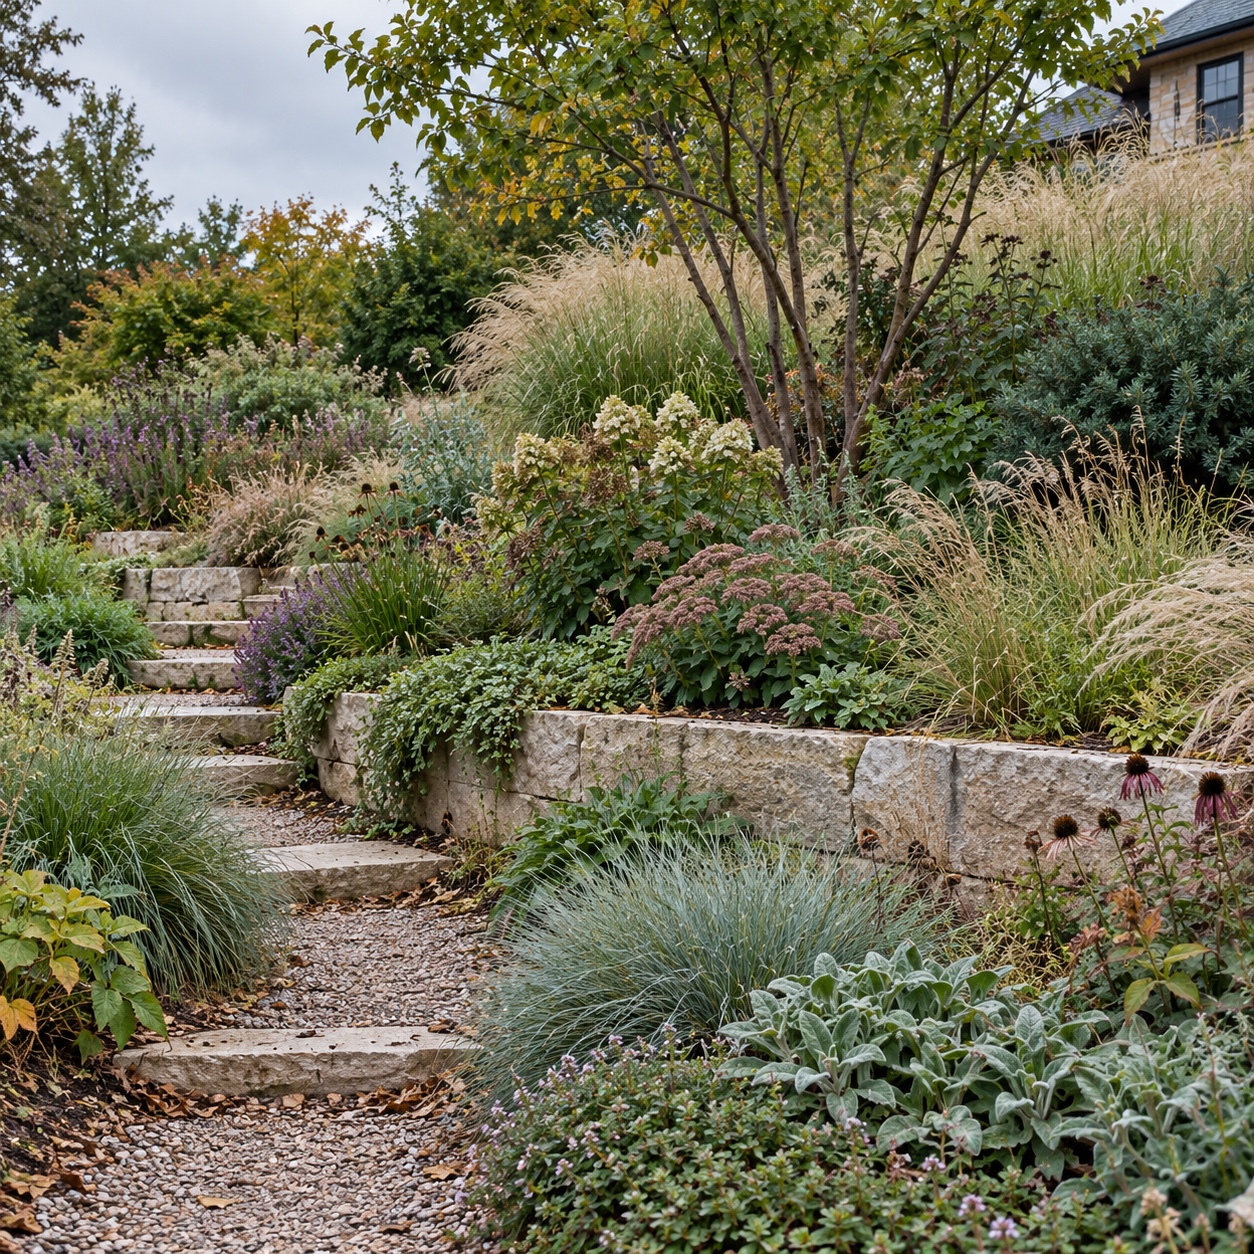
Terracing breaks one continuous slope into a sequence of flatter areas. It can create room for planting, steps, seating, or a narrow path, but each level still needs a safe drainage route. A terrace is most convincing when its lines follow the land and connect to circulation, rather than reading as several unrelated shelves pushed into the hill.
Keep the number of levels low enough to read as one composition. Repeating the same material at steps, walls, and path edges can tie the tiers together. The NRCS homeowner drainage guide treats steep-slope protection seriously and recommends qualified design for retaining and terraced areas.
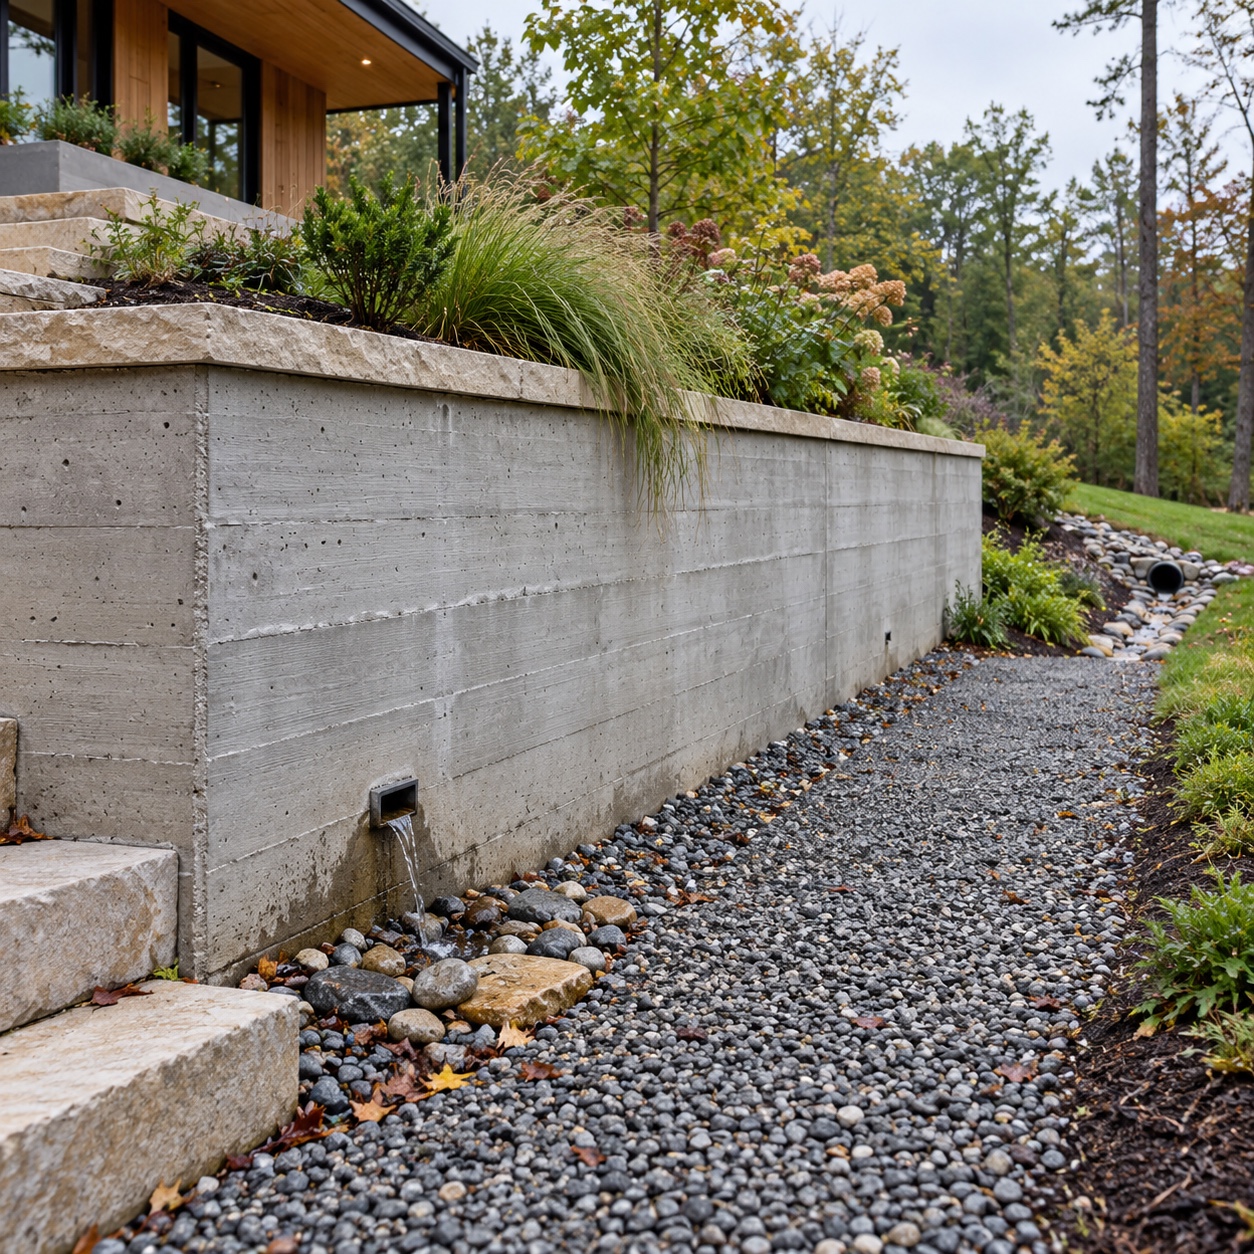
Retaining walls hold grade changes
A retaining wall has a structural job: it resists soil pressure and manages a change in grade. The visible face is only part of the system. Base preparation, backfill, drainage, outlets, soil conditions, wall height, loads above the wall, and nearby structures all affect the design. A decorative garden edge should not be presented as if it performs the same job.
For visual ideas, compare the site-specific examples in our retaining wall design guide. For construction, follow the manufacturer’s engineered system where applicable and involve a qualified professional whenever the wall carries meaningful soil pressure, supports a surcharge, or falls under local permit and engineering requirements.
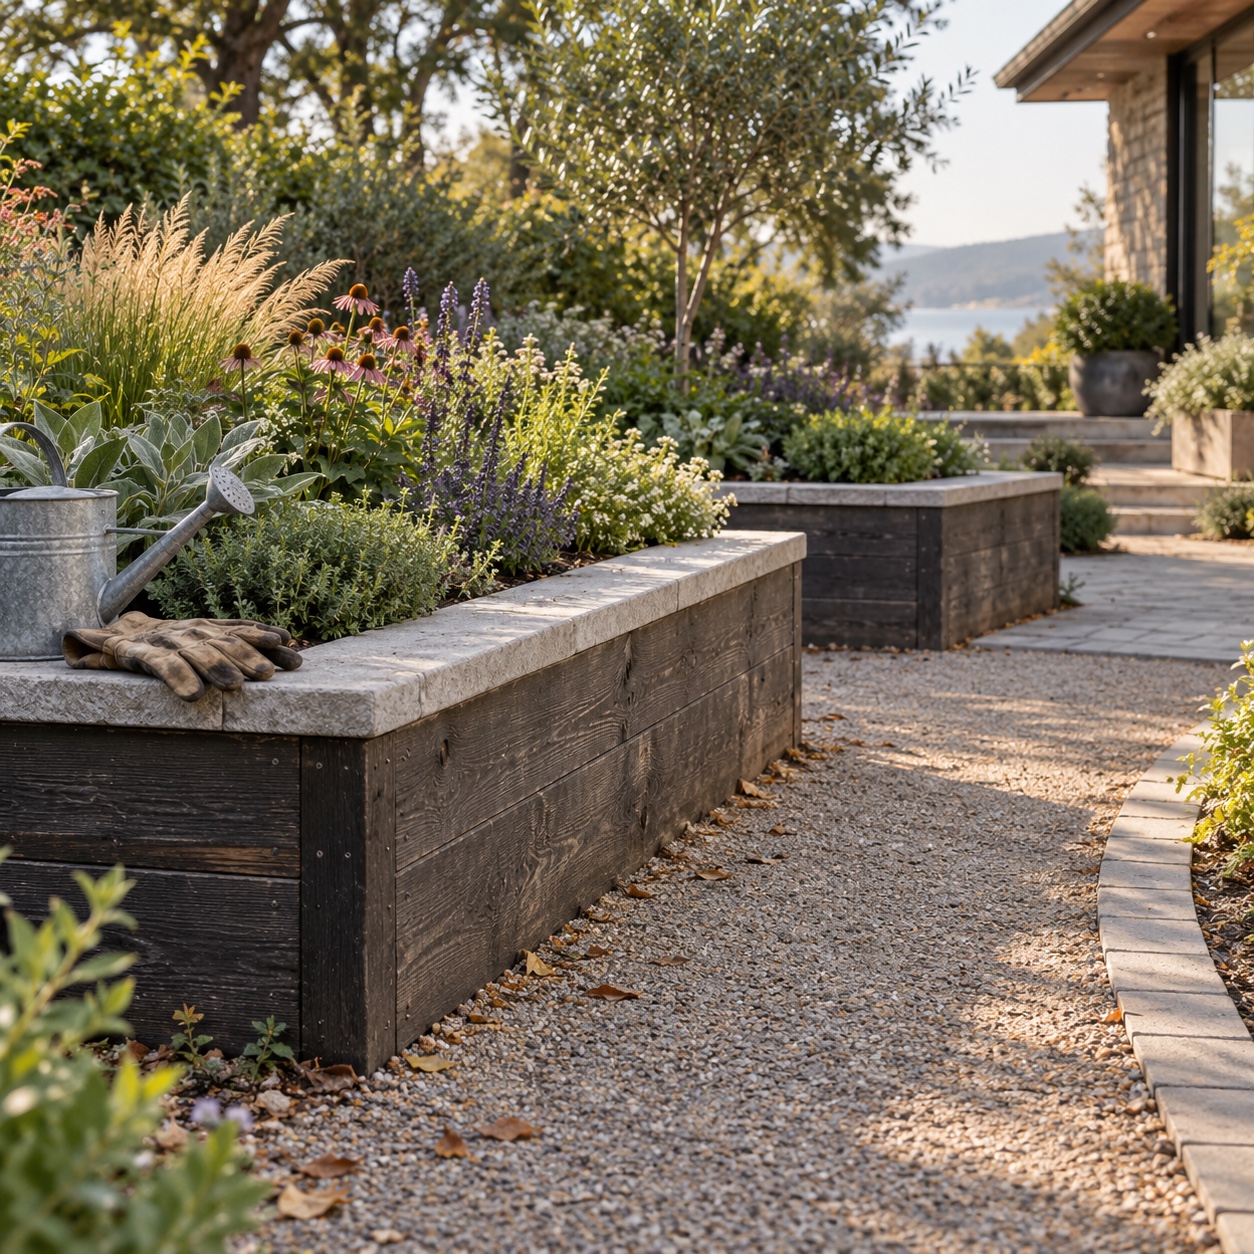
Raised beds add height without rebuilding the slope
Raised beds are useful on flat or gently sloping sites where the goal is accessible planting, clearer zones, or better control over soil. They can frame a path, separate dining from productive gardening, or bring planting closer to hand. The bed should be reachable without stepping into it, with irrigation and overflow planned before it is filled.
Soil health matters more than the frame. Penn State Extension’s raised-bed soil guidance explains why the fill, organic matter, and long-term soil management deserve attention. Our raised garden bed guide covers the practical garden setup.
Compare materials by job, not appearance
| Material | Design character | Practical consideration |
|---|---|---|
| Natural stone | Irregular, grounded, suited to planted slopes | Heavy, labour-intensive, and dependent on skilled placement |
| Concrete block | Regular modules from traditional to minimal | Use a complete rated system, including base, drainage, and caps |
| Poured concrete | Clean monolithic planes | Needs careful formwork, drainage, reinforcement, and finish control |
| Timber | Warm and informal | Service life depends on species, treatment, moisture, and detailing |
| Weathering or galvanized steel | Thin contemporary edges | Best for edging and beds unless specifically engineered for retention |
| Brick | Traditional rhythm and colour | Detail for frost, moisture, movement, and structural load |
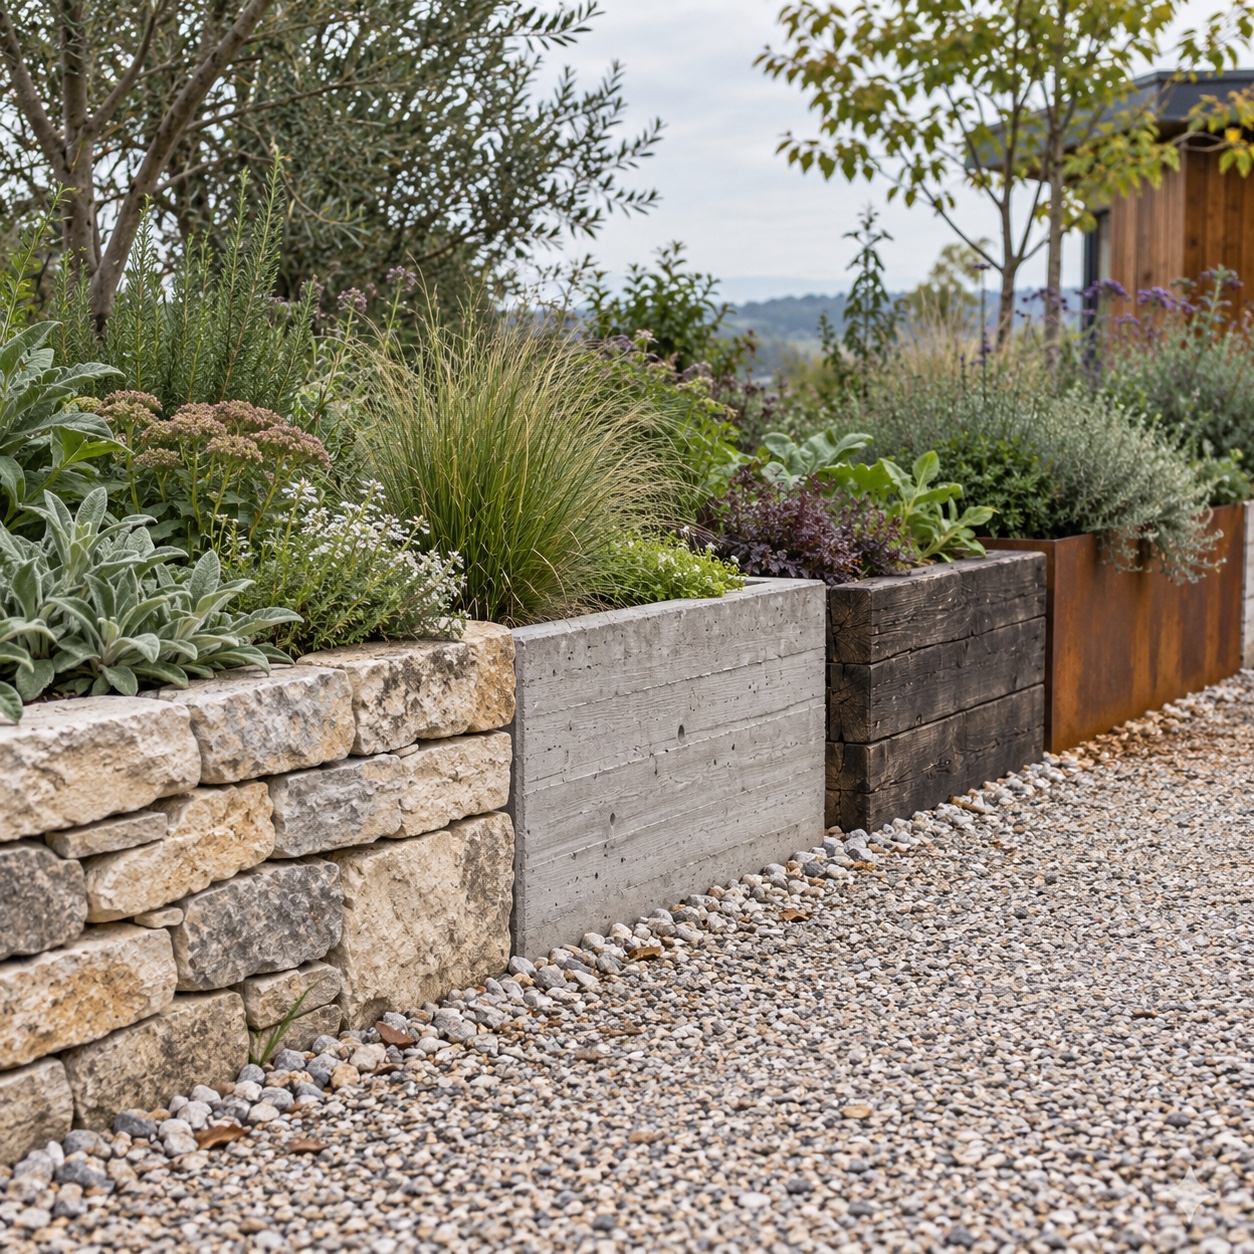
Use one dominant hardscape family and one secondary accent. Stone walls, brick paths, timber beds, steel edging, and decorative gravel can each be attractive, but using all of them at once makes the yard read like a catalogue. The hardscape and softscape guide helps keep structure and planting in proportion.

Build the layout in five passes
- Map water and access. Draw runoff paths, low points, doors, steps, utilities, tree roots, and maintenance routes before adding shapes.
- Choose the main level. Decide which surface carries the most important use: lawn, terrace, dining area, path, or productive garden.
- Add only the structural edges needed. Use walls, steps, or raised beds where they solve grade, access, or zoning rather than outlining every area.
- Layer plants by mature form. Set groundcovers and low grasses at the front, repeated shrubs through the middle, and taller screens or canopy elements behind.
- Test the view and the maintenance route. Check the composition from the house and walk it with a mower, wheelbarrow, hose, or mobility aid before construction.
Planting layers should repeat, not form a staircase
The familiar short-medium-tall formula is a starting point, not a rigid row. Repeat a low plant in several places, let medium shrubs overlap the edge of a wall, and use taller forms to frame a view rather than sealing the whole boundary. The eye should move between levels instead of reading three separate stripes.
Choose plants by mature width, root behaviour, light, moisture, and maintenance. A small shrub in a nursery pot may eventually block a path or conceal a wall drainage outlet. For a lower-work planting plan, use the low-maintenance landscape design guide to connect plant choice with irrigation zones, circulation, and seasonal care.
Drainage and safety are part of the composition
Do not hide every drain behind planting. Outlets need to remain visible enough to inspect and clear, and overflow needs a route that will not undermine a wall, scour a path, or send water toward a foundation or neighbouring property. After the first heavy rain, walk every level and look for sediment trails, ponding, soft edges, blocked grates, or water cutting across a step.
Treat movement with the same care. A level patio beside an abrupt unguarded drop is not successful layering, even if it photographs well. Steps need consistent geometry, paths need stable surfaces, and changes in level should be easy to read in both daylight and evening light. Local building, planning, utility, and accessibility requirements vary, so check them before excavation and bring in the appropriate landscape, drainage, or structural professional when the work moves beyond planting and decorative edging.
Common landscape layering mistakes
- Choosing wall material before reading the slope. Structure, drainage, and access should set the system first.
- Building too many narrow tiers. Several small ledges are harder to plant, irrigate, and maintain than a few useful levels.
- Sending runoff to the next problem. Every swale, terrace, and wall drain needs a safe destination.
- Ignoring mature plant size. Overplanting hides the structure and creates constant pruning work.
- Using one height across the entire boundary. A continuous hedge can flatten the view as much as a bare fence.
- Treating a structural wall as a DIY edging project. Soil pressure, drainage, nearby loads, and local rules can change the engineering requirement.
Finish with one clear hierarchy
A strong layered landscape has a dominant usable level, a limited set of structural edges, and planting that softens rather than hides the construction. Stand at the main doorway and squint at the yard. If the large shapes still read clearly, the hierarchy is working. If the eye catches a different border, pot, wall, and plant every few feet, remove a layer before adding another.
For the next planning step, browse the Sky Rye Design outdoor architecture archive. Keep the sequence practical: survey, water, access, structure, soil, plants, then decoration. That order is slower on paper and much faster once the yard is under construction.
- 9shares
- Facebook0
- Pinterest9
- Twitter0
- Reddit0