I run through a version of this checklist mentally every time a new project spins up in my own production pipeline – before a single file gets shared, before access goes out to anyone, before anything moves to a cloud folder. It’s not a security audit or a strategy document.
It’s a short, repeatable set of checks that catches the specific mistakes that actually cause creative-studio leaks: a permission that never got revoked, a link that never expired, a plugin nobody actually reviewed.
- Why Remote Design Teams Need a Cybersecurity Checklist
- Step 1: Map the Creative Assets You Need to Protect
- Step 2: Audit Access Before Every Project Starts
- Step 3: Secure File Sharing and Client Review Links
- Step 4: Lock Down Remote Devices
- Step 5: Review Cloud Storage and Backup Rules
- Step 6: Add Data Loss Prevention to Creative Workflows
- Step 7: Train the Team on Design-Specific Phishing
- Step 8: Prepare an Incident Response Plan
- When IT Consulting Helps a Remote Studio
- Final Thoughts
- Frequently Asked Questions
This is that checklist, structured the way I’d actually run through it – eight concrete steps, in the order they matter, covering what to verify before a project starts, before access goes out, before files get shared, and before a new device touches client work.
Why Remote Design Teams Need a Cybersecurity Checklist
A strategy document tells you what good security looks like in general. A checklist tells you what to actually check, right now, before this specific project goes live. Both matter, but design teams under deadline pressure reach for the checklist far more often, because it’s the format that actually fits into a real workflow rather than sitting in a policy binder nobody opens.
Creative studios are a genuine, specific target, not a hypothetical one. Design teams handle proprietary client data, unreleased creative work, and project files that carry real competitive value if they leak early.
The remote environment specifically expands where things can go wrong – home networks, personal devices, a wider spread of cloud tools, part of the broader shift I cover in my piece on how tech is transforming remote work – which is exactly why a repeatable checklist matters more here than in a single-office setup where the same few people were physically checking each other’s work by proximity.
Step 1: Map the Creative Assets You Need to Protect
Client Briefs, Figma Files, Adobe Libraries, CAD Files, Videos, Renders, and Campaign Concepts
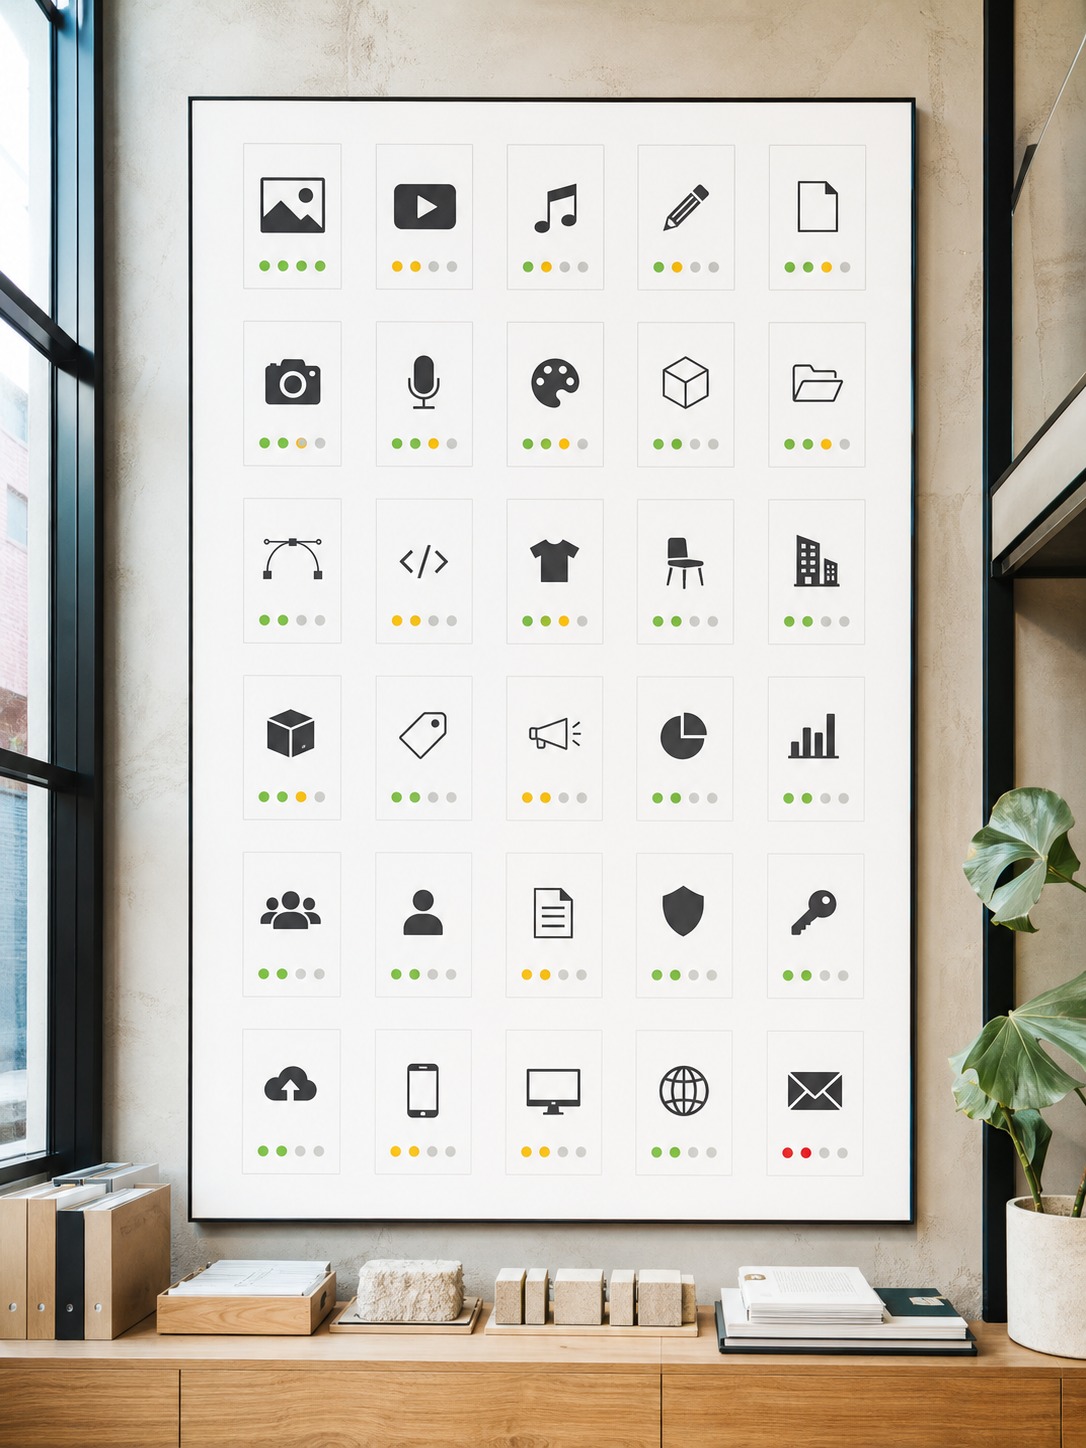
Before anything else, know specifically what you’re protecting. That means a real inventory, not a vague sense of it: client briefs and contracts, Figma and Adobe working files, CAD and 3D assets, video edits, renders, and unreleased campaign concepts.
Different asset types carry different risk levels and need different handling – a rough concept sketch and a client-approved final deliverable aren’t the same liability if they leak. This mapping step is genuinely similar to the file-preparation discipline I cover in my print production checklist, just applied to security risk instead of production readiness.
Step 2: Audit Access Before Every Project Starts
MFA, SSO, Guest Access, Project Folders, Contractor Permissions, and Role-Based Access
Before a new project’s folders go live, verify access is actually set up correctly rather than inherited from whatever the last project happened to leave in place.
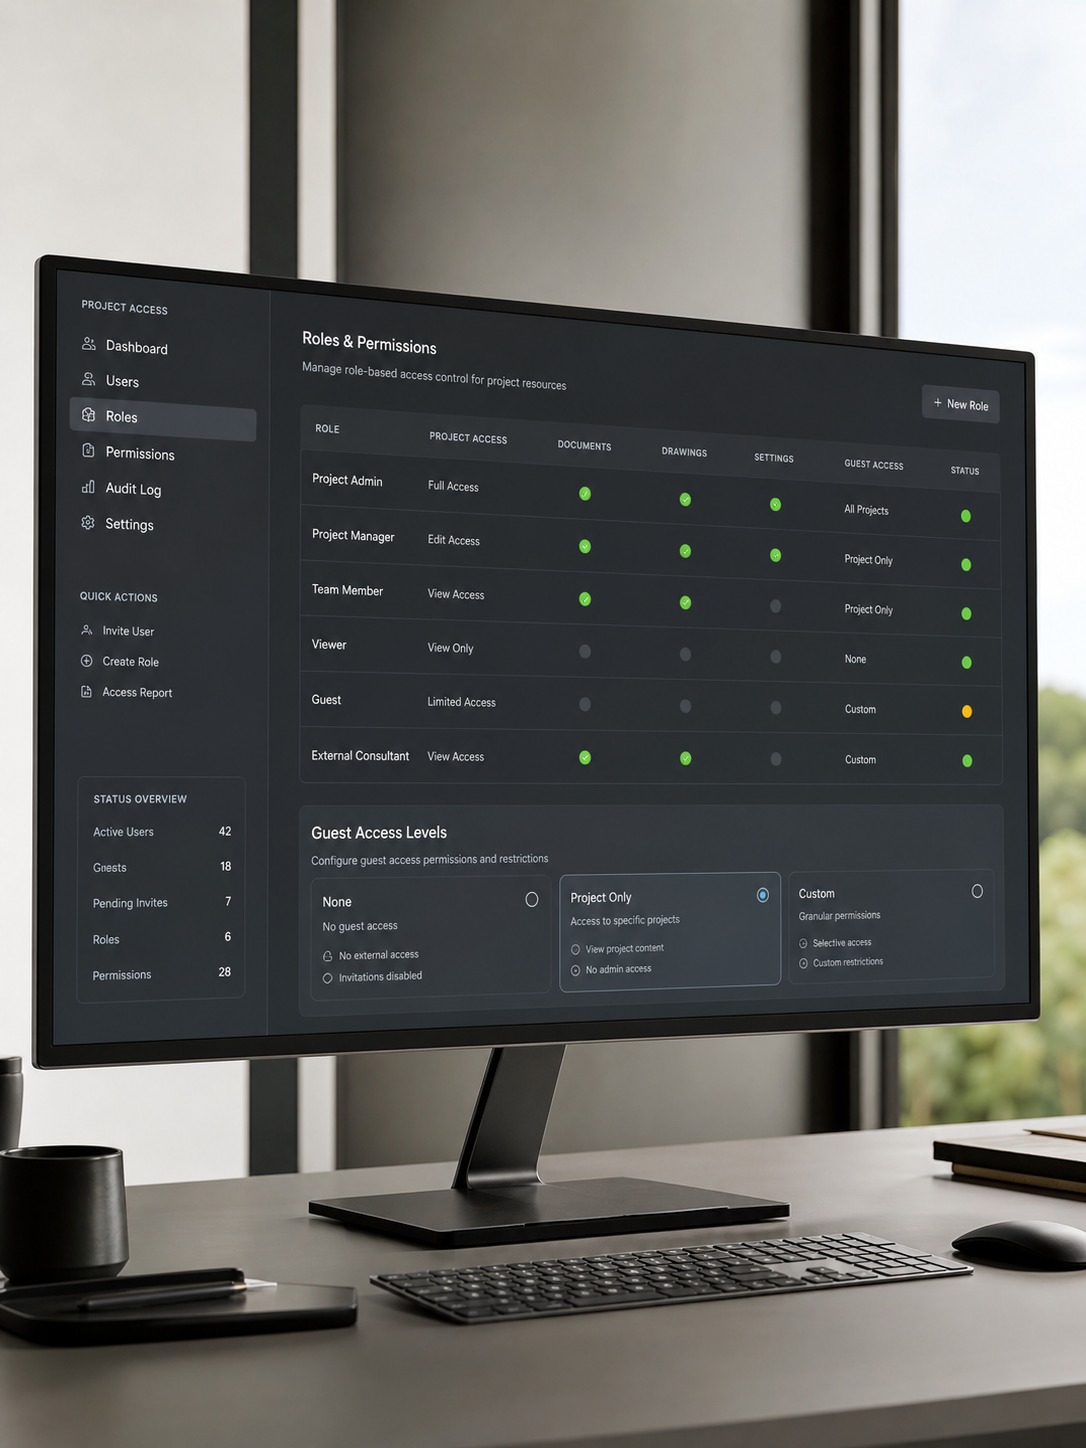
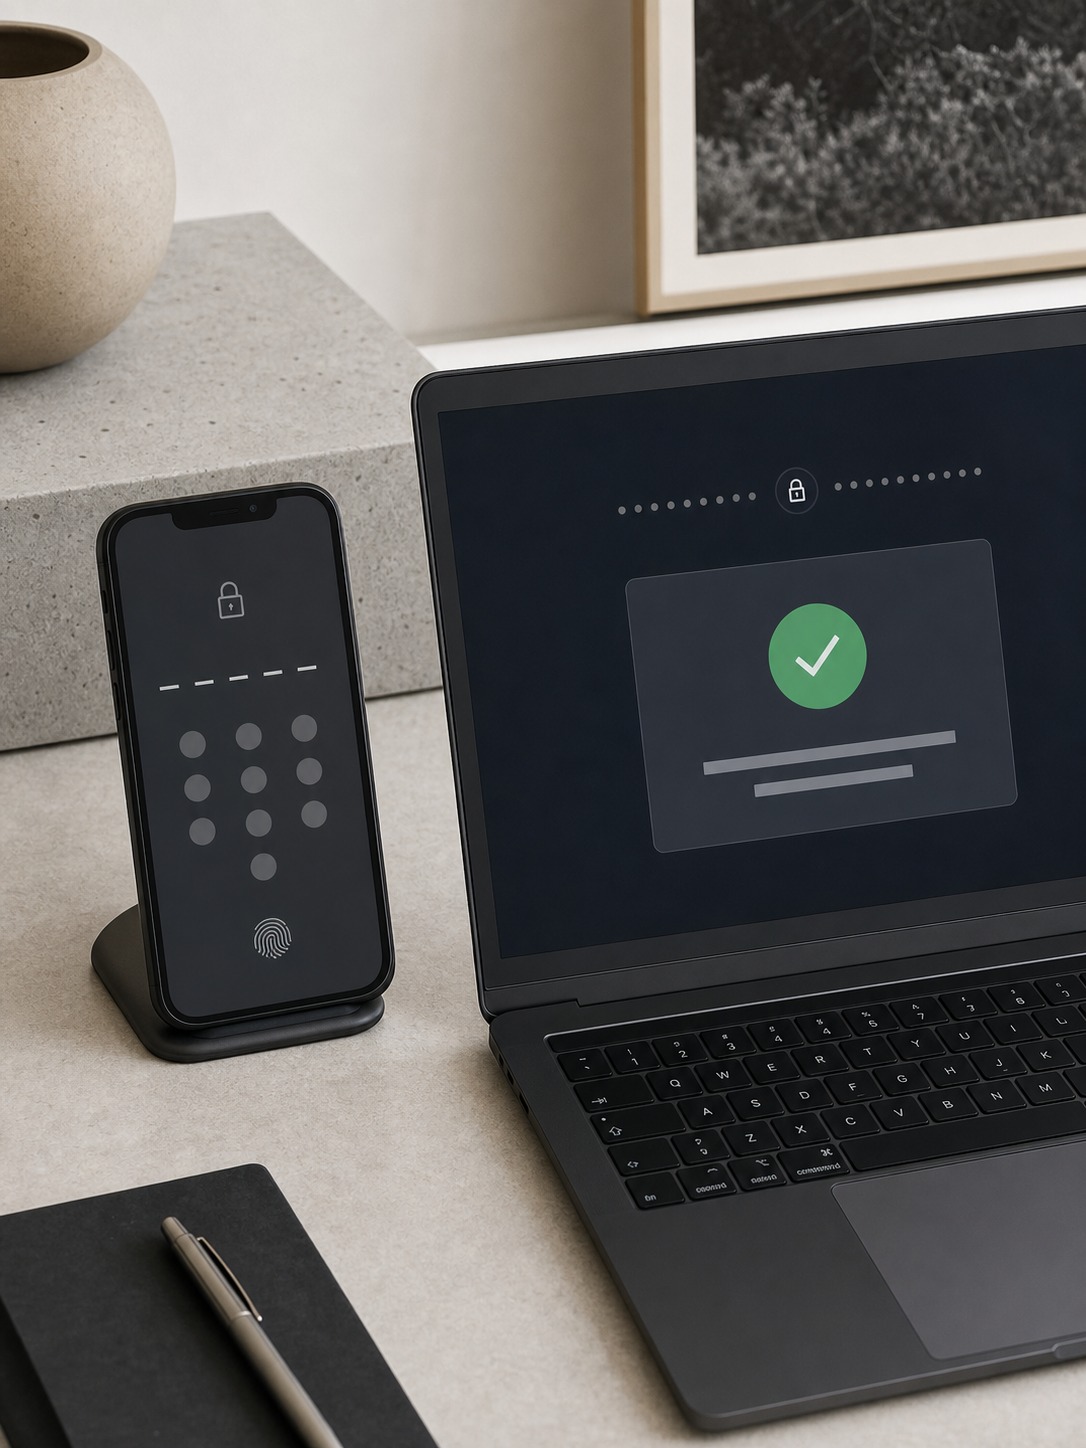
Confirm multi-factor authentication is active on every account touching the work, single sign-on is configured where your tools support it, and guest access for clients or contractors is scoped to exactly what they need rather than full studio-wide visibility.
Role-based permissions should match actual project involvement, checked at kickoff rather than assumed correct from a template. I go into the technical side of access architecture more specifically in my guide to securing API integrations, which pairs well with this access-audit step.
Step 3: Secure File Sharing and Client Review Links
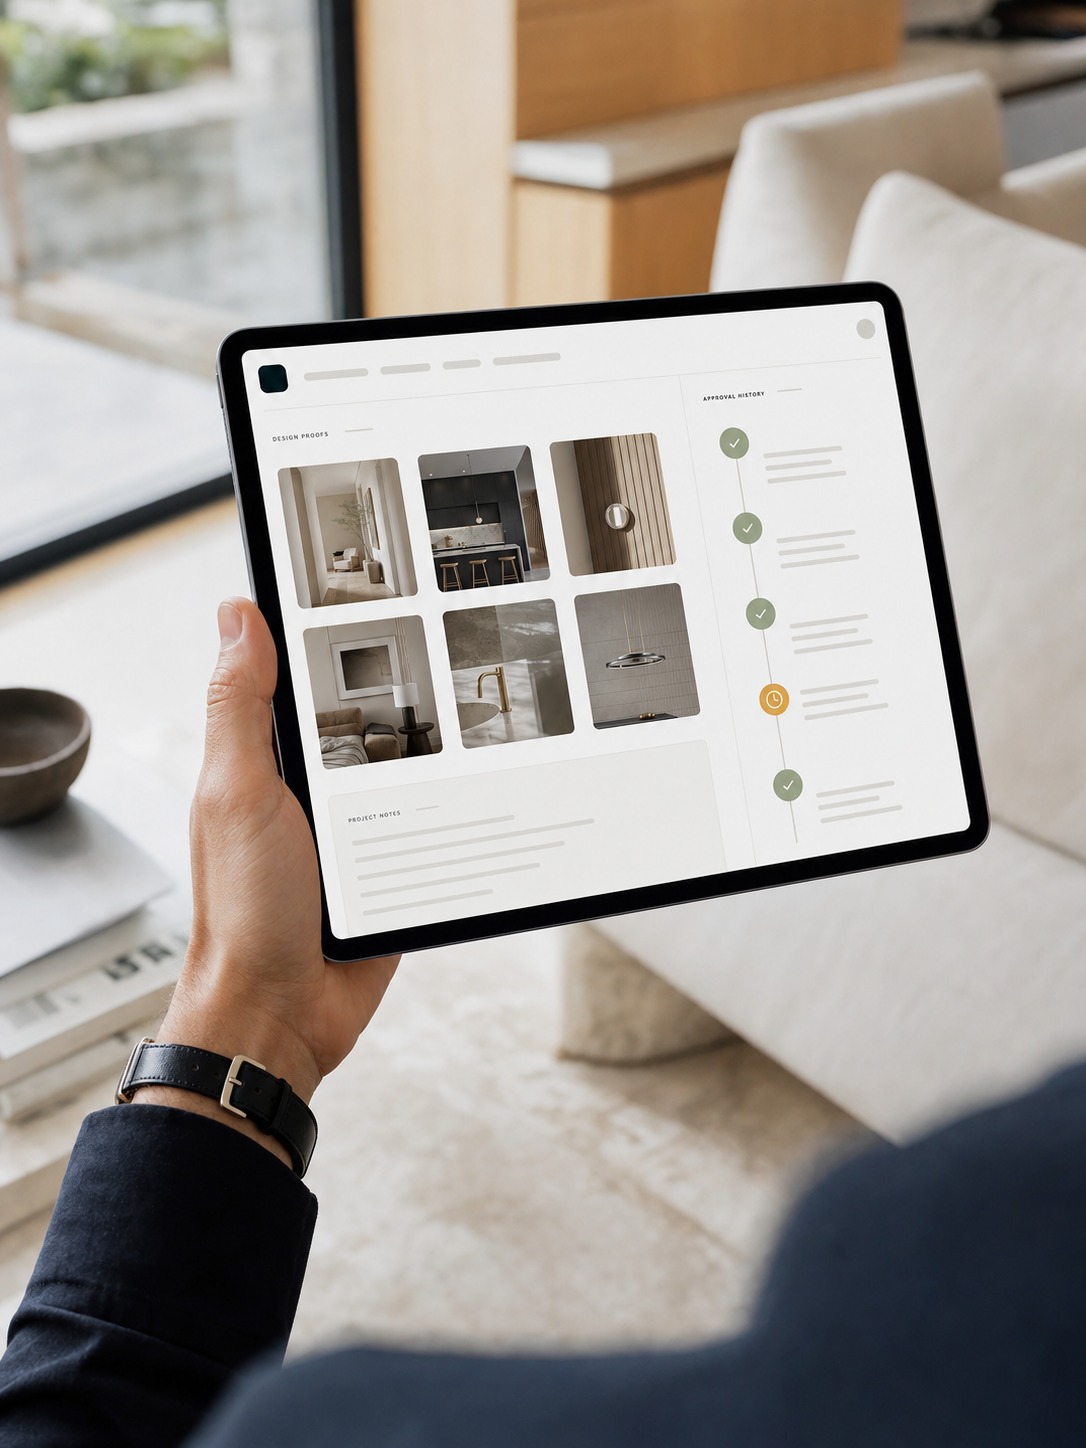
Expiring Links, Restricted Downloads, Watermarks, Client Portals, and Approval History
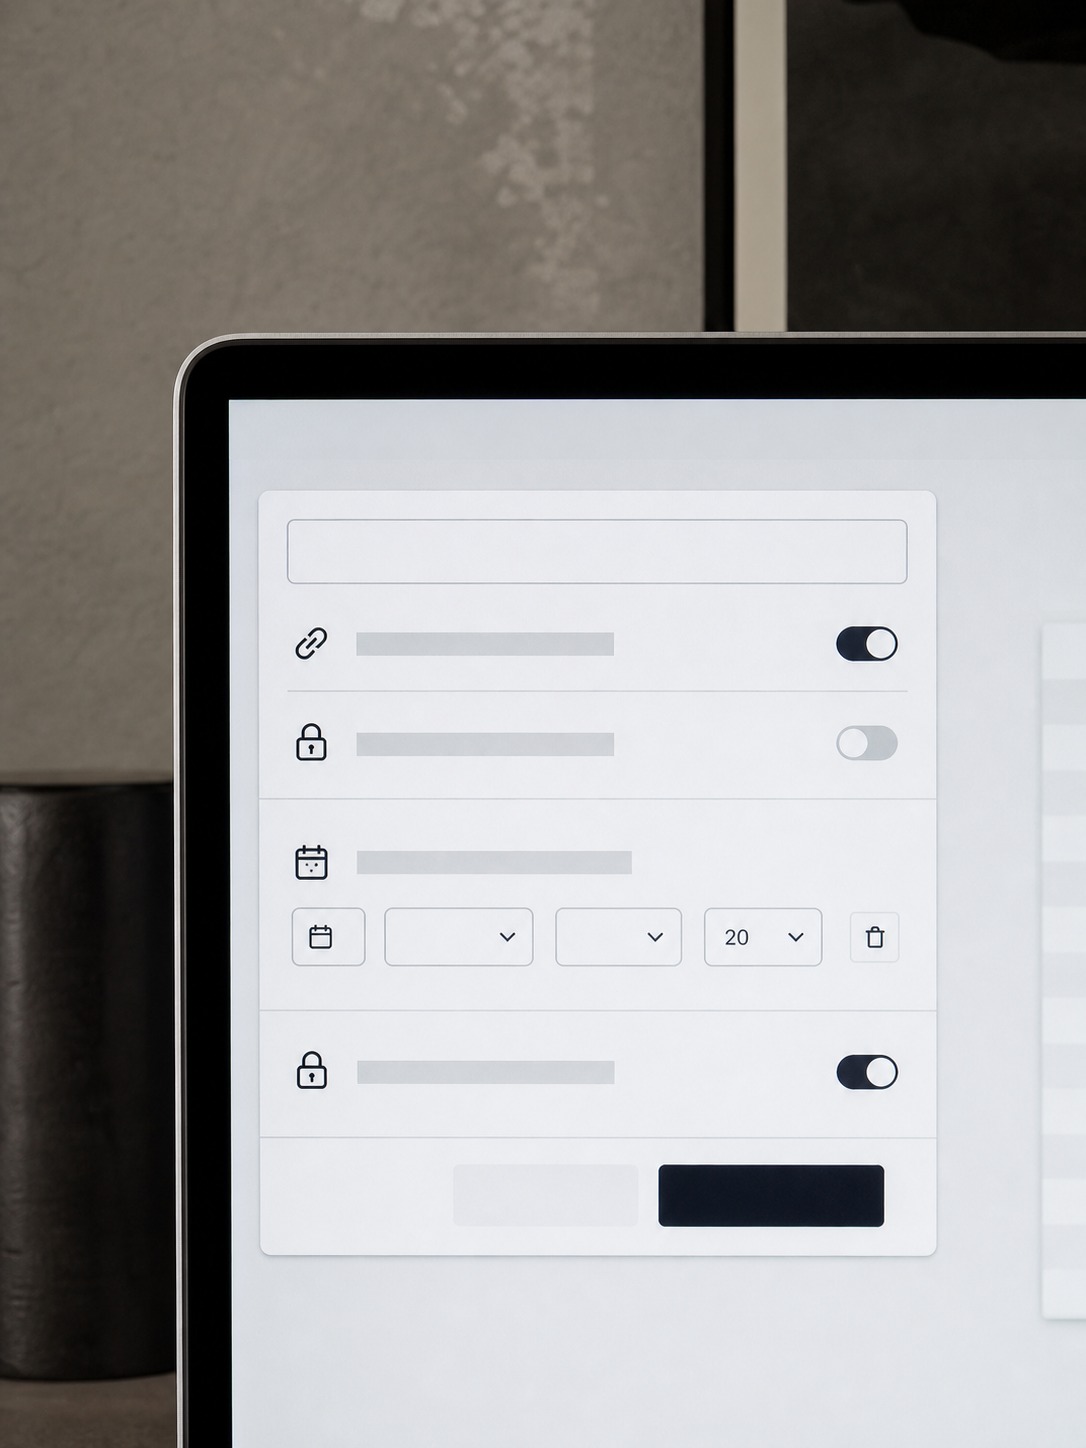
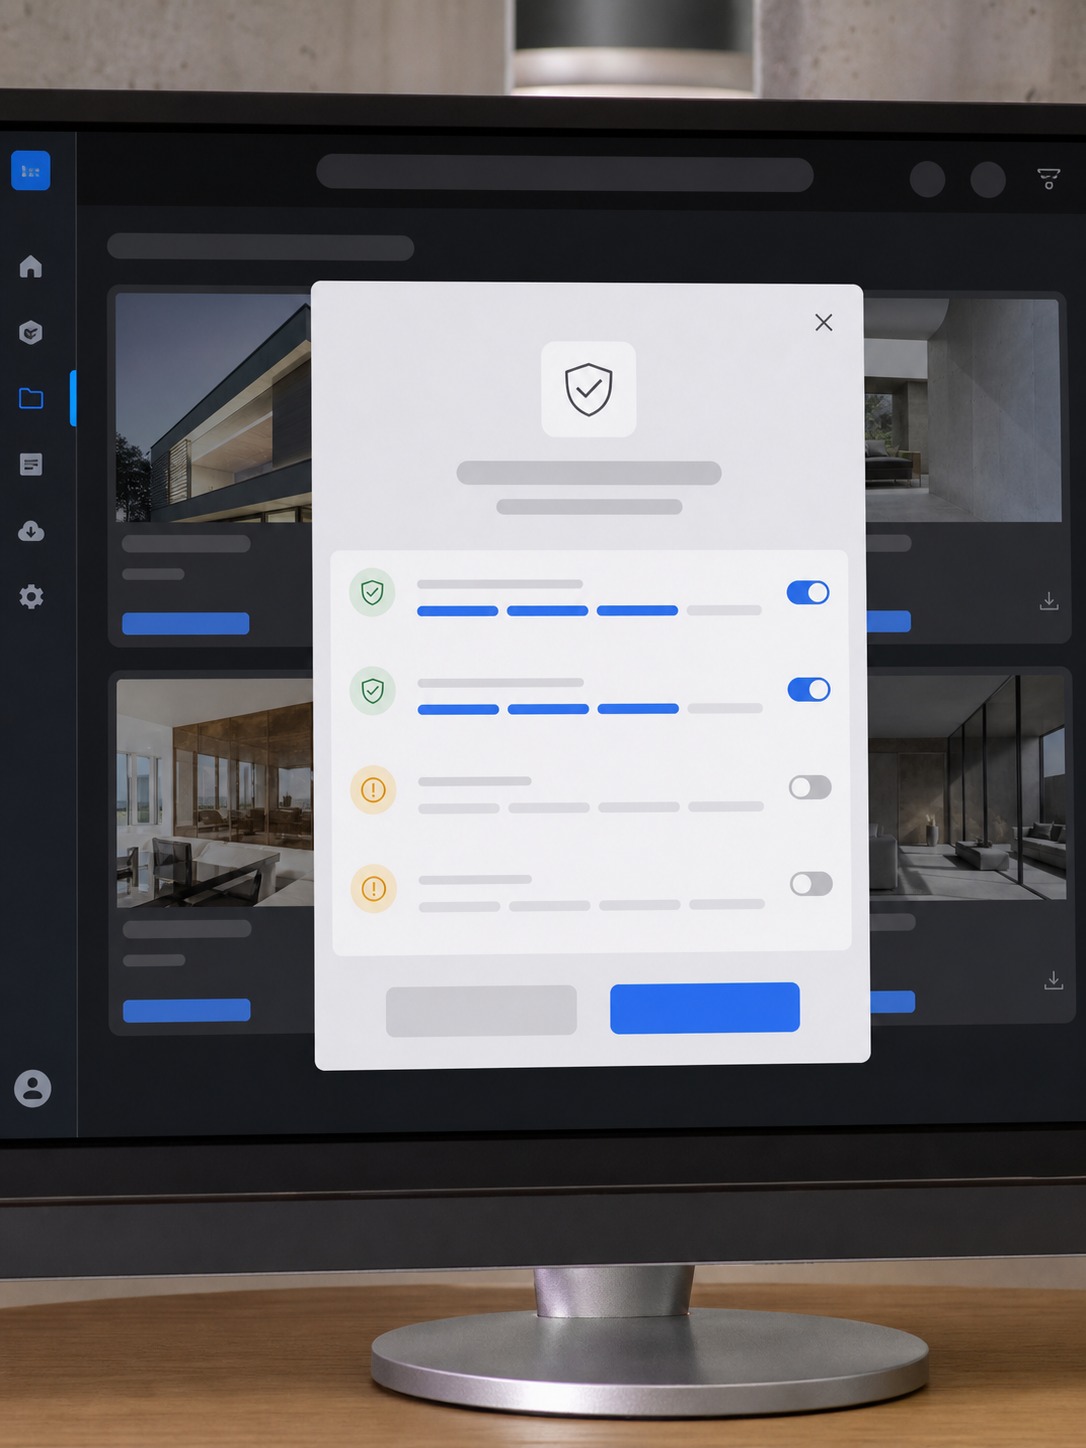
Every external share of unreleased work should default to an expiring link rather than one that stays live indefinitely, and restricted, view-only downloads for early concept work rather than full file access. Watermarks on client proofs add a real deterrent without meaningfully slowing the review process down.
For ongoing, sensitive client relationships specifically, a dedicated secure portal with a genuine approval history beats scattered email threads and chat messages that are easy to lose track of. Heavier assets – large renders, video files – often move through separate infrastructure entirely, which needs its own review pass; I cover that side of the workflow in my cloud rendering guide.
Step 4: Lock Down Remote Devices
Personal Laptops, Tablets, MDM, Patching, Antivirus, Remote Wipe, and Device Inventory
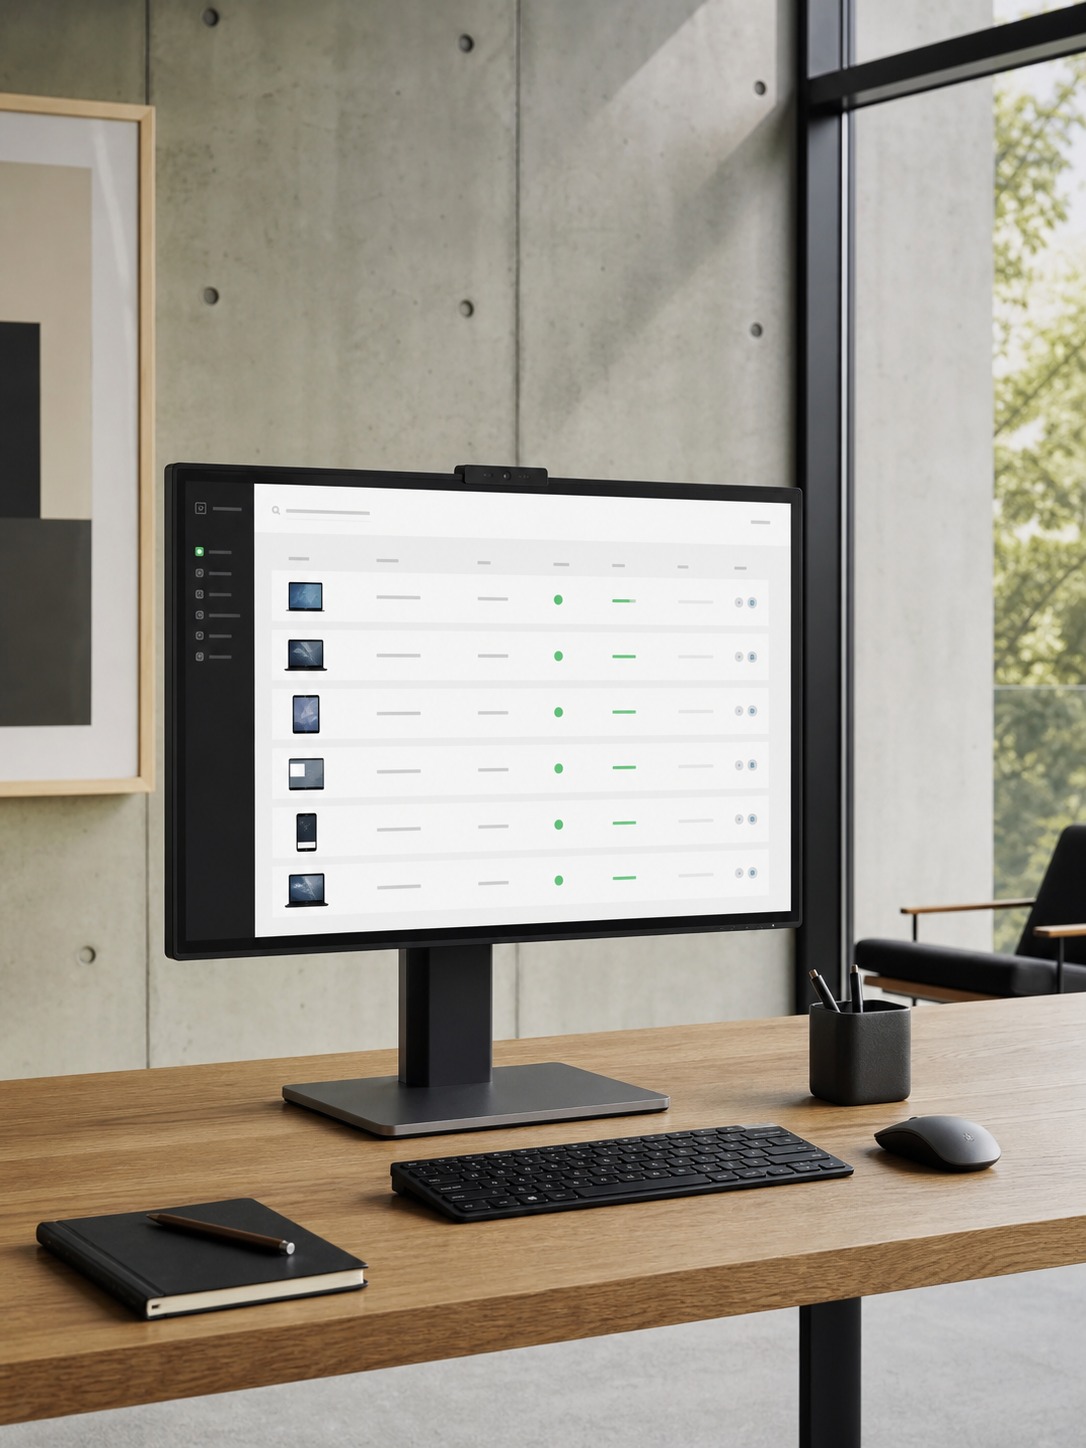
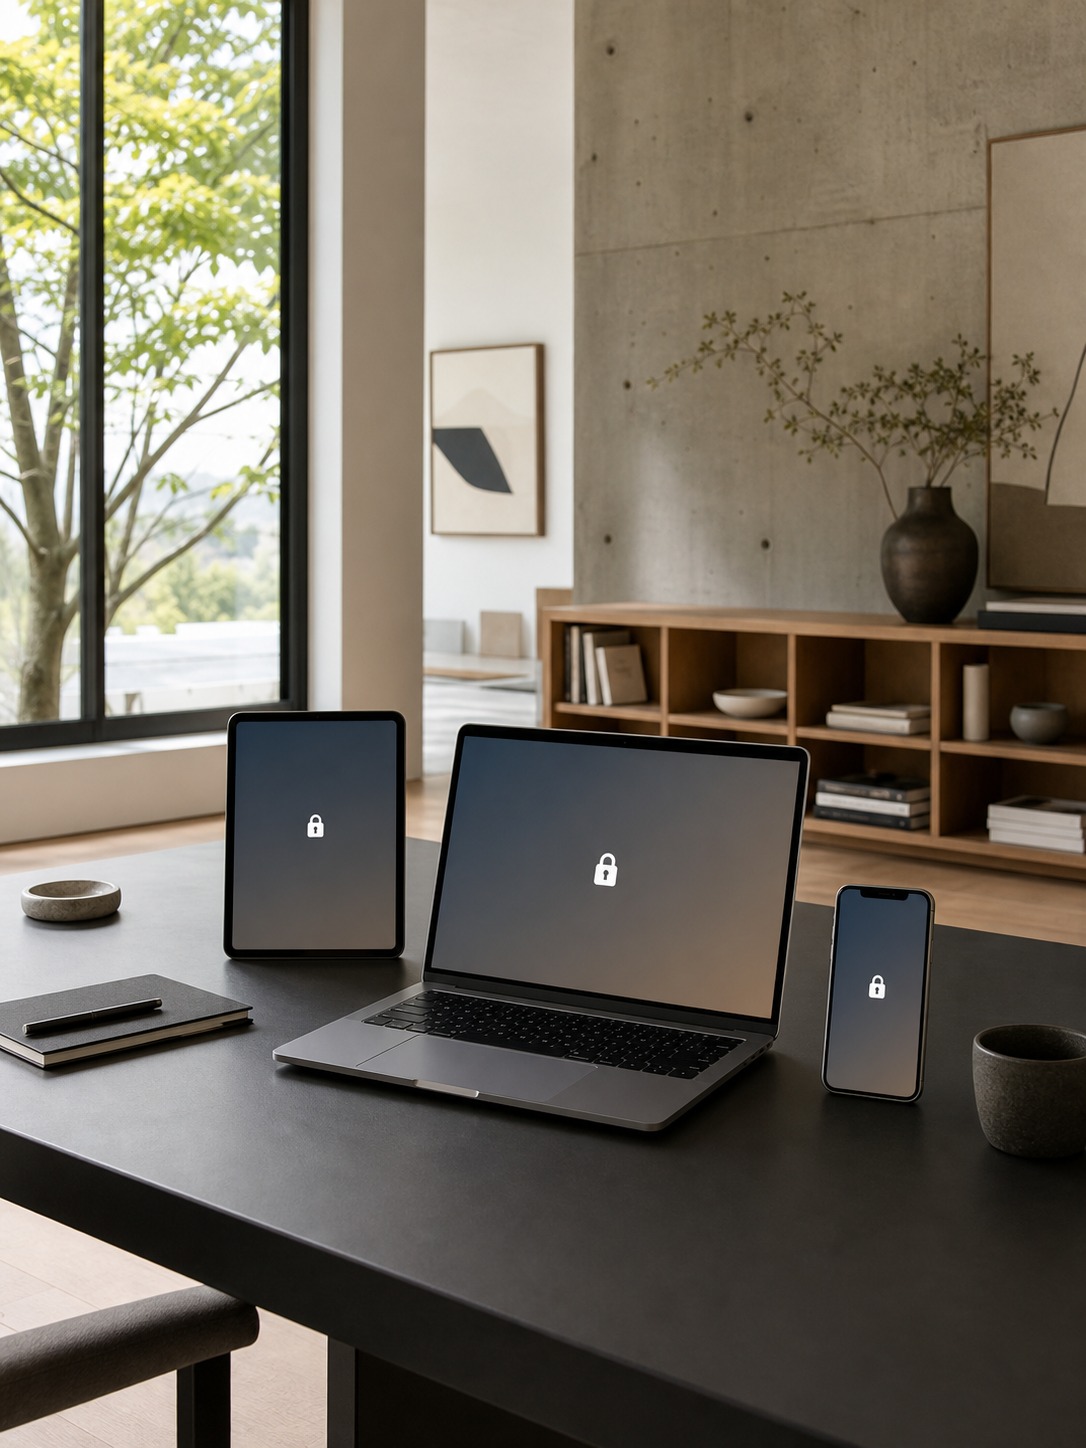
Every device that touches client work is a real endpoint, personal or studio-issued. Maintain an actual device inventory rather than a rough mental count, deploy mobile device management (MDM) tooling that can enforce basic policy and remotely wipe a lost device, and confirm patching and antivirus protection are current rather than assumed.
A documented process for what happens the moment someone reports a lost laptop matters more than the technology itself – most of the damage from a lost device happens in the gap between losing it and someone actually acting on that loss. This kind of device-level oversight overlaps with broader visibility into how work happens across a distributed team, a topic adjacent to what I cover in my remote employee monitoring software guide, though that piece leans more toward productivity than security specifically.
Step 5: Review Cloud Storage and Backup Rules
Folder Naming, Archive Policy, Restore Tests, Ransomware-Safe Backups, and Data Residency
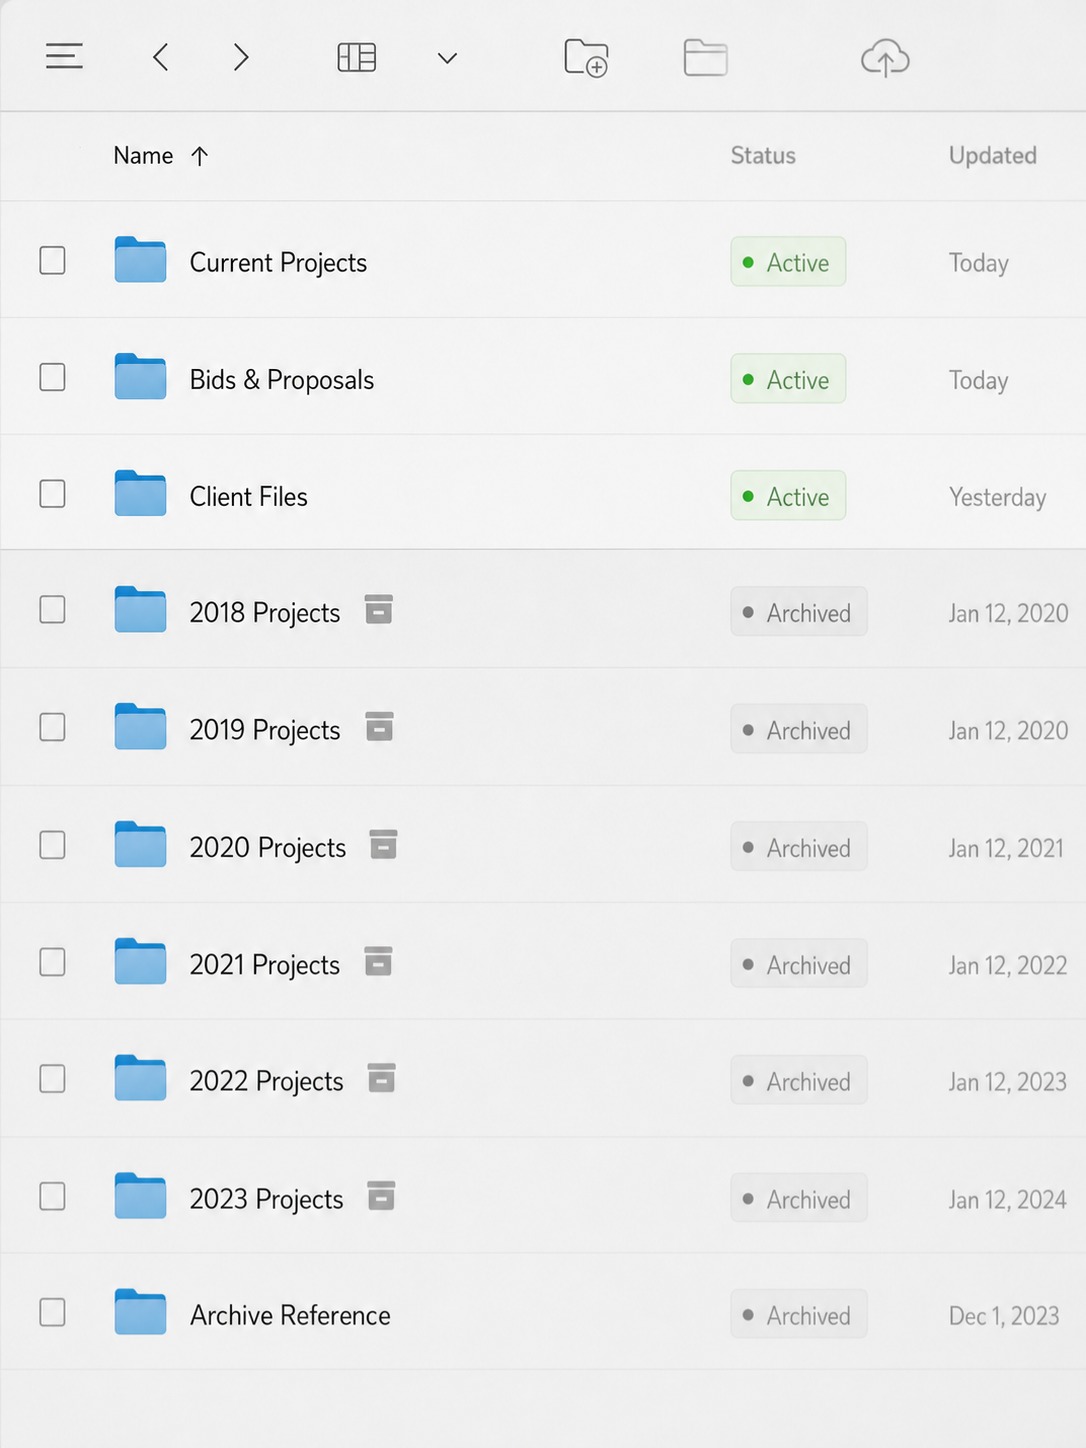
Consistent folder naming and a clear archive policy prevent the slow sprawl that eventually makes a studio’s cloud storage genuinely hard to audit. Backups need to actually be tested through a real restore, not just scheduled and assumed to work – a backup nobody’s ever restored from is a guess, not a safety net.
Ransomware-safe backups specifically means storage isolated enough that an infected device can’t reach and encrypt the backup copies along with the live files. For studios working with clients in regulated industries or across borders, data residency (where your cloud provider actually stores data) is worth confirming directly rather than assuming. The right underlying tooling makes maintaining these rules considerably easier – I cover a working set of options in my remote work software tools guide.
Step 6: Add Data Loss Prevention to Creative Workflows
Public Links, Email Attachments, Shared Drives, Exports, and Accidental Leaks
Most creative-studio data loss isn’t a sophisticated attack – it’s an accidental leak through an ordinary workflow habit. Public sharing links created for convenience and never revisited, email attachments sent instead of secure links (which lose all access control the moment they’re sent), shared drives with permissions that quietly expanded past their original scope, and exports that end up on a personal device without anyone tracking them all fall into this category.
None of these require sophisticated tooling to prevent, just a habit of defaulting to secure sharing and periodically auditing what’s actually publicly accessible. This connects to broader digital privacy discipline worth understanding as a set, which I explore in my piece on AI and privacy.
Step 7: Train the Team on Design-Specific Phishing
Fake Client Emails, Invoice Scams, Plugin Downloads, Asset Links, and Urgent Approval Traps
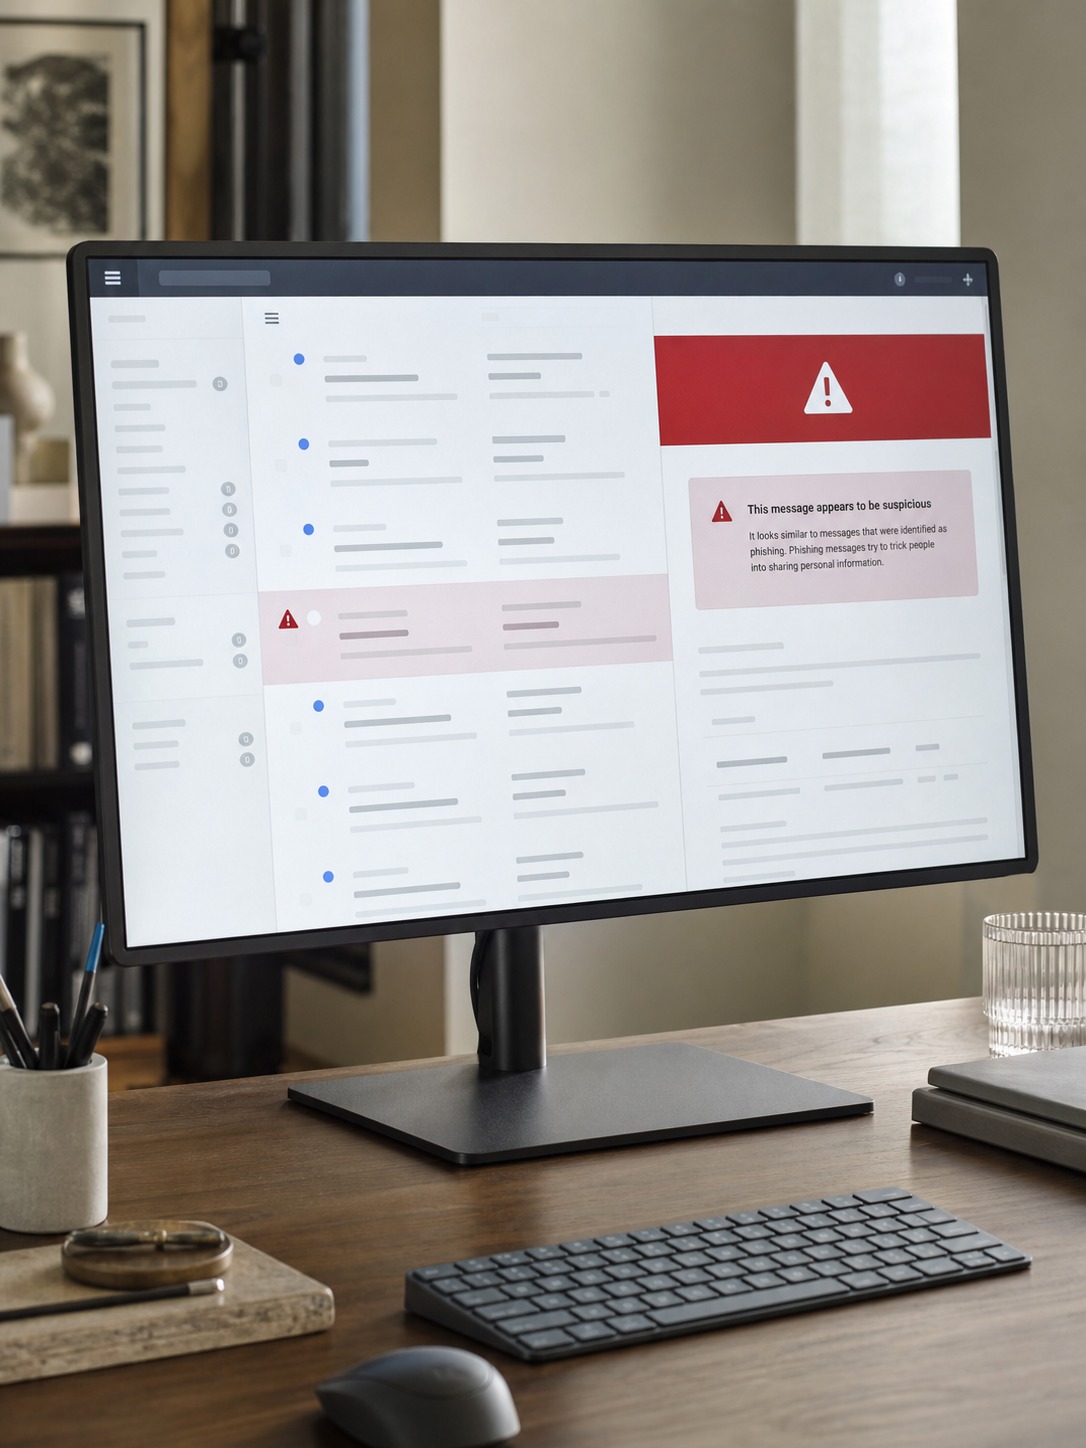
Generic phishing training misses the specific traps that actually target creative workflows: a fake “client” email requesting an urgent file transfer outside normal channels, invoice scams aimed at studios that handle a lot of freelance and contractor payments, malicious plugin downloads disguised as design tools, asset-download links posing as reference material, and urgent-approval traps designed to pressure a quick click before anyone checks the sender carefully.
Plugin risk specifically has grown alongside the rapid adoption of new AI-powered design tools, where the pace of new releases can outstrip a team’s habit of actually reviewing requested permissions – a dynamic I’ve written about in the context of agentic AI workflows in design.
Step 8: Prepare an Incident Response Plan
Who to Contact, What to Freeze, What to Revoke, and How to Notify Clients
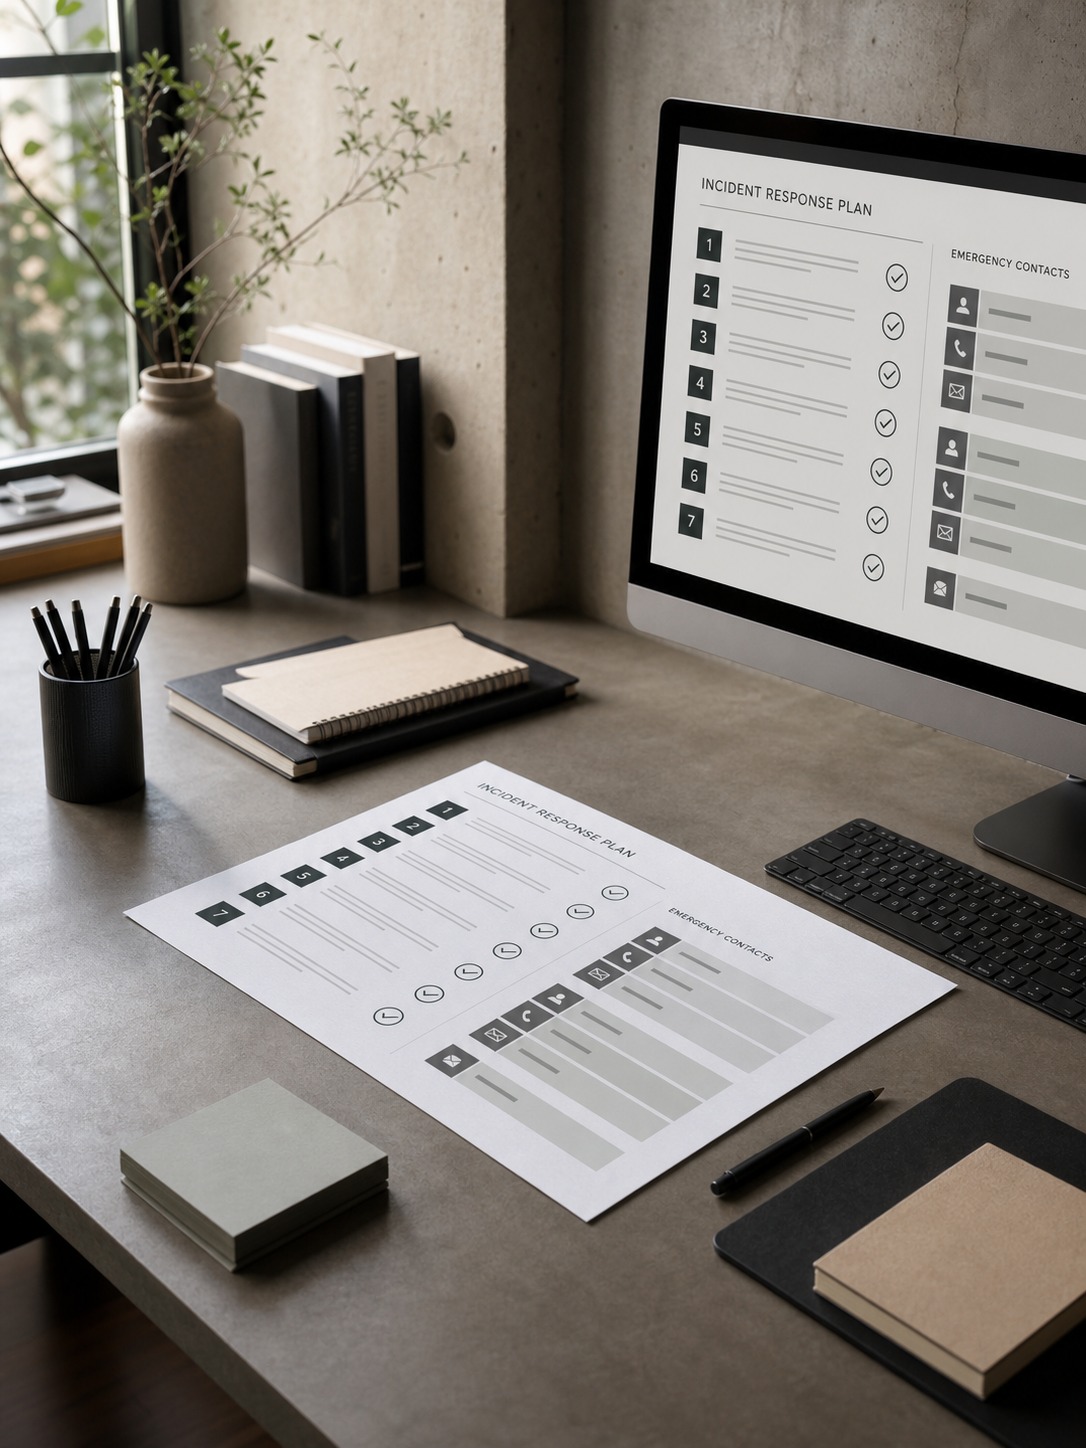
Decide this before you need it, not during. A workable incident response plan names specifically who gets contacted first, what access gets frozen immediately, which credentials get revoked, and how and when affected clients get notified.
This doesn’t need to be an elaborate document – a short, clear, accessible reference beats an exhaustive plan nobody can find in the moment it’s actually needed. Getting the fundamentals of personal and studio-level security right in the first place makes this step considerably less likely to get used, which I cover in the broader foundational sense in my guide to boosting your online security.
When IT Consulting Helps a Remote Studio
Security Audits, Risk Assessment, Cloud Setup, Policy Writing, and Training
Some parts of this checklist are genuinely easier to execute well with specialized outside help – a proper security audit and risk assessment that maps your actual exposure objectively, cloud architecture designed specifically for heavy creative asset loads, written policy that’s clear enough for a distributed team to actually follow, and structured training that goes beyond a single onboarding session.
Resources like the option to secure IT with ANC Group exist for exactly this kind of specialized need, where a studio wants expert-level security work without building that expertise from scratch internally. Teams comparing outside support can also look at secure business IT with APC Integrateds as a practical reference point for 24/7 monitoring, rapid threat response, and compliance support before a client file workflow becomes urgent. This isn’t a requirement for every studio running through this checklist – many of these steps are entirely reasonable to execute internally with consistent discipline – but for the specific gaps that are genuinely hard to close alone, bringing in that expertise is worth treating as part of the plan rather than a last resort.
I go into the tooling side of managing this whole process alongside a broader project workflow in my project scheduling software guide.
Final Thoughts
None of these eight steps are individually complicated, and that’s exactly the point of a checklist format – the value isn’t in any single step being sophisticated, it’s in actually running through all of them, consistently, before every project rather than only after something’s already gone wrong.
Map what you’re protecting, audit access before it goes live, default to secure sharing, and know your incident response plan before you need it. Run through this before your next project kickoff, and most of the leaks that start as an ordinary workflow habit never get the chance to happen.
Frequently Asked Questions
What should be included in a cybersecurity checklist?
A solid checklist for a creative team covers asset inventory (knowing what you’re actually protecting), access controls (MFA, role-based permissions, regular audits), secure file sharing defaults (expiring links, watermarks), device security (MDM, patching, a lost-device process), tested backups, data loss prevention habits, phishing awareness specific to creative workflows, and a documented incident response plan.
How can remote design teams share files securely?
Default to expiring, permission-controlled links rather than public share links or email attachments, use watermarks on sensitive client proofs, and reserve dedicated secure client portals for ongoing sensitive relationships. Review access before and after a project wraps rather than letting permissions accumulate over time.
What are the biggest cybersecurity risks for creative studios?
Distributed devices and home networks widen the attack surface compared to a single office, and creative-specific social engineering risks – fake client requests, invoice scams, malicious plugin downloads – target the collaboration patterns design teams rely on daily. Human error remains the leading cause of security incidents generally, which is why consistent training matters as much as technical controls.
How often should a design team review access permissions?
At minimum, before every new project kickoff and immediately when a contractor or team member’s involvement ends. A quick standing review at project start catches most permission sprawl before it becomes a real exposure, and takes considerably less time than untangling access after it’s already accumulated across a live project.
Should creative agencies use cybersecurity consultants?
For specific gaps that are genuinely hard to close with internal resources alone – a proper security audit, cloud architecture for heavy creative asset workloads, or a tested incident response plan – specialized outside consulting is often worth it. Many of the checklist items here are reasonable to execute internally with consistent discipline, so it depends on which specific gap a studio is actually facing.
- 150shares
- Facebook0
- Pinterest150
- Twitter0
- Reddit0