A bathroom tile layout decides where the grout lines start and where the cuts land. In automotive design, a gap that changes from 4 mm to 6 mm can make a panel look wrong even when its shape is right. Tile joints have the same visual effect: uneven edges and narrow slivers draw your eye away from the room.
I’m approaching this as a designer. The tile setter needs to confirm the plan against the room and the installation system. Here we’ll work through the starting grid, balanced cuts, floor-to-wall alignment and a shower niche, using a simple measured example you can draw on paper.
- What is a bathroom tile layout?
- Start with a floor plan and wall elevations
- Choose the tile grid's starting point
- Balance cuts at corners, doorways, and the ceiling
- Plan the floor and walls together
- Fit the shower niche into the tile layout
- Resolve fixtures, glass, and exposed tile edges
- Compare two layouts before installation
- Frequently asked questions
- Draw it before you set it
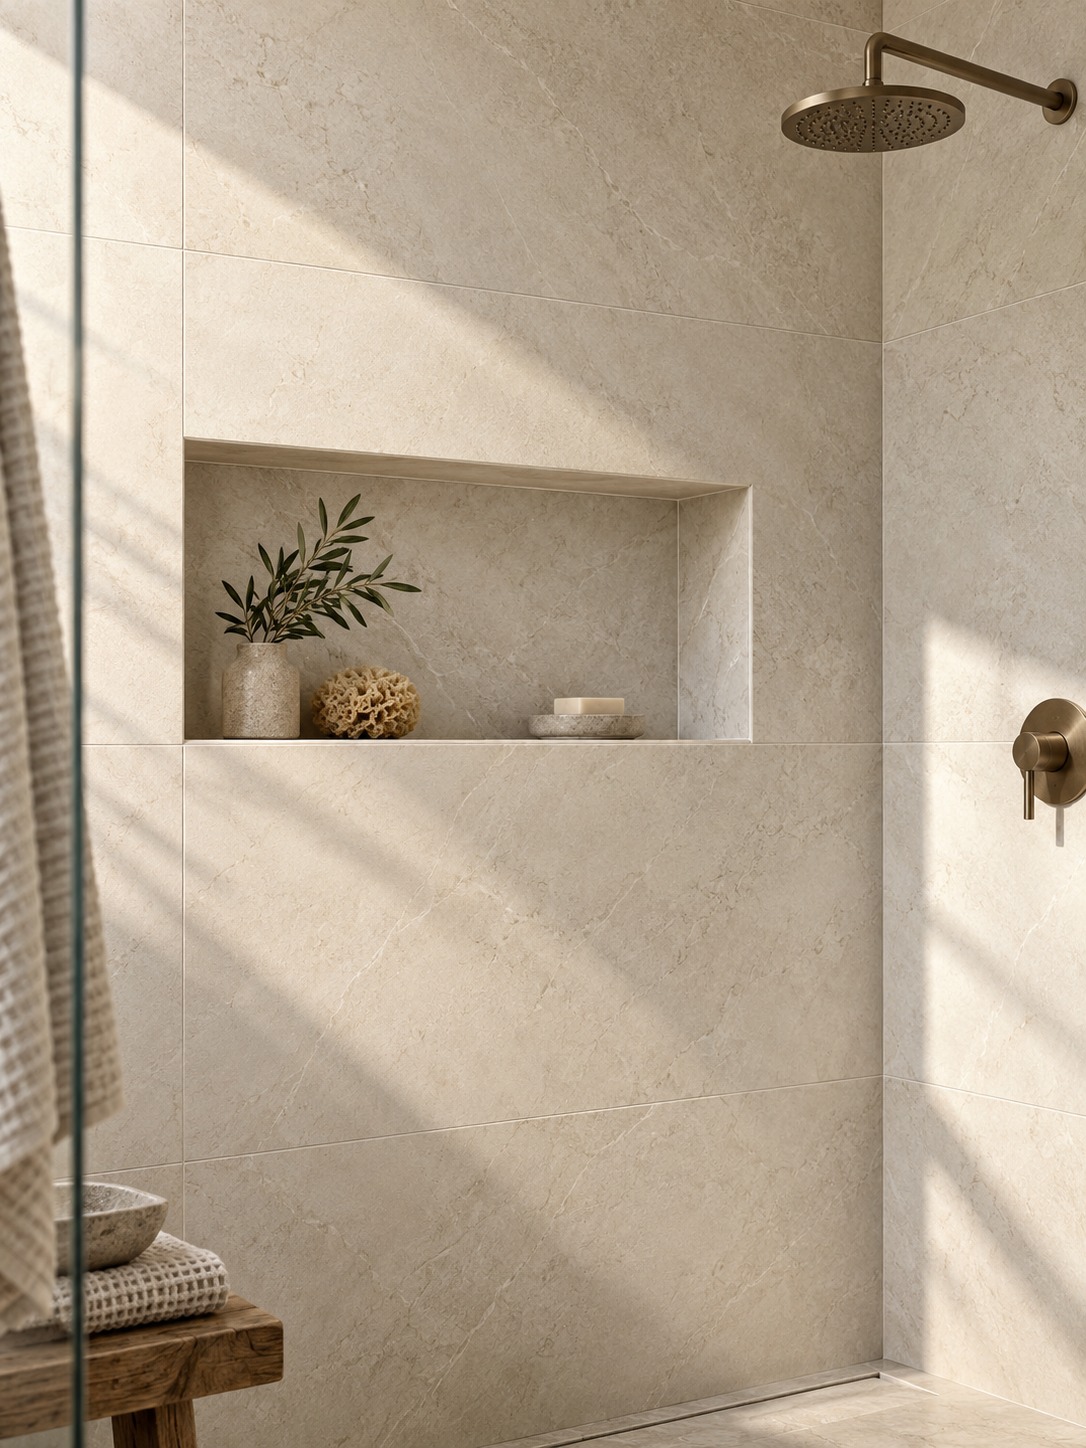
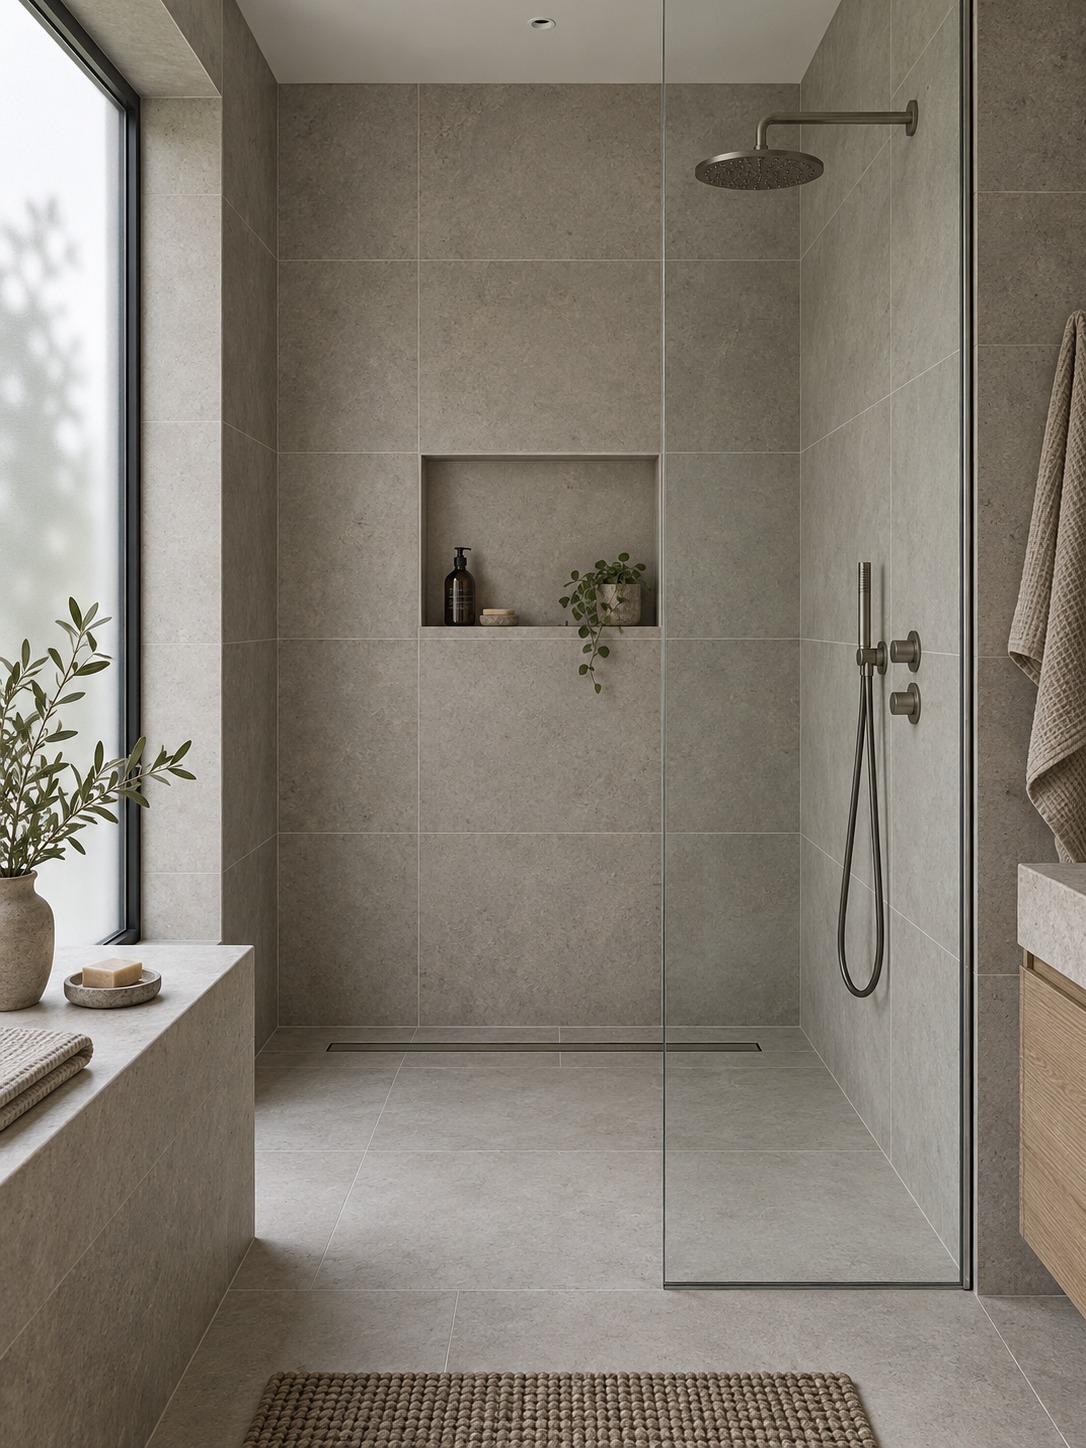
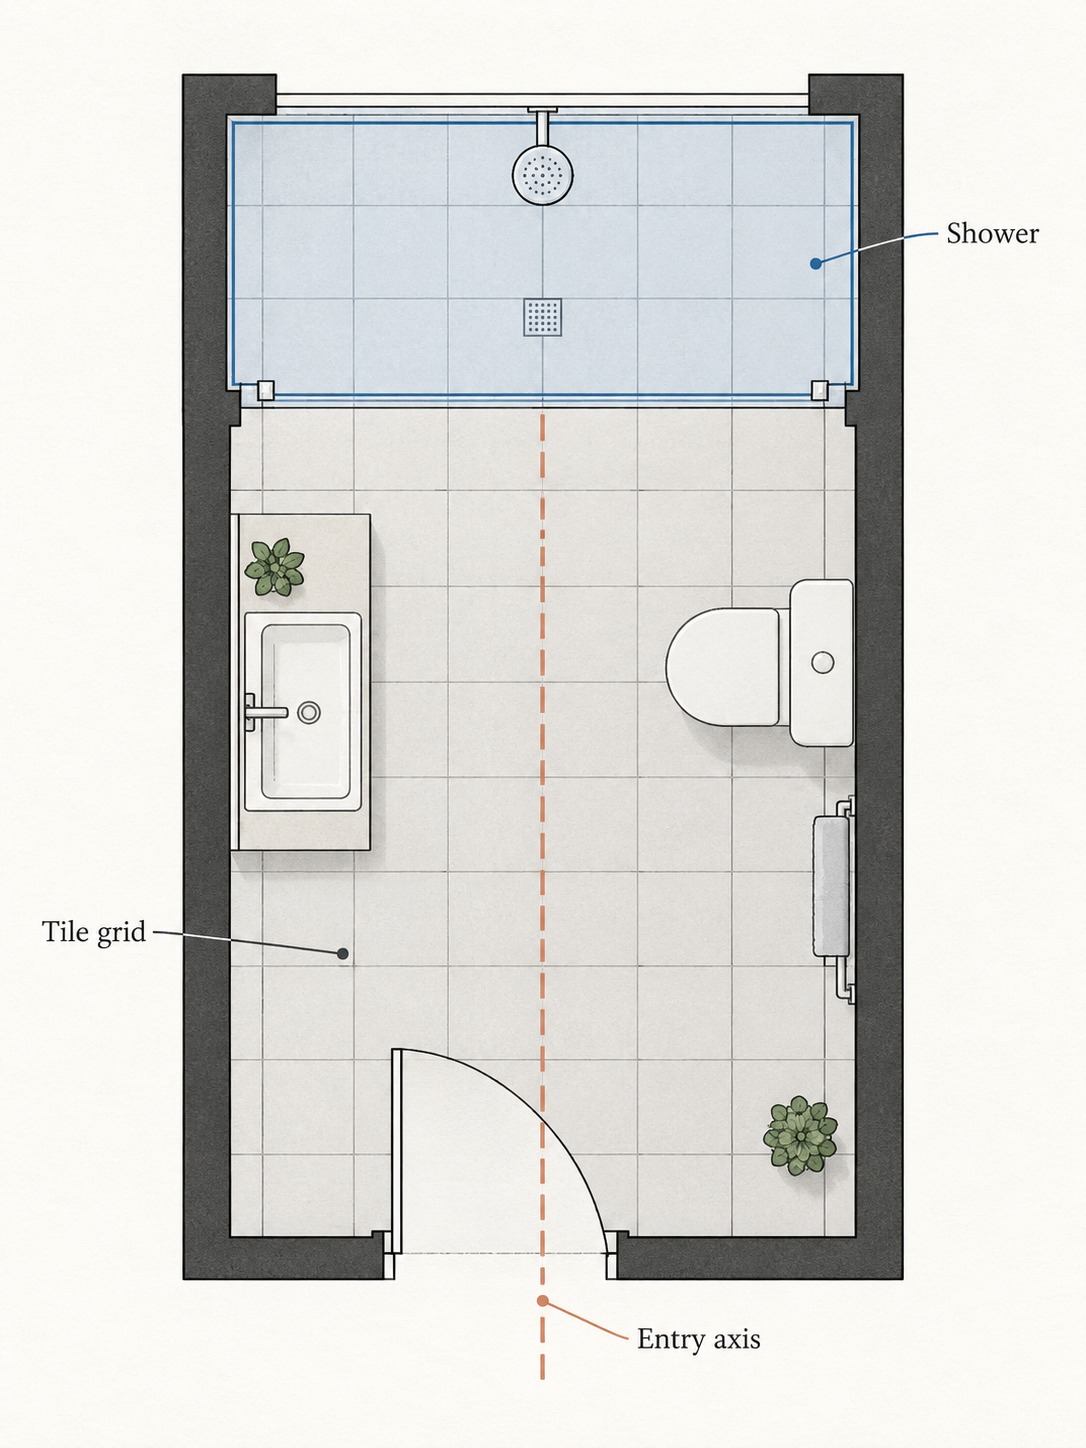
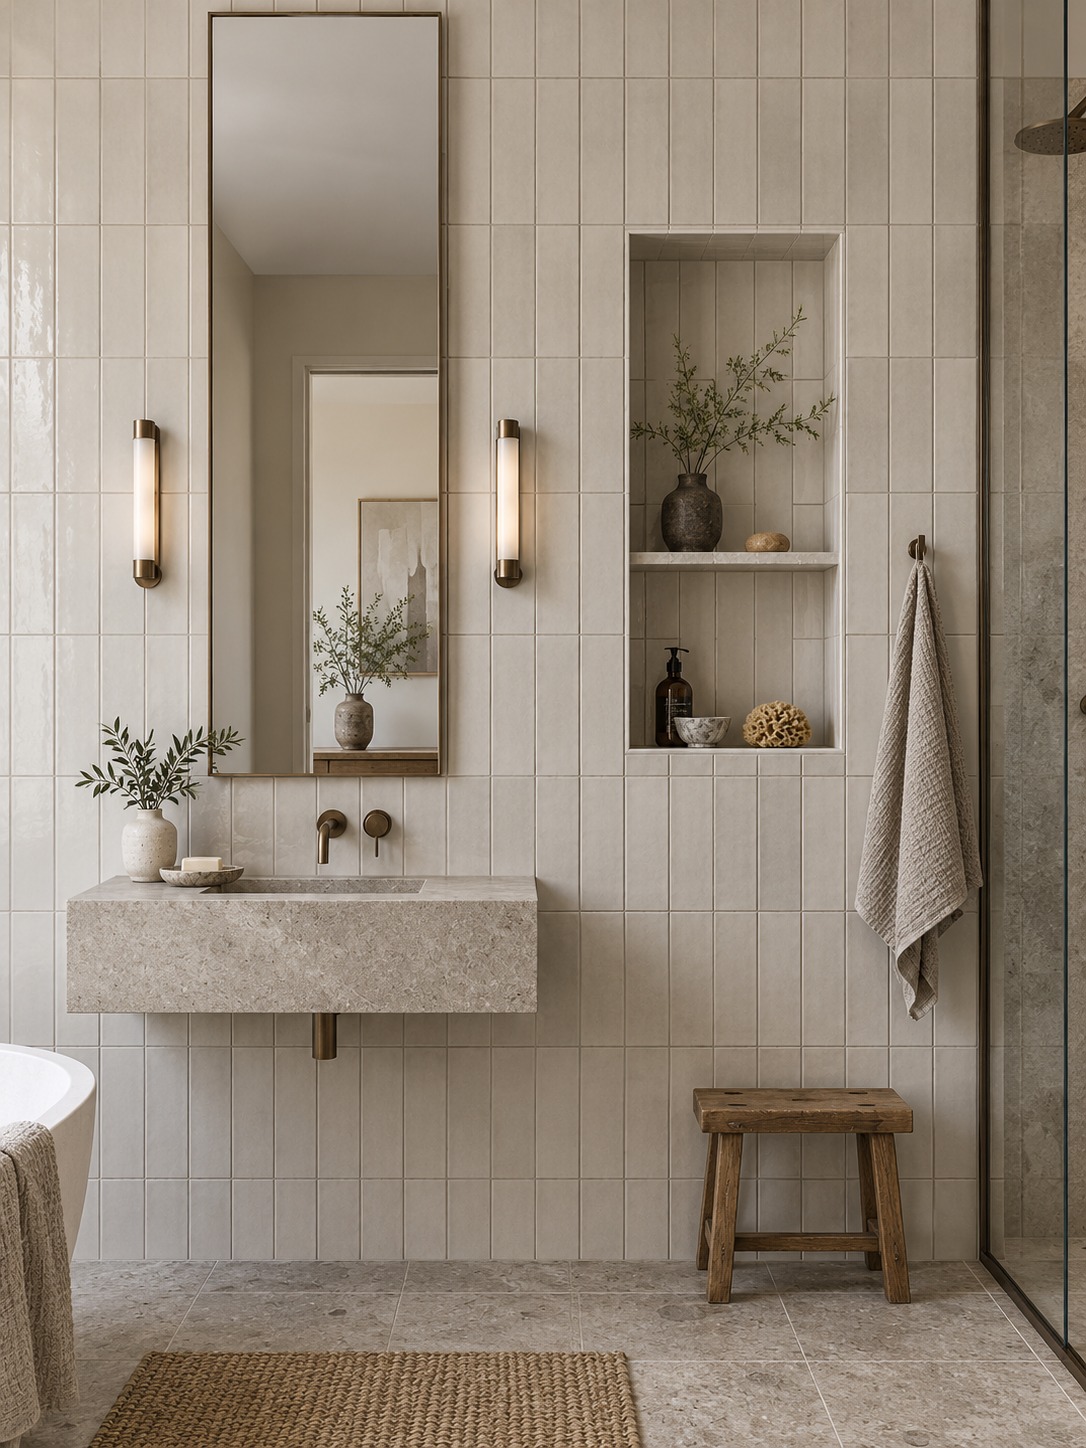
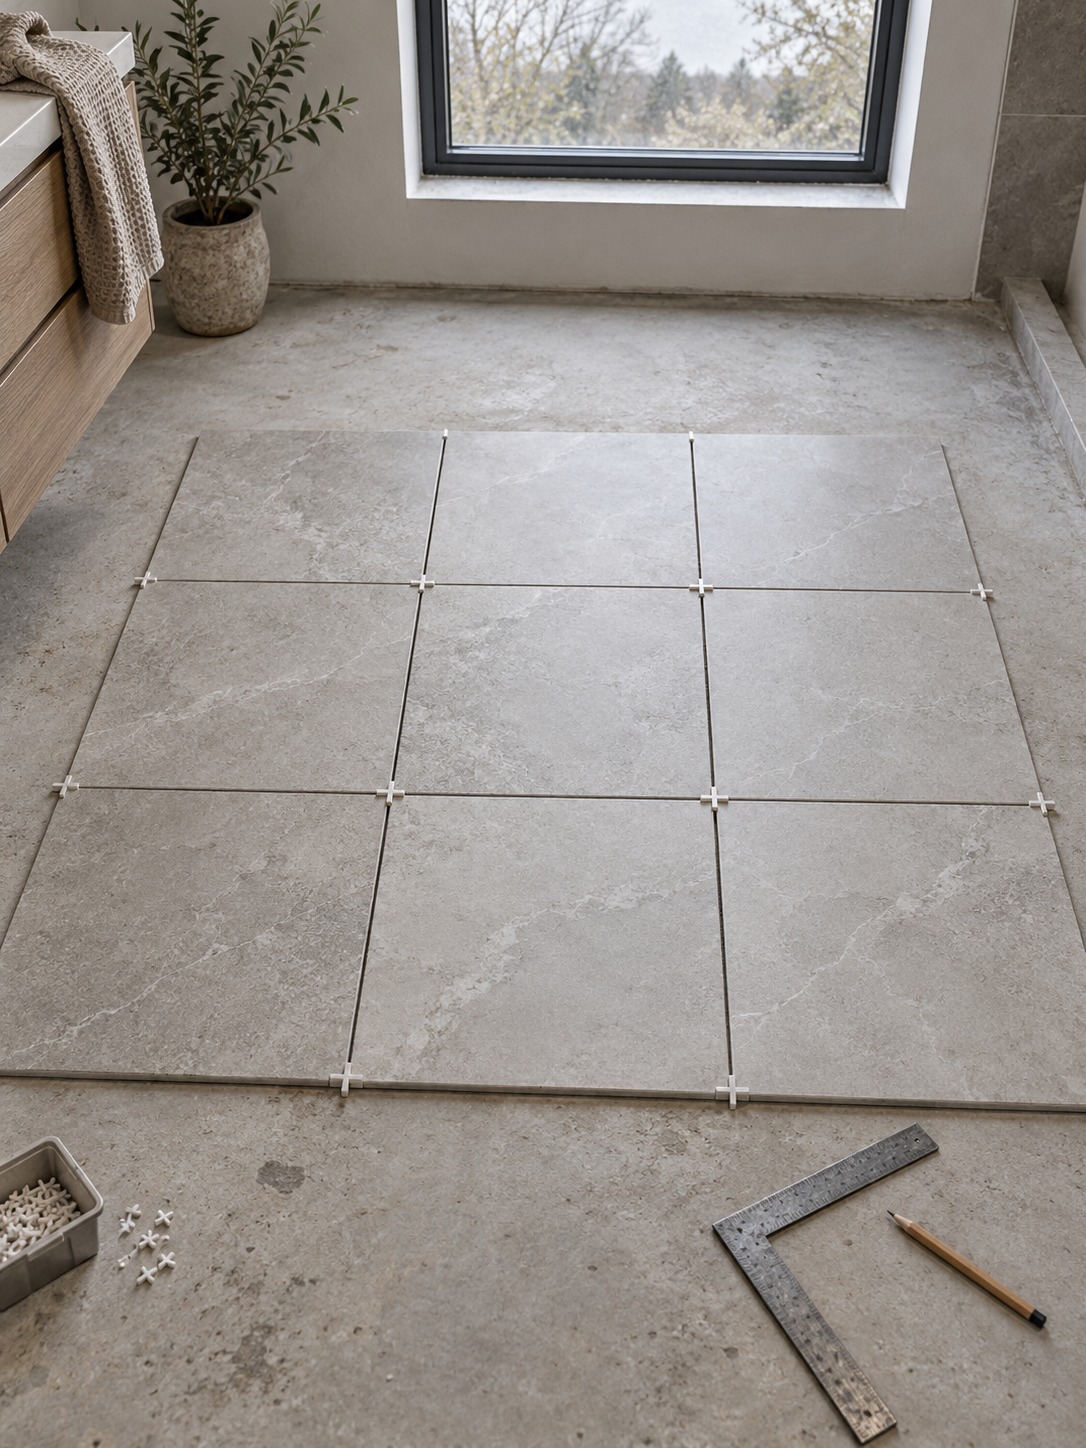
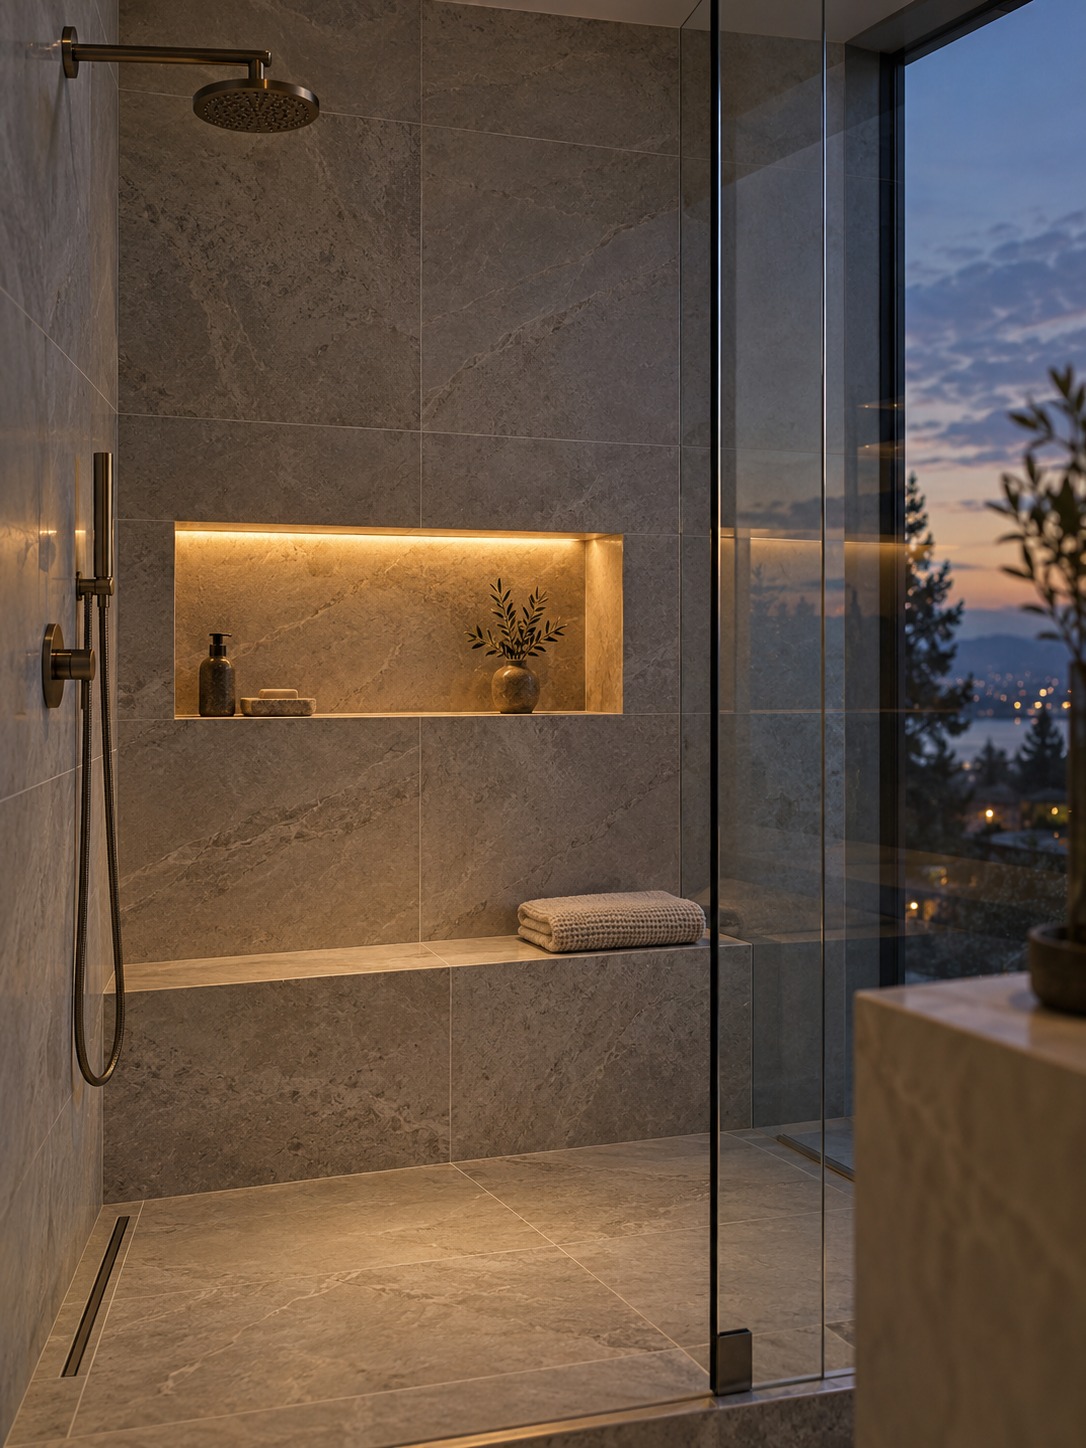
The images are AI-generated design illustrations; the measured example below is hypothetical. Use the drawings and verified site dimensions for setting out.
What is a bathroom tile layout?
A bathroom tile layout is a drawing of the tiles and joints on each wall and on the floor before installation. It shows the starting axis, edge cuts and how the grid meets niches, fixtures and glass. Use it to compare options, then confirm the dimensions on the prepared surfaces with your tile setter.
Start with a floor plan and wall elevations
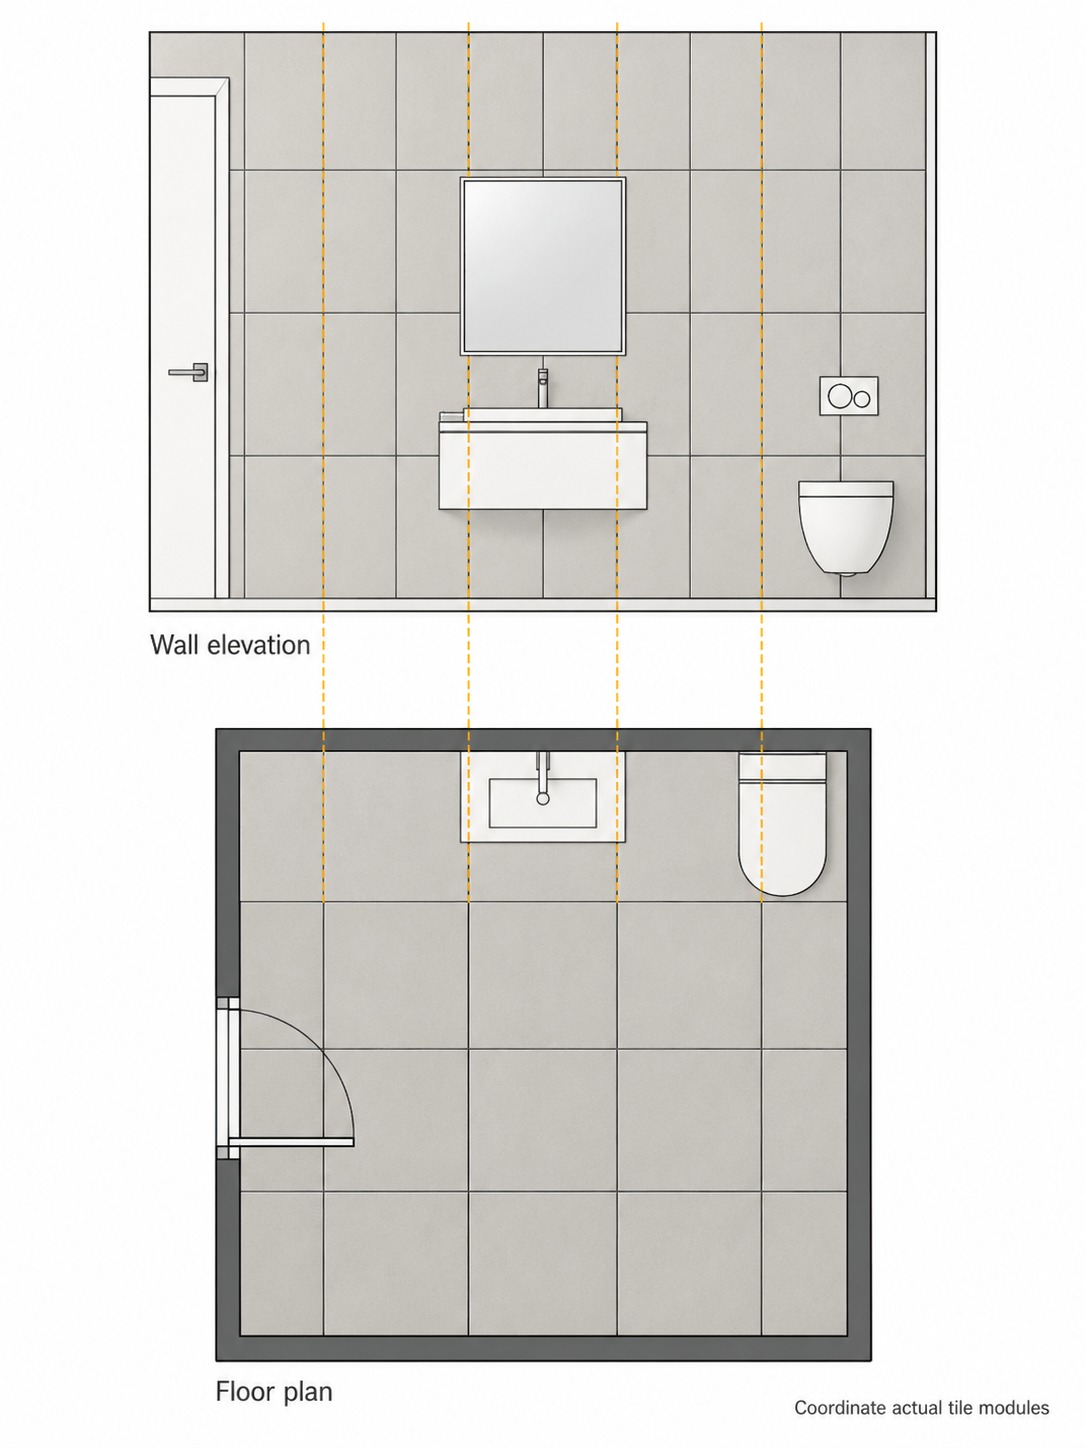
Start with two drawings: a floor plan, which shows the room from above, and an elevation of each tiled wall, drawn straight on. Graph paper is enough. Keep each drawing to a consistent scale so you can compare cuts accurately.
On the plan, mark the walls, the doorway, the threshold, the drain, the tub or shower footprint and any fixed obstacle. On each elevation, mark the ceiling height, the niche, the valve and shower arm, window edges, the vanity and the line where glass will land. These are the things that interrupt a grid, and you want to see them all at once.
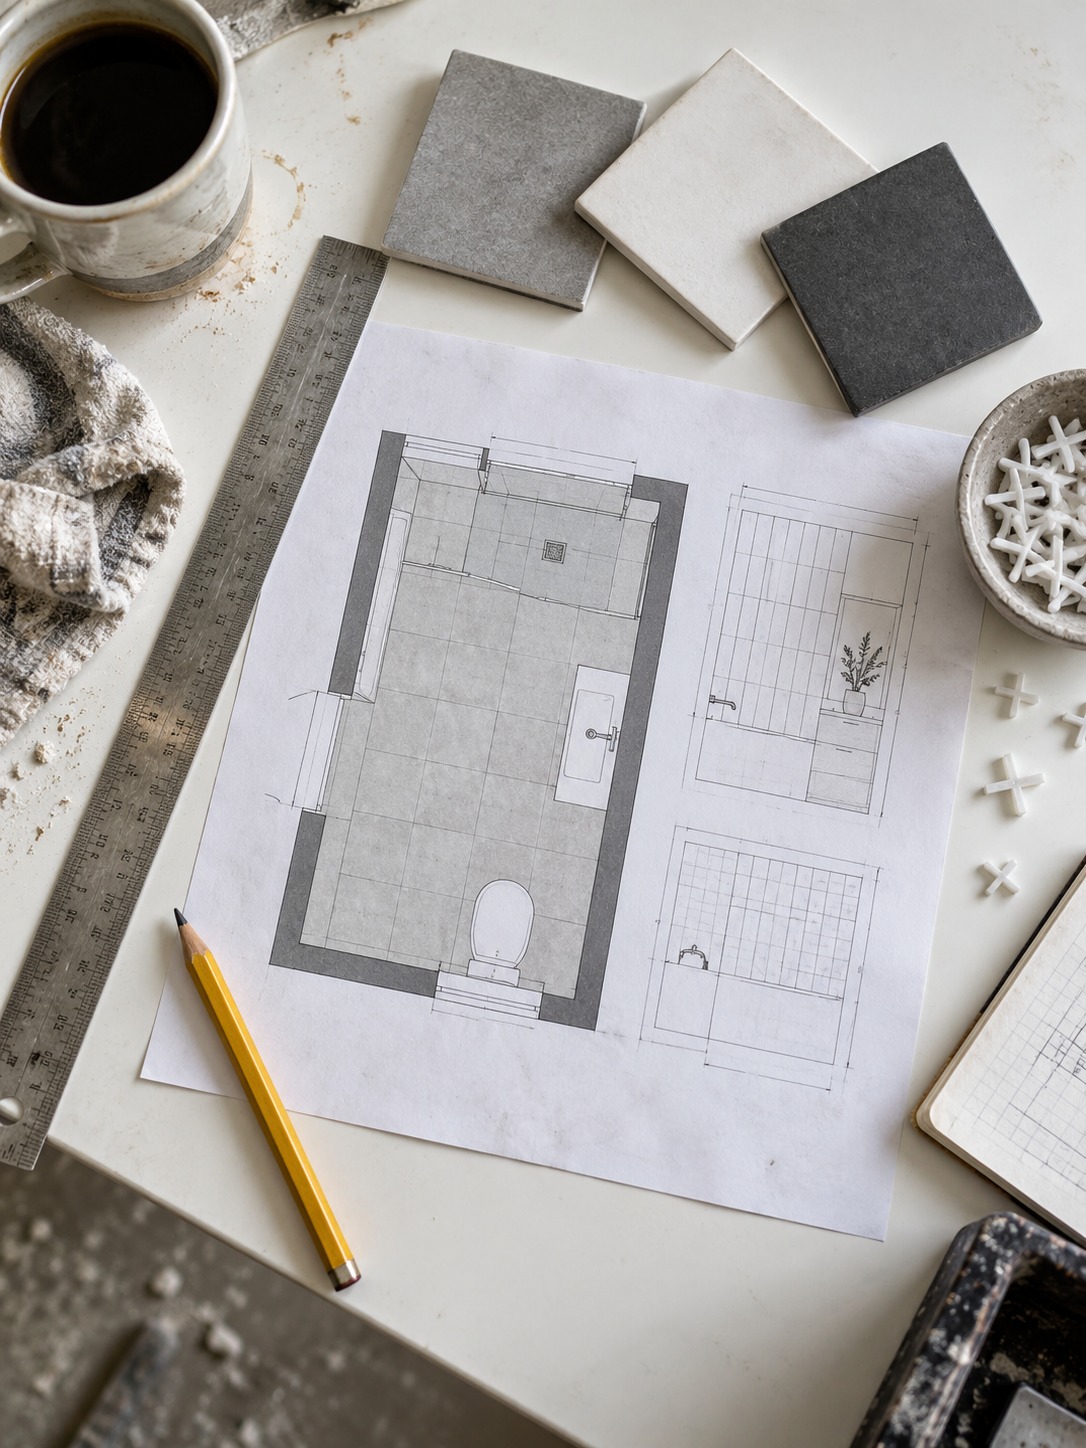
Early measurements are provisional. Walls can be out of plumb, floors can vary in level, and the substrate and waterproofing affect the available space. Draw a first layout before demolition, then check it on the prepared surfaces. Include the tile build-up where adjacent finishes affect the dimensions.
Record the tile’s nominal size, measured size and proposed joint width. Check samples from the supplied batch and the manufacturer’s guidance; the name on the box is not a setting-out dimension. For a repeating grid, use the module: actual tile size plus the joint.
Choose the pattern before setting out the grid. Stacked, running bond and herringbone repeat differently. The subway tile patterns guide covers pattern choice; here the task is positioning your chosen pattern within the room.
Choose the tile grid’s starting point
A full tile at one corner can work, but it may leave a sliver at the other end. Before accepting that starting point, test a centered tile and a centered joint as well.
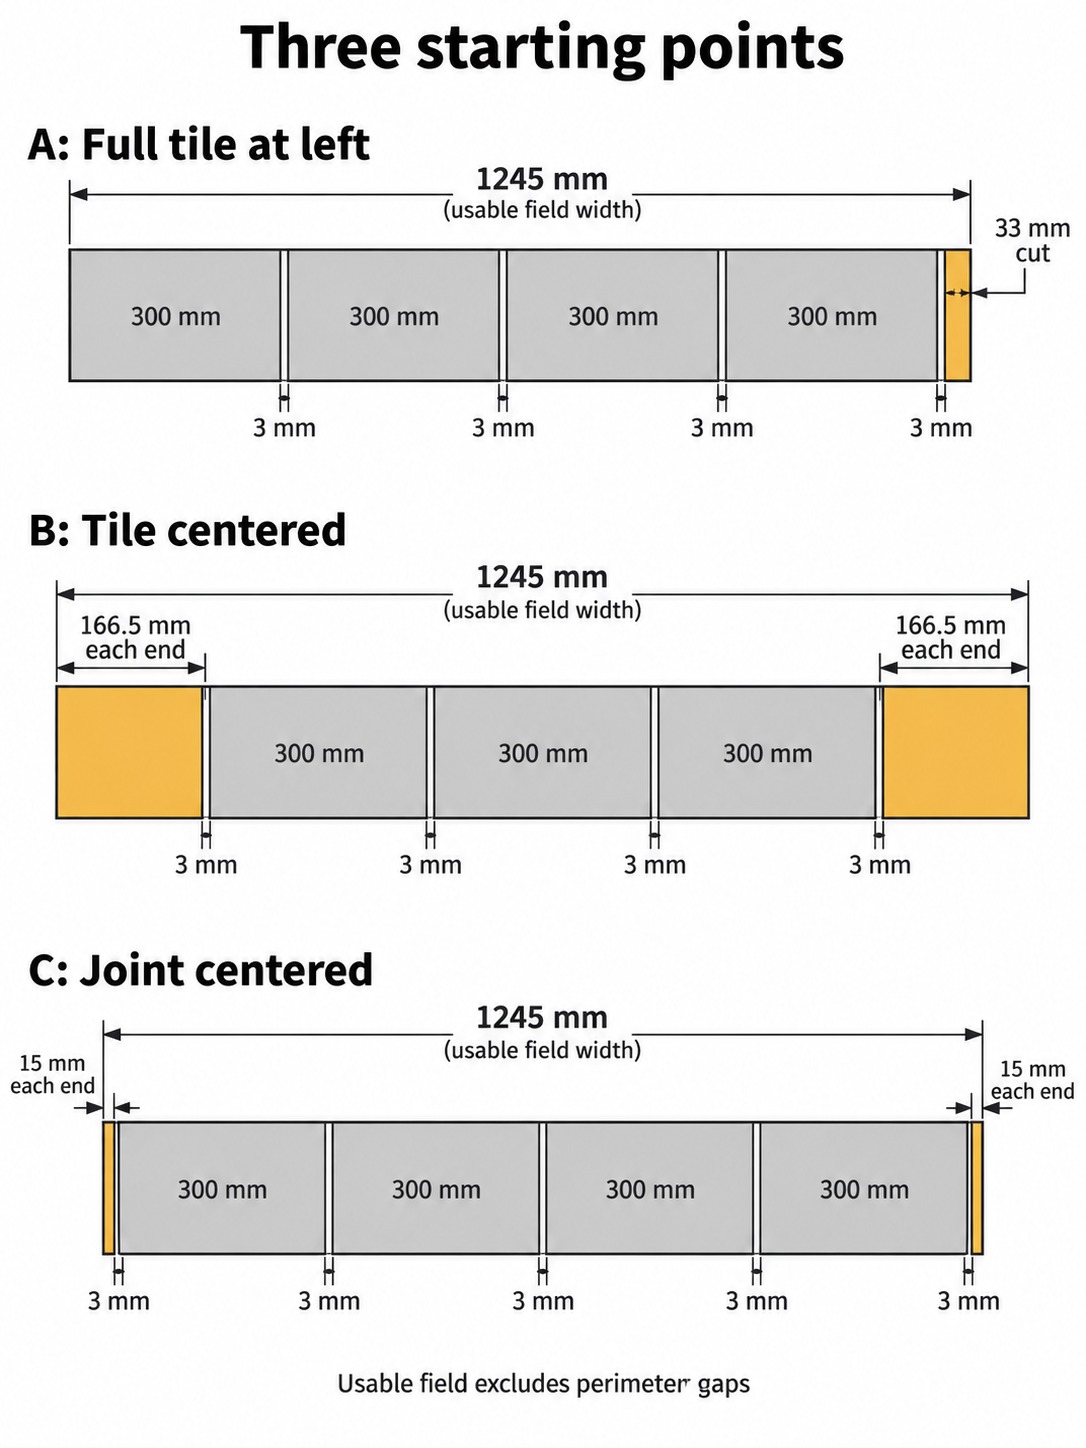
For this hypothetical example, the usable tile field is 1,245 mm wide after allowing for the required perimeter gaps. Each tile is exactly 300 mm wide, with 3 mm joints between tiles. The repeating module is 303 mm. These are teaching dimensions, not measurements from a completed project.
Option A: full tile at the left edge. Four full tiles and four joints leave a 33 mm cut on the right: 1,245 – (4 × 300) – (4 × 3) = 33 mm. That narrow strip is conspicuous on an exposed edge.
Option B: a tile centered on the wall axis. Three full tiles sit between two equal edge cuts. With four joints, each cut is (1,245 – 900 – 12) ÷ 2 = 166.5 mm. Both edges are slightly wider than half a tile.
Option C: a joint centered on the wall axis. Four full tiles sit between two edge cuts, with five joints in total. Each cut is (1,245 – 1,200 – 15) ÷ 2 = 15 mm. This gives two slivers instead of one.
The tile and wall dimensions haven’t changed. Only the starting point has. For this wall, I’d take Option B to the tile setter as the first choice.
How to choose between them
Stand at the doorway and identify the wall you notice first. Favor balanced cuts there, then check the niche, bench and adjacent walls. A less visible edge can absorb an unequal cut, but don’t assume clear glass will hide it.
As a visual starting point, aim for visible cuts around half a tile or wider where the room allows. Treat that as a design preference, then check the practical cut size with the installer.
Balance cuts at corners, doorways, and the ceiling
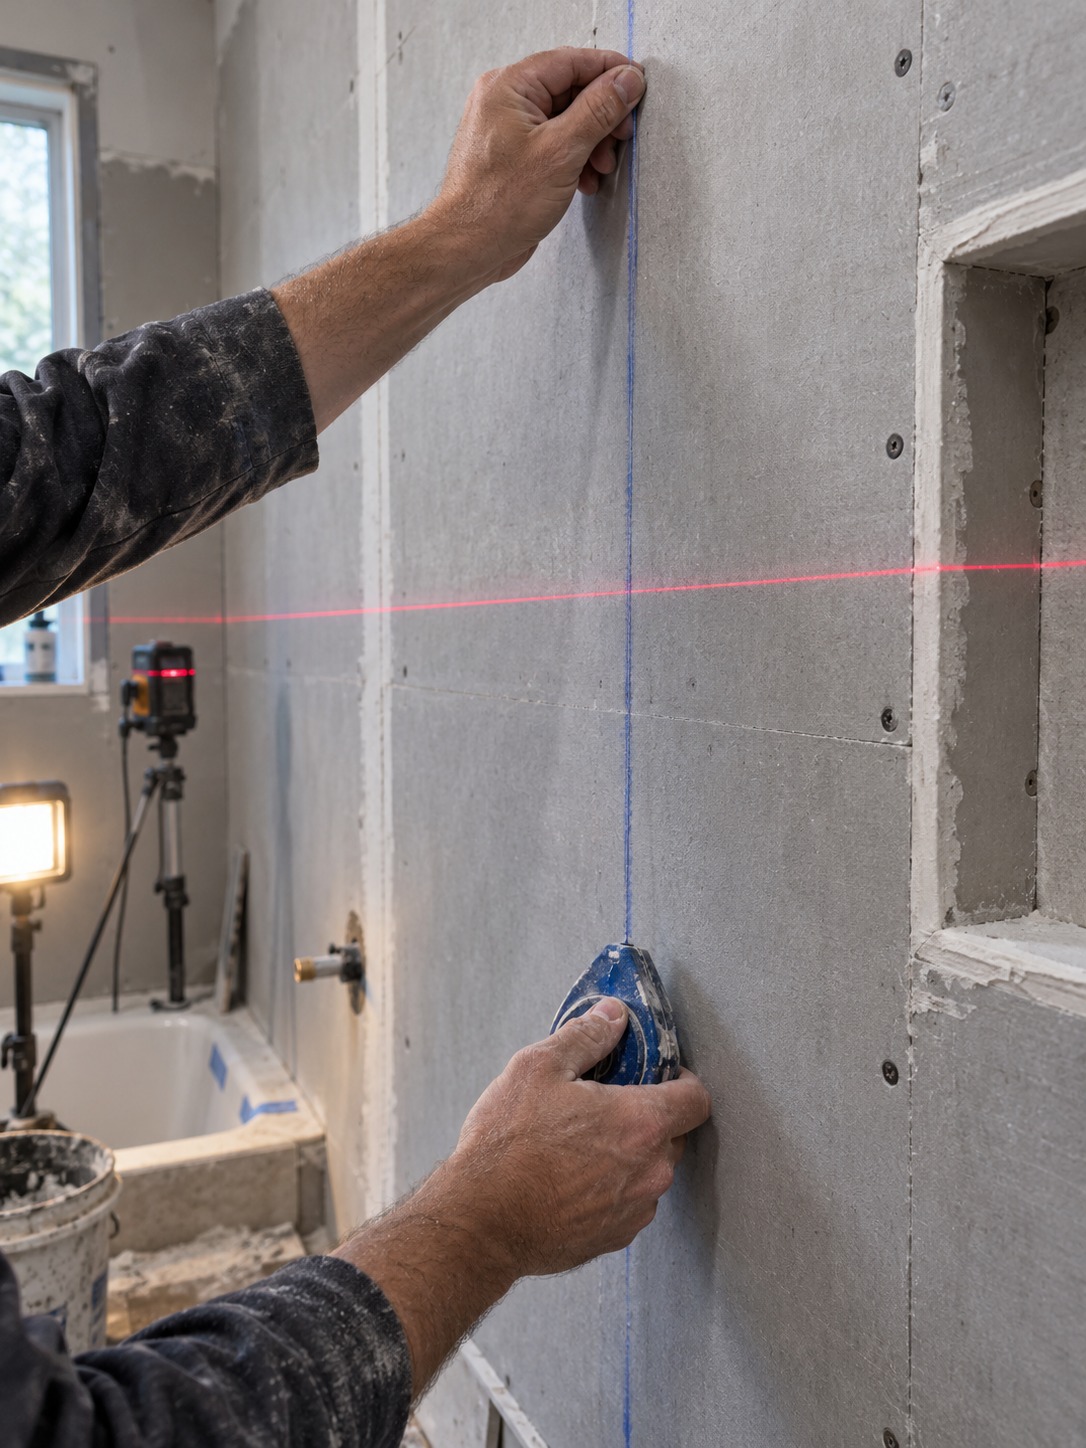
Check left and right corners, the doorway or open edge, and the top and bottom rows. A balanced wall can still have an awkward strip at the ceiling.
Check both sides of every wall
Draw adjacent elevations together and check each corner from both directions. A change that improves one wall can make the next worse. Try another starting axis and compare the resulting cuts; a tiny shift only changes a cut by a tiny amount.
Rows matter too
For a separate height example, take a usable field of 2,400 mm after perimeter allowances, with tiles 600 mm high and 3 mm joints. Four full rows plus three joints would need 2,409 mm. Three full rows and a top row cut to 591 mm fit the field. That 9 mm trim leaves a broad top row. If a layout instead leaves a 40 mm strip, test a different vertical starting point and share the cuts between the top and bottom.
Use the setter’s level reference, not an assumption that the floor or ceiling is level. Confirm the smallest and largest cuts across the wall and keep required movement joints in the detail.
Doorways and open ends
At a doorway or open edge you see the tile edge itself. Ask the setter which edges will be exposed, and give those edges a full or wide tile where you can.

Plan the floor and walls together
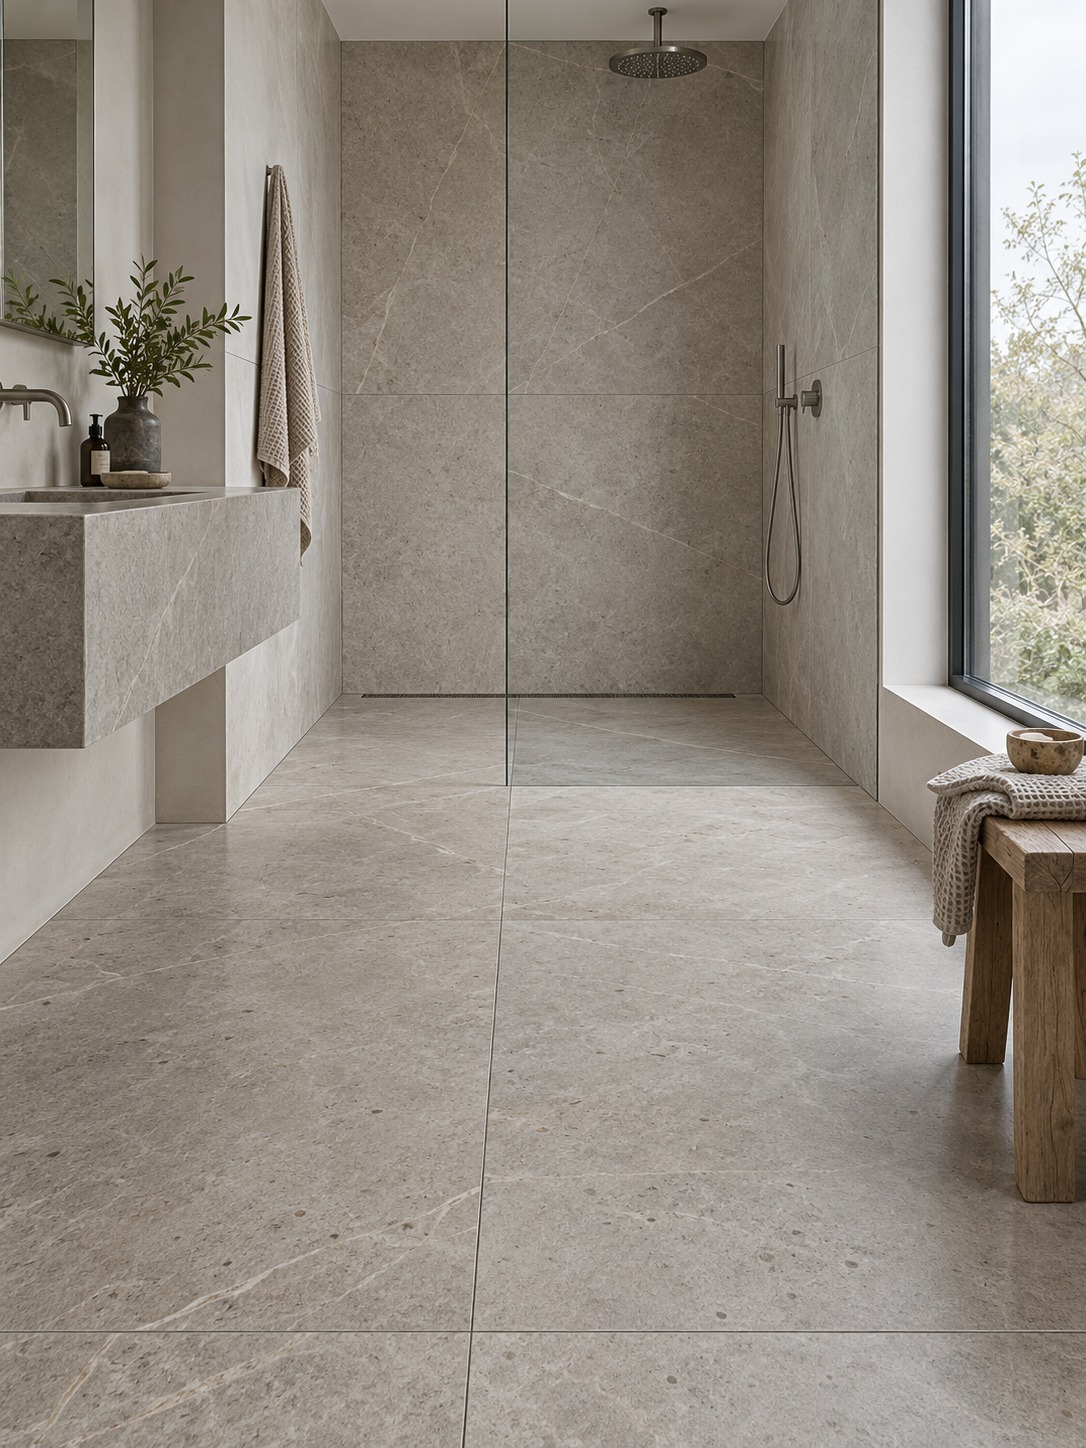
Floor and wall joints can align, but that depends on the actual tile modules. Compare them on the same drawing before you decide whether a continuous grid is possible.
Nominal sizes alone can mislead you. A 300 mm tile plus a 3 mm joint repeats every 303 mm; two modules total 606 mm. A 600 mm tile with the same joint repeats every 603 mm, so those grids gradually drift. Some products are sized to coordinate, but measure and check the specified joint widths before drawing every second wall joint in line with the floor.
I’d use a deliberate offset if a forced match produces tiny cuts. Keep the transition consistent and let the edge widths guide the decision.
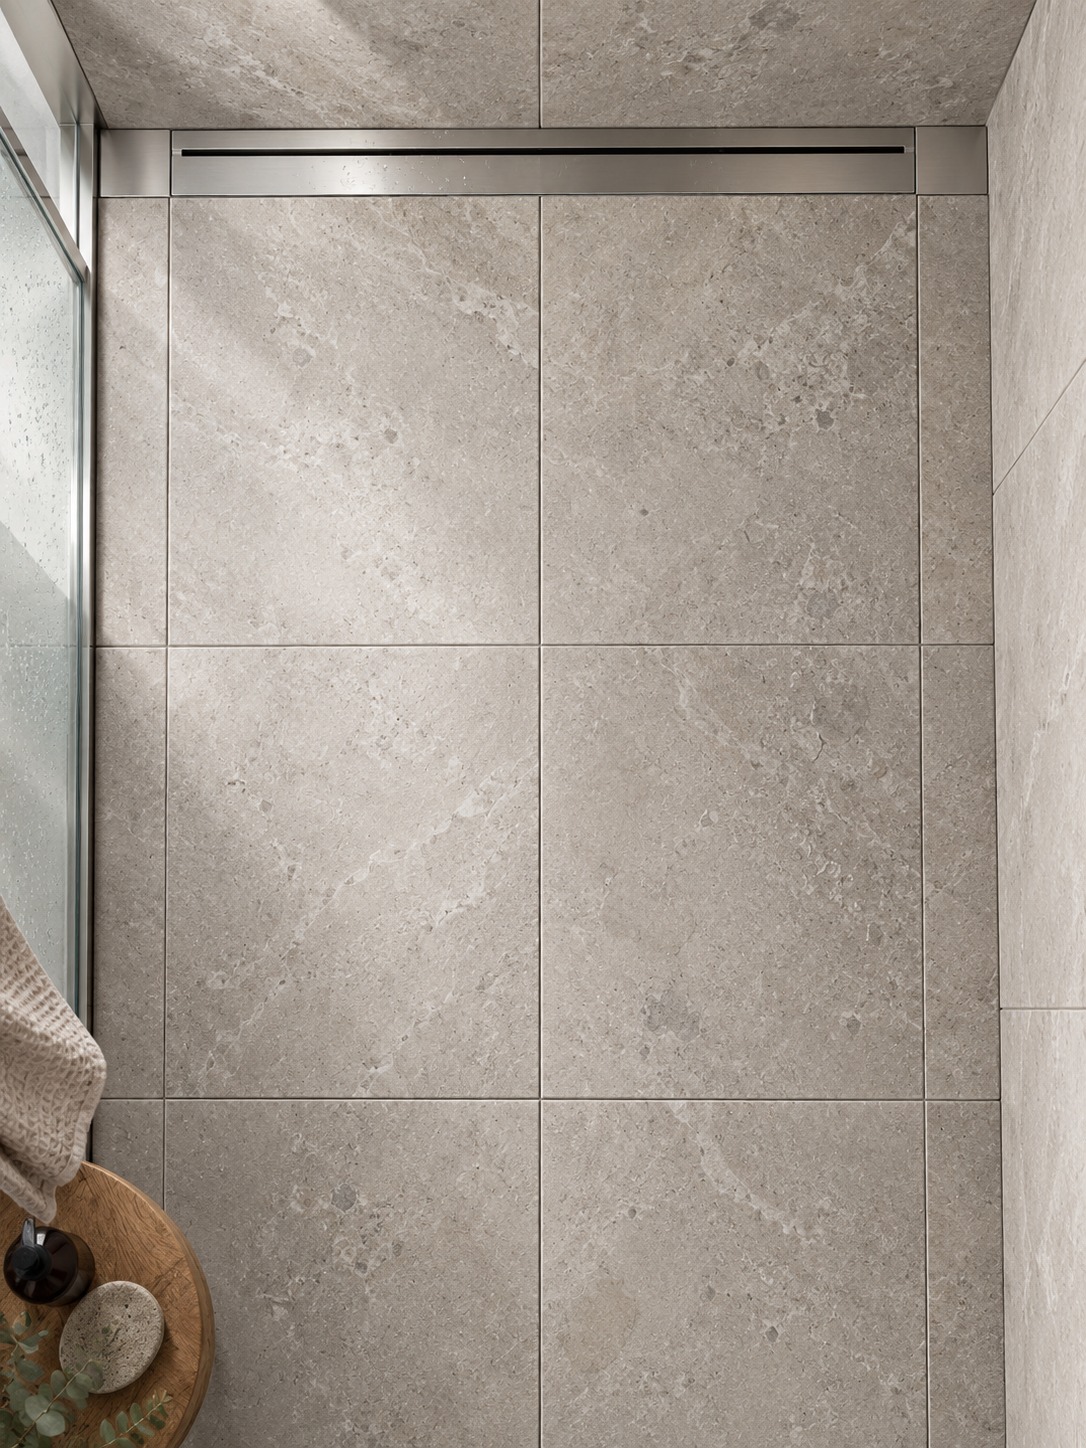
In the shower, the drainage slope and installation system come first. Confirm the permitted tile size and layout for the selected pan and drain with their manufacturers. Small tiles can follow changes of plane; large tiles may need a compatible single-plane slope or planned cuts. A decorative grout alignment must work with those requirements.
On the main bathroom floor, compare the grid with the doorway sightline and vanity position. Keep obvious edge cuts broad where possible. A cut under a vanity is only hidden if the vanity actually covers it.
Fit the shower niche into the tile layout
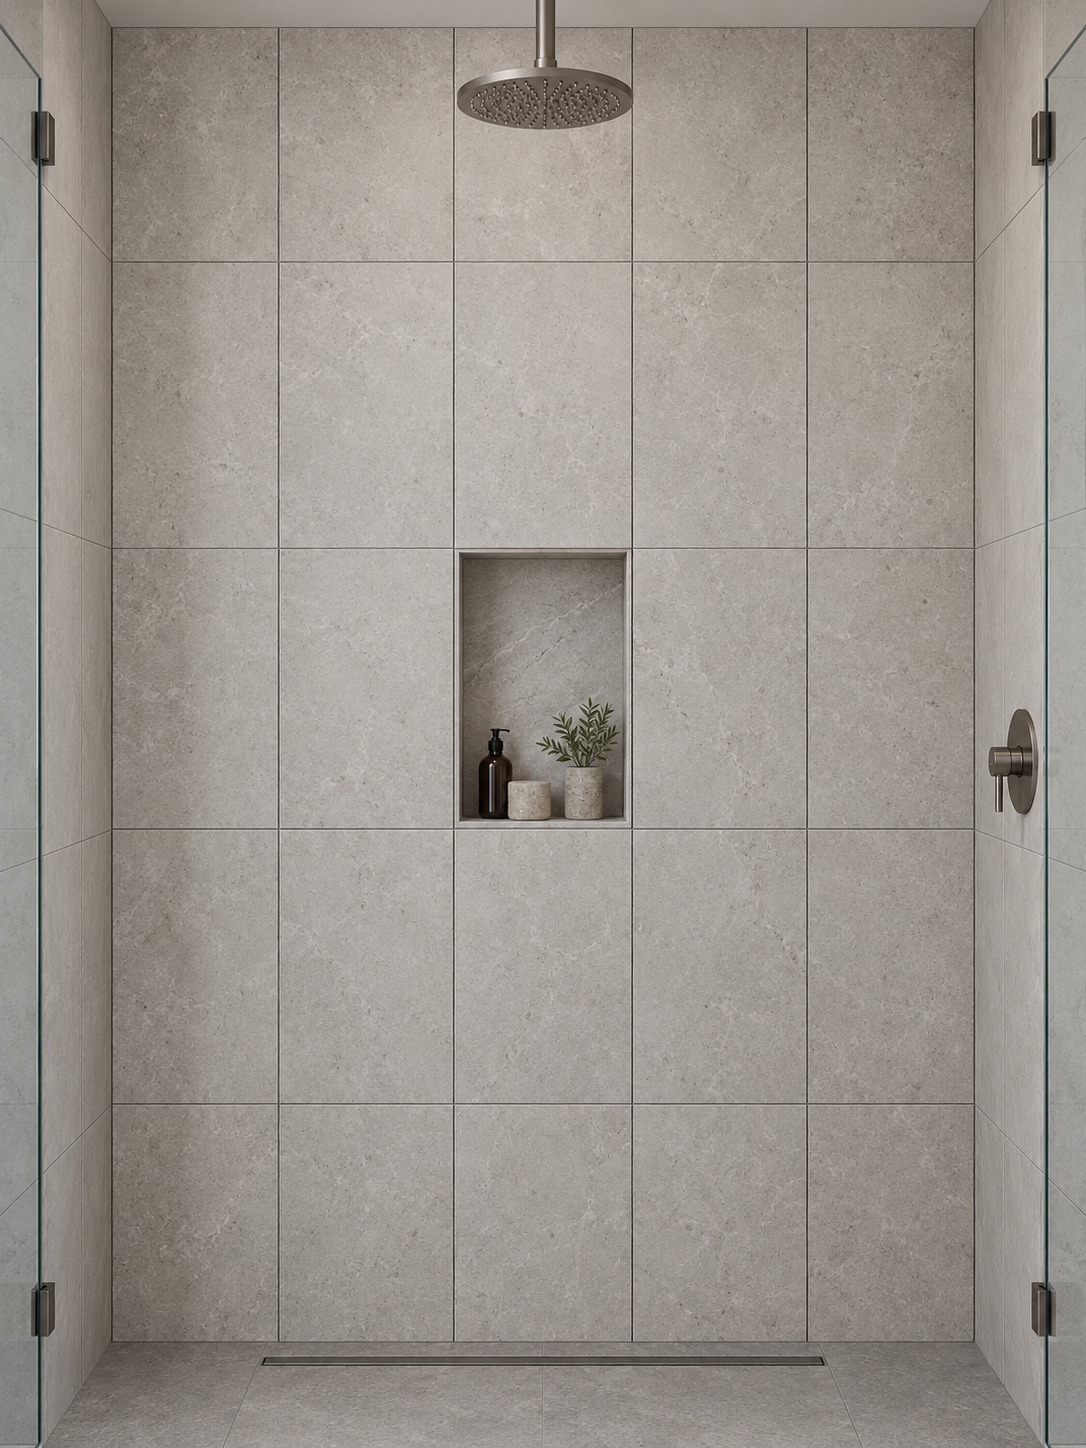
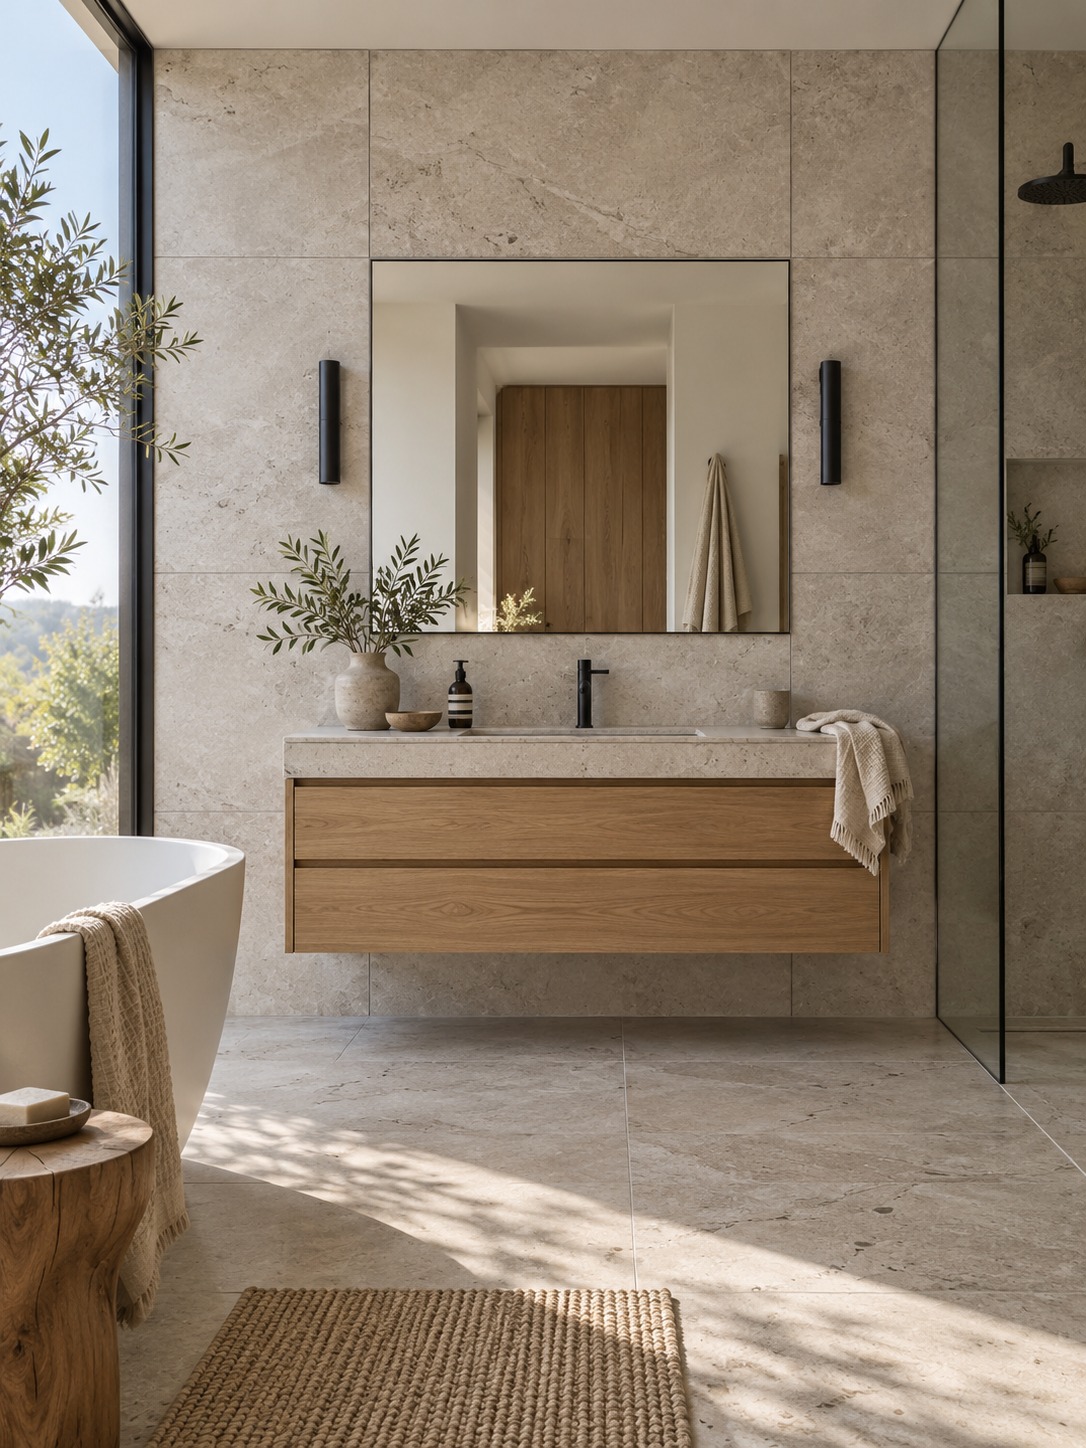
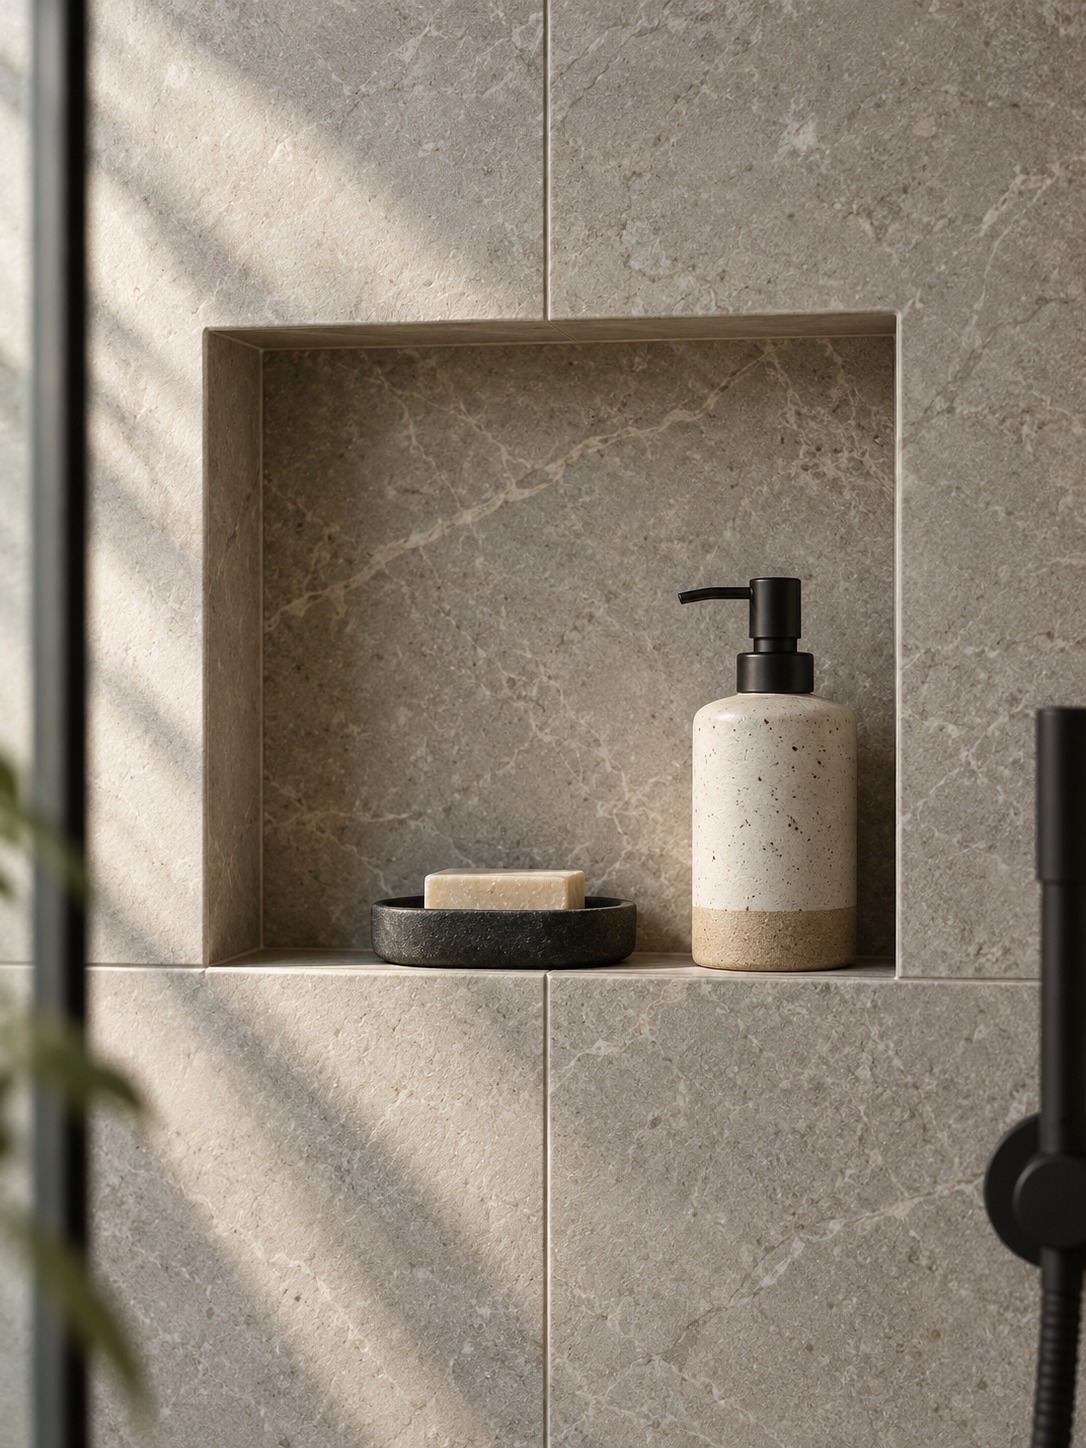
A niche interrupts the tile grid. Plan its visible edges alongside the tile layout so you can avoid small L-shaped cuts or a thin strip above the opening.
In the worked example, Option B puts a full tile column on the wall’s center axis. That gives you a useful reference for a centered niche. It does not mean a 300 mm rough opening or a 300 mm clear opening will automatically fit that column. The returns, adhesive, edge finish and joints all change the finished dimensions.
Draw the intended finished niche edges first, then have the contractor work back to the required opening for the chosen system. A niche can span one or more tile modules when the framing and product dimensions allow it. If its location or size is fixed, adjust the grid around it.
Inside the niche
Draw the back, returns and shelf in elevation. Show the shelf thickness as well as its height, and test whether its visible edge can meet a horizontal joint. Confirm the shelf slope and waterproofing detail separately with the installer.
Dimensions and technical details
Depth, framing, slope and waterproofing must follow the selected niche and waterproofing system. Confirm any size change before the wall is built. Prefabricated niches have fixed dimensions, and framing or services may limit where an opening can go.
Resolve fixtures, glass, and exposed tile edges
Mark fixtures, the glass line, the vanity and every exposed tile edge on the same elevations. These details can change which starting grid works best.
Fixtures
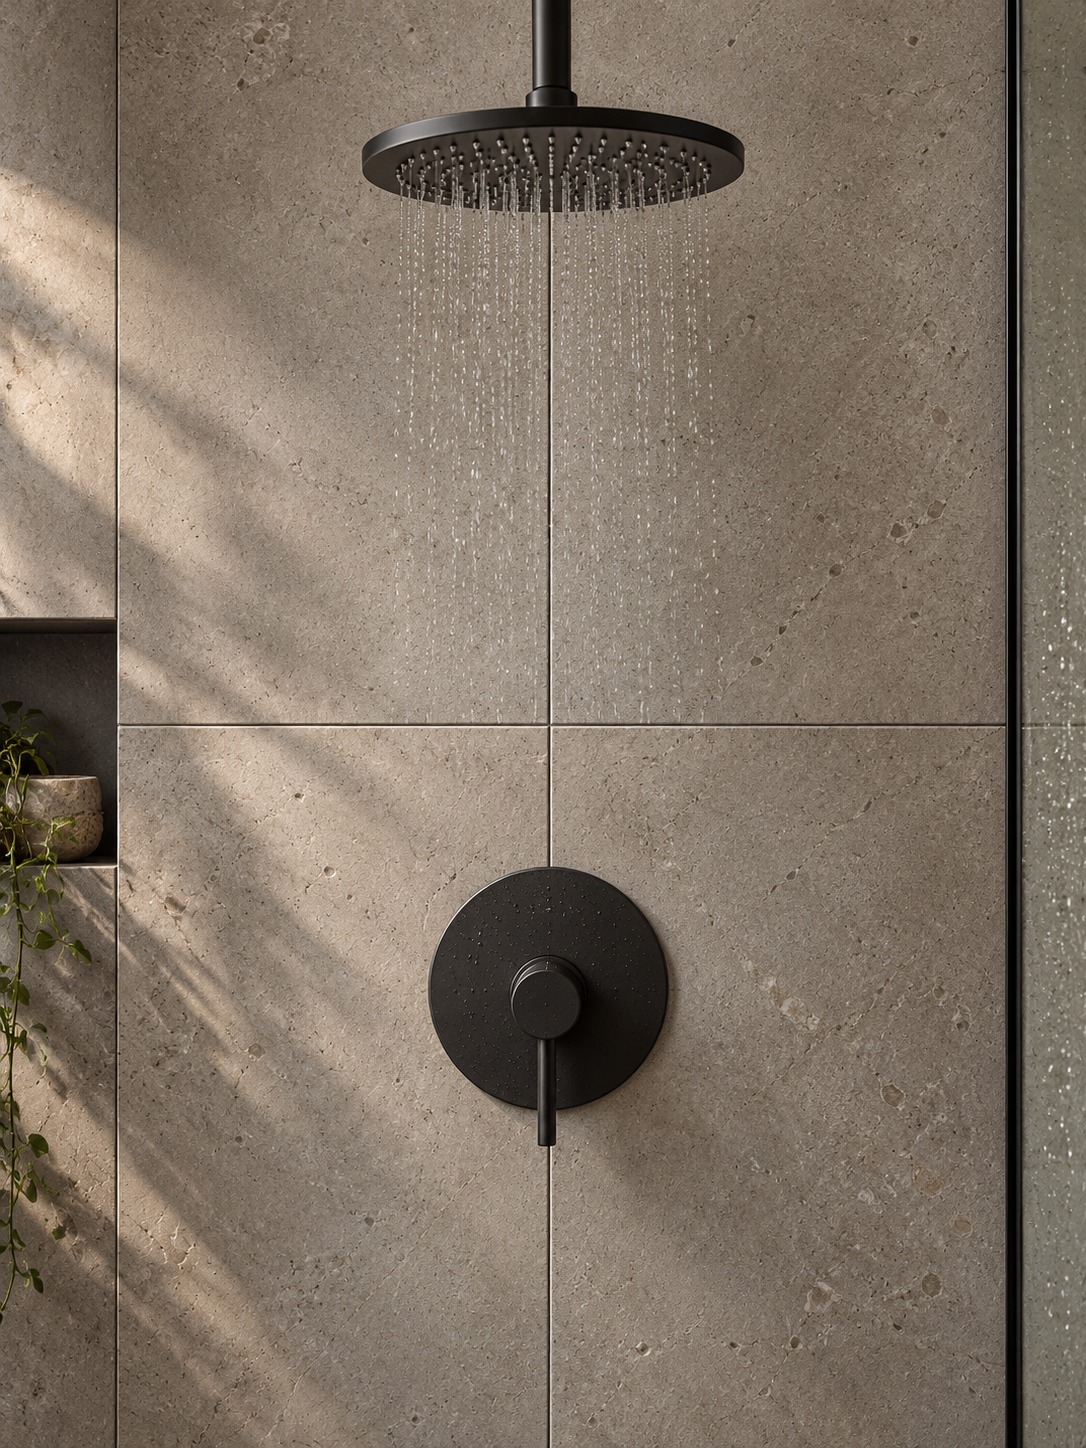
Centering fittings on a tile or joint can give a calm composition, but confirm the plumbing position before setting out the grid. If a valve is off-axis, adapt the layout around its actual location and follow the trim manufacturer’s opening dimensions. Do not offset the trim plate to disguise a misplaced valve. For access planning, see hiding bathroom plumbing without blocking future repairs.
Glass
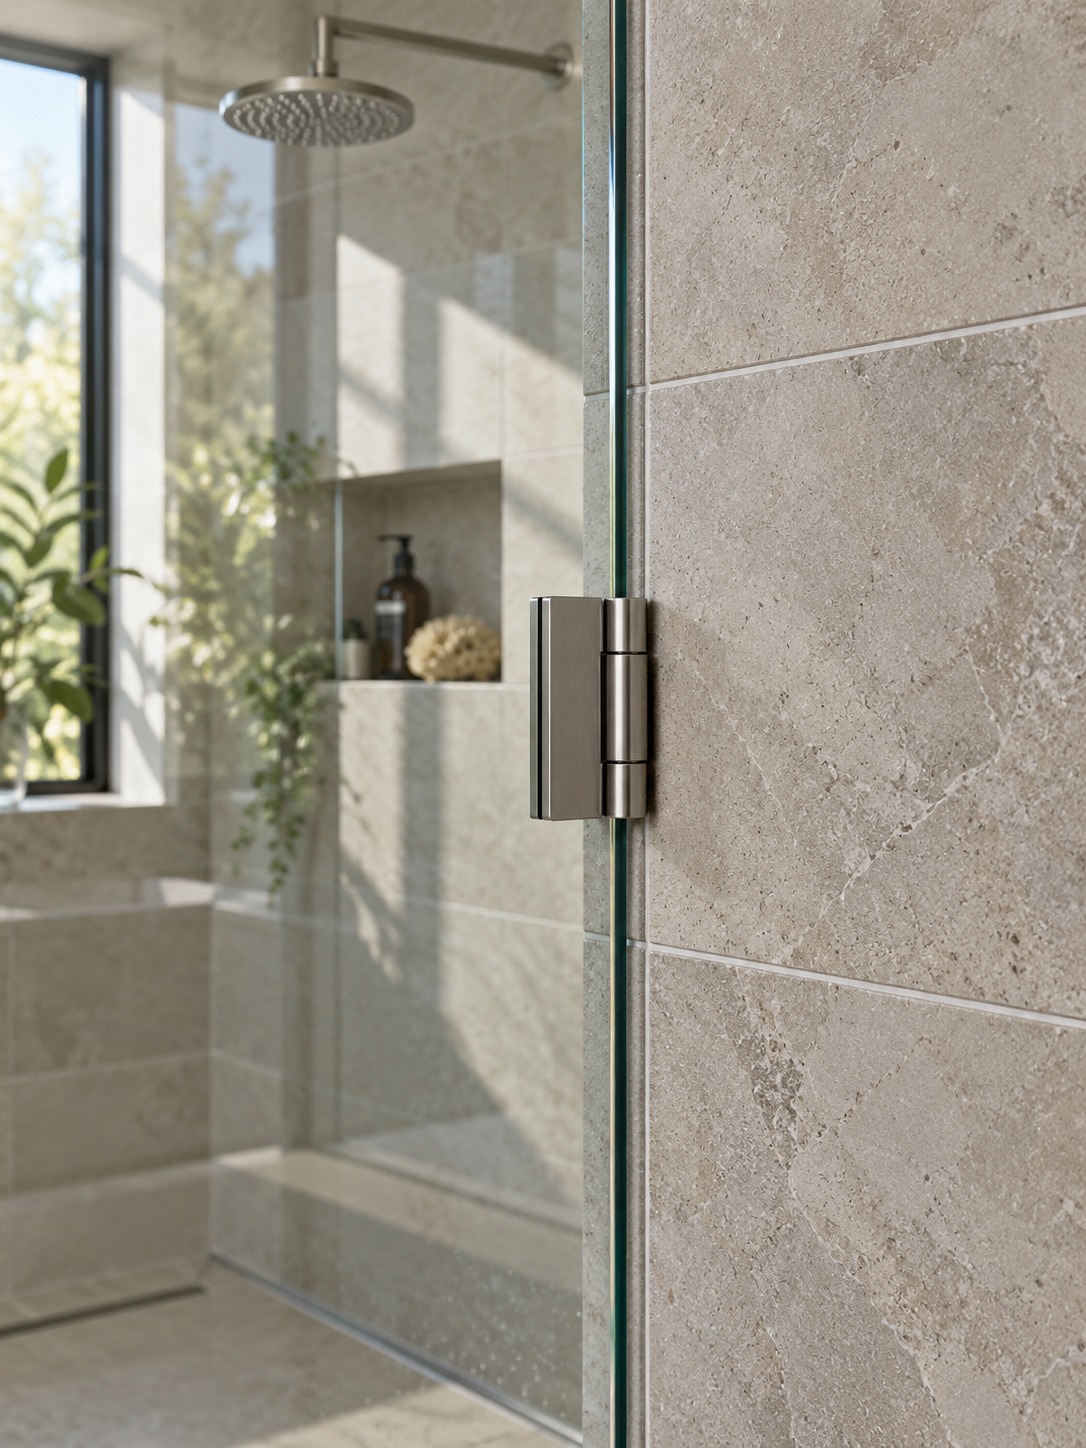
Coordinate the glass line early, and have custom glass measured to the completed opening as the supplier requires. Avoid a conspicuous sliver beside it where possible. The glass installer must confirm flatness, fixing positions and support; a grout line is a visual reference, not a universal mounting location.
Exposed edges
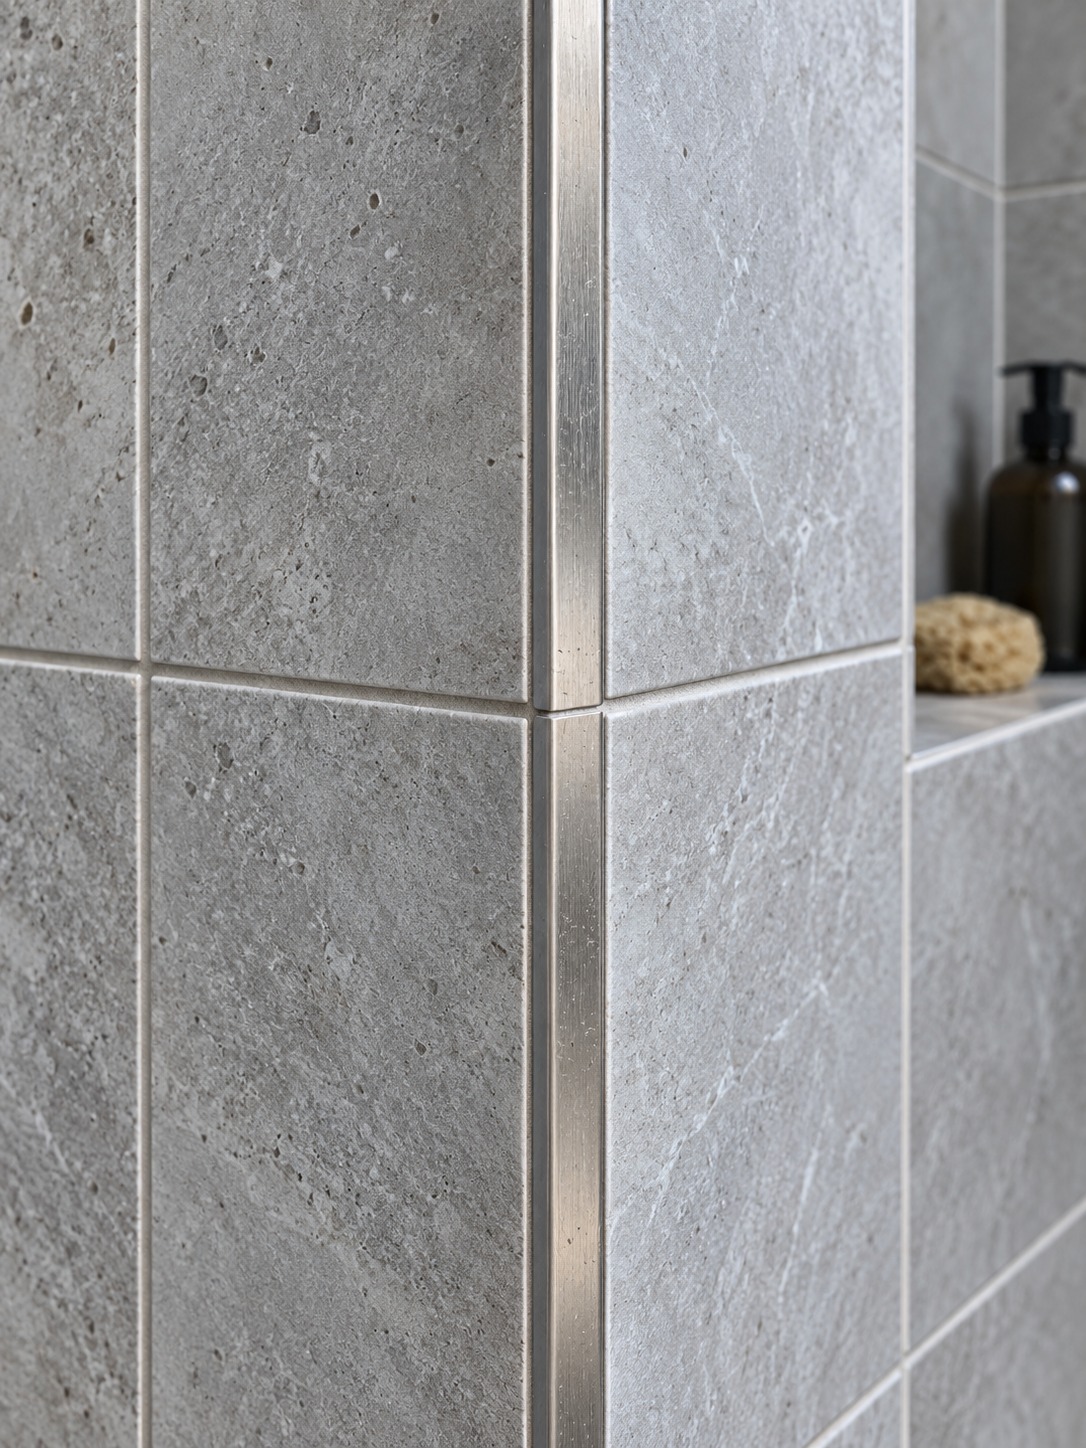
At the side of a niche, the end of a half-height wall or an exposed bench edge, specify the finish before finalizing the grid. A trim profile, bullnose or miter changes the appearance and dimensions of that edge. Draw the actual profile and tile thickness rather than assuming the edge takes up no space.
I look closely at these transitions for the same reason I notice a joint between a metal frame and glass on a product. A small change at the edge can make the whole assembly feel more precise.
Compare two layouts before installation
Compare the two most useful options for the 1,245 mm usable field. The cut widths below include the 3 mm joints between tiles; perimeter gaps have already been allowed for.
| Check | Layout A: full tile at left | Layout B: centered tile |
|---|---|---|
| Starting reference | Left edge of usable field | Center of wall |
| Visible edge cuts | One 33 mm strip on the right | 166.5 mm at each edge |
| Centered niche | Requires checking against offset grid | Full tile column provides a center reference |
| Fixture coordination | Check against actual fixture positions | Check against actual fixture positions |
| Decision for this wall | Revise the starting point | Take forward for site verification |
Layout A could work on another wall. Here, Layout B gives broader, equal edge cuts and a useful center reference for the niche. Check the horizontal rows and neighboring walls before accepting it.
What to hand the tile setter
Give the tile setter a floor plan, wall elevations with the starting axis and cut widths marked, and a specification for tile dimensions, joints and exposed edges. Ask for a dry layout or setting-out check before installation. Agree how any change will be reviewed before tile is cut.
Working with a local contractor
For bathroom remodeling in Los Angeles, discuss the niche and tile grid before the walls close. Ask the contractor to check the layout against framing, services and the selected waterproofing system. When comparing a home remodeling contractor, ask who prepares the setting-out drawing and when you will review it.
The LADBS express permit bulletin, revised April 2022, lists residential kitchen and bathroom remodels without structural changes among express-permit items. Confirm the current permit route for your full scope with the department; a tile layout drawing does not establish permit eligibility.
If you still need to plan the wider scope, budget or sequence, use the bathroom renovation guide alongside your layout drawings.
Frequently asked questions
Where should bathroom tile layout start?
Start with the most visible wall and test three options on paper: a full tile from the edge, a tile centered on the axis and a grout line on the axis. Pick the one that gives balanced, reasonably wide cuts and lines up with features like a niche. The right start depends on the room, so draw before you decide.
Should floor and wall grout lines match?
They can, when the actual tile sizes and joint widths produce compatible modules. Compare the repeating dimensions, not just the nominal sizes on the boxes. A consistent offset is often better than thin edge cuts. The shower’s drainage and installation requirements come first.
How do you avoid narrow tile cuts?
Compare a full tile at the edge, a centered tile and a centered joint on a scale drawing. Recalculate the edge cuts for each option and check adjoining walls. A few millimeters of adjustment will not turn a deep sliver into half a tile; that usually needs a different starting grid.
How do you plan tile around a shower niche?
Draw the desired finished niche edges against the tile grid, then confirm the opening, returns, edge finish and waterproofing with the installer. A niche can follow one or more tile modules when the system and framing allow it. If the niche is fixed, adjust the surrounding layout.
Should tile layout be finalized before or after demolition?
Make a provisional drawing before demolition so you can discuss the layout and materials. Confirm it after the substrate and waterproofing are prepared, allowing for the remaining finish build-up and required joints. Give the setter the checked dimensions before cutting starts.
What do I give my tile setter?
A floor plan with the grid, wall elevations with the starting axis and cut widths, and the actual tile size, joint specification and edge details. Include niche and fixture positions. Ask the setter to verify the plan on site and agree any changes before installation.
Draw it before you set it
Measure one wall and draw the three starting options to scale. Write the cut widths beside each version, then compare the doorway view and any fixed features. Take the strongest option to the tile setter for an on-site check.
The useful drawing is the one that makes the awkward cut visible while you can still move a line on paper.
Vlad is a product and industrial designer with 15+ years of experience across automotive, jewelry, and digital design, based in Kyiv. He writes the design and home-planning guides at Sky Rye Design.
- 19shares
- Facebook0
- Pinterest19
- Twitter0
- Reddit0