Anyone who has drawn a car knows the moment a surface goes wrong. A fender looks fine in a flat sketch, then a reflection runs across it and you see a wobble you can’t unsee. Curved walls behave the same way. A flat wall forgives a lot. An arch, a rounded corner or a niche catches light at every angle, and every small error shows.
- What does it take to add an arch, niche or curved wall?
- Curves start with the framing
- The board: thin, flexible and usually doubled
- Arches need their own corner bead
- Niches: plan before you cut
- Cutting into a finished wall
- Finishing: curves show everything
- Is a curve worth it?
- Questions to ask a contractor before you commit
- Frequently asked questions
- One curve, done properly
Adding arches, niches and curved walls takes more planning than a flat wall, especially in a home you already live in. The work means opening finished surfaces, building a reliable curve and blending the new finish into the old. Here is what to discuss with your contractor before choosing a shape.
I’m a designer, not a drywall installer, so the framing and finishing details below come from published manufacturer guidance and from how a finished curve reads in a room. Your contractor has the last word on site.
What does it take to add an arch, niche or curved wall?
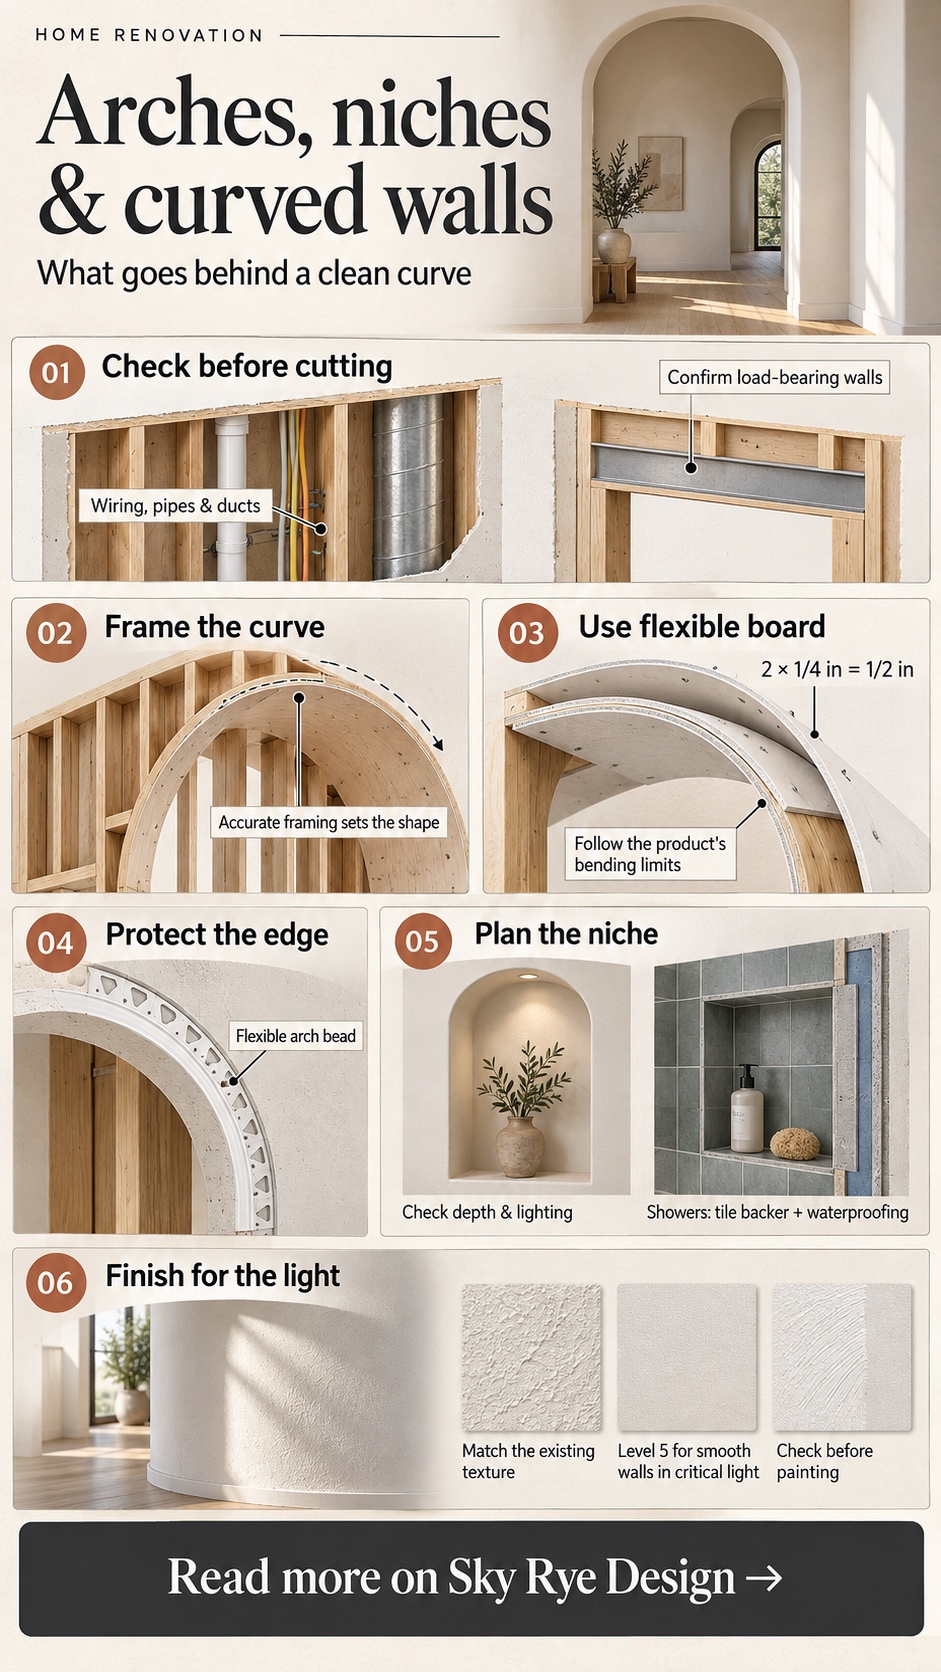
Adding a curve to an existing home takes five things: accurate framing that sets the shape, thin flexible board (usually in two layers), flexible arch bead for the edges, careful blending of new drywall into old walls, and a smoother finish than a flat wall needs. The framing matters most, because joint compound can’t fix a curve that wanders. Niches need a safe spot between studs and a check for wiring, plumbing and insulation. Shower niches need waterproof tile backer, not ordinary drywall. In a lived-in room, most of the skill goes into matching the old surface so the new curve looks original. A typical arched doorway is a job for a few days, and the finishing and drying take much of that time, but exact timing depends on the house and the crew.
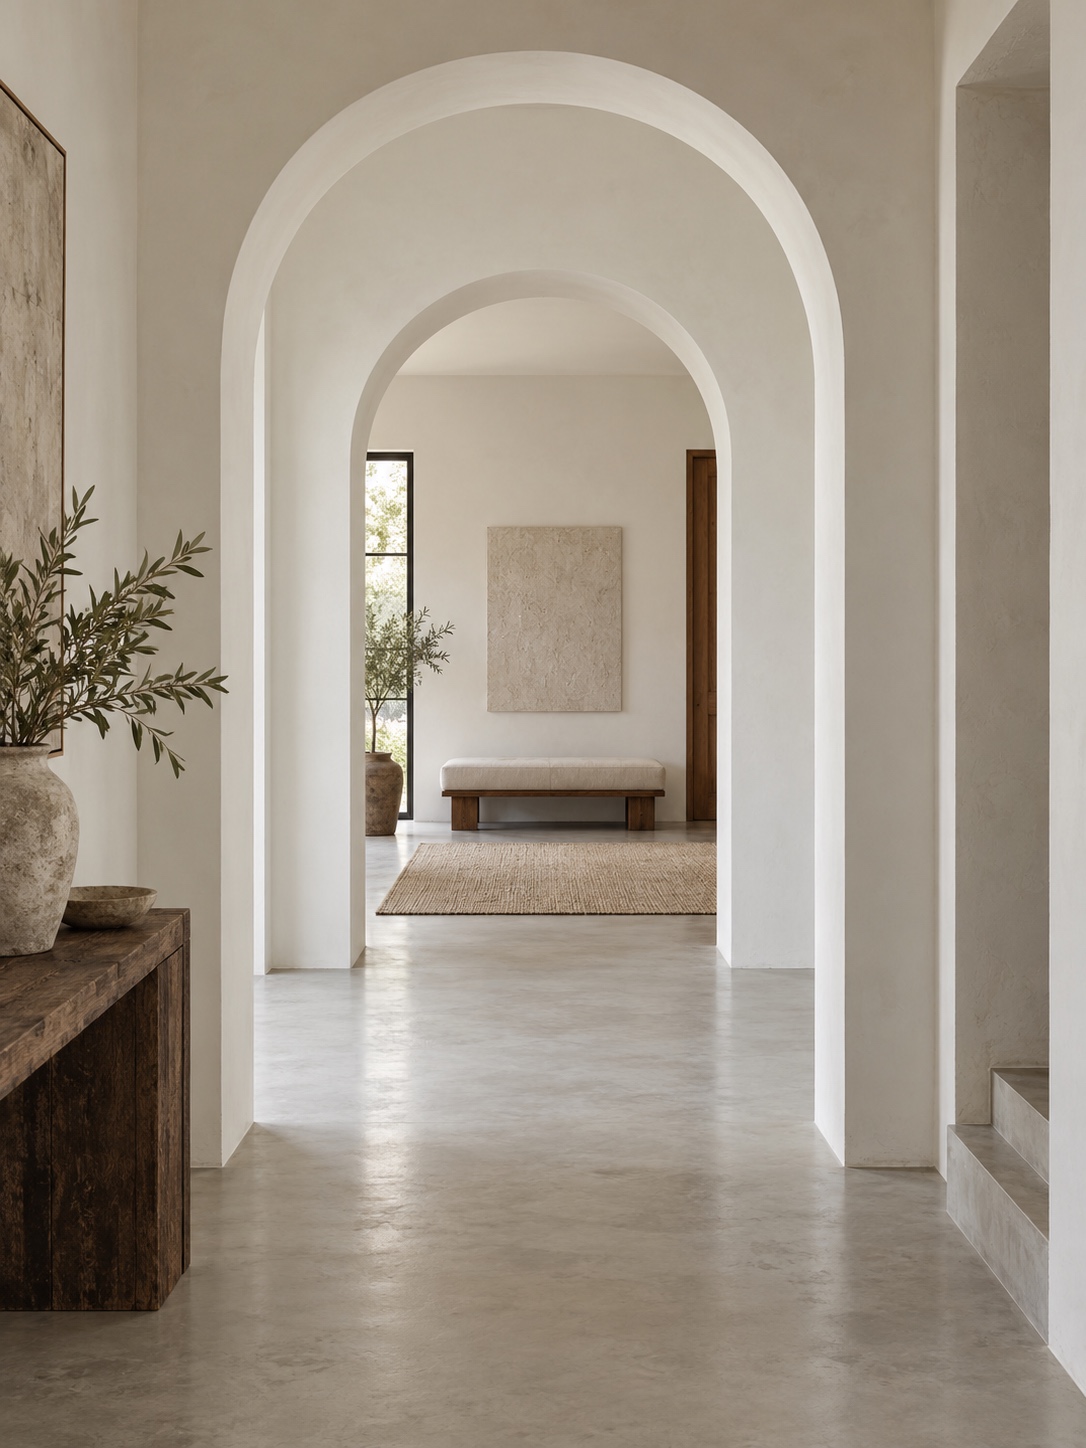
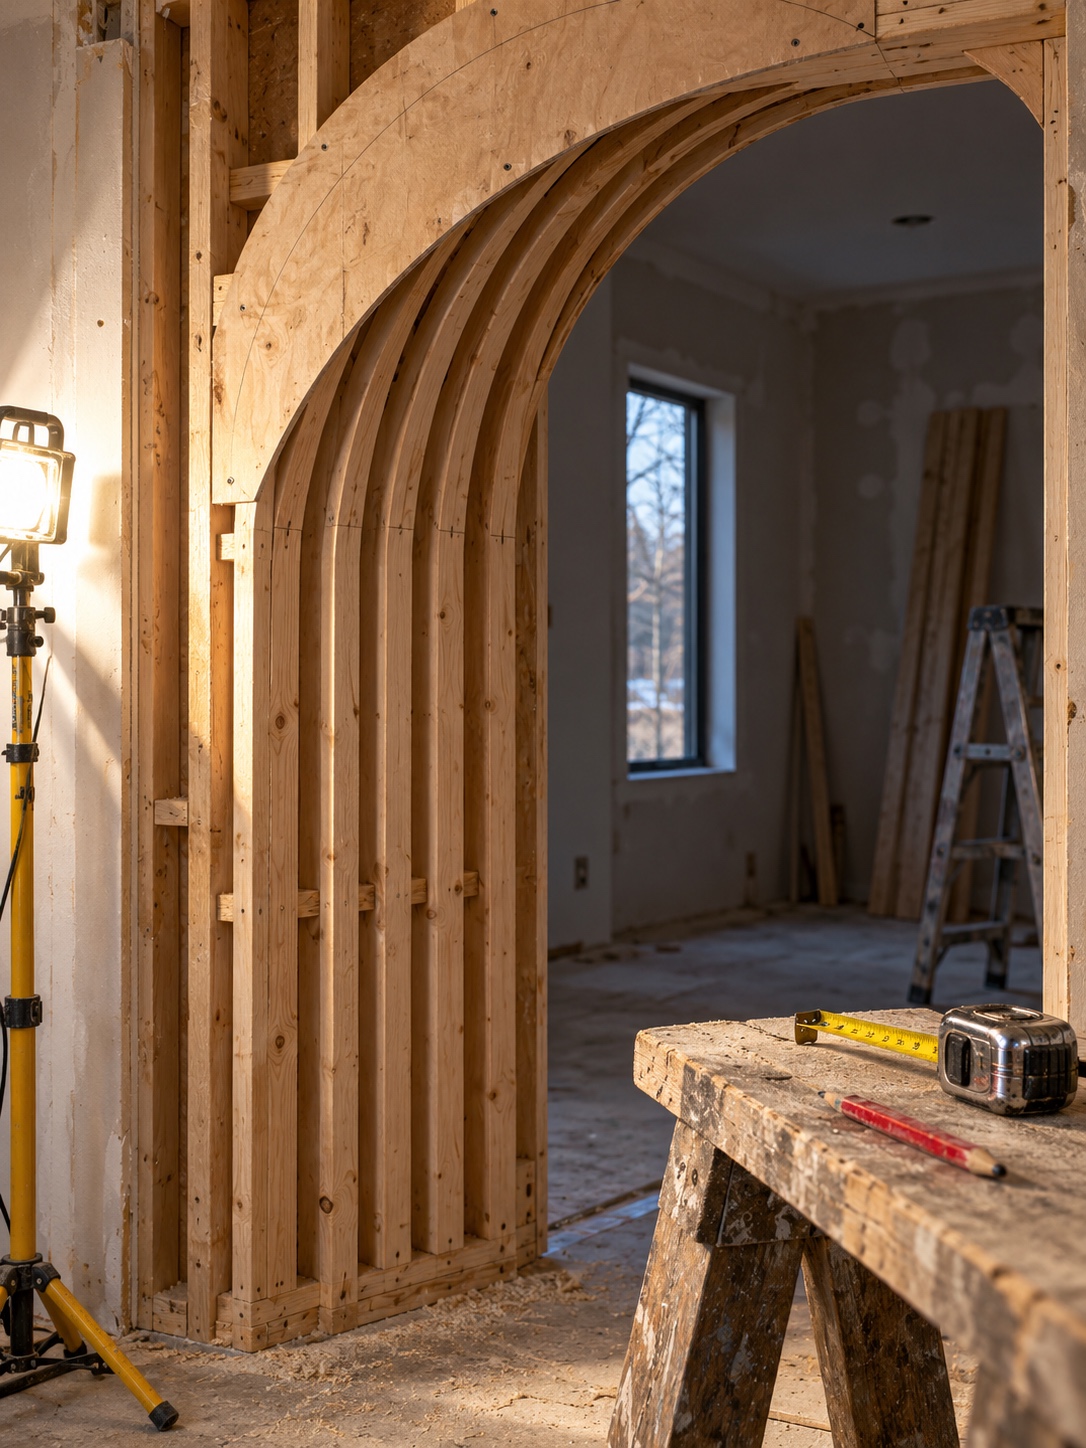
Curves start with the framing
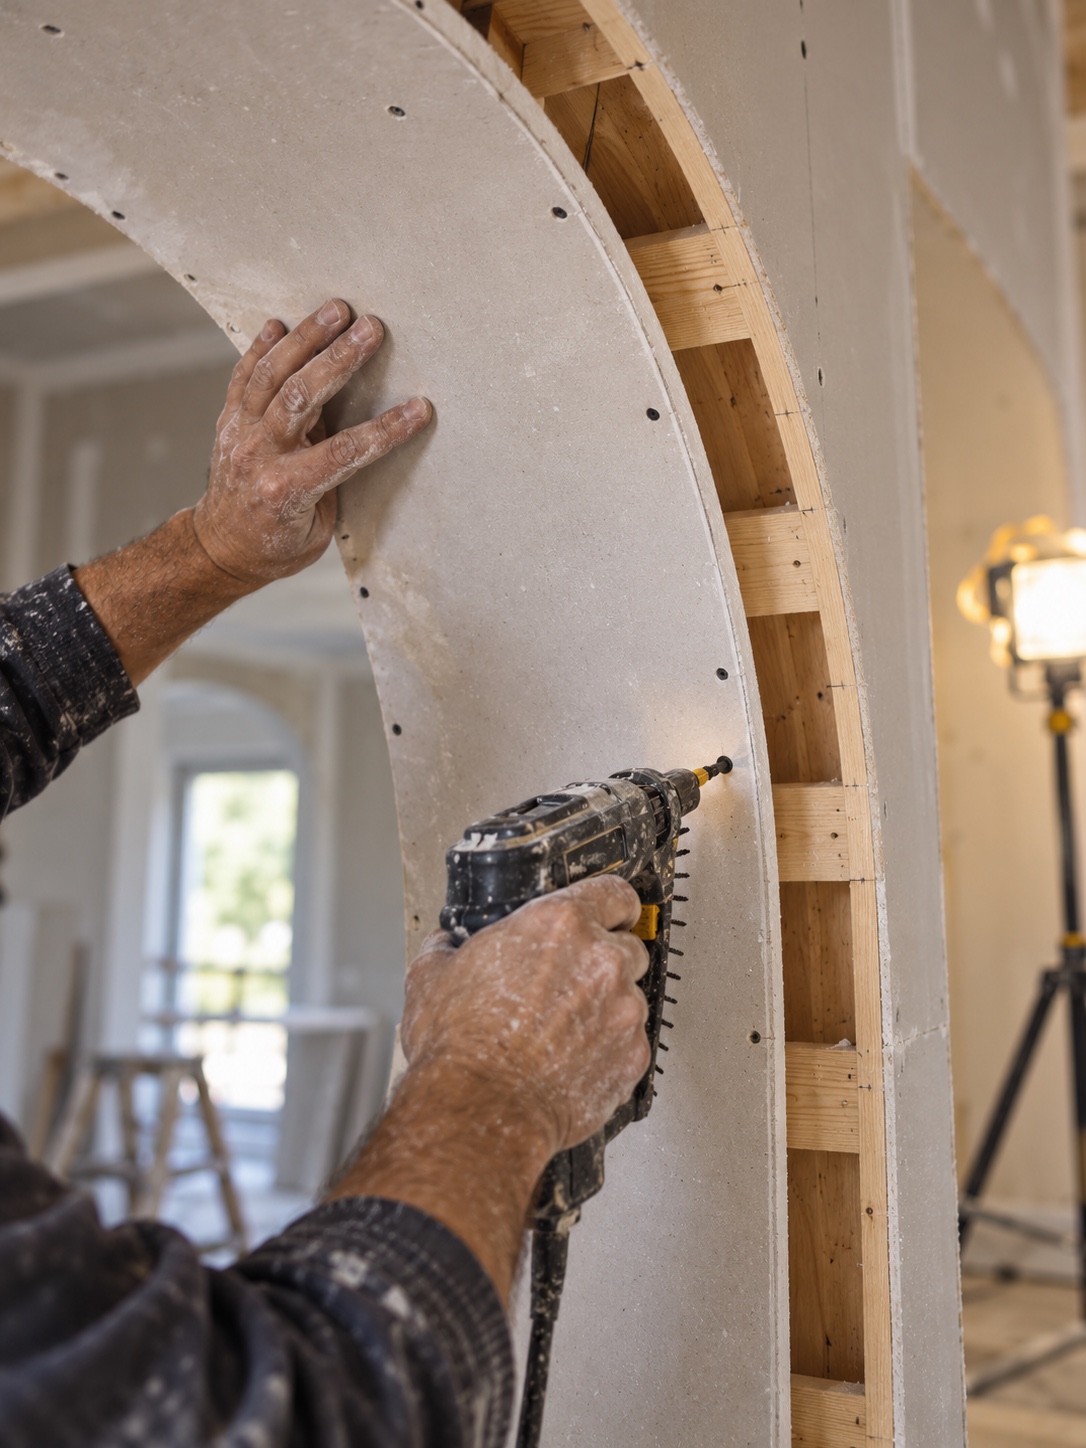
A curve in drywall is only as good as the framing behind it. For a curved wall, studs go in much closer together than the usual 16-inch spacing, and a bent metal track or a plywood template cut to the radius sets the shape at the top and bottom. For an arched doorway, the arch is usually built inside the existing opening with pre-cut arch framing or plywood forms.
Think of the framing as the master drawing. If the template is off by a few millimeters, every layer on top copies the mistake and makes it a bit more visible.
Experienced drywall contractors check this framing before a single sheet goes up, because no amount of joint compound can rescue a curve that wanders. If the radius is uneven, the light will find it.
Why the shape of the curve matters
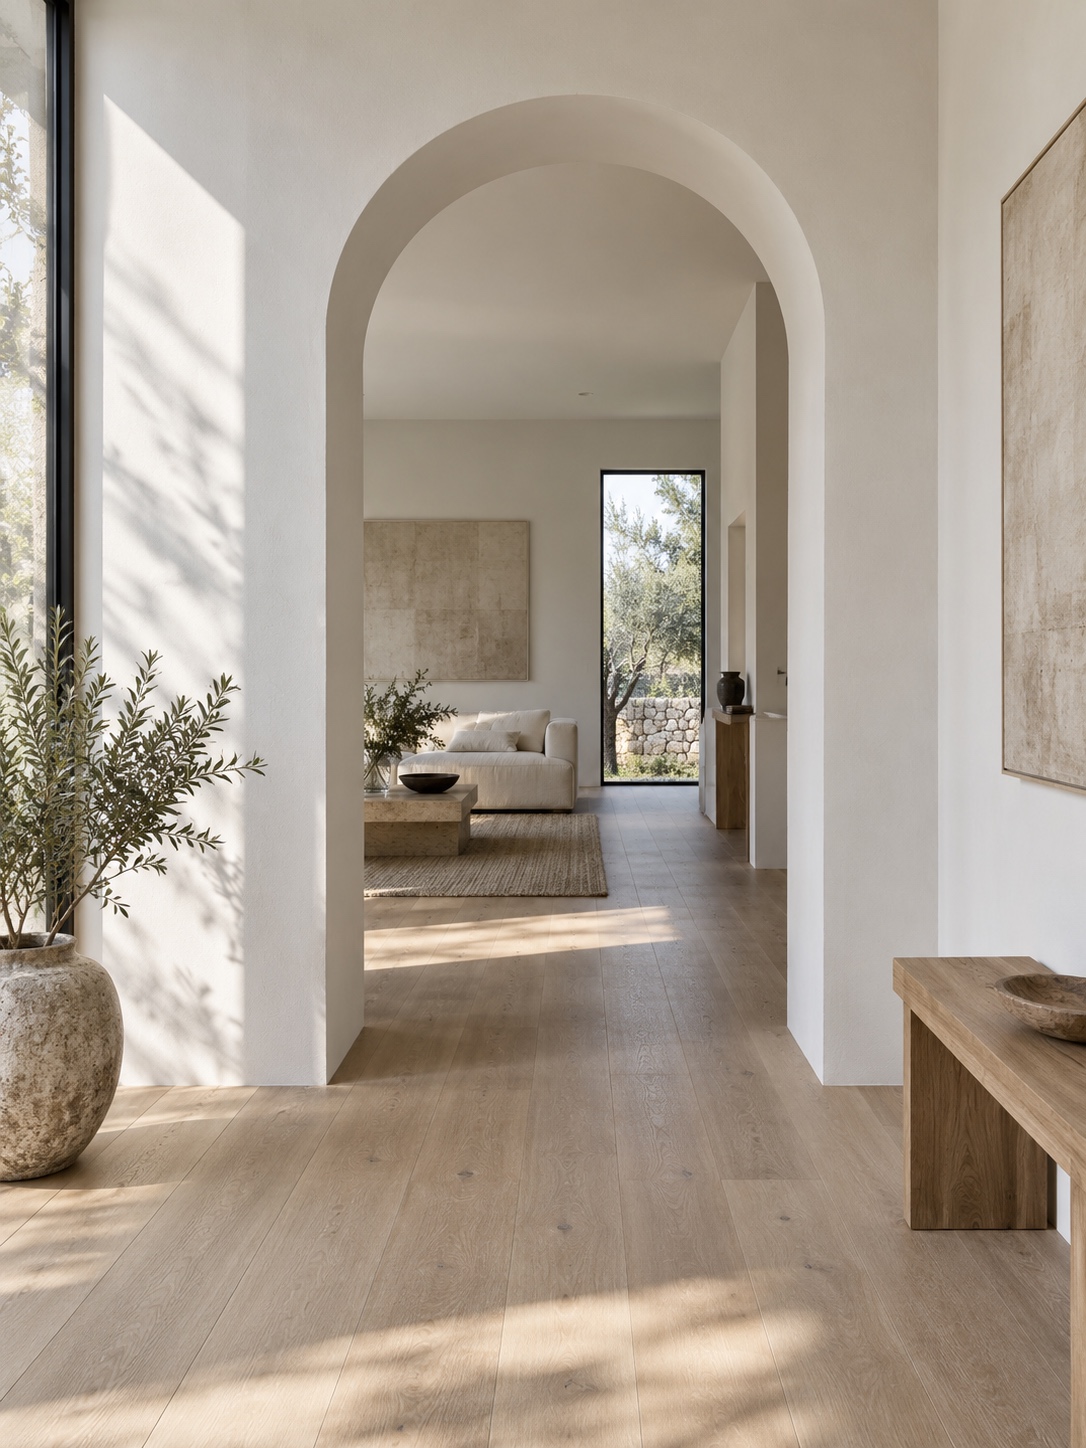
Designers often draw an arch as a perfect half circle, because it looks easy. In a real doorway, the width and height are fixed, so the shape can be a half circle, a shallower segmental arch or a flat-topped opening with rounded corners. A semicircular arch needs headroom equal to half its width above the point where the curve starts. A shallow arch needs less height and gives a quieter, more modern look.
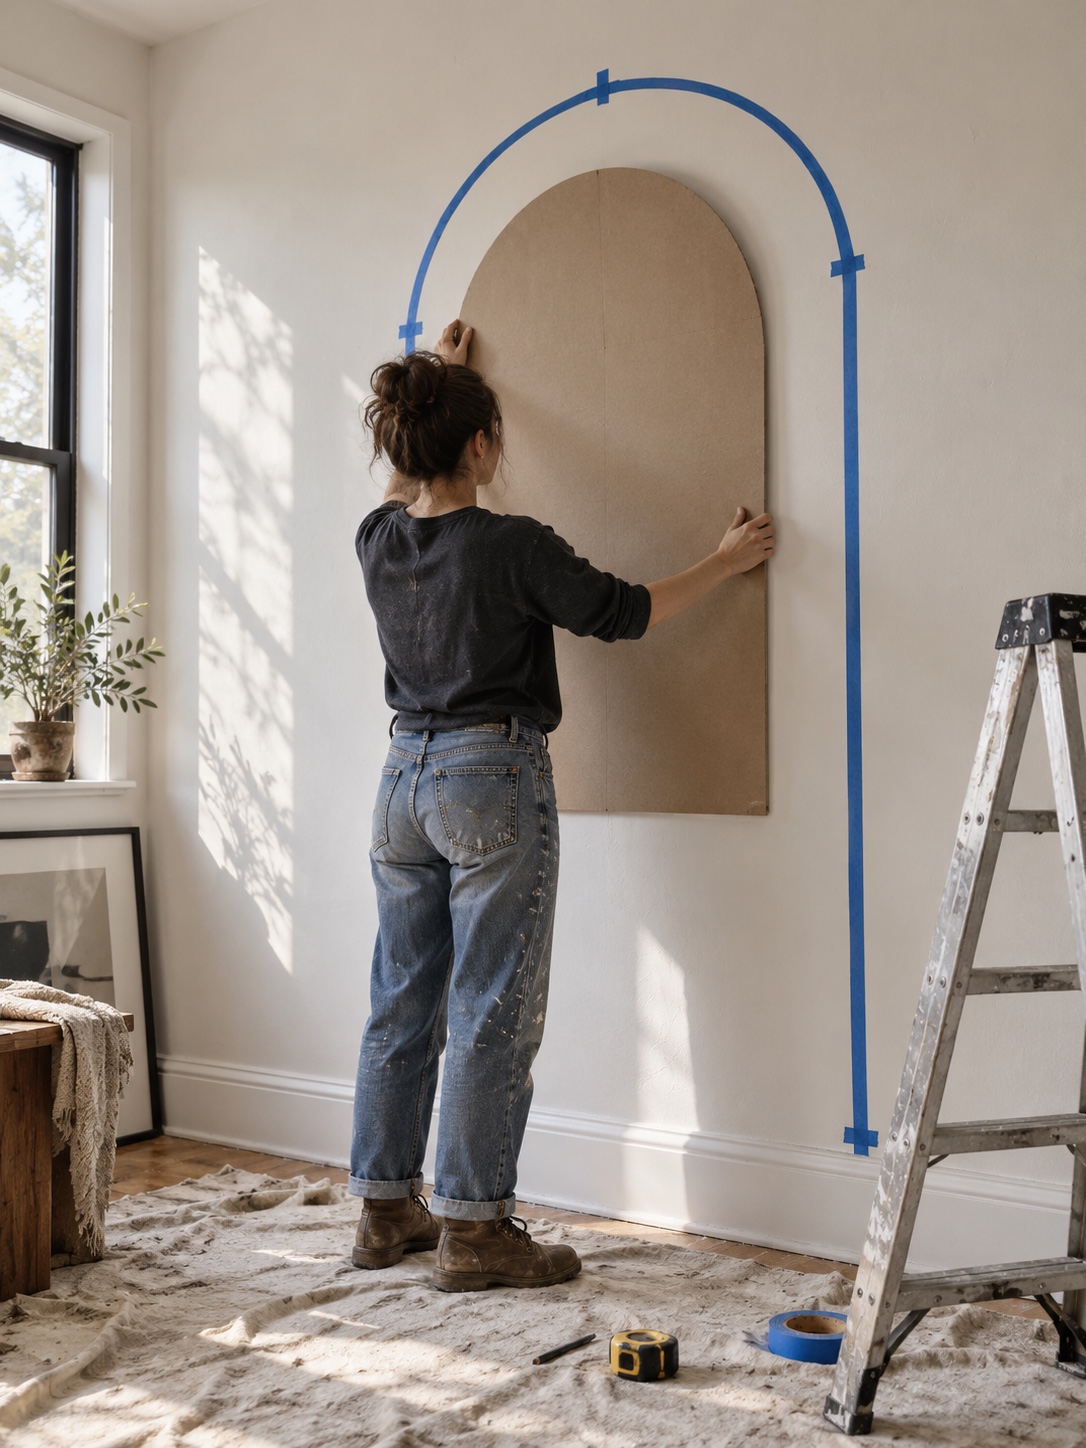
Before ordering anything, tape the shape on the wall with painter’s tape, or cut it from cardboard and hold it up. Live with it for a day. You’ll see how it meets the ceiling line, the trim and the neighboring doors.
Check what’s behind the wall first
Any cut can run into wiring, pipes or ducts. A switch box near the top of the opening can interfere with an arch. Also confirm whether the wall carries load. Changing an opening in a load-bearing wall can need a header and an engineer’s or inspector’s review, so I wouldn’t promise that any doorway can be reshaped. Ask your contractor to look inside before you fall in love with a specific radius.
The board: thin, flexible and usually doubled
Standard half-inch drywall does not bend far. Tighter curves can be covered with 1/4-inch flexible gypsum board, installed in two layers to reach a total thickness of 1/2 inch; thicker existing walls need a suitable build-up.
Flexibility has limits, and manufacturers publish them. National Gypsum’s guidance for its 1/4-inch High Flex board lists a minimum radius of roughly 30 to 32 inches when the board is bent dry along its length. Dampened and bent across its width, the same board can follow a curve as tight as about 7 to 10 inches. Colder, drier conditions make the board less flexible, which is why installers sometimes dampen it and give it time to relax before bending it into place.
What the published radii look like
Here are the figures from the manufacturer’s brochure for 1/4-inch High Flex, measured at 65°F and 45% relative humidity. Treat them as the manufacturer’s numbers for one product under test conditions, not a guarantee for your wall.
| Bend | Along the board’s length | Across the board’s width |
|---|---|---|
| Inside (concave), dry | 32 inches | 20 inches |
| Outside (convex), dry | 30 inches | 15 inches |
| Inside (concave), wet | 20 inches | 10 inches |
| Outside (convex), wet | 14 inches | 7 inches |
Two things stand out. Wet bending allows much tighter curves, and the framing has to be closer together for tighter radii: the brochure lists stud spacing from 9 inches down to 5 inches depending on the bend. For you as a designer, the point is simple. If you want a very tight curve, such as a rounded niche or a small radius corner, tell your contractor early so the framing and board choice match it.
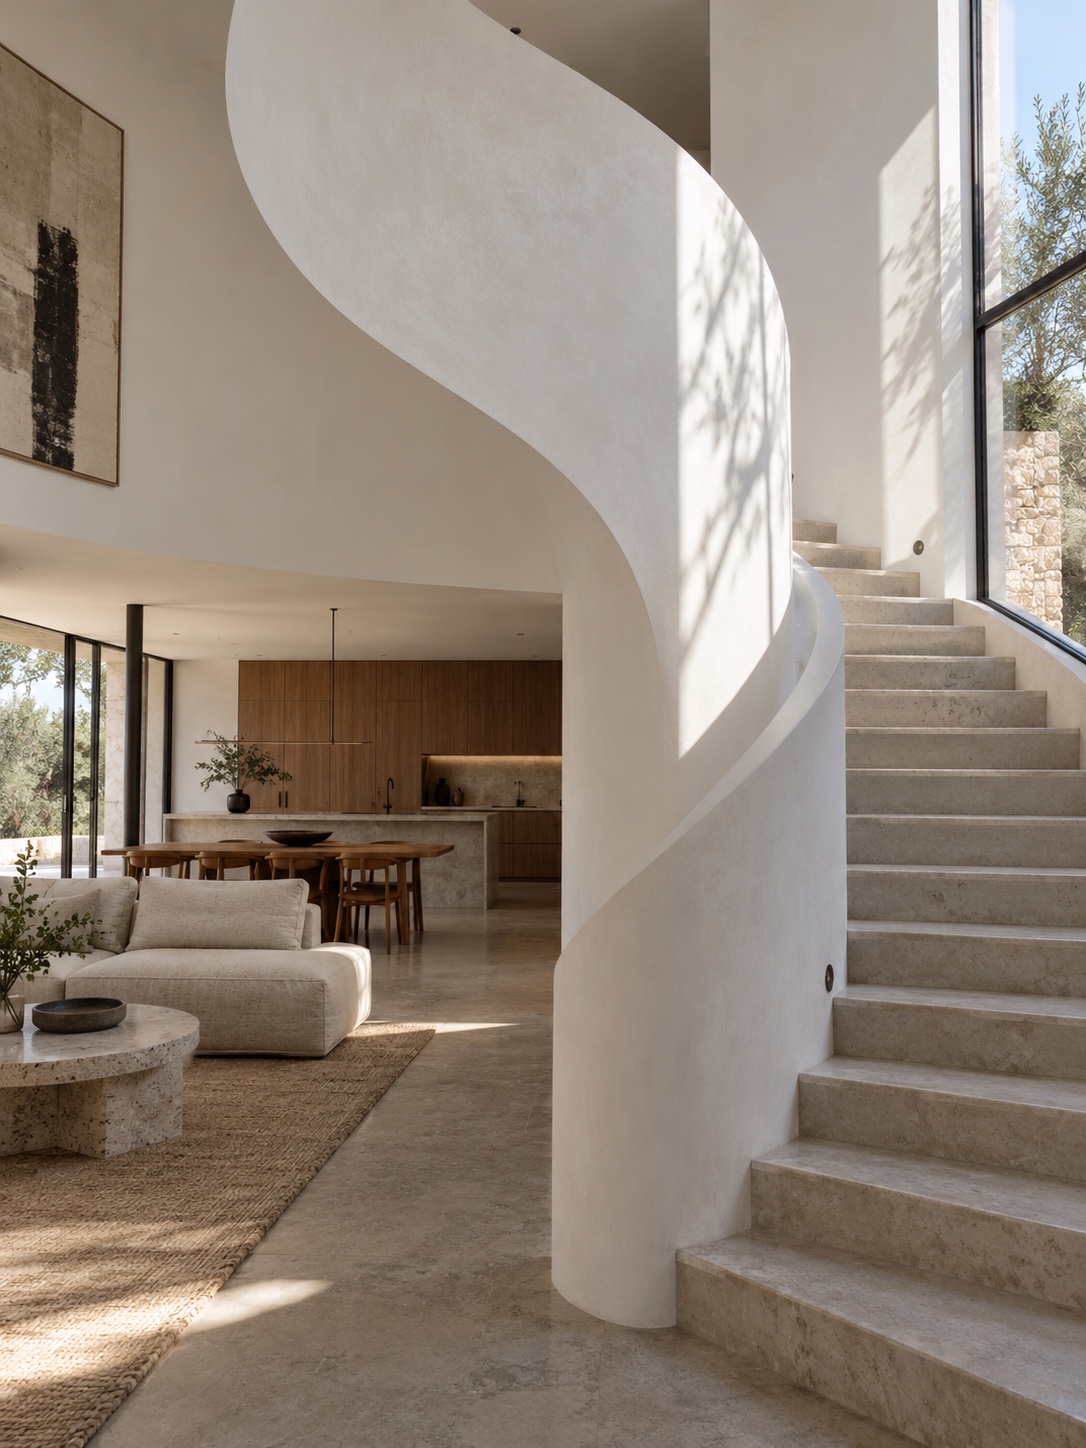
Why two layers
Two layers of 1/4-inch board build up to 1/2 inch, matching a common wall thickness. Staggering the joints helps the layers form a continuous surface. Each layer needs to stay firmly against the framing as it is fastened; otherwise the curve can develop flat spots. Follow the product specification, particularly where a wall needs a fire rating.
Arches need their own corner bead
The crisp edge on a square corner comes from rigid metal corner bead, and rigid bead cannot follow a curve. Arches use flexible vinyl arch bead, which is notched along one flange so it bends to the radius while still giving a straight, protected edge. The wrong bead or uneven installation can leave an arch with soft, lumpy edges.
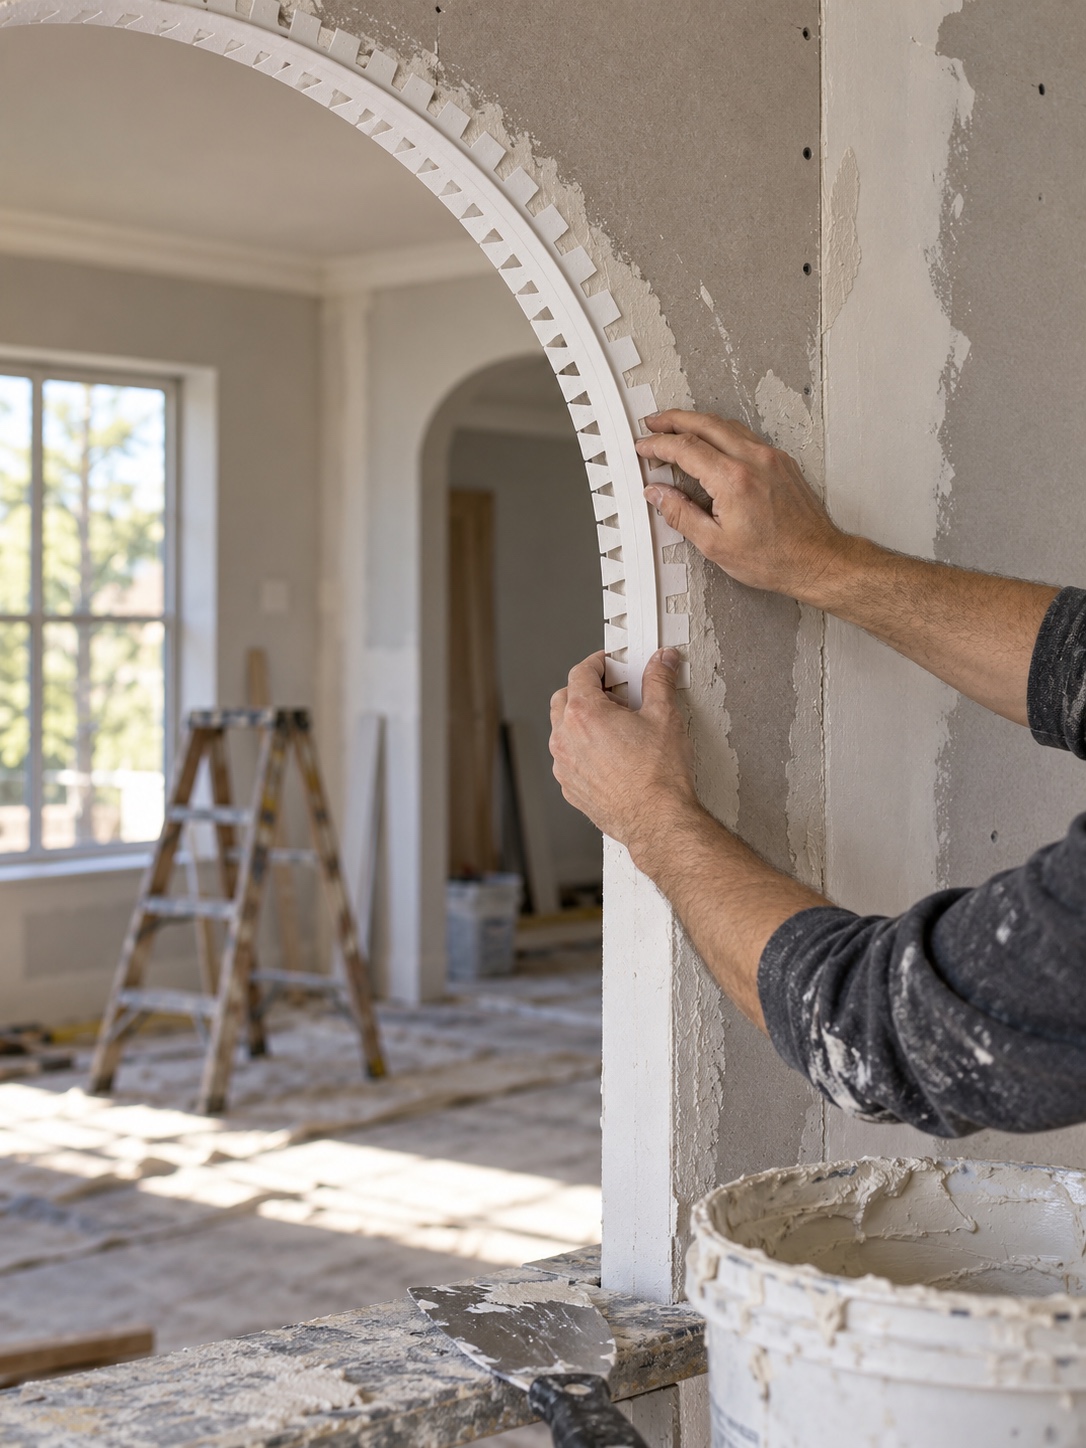
The edge is the part of an arch that people see and touch. When you walk through it, your eye follows that line. A slightly rounded, slightly wavy edge makes the whole arch look homemade, even when the board is perfect. I’d spend time on this detail, and ask for a close look at the bead before the compound goes on.
Square edge or soft edge?
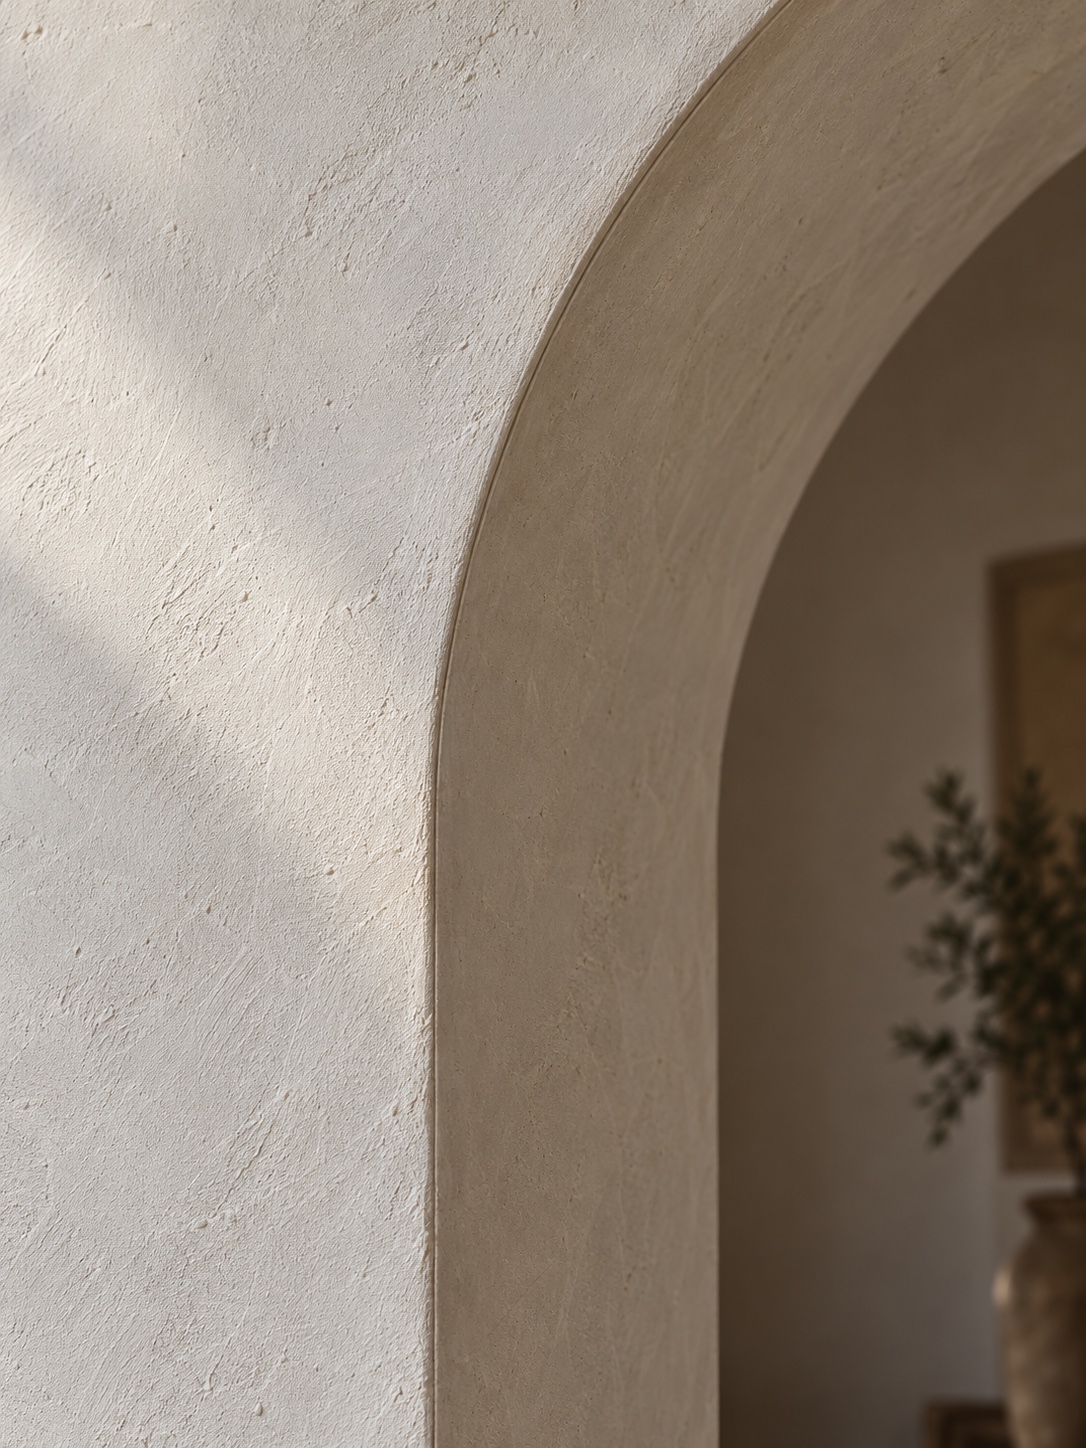
Corner bead comes in a few profiles, and the edge style changes the character of the arch. A sharp edge looks modern and graphic. A rounded (bullnose) edge looks softer and more traditional. Neither is better, but be consistent. If the rest of the house has sharp corners, a bullnose arch will look like it belongs to another building. My article on balancing modern style with timeless design is a good way to think about where a softer detail fits.
Niches: plan before you cut
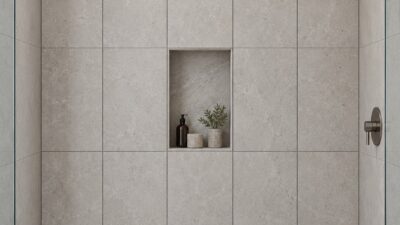
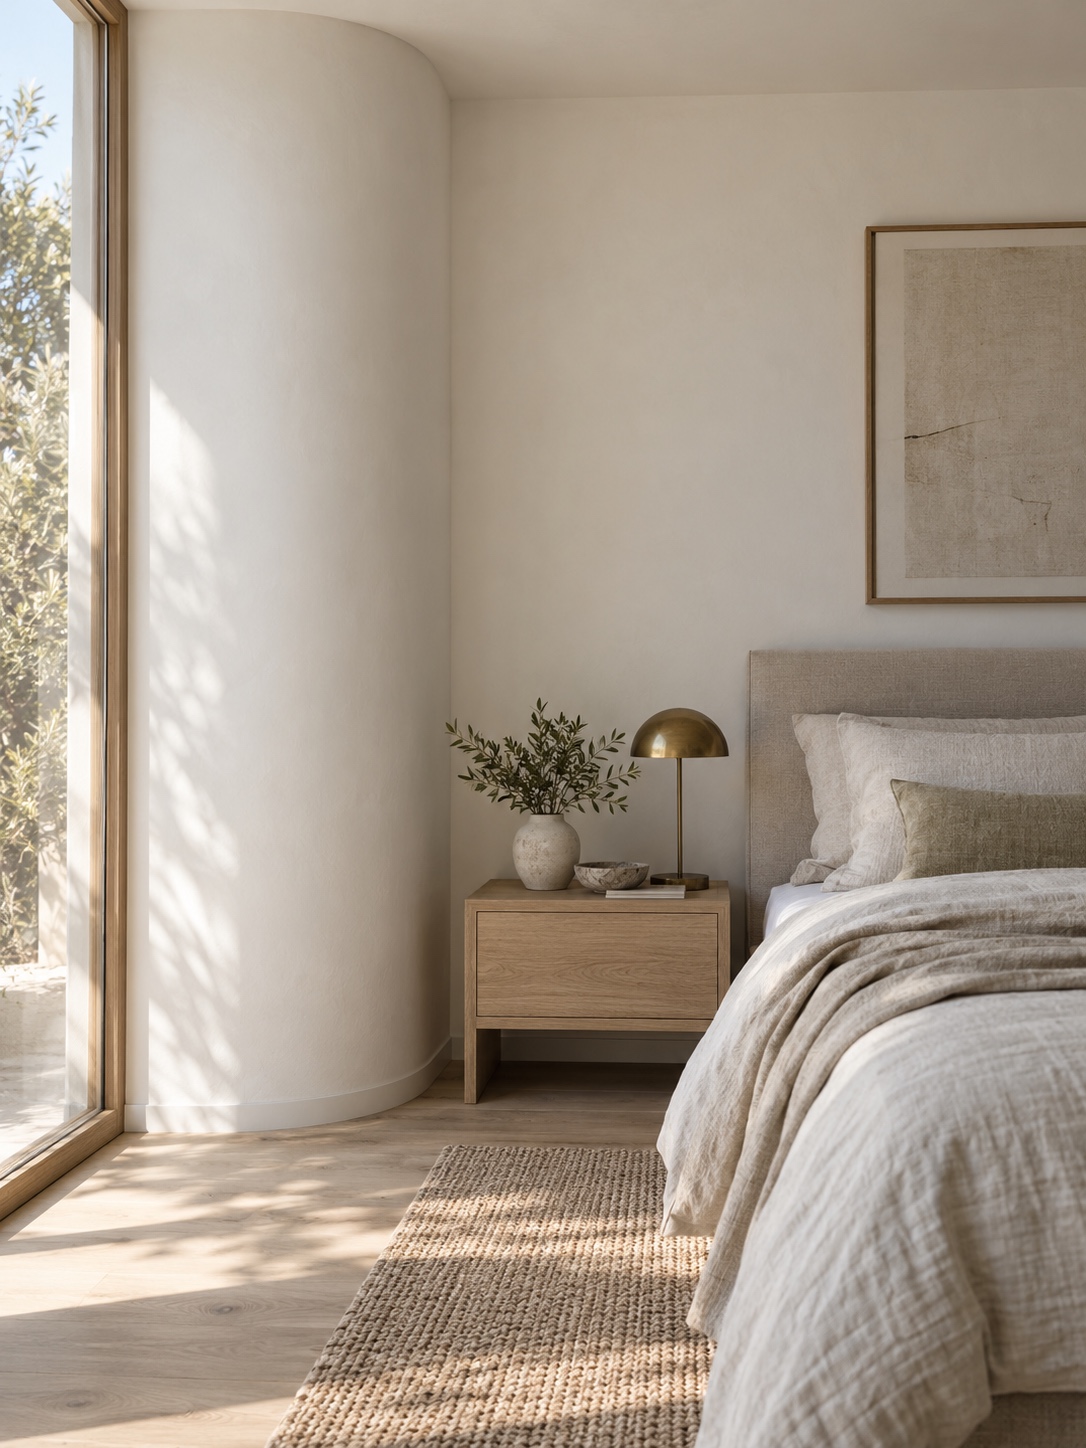
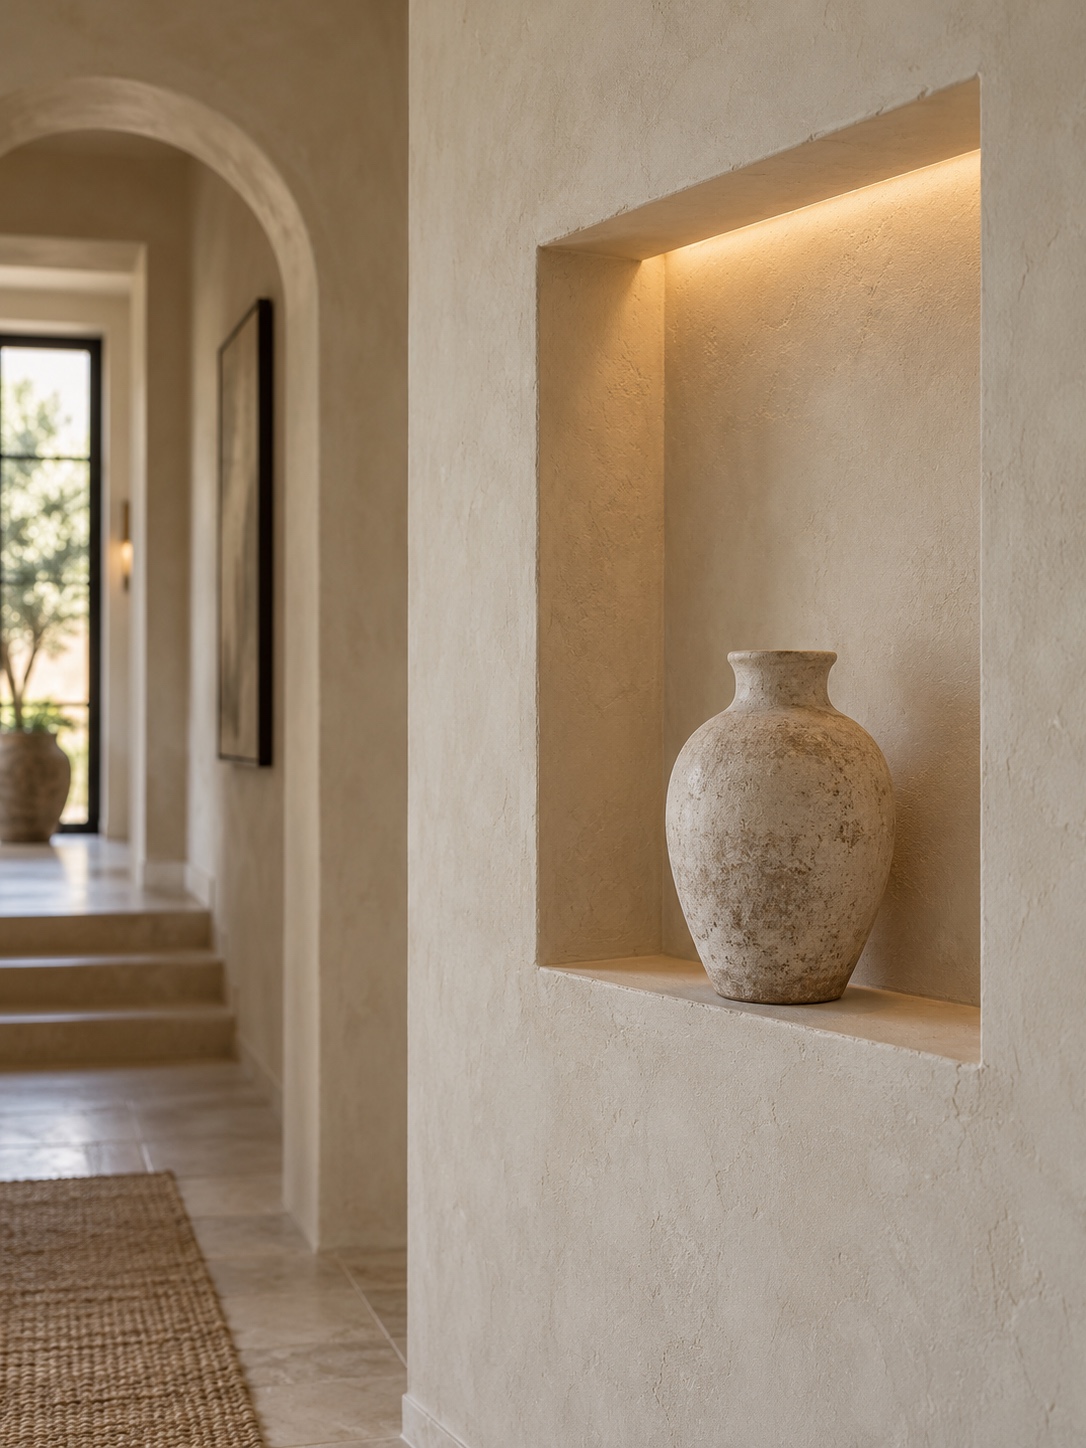
A recessed niche normally sits between two wall studs, so its width is set by the stud spacing unless the framing is reworked with a header. Before cutting, check for wiring, plumbing and ductwork inside the wall. Avoid exterior walls where you can, because cutting into the insulation leaves a thin, cold spot where condensation can form.
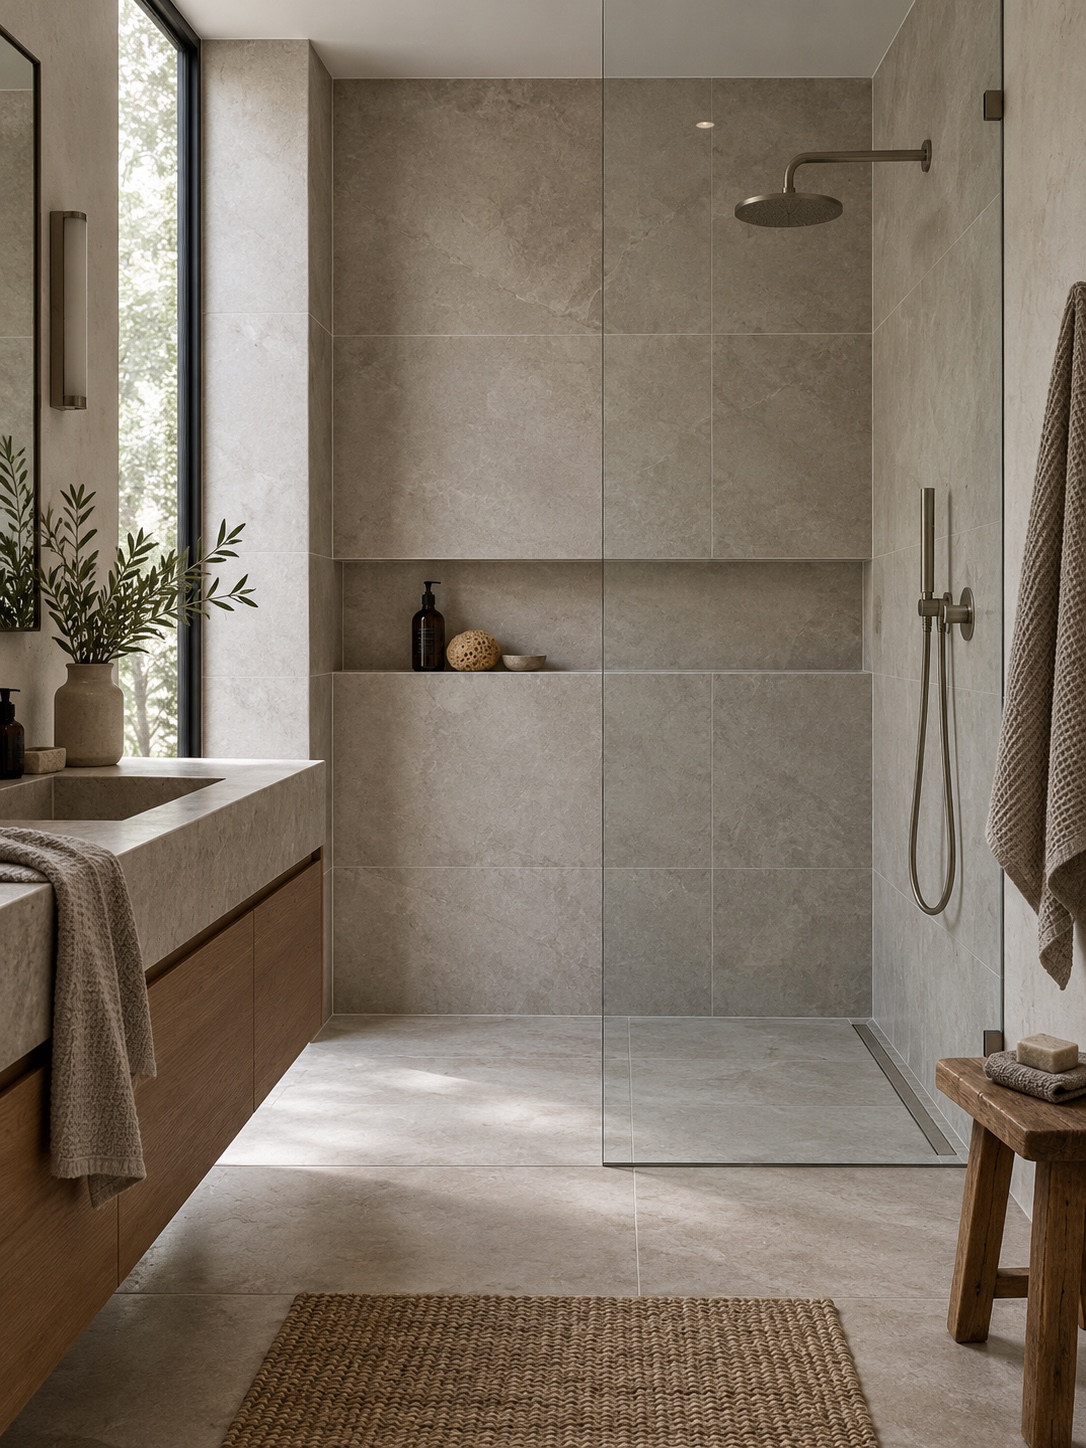
Niches inside a shower or over a tub are a different job. Standard drywall is not a suitable substrate in wet areas, so those niches need a tile backer and a waterproofing system made for wet locations. If you’re planning a bathroom, my bathroom renovation guide covers how a shower niche fits into the larger plan.
Where a niche earns its place
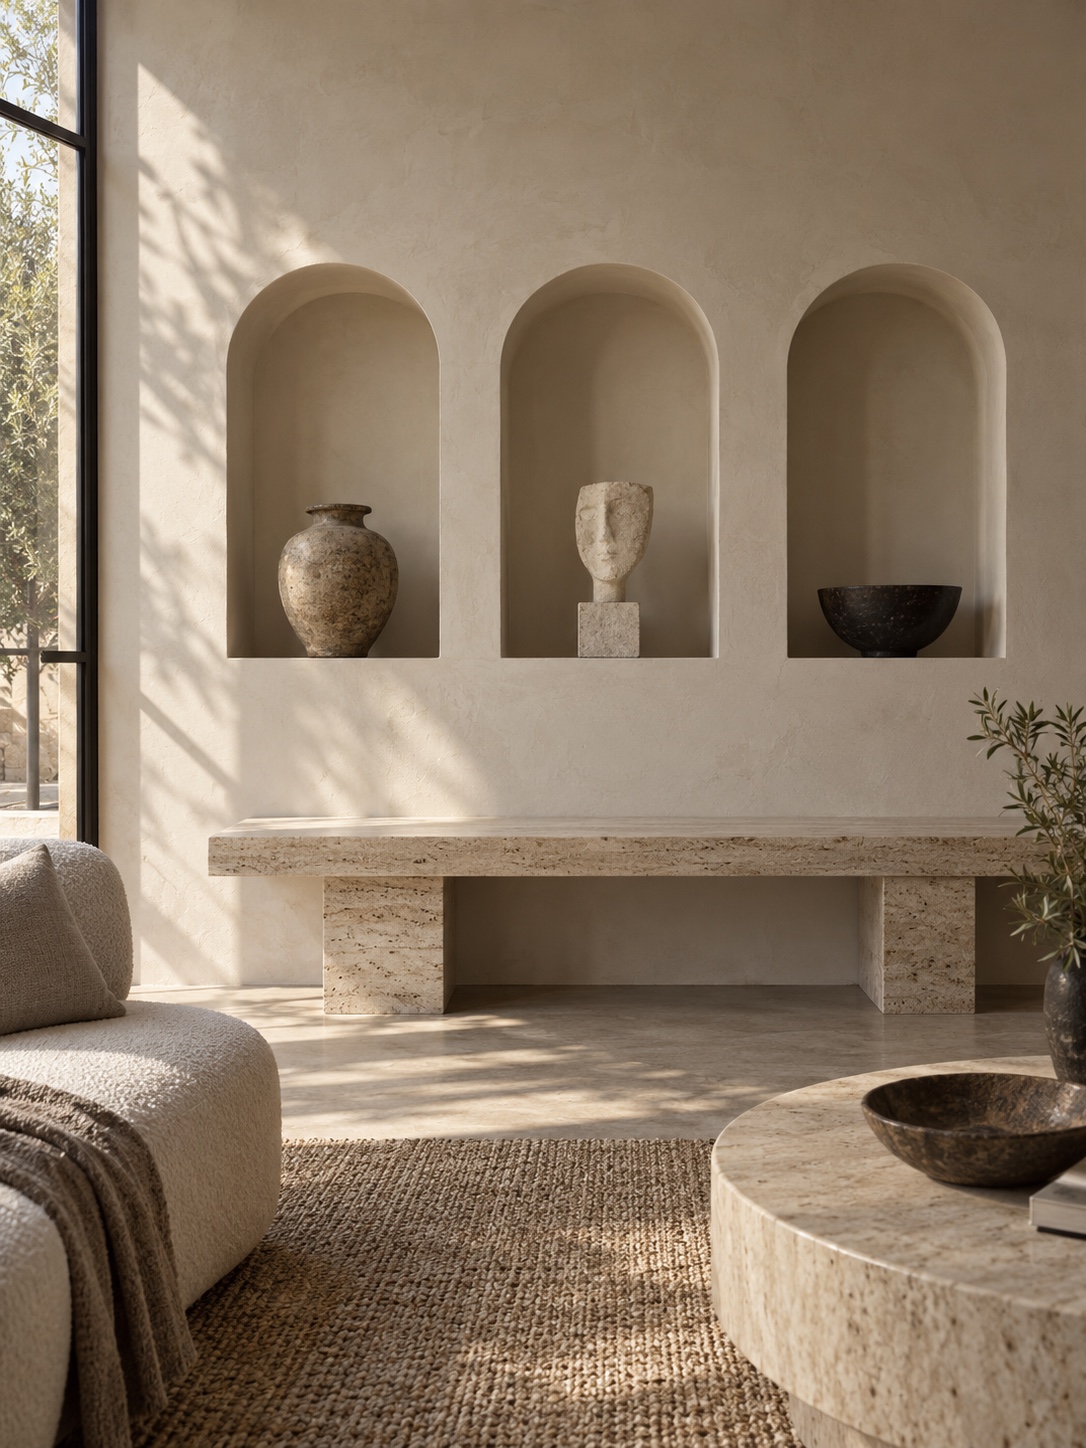
A niche is only useful if it has a reason to be there. Good places are a hallway wall where you want one lit object, a spot beside a bed or sofa for a lamp or books, and the end of a corridor where a plain wall feels empty. Poor places are walls you pass quickly, or ones where furniture will block it.
Size it to what you’ll put in it. A niche for one vase can be shallow. A niche for books needs the depth of a book and enough height. And think about lighting. A small LED strip inside a niche changes it from a hole in the wall to a feature, but it also needs a power source, so plan that before the wall is closed.
Cutting into a finished wall
Building a curve in new construction is straightforward compared with adding one to a lived-in room. Rounding a square doorway or adding a niche means removing existing board, framing the new shape, and then blending new drywall into old.
That blending is where most of the skill goes. New board has to sit flush with the old, the seams have to disappear, and on most walls the new surface has to match the existing texture, whether that is orange peel, knockdown or a hand-applied finish. When the texture match is right, the arch looks as if it was always there. When it is wrong, the patch shows from across the room, especially once the wall is painted.
Texture matching deserves a sample board before the wall is patched. Compare it with the existing surface under the room’s usual light, whether the finish is orange peel, knockdown or smooth. It is easier to adjust a sample than to redo a painted wall.
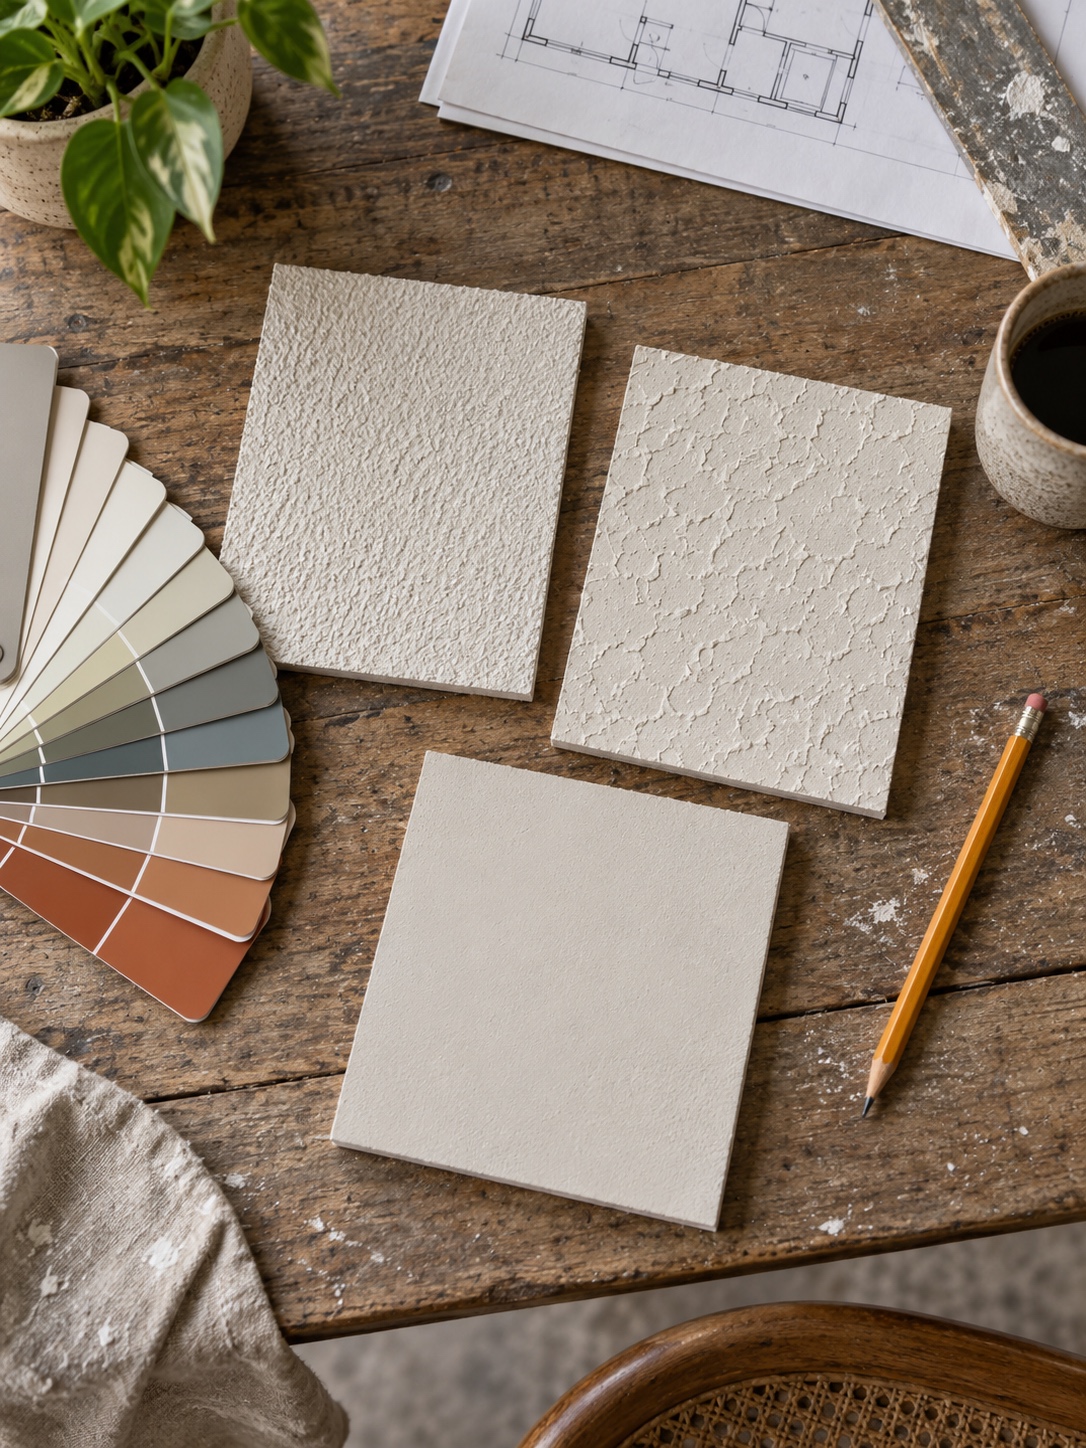
Older homes add one more variable. Plaster walls can crack well beyond the line you cut, so the opening may need to be scored carefully and the surrounding plaster supported before work starts.
Plan for dust, time and a bare opening
An existing home stays occupied during the work. Cutting and sanding drywall makes fine dust, so ask how the crew will contain it: plastic sheeting, a sealed doorway, floor covering and a vacuum attached to the sander. Also ask how many visits the job needs. Compound dries between coats, so a “one-day arch” is rare. Expect several visits across a few days, and a day or two when the opening is plain board while you wait for the next coat.
Think about the trim and the floor
An arch changes how a door frame, casing and baseboard meet. A square door casing doesn’t wrap an arch, so decide early whether the arch will have trim or a clean, drywall-return finish. Many modern designs use no trim: the plaster-like edge goes straight to the wall. If the floor on either side is different, mark where it meets the arch so the transition lines up with the opening, not with a random point.
Finishing: curves show everything
A flat wall catches light at one angle. A curve catches it at every angle, so small ridges, tape lines and low spots that would vanish on a flat wall stand out. For a feature arch or a curved wall that will be lit from the side, ask for a higher level of finish. The Gypsum Association’s GA-214 guidance recommends Level 5 for smooth surfaces under critical lighting. It includes a skim coat over the whole surface after the joints and fasteners have been finished.
Here’s how it works in my world. On a car body, designers check surfaces under long fluorescent tubes, because the reflection lines expose every ripple. The same trick works in a house. Hold a bright flashlight flat against the wall and sweep it across the curve. Any ridge or hollow throws a shadow. Do this before painting, and mark problems with a pencil so the finisher can fix them. A flashlight helps find defects during finishing; judge the completed wall under its intended lighting, from a normal viewing position.
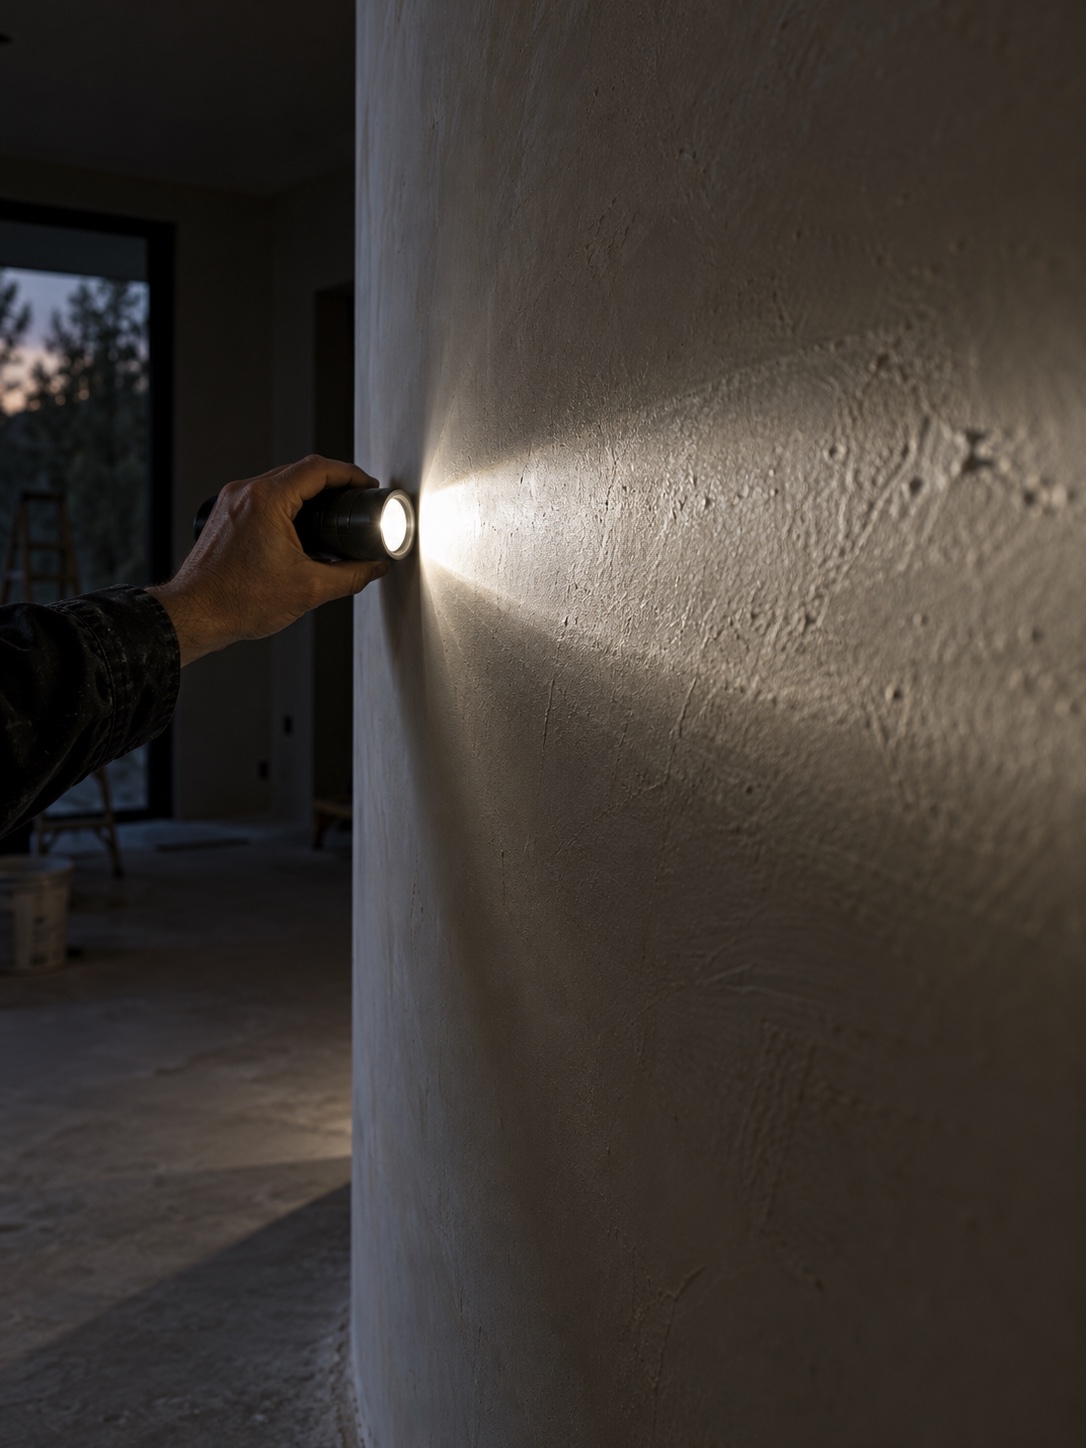
Paint sheen matters too. Flat and matte finishes hide small imperfections. Gloss and semi-gloss highlight them. On a curve, I’d stay with a flat or matte finish unless the wall must be washable, and then I’d choose the lowest sheen that works.
Light is part of the design
Where the light comes from decides how much the curve will show. A wall washed by a window at a low angle in the morning or evening will show every error. More diffuse light falling toward the face of the wall tends to reveal less texture. If you plan a feature arch next to a large window, a higher finish level is a good investment. If it’s in an interior corridor with soft overhead light, a standard good finish may be enough, but discuss it with your contractor.
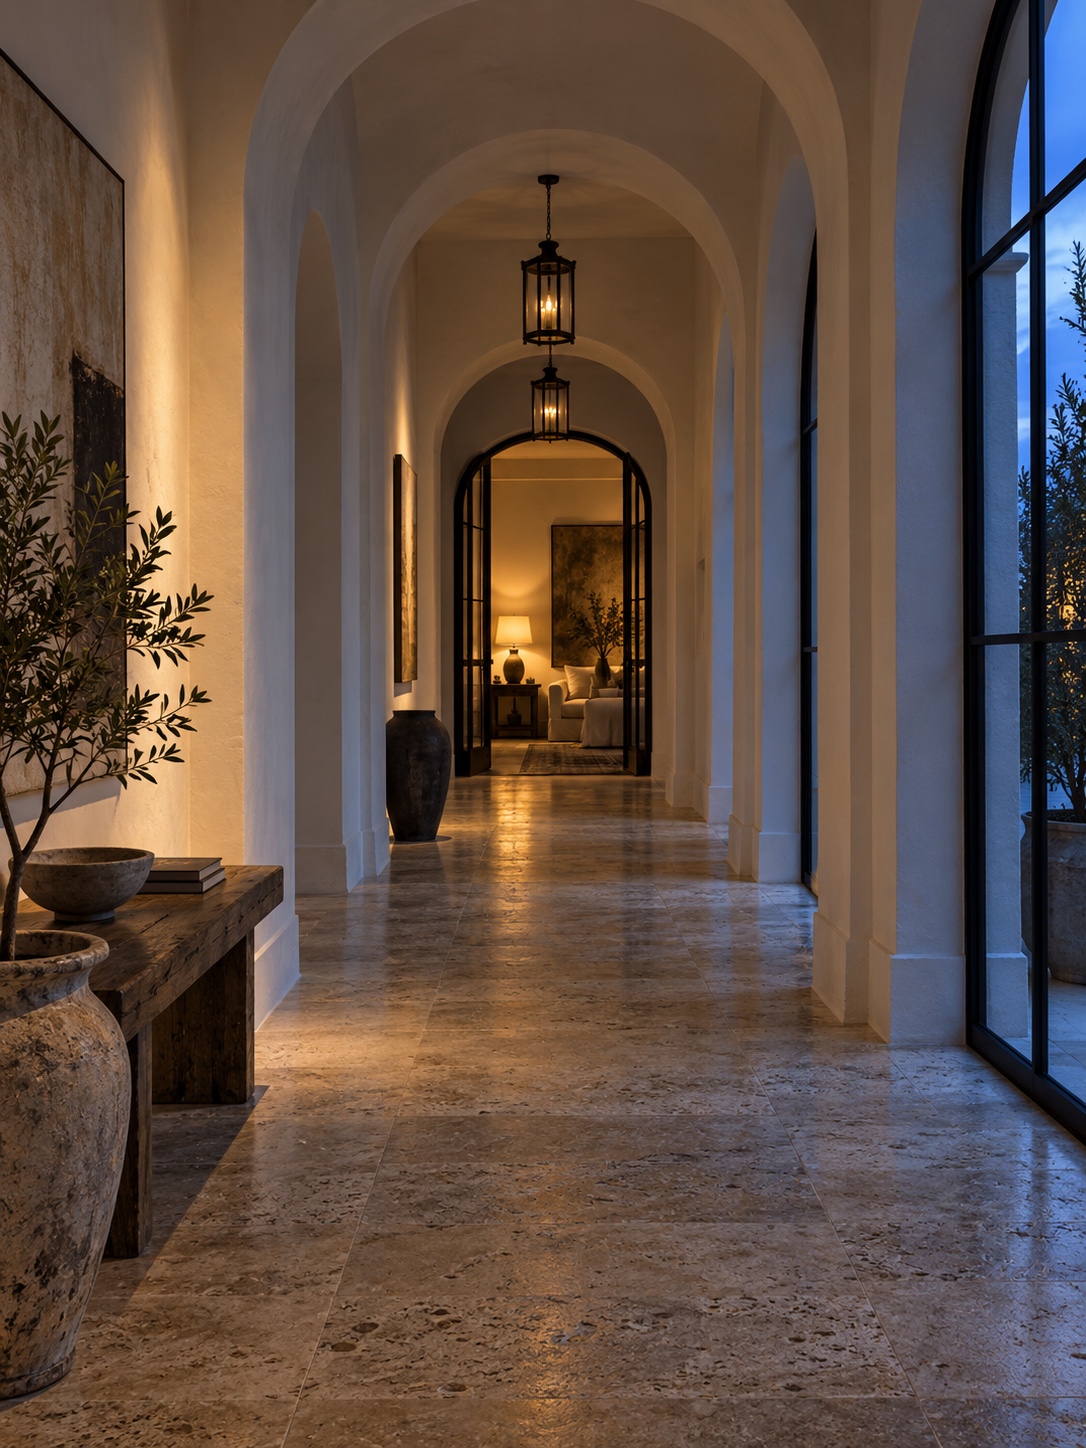
Is a curve worth it?
Curves earn their keep where people pause: entryways, hallway transitions, a reading nook, the wall behind a bath. They cost more and take longer than square details, mostly in framing and finishing time, so it pays to choose one or two places where the shape does real work rather than rounding every opening in the house.
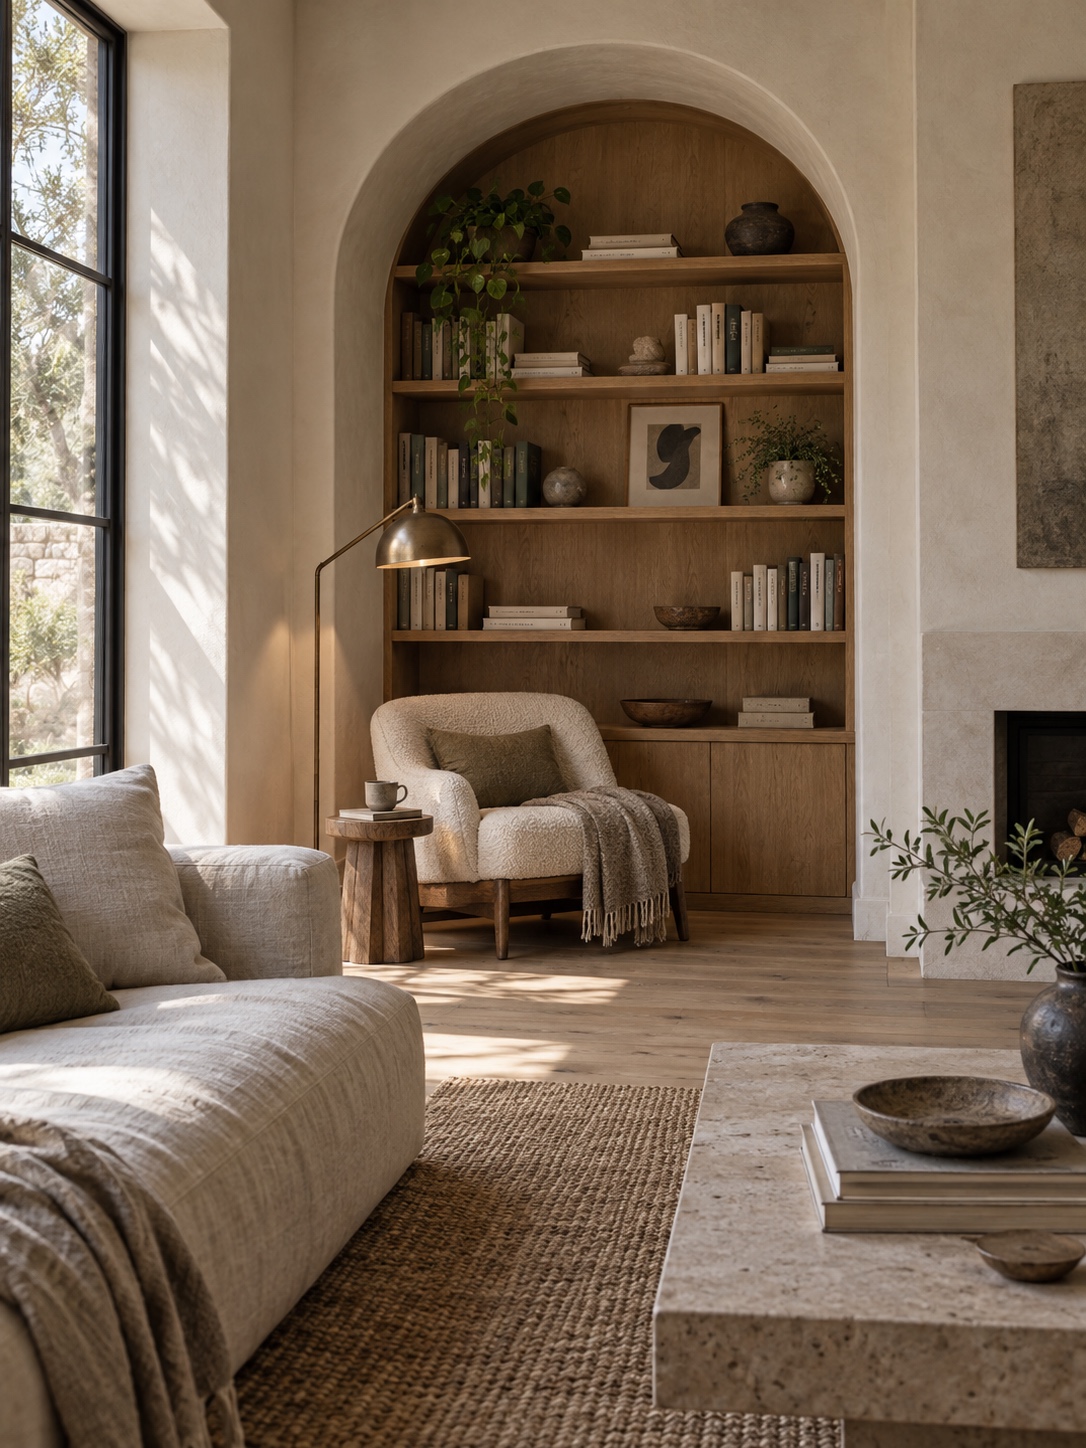
Done well, a single arch can change how an entire room feels. The difference between one that looks original and one that looks added is almost always in the framing you cannot see and the finishing you can.
Questions to ask a contractor before you commit
Bring these questions to the first meeting:
- How will you check what is inside the wall before cutting?
- What board and how many layers will you use for this radius?
- Which arch bead do you recommend, and why?
- How will you match the existing texture, and can you test it on a board first?
- What finish level will the curve get, and does it suit the light in this room?
- How will you control dust and protect my floors?
- How many visits should I expect?
You don’t need to understand every answer. You need to see that the contractor has one. A confident, specific reply is the best sign of a good result.
Frequently asked questions
Can I add an arch to an existing doorway?
Often yes, but it depends on the wall. A contractor builds the arch inside the existing opening with pre-cut framing or plywood forms, covers it with flexible board and finishes the edge with arch bead. Check first whether the wall carries load, and what runs inside it, such as wiring or pipes. Local rules may apply.
What kind of drywall bends for curved walls?
Thin flexible gypsum board, usually 1/4 inch, installed in two layers. One manufacturer’s High Flex board lists minimum radii from about 30 to 32 inches for dry lengthwise bending down to about 7 inches for wet bending across the width. Thicker standard board needs much larger radii, so ask for the specific product’s data sheet.
Can I put a niche in an exterior wall?
It’s possible, but I’d avoid it where I can. Cutting into insulation leaves a thin, cold spot where condensation can form. If an exterior wall is the only option, ask your contractor how to keep the insulation and air barrier continuous around the niche. Interior walls between studs are much easier.
Why does my patched wall show a mark after painting?
Usually the texture or the finish level doesn’t match the old wall. New board must be flush, seams hidden and the texture copied, whether orange peel, knockdown or smooth. Paint, especially with a glossy sheen or side lighting, reveals small differences. A contractor can re-texture a full wall plane so the join disappears.
How long does adding an arch take?
It depends on the wall, the crew and how many coats the finish needs. Expect several visits over a few days, because compound has to dry between coats. A careful contractor will give you a schedule after seeing the opening and the texture. Be wary of promises of a single-day job.
One curve, done properly
If you’re considering a curve, pick the place where it earns its keep, tape the shape on the wall, and ask the questions above. Then spend your budget on the parts nobody sees, the framing and the finish. That’s what separates an arch that looks like it was always there from one that looks added.
Vlad is a product and industrial designer with 15+ years of experience across automotive, jewelry, and digital design, based in Kyiv. He writes the design and home-planning guides at Sky Rye Design.
- 12shares
- Facebook0
- Pinterest12
- Twitter0
- Reddit0