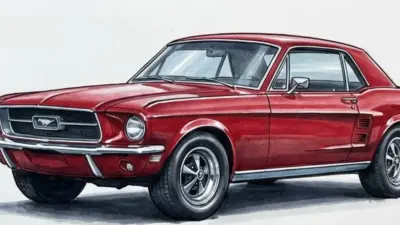
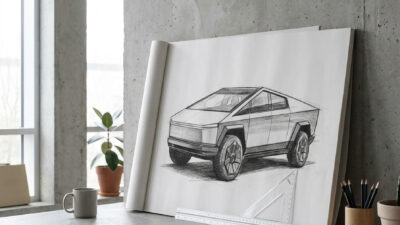
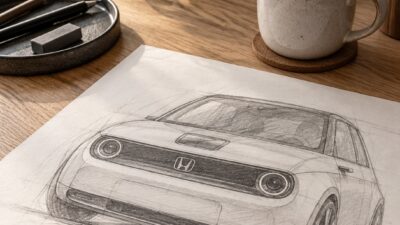
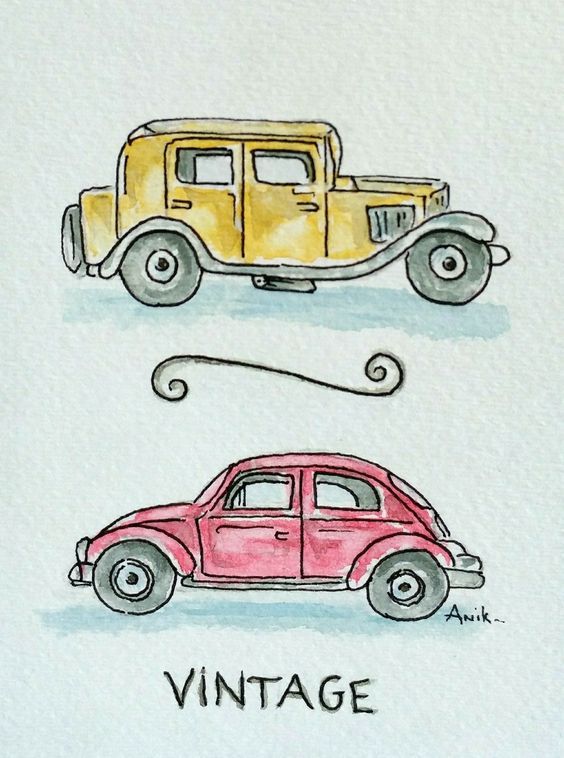
Drawing vintage cars is mostly about noticing what makes each model belong to its era. I pay close attention to the long curved body panels, unusual grille shapes, rounded fenders, chrome details, and proportions you rarely see on modern cars. Good reference photos matter here. A side view helps with the overall silhouette, while front and three-quarter angles reveal the car’s real personality.
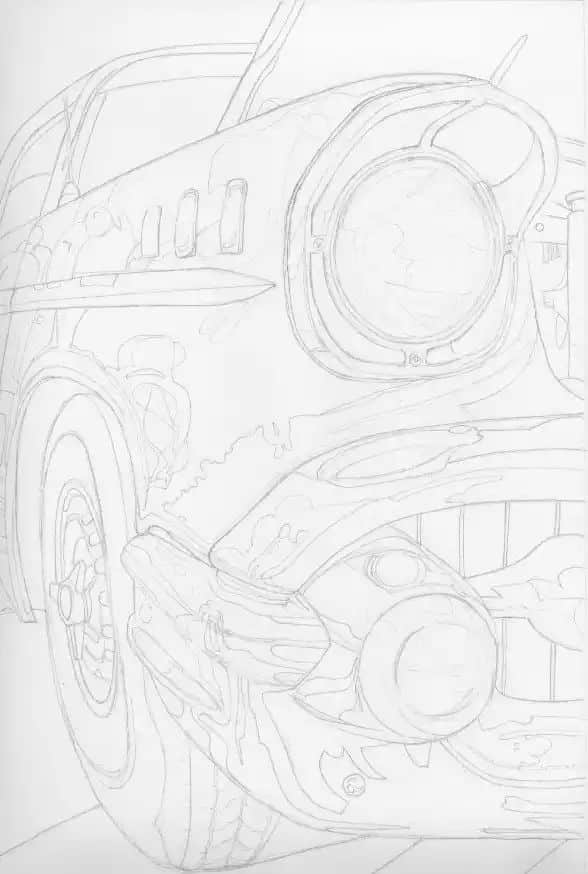
I usually begin with a loose construction sketch and keep the first lines light. Once the wheels, body length, roofline, and main curves feel right, I add the smaller details and start building texture. Rushing into headlights, reflections, and trim too early nearly always makes the drawing harder to correct.
- Key Takeways
- Understanding Vintage Car Drawing
- Essential Tools and Materials
- Finding and Using Vintage Car Drawing Resources
- Creating Unique and Stunning Visuals
- Showcasing and Sharing Vintage Car Drawings
- Special Themes and Awareness in Vintage Car Art
- Frequently Asked Questions About Vintage Car Drawing
- Q: What is a vintage car drawing?
- Q: How do you draw a vintage car step by step?
- Q: Why are vintage cars difficult to draw?
- Q: What are the best pencils for drawing classic cars?
- Q: How do you draw realistic chrome on a vintage car?
- Q: How long does it take to draw a realistic vintage car?
- Q: What is the easiest vintage car to draw for beginners?
- Q: What are the most common mistakes when drawing vintage cars?
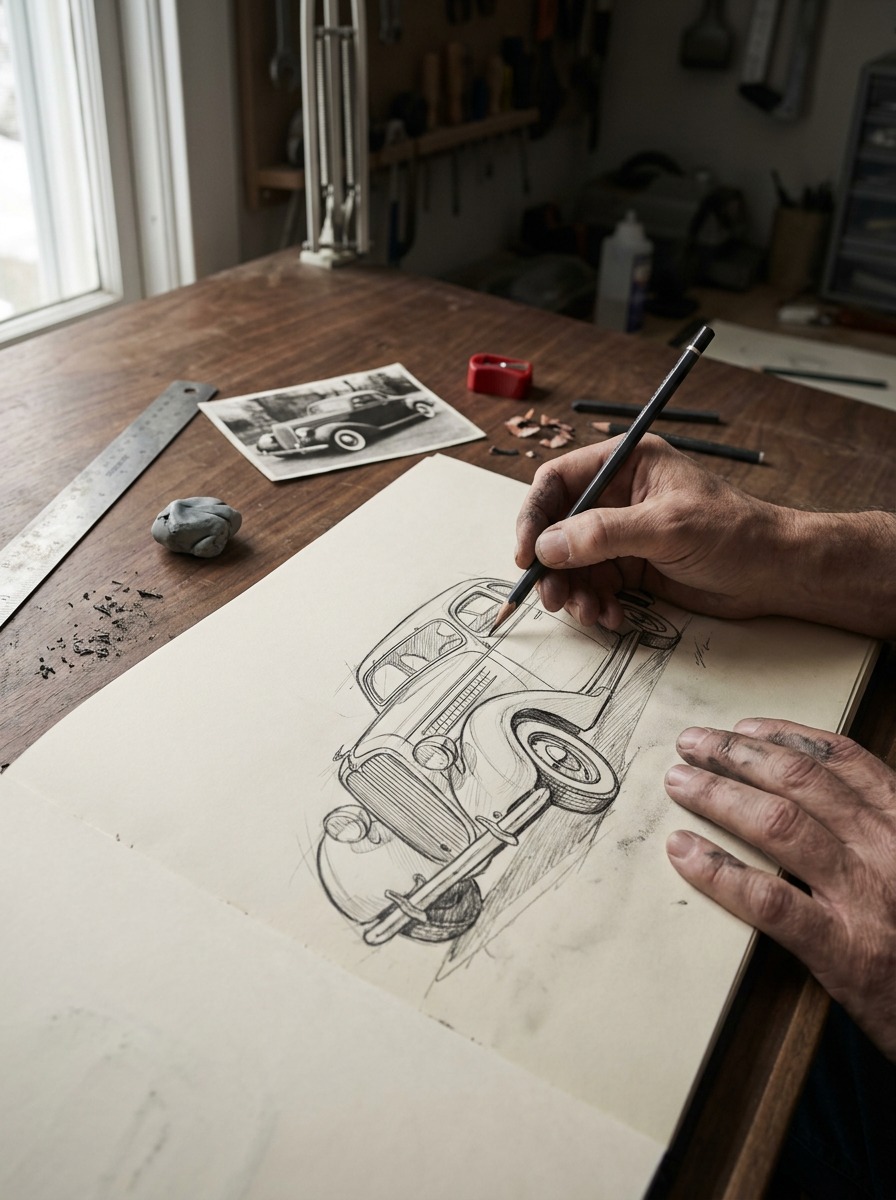
A pencil, eraser, ruler, and a clear set of reference images are enough to get started. Whether I’m practising proportions or working on a finished illustration, vintage car drawing gives me a chance to study automotive design at its most expressive. Every model has its own stance, and capturing that character is what makes the drawing feel convincing.
Key Takeways
- Vintage car shapes are the whole game — get the stance and proportions right before you touch a detail.
- Good reference photos save you from guessing at chrome, grilles, and trim.
- The right pencils and a lot of repetition matter more than any single trick.
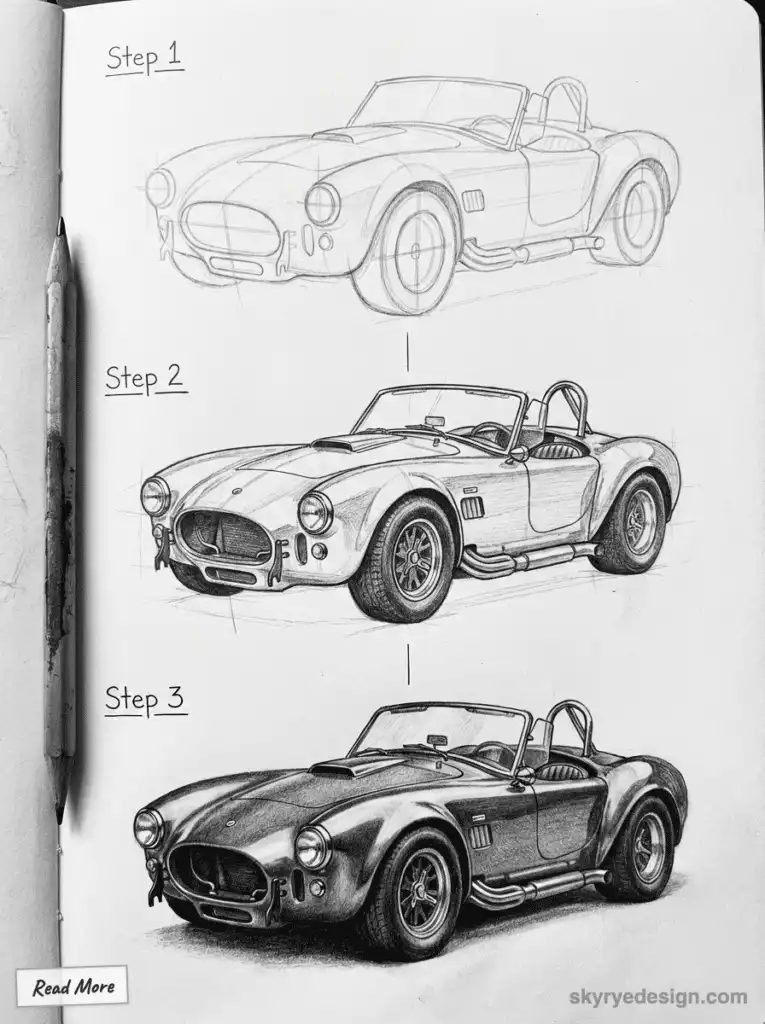
Understanding Vintage Car Drawing
Vintage car drawing is really two skills at once. You need to read the technical design of a specific era — how a 1930s fender differs from a 1960s one — and you need the hand skills to actually put that on paper convincingly.
Defining Vintage Car Drawing
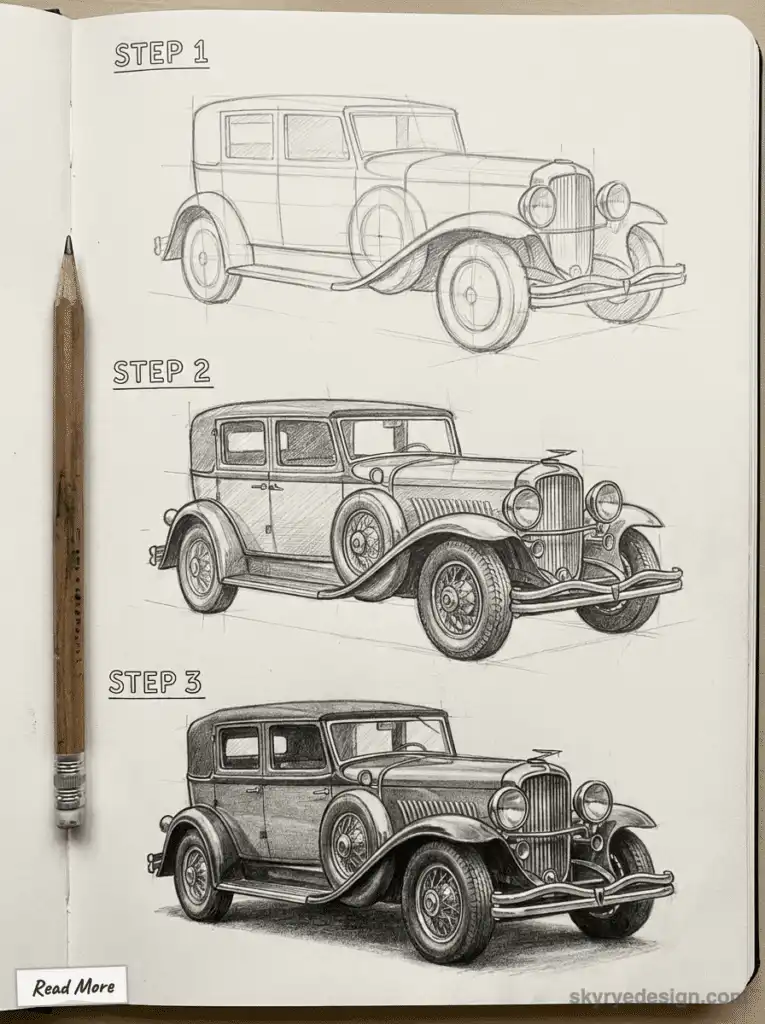
I define vintage car drawing loosely as anything from the early 1900s through the 1970s — curved fenders, chrome trim, and grille shapes that just don’t show up on modern vehicles anymore.
Pencil, ink, or a tablet — the tool matters less than the sequence. Sketch the outline first, then move into shading metallic surfaces and reflections once the shape is locked in.
History and Significance in Art
This tradition goes back to early automotive enthusiasm and industrial design sketches — artists documenting how car styles changed year to year, part technical record, part personal art.
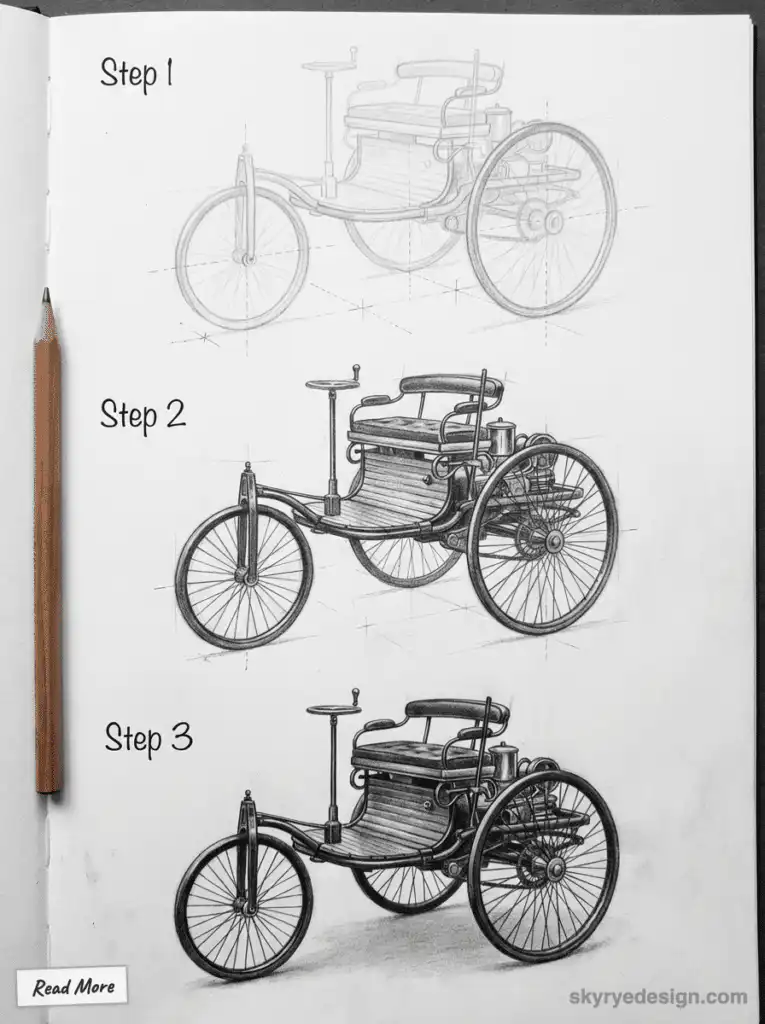
You’ll find plenty of these drawings sitting in specialized art collections today, doing double duty as historical record and as art in their own right. Looking through them tells you as much about the decade as it does about the car.
Popular Styles and Techniques
I mostly work in one of three styles: realistic, stylized, or schematic. Realistic drawings live or die on the shading — getting metallic surfaces and reflections to actually read as metal.
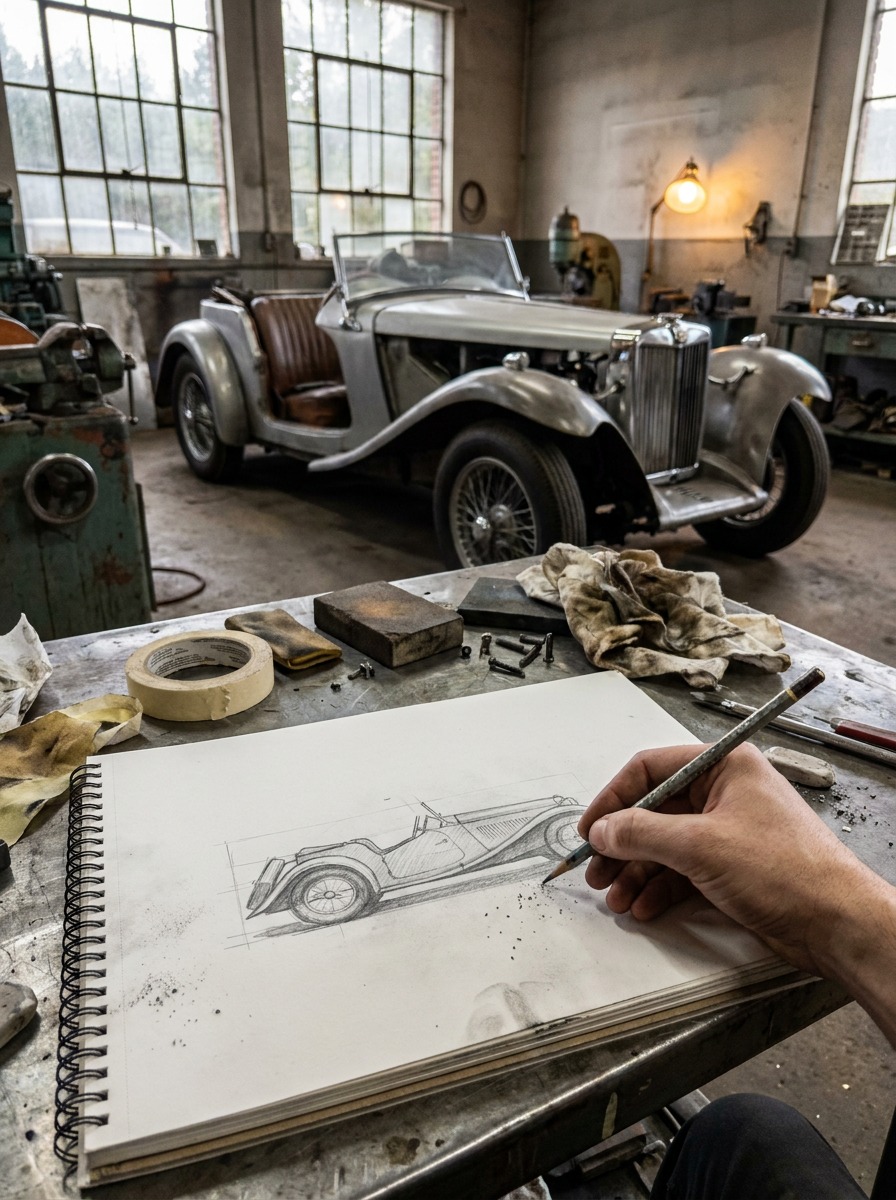
Graphite pencil handles fine textures well. Ink gives you crisp outlines. Digital rendering is where I go for color accuracy. Whatever the medium, I build in layers: block in the basic shapes first, then add detail in passes instead of trying to finish one area at a time.
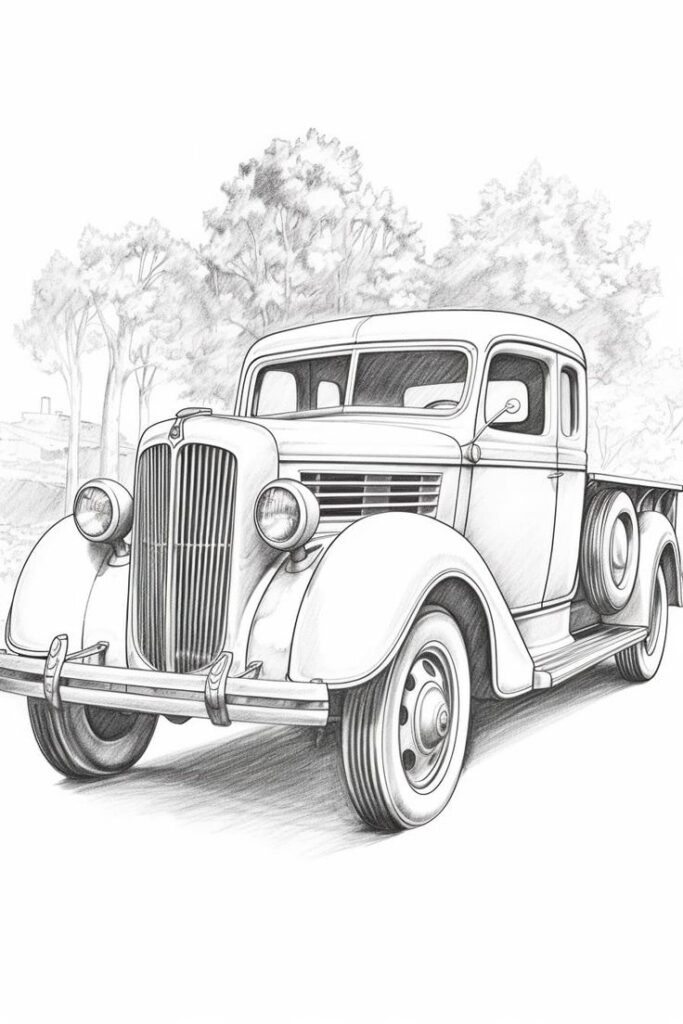
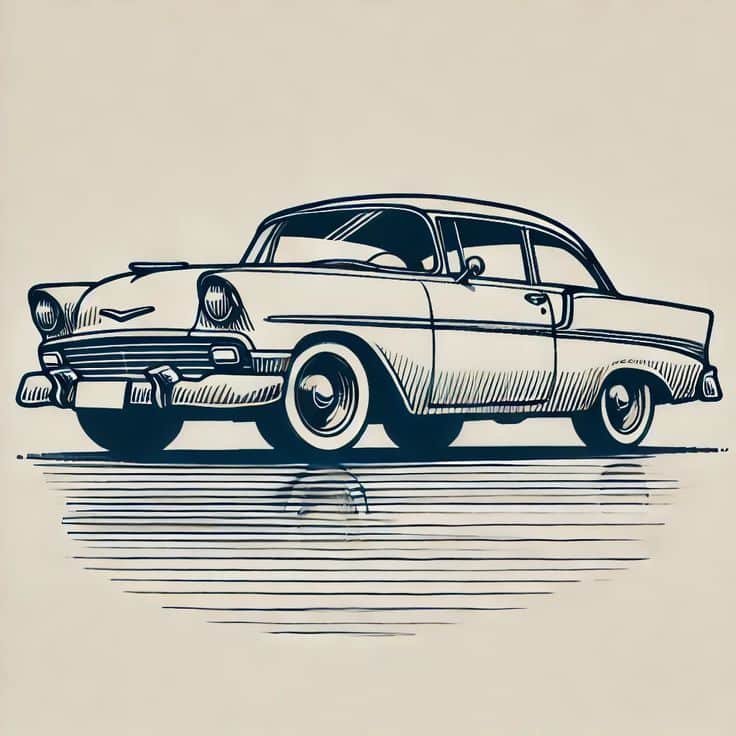
Essential Tools and Materials
The tools you pick shape the drawing itself, not just how comfortable the process is. Below is what I actually reach for, from basic graphite through digital and AI-assisted workflows.
Traditional Drawing Tools
Start with quality drawing paper, preferably smooth for fine detail or textured for shading effects. Use pencils ranging from HB to 4B; HB is good for outlines, while softer 2B to 4B pencils help with shading and depth.
An eraser is vital for corrections and highlights. A ruler aids in achieving accurate proportions, especially for straight lines and perspective grids. Fine-tip markers or colored pencils can add crisp edges or subtle color accents once your sketch is complete.
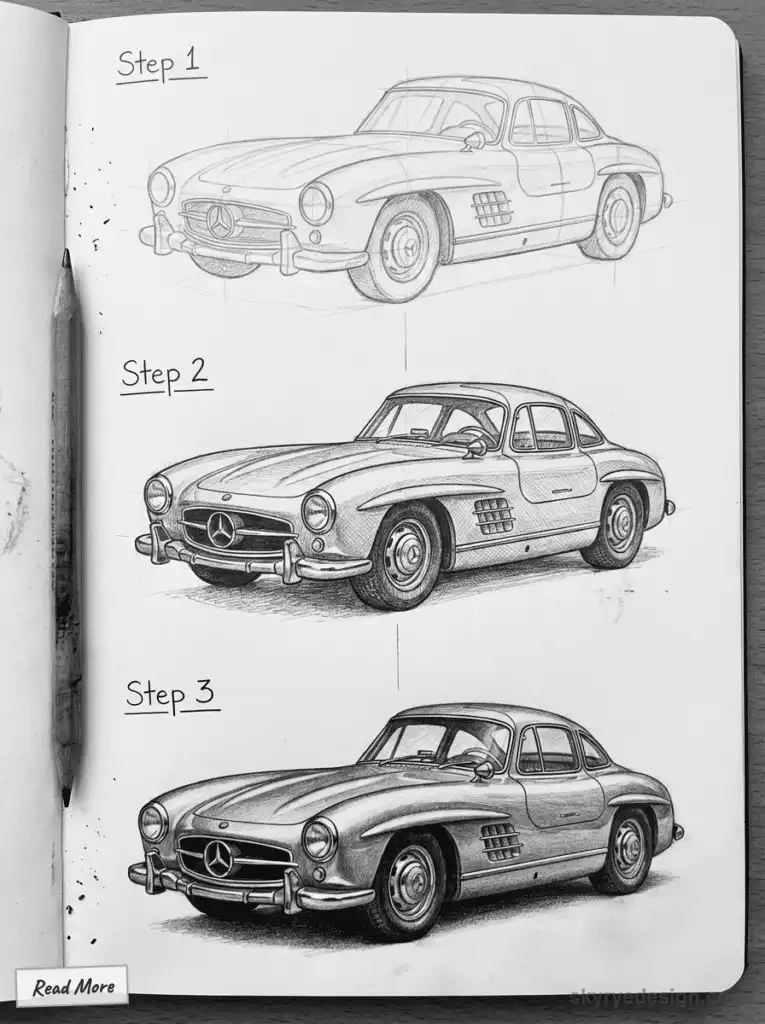
Using light strokes initially allows easier adjustments. Gradually build layers to create realistic metal reflections and car contours typical of vintage designs.
Digital Tools and AI Generated Content
Digital software adds layers and undo, which sounds minor until you’ve erased a whole fender by hand one too many times. A pressure-sensitive tablet is the closest thing to pencil-on-paper I’ve found digitally, and apps like Photoshop or Procreate ship with brush sets built to mimic graphite or ink fairly convincingly.
AI image tools are useful for one thing specifically: generating a rough starting sketch or reference image when you’re stuck. I don’t use the output as a finished piece — I use it as a faster blank page, then redraw over it by hand until it’s actually mine.
Where digital tools genuinely save time is testing lighting and texture without committing. Overlay a transparent texture layer to see how a metallic surface catches light, add a reflection pass, and you can preview a finish that would take hours to render by hand — then decide if it’s even the direction you want.
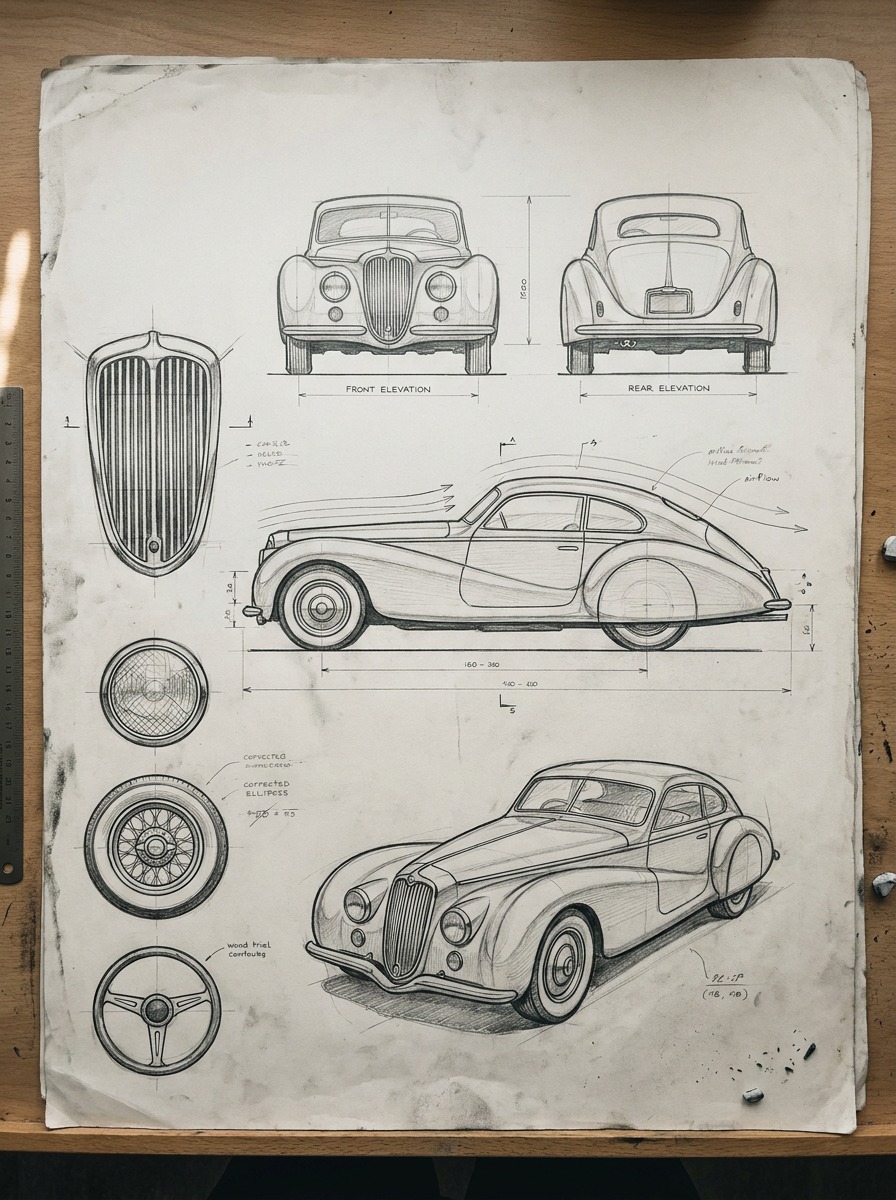
Choosing Between Vectors and Transparent Images
Vectors are my choice for clean, sharp lines — logos, or a clear outline of a car’s body lines. Scale a vector up or down and it stays sharp, which matters if you’re still adjusting proportions late in the process.
PNGs with transparency are what I reach for when layering textures or dropping a photo reference into a piece. Separate layers mean you can test background effects without touching the linework underneath.
It comes down to what the drawing needs. Sharp, editable line work points to vectors. Depth and texture point to transparent layered images. Most of my finished pieces use both — vector linework with a textured raster layer on top.
Finding and Using Vintage Car Drawing Resources
Reference material comes with strings attached, and it’s worth knowing which strings before you build a drawing around someone else’s image. Royalty-free, editorial, exclusive, and extended licenses each allow different things. Stock photos and 360° panoramic images are worth knowing about too, since they give you angles a single photo can’t.
Sourcing Royalty-Free Illustrations
Royalty-free means one payment, then you can use the image repeatedly — a common license for vintage car reference material, and flexible enough for personal or commercial work.
No per-use royalties, but read the fine print anyway — some royalty-free licenses still block resale or logo use. iStock alone has thousands of vintage car sketches under royalty-free terms if you need a starting point.
If you’re printing or enlarging, grab high-resolution files, or better, vector formats — they hold up at any size.
Editorial Vs. Exclusive Content
Editorial license covers newsworthy or educational use — a vintage car photo in a blog post like this one. You can use it as-is, but not altered, and not resold as your own work.
Exclusive licensing means the provider isn’t selling that same image to anyone else, or only to a small group. Worth it for branding work, where the last thing you want is a competitor using the same reference art.
Editorial images usually need a credit line. Exclusive licenses tend to be looser on usage rules but cost more. Read the terms before you pay for either.
Understanding Extended Licenses
An extended license removes most of the usual restrictions — print vintage car drawings on t-shirts, wine glasses, whatever product you’re selling, or reuse the image inside software without limit.
A standard royalty-free license usually won’t cover resale or use in templates. Extended licenses open that up — merchandise, a full ad campaign, an app — without the legal risk of overstepping the terms.
Read the terms before you commit. Extended licenses cost more, but that premium is what buys you the freedom to use the image commercially without asking permission again.
Using Stock Photos and 360° Panoramic Images
Stock photos of vintage cars aren’t hard to find, and plenty carry free or editorial-use licenses. I use them mainly for authentic reference — getting the actual proportions right before I start stylizing anything.
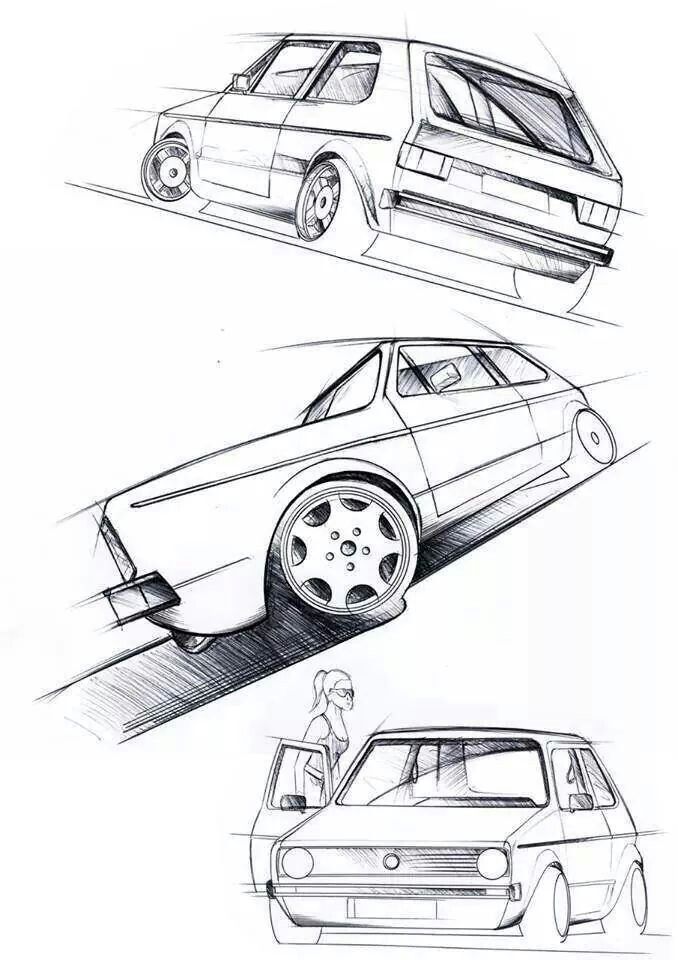
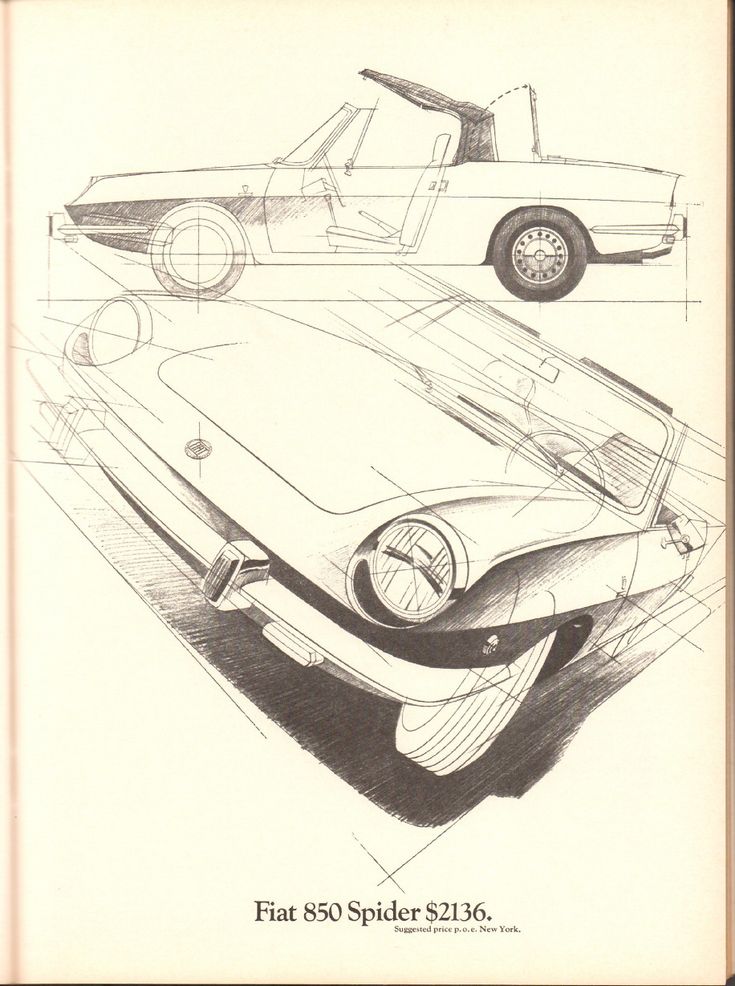
360° panoramic images changed how I do reference work. Being able to rotate around a car and check every angle catches proportion mistakes a single side-view photo would never reveal.
If you go this route, check the resolution is actually good enough for your project, and confirm the license matches what’s advertised — especially before you sell or publish anything built on it.
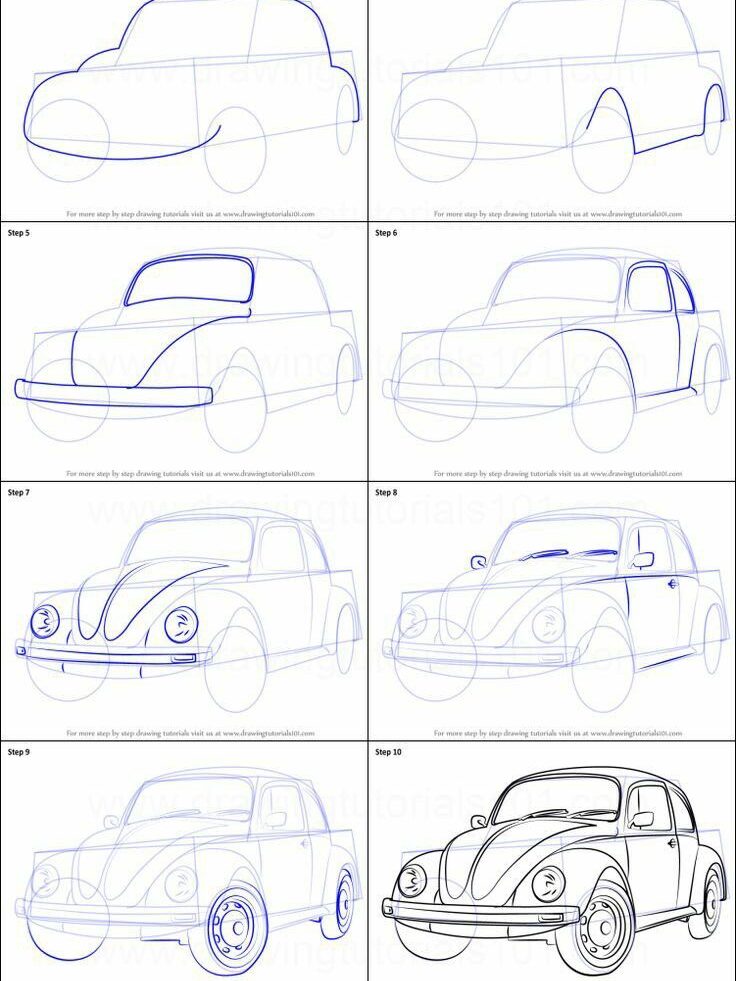
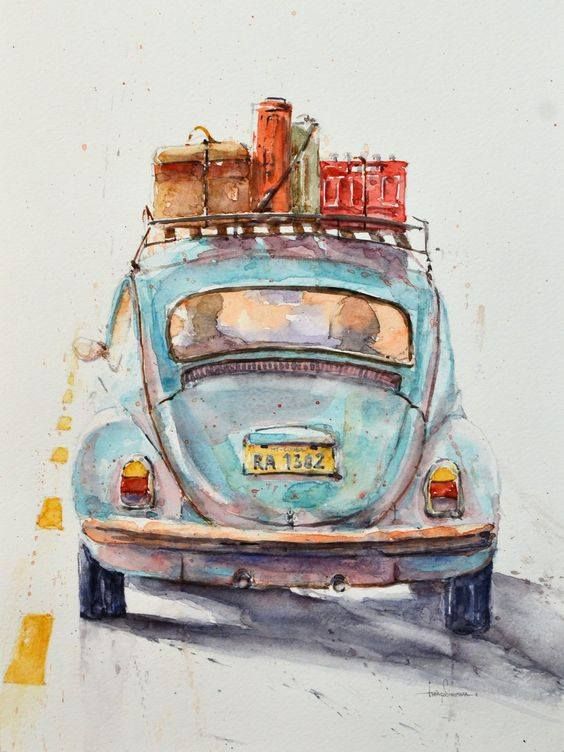
For another vintage exercise, this classic Volkswagen Beetle drawing breaks the Bug into arcs, wheel centers, and oval headlights instead of treating it as one simple oval.

Creating Unique and Stunning Visuals
A strong vintage car drawing usually comes down to specific, well-chosen details rather than more detail overall. That means picking symbols carefully, building a reference collection with some intention behind it, and knowing how to search for inspiration instead of scrolling endlessly.
Incorporating Signs and Symbols
A period-accurate sign or symbol does more for the retro feel than another hour of shading. A brand logo, a cultural reference tied to the car’s era — small details, big effect.
A period logo or a road sign from the right decade anchors the drawing in a specific time and place. I keep it to one or two elements — past that, the composition starts competing with the car itself.
A rusty license plate or an old garage sign adds context without a single word of explanation. Stick to what actually fits the style you’re going for and resist the urge to add a third or fourth prop.
Curating Art Collections
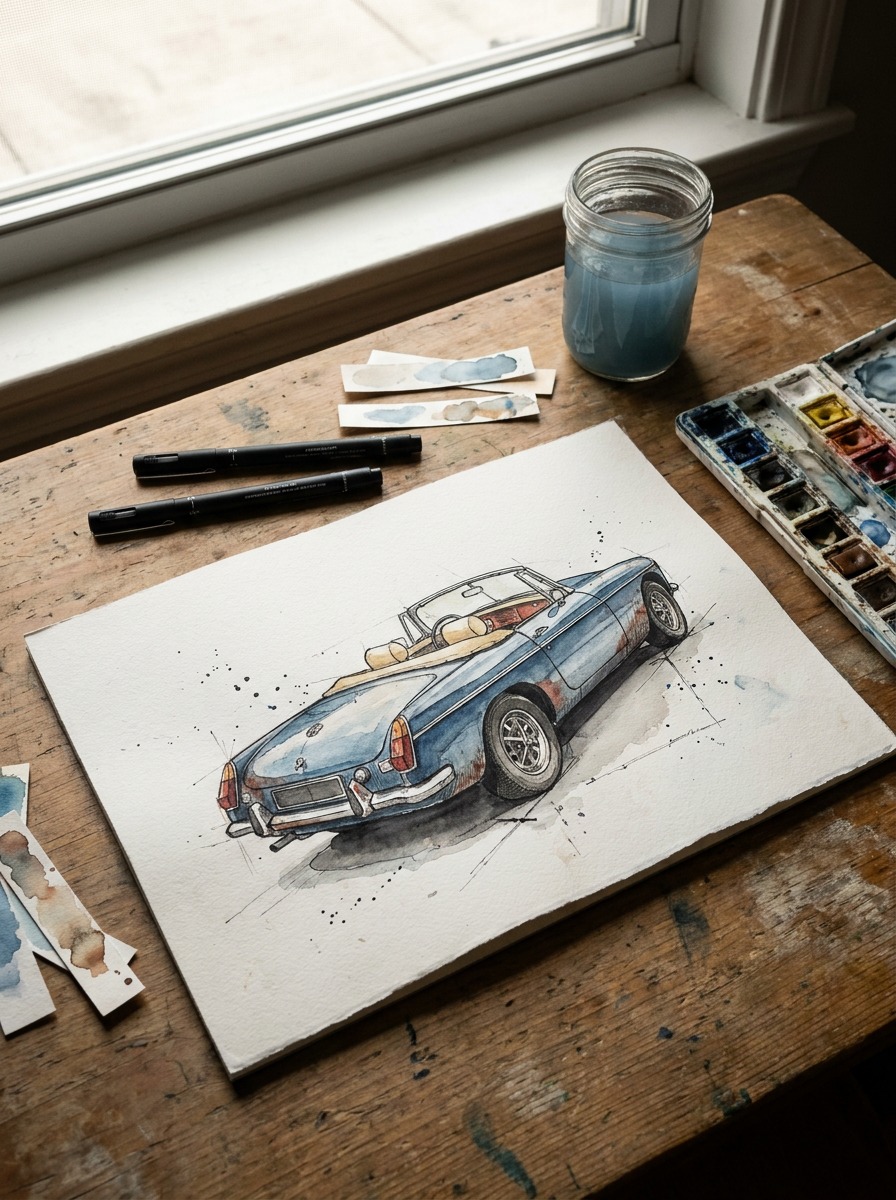
I keep a running folder of vintage car images and sketches — photographs, line drawings, other people’s pencil studies, watercolor pieces. It’s the first place I look when I’m stuck.
Organize it by theme — same model together, or grouped by decade. Either way, when you’re planning your own piece you can pull up exactly the reference set you need instead of searching from scratch.
Studying how other artists handle light, texture, and metal finishes sharpens your eye faster than practicing alone. I’ve picked up more shading tricks from other people’s sketchbooks than from any tutorial.
Filter Search Results for Inspiration
Filter by image type and quality when you search for vintage car references online — it saves you from wading through low-res thumbnails. Specific search terms like “vintage car sketch graphite” or “metallic vintage car drawing” get you closer to useful results than searching the model name alone.
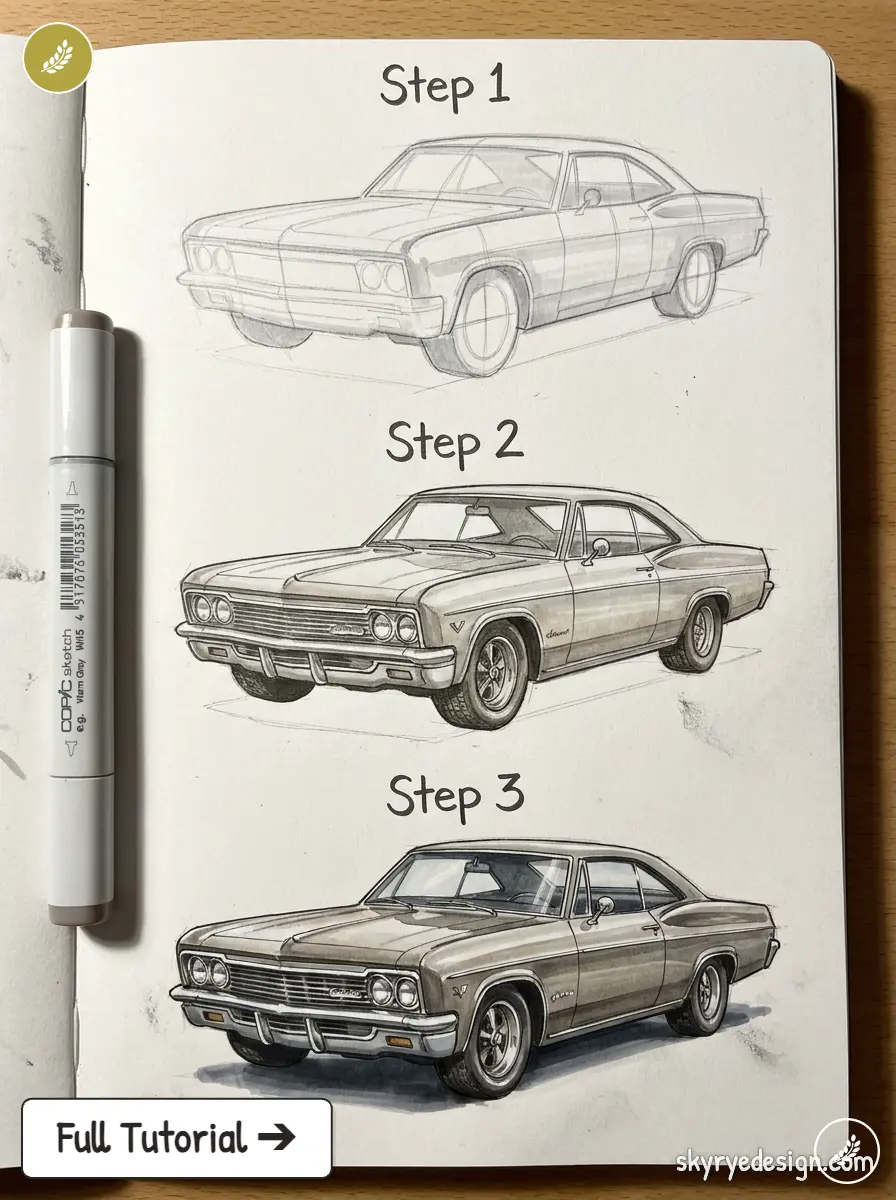
Narrow the search to a specific format — sketches, vector art, step-by-step tutorials — and you’ll land on visual styles that actually apply to what you’re drawing.
Check resolution and copyright status before you commit to a reference image. A few minutes of filtering upfront beats redoing a piece because your source turned out to be low-res or off-limits.
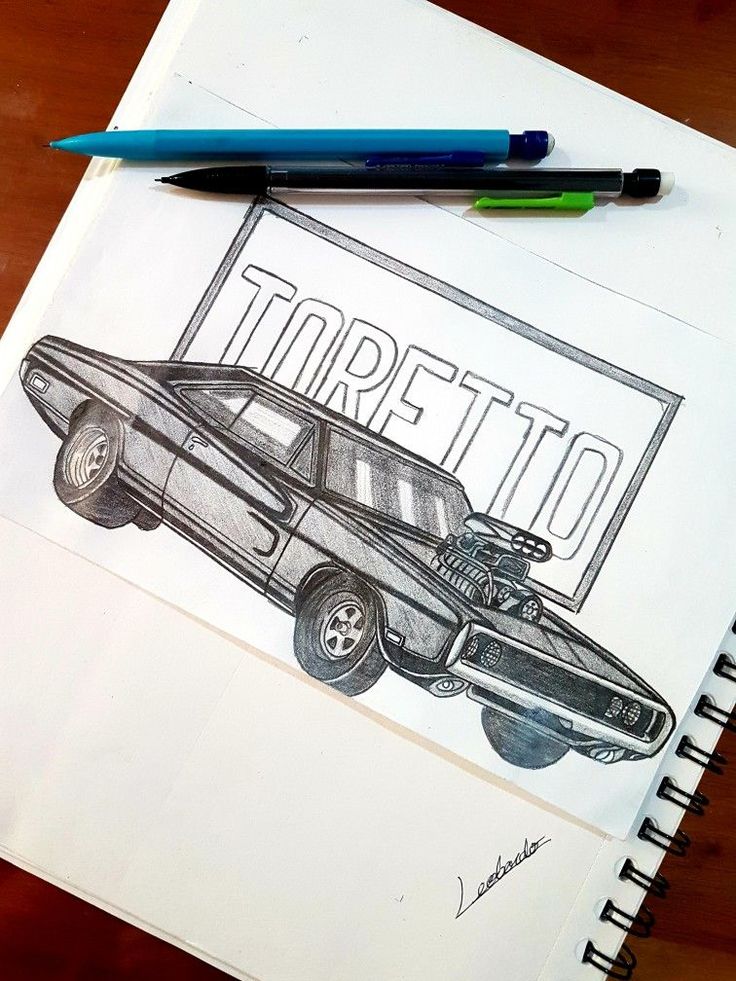
Showcasing and Sharing Vintage Car Drawings
Where you post a vintage car drawing matters almost as much as the drawing itself. Transparent backgrounds and editorial context make the work easier to use and understand, and video or browse-friendly presentation keeps people looking longer than a static image alone.
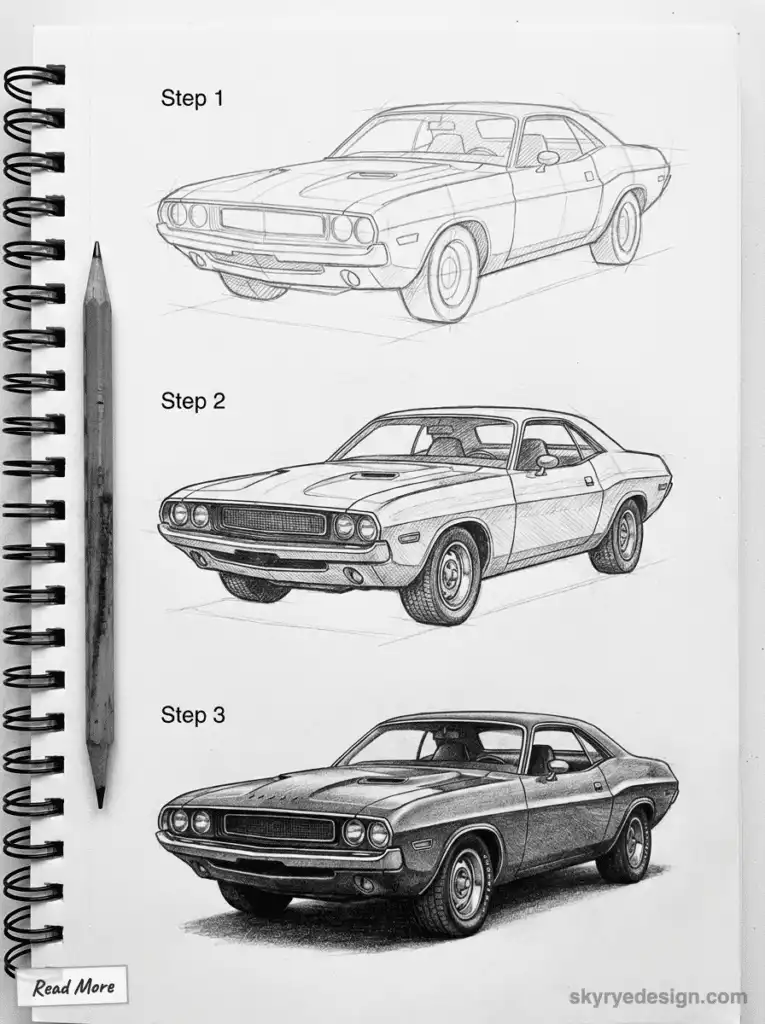
Uploading to Platforms Like dreamstime
When you upload vintage car drawings to platforms like dreamstime, focus on high-resolution images to maintain detail. Ensure your files meet the site’s technical requirements, including size and format, to avoid rejection.
Use clear, specific keywords related to vintage cars, classic models, and sketch styles. This improves searchability and increases the chances your artwork will be discovered by collectors or enthusiasts.
Tag your drawings accurately too — vintage, automotive, art, whatever actually applies. Sloppy metadata is one of the fastest ways to get a strong drawing buried in search results.
Utilizing Videos and Browse Features
A short video of your drawing process shows things a still image can’t — the actual brush strokes, how the layers build, the moment a sketch turns into a finished color piece.
Group your work into thematic galleries — by era, model, or style — so people browsing your collection aren’t scrolling through everything at once to find what they’re after.
Check that video and gallery content actually loads fast and displays properly on mobile. A slow gallery loses viewers before they see a single drawing, no matter how good the work is.
Highlighting Transparency and Editorial Value
A transparent background makes a drawing far more useful to whoever downloads it — it drops into other designs and presentations without an awkward white box around it.
Tagging a piece editorial tells people upfront it’s meant for informational or artistic use, not commercial advertising. That distinction protects your copyright and keeps usage honest.
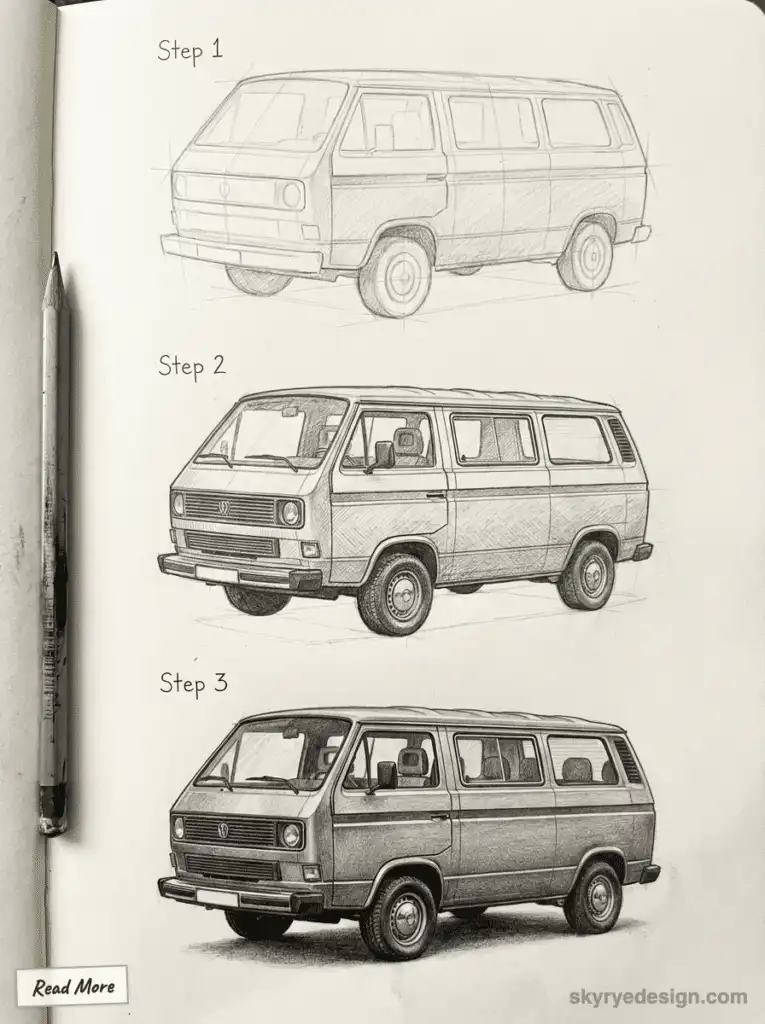
Transparency plus a clear editorial caption matters most when the drawing documents a rare or historically specific car — a short, accurate description does more for the piece than any amount of extra polish.
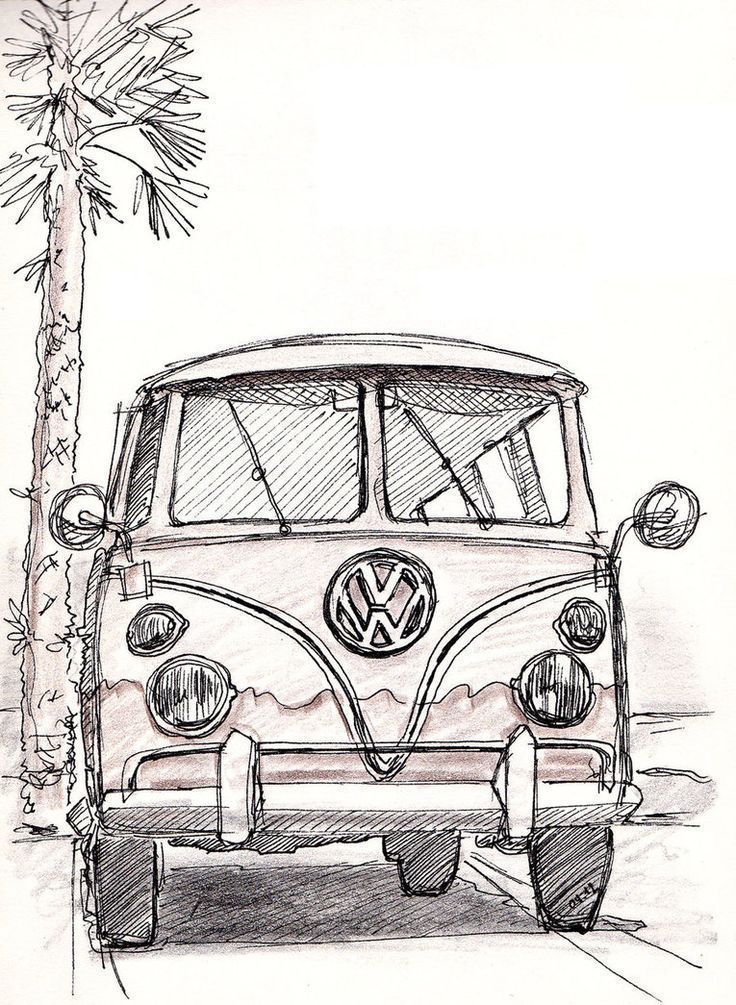
Special Themes and Awareness in Vintage Car Art
Vintage car art occasionally shows up around classic automobiles paired with a specific cultural observance or awareness date. Worth knowing about if you’re ever asked to illustrate one.
International Tea Day 2025 and Artworks
Vintage car art made for International Tea Day pairs heritage with wellness. Tea reads as tradition and calm to most people, so artists set a classic car alongside tea imagery to lean into both at once.
The pieces I’ve seen usually park the car outside a tea room, or work teacups and tea leaves directly into the composition. It’s a small reminder that vintage car culture isn’t only about the machines — it connects to lifestyle just as often.
World No Tobacco Day 2025: Promoting Tobacco Prevention
World No Tobacco Day is built around tobacco prevention messaging, and vintage car art shows up here too — usually setting the elegance of a classic car against the harder facts about tobacco use, to grab attention for a public health message.
Some pieces pair a vintage car with a no-smoking symbol or a direct message about quitting. Nostalgic imagery reaches people who’d scroll past a plain health warning.
World Environment Day: Celebrating Natural Resources
For World Environment Day, vintage car drawings tend to lean on natural settings — a classic car surrounded by greenery, balancing the appeal of the machine against a conservation message.
Cars and nature side by side is a simple visual argument: you can appreciate old machines and still care about protecting what’s around them.
Juneteenth and the End of Slavery in Vintage Car Art
Juneteenth marks the end of slavery in the United States, and some vintage car art acknowledges the date by working in symbols of freedom and progress alongside the classic car itself, tied to African American history and cultural pride.
These pieces work best when the historical context is handled with care rather than tacked on as decoration.
For reference beyond technique, this best vintage cars gallery is a good place to compare silhouettes, chrome, stance, and proportion across models.
For a sharper 1960s roof-to-deck transition, use this classic Mustang drawing tutorial. It is a useful contrast to the Beetle’s continuous curves and keeps the same focus on wheel centers, hood length, chrome, and controlled reflections.
Frequently Asked Questions About Vintage Car Drawing
Q: What is a vintage car drawing?
A: A vintage car drawing is an illustration of a classic automobile, usually a model produced between the early 1900s and the 1970s. These drawings emphasize period-specific features such as rounded fenders, long hoods, chrome bumpers, whitewall tires, hood ornaments, and distinctive radiator grilles. Artists may use graphite, ink, colored pencils, markers, watercolor, or digital programs to create anything from a loose concept sketch to a highly realistic automotive portrait.
Q: How do you draw a vintage car step by step?
A: Start with a light rectangular body shape and mark the wheelbase before adding details. Draw both wheels as complete circles or ellipses, then establish the hood, cabin, roofline, and trunk. Next, refine the fenders, windows, grille, headlights, and bumpers. Once the proportions look correct, erase unnecessary construction lines and add shading. Work from large shapes to small details rather than beginning with chrome trim, badges, or individual grille lines.
Q: Why are vintage cars difficult to draw?
A: Vintage cars combine precise mechanical proportions with complex curved surfaces. A small error in the wheel size, roof height, or perspective can make the entire vehicle look distorted. Chrome trim and glossy paint also reflect their surroundings, so they cannot be shaded like flat materials. Drawing from a three-quarter angle is especially challenging because the wheels become ellipses and the body shortens in perspective. Clear reference photographs and light construction lines make these problems easier to manage.
Q: What are the best pencils for drawing classic cars?
A: An HB pencil works well for construction lines and clean outlines, while 2B and 4B pencils are useful for tires, shadows, interiors, and dark reflections. Reliable options include Faber-Castell 9000 and Staedtler Mars Lumograph pencils. Add a kneaded eraser for lifting highlights and a ruler for checking perspective. For colored artwork, Prismacolor Premier pencils or alcohol markers can build smooth paint reflections. Digital artists can use Procreate or Adobe Photoshop with pressure-sensitive graphite brushes.
Q: How do you draw realistic chrome on a vintage car?
A: Chrome is created through sharp contrast rather than smooth gray shading. Divide the bumper, grille, or trim into narrow bands of bright white, mid-gray, and almost black reflections. Keep some edges crisp and leave small areas of untouched paper for the strongest highlights. The reflected shapes should follow the curve of the metal. A kneaded eraser or white gel pen can restore highlights, but avoid outlining every chrome part in black because that makes it look flat.
Q: How long does it take to draw a realistic vintage car?
A: A loose vintage car sketch may take 15–30 minutes, while a clean line drawing often takes one to two hours. A detailed graphite or colored-pencil illustration can require five to 20 hours, depending on the size, viewpoint, background, and amount of chrome. Beginners should not rush the construction stage. Spending the first 20–30 minutes checking the wheelbase, wheel ellipses, roofline, and perspective can prevent several hours of corrections later.
Q: What is the easiest vintage car to draw for beginners?
A: The Volkswagen Beetle is a good beginner choice because its rounded roof, simple body mass, circular headlights, and clearly separated fenders are easy to recognize. A Ford Model T is another useful option when practising boxier proportions and exposed wheels. Start with a side view before attempting a front three-quarter angle. Choose a reference image with clear lighting and minimal background clutter so you can concentrate on the silhouette, wheel placement, windows, and major body panels.
Q: What are the most common mistakes when drawing vintage cars?
A: The most common mistakes are drawing the wheels too small, placing them at different angles, shortening the wheelbase, and adding details before the main proportions are correct. Beginners also make chrome uniformly gray and use heavy outlines around every panel. Draw each wheel as a full ellipse before hiding it behind the fender, and compare the axle positions with your reference. Flip the drawing horizontally to reveal perspective errors that may be difficult to notice while working.
- 1.5Kshares
- Facebook0
- Pinterest1.5K
- Twitter3
- Reddit0