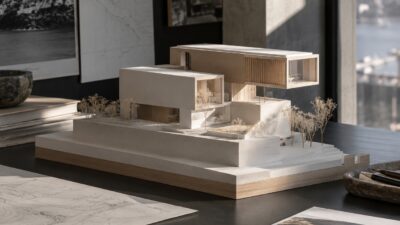
In academic drawing and 3D modeling alike, a weak foundation cannot be saved by texture. As a designer with 15 years of experience across industrial concepts, portals, and architecture, I’ve learned that clean architectural rendering techniques are what turn a basic draft into a narrative that clients actually buy.
- 1) Optimize HDRI for Realistic Rendering in Architecture
- 2) Master Material Workflows & 3D Rendering Techniques
- 3) Balance Mesh Detailing for Efficient Renderings
- 4) Apply High-Resolution Textures for Architectural Renderings
- 5) Control Depth of Field for Dramatic Visuals
- Core Principles of Rendering in Architecture
- Advanced Architectural Rendering Techniques
- FAQ: Architectural Rendering Techniques
- Q: What are the most essential architectural rendering techniques?
- Q: Why is lighting so critical for rendering in architecture?
- Q: How do you get realistic textures in a 3D model?
- Q: What is the difference between bump mapping and displacement mapping?
- Q: How does depth of field affect architectural renderings?
- Q: What rendering software is best for architects?
Whether you are using Lumion, V-Ray, or Blender, mastering rendering in architecture comes down to how light, materials, and form interact in a digital space. Here are 5 essential architectural rendering tips to improve your visuals.
1) Optimize HDRI for Realistic Rendering in Architecture
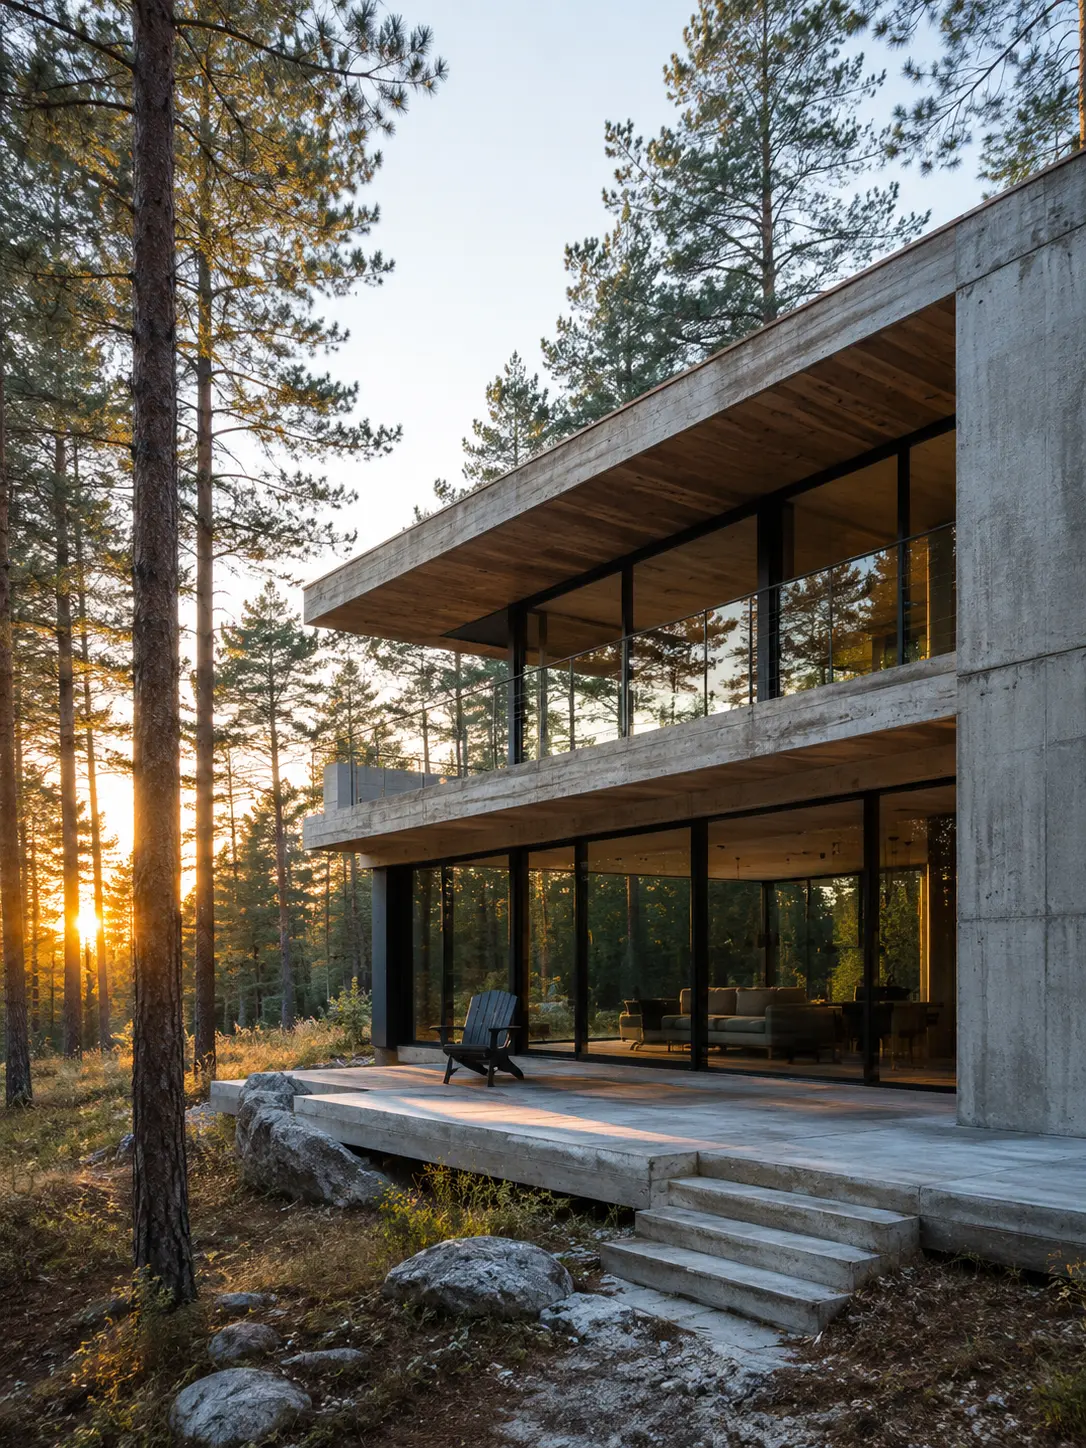
High Dynamic Range Imaging (HDRI) is a powerful tool to ground your designs in realistic environments. Instead of relying on flat digital suns, an HDRI dome provides authentic light maps that automatically adjust highlights, soft shadows, and reflections across your model. This is one of the most effective architectural rendering techniques to simulate realistic sky conditions.
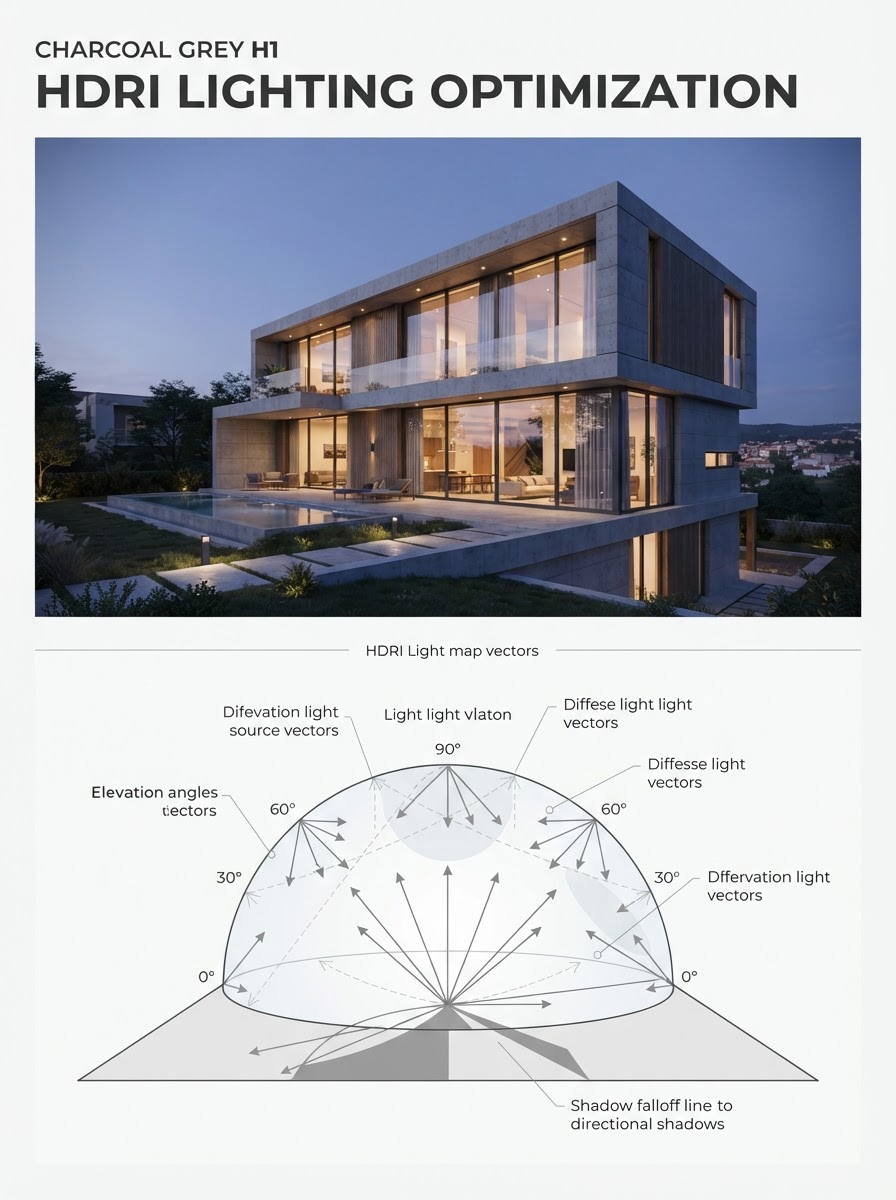
When setting up your scene, select an HDRI map that matches the time of day and geographic context of your design. A forest cabin needs cool, filtered light, while a concrete villa in Phuket requires sharp, warm exposure. For proper balance, calibrate your camera’s exposure settings so details are not lost in deep shadows or blown out in highlights.
To enhance your scene, you can study luxury lighting tips or experiment with multiple HDRI maps. Subtle variations in brightness, contrast, and saturation will dramatically change the mood. The goal is to achieve a Lumion rendering techniques or general rendering look that behaves naturally, just as it would in a physical space.
2) Master Material Workflows & 3D Rendering Techniques
Achieving realistic materials is a cornerstone of professional 3d rendering techniques. Instead of applying basic colors with high gloss, organize your workflow by mapping properties like diffuse reflection, roughness, and metalness to achieve the right look for an architect rendering.
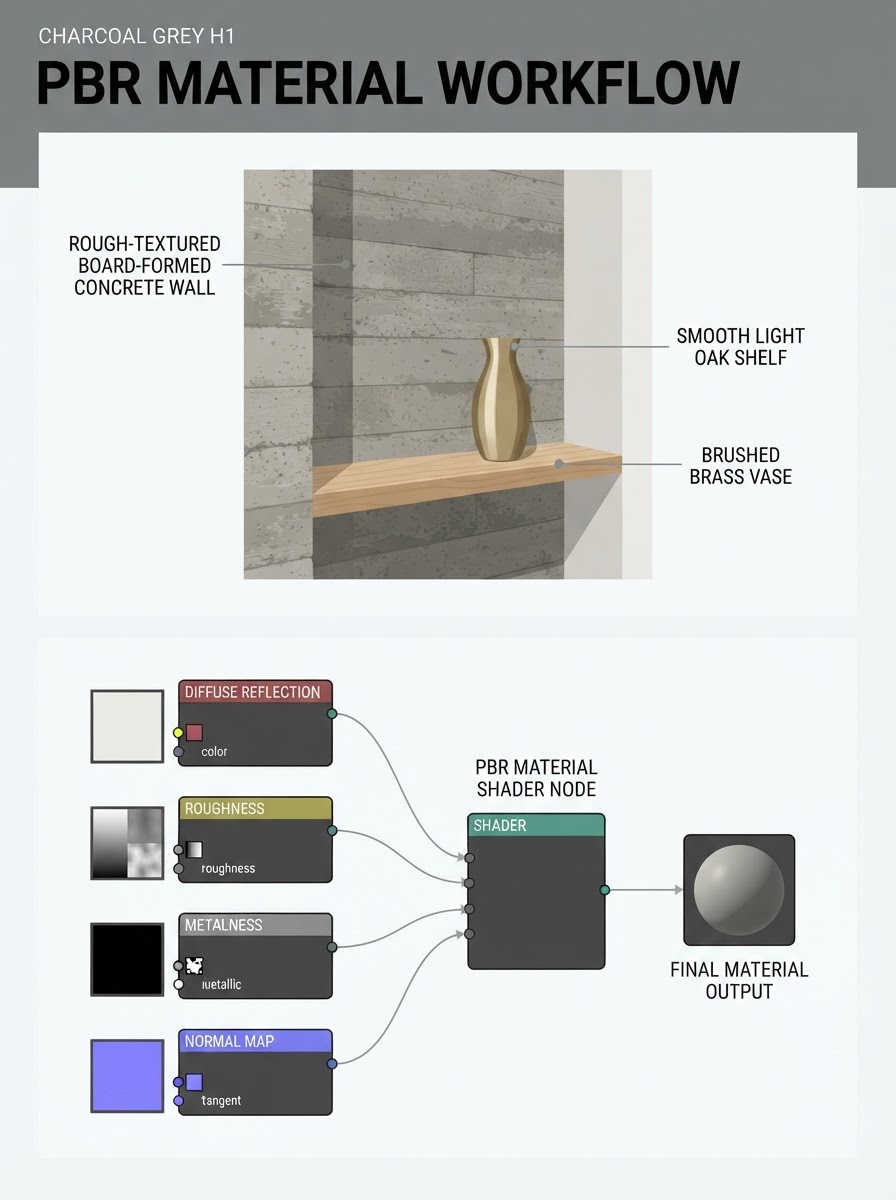
Avoid low-resolution stock textures that look tiled or pixelated when viewed up close. Instead, build your library with PBR (Physically Based Rendering) materials that reflect real-world physics. If you are rendering wood, metal, glass, or fabric, pay close attention to the scale; a concrete texture that is too large or too small immediately breaks the illusion of scale.
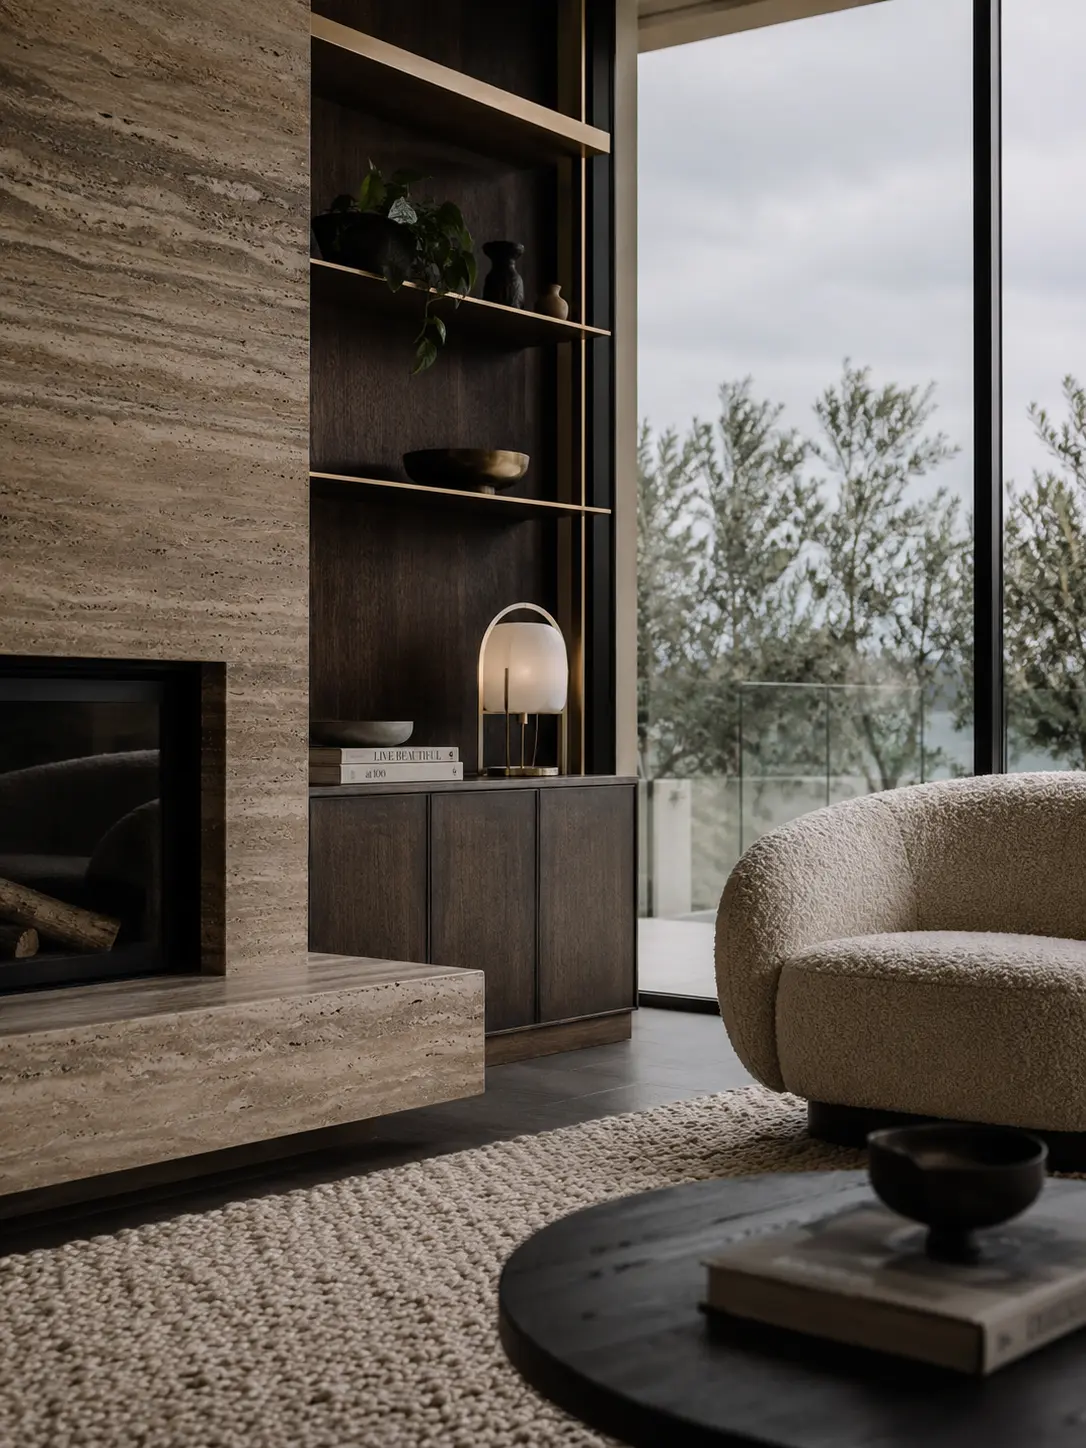
Layering is key here. Combining base maps with normal and roughness maps adds physical depth. You can learn more about how shading affects form in our shading techniques guide. Keep material application consistent across the entire model to ensure a cohesive architectural story.
3) Balance Mesh Detailing for Efficient Renderings
High detail is great, but inefficient geometry will crash your software and slow down your render times. You must balance detail where it counts while keeping your overall polygon count manageable. This is one of the most practical 3d rendering tips for large-scale projects.
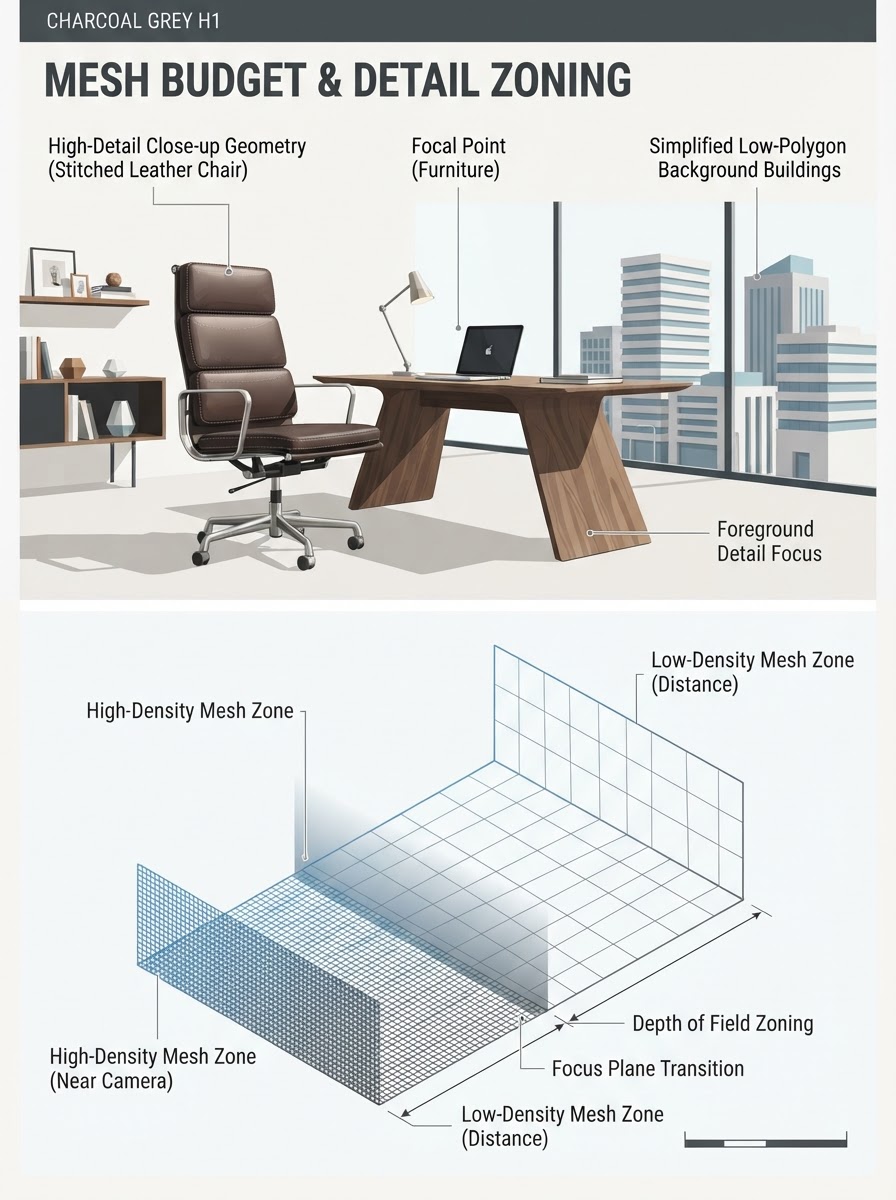
Focus your highest-resolution meshes on areas near the camera where texture and edge detail are critical, such as chamfered concrete corners or door hardware. For objects in the background, use lower-resolution meshes or proxies. This selective detailing keeps your file lightweight and fast.
Use normal mapping to simulate complex relief patterns, stitches, or surface rough spots without adding physical polygons. In your 3D modeling software, check your edge flow and UV mapping layouts before texturing to avoid stretching. Regularly audit your scene to remove double faces, hidden vertices, and unused blocks.
4) Apply High-Resolution Textures for Architectural Renderings
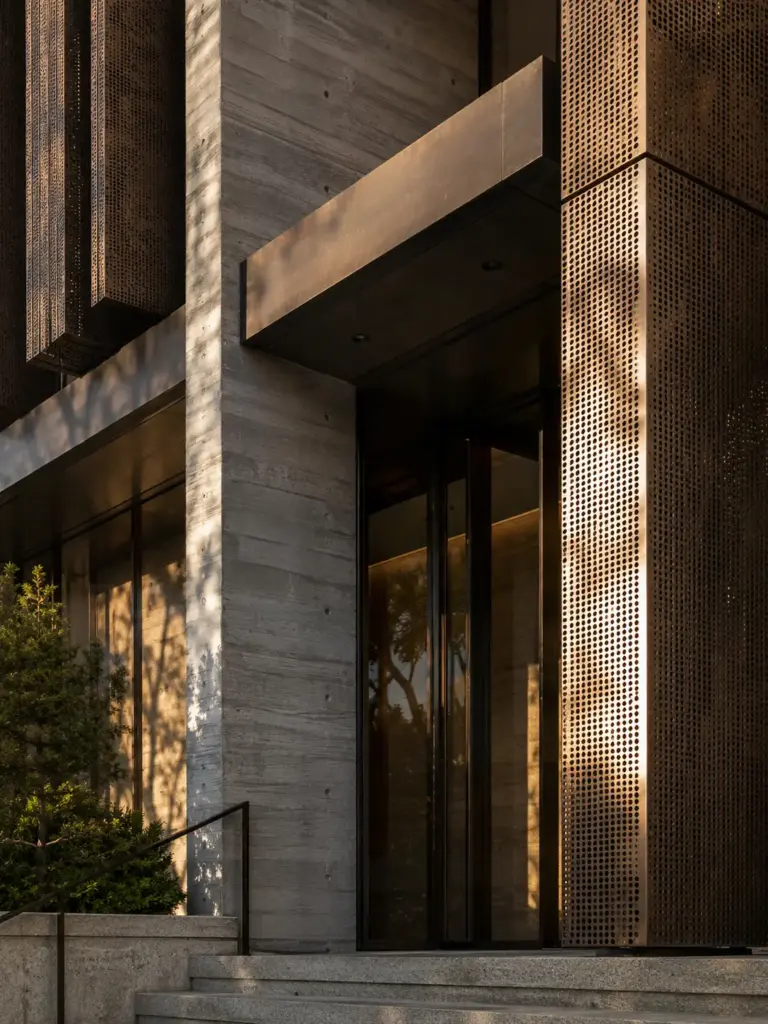
Textures define how we perceive the weight, age, and tactile quality of a building. High-resolution textures are essential to prevent blurriness and keep your renderings looking sharp under close-up inspection. Using high-quality assets is a standard rule in all architectural rendering techniques.
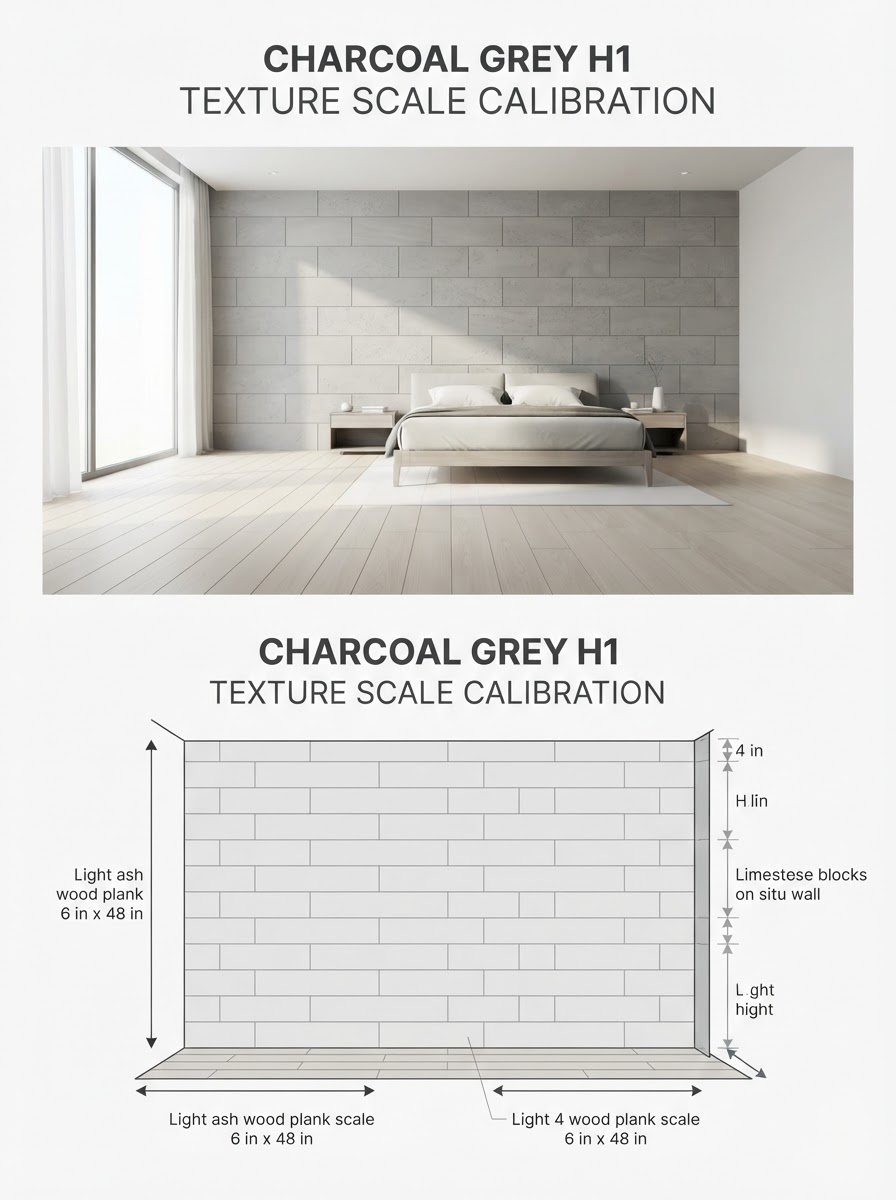
Match the texture scale to the exact dimensions of your model. A mismatched wood grain or oversized brick wall will make a professional rendering look like a toy. Use bump maps to simulate slight surface imperfections, and use displacement mapping only where the actual geometry needs to deform, like rough stone walls or roof shingles.
You can combine different texture maps to build visual contrast, such as pairing rough concrete with smooth glass. Refer to our guide on contemporary building materials for inspiration on how materials interact. Check how your textures reflect light; adjusting glossiness and reflectivity prevents surfaces from looking like plastic. You can also explore Photoshop post-processing tips to refine texture contrast in post.
5) Control Depth of Field for Dramatic Visuals
Using depth of field can significantly enhance the visual appeal of your architectural renderings. This technique helps focus attention on specific elements while blurring the background or foreground, guiding the viewer’s eye where it matters most.
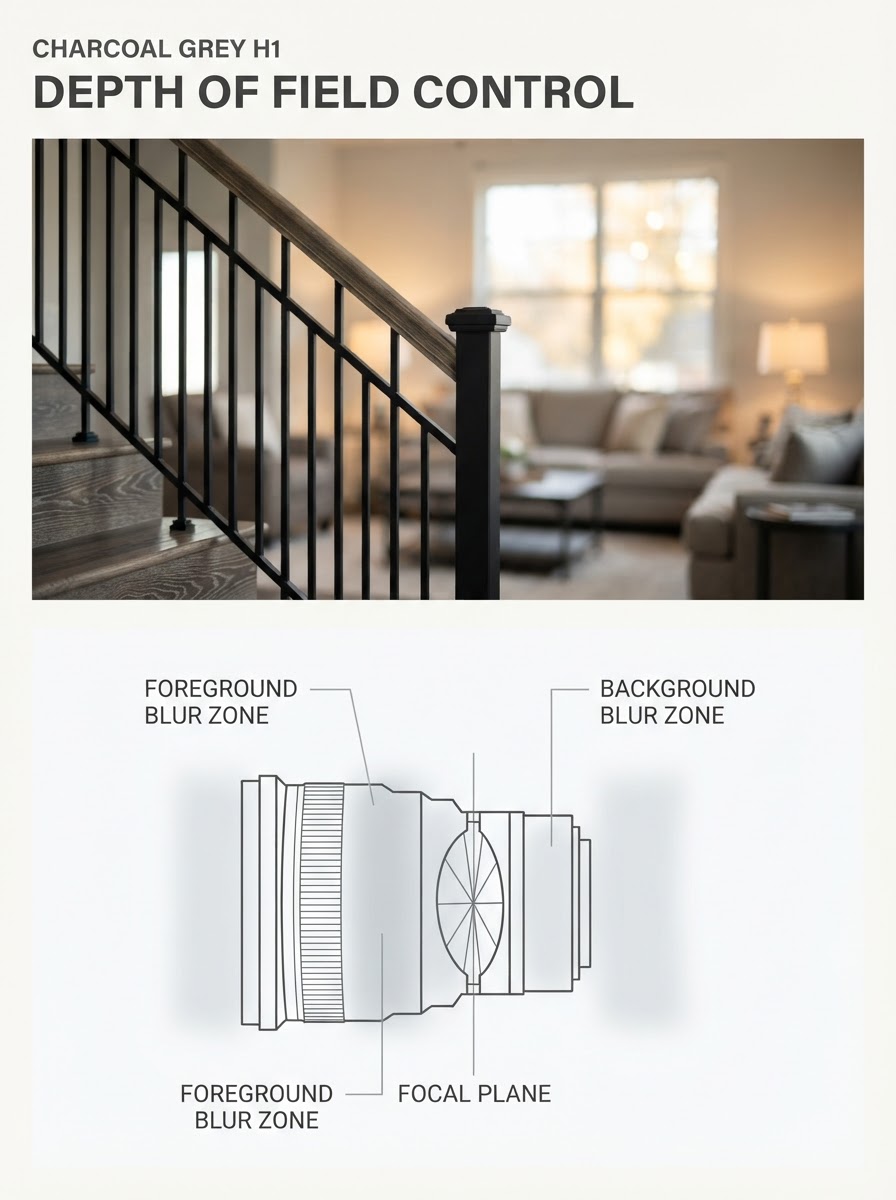
To achieve this effect, determine the focal point of your scene. Keep your main subject in sharp focus while softening the surrounding areas. This approach creates a sense of realism and mimics the behavior of a physical camera lens.
Experiment with different f-stop settings in your rendering software. A lower f-stop number results in a shallower depth of field, emphasizing the details of your subject. A higher f-stop will increase the area in focus, providing a broader view. Applying these architectural visualization tips will give your designs a photographic quality.
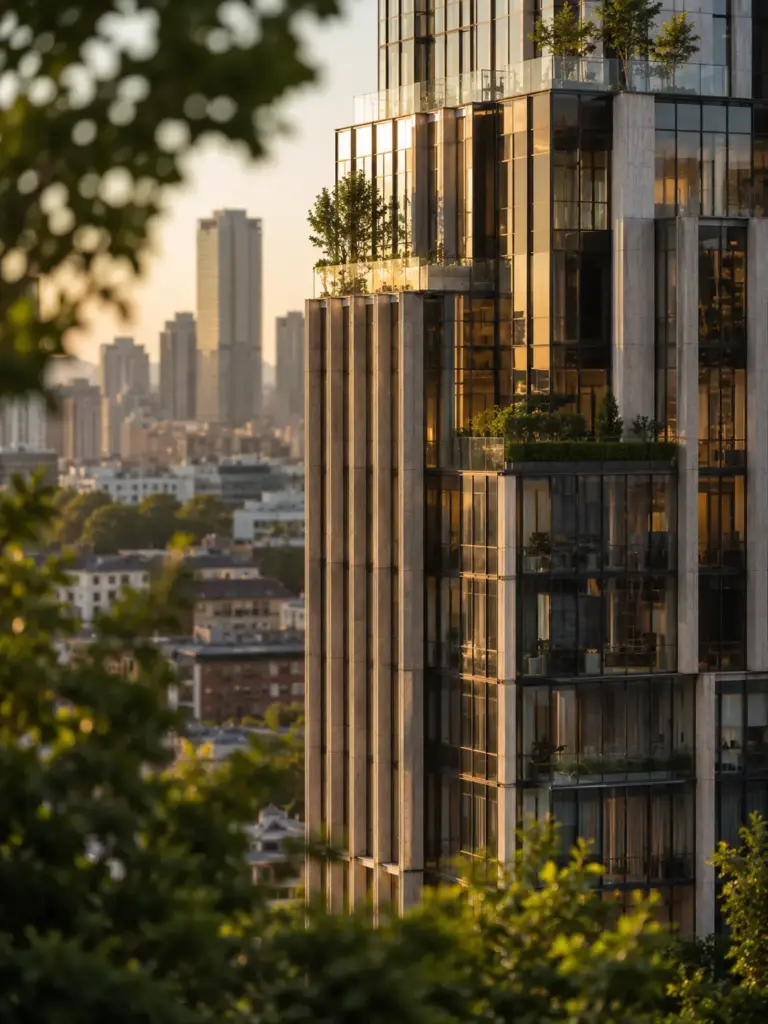
Consider the context of your project when applying depth of field. In urban environments, a blurred background can signify distance, helping to frame your architectural work. Conversely, in intimate spaces, sharper focus can draw viewers in.
Core Principles of Rendering in Architecture
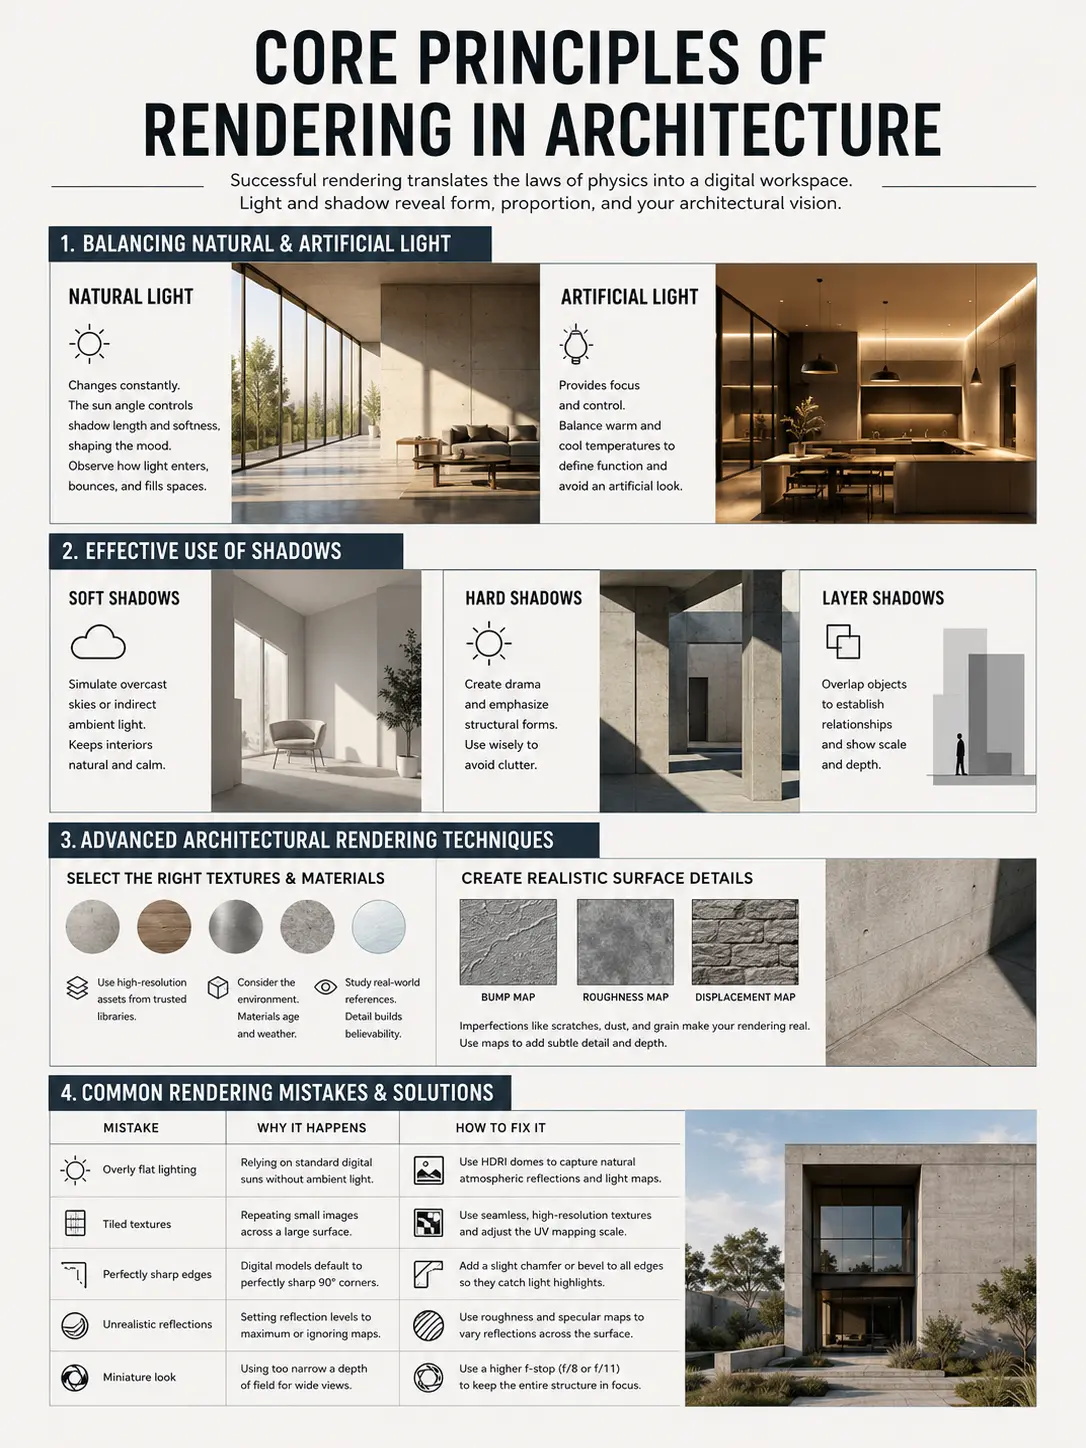
Beyond settings and maps, successful rendering in architecture depends on how you translate the laws of physics into a digital workspace. Light and shadow must work together to show form and proportion, helping to communicate your transforming architectural vision.
How to Balance Natural and Artificial Light
Natural light changes constantly, and replicating its nuances is what gives a scene life. The angle of the sun dictates the length and softness of your shadows, which changes the mood from sharp midday sun to soft early morning light. Study how sunlight falls through windows and bounces off floors, and adjust your sun position accordingly.
Artificial light provides focus and control. In interior scenes, balance your natural sun with localized point, spot, or area lights. Matching warm and cool light temperatures correctly prevents the scene from looking artificial and helps define distinct functional zones in the design.
Effective Use of Shadows for Contrast
Shadows define depth. Without shadows, objects appear to float in space. Use soft, diffused shadows to simulate overcast skies or indirect ambient light, which keeps your interiors looking natural. Understanding shadow techniques is critical for professional 3d rendering techniques.
Hard shadows create drama and highlight structural forms, but they can clutter the scene if overused. Layering shadows by overlapping objects helps establish physical relationships and shows the scale of the structure.
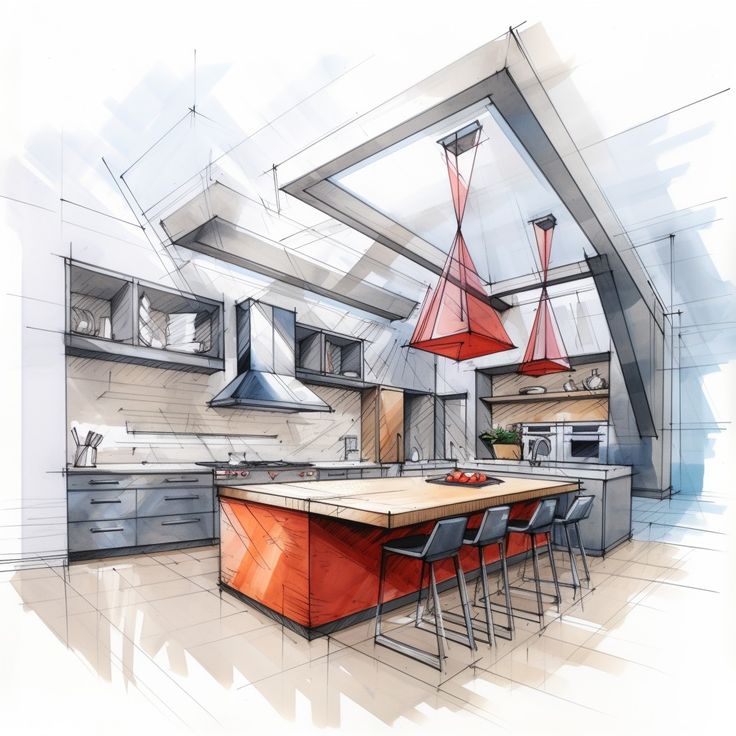
Advanced Architectural Rendering Techniques
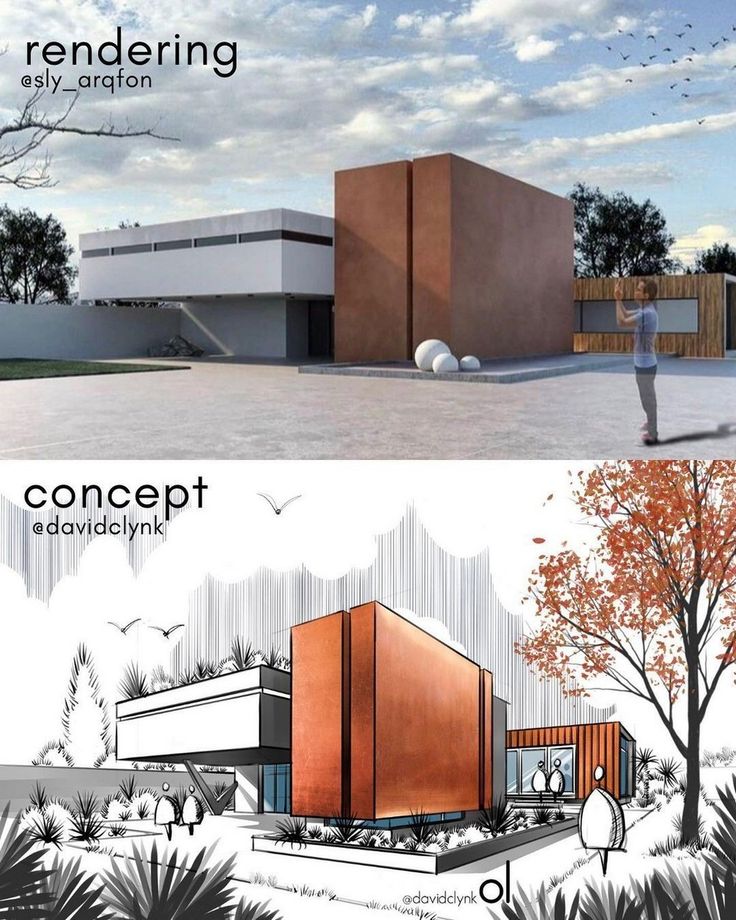
Once you master the basics of lighting, refining the surface details is what separates a generic 3D model from a realistic visualization that truly represents professional architect rendering.
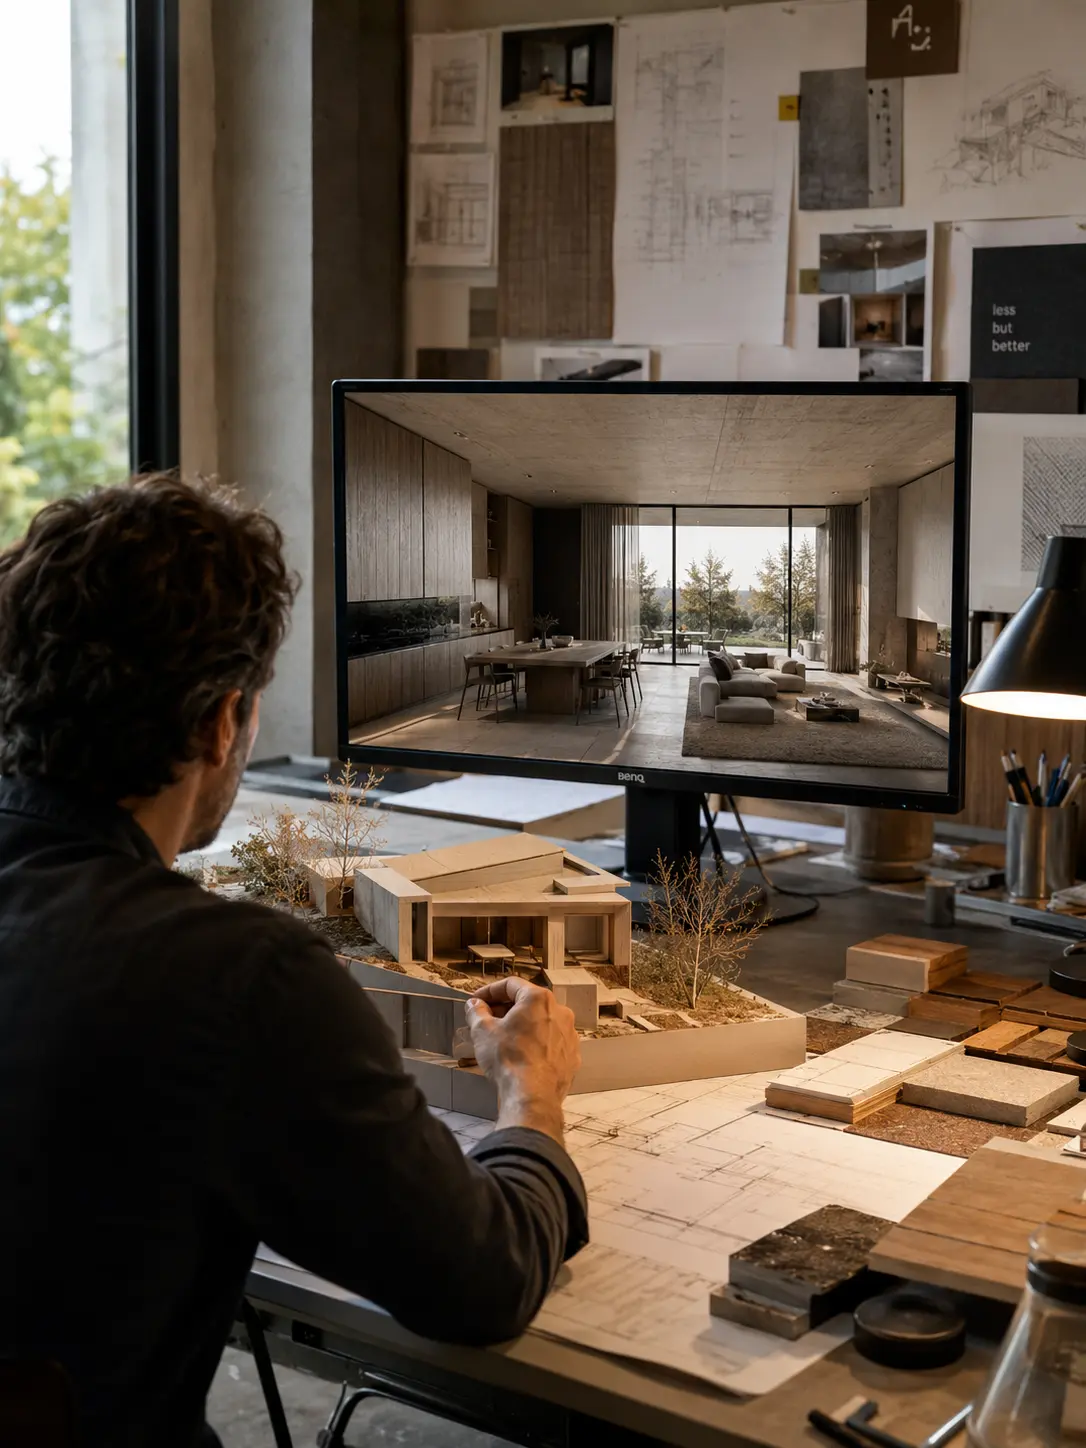
Selecting the Right Textures and Materials
Choosing the right texture maps is essential to show material properties. Look for high-resolution assets from trusted libraries like Textures.com or Poliigon. Always consider the environmental context; materials age and weather over time. For modern interior designs, check out interior design trends to see how concrete, raw steel, and timber are styled together.
Creating Realistic Surface Details
Surface imperfections are what make a rendering look real. No wall is perfectly flat, and no glass is completely clean. Use bump and roughness mapping to add subtle scratches, dust, or wood grain textures. For complex, rough surfaces like stone walls, use displacement mapping to physically deform the geometry.
Common Rendering Mistakes & Solutions
| Mistake | Why It Happens | How to Fix It |
|---|---|---|
| Overly flat lighting | Relying on standard digital suns without ambient light. | Use HDRI domes to capture natural atmospheric reflections and light maps. |
| Tiled textures | Repeating small images across a large surface. | Use seamless, high-resolution textures and adjust the UV mapping scale. |
| Perfectly sharp edges | Digital models default to perfectly sharp 90-degree corners. | Add a slight chamfer or bevel to all edges so they catch light highlights. |
| Unrealistic reflections | Setting reflection levels to maximum or ignoring roughness maps. | Use roughness and specular maps to vary reflections across the surface. |
| Miniature look | Using too narrow a depth of field for wide views. | Use a higher f-stop (f/8 or f/11) to keep the entire structure in focus. |
For a smaller hand-drawn study, this guide to drawing depth on paper shows how perspective and cast shadows can make a flat sheet feel spatial.
When rendering bold forms, Zaha Hadid design concepts are a good reminder that lighting, scale, and clean focal points need to explain the geometry, not hide it.
FAQ: Architectural Rendering Techniques
Q: What are the most essential architectural rendering techniques?
A: The most essential techniques include using HDRI lighting for realistic environments, setting up PBR material workflows, managing mesh detailing to balance detail and file size, utilizing high-resolution textures with bump/normal maps, and controlling depth of field to guide focus.
Q: Why is lighting so critical for rendering in architecture?
A: Lighting dictates how forms, depths, and materials are perceived. Realistic lighting in architecture creates authentic reflections and shadow depth, turning a flat digital model into a believable 3D space.
Q: How do you get realistic textures in a 3D model?
A: Use PBR (Physically Based Rendering) texture maps that include diffuse, normal, roughness, and specular maps. Calibrate the UV mapping scale to match real-world dimensions and adjust reflectivity properties.
Q: What is the difference between bump mapping and displacement mapping?
A: Bump mapping simulates surface height and roughness by altering how light reflects off the surface without changing the actual geometry. Displacement mapping alters the physical geometry of the mesh, creating realistic edges and shadow casts for rough materials like stone or brick.
Q: How does depth of field affect architectural renderings?
A: Depth of field focuses the viewer’s eye on key details while blurring the foreground or background, mirroring the behavior of a physical camera and adding a sense of scale and realism.
Q: What rendering software is best for architects?
A: Lumion and Twinmotion are excellent for fast, real-time walkthroughs and ease of use. V-Ray, Corona, and Blender are preferred for high-fidelity photorealistic stills and advanced material control.
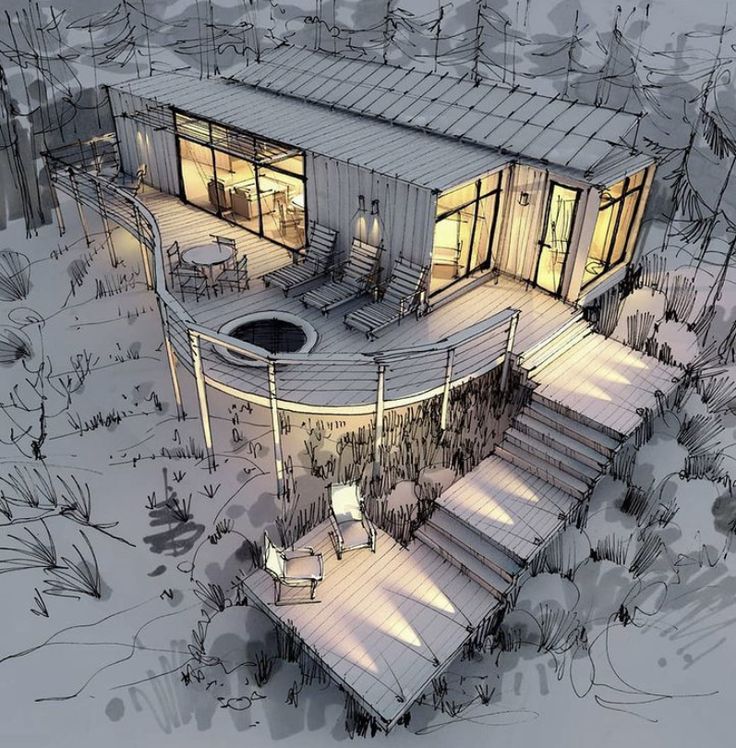

Related home update idea
Once your visualization plans are drawn, choosing materials that are simple to select and install is the logical next step. Compare these affordable flooring options to see how different surfaces can realistically support an interior concept.
Before leaping into hyper-realistic blueprints or software renderings, keeping your hand coordinated and loose is essential. Engaging in organic creative drawing exercises helps maintain that vital bridge between mental vision and physical linework.
- 232shares
- Facebook0
- Pinterest232
- Twitter0
- Reddit0