Architectural photography ideas are easier to use when you treat a building like a designed object, not just a tall subject in front of you. Start by asking what the architect wanted your eye to notice: the rhythm of windows, the weight of a facade, the way glass catches sky, or the quiet line where a wall meets shadow.
- Architectural photography ideas that make buildings read clearly
- 1. Golden hour building photos
- 2. Reflections in glass facades
- 3. Urban landmarks and street context
- 4. Playing with shadows on facades
- 5. Nighttime skylines and city lights
- 6. Capturing motion around buildings
- 7. Interior architectural details
- 8. Minimalist spaces and negative space
- 9. Historical buildings and ornament
- 10. Aerial perspectives and rooflines
- 11. Monochrome architecture photography
- 12. Symmetry in structures
- Common building photography mistakes to avoid
- How architectural photography works
- Architectural photography tips for camera, light, and editing
- Architectural photography sources and references
- Related architecture and photography practice
- Architectural photography FAQ
- Q: What are the best architectural photography ideas for beginners?
- Q: How do you photograph buildings creatively?
- Q: What camera settings work best for architectural photography?
- Q: How do you keep vertical lines straight in building photography?
- Q: What is the best time of day for architecture photography?
- Q: How can interior architectural photography look better?
This guide gives you 12 practical building photography prompts, from golden hour exteriors and glass reflections to interior details, night skylines, and symmetry. When I frame architecture, I look for the strongest shape first, then decide whether light, reflection, scale, or movement should carry the image.
Architectural photography ideas that make buildings read clearly
The best architectural photography ideas make the viewer understand the building quickly. Pick one visual job for each shot: reveal the form, show scale, isolate a material, catch a reflection, or explain how people move through the space.
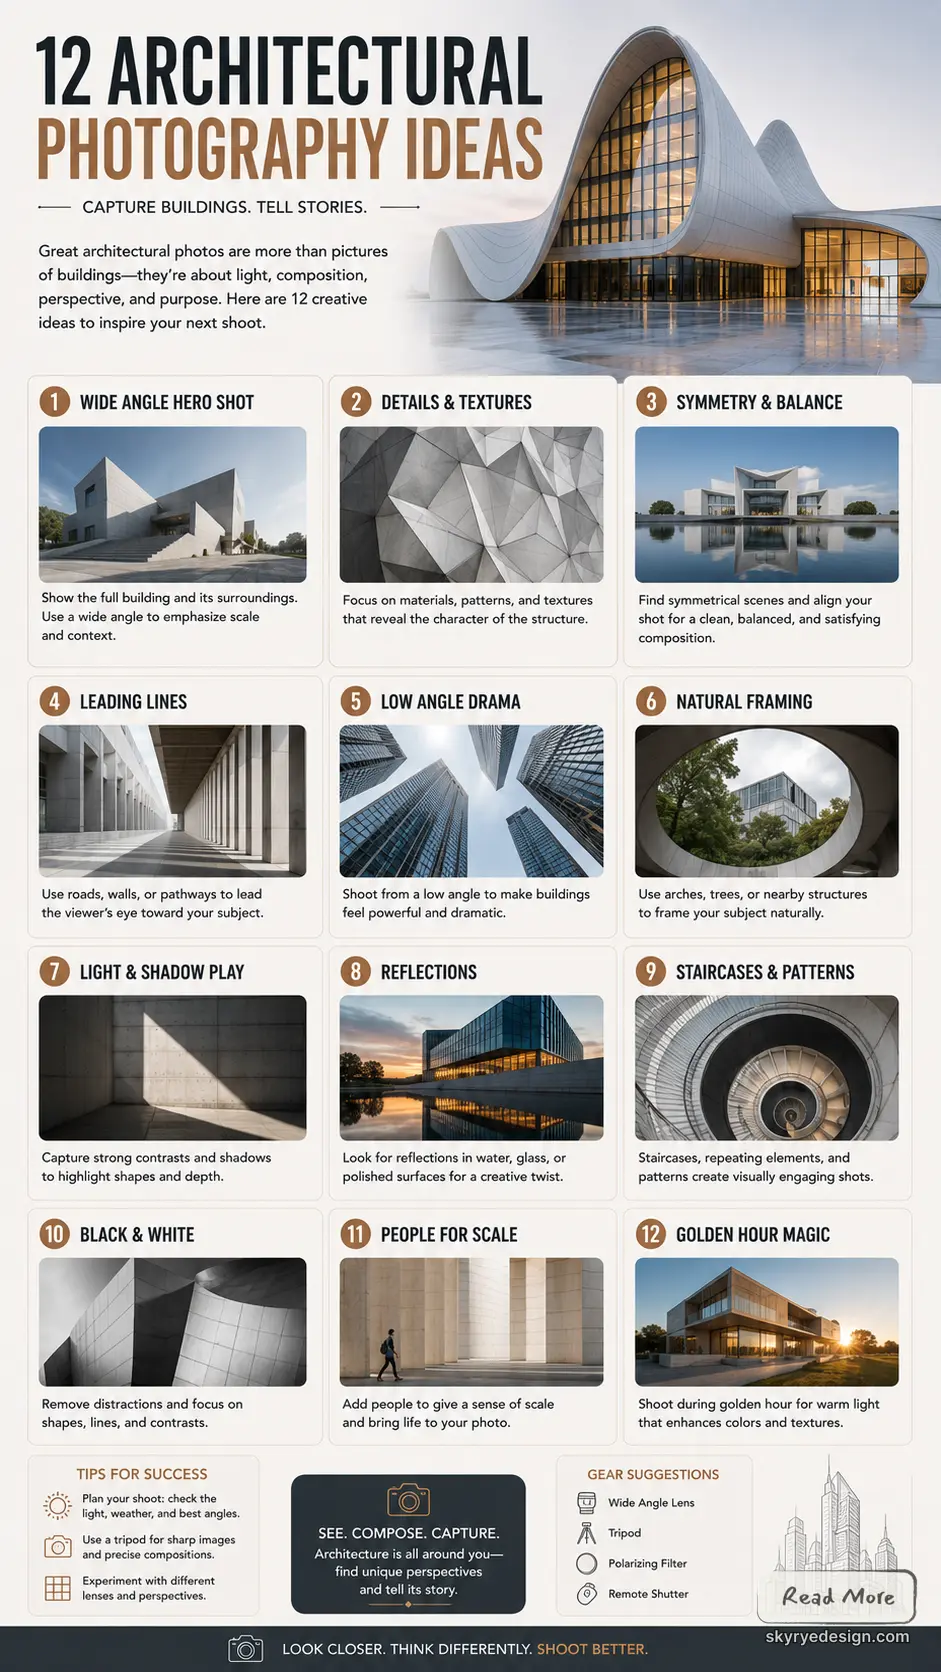
If the photo tries to show every facade, window, sign, and passerby at once, the architecture usually disappears.
| Photo idea | Best subject | Quick shooting cue |
|---|---|---|
| Golden hour | Concrete, stone, warm facades | Side light that reveals texture |
| Glass reflections | Skyscrapers, atriums, windows | Move until the reflection supports the shape |
| Interior details | Stairs, joinery, furniture, thresholds | Keep verticals straight and simplify clutter |
| Night skyline | City towers and lit streets | Use a tripod and protect highlights |
| Symmetry | Arches, plazas, facades, corridors | Center the camera before you crop |
1. Golden hour building photos
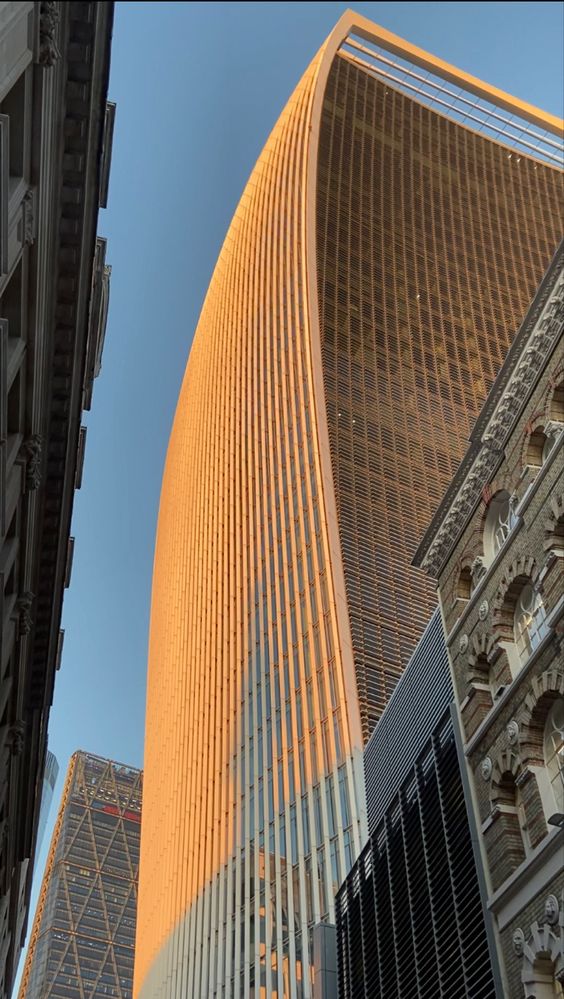
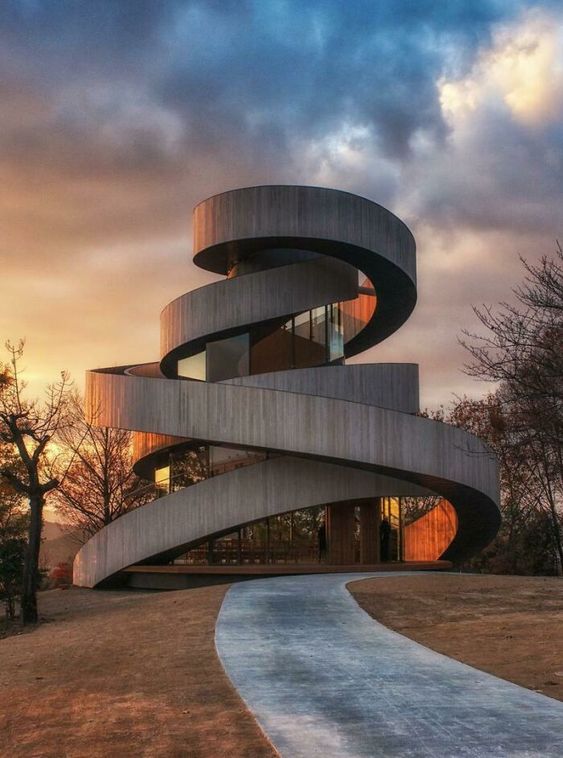
Golden hour is a prime time for architectural photography. This period occurs shortly after sunrise or before sunset, providing soft, warm light that enhances textures and colors.
During these hours, shadows become elongated, adding depth to images. Photographers can capture buildings in a way that highlights their architectural features.
The warm hues during golden hour create an inviting atmosphere. This light is especially effective for urban landscapes, making structures appear more vibrant and dynamic.
He or she should plan ahead to arrive at the location before the golden hour begins. This allows time to set up equipment and scout angles for the best shots.
Using a tripod can be beneficial during this time. It helps maintain stability, particularly in lower light conditions as the sun dips below the horizon.
Incorporating foreground elements can also enhance the composition. This technique adds context and leads the viewer’s eye into the scene, making the photograph more engaging.
Ultimately, a golden hour shoot can transform architectural photography, turning ordinary structures into captivating images.
2. Reflections in glass facades
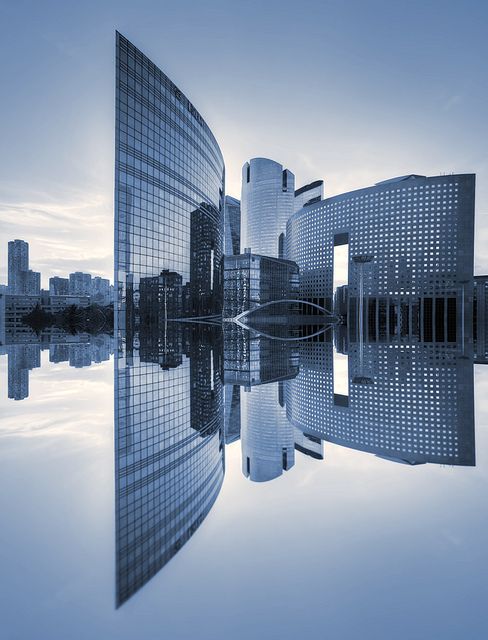

Reflections in glass offer unique opportunities in architectural photography. They can enhance compositions by mirroring surrounding elements, such as cityscapes or landscapes.
Photographers often utilize the reflective properties of glass facades. These surfaces can create striking images that showcase both the building and its environment. For instance, reflections of neighboring buildings can add depth and complexity to an image.
Lighting plays a crucial role in capturing reflections. The angle of the sun can change how reflections appear, making subjects more dynamic. Shooters should consider the time of day to achieve optimal results.
Using tools such as polarizing filters can help manage glare. This adjustment allows for clearer reflections while reducing unwanted brightness. Photographers may also experiment with different lenses to capture details in reflections.
Incorporating reflections into architectural photography invites creativity. It challenges photographers to think about composition, light, and perspective in new ways. By embracing these elements, they can produce captivating images that tell a story.
3. Urban landmarks and street context

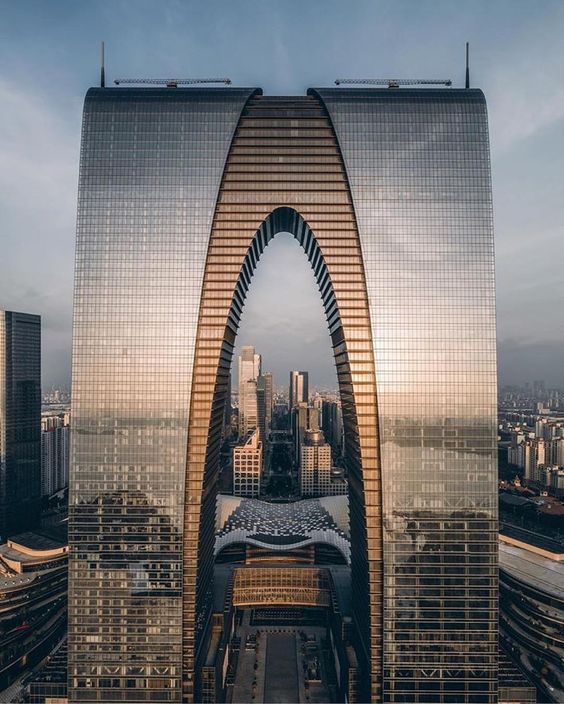
Urban landmarks are focal points in cityscapes, often characterized by their unique architectural styles and historical significance. They attract both photographers and tourists who seek to capture their essence.
Photographers should consider the framing of these structures. Including surrounding elements can enhance the composition. Context adds depth, allowing viewers to relate architecture to its environment.
Lighting plays a critical role when shooting urban landmarks. The golden hour, shortly after sunrise or before sunset, offers soft illumination, highlighting textures and details. Nighttime photography can also create stunning visuals, as buildings are often beautifully illuminated.
Incorporating people into shots can bring life to the images. This interaction emphasizes the landmark’s role within the urban landscape. Capturing moments of movement can tell a story about the place.
Experimentation is vital. Different angles and perspectives can reveal hidden features. For instance, shooting from below can accentuate a building’s height.
For those interested in architectural photography, urban landmarks serve as perfect subjects. They provide countless opportunities for creativity and exploration in urban settings.
4. Playing with shadows on facades
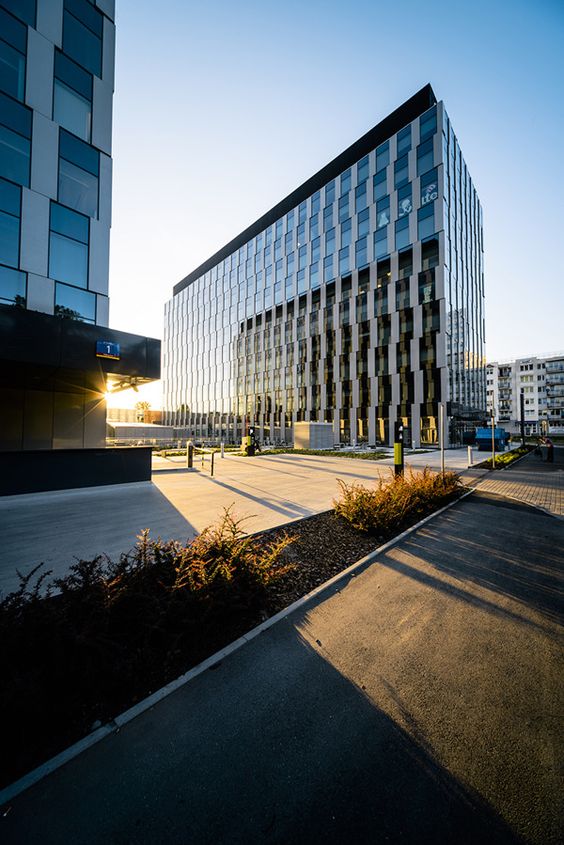
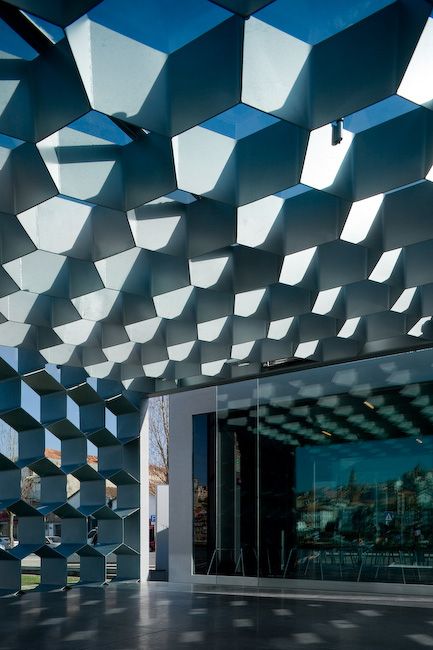
Shadows play a crucial role in architectural photography. They add depth and dimension to images, creating visual interest. By manipulating light and shadow, a photographer can enhance the structure’s features.
Soft shadows during the golden hours—early morning or late afternoon—are ideal. This soft light accentuates textures and shapes, making the architecture stand out. Harsh midday sun can create unflattering shadows that distract from the subject.
Incorporating shadows as a compositional element can also transform an image. Shadows can frame the subject or lead the viewer’s eye toward focal points. This technique elevates the overall aesthetic and guides attention precisely.
Exploring angles and perspectives will yield various shadow patterns. It’s worth experimenting with different positions and times of day. This exploration can reveal unique forms that enhance the final composition.
Manual settings on a camera allow more control over shadow intensity. Adjusting the aperture and shutter speed can highlight or soften shadows as needed. By mastering these elements, one can create captivating architectural photographs rich in detail.
5. Nighttime skylines and city lights
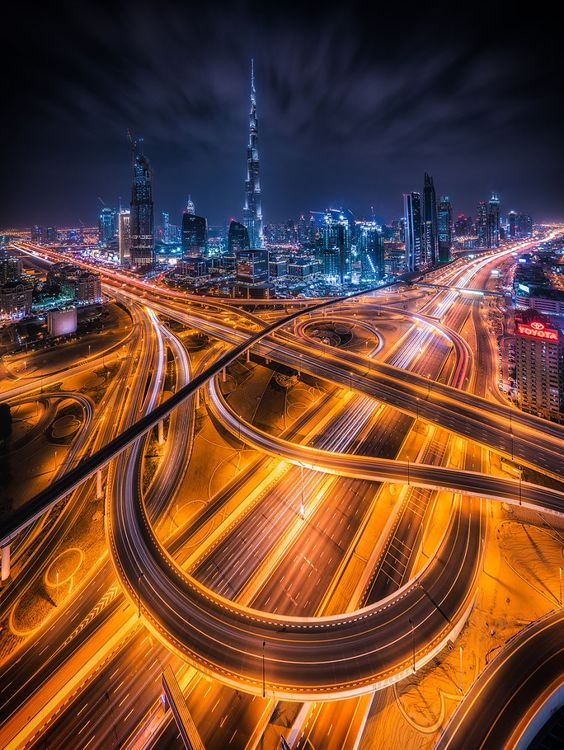
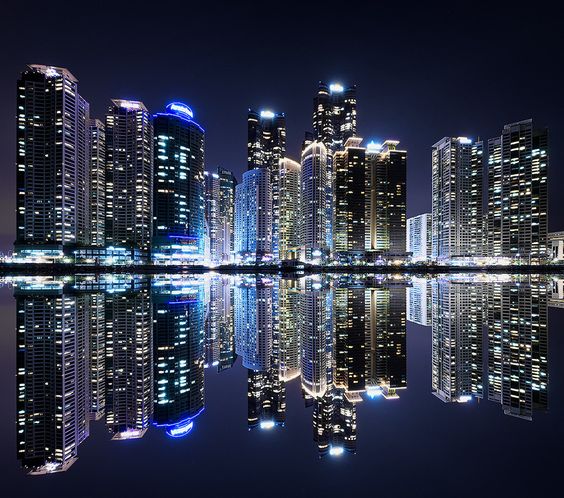
Capturing nighttime skylines offers a unique opportunity to showcase a city’s architectural beauty. The interplay of lights and shadows creates dramatic effects that highlight shapes and structures.
Using a tripod is essential for stabilizing the camera during longer exposures. Lowering the ISO and using smaller apertures, such as f/8 to f/16, can enhance image clarity while preventing overexposure to bright lights.
Photographers often choose vantage points that allow for expansive views. Elevated locations can provide sweeping perspectives of cityscapes, ensuring the skyline fills the frame effectively. A remote shutter release further minimizes camera shake during long exposures.
Incorporating elements like water reflections can significantly enhance the composition. Bodies of water often mirror the lights, adding depth and interest to the photograph.
Telephoto lenses can be particularly useful for isolating specific buildings or details. They help compress perspective, bringing distant elements closer and creating a cohesive composition. By focusing on the balance between light and structure, photographers can achieve stunning results in night photography.
6. Capturing motion around buildings
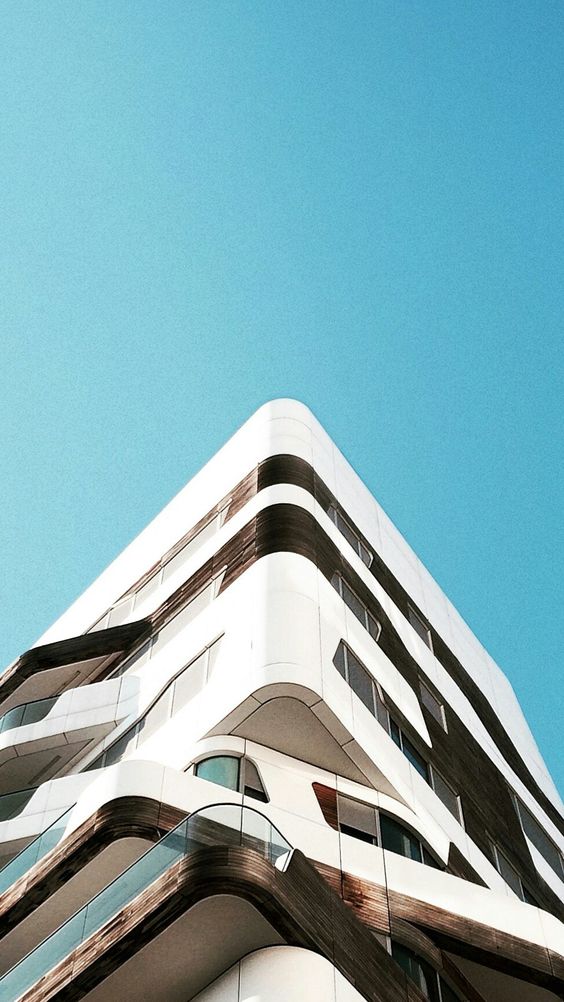
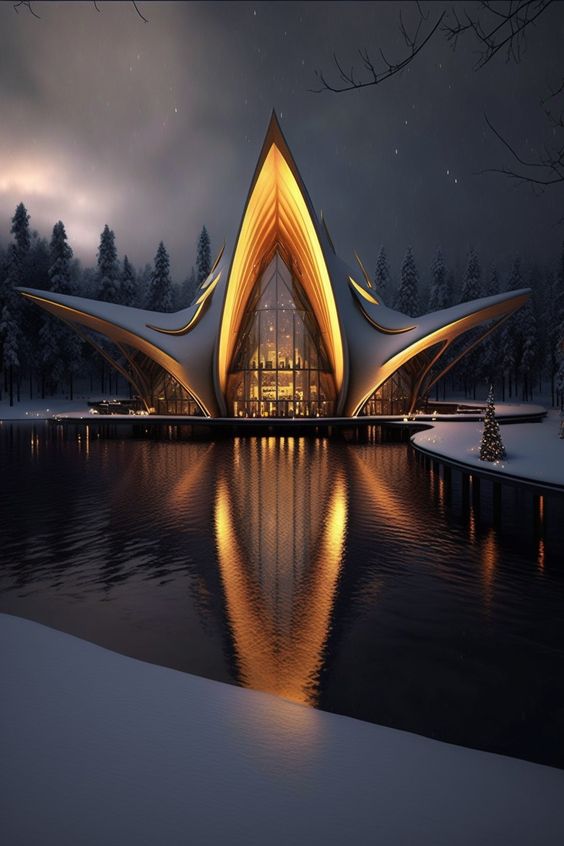
Capturing motion in architectural photography adds a dynamic element to still structures. It emphasizes the relationship between buildings and their surroundings.
Using techniques like long exposure can create smooth effects on moving elements. This approach can convey the flow of traffic or the movement of people around a static structure.
Photographers often experiment with different shutter speeds. A slower shutter speed can blur the movement, while a faster speed can freeze it. This choice significantly impacts the image’s overall feel.
Incorporating motion can highlight a building’s design in context. For example, pedestrians walking by can demonstrate the building’s relevance in daily life.
Architectural photographers might also utilize tools like neutral density filters. These filters allow for longer exposures, enhancing the effect of motion while maintaining clarity in architectural details.
Creative angles and perspectives can further enhance the depiction of motion. By capturing scenes from unique vantage points, photographers can tell a more compelling story.
7. Interior architectural details
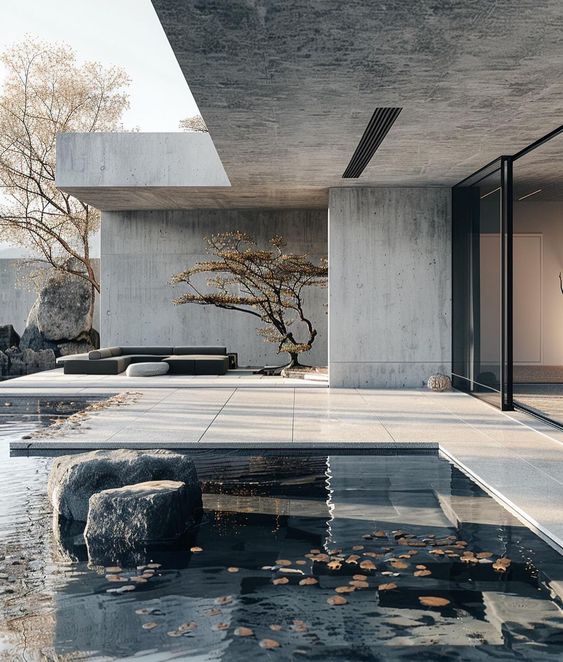
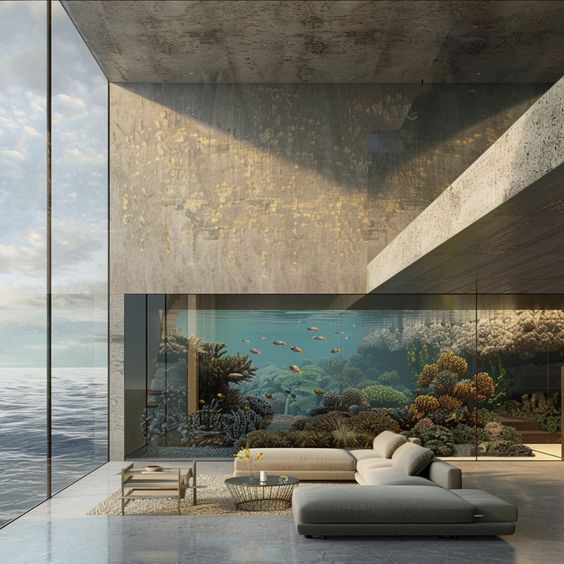
Capturing interior details can bring depth and character to architectural photography. Small elements often tell a story about a space and its function.
Textures play a crucial role in interior photography. Whether it’s the grain of wood, the softness of fabric, or the sheen of metal, these features add richness to images.
Lighting can enhance interior details significantly. Natural light streaming through windows can create interesting shadows, while artificial lighting can highlight specific features.
Incorporating layers adds interest to the composition. For instance, including furniture in the foreground can provide context, while architectural details in the background direct the viewer’s eye.
Using a macro lens allows for intimate close-up shots. Focusing on intricate details like light switches, door handles, or decorative trim emphasizes craft and design.
Colors also contribute to the overall feel of the space. A cohesive color palette can create harmony, while contrasting colors draw attention to key areas.
Ultimately, interior details are essential for showcasing the uniqueness of a space. They enable viewers to engage with the architecture in a more personal and meaningful way.
8. Minimalist spaces and negative space
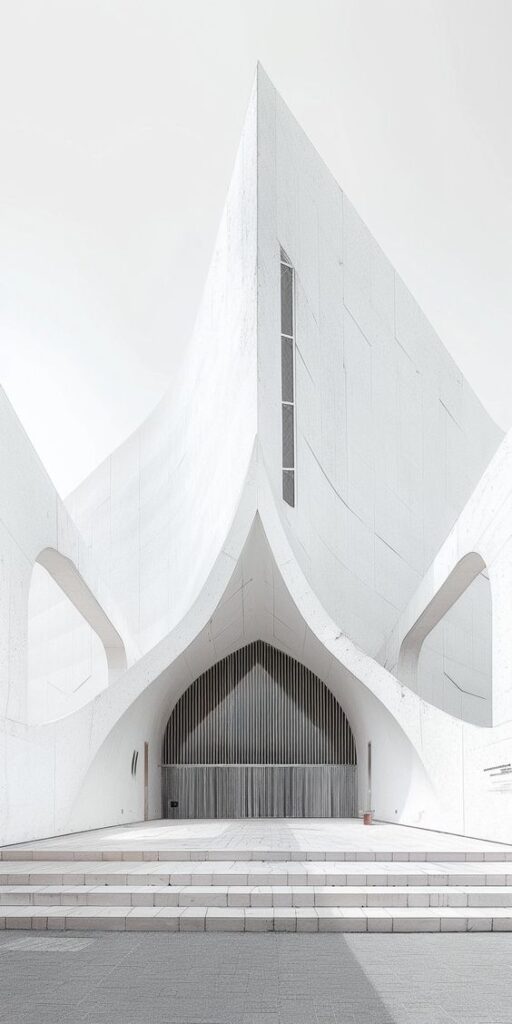
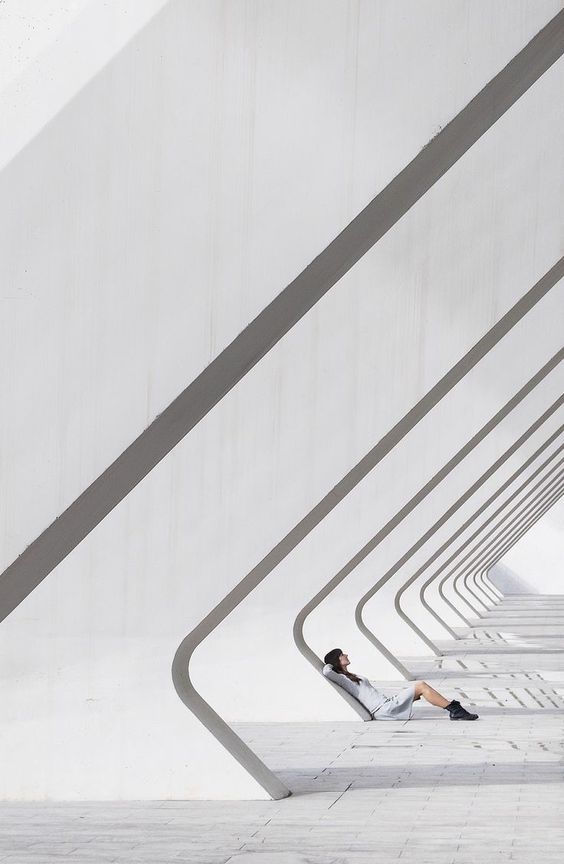
Minimalist spaces focus on simplicity and functionality. This approach emphasizes clean lines, smooth textures, and a limited color palette. Architectural photographers can capture these qualities to showcase design elegance.
Using negative space is crucial in minimalist photography. The area around the subject enhances the visual impact and creates a sense of openness. It allows the viewer to appreciate the architectural elements without distraction.
Light and shadow play an important role in highlighting structure. They can define shapes and create depth, adding dimension to otherwise simple compositions. Photographers should seek interesting light conditions to enhance their images.
Symmetry and balance are also key aspects. These principles can evoke a sense of order and tranquility. They lead the eye through the composition, drawing attention to minimal details.
Photographers can experiment with different perspectives as well. Shooting from unique angles can reveal hidden facets of minimalist architecture. This adds a fresh and engaging viewpoint to their work.
9. Historical buildings and ornament
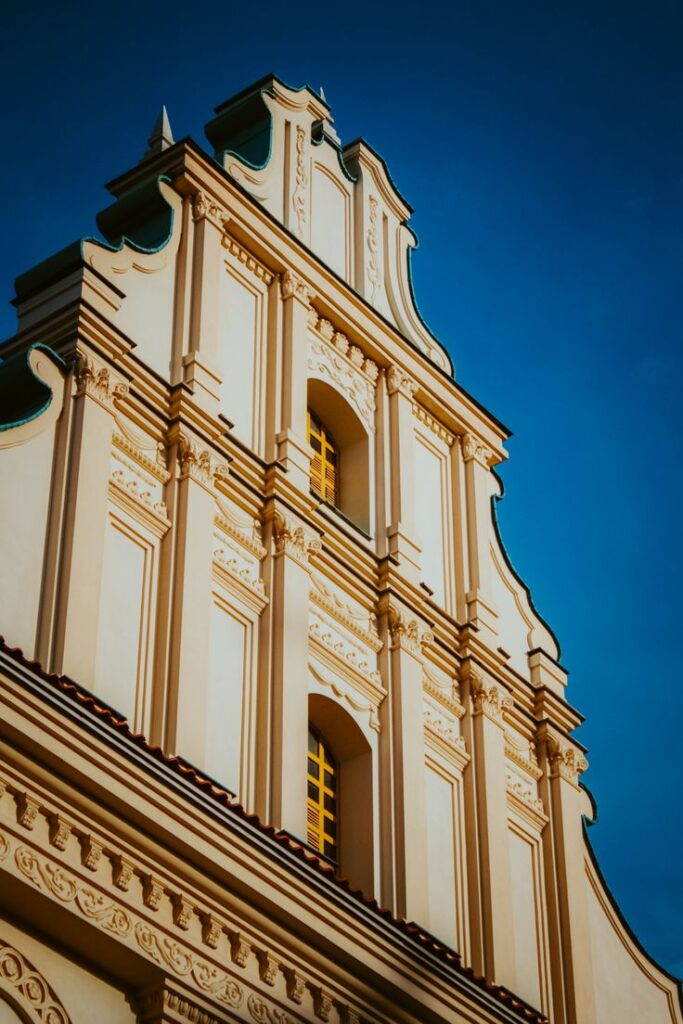
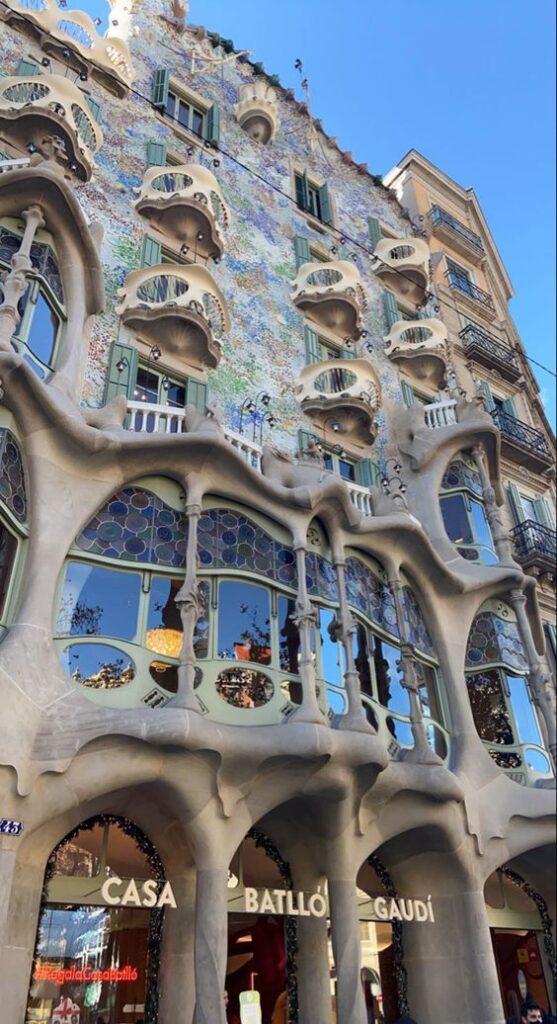
Photographing historical buildings offers a unique opportunity to capture architecture that reflects a specific time and place. These structures often carry deep cultural significance and showcase intricate designs.
When photographing historical buildings, timing is crucial. Early mornings or late afternoons provide optimal lighting conditions, enhancing the textures and details of the architecture. It is best to avoid crowds and distractions, which can date the images.
Using a tripod can significantly improve stability and composition. This allows photographers to take longer exposures without blurring, especially in lower light conditions. They also have the time to focus on framing the shot perfectly.
Angles play a vital role as well. Experimenting with different perspectives can reveal unique aspects of the building’s design. Capturing details like doorways, windows, and carvings can tell a compelling story.
Incorporating the surrounding environment adds context to the photograph. Including nearby elements can create a sense of place while still highlighting the architectural features. Careful consideration of composition will result in more engaging images of historical buildings.
10. Aerial perspectives and rooflines

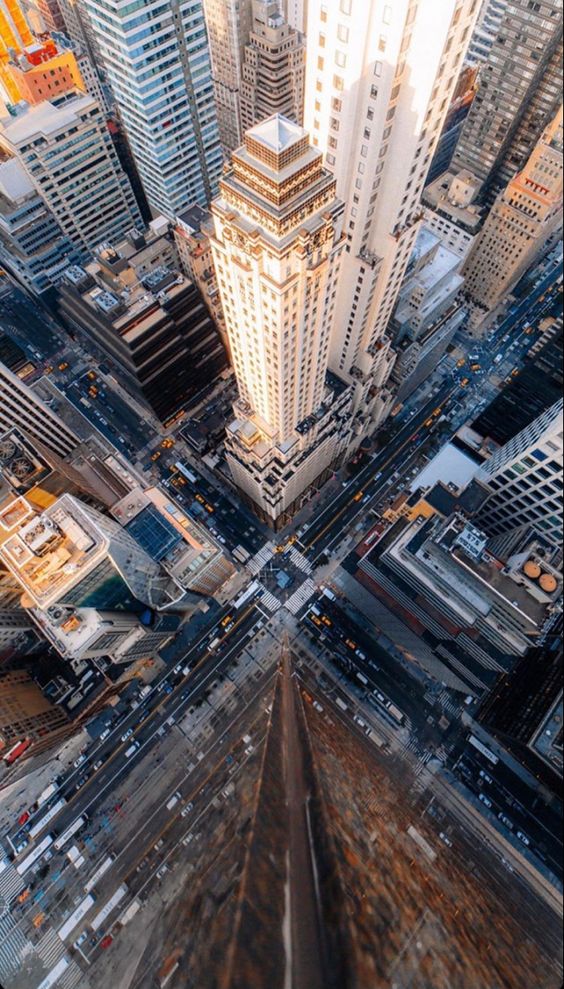
Aerial photography provides a unique viewpoint in architectural photography. By capturing images from above, photographers can showcase entire structures and their surroundings in a single frame.
Using drones has revolutionized this style, allowing for dynamic angles that traditional photography cannot achieve. This method not only highlights the design of buildings but also illustrates their context within the landscape.
Aerial views can reveal intricate details, such as rooflines and patterns, which enhance the visual appeal. Capturing large residential properties or expansive commercial buildings from above helps emphasize their scale and beauty.
Photographers should consider the time of day when shooting from the air. The right lighting can create striking images that accentuate architectural features effectively.
Although aerial photography can be intimidating, it offers significant creative opportunities. The combination of elevation and perspective adds a fresh dimension to an architectural portfolio. Engaging in this approach enables photographers to tell a deeper story about the structures they capture.
11. Monochrome architecture photography
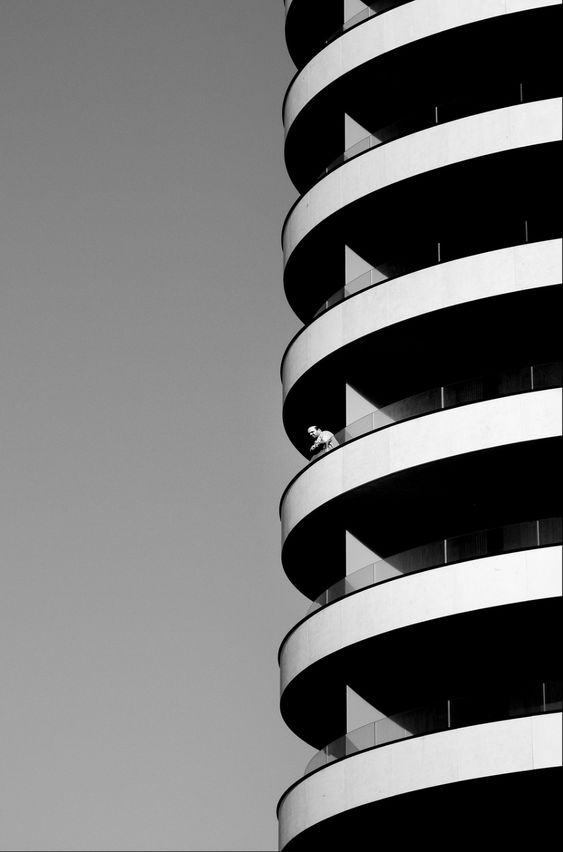
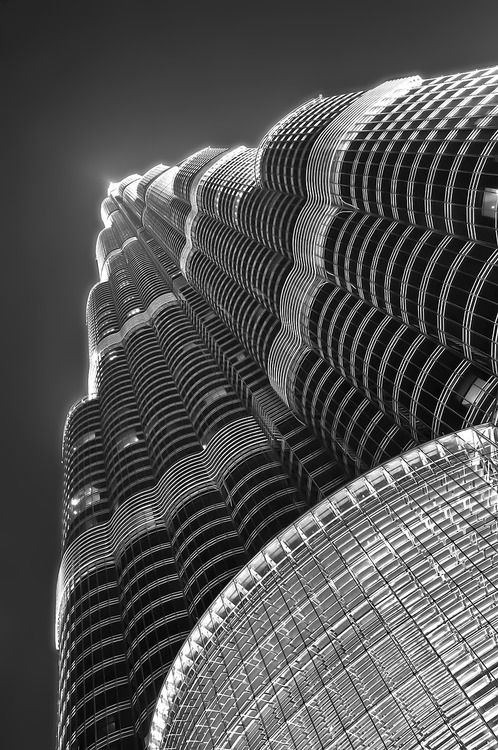
Monochrome photography offers a timeless and artistic approach to architectural images. It highlights textures, shapes, and contrasts without the distraction of color.
Using black-and-white imaging can evoke emotions and create a dramatic effect. Light and shadow play a crucial role, enhancing the architectural elements.
Photographers should look for lines and patterns that lead the viewer’s eye. Structures with interesting edges and repeating motifs can be particularly striking in monochrome.
Manipulating exposure can also add depth. Deliberately underexposing shadows or emphasizing highlights can produce an abstract quality that captivates the viewer.
Experimentation is key. Starting with portable objects that cast dynamic shadows can help photographers refine their skills before tackling larger architectural subjects.
By focusing on the interplay of light and shadow, photographers can transform ordinary scenes into captivating compositions. This technique allows architecture to resonate with viewers on a deeper level.
12. Symmetry in structures
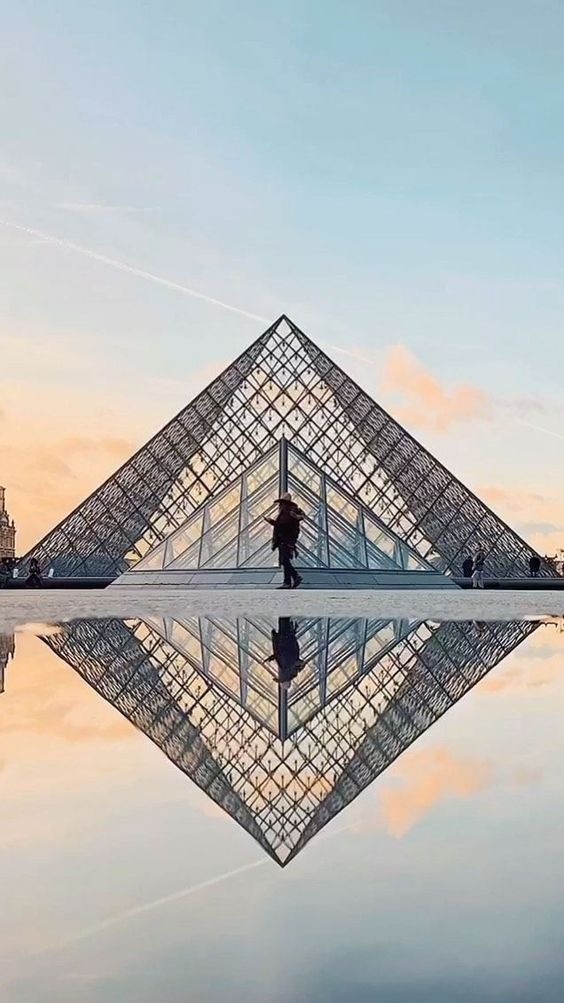
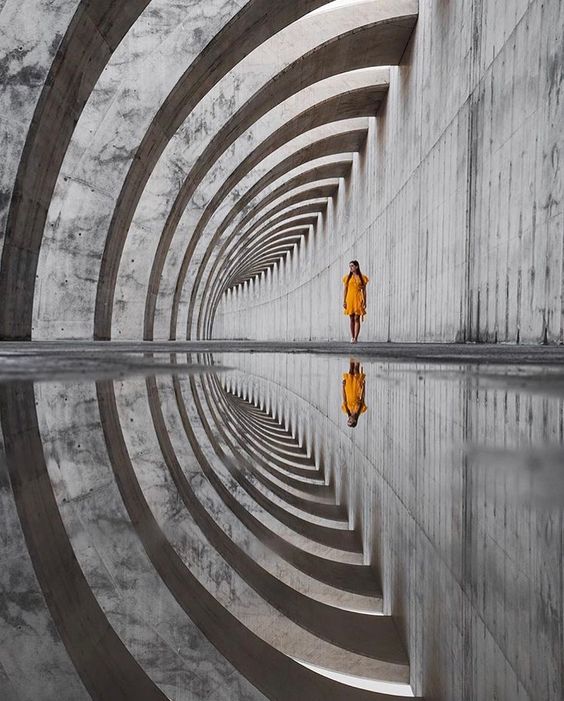
Symmetry is a fundamental aspect of architectural design. It creates balance and harmony, making structures visually appealing. Photographers often seek symmetrical elements when capturing buildings.
Many iconic structures showcase symmetry prominently. This can be seen in classical designs where façades are mirrored along a central axis. For instance, buildings like the Taj Mahal exemplify this principle succinctly.
Photographers can enhance their compositions by centering their subjects within a symmetrical frame. This draws attention to the architectural details and instills a sense of order in the image.
Using symmetry also allows for creative experimentation with angles and perspectives. Photographers might explore different viewpoints to capture a unique take on a well-known structure.
Incorporating leading lines can further emphasize symmetry. Paths, railings, and architectural features guide the viewer’s eye toward the center, enhancing the overall impact of the photograph.
By understanding and utilizing symmetry, photographers can create striking images that highlight the beauty of architectural design. It serves as an important tool in the quest for balanced and compelling compositions.
Common building photography mistakes to avoid
Most weak building photos fail for simple reasons: the camera is tilted, the frame includes too much empty sky, the light is flat, or the photographer stands in the first convenient spot. Slow down before you shoot. Check the vertical lines, clean the edges of the frame, and decide whether the photo is about mass, surface, light, scale, or detail.
- Leaning verticals: dramatic angles can work, but accidental tilt makes architecture feel unstable.
- Overprocessed HDR: keep glass, stone, and concrete believable instead of flattening every shadow.
- No sense of scale: include a person, doorway, car, tree, or street line when size matters.
- Ignoring the background: signs, bins, bright cars, and random poles can pull attention away from the building.
How architectural photography works
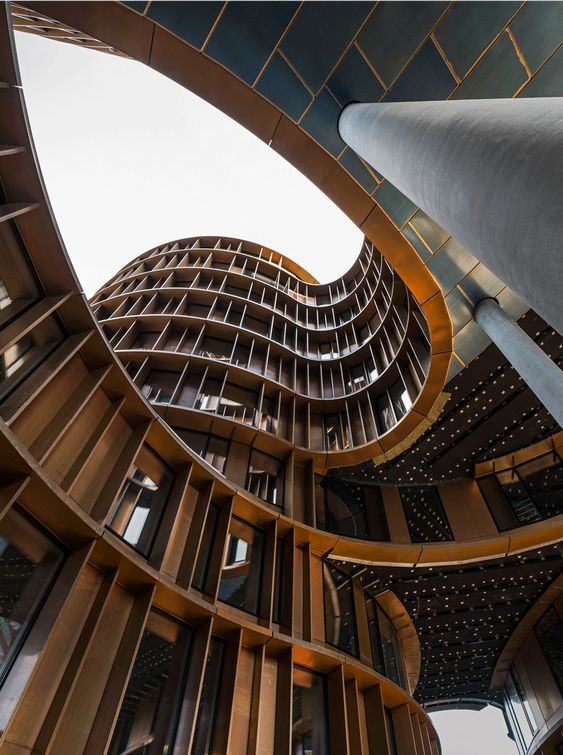
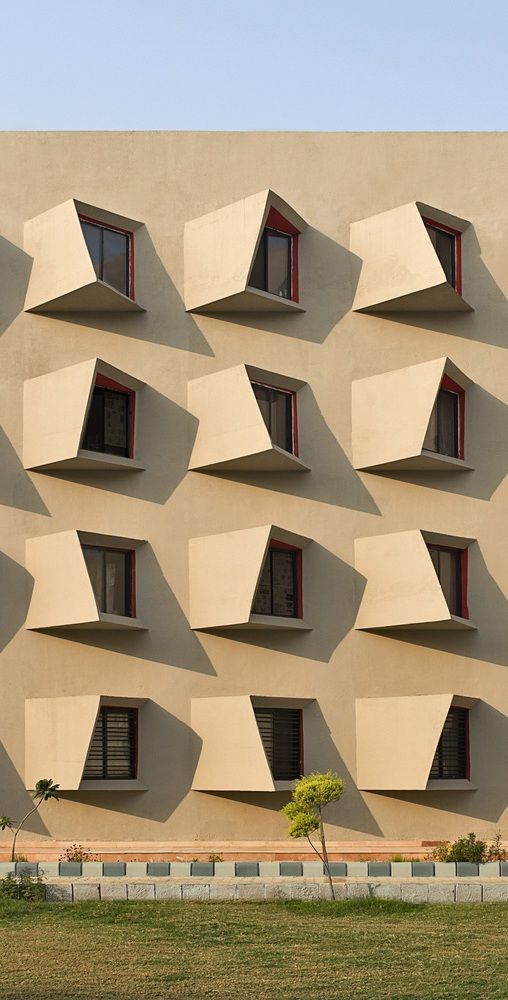
Architectural photography requires a blend of technical skill and artistic vision. It captures the essence of structures while showcasing their design and context. This section explores key elements that define this genre and its historical evolution.
Key Elements of Architectural Photography
The success of architectural photography hinges on several essential elements. First, composition plays a crucial role; using techniques like the rule of thirds and leading lines helps to guide the viewer’s eye. Lighting is another vital factor; shooting during the golden hour often yields softer, more flattering light.
Camera settings significantly contribute to image quality. A low ISO is recommended to minimize noise, while shooting in RAW format allows for greater editing flexibility. Lenses also impact outcomes; a wide-angle lens can help capture entire buildings, and tilt-shift lenses are ideal for minimizing distortion.
Historical Context and Evolution
Architectural photography has evolved considerably since its inception. Early photographs focused on documenting structures rather than artistic expression. The introduction of medium and large format cameras allowed for greater detail and perspective control.
As architecture itself changed over the decades, so did photography. The rise of modernist architecture in the 20th century prompted photographers to adopt innovative techniques. Notable figures like Julius Shulman and Ezra Stoller set high standards in capturing both residential and commercial designs, influencing generations of photographers. Today, advancements in digital technology continue to reshape the field, enabling new visual narratives and perspectives.
Architectural photography tips for camera, light, and editing
Mastering architectural photography requires a blend of technical knowledge and practical application. Understanding the right equipment, camera settings, and lighting techniques are essential for capturing compelling images of structures.
Camera Settings and Equipment
Choosing the right camera and lens is crucial. A full-frame DSLR or mirrorless camera provides higher image quality, while a wide-angle lens (14-24mm) captures expansive views of buildings.
Key Camera Settings:
- Aperture: Use a smaller aperture (f/8 to f/16) for greater depth of field, ensuring both foreground and background are sharp.
- Shutter Speed: A slower shutter speed can be useful in low light, but a tripod is recommended to avoid blur.
- ISO: Keep ISO low (100-400) for quality images with minimal noise.
Tripods are essential for stability and framing. A bubble level can help ensure straight horizons and verticals, which is critical in architectural photography.
Lighting Techniques
Natural light often produces the best results. The golden hour—shortly after sunrise or before sunset—offers soft, diffused lighting that enhances the building’s details.
Additional Lighting Tips:
- Overcast Days: Soft, diffused light reduces harsh shadows and highlights.
- Artificial Light: Using external flash or LED panels can illuminate interiors effectively, ensuring even exposure.
- Reflections: Consider the direction of sunlight; reflections in windows can either enhance or detract from the composition.
Also, exploring varied angles allows the photographer to manipulate how light interacts with structures, adding depth to the images.
Post-Processing Tips
Post-processing is vital for achieving polished results. Software like Adobe Lightroom and Photoshop allows for adjustments that enhance image quality.
Important Post-Processing Techniques:
- Lens Correction: Use software tools to correct distortion from wide-angle lenses.
- Cropping and Straightening: Ensuring vertical lines are straight helps maintain architectural integrity.
- Color Correction: Adjust white balance and exposure to reflect true colors.
Dodging and burning techniques can also help emphasize architectural details or create dramatic effects. Utilizing layers and masks allows for non-destructive adjustments, preserving the original image quality.
Architectural photography sources and references
Use these references when you want to study real architectural images, check lens correction basics, or plan drone work responsibly.
- Adobe architectural photography guide
- Adobe Lightroom lens correction help
- Library of Congress HABS/HAER/HALS archive
- RIBApix architecture image archive
- ArchDaily project archive
- Dezeen architecture section
- FAA recreational drone safety rules
- DJI Fly Safe guidance
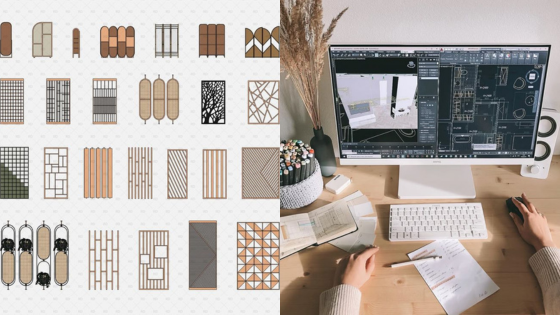
Before taking photos of physical models, read our guide on digital rendering in architecture to understand how exposure and textures are set up.
Related architecture and photography practice
For more practice after this guide, move between light, perspective, facade design, and rendering. Architectural photography gets stronger when your eye understands both the camera and the building.
- natural light photography tips
- aesthetic photography techniques
- creative photography ideas
- perspective drawing guide
- rhythm in architecture
- facade redesign examples
- insulating glass in architecture
- 3D rendering from sketch to space
Architectural photography FAQ
Q: What are the best architectural photography ideas for beginners?
A: Start with golden hour exteriors, reflections in glass, simple symmetry, interior details near windows, and one strong urban landmark. These subjects teach light, line, scale, and framing without needing a complicated setup. I would rather see one clean facade with straight verticals than ten busy photos with no clear subject.
Q: How do you photograph buildings creatively?
A: Look for the one design feature that makes the building memorable, then build the photo around it. That might be a repeating window rhythm, a hard shadow, a mirrored facade, a staircase, or the contrast between a historic wall and a modern addition. Move your feet before changing lenses; a small shift in position can completely change the geometry.
Q: What camera settings work best for architectural photography?
A: For sharp building photos, start around ISO 100-400, aperture f/8 to f/11, and a shutter speed that keeps the image sharp on a tripod. Use RAW when possible so you can correct verticals, white balance, and shadow detail later. Interiors may need slower shutter speeds, so a tripod matters more than a high ISO.
Q: How do you keep vertical lines straight in building photography?
A: Keep the camera as level as possible and avoid tilting it sharply upward unless you want a dramatic perspective effect. Step back, use a wider lens carefully, or shoot from a higher vantage point when you can. In editing, use lens correction and vertical transform tools, but leave the photo natural rather than stretching the building until it looks artificial.
Q: What is the best time of day for architecture photography?
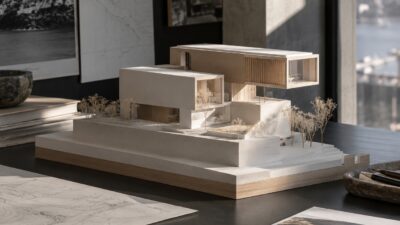
If you need to capture architectural elements on a smaller scale, photographing miniature physical models provides a great way to practice lighting and shadows.
A: Golden hour is usually the easiest time for exterior architecture because the light is softer and shadows reveal form. Blue hour can work beautifully for skylines and lit interiors. Overcast light is useful for facade details because it reduces glare and harsh contrast, especially on stone, concrete, and glass.
Q: How can interior architectural photography look better?
A: Use the room’s natural light first, then add artificial light only where it solves a specific problem. Keep verticals straight, clear small clutter, and compose through doorways or foreground furniture when it adds depth. For interiors, the best photo often shows how the space works, not just how expensive the materials are.
Capturing these unique angles is highly beneficial when photographing various types of house architecture styles.
- 245shares
- Facebook0
- Pinterest245
- Twitter0
- Reddit0