Hand Drawing Easy is a beginner-friendly way to sketch hands without getting lost in every wrinkle and fingernail. Start with the palm, thumb wedge, knuckle line, and finger sections, then refine the outline once the structure feels right. I use this order because it makes the hand readable before any detail work begins.
- Key takeaways
- Hand drawing easy: the simple method
- Basics of hand drawing
- Step-by-step hand drawing tutorial
- Common hand drawing mistakes
- Perspective, foreshortening, and hand poses
- Drawing cartoon hands
- Practice and improvement
- Related hand sketch practice
- Final hand drawing tip
- Hand drawing easy FAQ
- Q: What is the easiest way to start hand drawing?
- Q: How do you draw a hand for beginners step by step?
- Q: Why are hands so hard to draw?
- Q: What pencil should I use for easy hand sketches?
- Q: How can I make a hand drawing look less stiff?
- Q: Should beginners draw hands from photos or from life?
- Q: How often should I practice hand sketching?
If hands usually feel intimidating, keep the goal small. Draw one relaxed hand, one open palm, and one simple object-holding pose before trying dramatic foreshortening.
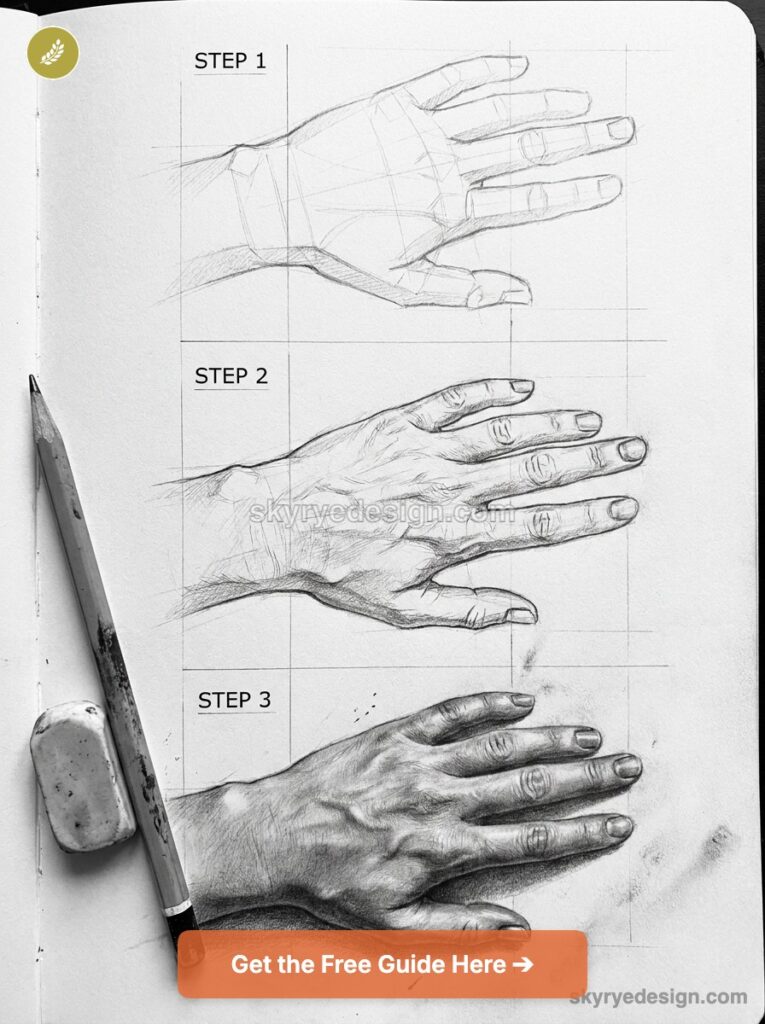
The practice below keeps the process practical: shape first, proportion second, details last.

Key takeaways
- Use the palm block and thumb wedge before drawing individual fingers.
- Mark the knuckle line so the fingers do not float or line up stiffly.
- Keep the first sketch light, then add nails, folds, and shading only after the structure works.
Hand drawing easy: the simple method
The simplest way to draw a hand is to build it from large forms before small lines. Sketch the palm as a soft box, add the wrist as a narrow tube, place the thumb on its own diagonal wedge, then draw a curved knuckle line across the top of the palm. From that line, build each finger in three short sections. The middle finger is usually the longest, the ring and index fingers sit close behind it, and the little finger drops lower.
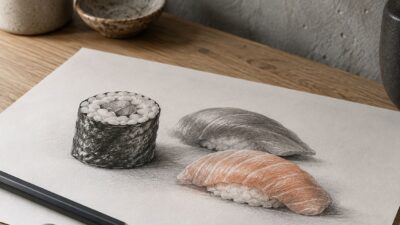
When a hand sketch feels too advanced, step back to a broader practice set. This guide to easy pencil drawings step by step helps beginners warm up with faces, clothing, water, landscapes, and textures before returning to hands.
Once those parts are placed, round the joints, soften the webbing between fingers, and add shadows where forms overlap. This method works for open hands, fists, relaxed poses, and cartoon hands because the structure stays clear underneath the style.
| Hand part | Simple shape | Beginner check |
| Palm | Soft box or rounded trapezoid | Is the palm wider near the knuckles? |
| Thumb | Side wedge plus two sections | Does it leave the palm at an angle? |
| Fingers | Three tapered cylinders each | Do the tips follow a gentle arc? |
| Wrist | Narrow tube | Does it connect under the palm, not behind it? |
| Shadows | Soft blocks under overlap | Is the darkest value near joints and gaps? |
Basics of hand drawing

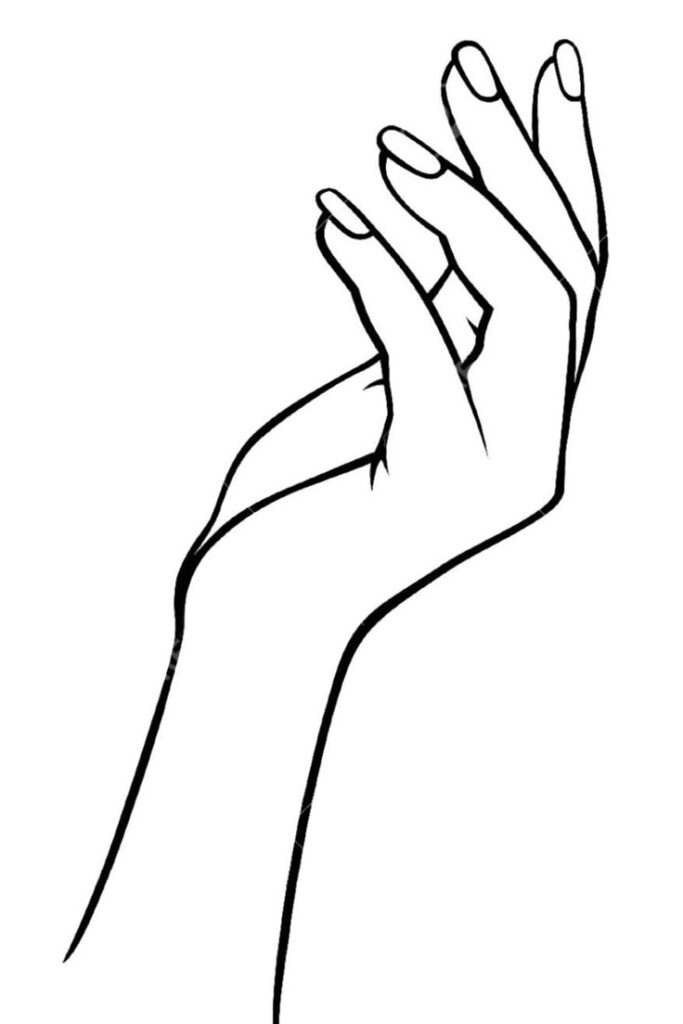
Good hand drawing starts with anatomy, but you do not need to memorize every bone. For beginners, the useful landmarks are the palm mass, the thumb pad, the knuckles, the finger joints, and the wrist. If those five pieces sit in the right place, the hand will look believable even before you add surface detail.
Understanding hand anatomy
Think of the hand as a flexible tool, not a flat outline. The palm is a padded base, the fingers hinge in sections, and the thumb works from the side instead of following the same direction as the fingers. In academic drawing, this is where you slow down and compare angles instead of guessing.
- Fingers: most fingers have three visible sections, and the joints should taper as they move toward the fingertip.
- Palm: the palm is not a rectangle. It is wider near the knuckles and softer near the thumb pad.
- Wrist: the wrist is narrower than the palm and often tilts, especially in expressive poses.
For a slower anatomy pass, use the full hand drawing tutorial after this beginner version. This keeps the link in the body of the lesson, where it actually helps, instead of interrupting the intro.
Materials for easy hand drawing
You can do these studies with plain tools. A 2B pencil, a kneaded eraser, and smooth sketchbook paper are enough. If the paper is too rough, small finger corrections get messy; if the pencil is too hard, beginners tend to press down and carve lines into the page.
- HB pencil: best for the first palm block and joint placement.
- 2B pencil: useful for softer shadows around knuckles and finger overlaps.
- Kneaded eraser: lifts construction lines without leaving harsh white scars.
- Reference photos: helpful, but your own non-drawing hand is often the fastest model.
Step-by-step hand drawing tutorial


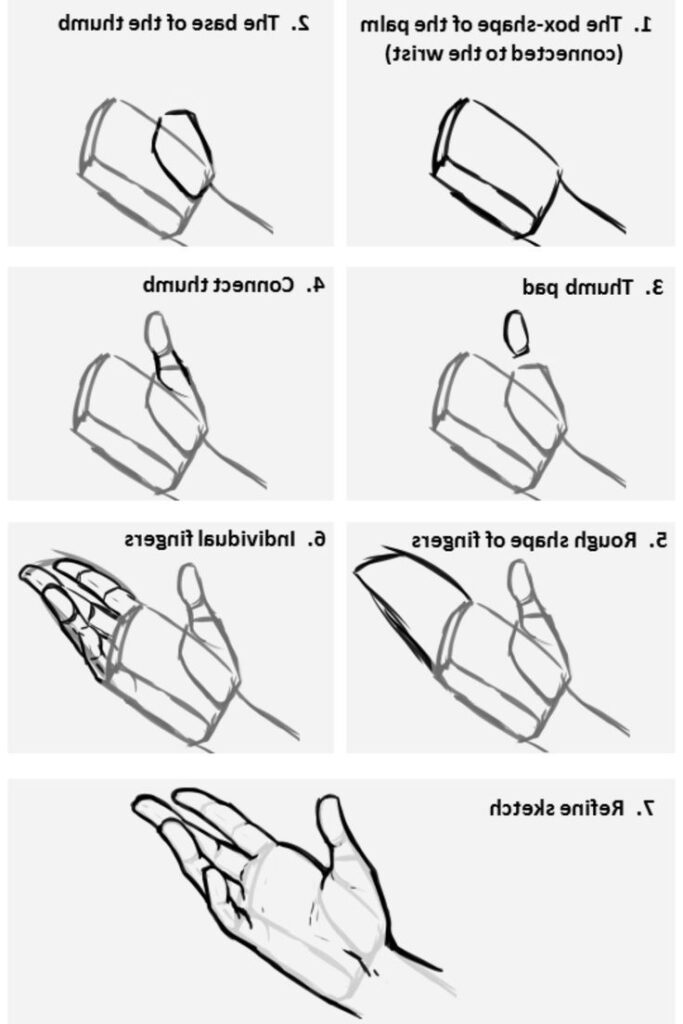
This is the cleanest beginner workflow I know for hand sketching. Do the steps in order and resist the urge to outline every finger too early. Hands go wrong when the contour gets polished before the structure is checked.
Step 1: block in the palm
Draw the palm as a rounded block, slightly wider near the finger side. Add a light center line through the palm if the hand is tilted. This simple shape tells you the direction of the whole hand before fingers complicate the drawing.
Step 2: add the thumb wedge
Place the thumb on a diagonal wedge coming from the side of the palm. The thumb is not just a short finger. It has its own angle and bulky base. If the thumb feels pasted on, redraw the wedge before moving forward.
Step 3: mark the knuckle rhythm
Lightly draw a curved line where the fingers leave the palm. This line should not be perfectly straight. The knuckles make a shallow arc, and that arc keeps the hand from looking stiff.
Step 4: build fingers in sections
Draw each finger as three simple sections. Keep the middle finger longest, the little finger shorter, and the fingertips on a soft curve. If you want more basic shape practice before hands, this easy drawings step by step guide pairs well with the same construction mindset.
Step 5: clean the outline and shade
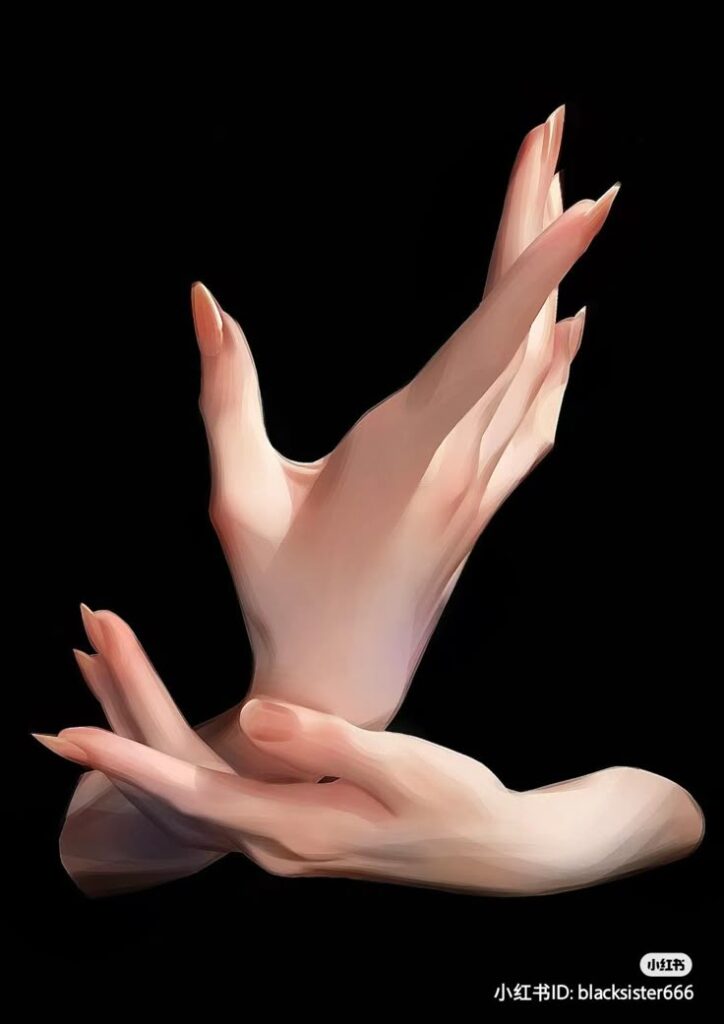
Erase the heaviest construction lines, round the finger joints, and add shadows where fingers overlap. Keep shading light at first. A small shadow under the thumb and between fingers often gives more form than a full dark outline.
Common hand drawing mistakes


Most beginner hand drawings fail for a small set of reasons. The fingers are all the same length, the thumb is too flat, the palm is shaped like a stiff rectangle, or the wrist connects in the wrong place. None of that means you are bad at drawing. It means the structure needs a calmer first pass.
| Mistake | Why it looks wrong | Fix |
| All fingers same length | The hand reads like a comb | Use a fingertip arc, with the middle finger longest |
| Tiny thumb | The hand loses function and weight | Build the thumb from a wedge and two sections |
| Straight knuckle line | The pose looks stiff | Curve the knuckles lightly across the palm |
| Dark outline too early | Corrections become difficult | Sketch light until the hand reads clearly |
| No overlaps | The hand looks flat | Let fingers cover small parts of each other |
Perspective, foreshortening, and hand poses

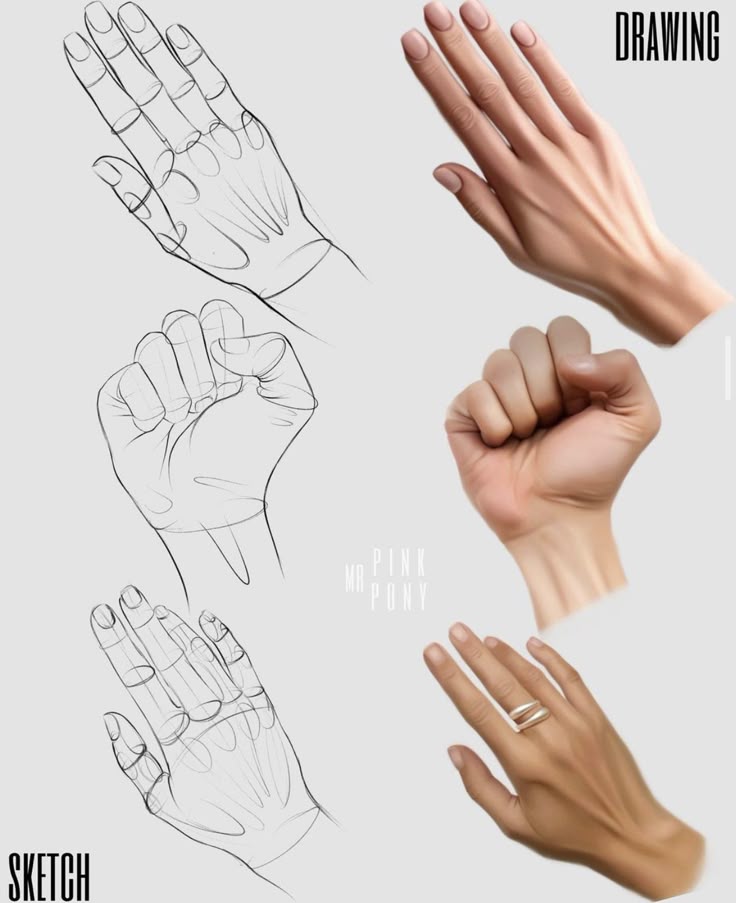
Foreshortening is where hands get noisy. A finger pointing toward the viewer is not actually shorter, but it appears compressed. Use basic perspective checks here: compare widths, look for overlap, and draw through the form lightly. If this part is confusing, step into perspective drawing practice before trying dramatic pointing hands.
A useful trick is to cover the fingertips with your thumb and look only at the palm and wrist. If that base feels solid, the fingers are easier to repair. If the base is wrong, every finger correction becomes a patch.
Drawing cartoon hands


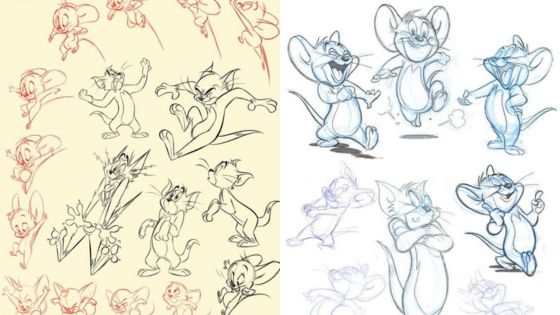
Cartoon hands can be simpler than realistic hands, but they still need structure. Use fewer fingers if the style calls for it, exaggerate the palm, and make the gesture clear. A waving hand, pointing hand, and clenched fist each need a different silhouette.
For character work, connect the hand to the pose instead of treating it like an accessory. This is especially important in anime pose reference practice, where a small hand angle can change the whole mood of the character.
Practice and improvement

Short practice beats occasional marathon sessions. Draw one pose three times: first as boxes and wedges, then as a cleaner outline, then as a shaded sketch. The repetition feels slower at first, but it trains your eye to notice the hand before your pencil commits to detail.
- Contour pass: draw the outside edge without chasing perfect detail.
- Structure pass: redraw the same pose with palm, thumb, and finger sections.
- Shadow pass: use soft graphite only where forms overlap or turn away from light.
Hands also belong to the full figure. If your hand sketches look detached, pair them with figure sketching practice so the wrist, arm, and pose all support the same gesture.
Related hand sketch practice
Use these next if you want to keep building the same cluster without repeating the exact same exercise. Start with hands, then move into nearby drawing problems that train proportion, gesture, and patient construction.
- hand drawing tutorial
- easy drawings step by step
- perspective drawing
- figure sketching practice
- anime pose reference
- eye sketch drawing
- sketchbooks for artists
For close facial detail practice after hands, try eye sketch drawing. For tool choices and paper tests, this sketchbooks for artists guide helps you choose a surface that can handle erasing and repeated pencil passes.
Final hand drawing tip
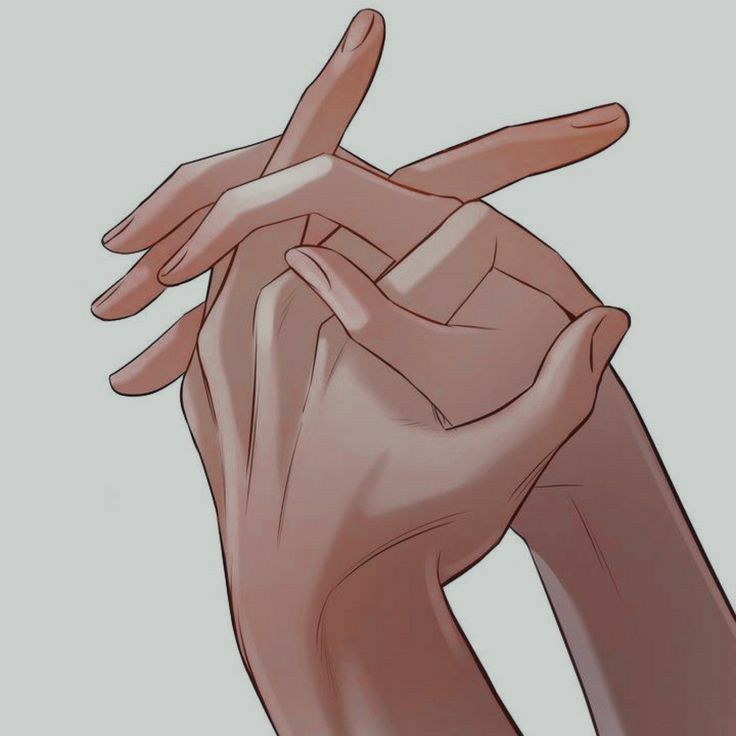
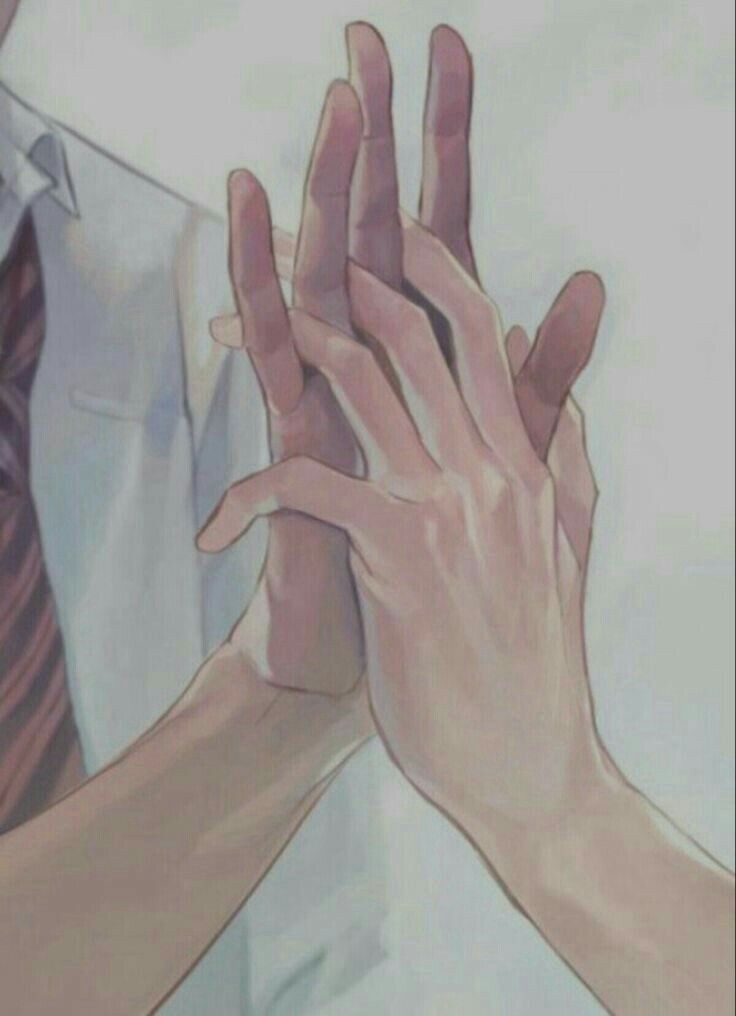
Do not judge a hand drawing while it is still a pile of construction lines. Step back, check the palm angle, the thumb wedge, and the fingertip arc. If those three things work, the rest is usually just careful cleanup.
When hands start to feel frustrating, reset with easy pencil sketches that build line confidence before returning to fingers and knuckles.
Hand drawing easy FAQ
Q: What is the easiest way to start hand drawing?
The easiest way to start hand drawing is to block the palm first, add a wedge for the thumb, then place the fingers as simple tapered cylinders. Do not begin with fingernails or wrinkles. If the palm angle and knuckle line are wrong, detail will only make the drawing look busier. Keep the first pass light, check the big shapes, then refine.
Q: How do you draw a hand for beginners step by step?
Draw a hand for beginners by sketching the palm block, marking the wrist, placing the thumb wedge, and drawing a curved knuckle line across the palm. Add each finger as three small sections, keeping the middle finger longest and the little finger shortest. After the structure works, round the joints, erase construction lines, and shade the side away from the light.
Q: Why are hands so hard to draw?
Hands are hard to draw because they have many small forms packed into a flexible shape. Fingers bend in sections, the thumb moves on a different angle, and the palm changes shape with every pose. Beginners often copy the outline and miss the structure underneath. Building the hand from palm, thumb, knuckles, and finger segments makes the problem much easier.
Q: What pencil should I use for easy hand sketches?
Use an HB or 2B pencil for easy hand sketches. HB keeps the first construction lines clean, while 2B gives softer shadows without needing heavy pressure. A kneaded eraser helps lift mistakes without tearing the paper. If you press hard too early, the hand becomes difficult to correct, especially around the fingers and wrist.
Q: How can I make a hand drawing look less stiff?
To make a hand drawing look less stiff, start with a gesture line through the wrist and palm before drawing fingers. Let the fingers curve slightly instead of lining them up like sticks. Vary the spacing between fingers, soften the knuckles, and show one or two overlaps. Even a small tilt in the palm can make the hand feel more natural.
Q: Should beginners draw hands from photos or from life?
Beginners should use both photos and their own hand. Photos are useful for clear poses and repeat practice, but drawing from life teaches you how the forms turn in space. I like using my non-drawing hand for quick studies because you can rotate it, check the knuckle rhythm, and see where shadows actually fall.
Q: How often should I practice hand sketching?
Practice hand sketching in short sessions, 10 to 15 minutes at a time. Draw one simple pose three times instead of chasing a perfect finished hand. First draw the blocky version, then the cleaner outline, then a shaded pass. Repeating the same pose teaches proportion faster than doing a new complicated reference every time.
- 1.0Kshares
- Facebook0
- Pinterest1.0K
- Twitter0
- Reddit0