Fish drawing ideas work best when you pick a species that teaches one clear skill: goldfish for round forms, clownfish for stripes, betta fish for flowing fins, and koi for movement. Fish are one of those subjects where the variety actually works in your favor. A betta is basically an oval with trailing silk. An anglerfish looks like it crawled out of a nightmare. You’re never solving the same problem twice.
- What are good fish drawing ideas for beginners?
- Pros and Cons
- Your Essential Drawing Toolkit: Getting Started
- Breaking Down Fish Anatomy: Simple Shapes First
- Easy Fish Drawing Ideas for Beginners: Dip Your Toes In!
- Exploring Different Fish Species: A World of Inspiration
- Adding Movement and Dynamism: Making Your Fish Swim
- Creative Styles and Techniques: Beyond Realism
- Bringing Your Fish to Life with Color
- Setting the Scene: Aquatic Environments
- Advanced Fish Drawing Challenges: Push Your Limits!
- Beyond the Pencil: Digital Fish Art
- Practice Makes Perfect (and Fun!)
- Dive In and Create!
- Frequently Asked Questions
- Q: What are the easiest fish drawing ideas for beginners?
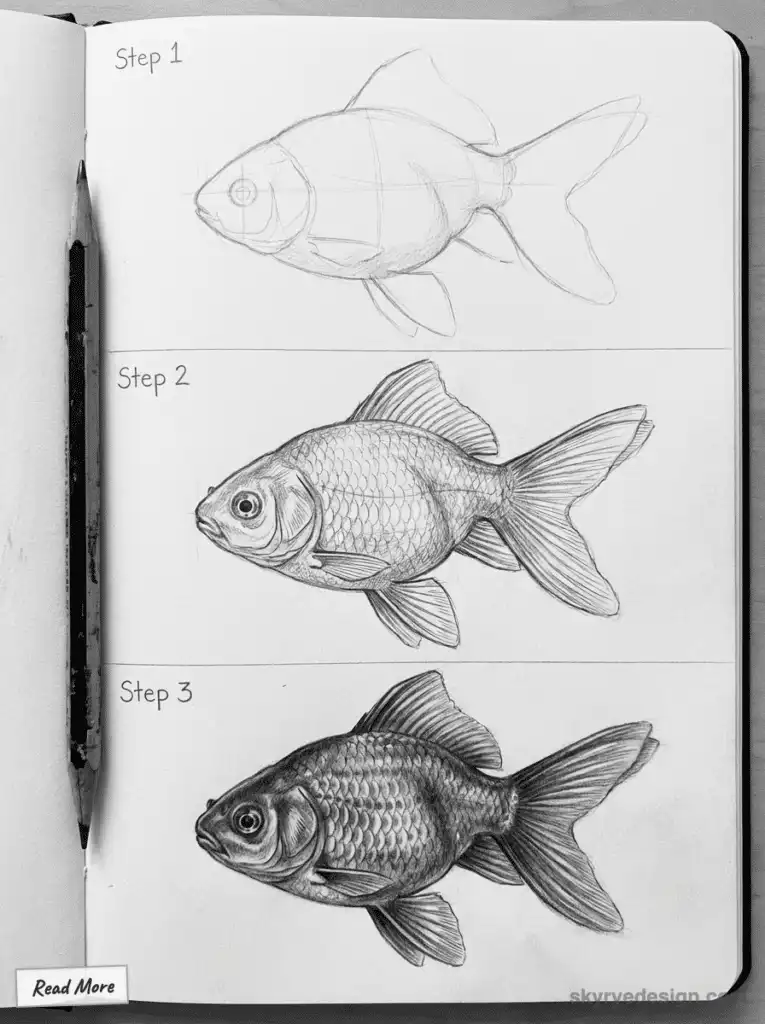
- Q: How do you draw a realistic fish step by step?
- Q: Why do fish drawings sometimes look flat?
- Q: What pencils are best for fish drawings?
- Q: How long does it take to learn fish drawing?
- Q: What are common mistakes when drawing fish?
- Q: What are the best fish species to use as drawing inspiration?
- Q: Can I use these fish drawing ideas as printable worksheets?
- Q: Can kids try fish drawing ideas too?
What are good fish drawing ideas for beginners?
Good fish drawing ideas for beginners include goldfish, clownfish, betta fish, pufferfish, koi, angelfish, and simple cartoon fish. Start with a side-view fish because the body can be built from one oval or stretched diamond, then add a triangle or fan shape for the tail and smaller curved triangles for the fins.
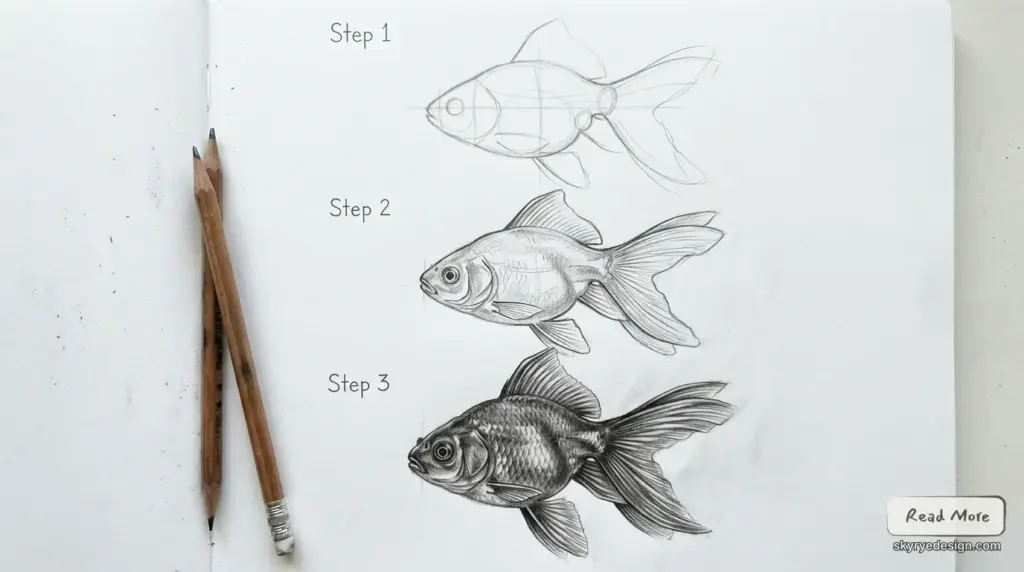
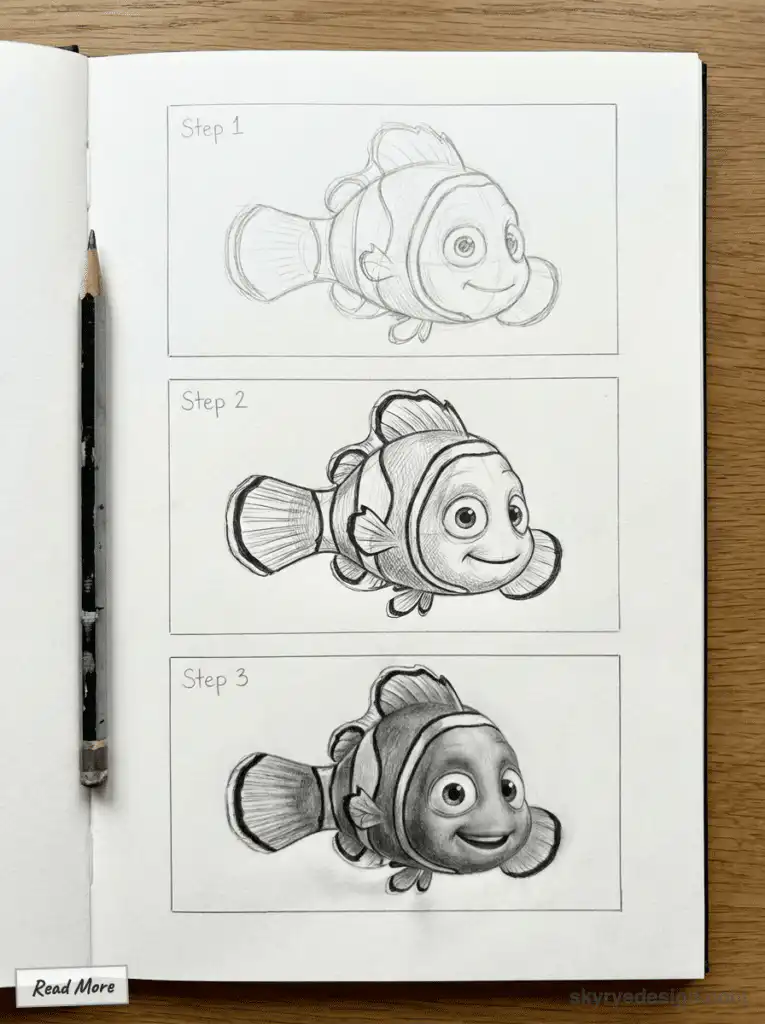
Goldfish are useful for practicing rounded forms and flowing tails. Clownfish teach bold stripe patterns. Betta fish help artists practice long, soft fins. Koi are better for movement because their bodies curve naturally through the water. To keep the drawing from looking flat, shade under the belly, near the gills, and where fins overlap the body. Beginners only need an HB pencil, eraser, and sketch paper to start; softer 2B-4B pencils help add darker shadows later.
For the next step, use this shading drawing guide to practice value zones before adding fish scales or fin texture.
| Fish idea | Skill practiced | Difficulty | Best medium |
|---|---|---|---|
| Goldfish | Rounded form, flowing fins | Easy | Pencil, colored pencil |
| Clownfish | Pattern, clean outlines | Easy | Marker, digital |
| Betta fish | Flowing fins, color gradients | Medium | Watercolor, digital |
| Koi fish | Movement, body curves | Medium | Ink, watercolor |
| Angelfish | Symmetry, long fins | Medium | Pencil, fineliner |
| Lionfish | Complex stripes, spiky fins | Hard | Colored pencil, digital |
The form lessons come fast. Trying to make a round body read as round — without shading it into a flat gray blob — teaches you more about value than most dedicated exercises will. I figured that out drawing koi from reference photos. Got frustrated, went darker on the shadow side, finally got it.
Good starting points: goldfish for simple shapes, clownfish if you want to practice bold stripe patterns, mandarinfish if you want a color challenge that’ll wreck your blending pencils in the best possible way.
Pros and Cons
Drawing fish, like any artistic endeavor, comes with its own set of unique advantages and challenges. Let’s weigh them up!
| Pros | Cons |
|---|---|
| – Incredible diversity in shapes, sizes, and colors. | – Capturing fluid movement can be tricky. |
| – Excellent for practicing basic shapes and anatomy. | – Scales can be repetitive and time-consuming. |
| – Allows for a wide range of artistic styles (realism to cartoon). | – Depicting underwater environments effectively requires practice. |
| – Can be a very relaxing and meditative drawing subject. | – Achieving realistic water reflections and refractions is a skill. |
| – Inspires creativity through fantasy and mythical fish designs. | – Some exotic species have very complex patterns. |
Your Essential Drawing Toolkit: Getting Started
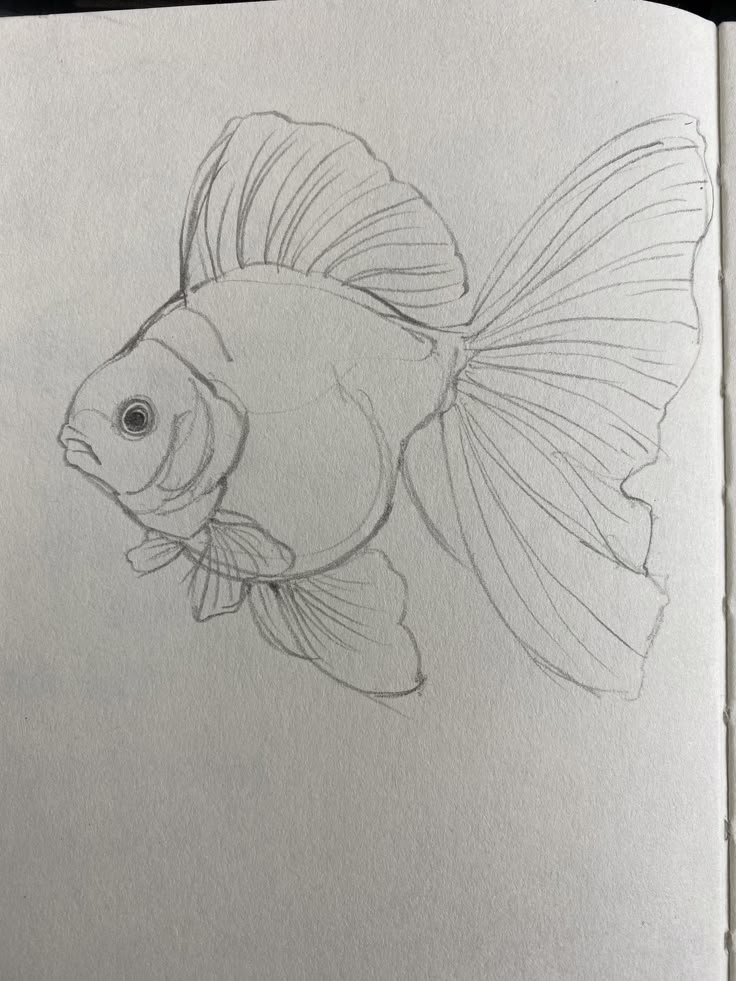
You don’t need much. A pencil, paper, an eraser — that’s a complete setup for everything in this article.
Pencil hardness matters more than most beginners expect. I work with three: 2H for loose construction lines, HB for the main drawing, and a 2B when I’m pushing into darker shadow areas. Standard drawing paper handles all of that fine. If you’re going to ink or watercolor on top, go thicker — 90lb minimum, or the paper will warp when it gets wet.
Get a kneaded eraser. The vinyl block eraser is fine for open areas, but kneaded erasers let you shape a point and lift graphite out of tight spots. With fish, you’ll need that — scales are small and close together.
For digital: Procreate if you have an iPad, Clip Studio Paint if you want more precision on line weight. I started on Procreate and still use it for most fish sketches. The undo button makes experimentation faster, not easier — you still have to make the drawing decisions, you just don’t lose a whole sheet of paper when something doesn’t work.
Breaking Down Fish Anatomy: Simple Shapes First
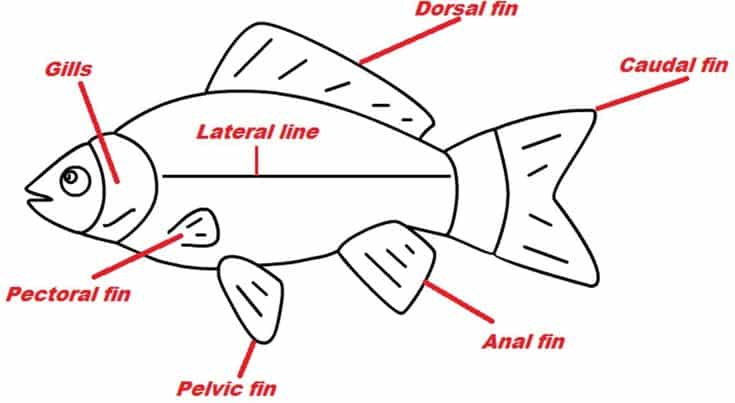
Don’t let the idea of drawing a complex creature intimidate you. The secret to drawing anything, especially fish, is to break it down into simple geometric shapes. Think of a fish’s body as an oval or a stretched diamond. Its head might be a smaller circle or a tapered wedge.
Fins are usually triangular, curved, or fan-shaped, attached to these basic forms. The tail (caudal fin) can be a simple fan or more complex, like a crescent or lyre shape. Eyes are typically circles, and the mouth can be a small line or a more prominent, expressive shape. Start with these foundational shapes, sketch them lightly, and then gradually refine them, adding curves and details. It’s like building blocks for your art!
When you use anatomy terms, keep them practical: the caudal fin is the tail, the dorsal fin sits along the back, and the gills sit behind the head. The South Carolina Department of Natural Resources fish anatomy guide is a useful reference if you want the labels to be accurate while you sketch.
Easy Fish Drawing Ideas for Beginners: Dip Your Toes In!
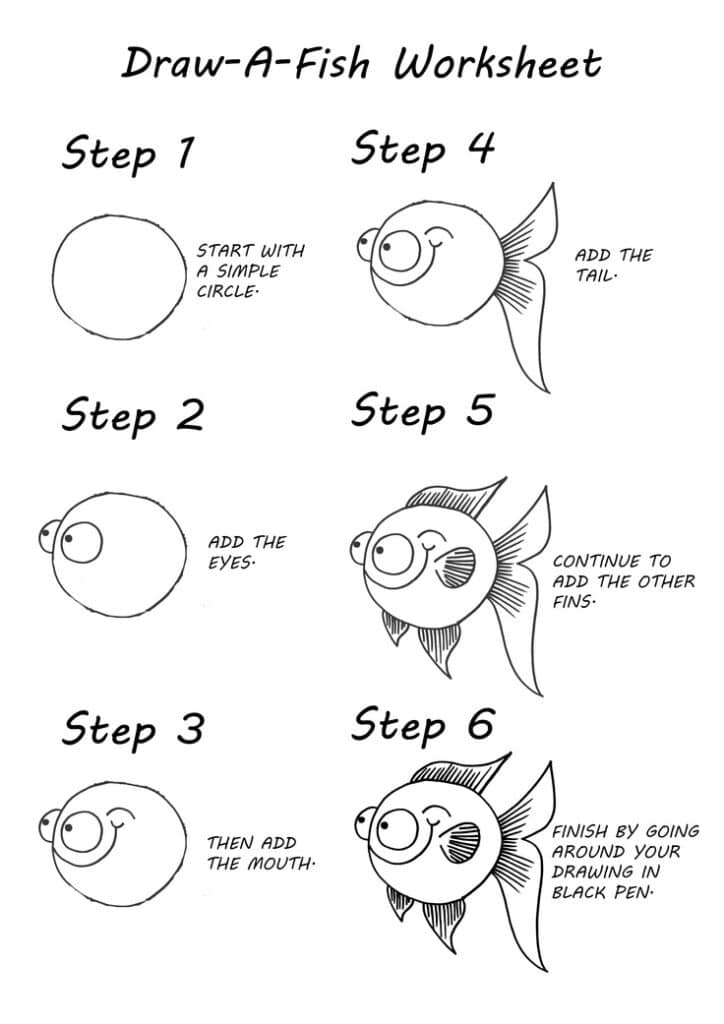
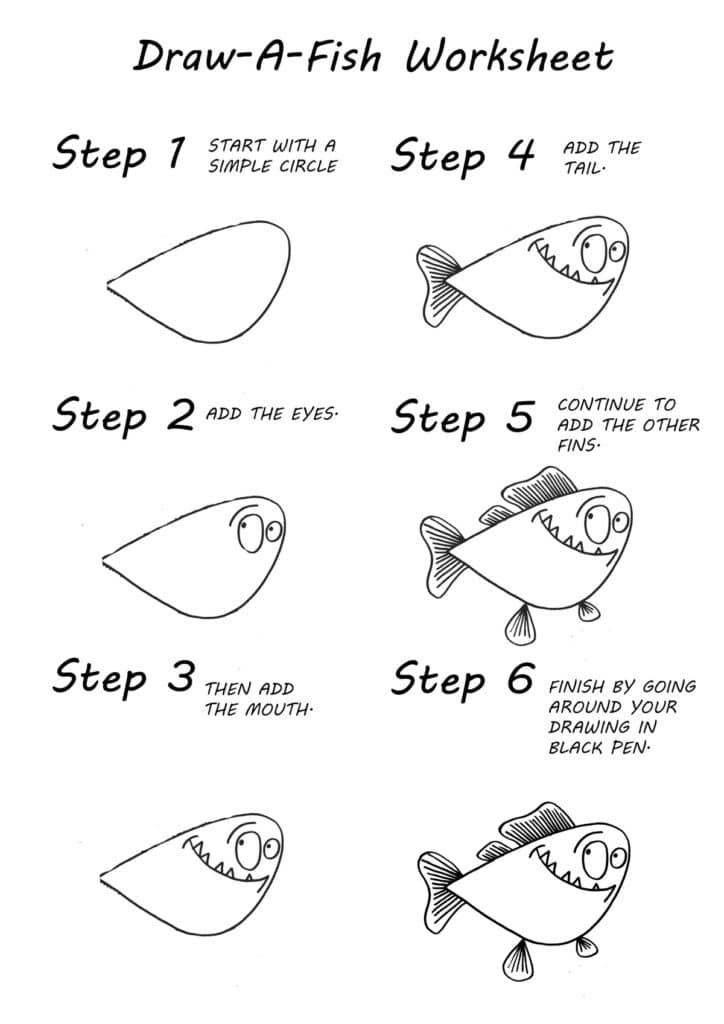
Okay, let’s start with some simple, fun projects that are perfect for beginners. The goal here is to build confidence and get comfortable with your tools.
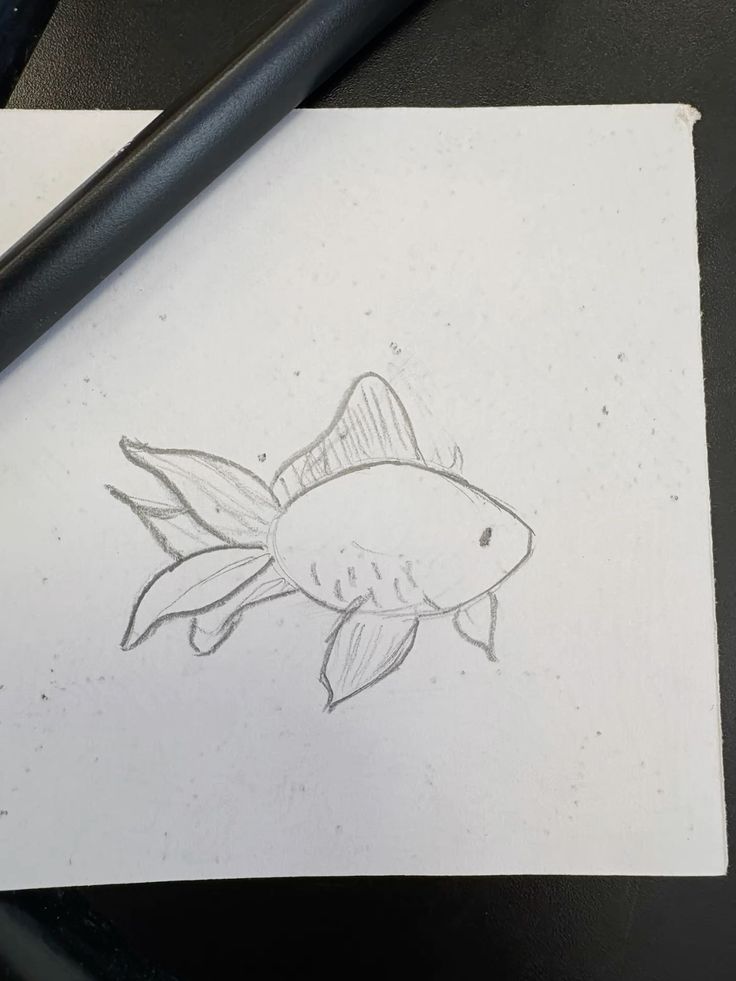
- The Classic Goldfish: a fantastic starting point. Goldfish have rounded bodies, flowing tails, and distinct fins. Start with an oval for the body, add a triangular tail, and then small curved triangles for the other fins. Their simple, expressive eyes are usually just two dots.
- Simple Cartoon Fish: Think Nemo or Dory! These often have exaggerated features, bright colors, and clear outlines. Their bodies are typically pear-shaped or oval, with large, friendly eyes and broad smiles. They’re great for practicing basic shapes and bold lines.
- Fish Silhouettes: These are surprisingly effective and easy. Focus solely on the outline of a fish. You can choose a standard shape, like a bass, or a more exotic one, like a seahorse. Fill the shape in with solid color or a simple pattern. This helps you understand the overall form and proportions without getting bogged down in detail.
- Bubble Buddies: Draw a simple fish and then add a stream of bubbles. Bubbles are just circles, often overlapping. This adds a sense of movement and environment without being too complex.
- Pattern Play Fish: Draw a basic fish shape, then fill its body with repetitive patterns like stripes, dots, zigzags, or even checkerboards. This is a fun way to experiment with design and add visual interest.
When you want a land-animal break from fins and tails, this beginner animal drawing tutorial is a good next sketch. The dog starts with the same simple forms, but the ears, snout, and paws give you a different kind of character practice.
Exploring Different Fish Species: A World of Inspiration
Once you’re comfortable with the basics, it’s time to explore the incredible variety of fish out there. Each species offers unique characteristics that can challenge and inspire you.
The Elegant and Exaggerated
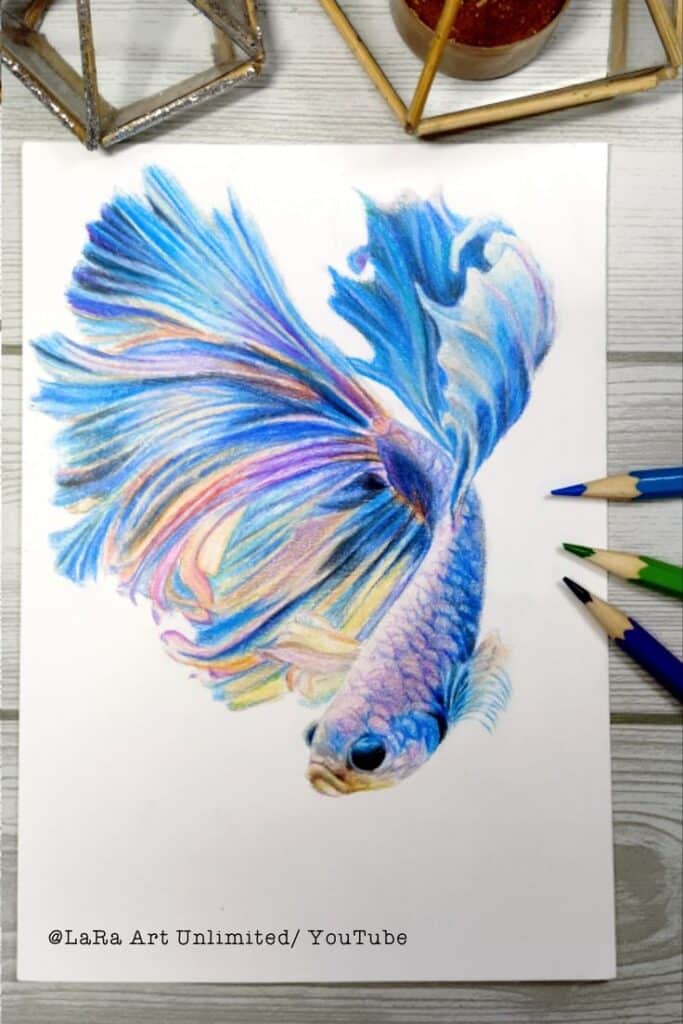
- Betta Fish (Siamese Fighting Fish): Known for their stunning, flowing fins and vibrant colors. These are a joy to draw because you can really exaggerate their drapery-like fins, making them look majestic and almost ethereal. Focus on long, graceful fins and a more compact body.
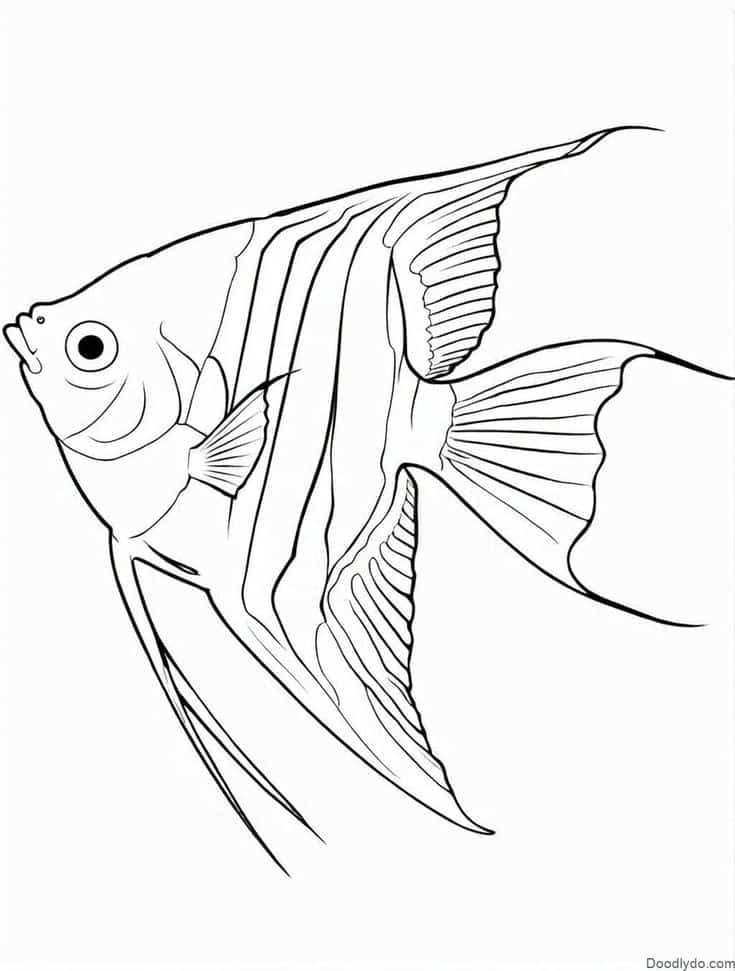
- Angelfish: With their tall, triangular bodies and long, delicate fins, angelfish are the epitome of aquatic elegance. Their vertical stripes offer an excellent opportunity to practice shading and contouring.
- Lionfish: These venomous beauties have dramatic, spiky fins that fan out, creating a striking silhouette. Their striped patterns are complex but incredibly rewarding to render.
The Bold and Beautiful
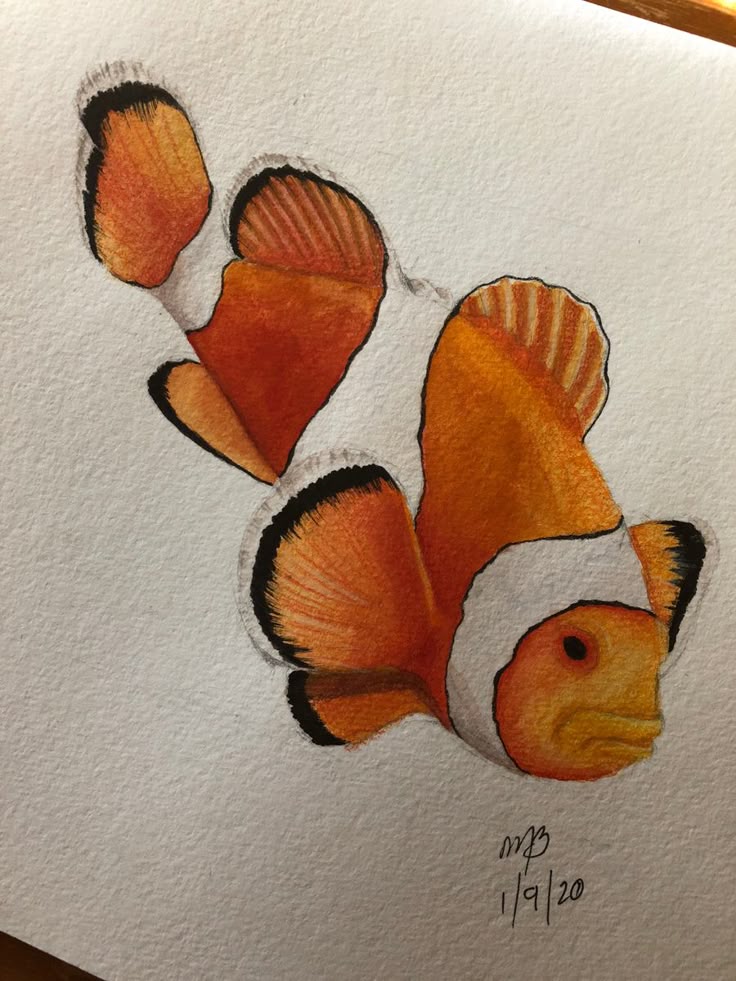
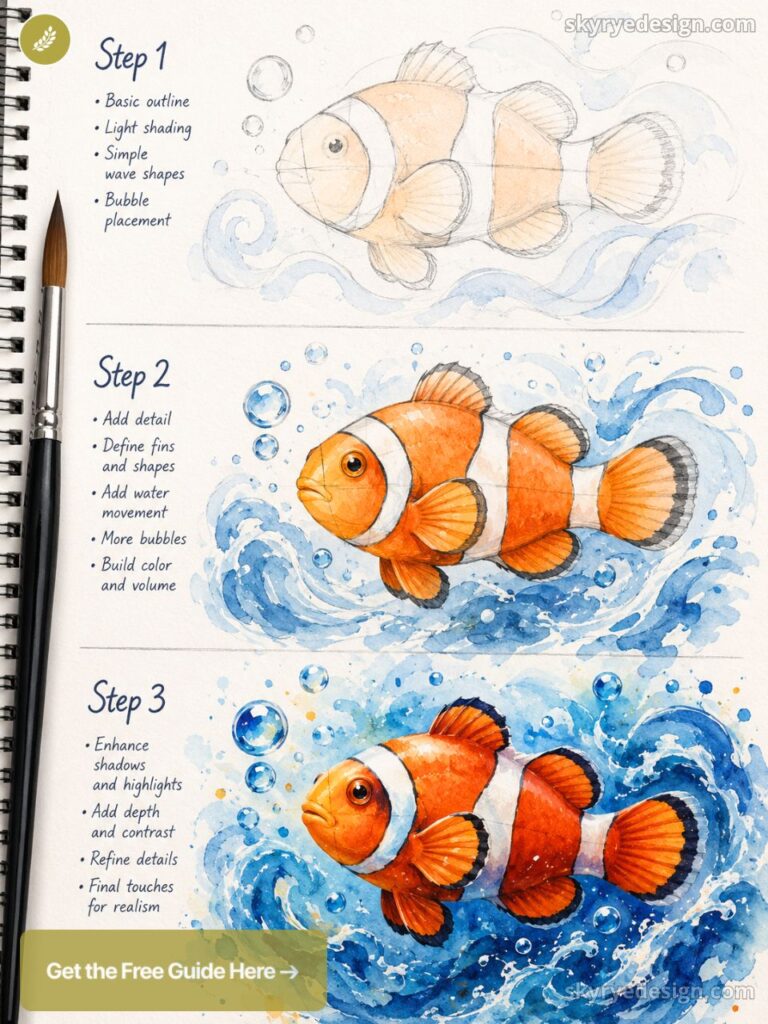
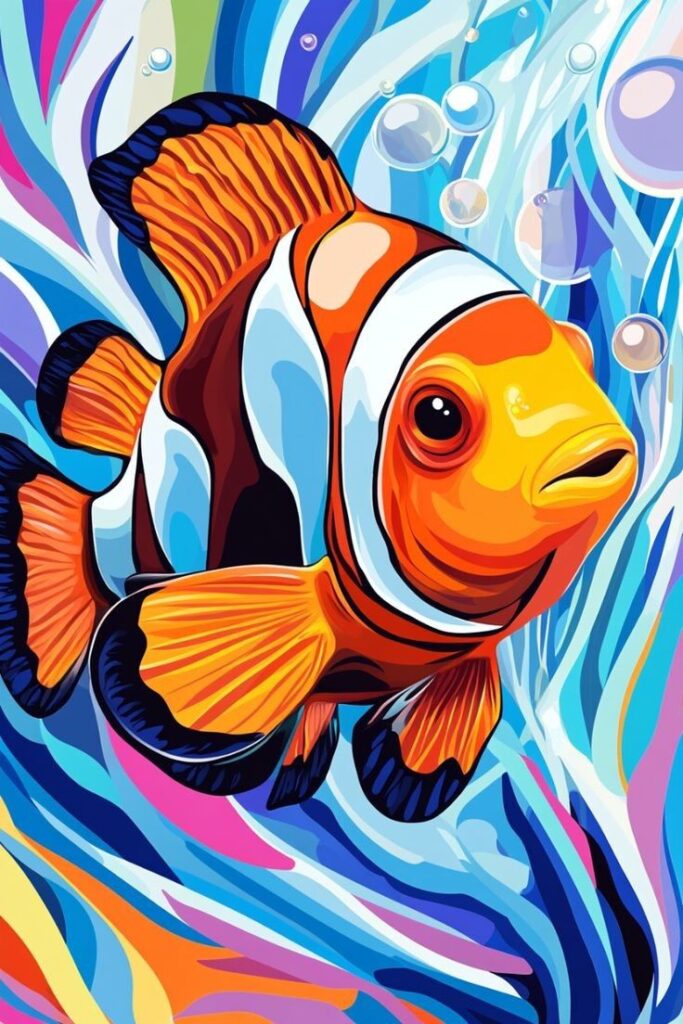
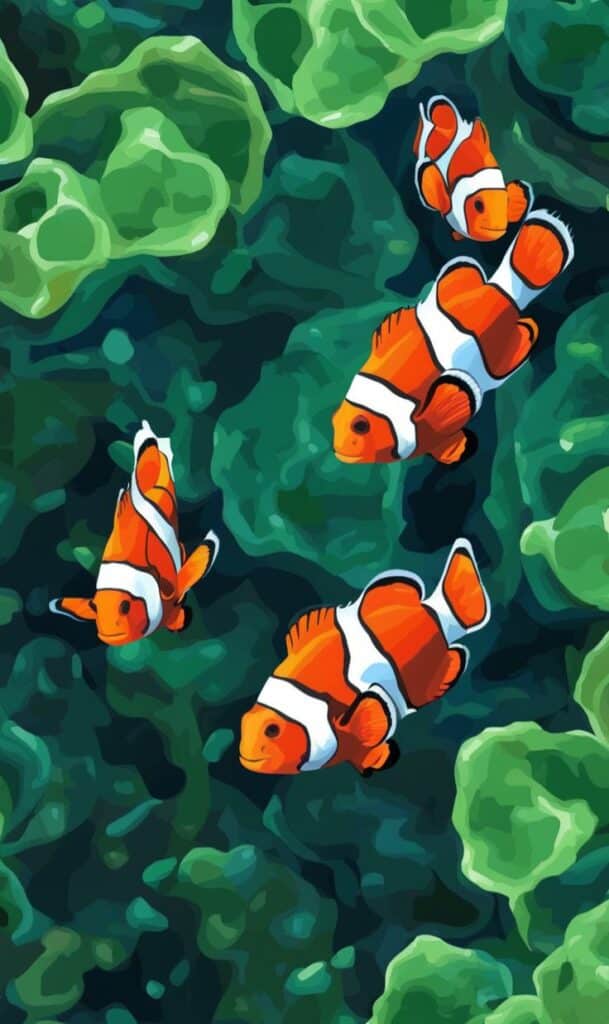
- Clownfish: Immediately recognizable with their bright orange and white stripes, outlined in black. These are great for practicing clear, defined patterns and a more rounded, friendly appearance.
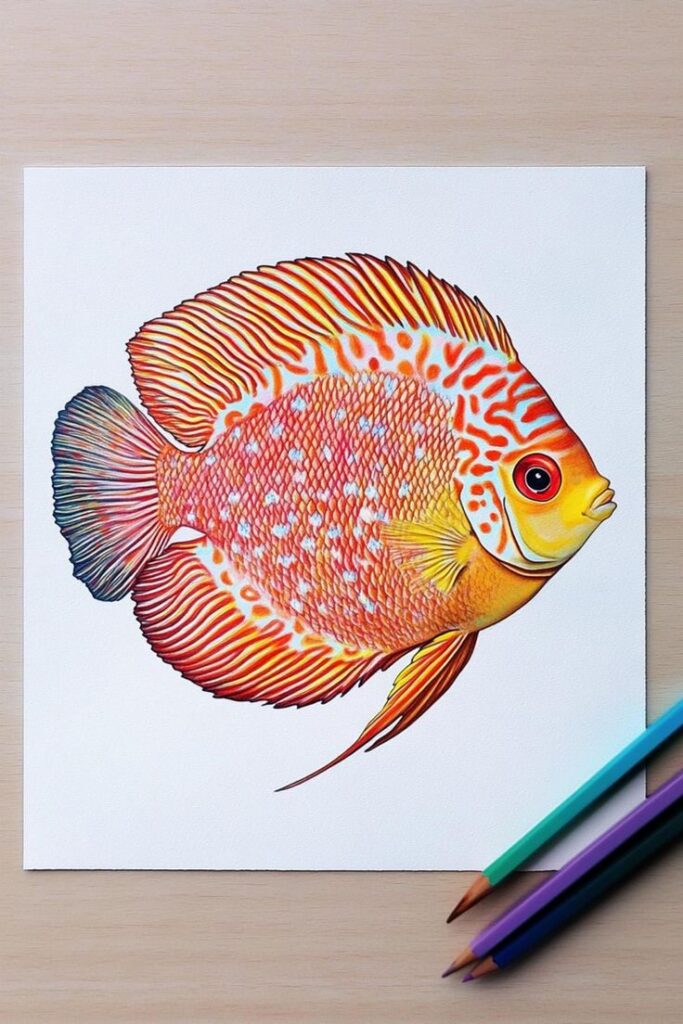
- Discus Fish: Often called the “King of the Aquarium,” discus fish are almost perfectly circular and come in a dazzling array of colors and patterns. They’re excellent for practicing symmetry and intricate color blending.
- Moorish Idol: Famous for its bold black, white, and yellow bands, and a long, flowing dorsal fin. This fish offers a fantastic challenge in capturing distinct patterns and unique proportions.
The Powerful and Predatory


- Sharks: From the sleek great white to the hammerhead, sharks embody power and grace. Focus on their streamlined bodies, sharp fins, and menacing expressions. Use strong, decisive lines to convey their strength.
- Barracuda: Known for their long, slender bodies and impressive teeth, barracudas are all about speed and precision. Capturing their elongated form and predatory gaze can be a thrilling drawing exercise.
- Tuna: These powerful open-ocean swimmers have incredibly muscular bodies. Drawing tuna can help you understand how to depict strength and movement through subtle curves and defined muscle groups.
Adding Movement and Dynamism: Making Your Fish Swim


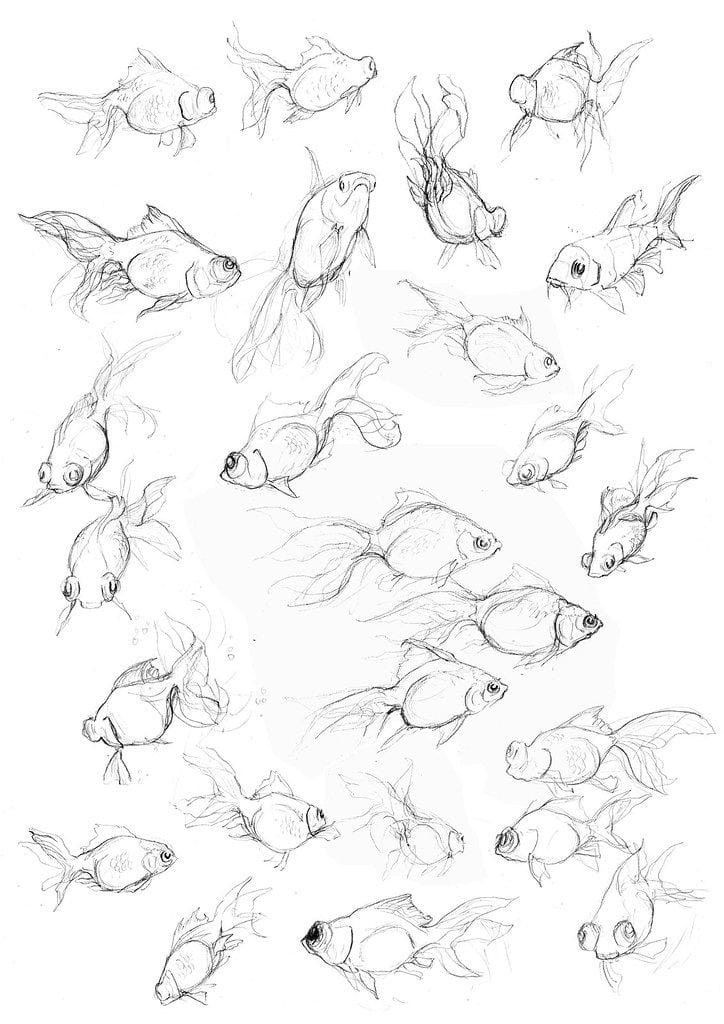
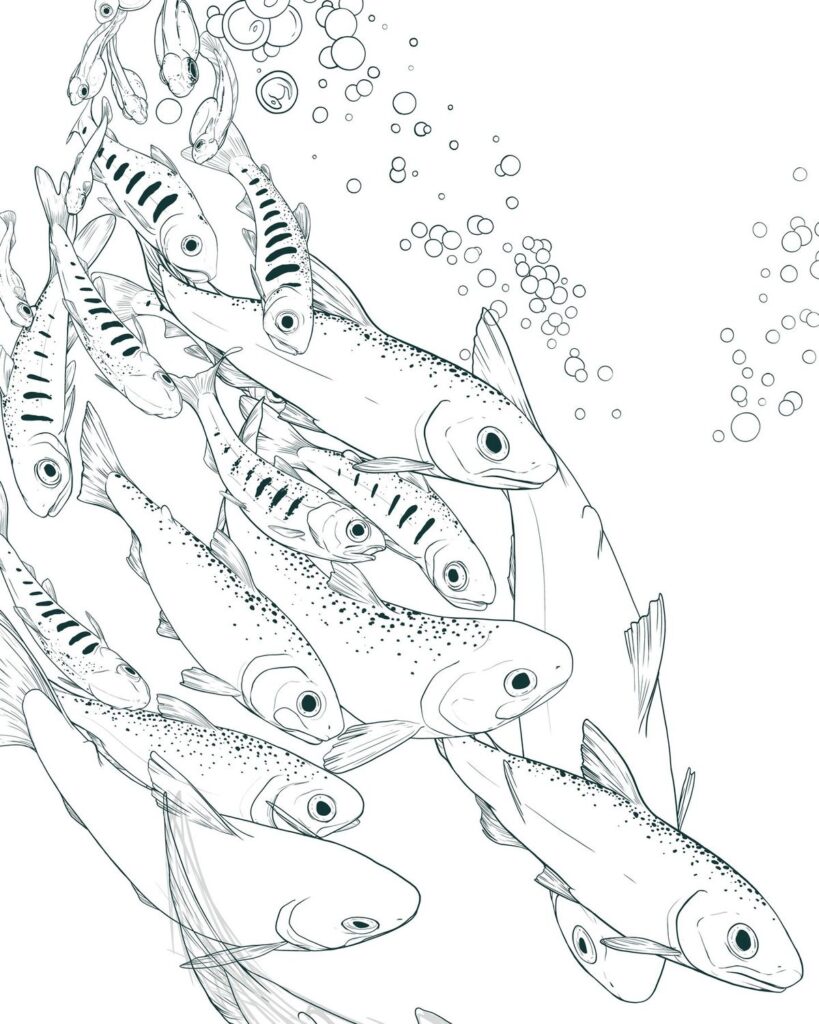
A static fish drawing is nice, but a fish that looks like it’s actually swimming? That’s next level! Here’s how to inject some life into your aquatic art.
To make a fish drawing look like it is swimming, start with a curved center line instead of a straight body. A gentle S-curve gives the fish a sense of motion because real fish bend through the body as they move forward. Place the head, belly, and tail along that curve, then let the fins trail slightly behind the direction of movement. Avoid making every fin symmetrical; fins should feel like they are catching water. Add small bubbles near the mouth or gills, light ripples around the body, and a few background plants or water lines to show direction. Shading also matters: darker values under the belly and fins make the form feel round, while small highlights on the eye or scales suggest wet, reflective surfaces.
For a more focused predator study, this shark drawing guide breaks the body into gesture, mass, fins, mouth, gills, and tail before shading.
- The S-Curve: The most common way to show movement in fish is through an S-curve for the body. Imagine the fish propelling itself forward, with its body subtly arcing.
- Trailing Fins: As the fish moves, its fins will trail behind, catching the water. Make them slightly wavy or curved to suggest this flow.
- Bubbles and Ripples: Adding bubbles escaping from the mouth or gills immediately conveys an underwater scene. Ripples or subtle currents in the water around the fish also enhance the sense of movement. Consider how light would interact with the water, creating distortions.
- Perspective and Foreshortening: Experiment with drawing fish from different angles. A fish swimming towards you will appear shorter and wider (foreshortened), while one swimming away will have its tail prominent. This adds depth and dynamism to your composition.
Creative Styles and Techniques: Beyond Realism
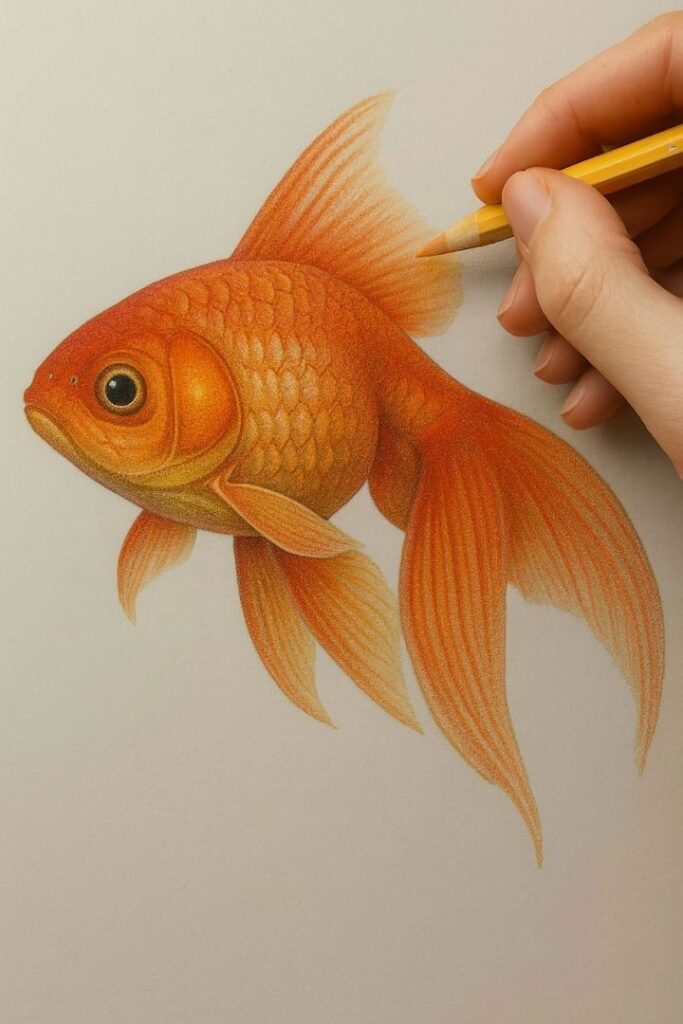
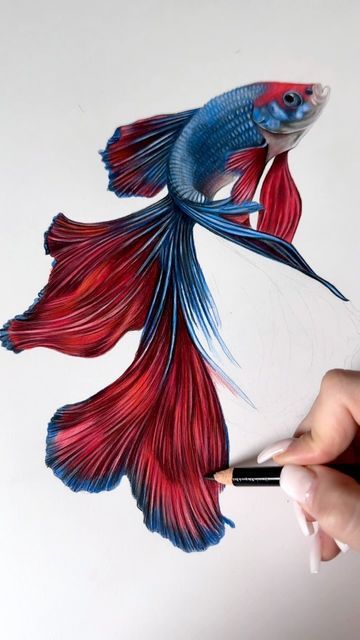
Drawing fish isn’t just about perfectly replicating what you see. It’s also about expressing your unique artistic voice! There are countless styles and techniques to explore.
- Cartoon and Anime Style: If you love exaggeration and vibrant characters, try drawing fish in a cartoon or anime sketching technique. Think big eyes, expressive mouths, and simplified forms. This approach often uses bold outlines and flat colors, making it super fun and accessible.
- Abstract Fish Art: Don’t feel confined by realistic shapes! Break down the fish into geometric forms, use non-traditional colors, or focus on patterns and textures inspired by fish, rather than the fish itself. This can lead to some truly unique and thought-provoking pieces.
- Zentangle Fish: Zentangle is a meditative drawing method using structured patterns. Outline a fish, then fill it with intricate, repetitive designs. This creates stunning, complex artwork that’s both calming to make and beautiful to behold.
- Tribal or Indigenous Art-Inspired Fish: Look to traditional art forms for inspiration. Tribal fish designs often feature strong, stylized lines, symbolic patterns, and a focus on essential forms. This can be a powerful way to explore cultural aesthetics through your fish art. You might even find inspiration from unique styles like Chicano art drawings for bold outlines and artistic motifs.
- Line Art and Hatching: Focus on using only lines to create your fish. Cross-hatching, stippling, and contour lines can build depth without color, especially around the gills, fins, and shadow side of the body.
- Practice small control drills: Fill one fish with clean parallel lines, another with dots, and another with tiny scale arcs. These drills are slow, but they build the hand control you need for fins and texture.


Bringing Your Fish to Life with Color
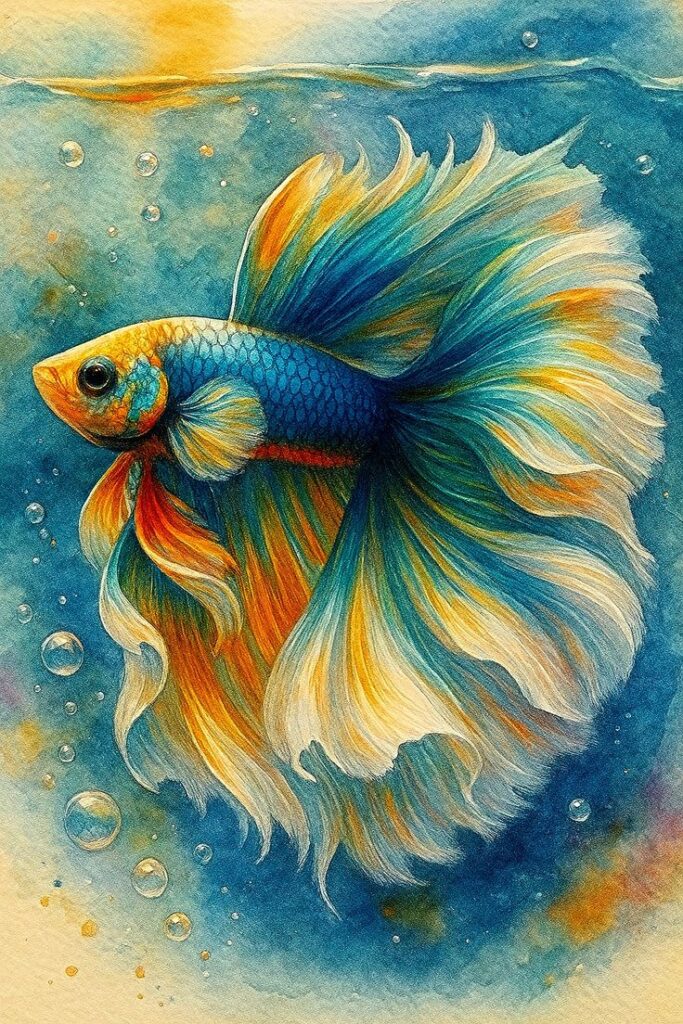
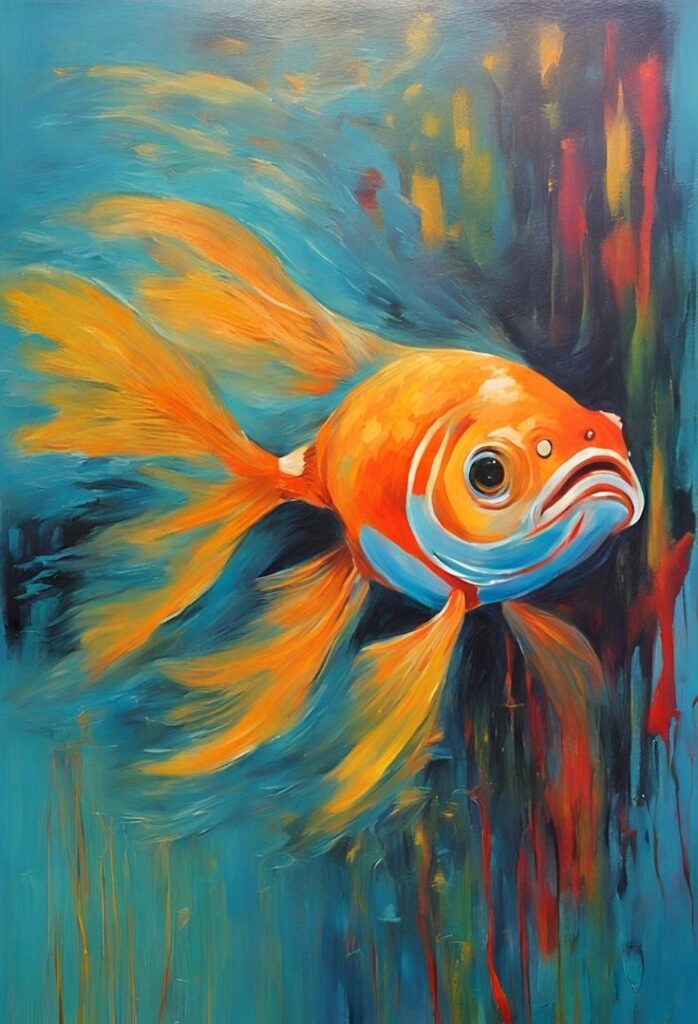
Color is where fish truly come alive! The aquatic world is bursting with an incredible spectrum of hues.
- Understanding Color Theory: A basic understanding of color theory can make your fish drawings read more clearly. Learn primary, secondary, and tertiary colors, then test complementary and analogous palettes. For example, a small touch of orange against a mostly blue fish can make the body feel brighter without overworking the whole drawing.
- Shading and Highlights: Don’t just color your fish flat! Think about where the light source is coming from. Add darker shades in areas turned away from the light or in shadow (like under fins or beneath the belly). Use lighter tones or even white highlights on scales, the top of the head, or the edge of fins where the light hits directly. This creates a sense of form and dimension.
- Color Blending: Whether you’re using colored pencils, markers, or digital brushes, learn to blend colors smoothly. Fish often have gradients of color that shift from one hue to another, especially on their bodies and fins.
- Vibrancy vs. Subtlety: Decide on the mood you want to convey. Tropical fish often demand vibrant, high-contrast colors, while a deep-sea creature might benefit from more muted, mysterious tones. For a fun way to experiment with color and pattern, consider exploring resources like ColoringBook AI to generate different coloring options and ideas.
Setting the Scene: Aquatic Environments
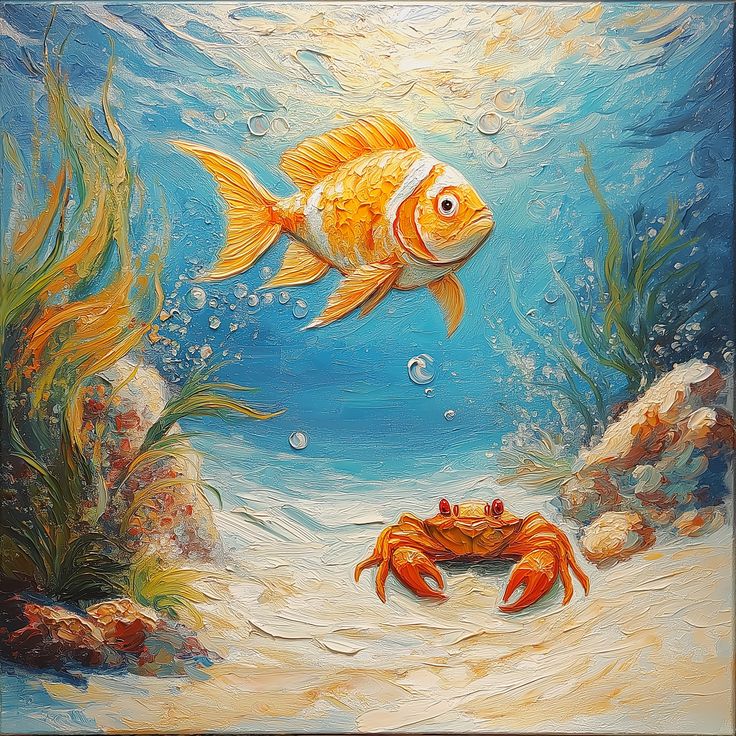
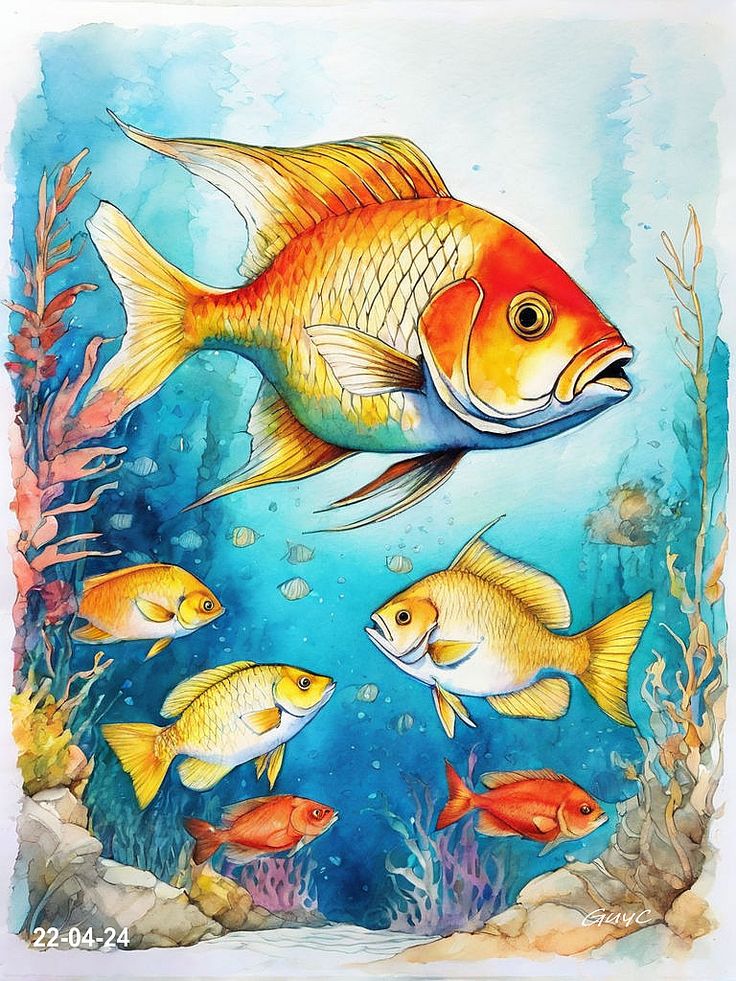
A fish swimming in a blank space is fine, but a fish in its natural habitat tells a story. Adding an environment can significantly elevate your drawing.
- Coral Reef: This is a fantastic setting for colorful fish. Draw vibrant corals, anemones, and other reef life. Focus on contrasting colors and intricate textures.
- Deep Sea: For a mysterious and dramatic vibe, draw a deep-sea environment. Think dark blues and blacks, with bioluminescent creatures and faint light filtering from above. This is great for drawing anglerfish or jellyfish.
- Murky Pond or River: If you’re drawing freshwater fish like bass or catfish, a pond or river setting with reeds, submerged logs, and cloudy water can be very effective. Use muted greens, browns, and grays.
- Underwater Plants: Simple kelp, seaweed, or other aquatic plants can add depth and realism to any underwater scene.
- Bubbles and Light Rays: Don’t forget the small details! Streams of bubbles add movement, and rays of light piercing through the water’s surface can create a magical atmosphere.
Advanced Fish Drawing Challenges: Push Your Limits!
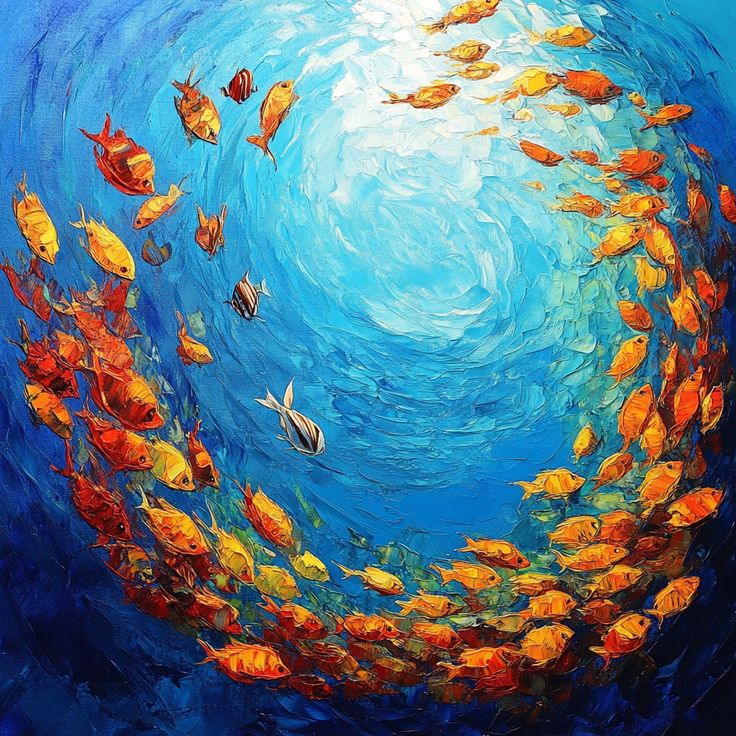
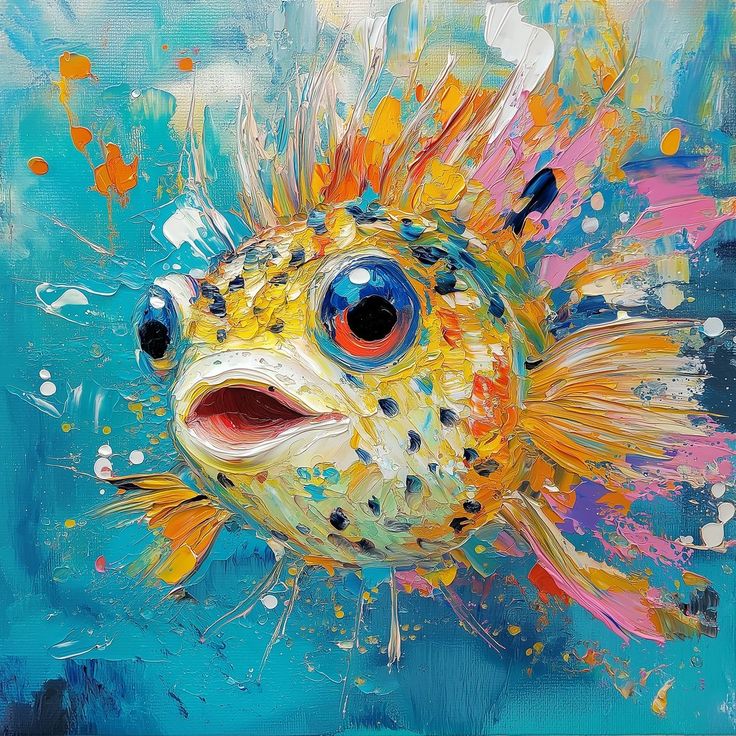
Ready for some serious artistic growth? These ideas will challenge your skills and push your creativity.
- Intricate Scales: Drawing realistic scales can be painstaking but incredibly rewarding. Study different types of scales (cycloid, ctenoid, placoid) and how they overlap. This requires patience and attention to detail.
- Bioluminescence: Many deep-sea fish produce their own light. Experiment with creating glowing effects using bright colors against dark backgrounds, along with subtle blurs and light flares.
- Reflective Surfaces: Drawing fish with highly reflective scales or wet skin can be a challenge. Observe how light bounces off these surfaces and how highlights form.
- Complex Compositions: Instead of a single fish, try drawing a school of fish, or a predatory fish interacting with its prey. This involves understanding perspective, composition, and dynamic interaction.
- Mythical Fish Creatures: Let your imagination run wild! Combine features of different fish, add wings, multiple tails, or human-like elements to create your own fantastical aquatic beings. Think mermaids, sea serpents, or hybrid fish.
Beyond the Pencil: Digital Fish Art
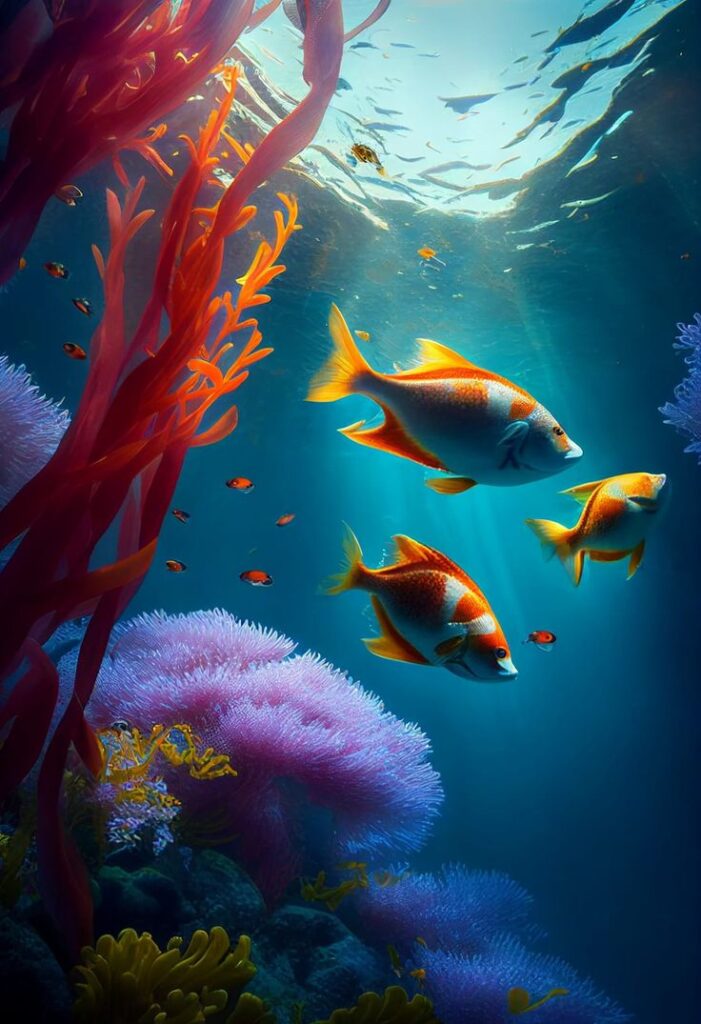
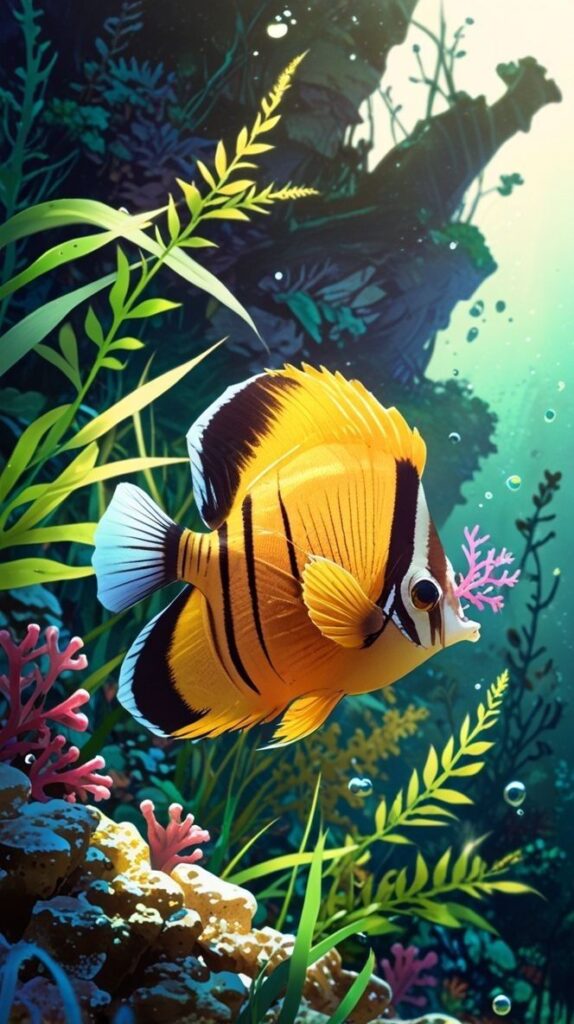
Digital art offers a powerful platform for fish drawing. The ability to layer, blend, and experiment with colors and textures without commitment makes it incredibly versatile.
- Software and Tablets: As mentioned, programs like Procreate (for iPad), Photoshop, Clip Studio Paint, and Krita (free) are excellent choices. Pair them with a pressure-sensitive tablet (Wacom, Huion, XP-Pen) for the best experience.
- Brushes and Textures: Digital art software offers a vast array of brushes. Experiment with brushes that mimic watercolors, oil paints, or even textured surfaces to create unique fish skins or watery effects.
- Layering for Depth: Use layers to build your drawing. Start with a sketch layer, then add base colors on another layer, shading on a third, and highlights/details on top. This non-destructive workflow allows for easy adjustments.
- Animation (Bonus!): If you’re feeling adventurous, many digital art programs also let you create simple frame-by-frame animation. Imagine your fish swimming across the screen!
Practice Makes Perfect (and Fun!)
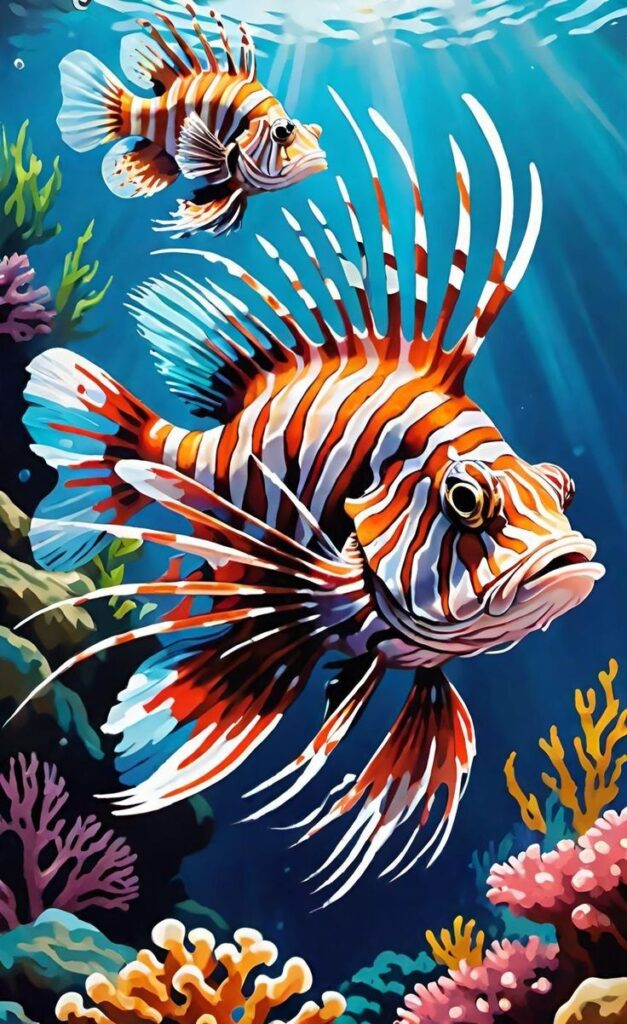
Like any skill, drawing fish improves with practice. Don’t be afraid to make mistakes – they are learning opportunities!
- Draw from Reference: Use photos, videos, or even live aquariums as reference. Observing real fish helps you understand their forms and movements.
- Sketch Regularly: Dedicate a few minutes each day to sketching. Even quick, rough sketches can help you develop your eye and hand-eye coordination. You might even find it helpful to practice general drawing techniques, such as those for hand drawing, to improve your fundamental skills.
- Experiment with Medium: Try different pencils, pens, markers, watercolors, or pastels. Each medium has its own unique qualities and can open up new artistic avenues.
- Join a Community: Share your work online or with friends. Getting feedback can be incredibly valuable, and seeing others’ art can be a massive source of inspiration.
Dive In and Create!
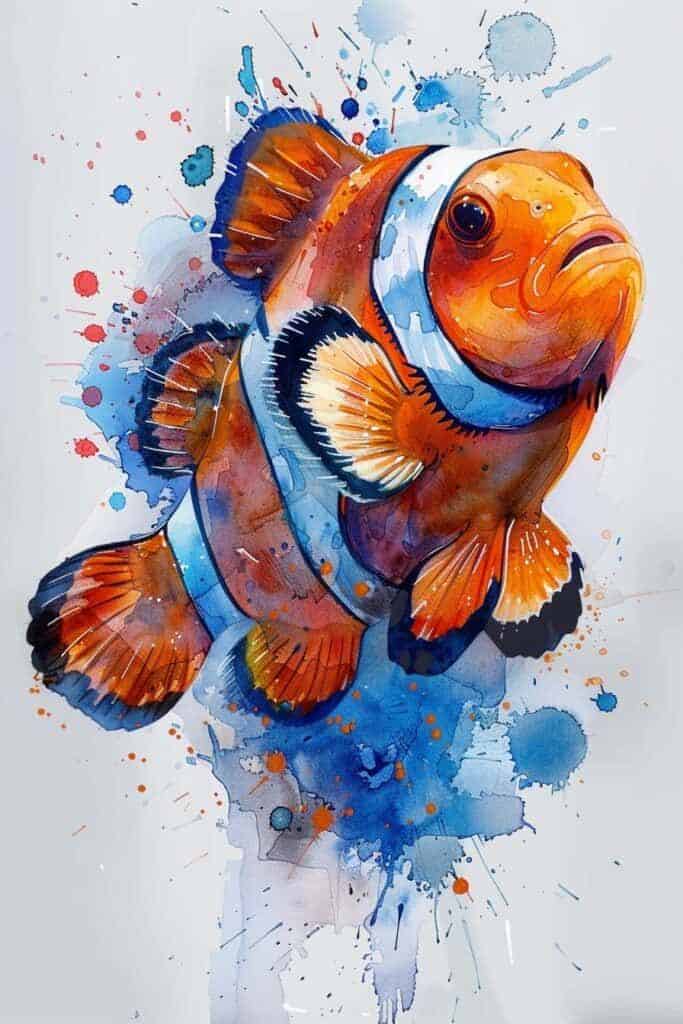
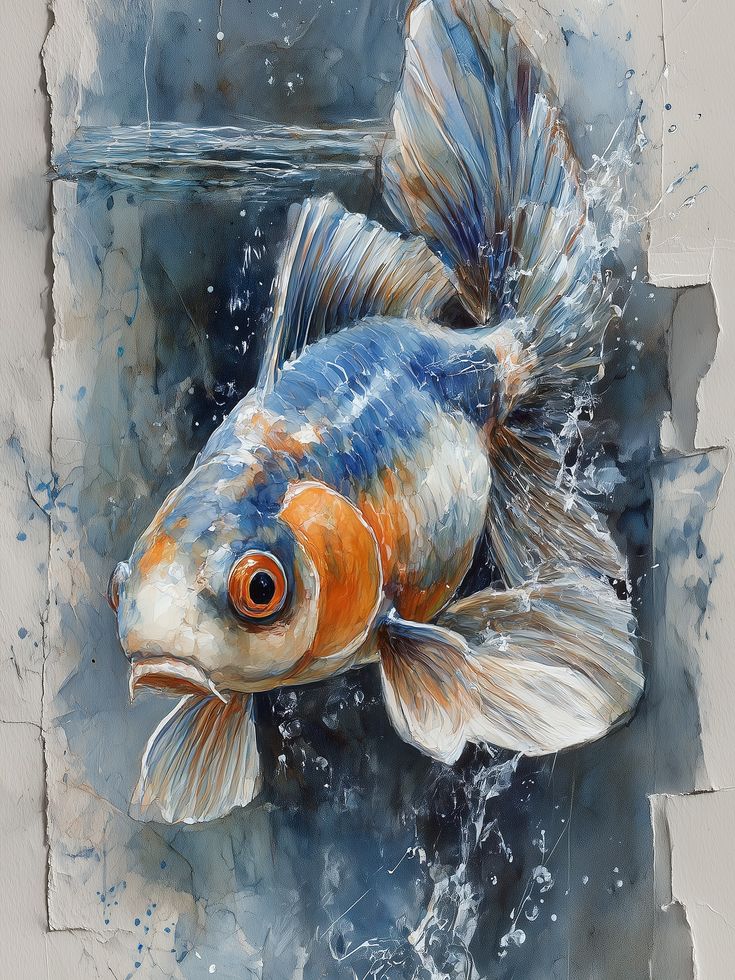
There you have it – a whole ocean of fish drawing ideas to inspire your next masterpiece! From simple goldfish to majestic sharks, the aquatic world offers endless wonder for artists. Remember, art is a journey, not a destination. Embrace the process, enjoy the challenge, and don’t be afraid to experiment. Each stroke of your pencil or brush is a step towards expressing your unique vision.
Pick one fish, one skill, and one medium for your next sketch. A goldfish in pencil is enough for form practice; a clownfish in marker is better for clean pattern work; a koi in watercolor is where movement starts to make sense.


Fish studies can lead naturally into coastal sketchbook pages; these beach sketch ideas add waves, shells, palm trees, and simple shoreline compositions around the ocean theme.
For more ocean mood around your fish sketches, compare them with ocean artists who use waves, ships, light, and sea color as the main subject.
Frequently Asked Questions
What are the easiest fish drawing ideas for beginners?
Simple fish shapes are the easiest place to start. Goldfish, clownfish, betta fish, and cartoon fish work well because their bodies are based on basic ovals and triangles. Start with a side-view fish using one curved body shape, then add fins and scales. A regular HB pencil and sketch paper are enough for practice—no expensive supplies needed.
How do you draw a realistic fish step by step?
Start with the fish’s basic body shape using light construction lines. Add the head, eye placement, fins, and tail before refining details like scales and texture. Pay attention to anatomy—most fish bodies taper near the tail and have fin placement that affects balance. Finish with shading to create shine and depth, especially around the gills and fins.
Why do fish drawings sometimes look flat?
Fish often look flat because beginners skip shading and body curves. Real fish have rounded forms that reflect light differently across their scales. Add darker shading under the belly, near the fins, and around the gills. Leaving small highlights on scales or the eye can instantly make the fish look more three-dimensional.
What pencils are best for fish drawings?
A small pencil set works perfectly. Use an H or 2H pencil for light sketching, HB for outlines, and 2B–4B pencils for shading darker areas like fins or shadows. Brands like Staedtler, Prismacolor, or Faber-Castell are reliable choices, but even affordable student-grade pencils work well for beginner fish sketches.
How long does it take to learn fish drawing?
Most beginners can draw a recognizable fish in about 20–40 minutes on their first try. Realistic fish drawings with scales, shading, and texture usually take 1–2 hours. Improvement happens quickly with repetition—drawing three to five different fish species helps you understand body proportions and fin shapes much faster.
What are common mistakes when drawing fish?
The biggest mistakes are making the body too stiff, placing fins incorrectly, and drawing identical scales everywhere. Fish bodies naturally curve and flow, even when swimming slowly. Another common issue is oversized eyes or tails that feel disconnected from the body. Using reference photos helps fix proportion problems quickly.
What are the best fish species to use as drawing inspiration?
Fish with distinctive shapes and colors make the best references. Clownfish are great for beginners because of their recognizable stripes. Betta fish help practice flowing fins, koi fish work well for graceful movement, and angelfish teach shape variation. If you want realism, studying trout or bass can improve anatomy and texture skills.
Can I use these fish drawing ideas as printable worksheets?
Yes, these ideas translate well into printable worksheets. Use one simple fish outline per page for younger artists, then add a small prompt such as “add three fin shapes” or “shade the belly side.” For older beginners, make a worksheet with four boxes: goldfish for round form, clownfish for stripes, koi for movement, and betta fish for flowing fins.
Can kids try fish drawing ideas too?
Yes. Fish are one of the easiest animals for kids to draw because the shapes are simple and forgiving. Cartoon fish, pufferfish, or smiling aquarium-style fish are fun beginner options. Colored pencils or markers can make the process more engaging, especially when experimenting with bright underwater colors.
Fish studies pair naturally with ocean drawing ideas, especially if you want to build an underwater scene with depth, rocks, coral, and soft blue-green values.
- 2.2Kshares
- Facebook0
- Pinterest2.2K
- Twitter0
- Reddit0