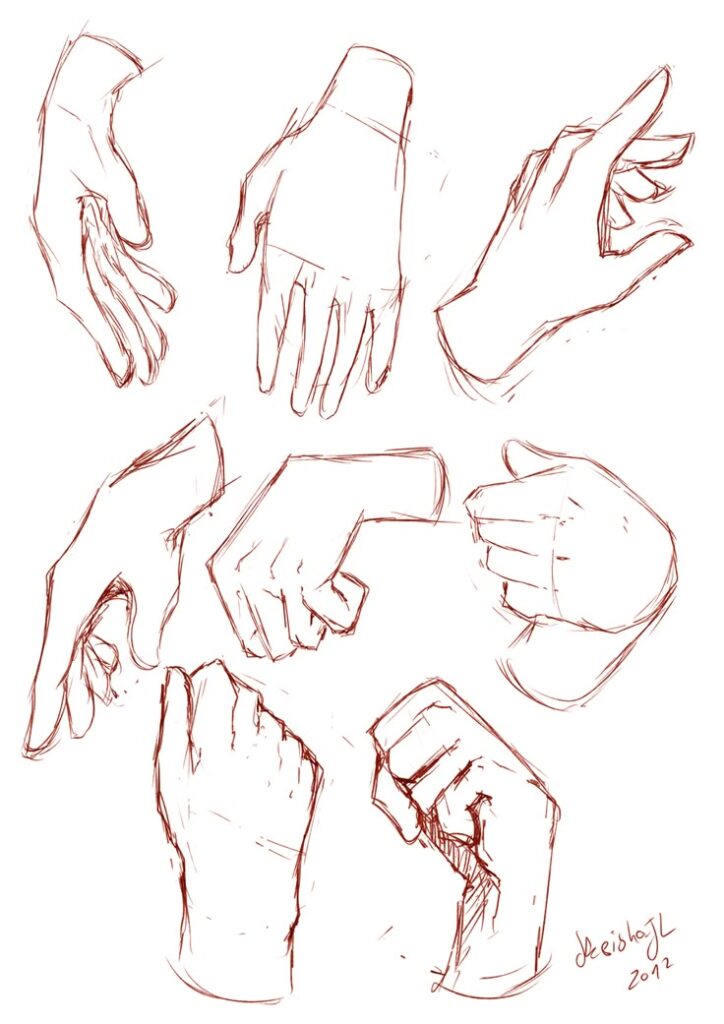
Drawing hands can be challenging, but it’s a skill that can transform your art and help you draw people more naturally. Learning how to draw hands lets you capture gestures, emotions, and movement in ways that make your drawings more realistic and expressive. Whether you’re a beginner or want to improve your technique, understanding the structure and how fingers and palms move together makes a big difference.
With the right materials and a few simple techniques, you can practice drawing hands from different angles and in various gestures. Breaking down the hand into basic shapes helps you build confidence before adding details like knuckles and nails.
Key Takeaways
- You’ll discover what makes hand drawing unique and important.
- You’ll get practical tips for drawing hands confidently.
- You’ll find ideas to use your skills in creative projects.
Understanding Hand Drawing
Mastering hand drawing builds a foundation for capturing gesture, emotion, and proportion in your artwork. Knowing the basics, the reasons behind its importance, and common techniques can help you create more natural and compelling sketches.
What Is Hand Drawing?
Hand drawing involves creating artistic representations using pens, pencils, or other drawing tools, rather than digital devices. It’s often the first method you use to practice and refine your skills, serving as the groundwork for larger pieces or digital artwork.
You work with lines, shading, and form to translate what you see or imagine onto paper. Hand drawing lets you experiment freely with structure and movement without technological constraints.
This approach can range from quick sketches to detailed illustration. By building confidence through regular manual practice, you develop muscle memory and a personal drawing style.
Importance in Art and Illustration
Hand drawing is essential for learning the fundamentals of proportion, structure, and anatomy. Drawing hands, in particular, challenges you to observe the relationship between the palm, thumb, and fingers, which can help strengthen your overall understanding of form.
It also helps you capture expressive gestures that bring life to your artwork. Artists often use hand studies to improve their ability to depict movement and emotion in their figures.
A well-drawn hand can reflect a character’s mood or intention. Practicing hand drawing is a valuable exercise for illustrators, animators, and graphic artists who need to convey believable poses.
Common Techniques and Approaches
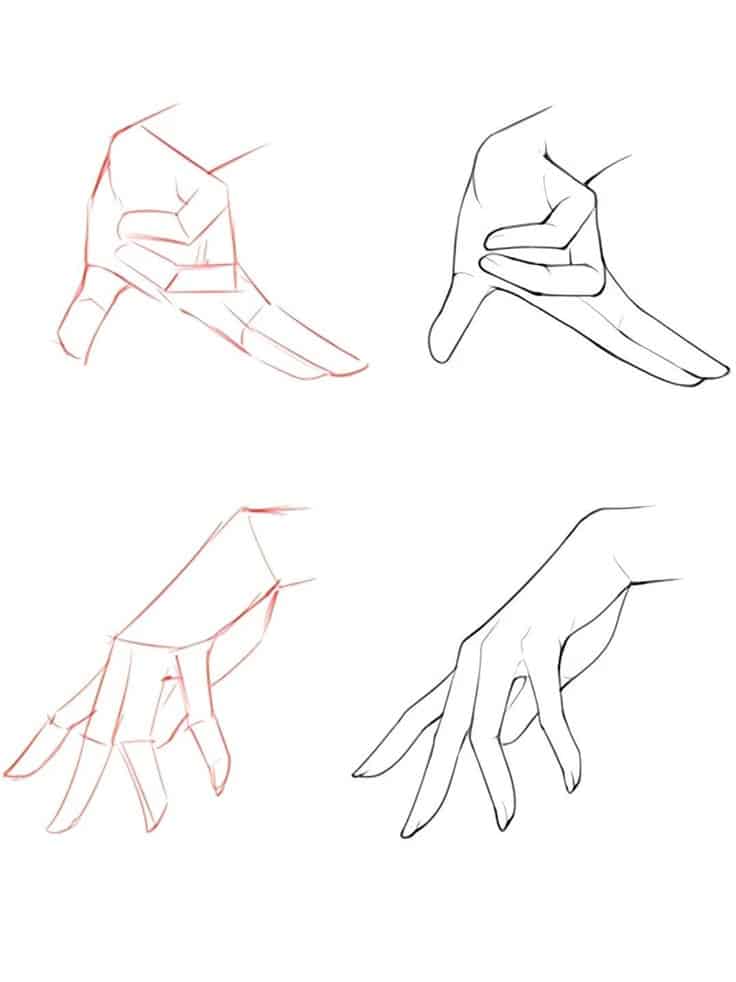
Many artists begin by blocking out the hand’s general shape using basic forms like squares or rectangles for the palm. Breaking the hand down into simple shapes makes it easier to sketch proportions accurately.
You can use these step-by-step approaches:
- Basic Bone Structure: Sketch the underlying bones to map out finger positions.
- Knuckle Placement: Mark knuckle locations to keep fingers properly aligned.
- 3D Shapes for Fingers: Draw cylinders or boxes for each finger segment, adding volume to the form.
Experiment with different pencils and shading to create depth and highlight muscle groups. Studying anatomy and practicing with real-life references will make your sketches more realistic and expressive.
Essential Materials and Tools
Getting started with hand drawing is much easier when you have the right materials. The quality of your supplies can affect both your drawing experience and your finished artwork, from how lines appear on paper to how cleanly you can erase.
Choosing the Right Pencils and Paper
The foundation of any drawing kit is a set of quality pencils and reliable paper. Graphite pencils come in a range of hardness levels, such as 4H, 2H, HB, 2B, and 4B. Each grade produces different shades and line textures, so having a small selection lets you experiment with both light sketches and deeper, darker lines.
For paper, a sketchbook with sturdy, acid-free pages is a solid choice. Heavier paper (about 70-100 lb.) resists wear from erasing and repeated drawing. Smooth paper works well for detailed pencil work, while textured (tooth) paper is excellent for charcoal or expressive lines.
A simple chart can help:
| Pencil Grade | Best Use |
|---|---|
| 4H – 2H | Light lines, details |
| HB | Everyday sketching |
| 2B – 4B | Shading, bold lines |
Using Erasers Effectively
Erasers are just as important as pencils in your kit. A standard rubber eraser is useful for clearing large areas, while a kneaded eraser can be shaped to erase tiny highlights or make gentle corrections. Kneaded erasers also help to avoid smudging and can remove graphite without damaging the paper.
For more precise work, a plastic or vinyl eraser leaves clean edges. Some artists use pencil-style erasers for fine details. Keep your erasers clean by gently kneading or wiping them on a scrap piece of paper so debris from previous drawings doesn’t smudge your new work.
Eraser types and uses:
- Kneaded: Lifts graphite gently, good for highlights.
- Vinyl/Plastic: Sharp and clean erasing.
- Standard rubber: General use, best for larger areas.
Exploring Additional Drawing Tools
Beyond pencils and erasers, a few other materials can expand what you create. Charcoal sticks and conté crayons offer rich, dramatic lines and shading options that pencils alone can’t provide. Colored pencils and watercolor pencils bring color into your sketches, letting you experiment with both dry and wet techniques.
A reliable pencil sharpener keeps your drawing points precise. Consider both manual and battery-powered sharpeners—each one gives a different point. You might also find blending stumps useful for smudging and soft transitions between tones.
Keep your tools organized in a portable case or pencil roll. This makes it easy to sketch on the go and ensures your supplies stay in good condition between sessions.
Techniques for Drawing Hands
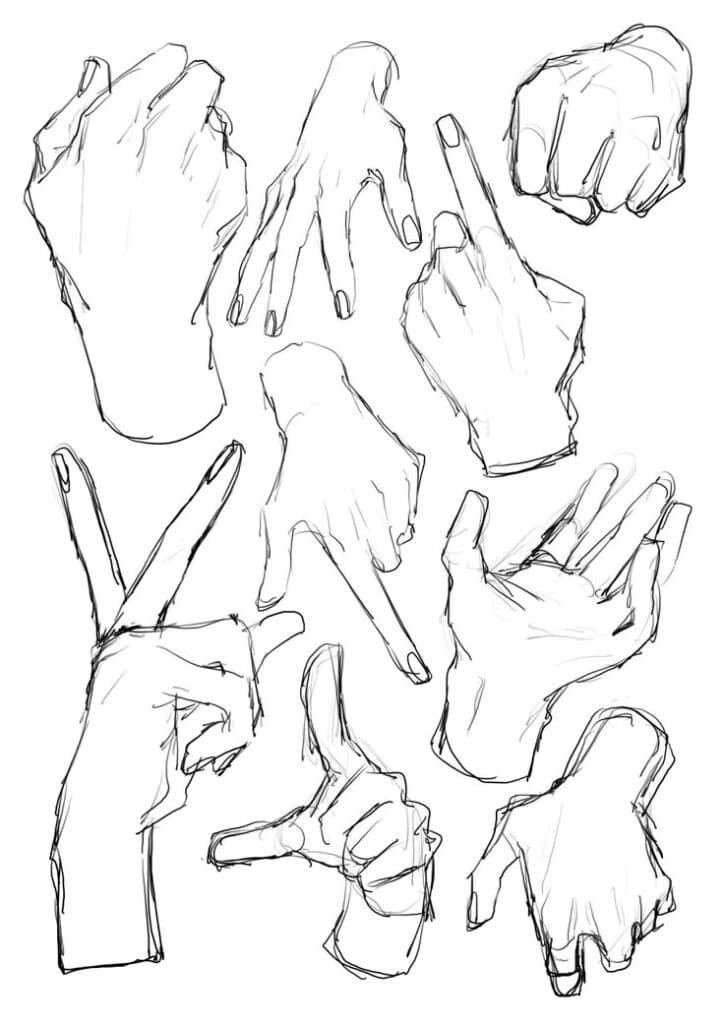
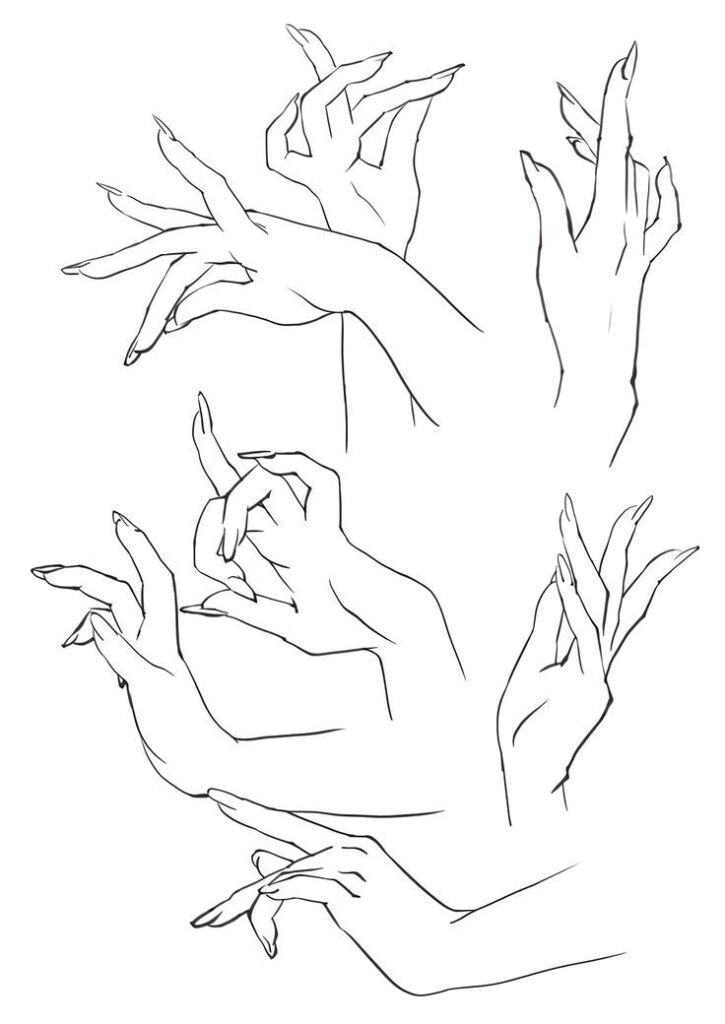
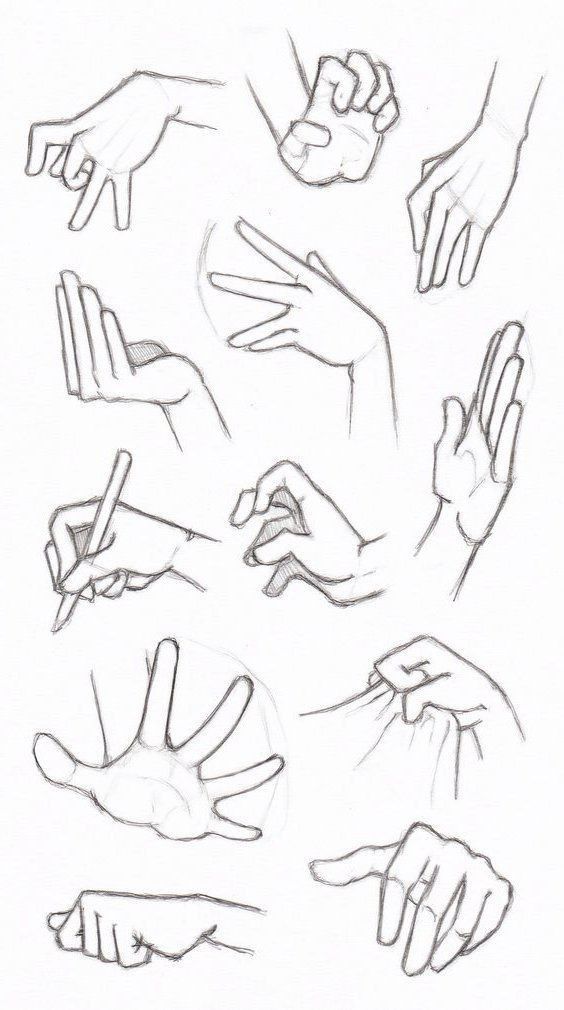
Mastering hand drawing takes patience, observation, and a focus on both form and detail. You’ll need to understand hand anatomy, practice breaking down complex shapes, and use contour lines for accurate definition.
Studying Anatomy and Structure
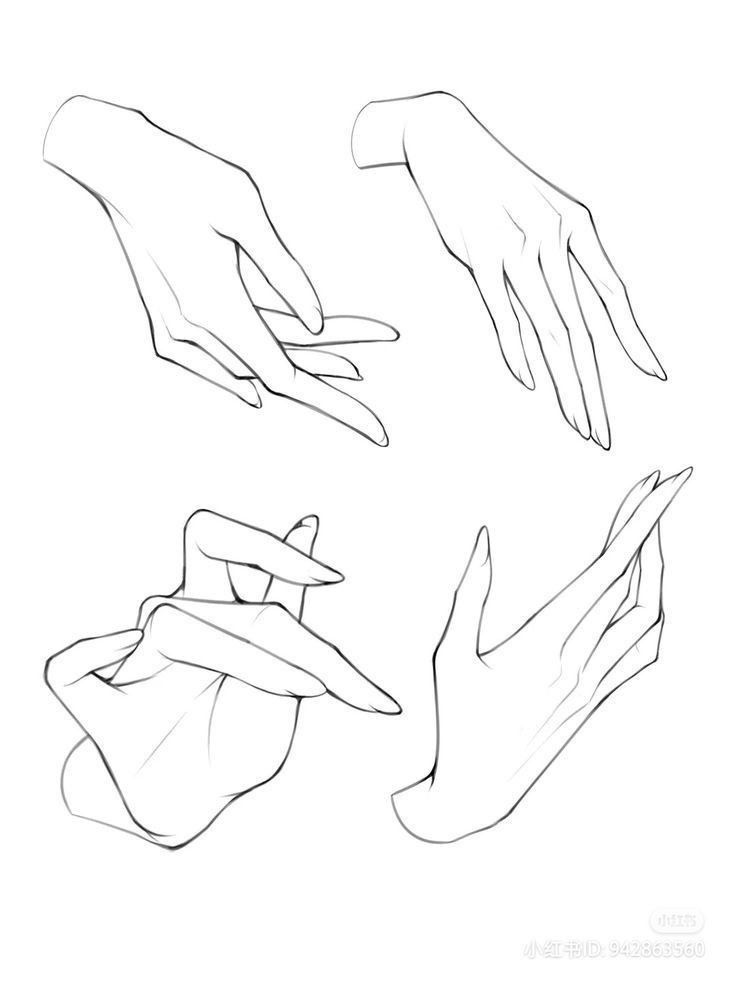
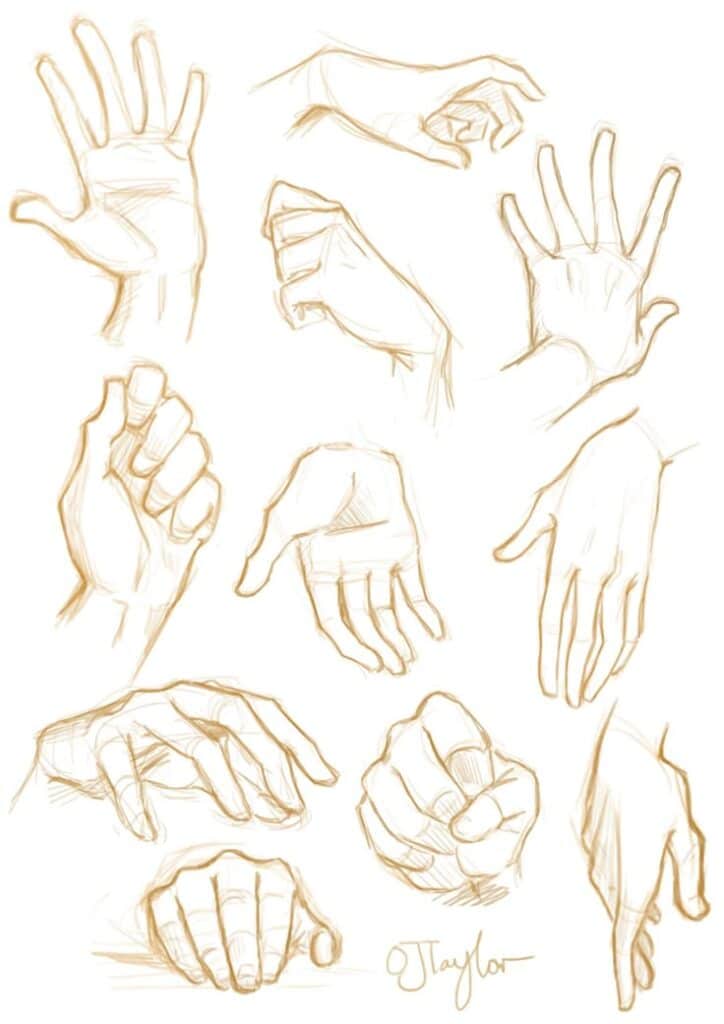
When you start drawing hands, it’s essential to pay attention to the basic structure. Hands can be simplified into geometric shapes such as boxes for the palm and cylinders for the fingers. This makes it easier to establish proportion and orientation.
Breaking the hand into parts can help. Try sketching the palm as a flat box, then add in the thumb and fingers as tubes or blocks. Notice that the fingers are not all perfectly straight or the same length; they arch and fan out from one point.
Focus on joint placement. The knuckles and finger joints don’t line up exactly; they follow a soft arc. Using basic shapes and keeping the underlying bone and muscle structure in mind will help make your hands look natural.
Drawing Knuckles and Fingers
Knuckles are prominent and influence the shape of the hand significantly. When the hand bends or clenches, the knuckles create ridges and changes in the skin. Be sure to observe the way each finger bends at three joints: the base, middle, and tip.
To draw convincing fingers, divide them visually or with light lines into three segments for each joint. Avoid drawing fingers too stiff; allow them to curve or spread out naturally. Notice how the knuckles don’t form a perfectly straight line but an uneven arc, with the middle finger’s knuckle being usually the highest.
Tip: When sketching, start with light guidelines for finger placement and knuckle height. This helps you adjust the position and length before finalizing the drawing.
Using Contour Lines
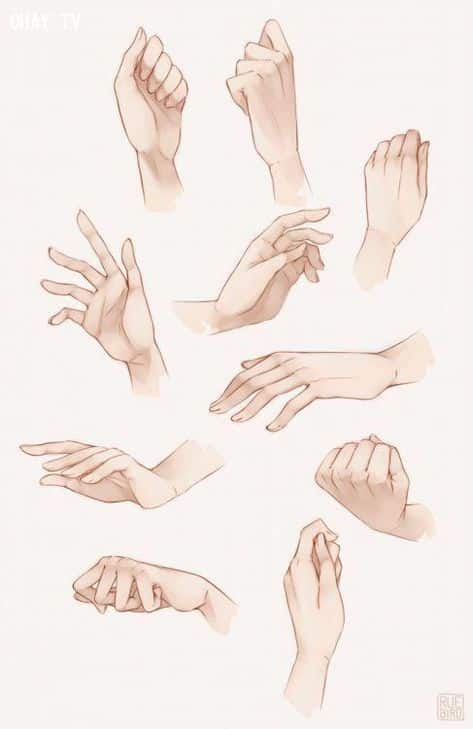
Contour lines are essential for defining the three-dimensional form of hands. Start with an outline, but don’t forget to add internal contour lines to indicate wrinkles, creases, and changes in the surface.
Use contour lines to show where the fingers bend and where the palm folds. These lines help describe the hand’s motion and volume, making your drawing feel more lifelike. Pay special attention to the contours around the knuckles and along the side of each finger.
For added clarity, try wrapping curved lines around the fingers and palm lightly to indicate roundness. Keep your lines clear but not overly harsh—hands have soft curves and subtle details that are best suggested with gentle contouring.
Creative Applications and Projects
Hand drawing offers engaging ways to capture the connections between people. You can use it to express emotions, relationships, and even create collaborative artwork with friends or family. This section gives you practical ideas that make your drawings more meaningful and personal.
Drawing Couples and Gestures
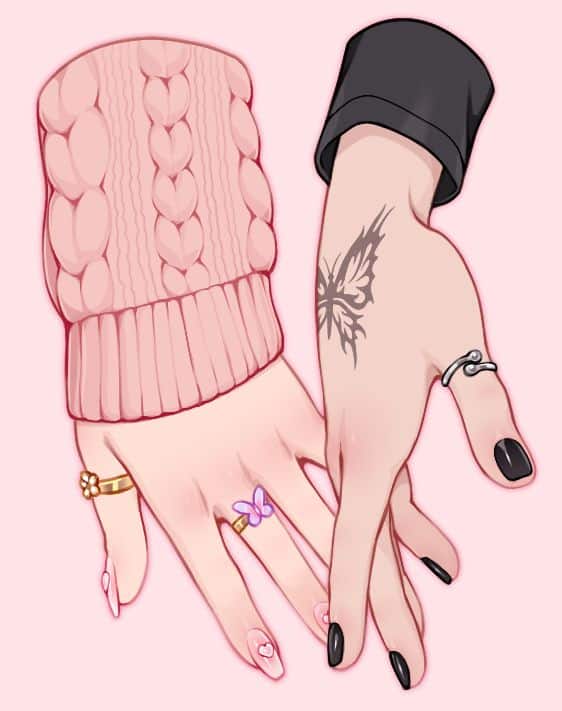
Drawing hands as a couple highlights interaction and intimacy. You can show two hands gently touching, holding, or intertwining fingers. This approach emphasizes connection, making your sketches more expressive.
Key points to focus on:
- Study reference photos or real-life hands for accuracy.
- Pay attention to gesture lines and the curves formed by overlapping fingers.
- Experiment with different poses, such as a supportive grasp or a playful touch.
When illustrating couples, subtle differences in size or detail can help represent each person. Shading and line weight also let you express emotion—soft, light lines convey tenderness, while stronger strokes can suggest passion or strength.
Try creating a series that explores a range of gestures. You can frame a handshake, a supportive squeeze, or a pinky promise. Use various drawing tools or experiment with mixed media to enhance your work.
Family and Group Hand Drawings
Family hand drawings often capture the idea of togetherness. Some popular options include tracing each family member’s hand and layering them on one sheet, then filling each outline with different colors or patterns.
This technique lets you easily compare hand sizes and shapes, showcasing both individuality and unity. It’s especially popular for children’s art projects or as a keepsake for special occasions.
Try using labels or initials within each hand outline to make the drawing personal. You can even create a timeline by tracing hands at different ages, showing growth over time.
For larger groups, arrange hands in a circle or overlapping pattern. Techniques like collage or watercolor washes add visual interest and can symbolize relationships within the group. This approach works well for classroom, community, or extended family artwork.
Hand Drawing for Kids
Hand drawing is a great way for kids to explore creativity, build fine motor skills, and have fun. With simple materials and guided activities, you can help your child enjoy the process while learning the basics of drawing hands.
Fun Activities and Classes
Kids enjoy drawing when the activities are engaging and age-appropriate. Try tracing your hand on paper and turning it into animals or imaginative creatures—add feathers, faces, or hats for extra fun.
Painting handprints is popular with younger children. You can create cards, posters, or even family art projects using colored paints and large sheets of paper. Some art classes and online tutorials offer step-by-step guides for kids to practice drawing hands by using simple shapes and blocks.
Joining a children’s art class or group can help your child learn techniques through play. Many community centers and online platforms offer courses focused on hand drawing for different age groups. These classes often include interactive activities to make drawing hands both educational and enjoyable.
Tips for Young Artists
Start with basic shapes like ovals and rectangles to sketch the palm and fingers. This helps break down the drawing process into simple steps even for young kids.
Encourage your child to look at their own hands while drawing. Observing details like finger length, nails, and where the fingers bend makes the picture more realistic. Use soft pencils and big sheets of paper to make erasing and changes easy.
Short, gentle practice sessions work best for most children. Try setting aside 10-15 minutes for drawing activities to keep your child interested without getting frustrated. Celebrate finished drawings by displaying them on a wall or sharing them with friends and family for encouragement.
- 358shares
- Facebook0
- Pinterest358
- Twitter0
