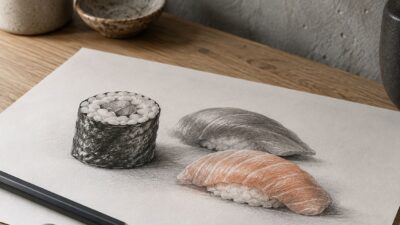
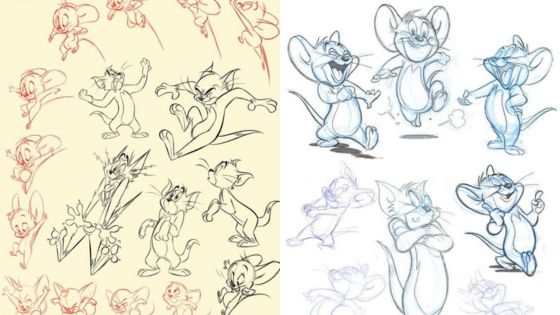
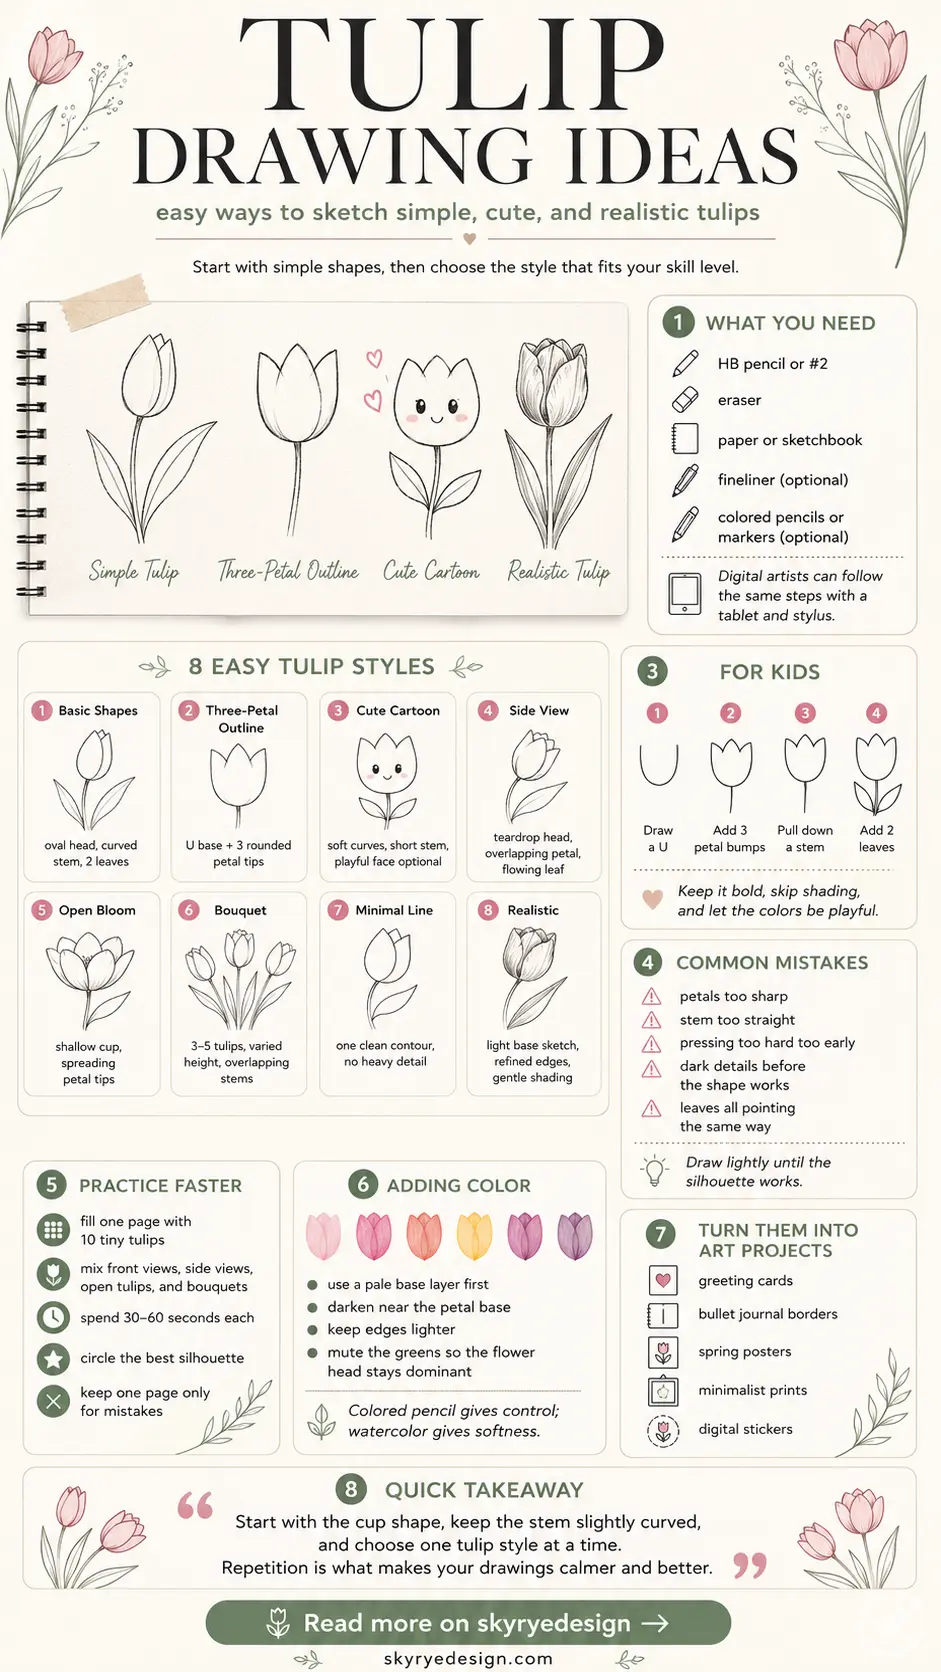
Tulip drawing ideas work best when you stop thinking about the flower as a perfect symbol and start seeing it as a cup, a few soft petal edges, a flexible stem, and two long leaves. That simple structure is enough for an easy tulip drawing, a cute cartoon flower, a clean line-art sketch, or a more realistic botanical study.
I usually teach tulips as a shape exercise first: draw lightly, compare the petal angles, and do not press hard until the silhouette feels right. If the flower head tilts a little, keep it. Real tulips rarely stand like rigid icons, and that small lean often makes the sketch feel more alive.
Use this guide as a visual menu. Pick one tulip sketch idea, copy the basic construction, then change the color, petal opening, or leaf direction so the drawing starts to feel like yours.
- How to draw a tulip step by step
- Tulip drawing ideas by style
- What you need before you start
- 1. The simplest tulip: drawing with basic shapes
- 2. Easy tulip outline with three petals
- 3. Cute tulip drawing for kids and stickers
- 4. Side-view tulip sketch
- 5. Open tulip with simple petal layers
- 6. Tulip bouquet drawing
- 7. Minimalist tulip line drawing
- 8. Realistic tulip drawing for beginners
- 9. Tulip drawing for kids
- Easy tulip drawing using numbers or letters
- Common mistakes when drawing tulips
- How to practice tulip sketches faster
- Adding color to tulip drawings
- Turning tulip drawings into art projects
- Further drawing practice and sources
- Final tips for drawing tulips easily
- Tulip drawing FAQ
- What is the easiest way to start a tulip drawing?
- How do you draw a tulip step by step for beginners?
- What makes an easy tulip drawing look more realistic?
- Can kids draw tulips without a full tutorial?
- What colors work best for tulip sketches?
- How do you make a tulip line drawing look elegant?
- What should I practice after a simple tulip drawing?
How to draw a tulip step by step
To draw a tulip step by step, begin with a light U-shaped flower cup, add two or three rounded petal tips, then pull a gently curved stem down from the center. Sketch one leaf hugging the stem and another leaf leaning outward.
Refine the petal edges, erase only the construction lines you no longer need, and add soft shading at the petal base. This simple process keeps the tulip readable while leaving room for cartoon, line art, watercolor, or realistic pencil styles.
Tulip drawing ideas by style
| Style | Best for | What to watch |
| Simple tulip outline | Beginners, kids, warmups | Keep the flower cup wide enough |
| Tulip line drawing | Minimalist art, cards, tattoos | Use confident curves, not scratchy lines |
| Cute tulip drawing | Planners, stickers, classroom art | Round the petals and simplify the leaves |
| Realistic tulip sketch | Pencil practice and botanical studies | Build value slowly at petal folds |
| Tulip bouquet drawing | Composition practice | Vary the stem heights so the group breathes |
What you need before you start
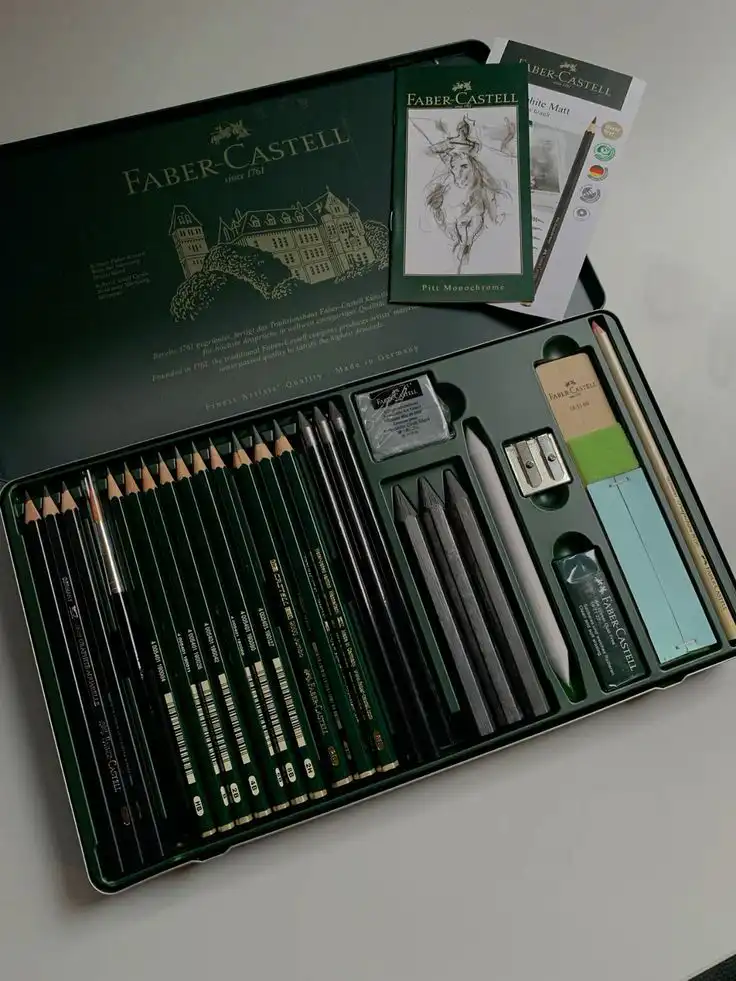
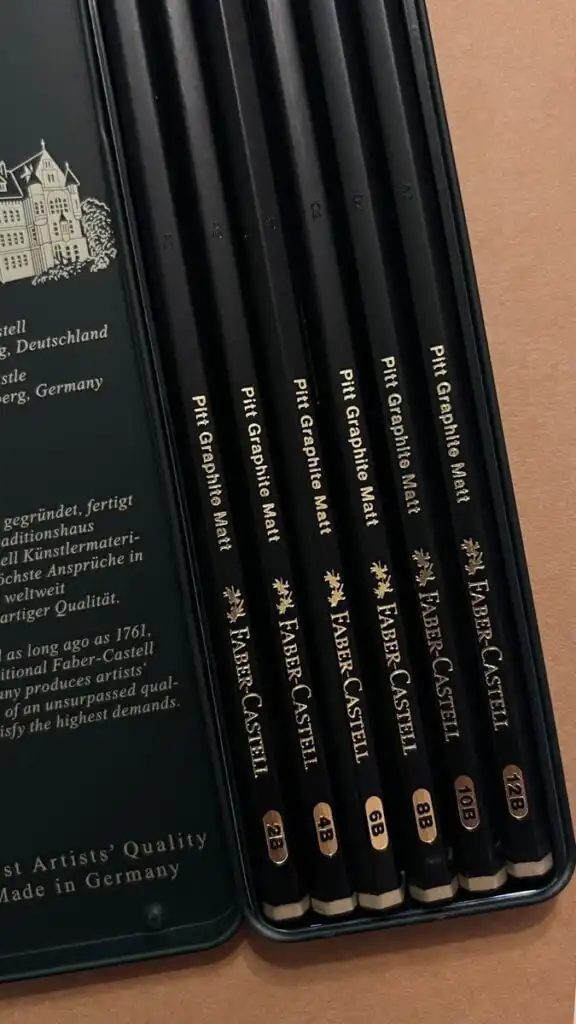
You do not need a serious studio setup for these tulip drawing ideas. A basic HB pencil, a soft eraser, ordinary sketch paper, and one black fineliner are enough. Colored pencils, markers, watercolor, or a tablet are optional; the drawing should work in plain graphite first.
- HB or 2B pencil for the first sketch
- Kneaded or vinyl eraser
- Sketchbook paper that can handle light erasing
- Black pen or fineliner if you want crisp line art
- Colored pencils, markers, or watercolor for the final pass

For the first pass, keep your wrist loose and your lines pale. Tulip petals are soft, so a heavy construction line can make the flower look stiff before you even begin shading.
1. The simplest tulip: drawing with basic shapes
This is the best starting point for a first tulip sketch. Think of the flower head as an egg or cup shape, then let the petals break that outline instead of drawing every petal separately from the beginning.
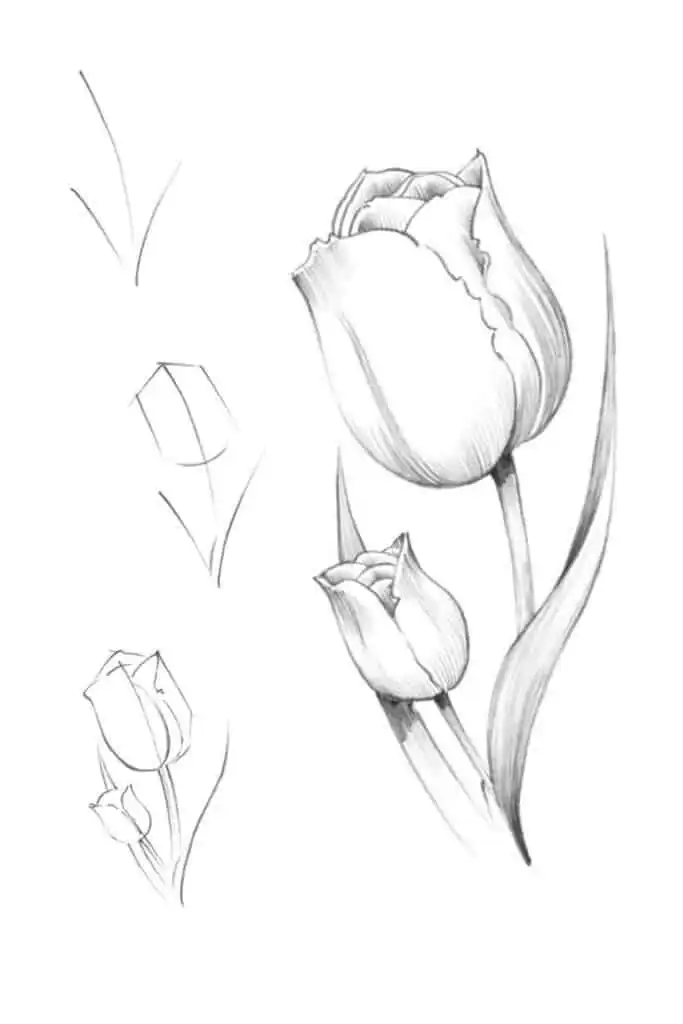
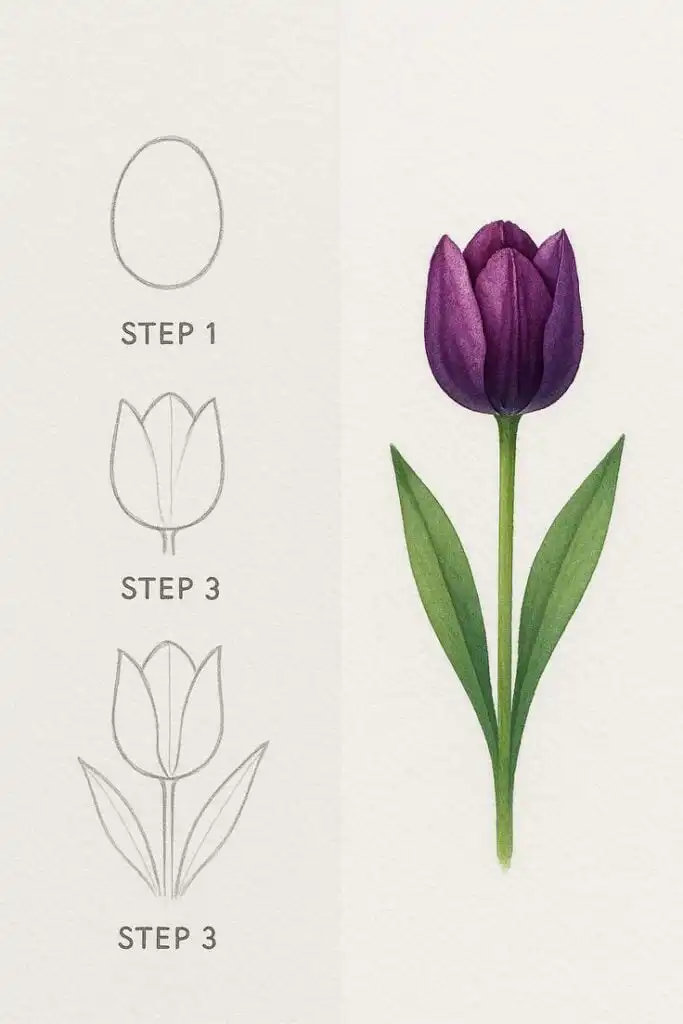
- Draw a light oval or cup shape for the flower head.
- Add a short, slightly curved stem.
- Place two long leaves on opposite sides of the stem.
- Cut the top of the oval into two or three soft petal curves.
The point is not detail. The point is a clear silhouette. Once the cup, stem, and leaves read as a tulip, the drawing already works.
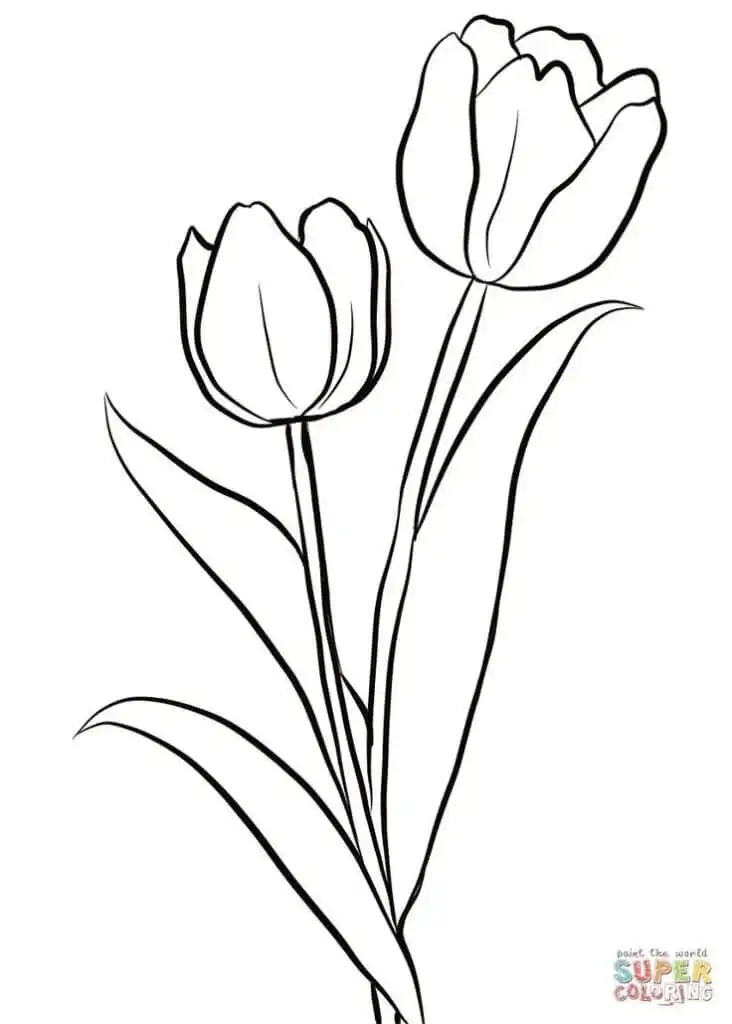
2. Easy tulip outline with three petals
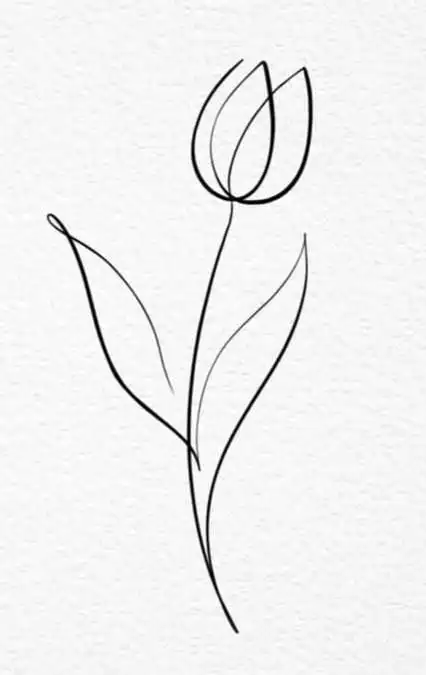
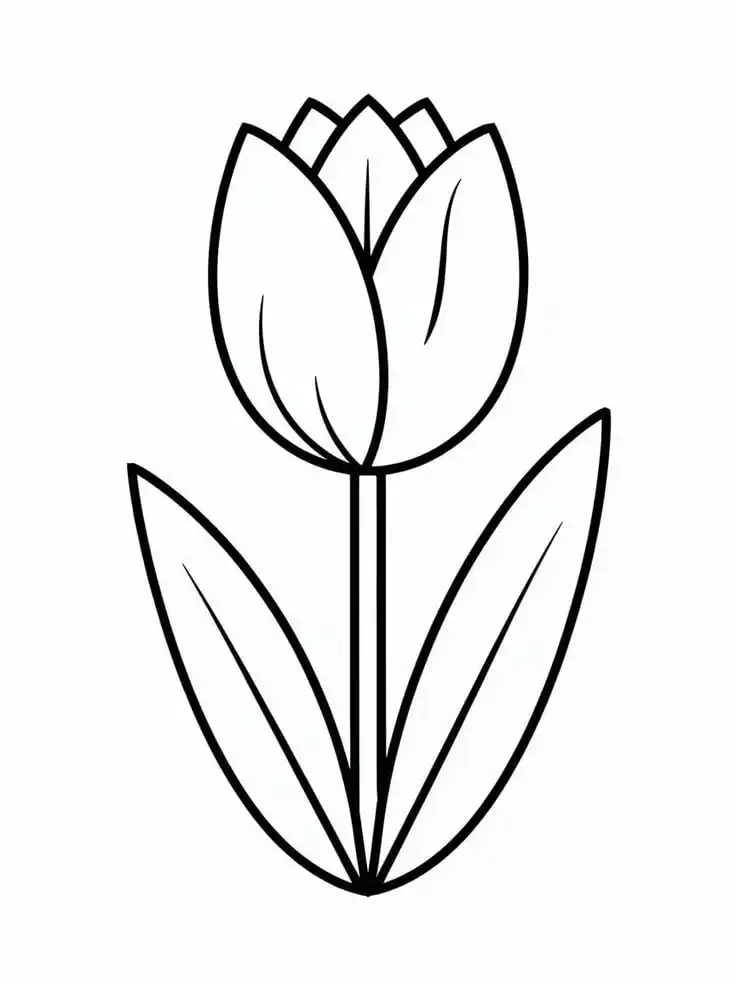
A three-petal outline is the classic easy tulip drawing. It gives the flower enough structure to feel intentional while staying simple enough for a sketchbook warmup.
- Draw a U-shaped curve for the lower flower cup.
- Add a taller middle petal and two lower side petals.
- Connect the petal curves back into the cup.
- Add a stem that bends slightly, then place two pointed leaves.
If the middle petal is too sharp, soften it. Tulips have a firm structure, but their petal edges still feel rounded and slightly folded.
3. Cute tulip drawing for kids and stickers
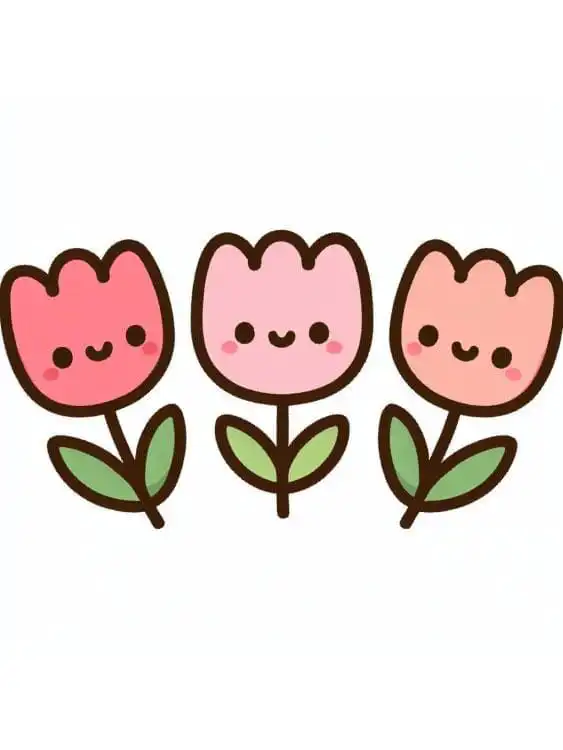

A cute tulip drawing works because it simplifies everything: big petals, short stem, cheerful face, and bold color. This is the version I would use for planners, classroom art, small stickers, and quick greeting cards.
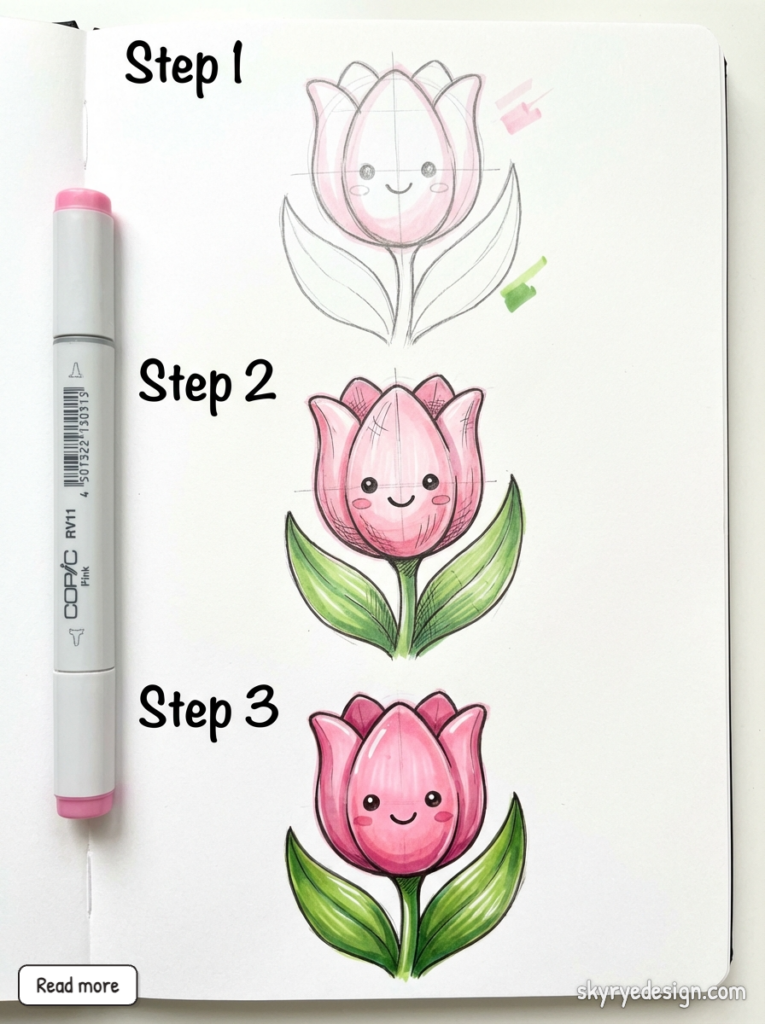
- Draw a small rounded flower head.
- Make the petal tips oversized and soft.
- Add a short stem and two simple leaves.
- Add a tiny face only after the flower shape reads clearly.
Keep the line weight even. Cute drawings can look messy fast when the outline changes from thin to thick without a reason.
4. Side-view tulip sketch
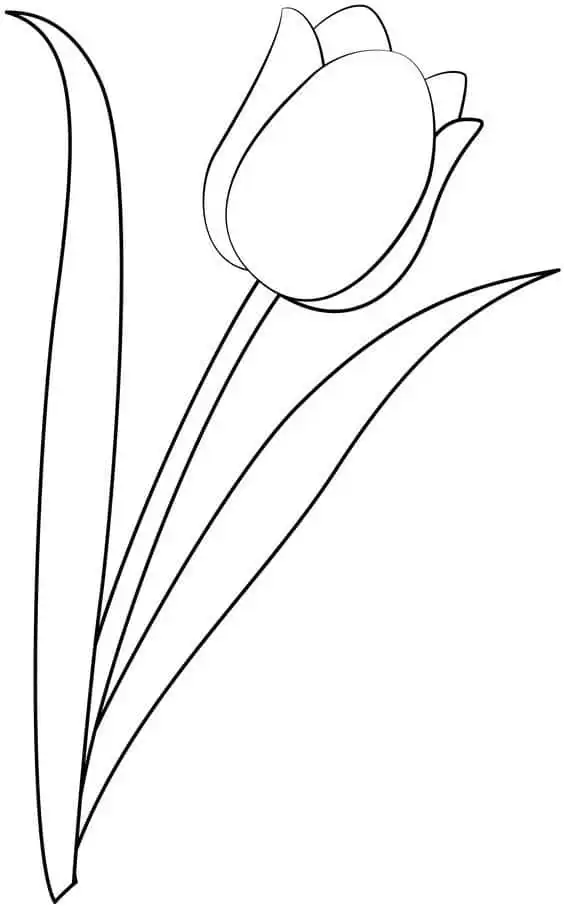
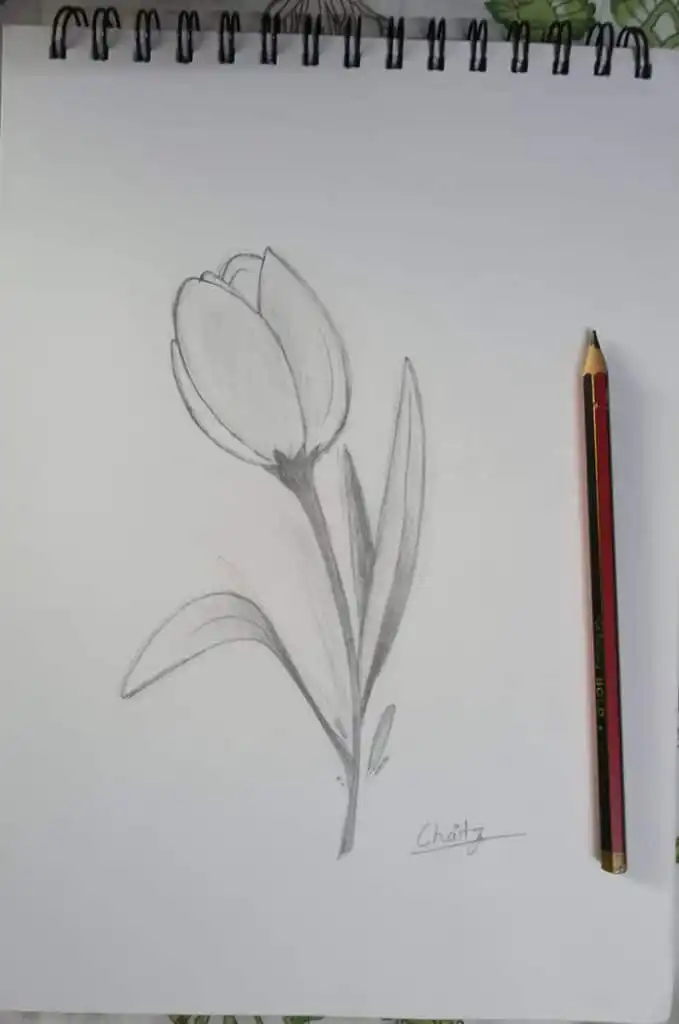
A side-view tulip sketch is useful when front-facing flowers start to feel repetitive. Tilt the flower head first, then let the stem follow that movement.
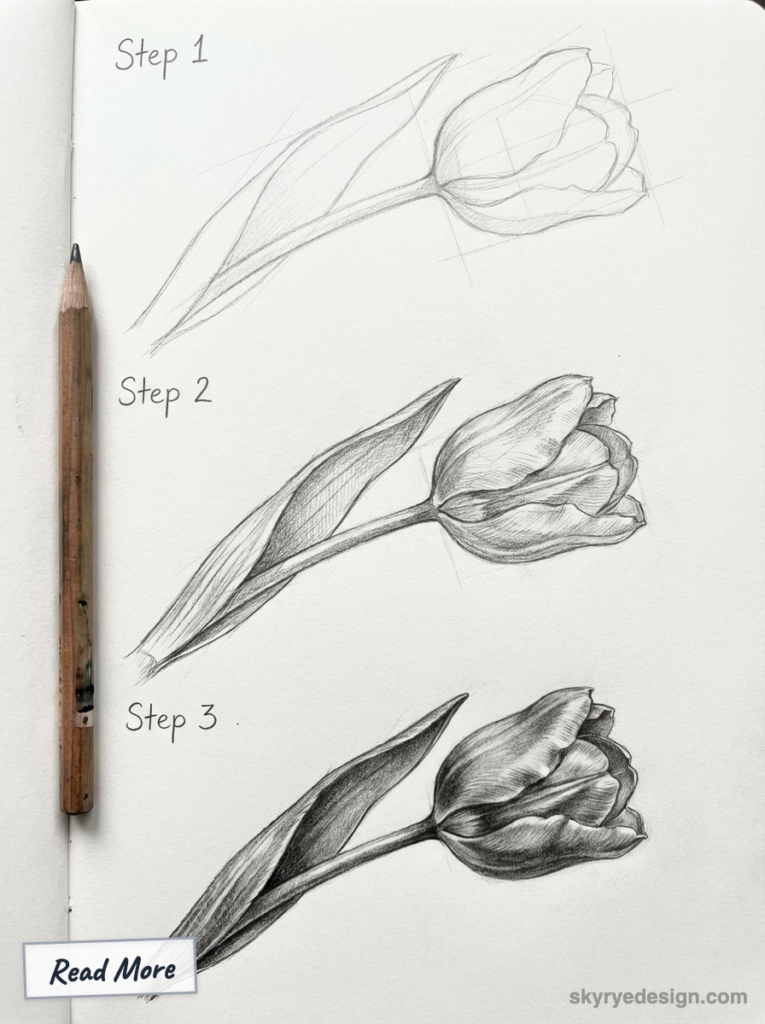
- Sketch a tilted teardrop shape for the flower.
- Add one front petal crossing over the cup.
- Pull the stem downward in a soft curve.
- Let one leaf sweep away from the stem.
The small overlap on the front petal is what sells the angle. Without it, the drawing can look like a flat logo instead of a flower turning in space.
5. Open tulip with simple petal layers
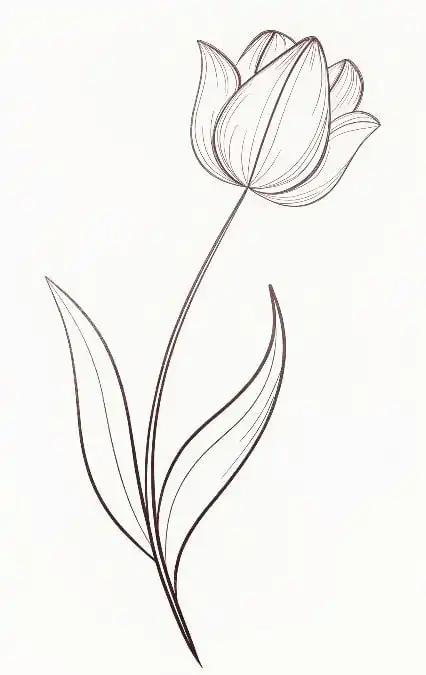
An open tulip gives you more petal rhythm without becoming complicated. Start with a shallow cup, then spread the petal tips outward like small waves.
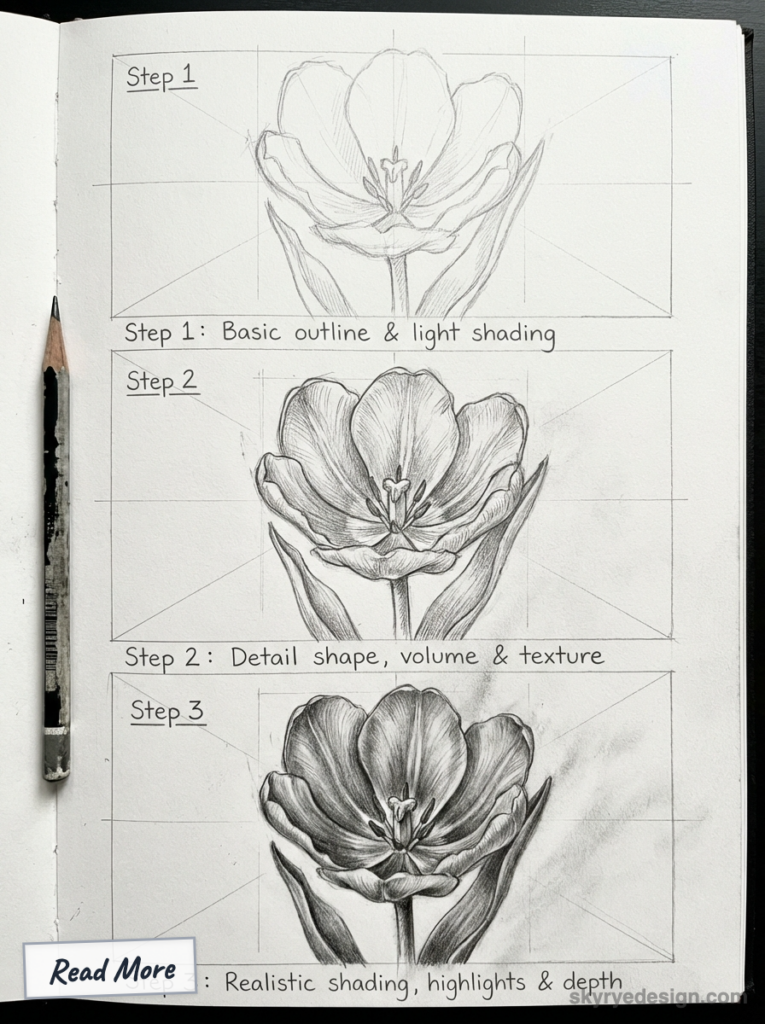
- Draw a shallow cup shape.
- Add three to five petal tips spreading outward.
- Overlap one petal slightly in front of another.
- Shade lightly where petals tuck into the base.
This is a good place to slow down. In academic drawing, small overlaps matter because they tell the viewer which petal sits in front.
6. Tulip bouquet drawing
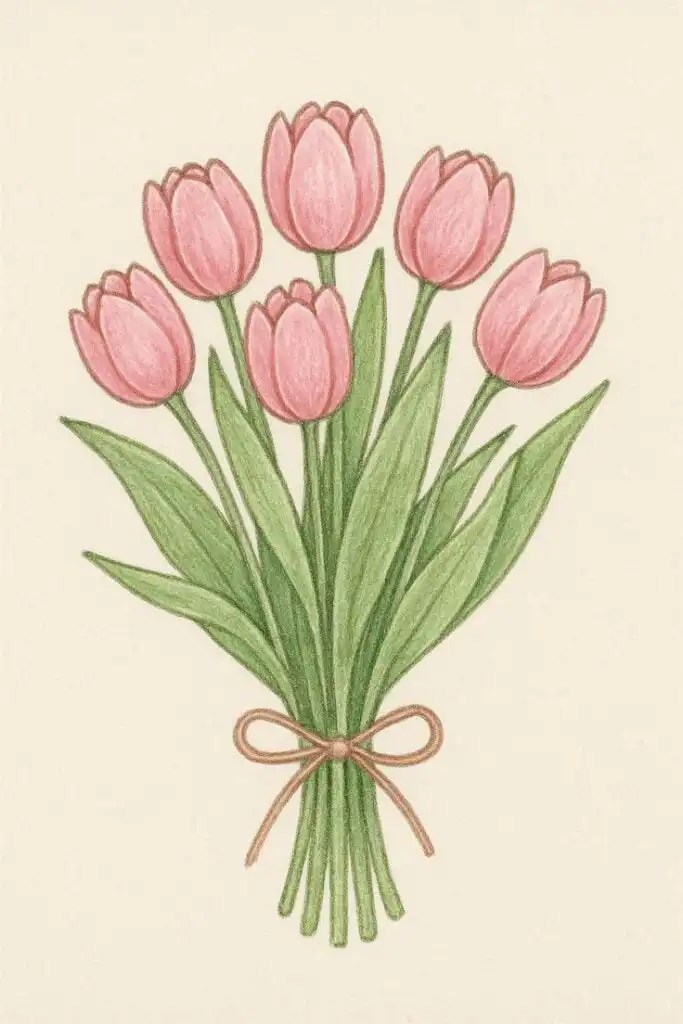
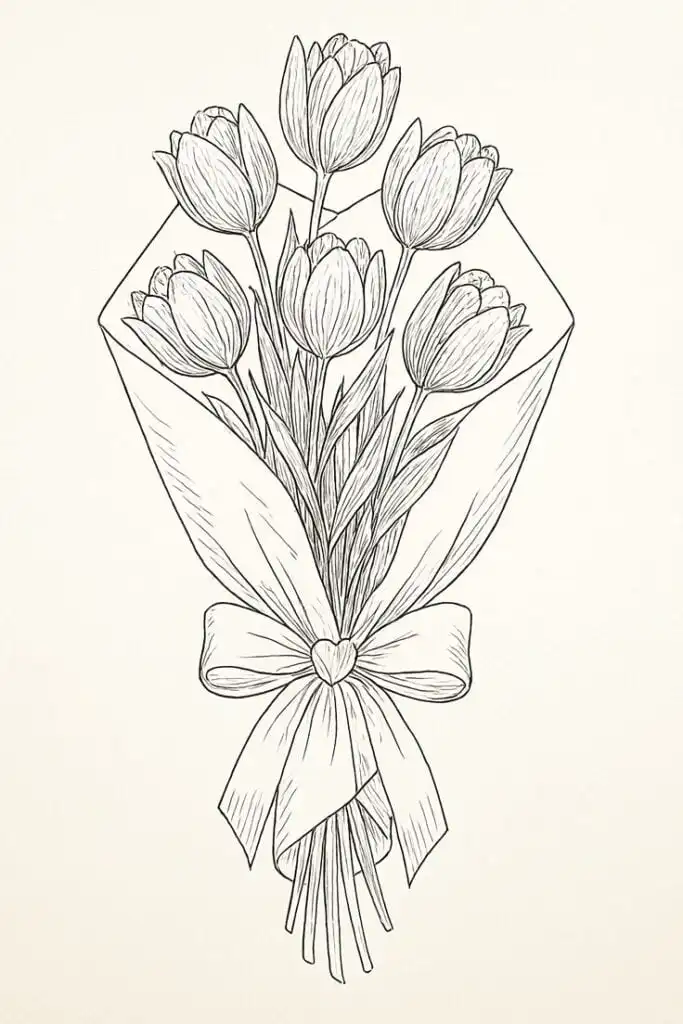
A tulip bouquet drawing is mostly a spacing exercise. Use the same simple flower head several times, but change height, tilt, and leaf direction.
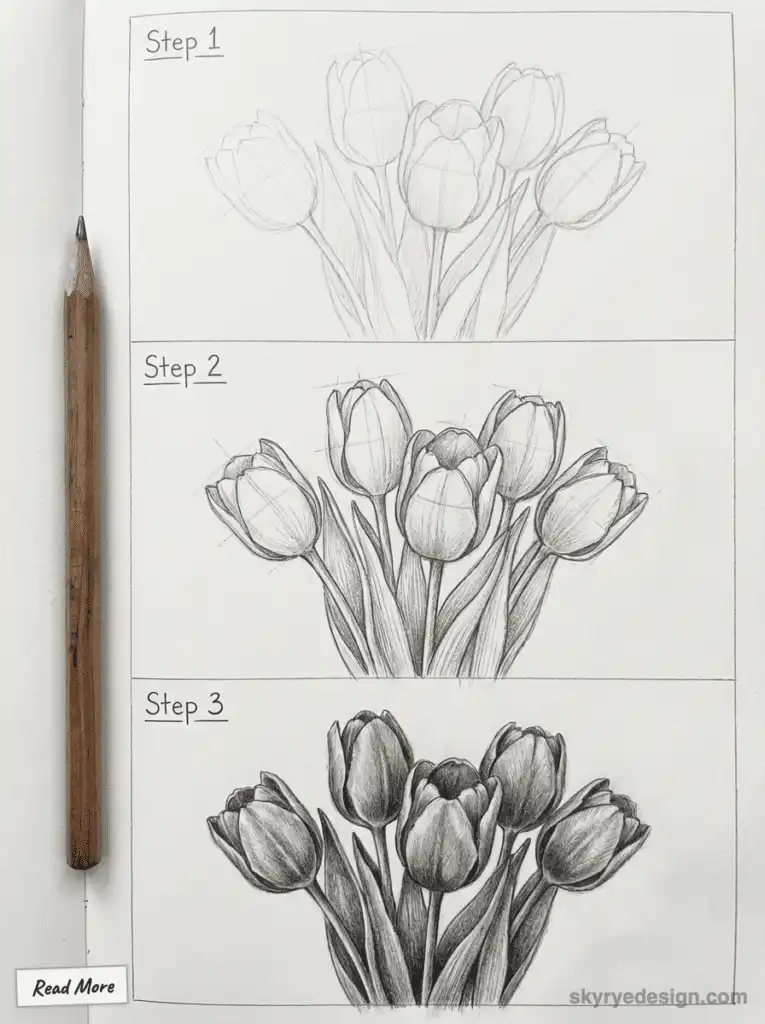
- Draw three to five tulip heads first.
- Vary the height of each flower.
- Let stems cross naturally near the bottom.
- Use leaves to fill gaps, not every empty space.
Bouquets become stronger when you leave some breathing room. If every stem is the same distance apart, the group starts to look like a fence.
Turn these ideas into real sketchbook practice
7. Minimalist tulip line drawing
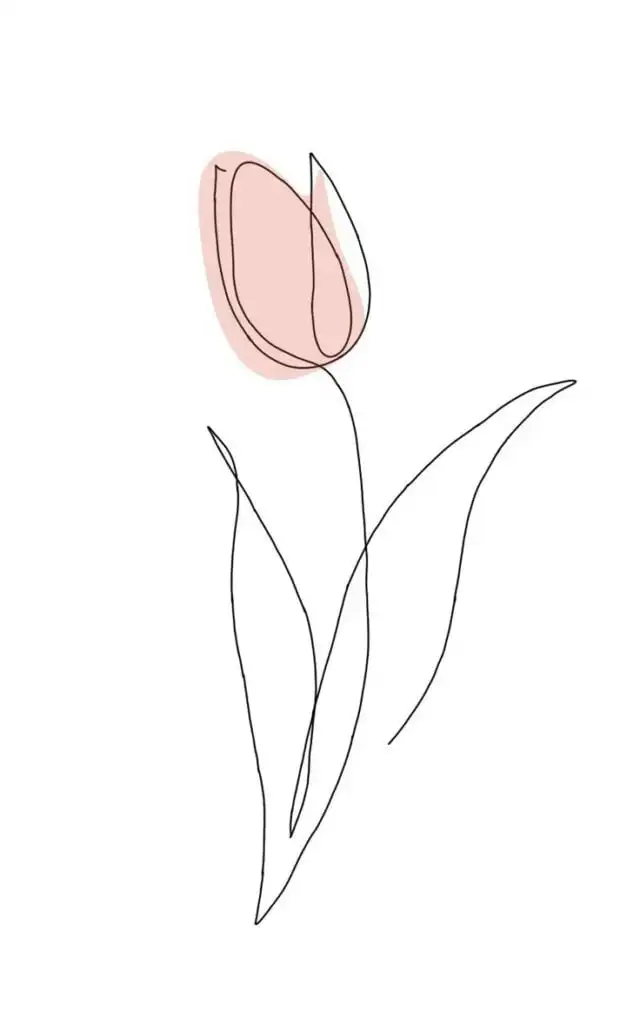
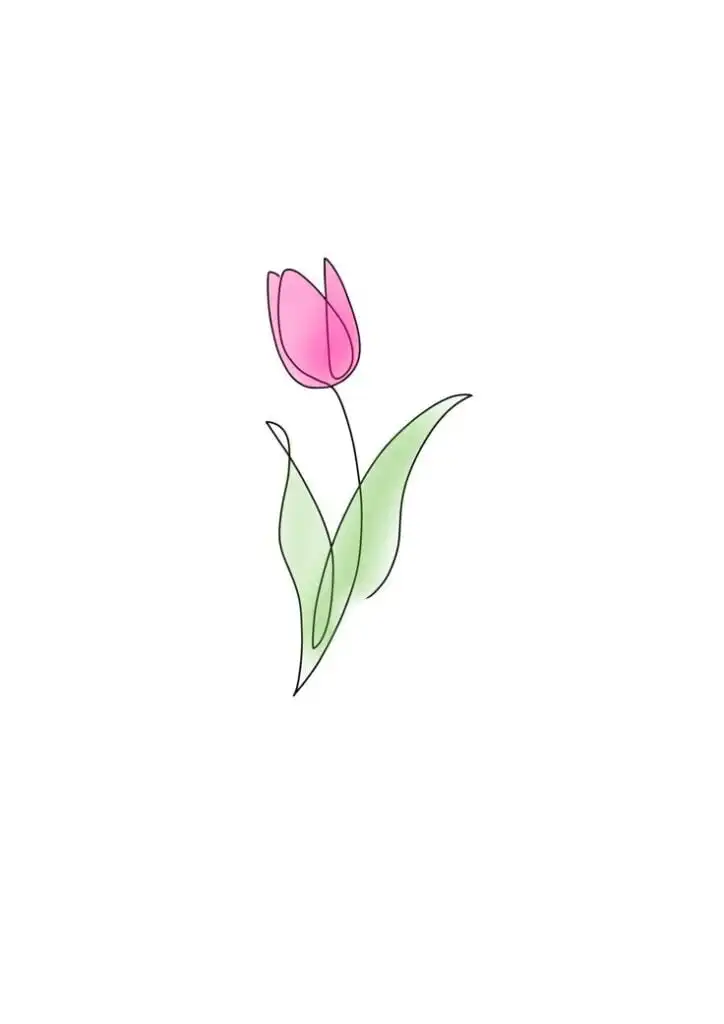
Minimalist tulip line drawing depends on restraint. One clean outer curve, one inner petal line, a bending stem, and a single leaf can be enough.
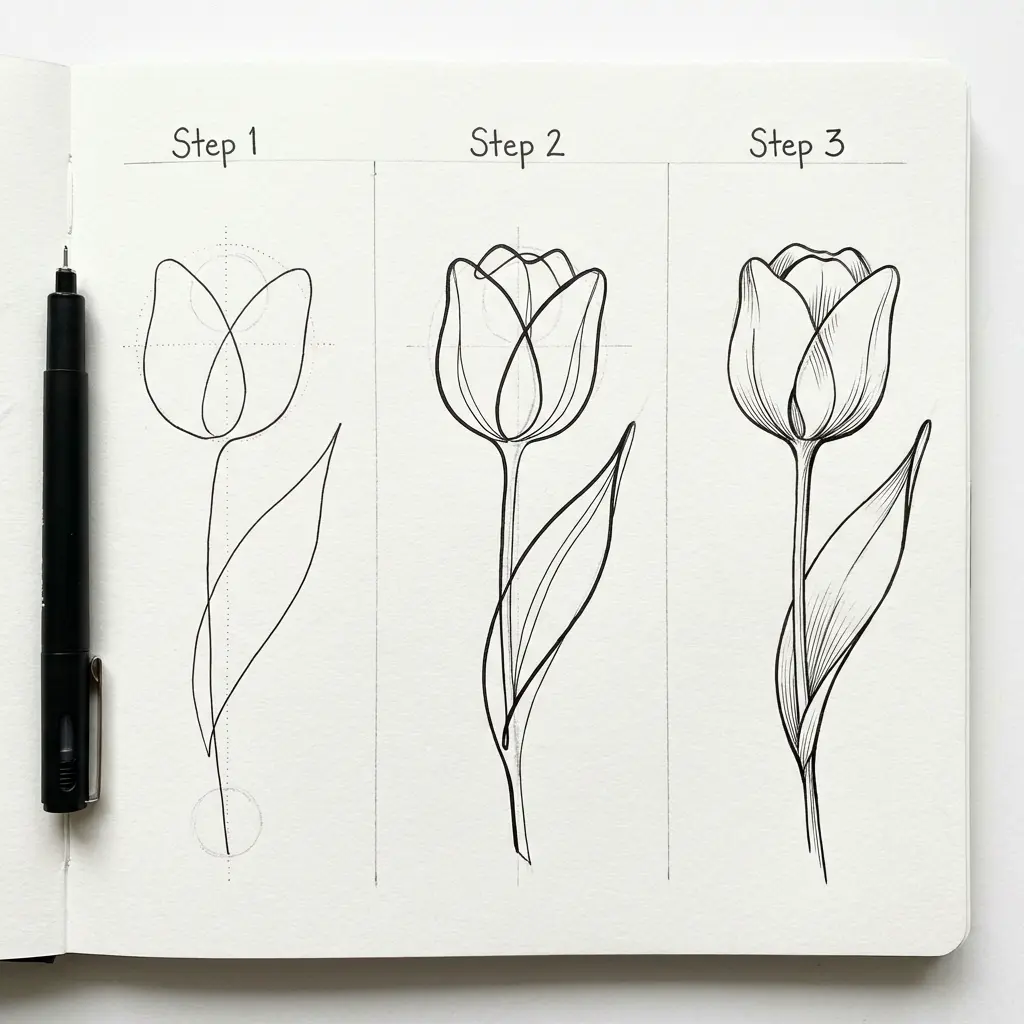
- Start with one continuous line if you can.
- Keep the flower head slightly asymmetrical.
- Avoid filling the petals with texture.
- Use one small accent color only if it helps the design.
The quick test is simple: cover the inside details with your finger. If the silhouette still reads as a tulip, the line drawing is working.
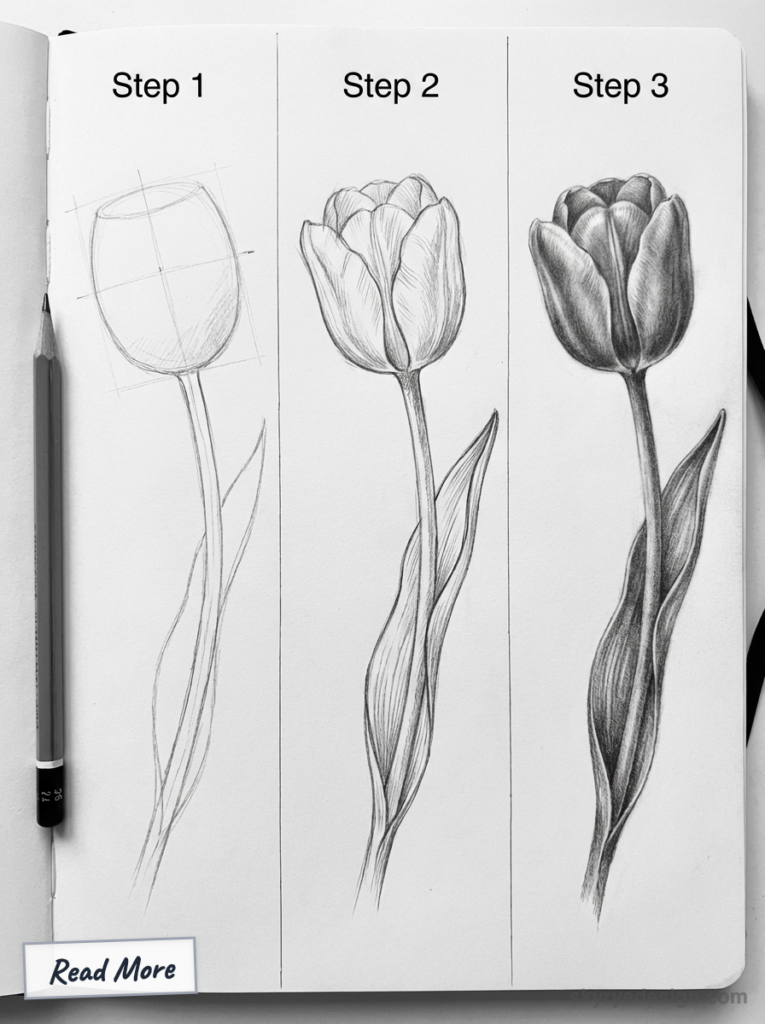
8. Realistic tulip drawing for beginners
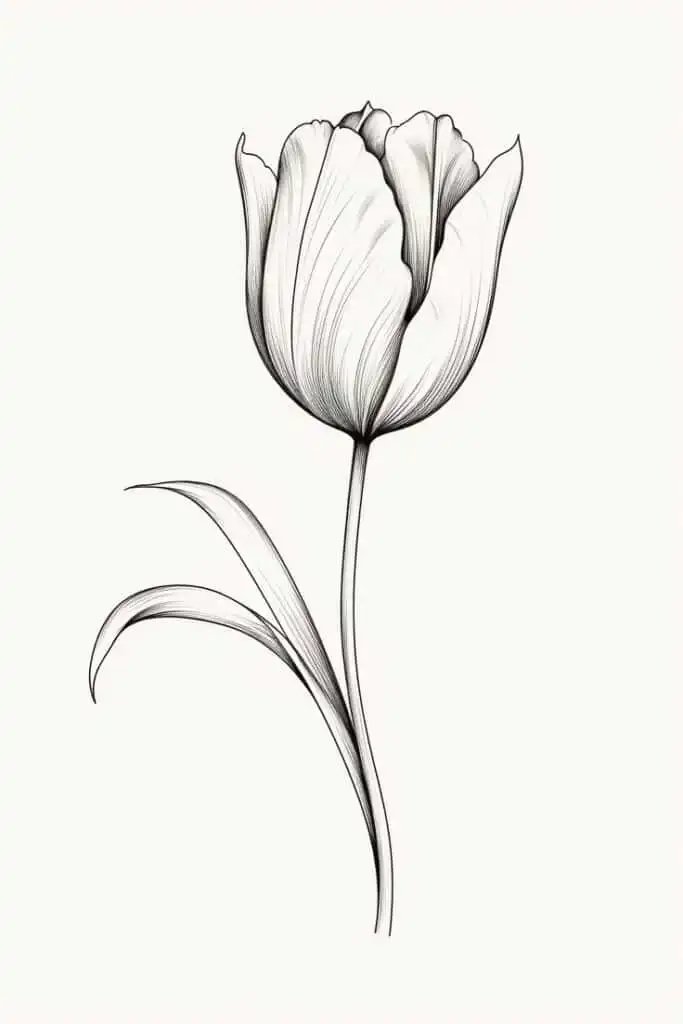
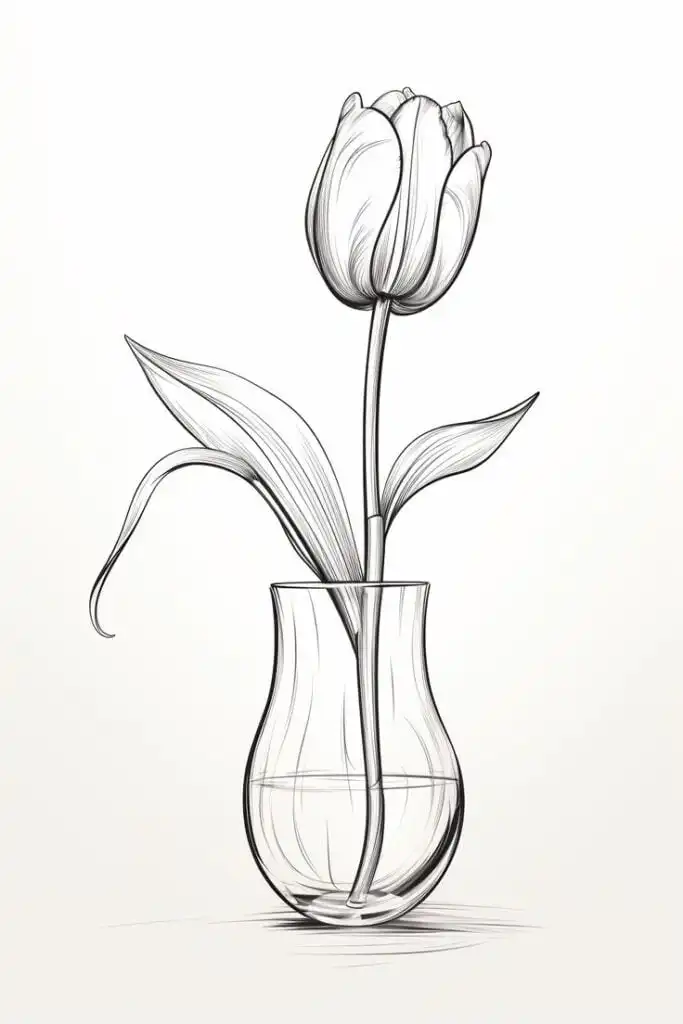
A realistic tulip drawing does not mean copying every vein. It means showing form: where the petal turns, where the base darkens, and where the leaf catches light.
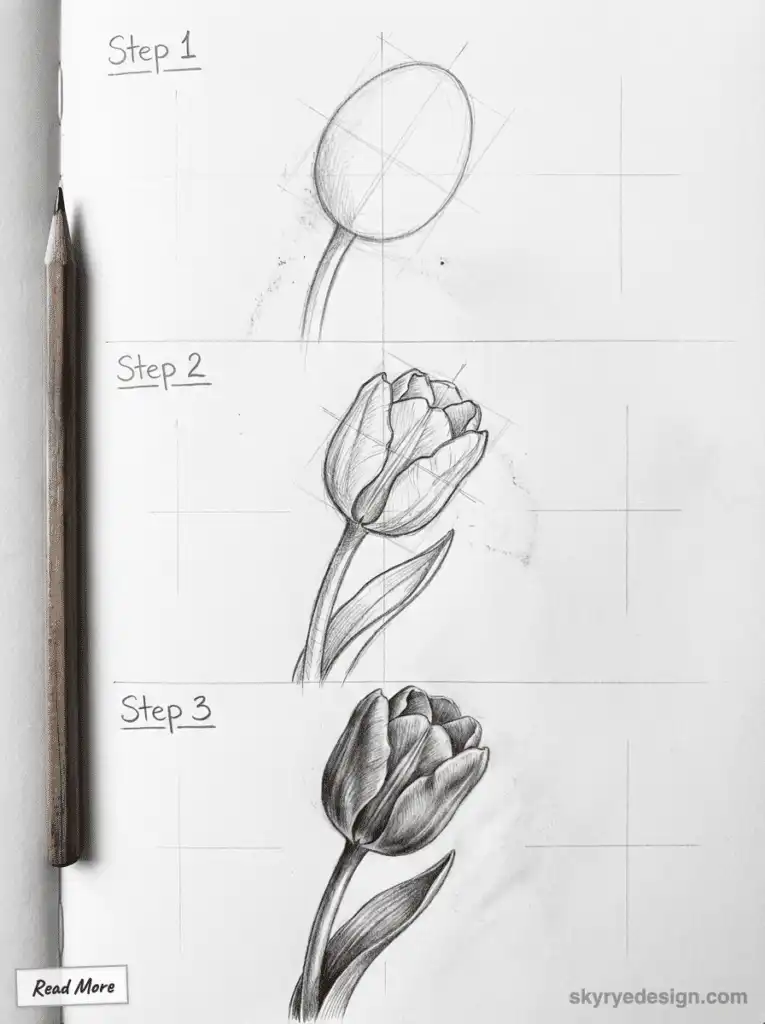
- Block in the cup shape with very light pencil.
- Refine the petal edges with uneven curves.
- Darken the petal base before adding fine lines.
- Shade leaves with long strokes that follow their direction.
- Stop before the drawing turns muddy.
My rule here is to build value before texture. If the light and dark pattern is weak, extra petal lines will not rescue the drawing.
9. Tulip drawing for kids

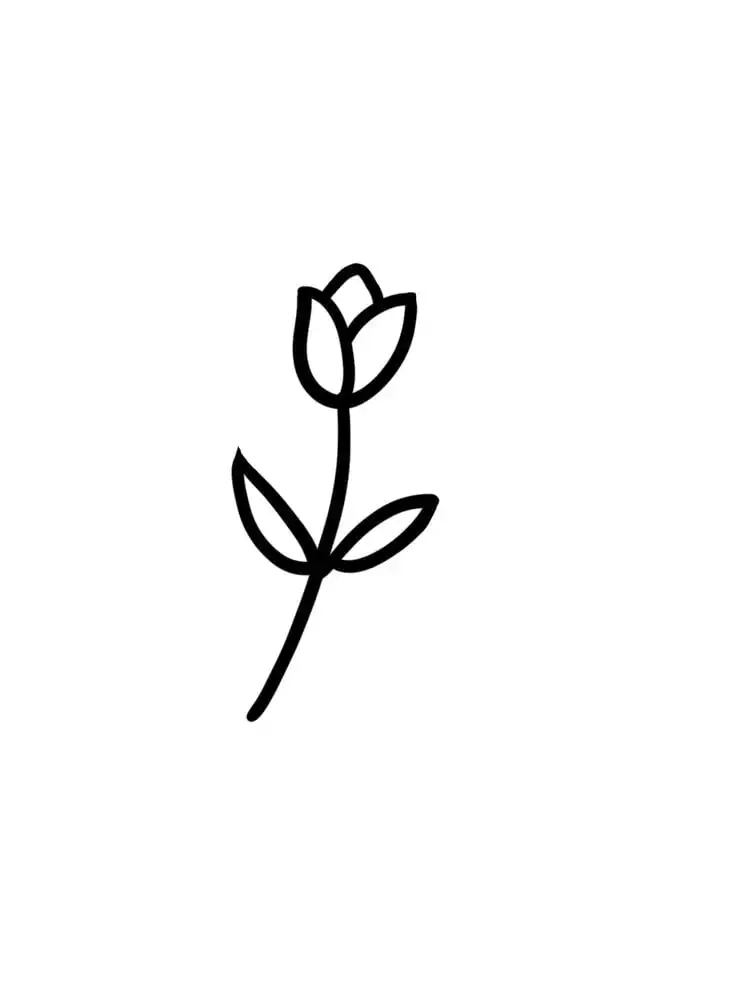
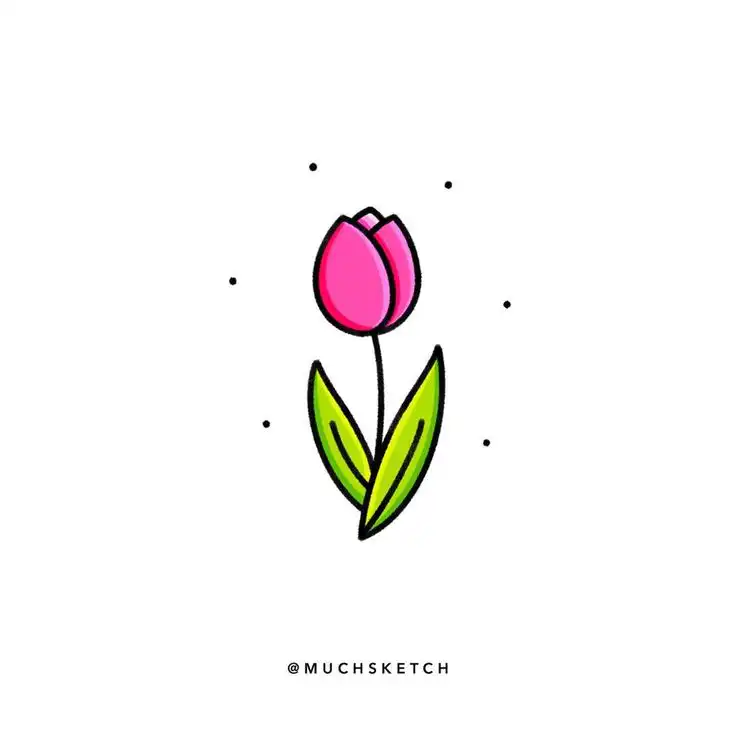
For kids, keep the instruction short enough to remember without looking back at the screen. A U shape, three petal bumps, one stem, two leaves. That is plenty.
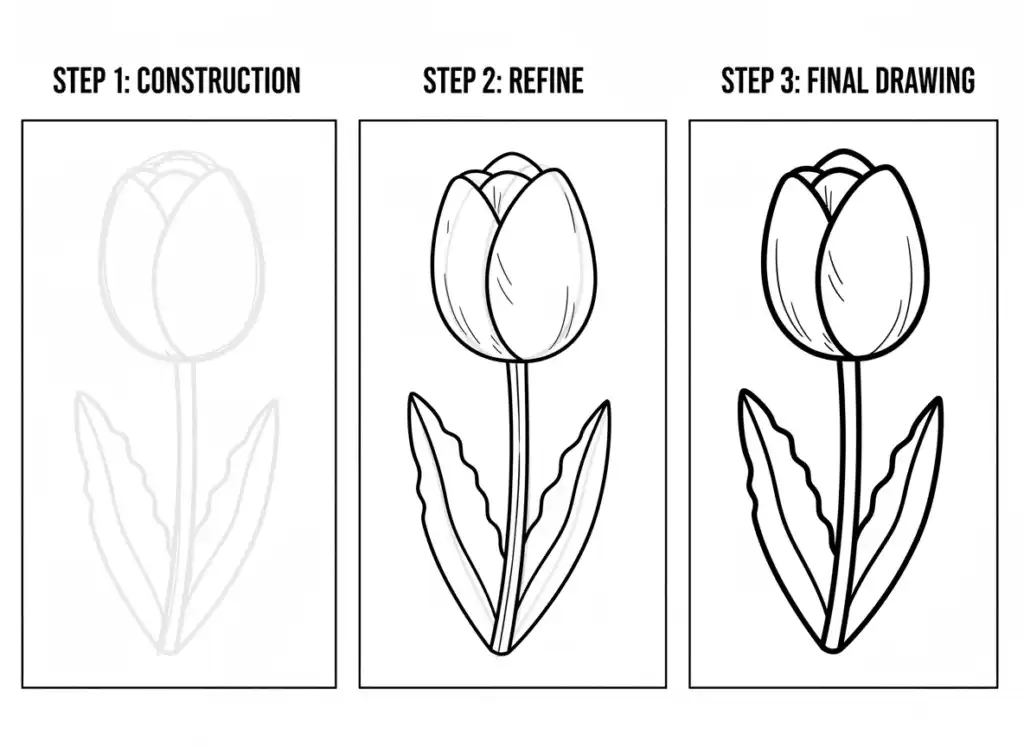
- Use bold, simple shapes.
- Skip shading on the first version.
- Let the flower color be playful.
- Praise the finished shape before correcting details.
A confident kid drawing is better than a nervous copy. Accuracy can come later; finishing the flower matters first.
Easy tulip drawing using numbers or letters
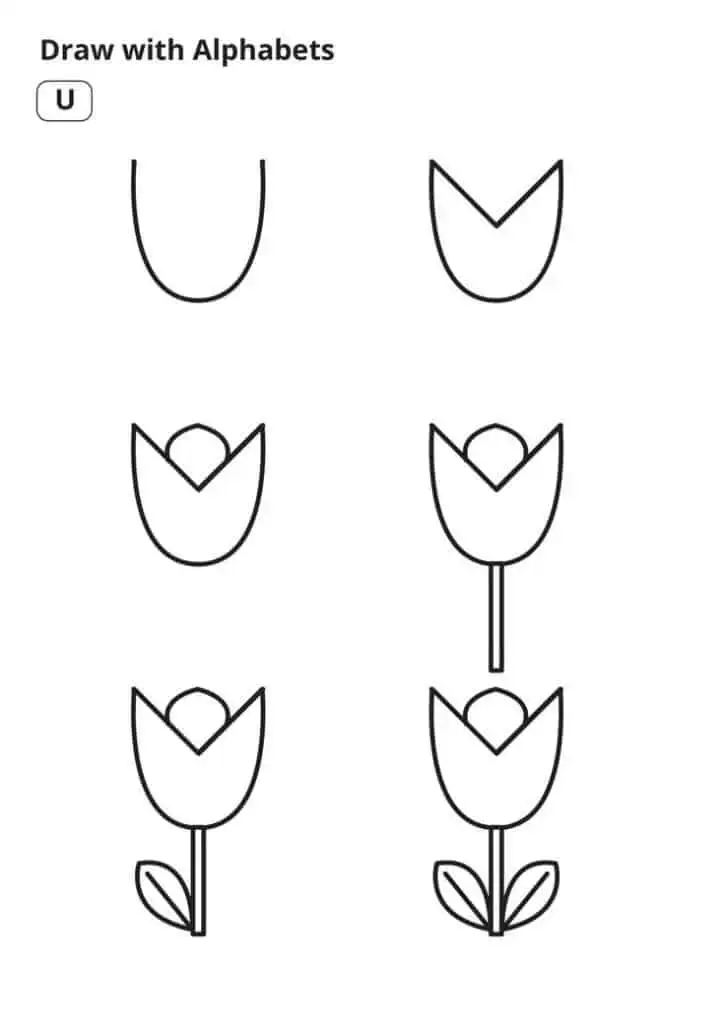
Letters and numbers make tulips less intimidating. Use a U for the flower cup, a 3-like curve for petal bumps, and a long line for the stem.
- Use a U shape for the base.
- Turn the top into three petal curves.
- Add a straight or curved stem.
- Finish with two leaves that point in different directions.
This method is especially good for classrooms because everyone can start from the same shape and still end with a different-looking flower.
Common mistakes when drawing tulips
Most beginner tulip drawings fail for small reasons, not because the flower is hard. The stem is too straight, the petals are too sharp, or the shading starts before the shape is settled.
- Petals that look like spikes instead of soft folds.
- Straight stems that make the flower feel rigid.
- Too much pressure in the first sketch.
- Dark vein lines before the value pattern is clear.
- Leaves that all point in the same direction.
Draw lightly until the silhouette works. It is much easier to darken a good line than erase a heavy one.
How to practice tulip sketches faster
Practice tulip sketches in small batches. Fill one page with ten tiny flowers: three front views, three side views, two open tulips, and two bouquets. Do not polish them. You are training your hand to find the cup shape quickly.
- Give yourself 30 to 60 seconds per tiny tulip.
- Repeat the same flower with different leaf angles.
- Circle the strongest silhouette before starting a final drawing.
- Keep one page only for mistakes so you can see patterns.
Adding color to tulip drawings
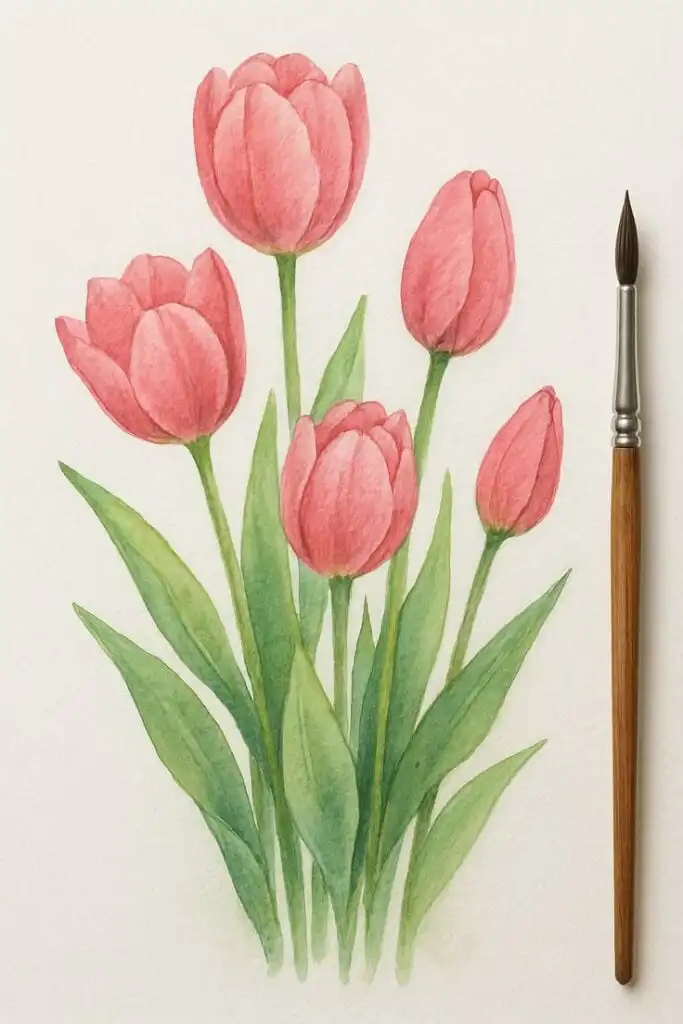
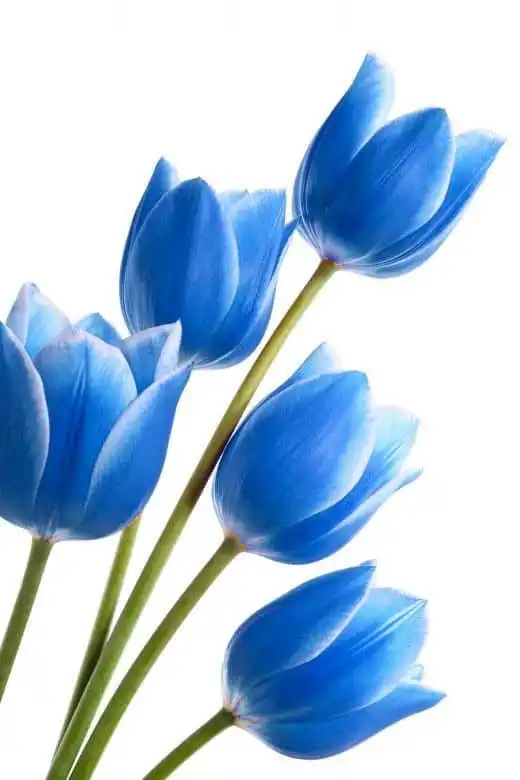
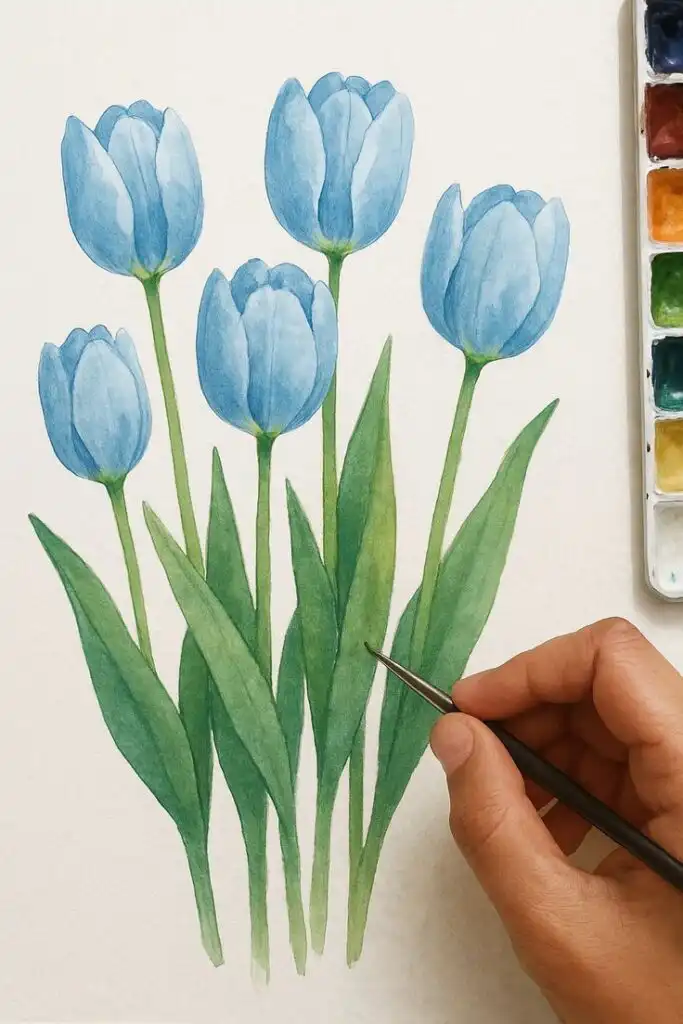
Tulips are forgiving with color. Pink, red, yellow, purple, and blue all work, but the drawing feels cleaner when the shadow stays near the base of the petals instead of spreading everywhere.
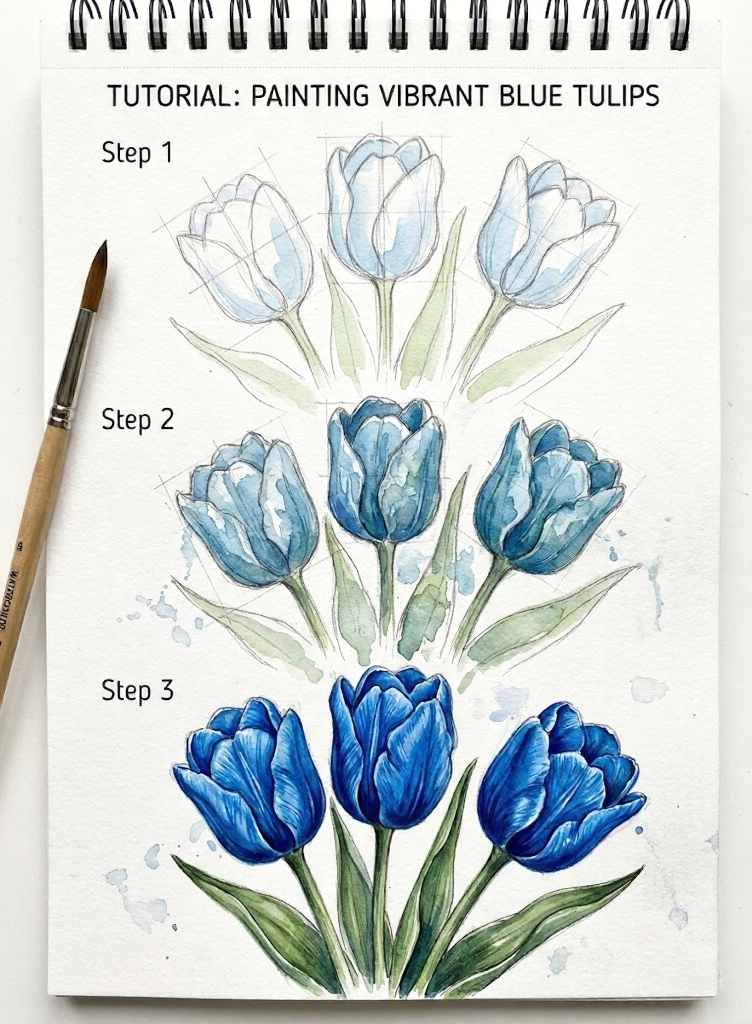
- Use a pale base layer first.
- Press harder near the petal base.
- Leave the petal edges lighter.
- Keep greens slightly muted so the flower head stays dominant.
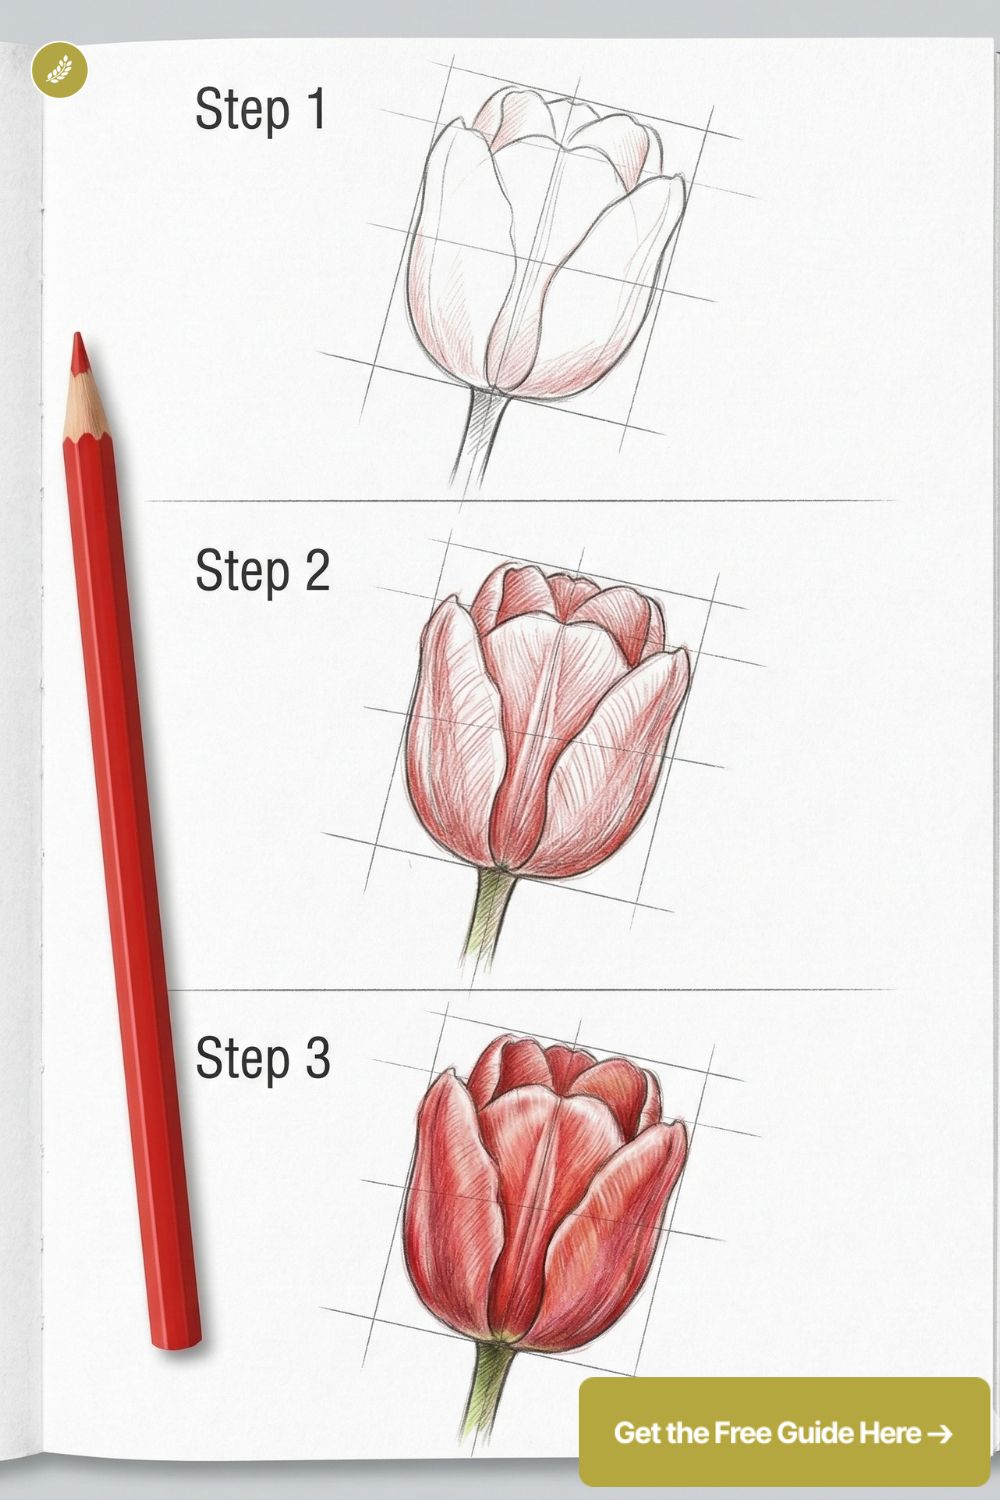
Colored pencil gives you control; watercolor gives you softness. With either tool, leave a few light gaps. They make the petal feel thinner and less plastic.
Turning tulip drawings into art projects
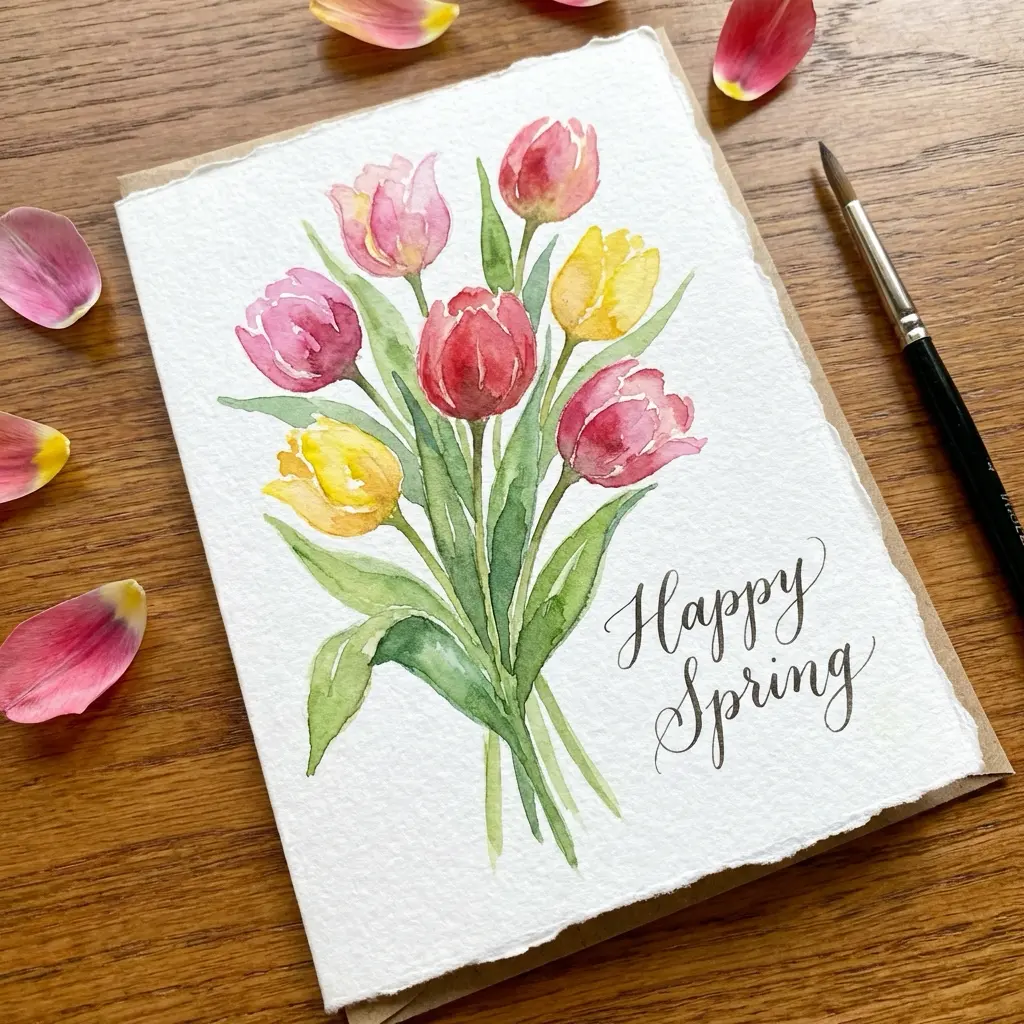
Once the flower shape feels comfortable, turn it into something useful. Tulip drawings work nicely on greeting cards, planner pages, spring posters, small prints, classroom coloring sheets, and digital stickers.
- Greeting cards with one large tulip and hand lettering.
- A row of small tulips for a bullet journal border.
- A tulip bouquet for a Mother’s Day or spring card.
- A clean tulip line drawing for a minimalist print.
- A watercolor tulip study for color practice.
Further drawing practice and sources
For more flower practice on Sky Rye Design, move from tulips into how to draw a flower, rose drawing ideas, lily flower drawing, how to draw a peony, leaf drawing, and nature drawing ideas. Those links belong here, after the main tutorial, because this is where readers are deciding what to practice next.
For real tulip form and art context, compare your sketches with the RHS tulip growing guide, Kew Plants of the World Online entry for Tulipa, National Gallery notes on Dutch flower painting, National Gallery of Ireland botanical drawing activity, Jim Dine’s Tulip at the National Gallery of Art, Draw Botanical’s tulip steps, and Easy Drawing Guides’ tulip tutorial. Use them for observation, not copying.
Final tips for drawing tulips easily
- Start with the cup shape before details.
- Keep early lines light.
- Let the stem curve slightly.
- Use leaf direction to add movement.
- Choose one style per drawing instead of mixing everything at once.
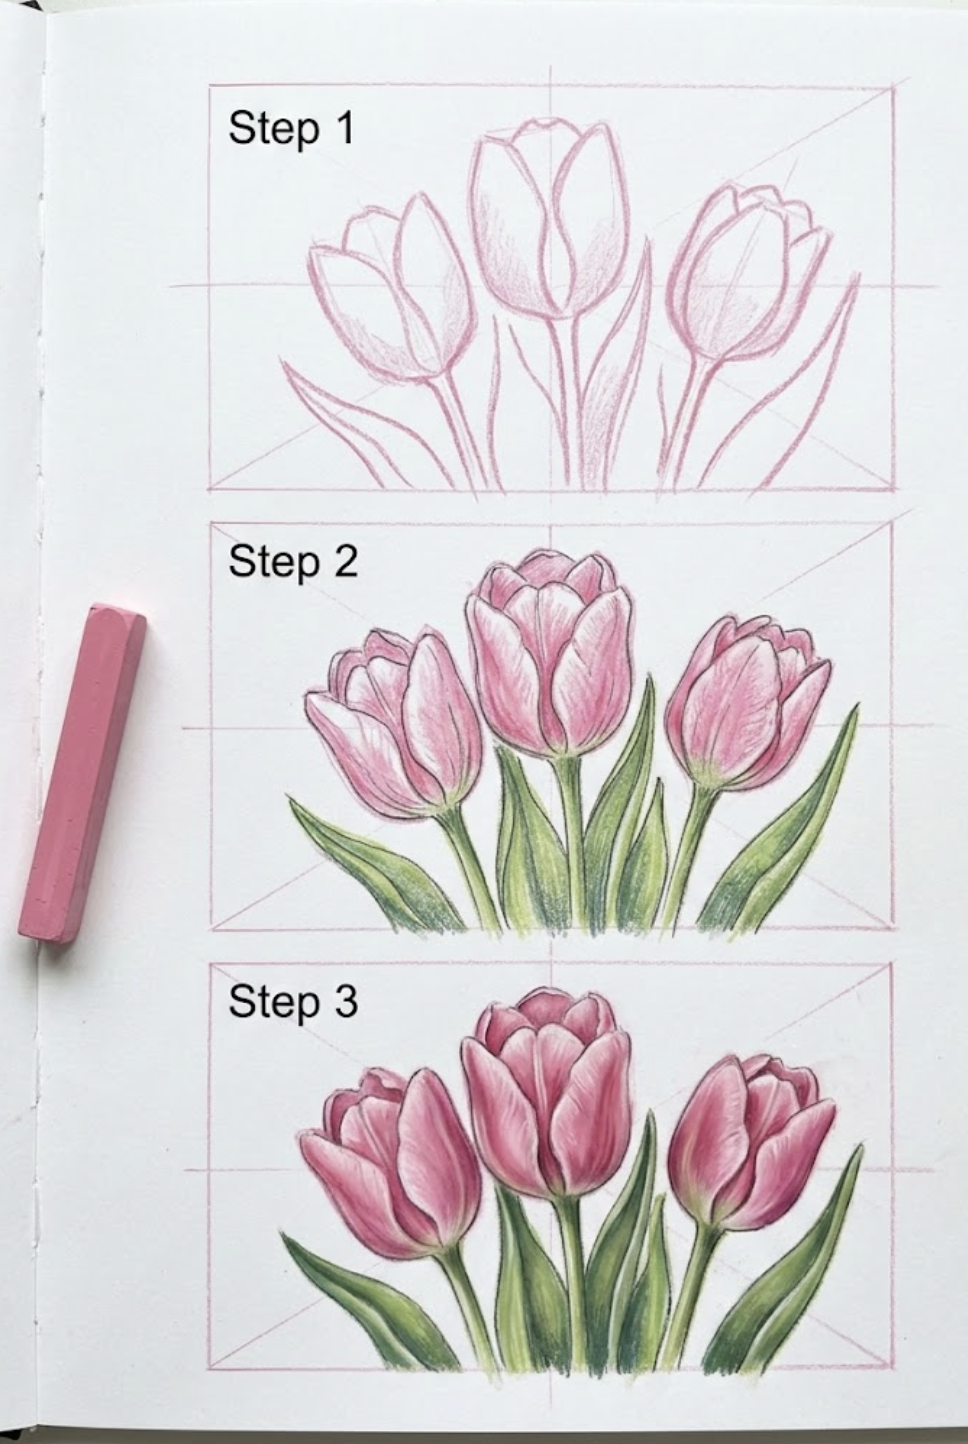
Tulips are a useful flower to repeat because every small change shows up: a wider cup, a taller middle petal, a softer stem, a darker base shadow. Pick one version from this page and draw it three times. The third one will almost always look calmer than the first.
After sketching flowers, keep the same pencil loose with broader pencil drawing ideas that move from simple outlines into shading and small compositions.
Before drawing flowers in detail, it helps to practice simple objects and forms. This collection of simple drawings step by step gives beginners a wider set of reference studies to build line control and confidence.
Tulip drawing FAQ
What is the easiest way to start a tulip drawing?
The easiest way to start a tulip drawing is to sketch a soft U shape for the flower cup, then add two or three rounded petal tips at the top. Keep the stem slightly curved instead of perfectly straight. Add two long leaves last. This gives you a readable tulip shape before you worry about color, shading, or botanical detail.
How do you draw a tulip step by step for beginners?
Draw a light oval or cup shape, split the top into three petal points, then pull a curved stem down from the center. Add one leaf that overlaps the stem and another that leans away from it. Refine the outside edge, erase the construction lines, and shade lightly at the base of the petals.
What makes an easy tulip drawing look more realistic?
A realistic tulip drawing usually needs three small things: uneven petal edges, a curved stem, and soft value changes near the petal folds. Do not outline every vein heavily. I would rather see one clean shadow at the base of the flower than a dozen dark lines that flatten the petals.
Can kids draw tulips without a full tutorial?
Yes. For kids, reduce the tulip to four moves: draw a U, add three bumps on top, pull down a stem, and add two leaves. Let them choose unusual colors if they want. The goal is a confident flower shape, not a perfect botanical study.
What colors work best for tulip sketches?
Pink, red, yellow, purple, and blue all work well for tulip sketches. For colored pencil, start with a pale base color and press harder near the lower petals. For watercolor, leave small white gaps on the petal edges so the flower keeps a light spring feeling.
How do you make a tulip line drawing look elegant?
Use fewer lines. An elegant tulip line drawing needs a clean outer petal curve, one inner petal line, a slightly bending stem, and one or two leaves. If the silhouette reads clearly from across the room, the drawing is doing enough.
What should I practice after a simple tulip drawing?
After a simple tulip drawing, practice side views, open tulips, and small bouquets. Those variations teach you overlap, rhythm, and spacing. Fill one sketchbook page with ten tiny tulips before starting a polished version; the final drawing will usually feel looser and more natural.
- 25.7Kshares
- Facebook0
- Pinterest25.7K
- Twitter0
- Reddit0