Flowers are a favorite subject for sketch artists, offering endless possibilities with their shapes, patterns, and colors. Whether you want to capture a simple daisy or the rich detail of a rose, sketching flowers is a relaxing way to build your drawing skills. With just a few easy techniques, you can create beautiful and realistic sketches of flowers, no matter your experience level.
You’ll discover how to break down complex blossoms into basic shapes, add detail layer by layer, and bring your drawings to life with shading and texture. Exploring different varieties—from sunflowers to tulips—lets you grow your skills while finding creative inspiration in nature.
Key Takeaways
- Start flower sketches using simple, approachable methods
- Practice essential drawing skills to build confidence
- Explore various flowers to expand your creativity
Getting Started with Sketches of Flowers
Drawing flowers begins with gathering the right tools, picking a medium that matches your style, and learning a few core techniques. These steps help you work confidently as you start creating floral art in your sketchbook.
Essential Drawing Supplies
Having the right supplies can make sketching flowers more enjoyable and help you achieve a cleaner result. At a minimum, you’ll need:
- Sketchbook: Choose one with smooth, sturdy paper that handles erasing and multiple layers.
- Pencils: Standard HB or 2B pencils work well for outlining shapes and shading areas.
- Eraser: A kneaded or soft eraser lets you lift marks and correct mistakes without damaging the paper.
- Sharpener: A small, portable sharpener ensures your pencils stay fine-tipped for details.
Optional supplies include colored pencils for adding color, blending pencils to smooth edges, or even fine liners for inking outlines. As you gain confidence, you might want to try other tools like watercolors or charcoal.
Choosing the Right Medium
The medium you select shapes the look and feel of your flower sketches.
- Graphite pencils are beginner-friendly, easy to control, and ideal for practicing outlines and shading.
- Colored pencils allow you to add depth, vibrant color, and details to petals and leaves.
- Watercolors can bring a soft, delicate touch, making your sketches feel light and expressive. Just use watercolor paper or a mixed media sketchbook to prevent warping.
Try different mediums to see what suits your style best. Some artists even combine materials, like outlining with ink and filling in with colored pencil or watercolor.
Basic Flower Drawing Techniques
Learning a few simple techniques can make drawing flowers less intimidating.
Start with loose, light lines to block in the general shape and structure. Observe the flower closely—look for shapes like ovals for petals and circles for the flower center. Draw these basic forms first.
Once the main shapes are down, you can add detail to petals, stems, and leaves. Use your eraser to refine lines and adjust proportions as needed. For more realism, build up shading gradually by layering pencil strokes or blending with a blending pencil.
Practice helps you develop your hand. Try first drawing single flowers, then explore more complex arrangements or different species as you improve.
Fundamental Flower Sketching Skills
Anyone can build skill in flower sketching with the right methods. The focus is on understanding flower parts, practicing the drawing process, and learning step-by-step techniques to create attractive sketches with clarity.
Drawing Petals and Leaves
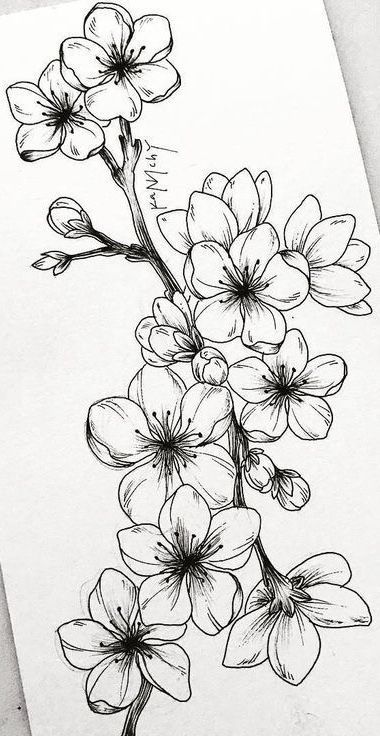
When drawing petals and leaves, pay close attention to their basic shapes. Most petals start as ovals or teardrops, and leaves can be drawn as elongated ovals or pointed forms. Use a light touch as you outline these shapes to allow for easy corrections.
Study how petals overlap and how leaves might fold or curve. Keep your lines loose and gentle at first. Vary your line pressure to show depth, with heavier lines for foreground shapes and lighter ones for background parts.
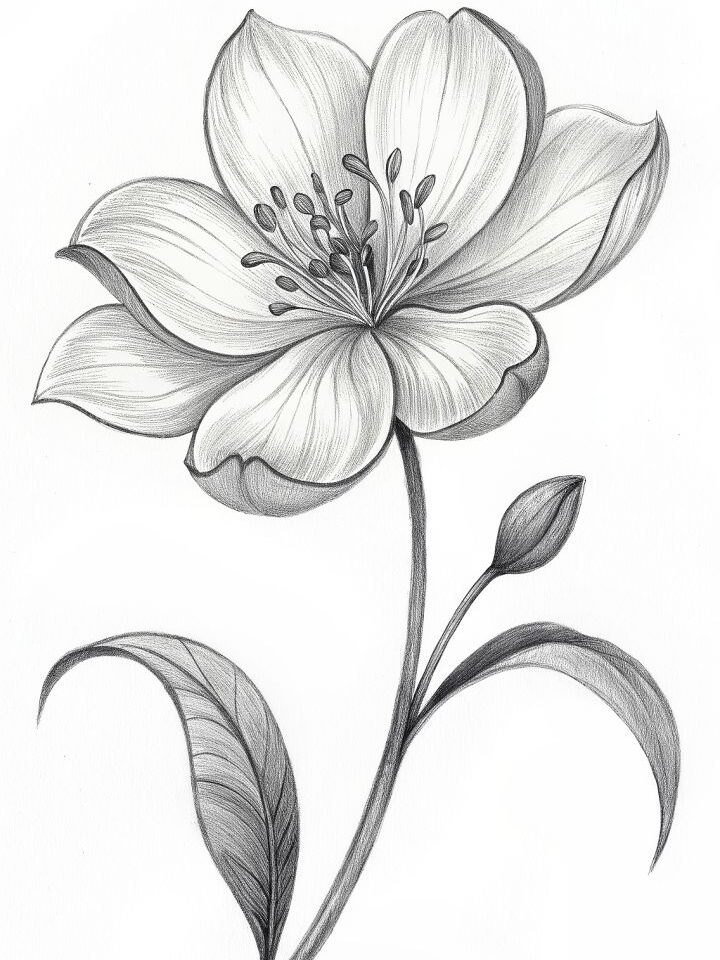
To capture texture, add gentle shading along the edges and veins. You can use short, light strokes to suggest natural details. Observing real flowers while you draw helps you notice unique patterns and improve your accuracy.
Creating Simple Flower Sketches
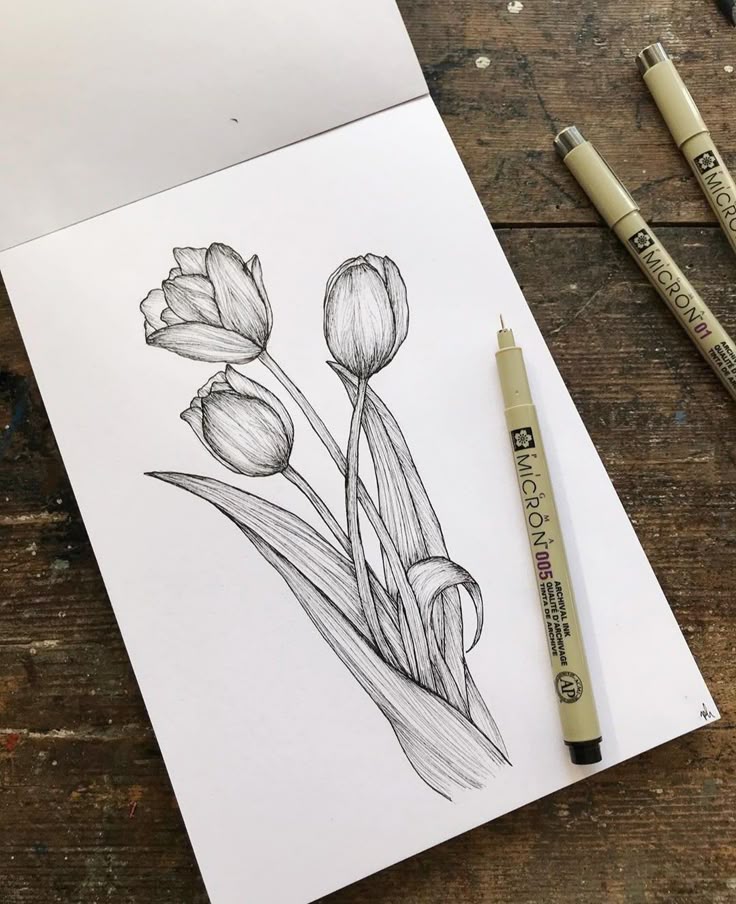
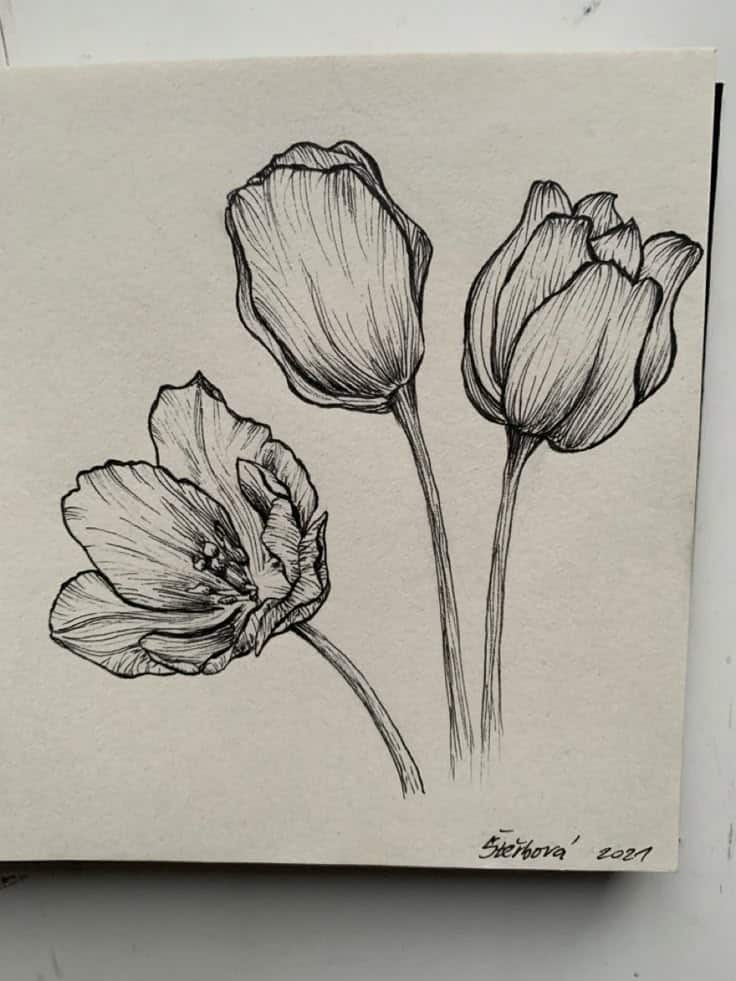
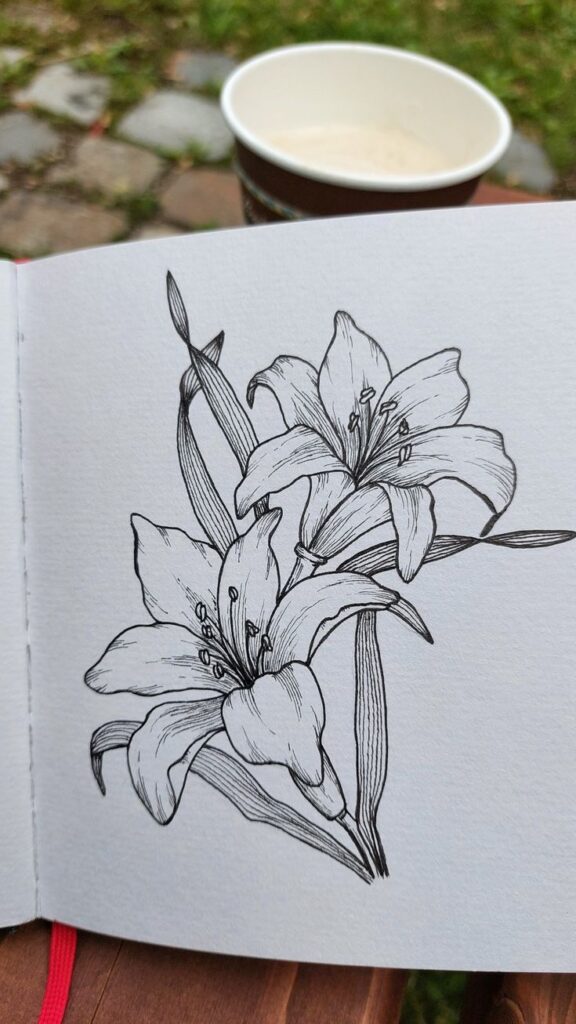
Start with everyday flowers like daisies, tulips, or lilies. These have clear outlines that are easy to practice and help you learn proportional drawing. Begin with the flower’s center, then sketch the main petals extending out in different directions.
A helpful approach is to break the flower into basic shapes before adding details. For example:
| Flower | Center Shape | Petal Shape |
|---|---|---|
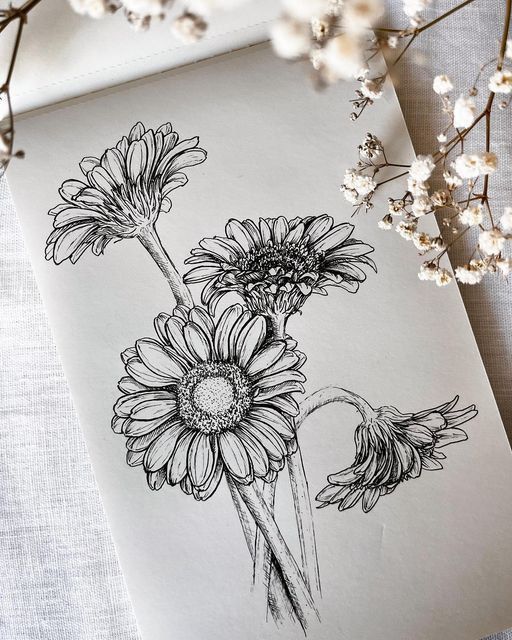
| Daisy | Small oval | Long narrow ovals |
| Tulip | Wide oval | Rounded teardrops |
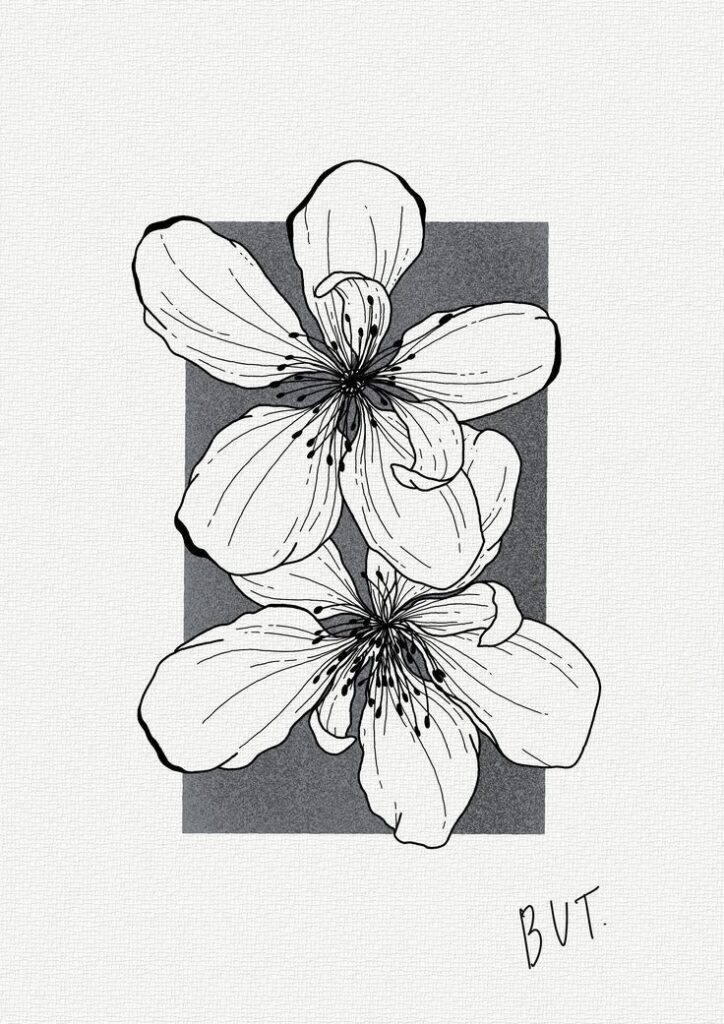
| Lily | Round or oval | Pointed ovals |
Keep your pencil lines light, refining as you go. Don’t worry about perfection—focus on capturing the overall form. Practice drawing different flowers to expand your skills and get comfortable with a range of petal and leaf arrangements.
Step-By-Step Instructions for Beginners
Use simple steps to guide your sketches. Here’s an example for drawing a basic flower:
- Draw a small circle for the flower’s center.
- Lightly sketch evenly spaced ovals around the center for petals.
- Add a stem using a straight or curved line.
- Attach elongated ovals for leaves along the stem.
- Gently refine the petal and leaf outlines, erasing extra lines.
- Use shading to add a sense of depth and highlight curves.
Repeat these steps with different angles and numbers of petals. Starting with structure and gradually adding detail helps create clear and consistent flower drawings every time.
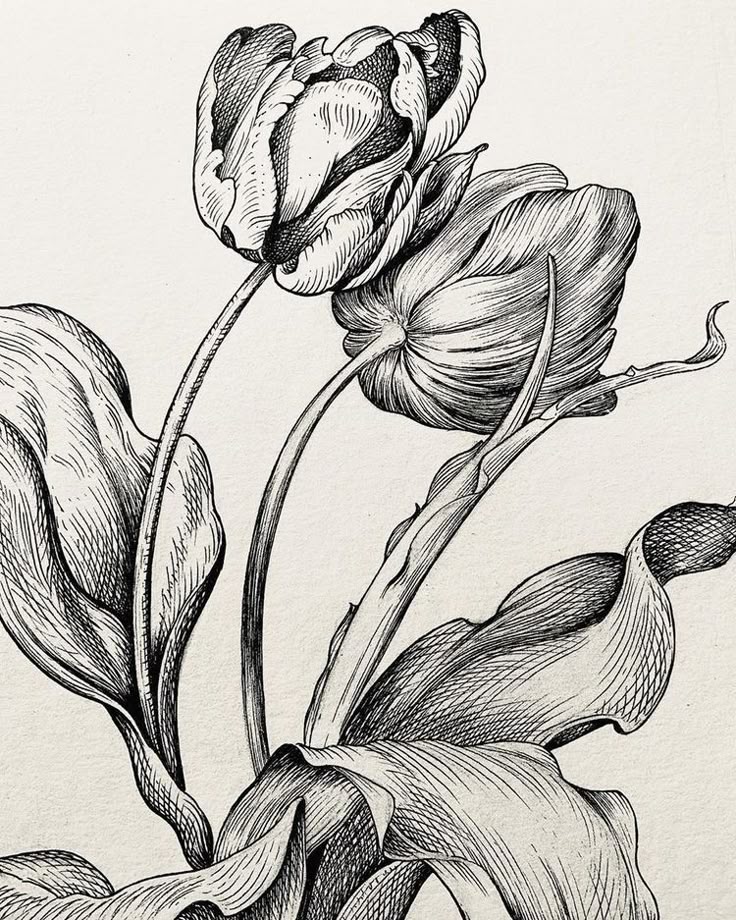
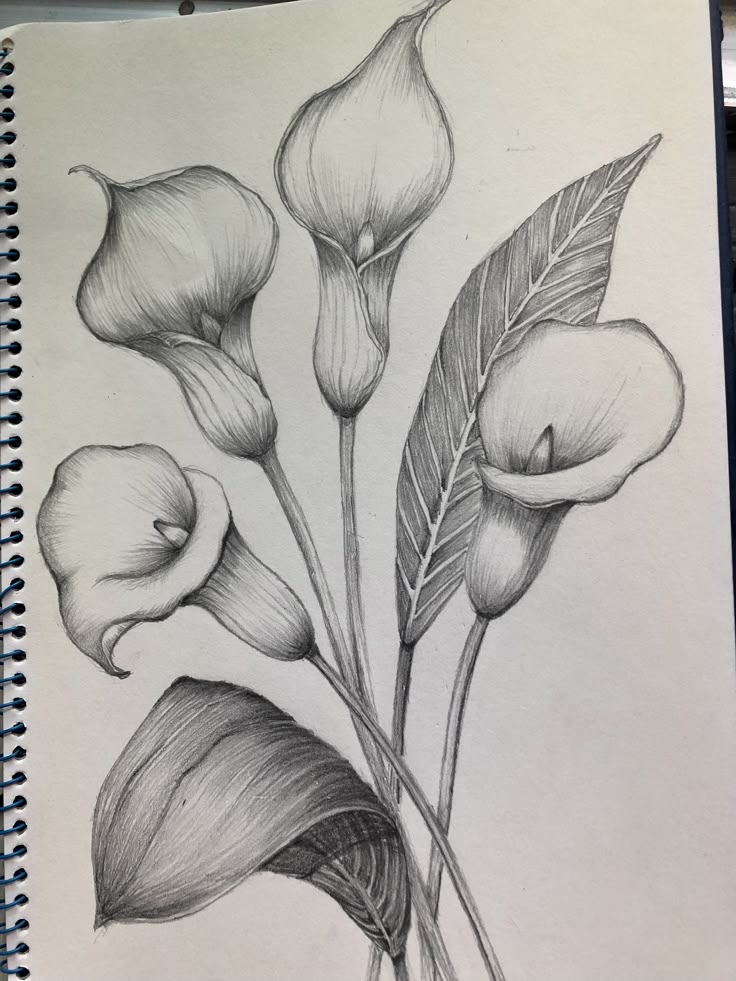
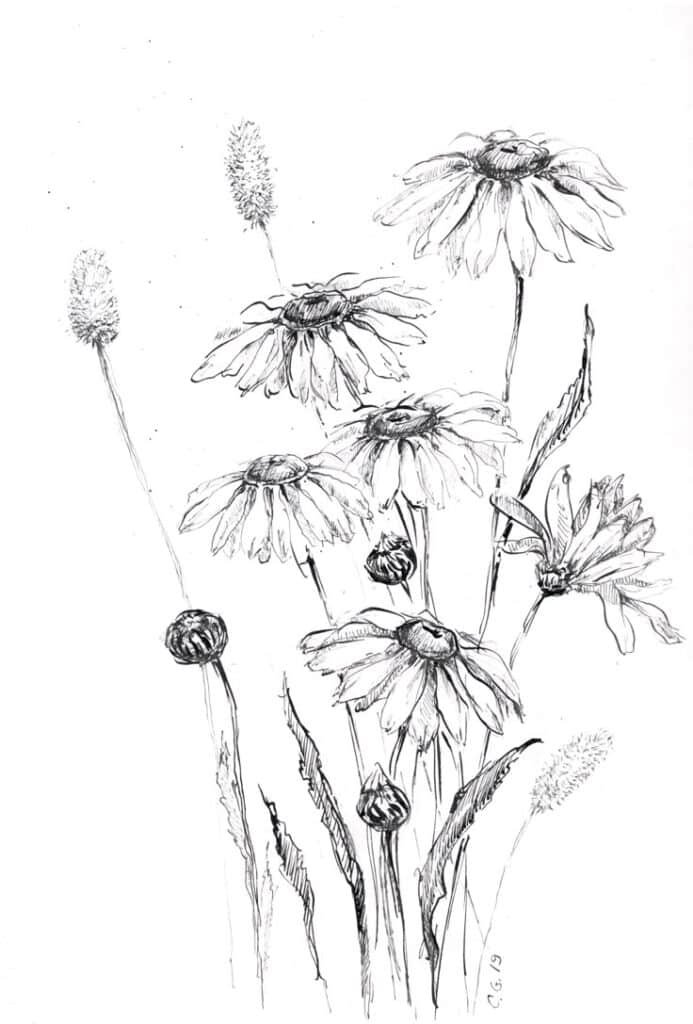
Exploring Different Flower Varieties
Flower sketches give you a chance to experiment with shapes, petal structure, and form using simple drawing techniques. Each type of flower has unique characteristics that let you practice different styles and add variety to your artwork.
How to Draw a Rose
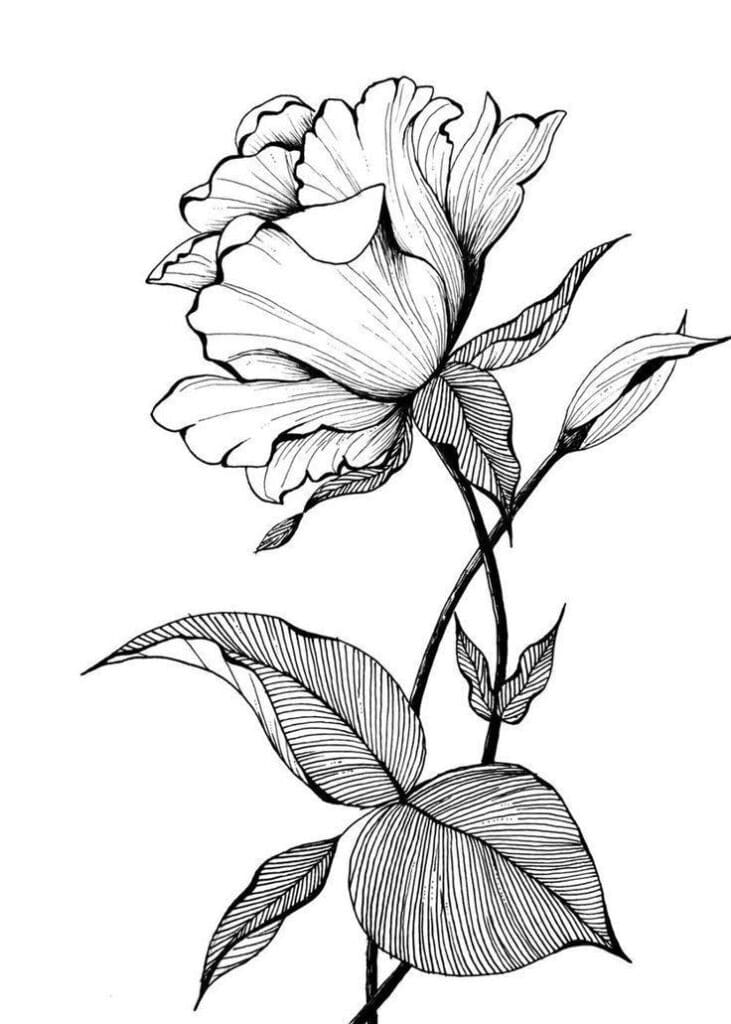
Roses are known for their layered petals and central spiral. Begin your sketch by drawing a small spiral in the center, which forms the heart of the rose.
Add rounded, overlapping lines radiating from the center to build outward layers of petals.
Keep your lines light and gentle, as rose petals look soft and curl at the edges.
Tip: Focus on the irregular shapes between petals to make your rose appear more natural. Add subtle shading inside the petal folds to create depth.
Use a darker pencil or pen to define the outermost petals and make the rose stand out.
Experiment with leaves by drawing pointed ovals with jagged edges around the flower.
Quick reference:
- Center: Spiral
- Petals: Overlapping curves
- Leaves: Pointed ovals, jagged edges
- Shading: Adds realism
Peony Flower Sketches
Peonies have many petals arranged in a round, fluffy structure. Start with a light circle as a guide for the flower’s overall shape. Draw a cluster of small, ruffled petals at the center, then layer larger, wavy petals outwards.
Keep your pencil strokes loose and sketchy, allowing the peony to look soft and full. Peony petals often overlap and fold unpredictably—don’t worry about making every line perfect.
Leave some open spaces for light to show between petals, which adds realism.
To highlight the fullness, add a few outer petals that look like they’re drooping or curling back. Shade lightly at the base of the petals to show depth. Draw simple, oval leaves with a slight point and attach them to the stem.
Tips:
- Use short, curved lines for inner petals
- Draw long, wavy lines for outer petals
- Add shading at petal bases for dimension
Sketching a Poppy Flower
A poppy flower is recognized by its delicate, wide petals and central seed pod. Start by drawing a light circle and marking the center.
Add 4 to 6 broad, rounded petals, making sure they overlap and crinkle at the edges.
Poppy petals are thin and often look wrinkled; use uneven, wavy lines to capture this effect. Draw the central pod as a small oval or flattened circle, then add radiating lines for stamens around it.
Lightly sketch the stem, making it slender and slightly curved.
For extra detail, shade irregularly on the petals to suggest translucency and texture. Use small dots to show seeds if the pod is visible. Poppy leaves are jagged and narrow; add a couple along the stem for context.
Checklist:
- Petals: 4–6, ruffled
- Center: Pod with stamens
- Stems: Thin, slightly curved
- Leaves: Jagged, narrow
Draw a Sunflower: Tips and Tricks
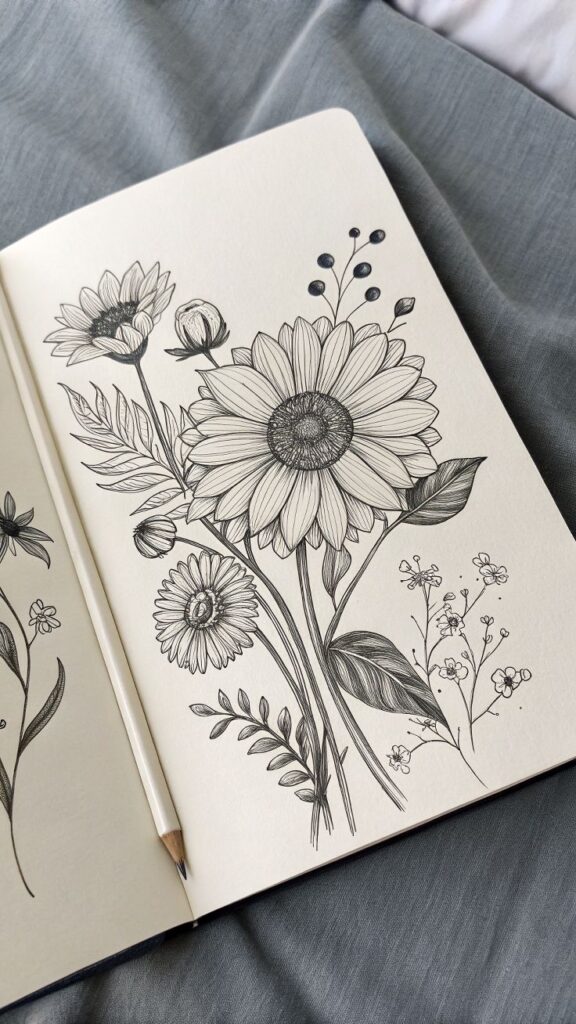
Sunflowers stand out for their round centers and radiating petals. Begin by drawing a large circle for the center. Surround this with long, slightly pointed petals in a regular pattern—sunflower petals often overlap and point outward in a sunburst.
Make each petal a little different in length or shape to keep the design lively. Fill the center with small, dotted patterns or short lines to mimic sunflower seeds.
Use bolder pencil strokes to outline the seeds and petals, giving the flower structure.
For the stem, sketch a thick, slightly curving line extending down from the center. Add large, broad leaves with jagged or scalloped edges to frame your flower drawing.
Steps Table:
| Part | Shape/Technique | Notes |
|---|---|---|
| Center | Large circle | Fill with dots/lines |
| Petals | Long, pointed ovals | Radiate from center |
| Leaves | Wide, jagged ovals | Attach to thick stem |
| Stem | Thick, curved line | Support large flower |
Bringing Flower Drawings to Life
To make your sketches of flowers truly stand out, focus on using thoughtful color choices, authentic textures, and artistic enhancements. Small details and simple techniques can transform basic flower drawing ideas into vibrant floral art.
Adding Color and Texture
Choosing the right colors can change the entire mood of your drawing. Colored pencils are great for layering and give you control over shading and blending. Watercolors offer softer, flowing washes, perfect for delicate petals.
Vary your pressure with colored pencils to create depth. Use a blending pencil or cotton swab to smooth out transitions in color for a more lifelike appearance. When using watercolors, try letting colors bleed slightly at the petal edges for a natural effect.
Pay attention to the veins on petals and the grain of leaves to add realism. Use small, light strokes for texture on soft flower parts and bolder lines on stems. Try combining both colored pencils and watercolors for mixed-media depth.
Pro Tip:
Make a small test area on scrap paper to play with color combinations before applying them to your main sketch.
Enhancing Your Floral Art
Details bring your floral art to life. Carefully sketch the tiny veins, folds, and variations seen in real flowers to mimic their unique structure. Observe how light falls on petals and add highlights using a white colored pencil or gentle watercolor lift.
Add shadows beneath petals and between layers using muted blues, purples, or grays rather than black. This creates a softer, more natural look. Building up layers slowly lets you adjust tones and prevents overworking the paper.
Consider adding subtle backgrounds or simple leaves and stems to frame your main subject. Use light washes or cross-hatching behind the flower to provide contrast and focus. Remember, even small enhancements can make your flower drawing ideas feel complete and lively.
Creative Inspiration and Next Steps
Your sketchbook can become a rich source of creative ideas, offering new ways to explore flower drawings. Trying advanced techniques helps you develop your style and broaden your skills.
Filling Your Sketchbook with Flower Drawings
A sketchbook is the best place to grow your collection of flower sketches. Keeping your sketchbook nearby lets you capture inspiration whenever you see an interesting flower or shape. If you spot a daisy in a park or a unique plant in a garden, a quick sketch adds variety to your pages.
Experiment with these flower drawing ideas to fill your sketchbook:
- Draw close-ups of petals, leaves, or stems for detailed studies.
- Try quick gesture sketches to capture the movement and shape of different blooms.
- Use mixed media—ink, watercolor, colored pencil—to bring different textures and moods.
You might want to dedicate a few pages to one type, like tulips, lilies, or wildflowers. Date each drawing so you can track your progress. Reviewing older pages sometimes sparks new ideas or helps you discover your favorite styles.
Advanced Flower Sketch Ideas
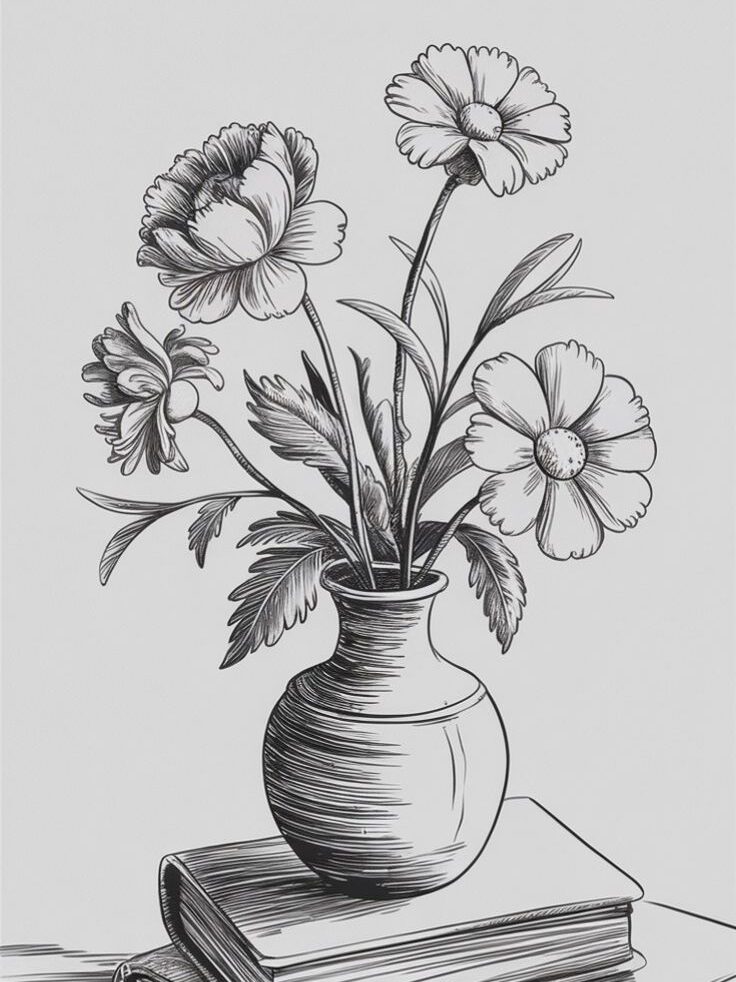
As you get comfortable with basic flower drawings, advanced techniques offer new challenges. Try sketching complex compositions, such as bouquets or arrangements with overlapping flowers. Practice drawing flowers from unusual angles—looking up at sunflowers or peering into the center of a rose.
Adding depth and realism can make your art stand out. Focus on shading and contrast, layering pencil strokes to show the curve of petals and the texture of leaves. Work with light sources to create highlights and shadows.
Consider using a reference photo or even real flowers in a vase. This helps you notice subtle details like veins in petals or folds in the leaves, which make sketches more lifelike. You can also experiment with stylized or abstract takes, changing the proportions or exaggerating certain shapes for a playful effect.
- 5.1Kshares
- Facebook0
- Pinterest5.1K
- Twitter0
- Reddit0


