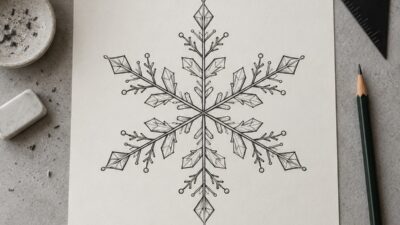
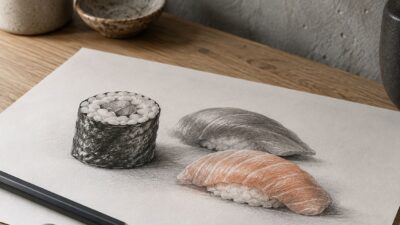
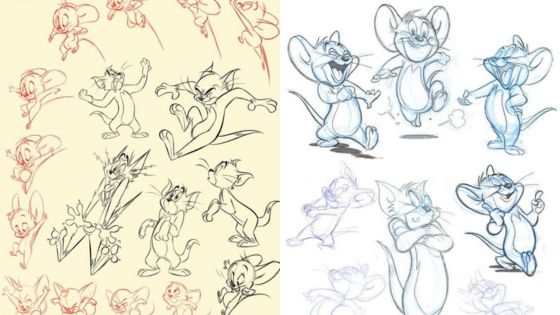
Watercolor ideas are easiest to start when the subject has one clear shape and room for soft edges. Try a leaf, a small sky, a loose flower, a fruit study, or a two-color landscape before attempting a full scene. Use cold-press paper, mix enough paint for the first wash, and work from pale shapes to dark accents. The projects below pair each subject with one technique, so you always know what to practice.
What Should a Beginner Paint in Watercolor?
The easiest watercolor subjects are leaves, simple flowers, skies, fruit, feathers, and silhouette landscapes. Their shapes remain readable when an edge blooms or a wash moves farther than planned. Start at postcard size, limit the palette to two or three colors, and give the painting one job: a smooth gradient, a soft wet-on-wet blend, a dry-brush texture, or a clean dark accent.
- For soft edges: paint a cloudy sky, misty hills, or loose petals.
- For brush control: try a leaf, feather, mushroom, or single piece of fruit.
- For color mixing: use a sunset, koi fish, or a limited-palette abstract.


Fundamentals of Watercolor Painting
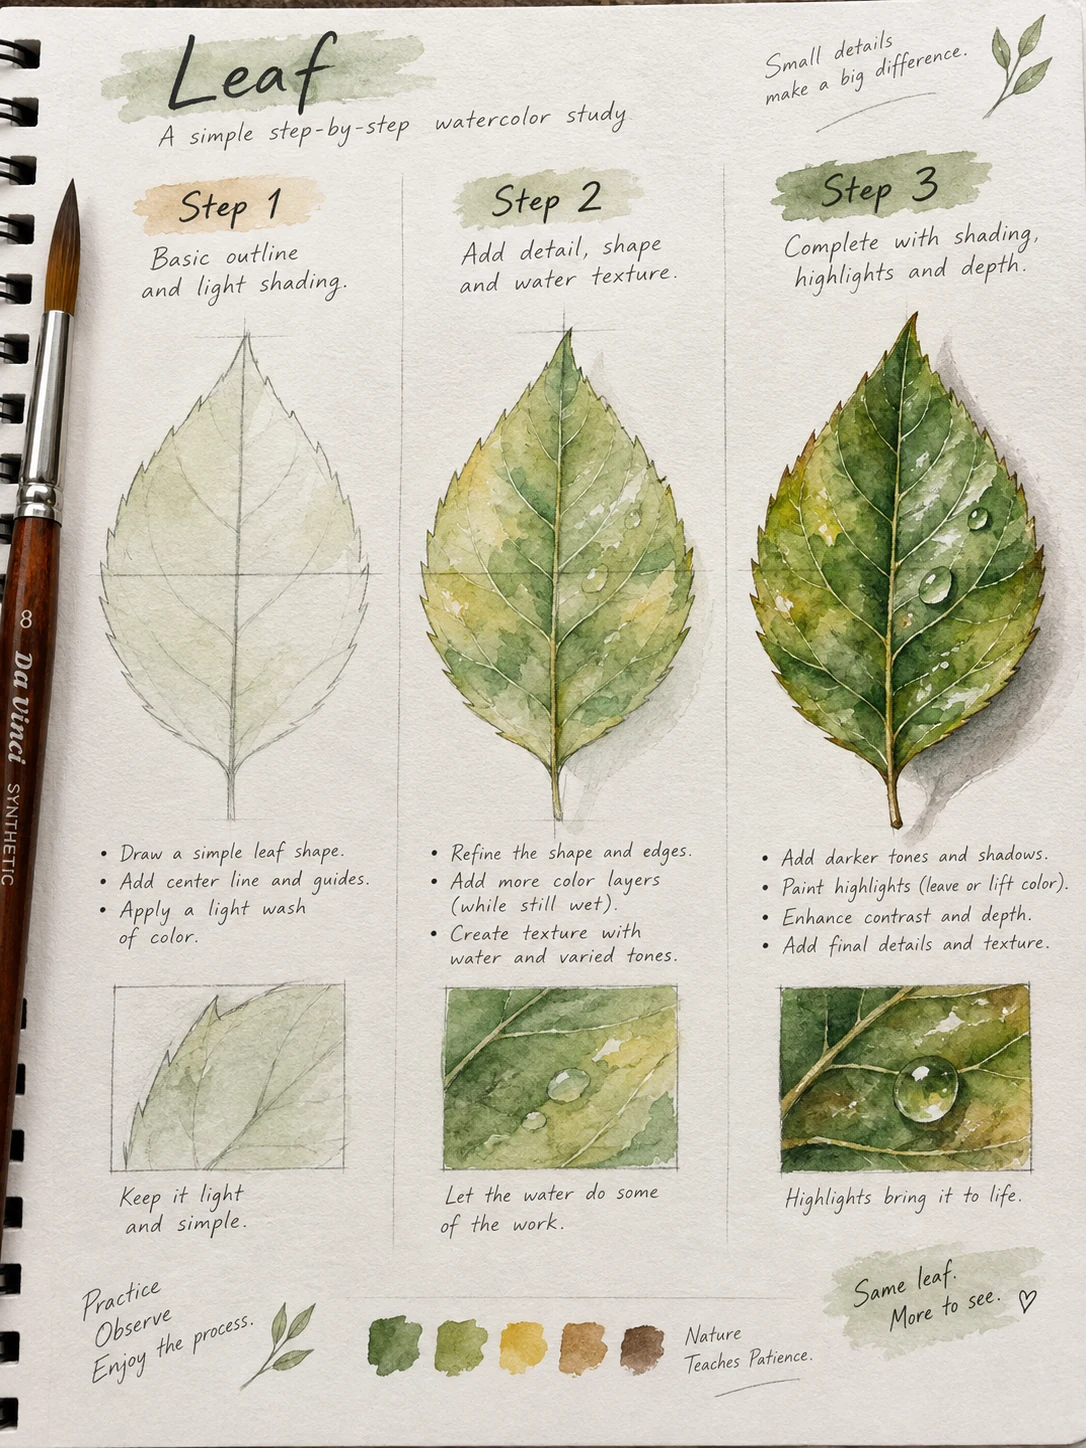
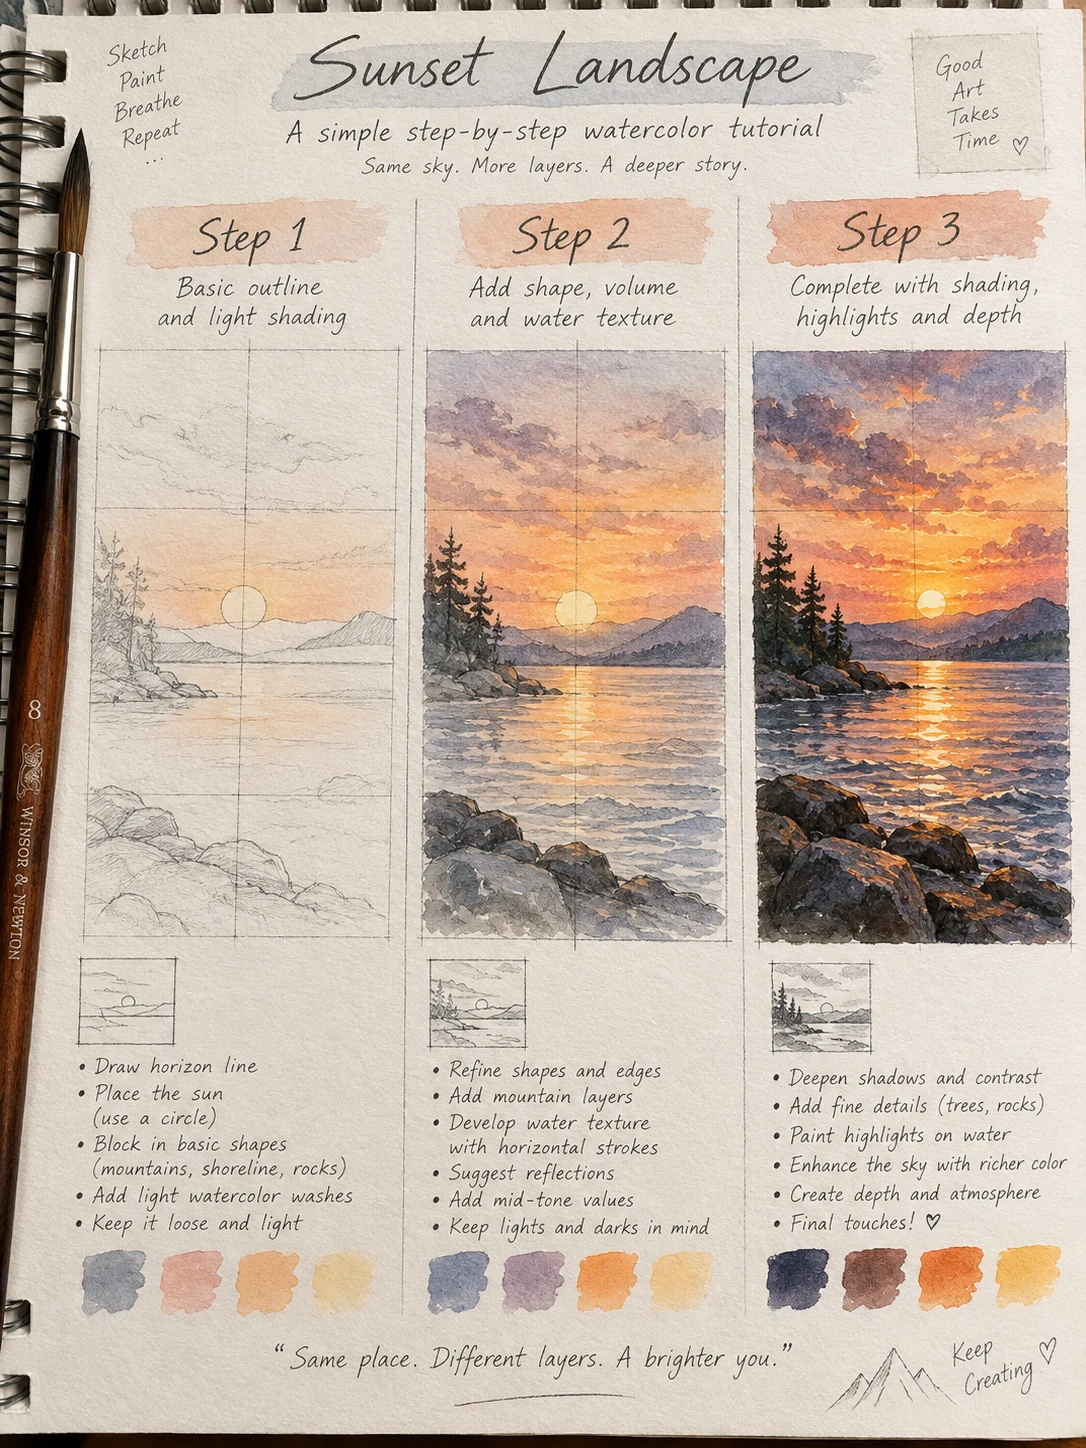
Good watercolor painting starts with water control, not detail. Test the brush on scrap paper: a glossy puddle will spread, a damp surface will soften the edge, and dry paper will hold a crisp mark. Use the step-by-step watercolor tutorial for a complete study, or compare wet-on-wet, wet-on-dry, lifting, and glazing in the watercolor techniques guide.
Choosing the Right Watercolor Paper
Selecting the right paper is crucial for achieving the desired effects in your watercolor artwork. Watercolor paper comes in three primary textures: rough, cold press (notable for its slight texture), and hot press (smooth surface).
- Weight: Look for paper labeled 200 lb (heavy) or 140 lb (medium). Heavier paper can handle more water without warping.
- Cotton vs. Pulp: Cotton paper is more absorbent and durable, while pulp paper is usually less expensive but may not perform as well under heavy washes.
Using high-quality paper allows for better paint adherence and richer color mixability, influencing the overall outcome.
Understanding Watercolor Paints
Watercolor paints are primarily made from pigments suspended in a water-soluble binder. Familiarize yourself with the types of watercolor paints available:
- Student Grade: Affordable and ideal for beginners, these paints may have less pigment concentration.
- Artist Grade: Higher pigment quality leads to richer colors and better permanence, suitable for serious artists.
When choosing colors, focus on a palette that includes primaries and secondary shades. This strategic selection helps with blending and creating a broad range of hues.
Watercolor Painting Techniques
Learning various techniques can greatly improve your ability to manipulate watercolor paints. Some foundational techniques include:
- Wet-on-Wet: Applying wet paint onto wet paper creates soft edges and fluid blends.
- Wet-on-Dry: This technique involves painting wet watercolor onto dry paper, resulting in sharper lines.
- Layering: Building layers of color allows for depth and richness. Always let each layer dry before adding another.
Experimenting with these techniques will encourage you to find your unique style while enhancing your overall skills in watercolor painting.


Materials and Tools
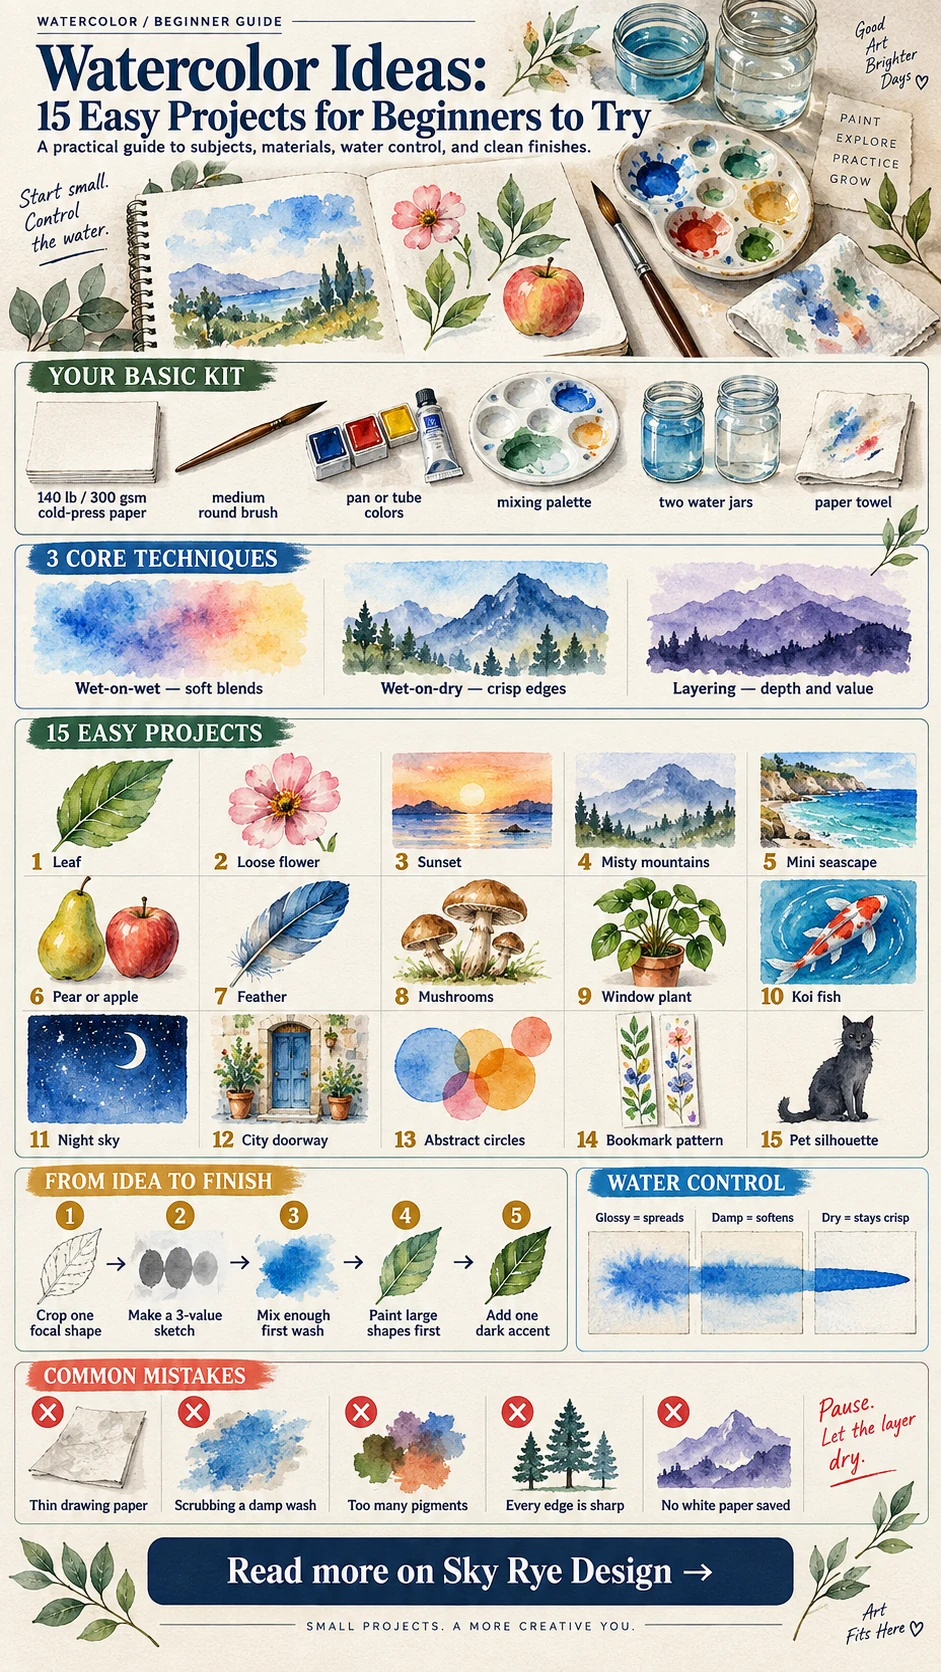
A small, reliable setup is more useful than a large box of supplies. Start with 140 lb / 300 gsm watercolor paper, one medium round brush, a mixing palette, two water jars, a paper towel, and a compact pan or tube set. The paper matters most: thin sketch paper buckles quickly and makes water control harder to judge.
Selecting Quality Brushes
When it comes to watercolor brushes, the quality directly impacts your painting. Look for brushes made with natural or high-quality synthetic fibers. Natural hair brushes, like those made from sable or squirrel, offer excellent water retention and delicate application.
Consider sizes and shapes:
- Round Brushes: Versatile for details and washes.
- Flat Brushes: Ideal for bold strokes and washes.
- Fan Brushes: Great for texture and foliage.
Invest in a few sizes to cover different techniques. Regular cleaning and proper storage will prolong the life of your brushes, ensuring effective performance.
Exploring Liquid Watercolors
Liquid watercolors provide a vibrant alternative to traditional tube or pan paints. They mix easily with water, allowing for smooth application and beautiful blending. Liquid watercolors are also beneficial for techniques like pouring or using with mixed media.
You can use them in various ways:
- Diluted for washes: They create transparent effects.
- Concentrated for bold color: Ideal for dramatic highlights and details.
Available in sets or individually, selecting a range of colors allows for creative flexibility. Make sure to use quality brands to ensure rich pigmentation and consistency.
Additional Accessories
In addition to brushes and paints, certain accessories elevate your watercolor experience. Start with watercolor paper, which should be thick enough to handle water. Hot press paper is smooth for detailed work, while cold press offers texture for washes.
Other important accessories include:
- Masking Tape: To secure paper and create clean edges.
- Masking Fluid: Protects areas of your painting from being painted over.
- Water Containers and Paper Towels: Essential for cleaning brushes and managing paint flow.
Having these materials at hand will streamline your painting process and enhance your overall results.


Watercolor Painting Styles
Exploring various styles of watercolor painting can enhance your artistic skills and allow for personal expression. Different techniques can produce stunning effects and help you find your unique voice in watercolor.
Realism in Watercolor
Realism in watercolor focuses on accurate representations of subjects. This style emphasizes details, textures, and lighting to create lifelike images.
To achieve realism, consider the following:
- Observation: Study your subject closely.
- Layering: Use transparent layers to build depth.
- Color Mixing: Blend colors to reflect natural tones.
Utilizing fine brushes can help you capture intricate details, while careful application of water can control the flow of your paint. Artists often rely on techniques like wet-on-dry application for sharper edges and clearer features.
Impressionistic Watercolor Techniques
Impressionism with watercolor focuses on capturing light and movement rather than fine detail. This style allows for creative expressions of color and form.
Key aspects include:
- Loose Brushwork: Use broad strokes to create a sense of motion.
- Color Variation: Apply vibrant colors side by side for optical mixing.
- Wet-on-Wet Technique: Combine pigments on wet paper for soft, blended edges.
By prioritizing the overall effect and mood, you can convey emotions through your artwork. Impressionism encourages spontaneity, allowing your intuition to guide your choices.
Abstract Watercolor Exploration
Abstract watercolor explores concepts beyond realistic representation. It emphasizes feelings, colors, and shapes, offering a more personal interpretation of subjects.
When working in this style:
- Freedom of Expression: Allow your emotions to guide your brushstrokes.
- Layering Techniques: Experiment with washes, splatters, and drips to create texture.
- Geometric Shapes: Incorporate lines and shapes for contrast against fluid forms.
Abstract painting invites you to break away from traditional constraints, enabling you to experiment with color combinations and forms. This exploration can lead to unexpected and captivating results that resonate with viewers.


15 Easy Watercolor Ideas to Paint
Choose the project by the skill you want to practise, not by how impressive the finished picture looks. The list below moves from single shapes to small scenes. For more subject references, browse these watercolor painting ideas; for looser marks and mixed media, see the creative watercolor guide.
| Project | Main technique | Useful constraint |
|---|---|---|
| 1. Single leaf | Wet-on-dry shape | Use one green and vary only the water |
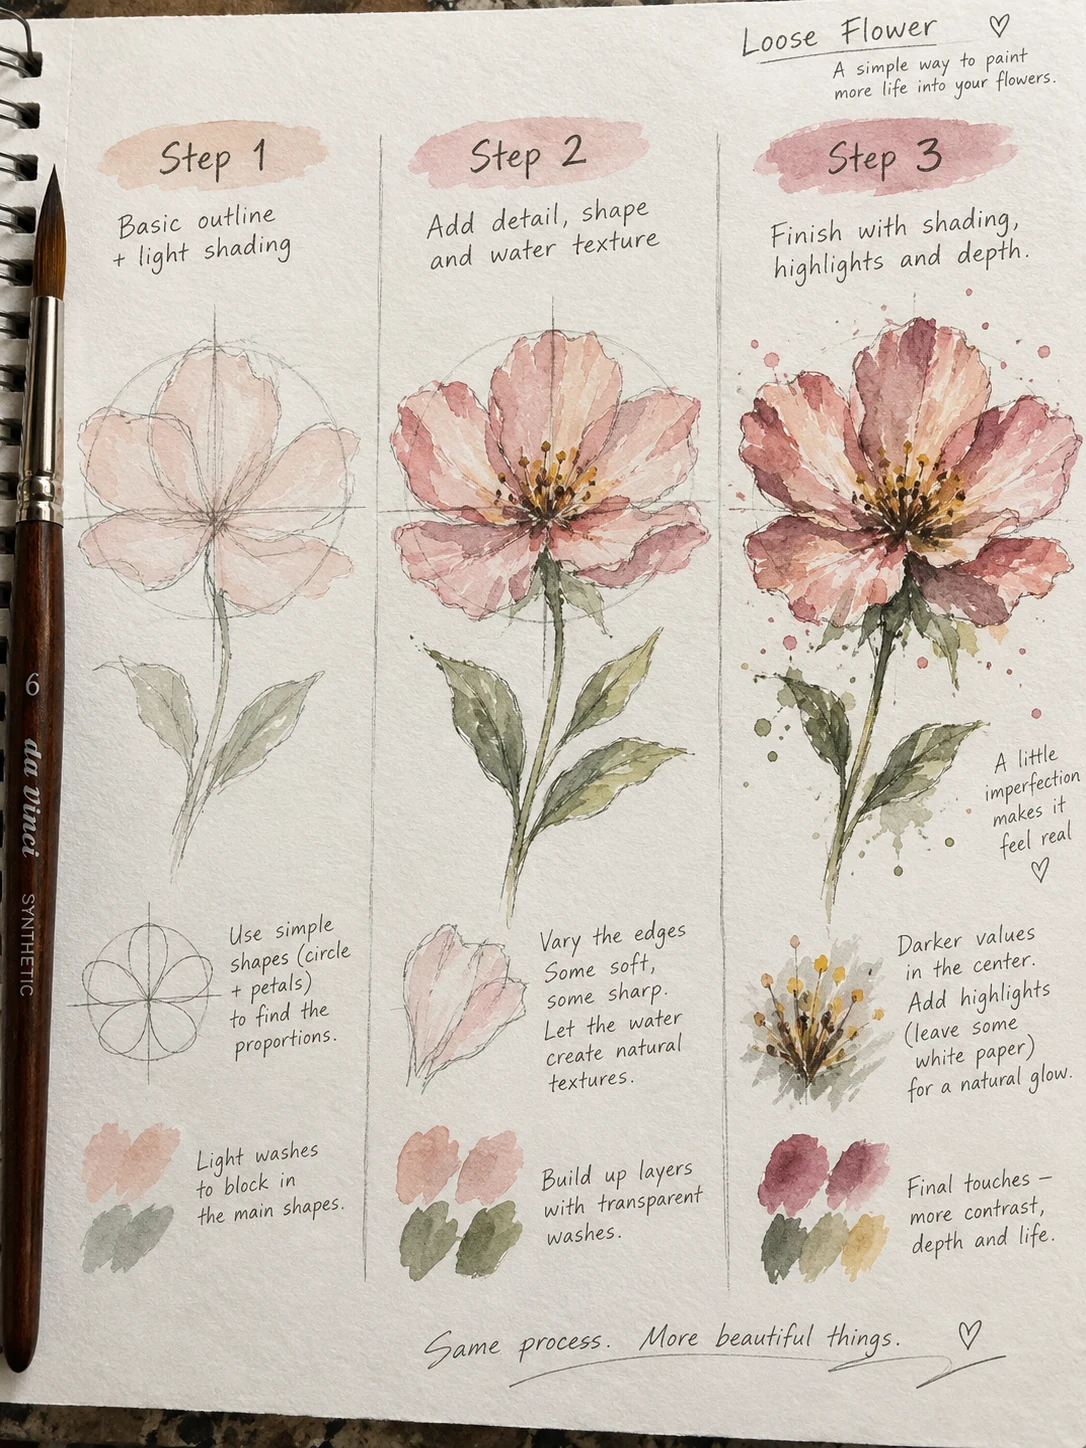
| 2. Loose flower | Wet-on-wet petals | Leave a dry gap around the center |
| 3. Sunset strip | Graded wash | Blend two colors before the paper loses its sheen |
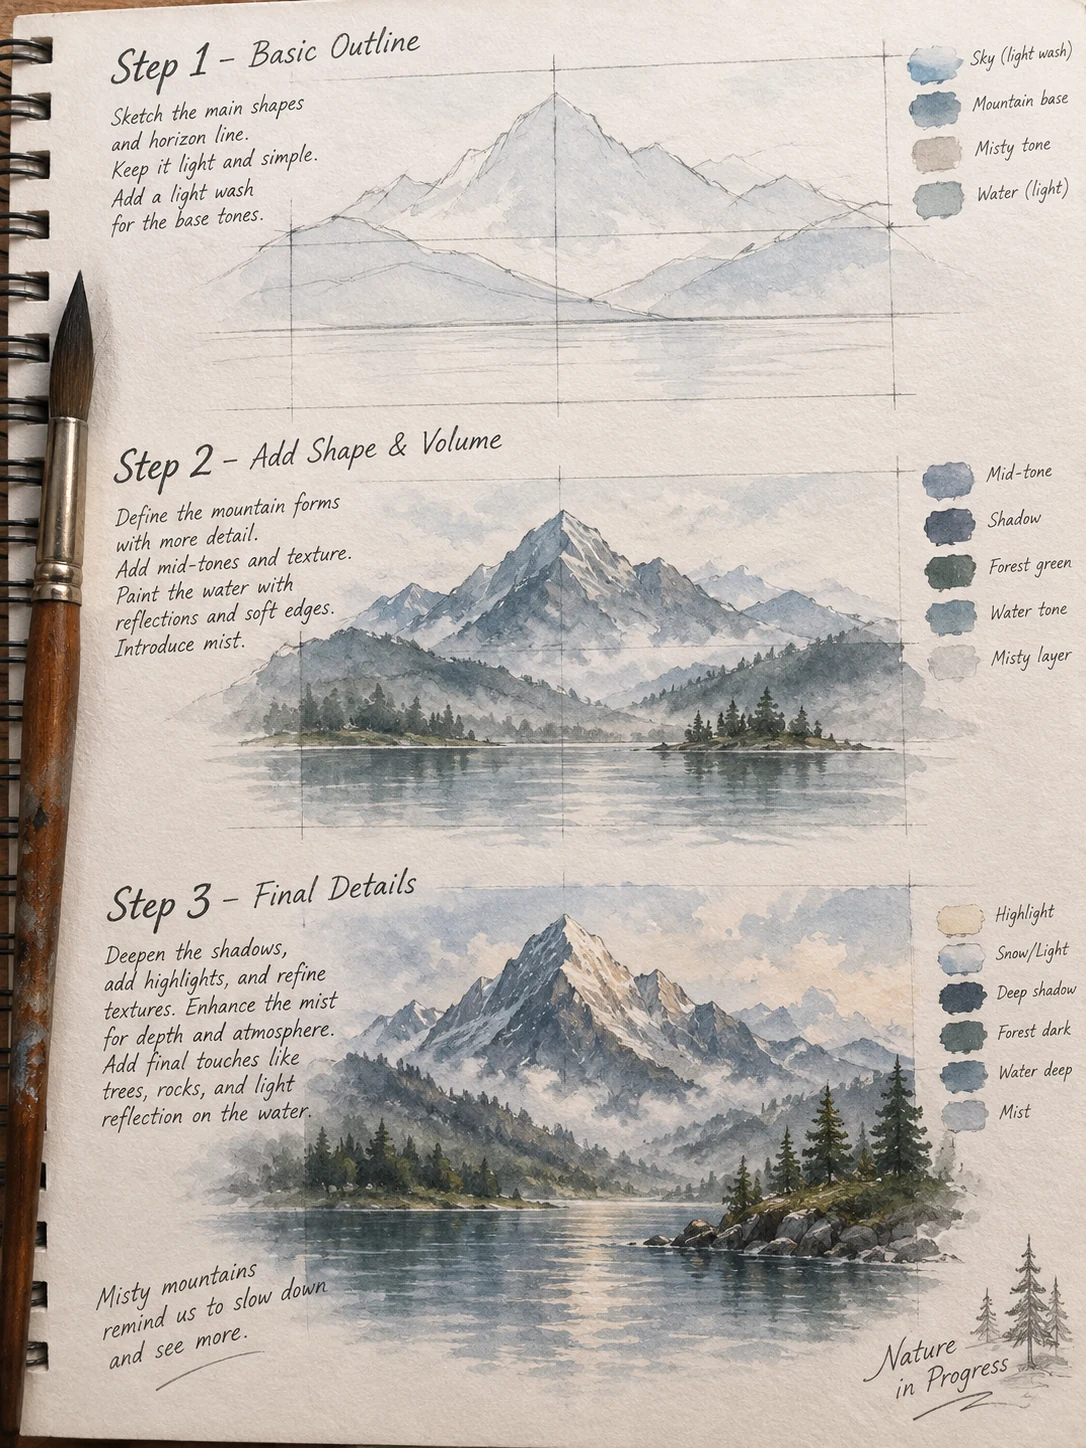
| 4. Misty mountains | Layered values | Keep distant ridges pale and cool |
| 5. Mini seascape | Horizontal washes | Place the horizon above or below the center |
| 6. Pear or apple | Form shadow | Reserve a dry highlight and soften the shadow edge |
| 7. Feather | Fine brush control | Paint the shaft first, then pull strokes outward |
| 8. Mushroom pair | Simple shapes | Overlap the caps to create depth |
| 9. Window plant | Negative space | Keep the brightest window area unpainted |
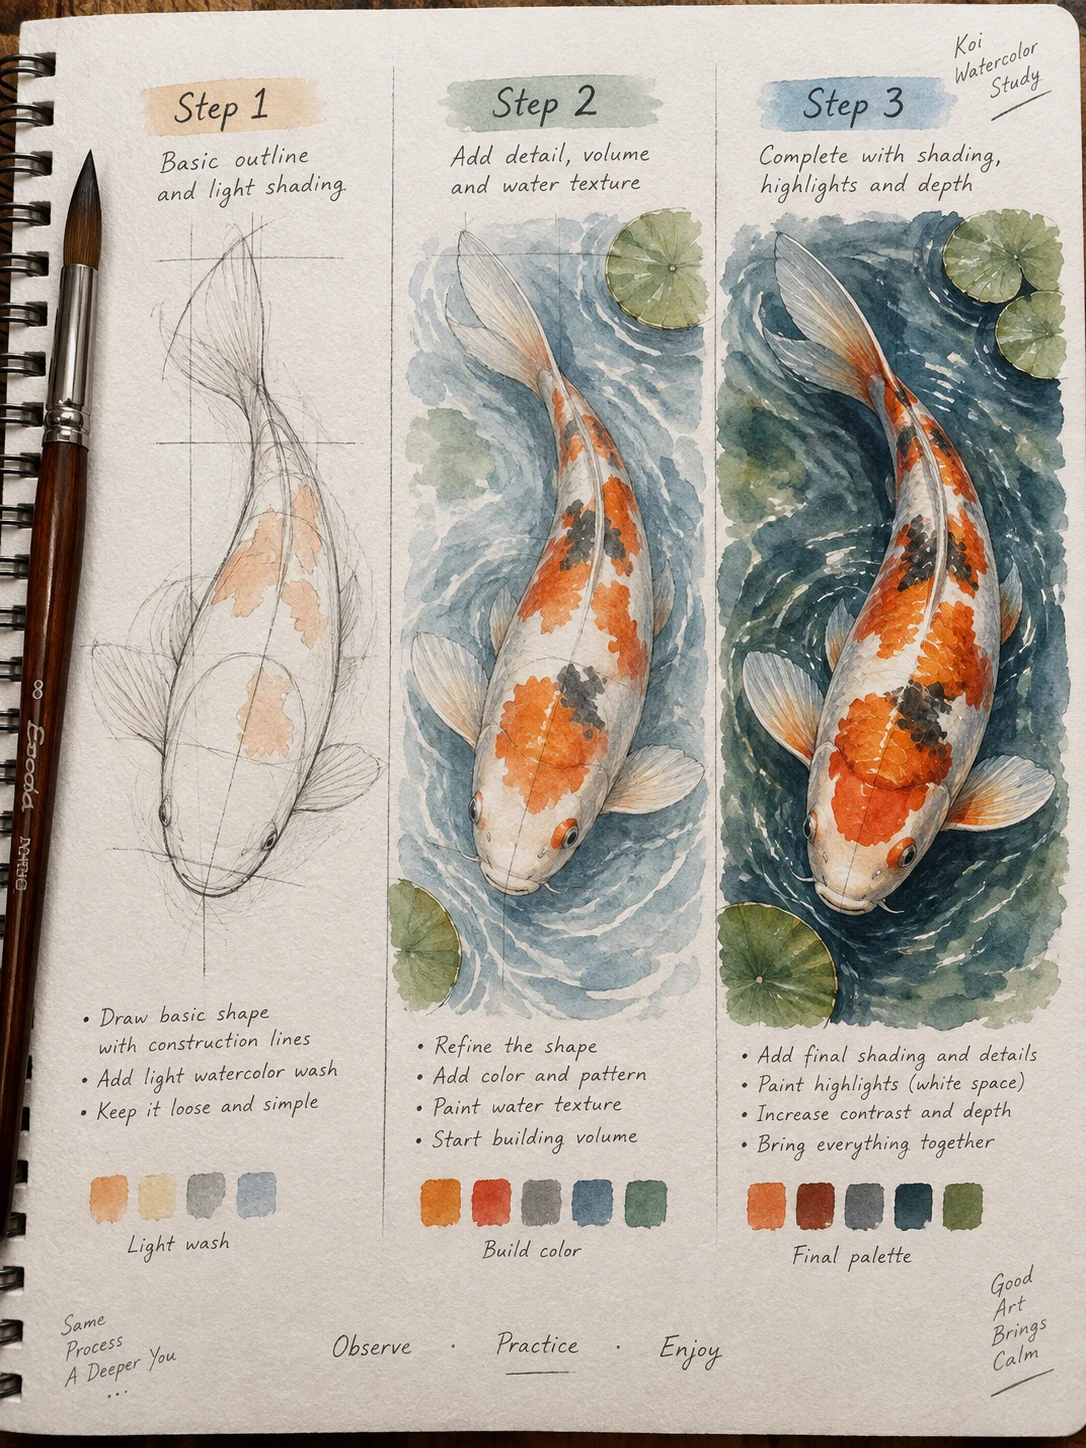
| 10. Koi fish | Color mingling | Drop warm color into a damp fish shape |
| 11. Night sky | Wet wash and lifting | Lift a pale cloud before the wash dries |
| 12. City doorway | Wet-on-dry edges | Use one dark doorway as the focal point |
| 13. Abstract circles | Transparency | Overlap only after the first shapes dry |
| 14. Bookmark pattern | Repeated brush marks | Repeat one motif with varied spacing |
| 15. Pet silhouette | Shape and value | Check the outline before adding any interior detail |
Landscape Painting in Watercolor
Landscape painting allows you to capture nature’s beauty using vivid hues and intricate details. Start by selecting a scene that resonates with you, such as mountains, forests, or oceans.
Techniques to Consider:
- Wet-on-Wet: This involves applying wet paint onto a wet surface, allowing colors to blend effortlessly.
- Dry Brush: Use a dry brush to create texture in grassy areas or rocky elements.
Pay attention to the use of bright colors to reflect the mood of the landscape. Experiment with layering washes to build depth and add dimension to your work.
Portraits and Figures with Watercolor
Creating portraits or figures challenges your ability to depict human emotions and characteristics. Begin with light sketching to outline features before filling them with color.
Focus on:
- Facial Features: Use a mix of skin tones, considering the effects of light and shadow.
- Dynamic Poses: Capture movement by portraying figures in action, enhancing interest and engagement.
Incorporate bright accents for clothing and backgrounds to draw attention to your subjects. This approach will bring life and vitality to your artwork.
Modern Watercolor Approaches
Adapting modern techniques can elevate your watercolor practice. Explore unconventional methods to push the boundaries of traditional painting.
Ideas to Try:
- Watercolor on Wood: Experiment with using wood as your canvas. This will add texture and a unique finish.
- Watercolor Grounds: Utilize products designed to make non-watercolor surfaces paintable.
For mixed media, let the watercolor dry before adding ink, colored pencil, or pastel. Use ink for a few structural lines, pencil for texture, and opaque gouache only for small highlights. If every edge receives an outline, the transparent washes lose their role.
How to Turn an Idea into a Finished Watercolor
- Crop the subject. Choose one focal shape and leave space around it instead of squeezing a full scene onto the page.
- Make a value sketch. Mark the light, middle, and darkest areas in pencil. Three values are enough for a small study.
- Mix the first wash. Prepare enough color before wetting the paper; remixing halfway through often creates a hard seam.
- Paint large shapes first. Save stems, windows, eyes, and other small marks until the broad washes are dry.
- Add one dark accent. Place it near the focal point, then stop and check whether the painting already reads at arm’s length.
Keep a clean paper towel nearby for lifting and use a second water jar for the final light washes. Muddy color often comes from a dirty brush or from returning to a damp area too soon, not from choosing the wrong subject.

Improving Your Watercolor Skills
Short studies make progress easier to see. Paint the same leaf, sky, or cup three times while changing only one variable: brush moisture, pigment strength, or paper wetness. Keep the strongest versions when building a portfolio, and use the broader artist career guide if you want to turn a regular practice into professional work.
Practice and Patience
Regular practice is essential for mastering watercolor techniques. Set aside dedicated time each week to paint. Working on smaller pieces can help you refine your skills without the pressure of a larger canvas.
Utilize different techniques such as wet-on-wet, wet-on-dry, and layering to see how water levels affect your results.
Consider maintaining a sketchbook to experiment with color mixing and composition without the stress of creating a finished piece. Remember, patience is key; improvement comes with persistence over time.
Workshops and Online Classes
Participating in workshops or taking online classes can significantly elevate your skills. Look for local art centers or community colleges offering watercolor courses. These provide hands-on guidance from experienced instructors.
Online platforms like YouTube have plenty of tutorials, focusing on everything from brush techniques to specific subjects like florals or landscapes. A structured curriculum can accelerate your learning curve.
Engaging with other artists in these settings offers invaluable feedback and inspiration. Find a community that encourages sharing and collaboration.
Building a Watercolor Portfolio
Creating a portfolio showcases your artistic journey and progress. Begin by selecting your best works to demonstrate your range and development.
Organize your pieces by themes or techniques employed. This helps in tracking improvement and provides clarity when sharing your work.
Consider photographing your paintings in good lighting to present them well. Online platforms like Instagram can serve as a digital portfolio, allowing you to connect with other artists and receive constructive critiques.
A well-curated portfolio will reflect not just your skills but also your unique style as a watercolor artist.
Common Watercolor Mistakes
- Using drawing paper: thin paper buckles and dries unevenly. Use watercolor paper, ideally 140 lb / 300 gsm.
- Scrubbing a damp wash: repeated strokes lift pigment and damage the surface. Let the layer dry, then glaze over it.
- Mixing too many pigments: limit most mixtures to two colors and test them on scrap paper before the final sheet.
- Painting every edge sharply: keep the focal point crisp and allow background edges to soften or disappear.
- Saving no white paper: mark the brightest highlights before the first wash and paint around them.
What are the essential basics I need to know before starting watercolor painting?
Understanding the fundamentals of watercolor painting involves selecting appropriate materials like suitable paper and paints, and mastering foundational techniques to improve your skills and achieve desired effects.
How do I choose the right watercolor paper for my artwork?
Select watercolor paper based on texture—rough, cold press, or hot press—and weight, such as 200 lb or 140 lb, ensuring it matches your project needs; cotton paper offers better absorption and durability for quality results.
What are the different types of watercolor paints and which should I choose?
Watercolor paints come in student grade, which are affordable and lower in pigment, and artist grade, which are more vibrant and durable; choosing the right type depends on your level of experience and artistic goals.
What core techniques should I learn to improve in watercolor painting?
Key techniques include wet-on-wet for soft blends, wet-on-dry for sharper details, and layering to build depth, all of which enhance your ability to manipulate watercolor paints effectively.
How can I develop and improve my watercolor painting skills over time?
Consistent practice, participating in workshops or online courses, maintaining a sketchbook for experimentation, and building a portfolio are vital strategies for artistic growth and skill development in watercolor art.
- 903shares
- Facebook0
- Pinterest900
- Twitter3
- Reddit0