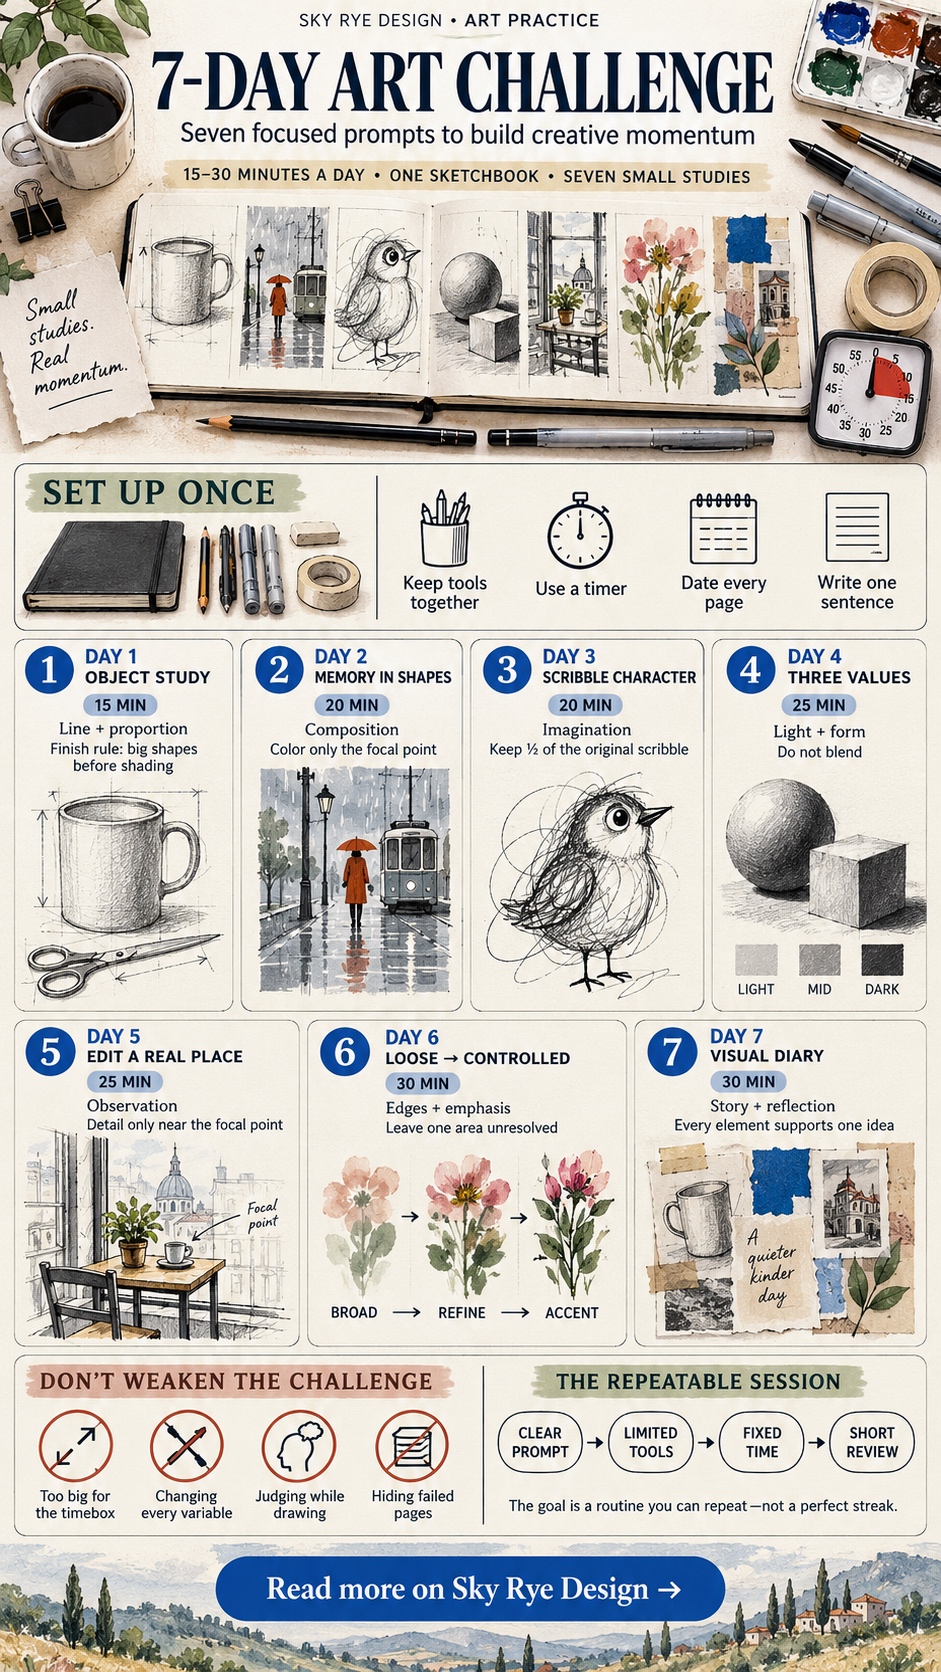
This 7-day art challenge gives you one focused assignment a day, with a clear finish line. Each session takes 15-30 minutes and uses basic supplies: a sketchbook, pencil, pen, a dark marker, and any color medium you already own. The aim is to produce seven small studies, not seven polished portfolio pieces.
- Your 7-day art challenge at a glance
- How to use the challenge
- Day 1: Draw an everyday object in six minutes
- Day 2: Build a memory from simple shapes
- Day 3: Turn a scribble into a character
- Day 4: Describe light with three values
- Day 5: Edit a real place into a clear sketch
- Day 6: Move from loose marks to controlled edges
- Day 7: Create one visual diary page
- Printable 7-day art challenge tracker
- Common mistakes that weaken the challenge
- What to draw after the seven days
Keep the same start time and workspace when you can. Date every page, stop when the timer ends, and write one sentence about what worked. By day seven, you will have practised line, shape, value, observation, brush control, and visual storytelling without repeating the same exercise.
Your 7-day art challenge at a glance
| Day | Prompt | Time | Main skill | Difficulty |
|---|---|---|---|---|
| 1 | Six-minute object study | 15 min | Line and proportion | Beginner |
| 2 | Draw a memory from simple shapes | 20 min | Composition | Beginner |
| 3 | Turn a scribble into a character | 20 min | Imagination | Beginner |
| 4 | Use only three values | 25 min | Light and form | Intermediate |
| 5 | Sketch a place from observation | 25 min | Editing a scene | Intermediate |
| 6 | Loose-to-controlled brush study | 30 min | Edges and emphasis | Intermediate |
| 7 | Build a visual diary page | 30 min | Story and reflection | Intermediate |
How to use the challenge
Choose a cue you can repeat, such as sitting down after breakfast or opening your sketchbook before evening screen time. Research on context stability and habit building found that repeating an action in a stable context supported automaticity and goal completion. Seven days will not guarantee a permanent habit, but it is long enough to test a routine and remove some of the friction around starting.
- Prepare once: keep the sketchbook and tools together for the whole week.
- Use a timer: stopping on time is part of the exercise.
- Do not restart: correct on the same page instead of hiding mistakes.
- Missed a day? Continue with the next prompt. Do not turn one missed session into a catch-up marathon.
Day 1: Draw an everyday object in six minutes
Materials: pencil or fineliner, sketchbook, timer. Difficulty: beginner. Timebox: two six-minute sketches plus three minutes to compare them.
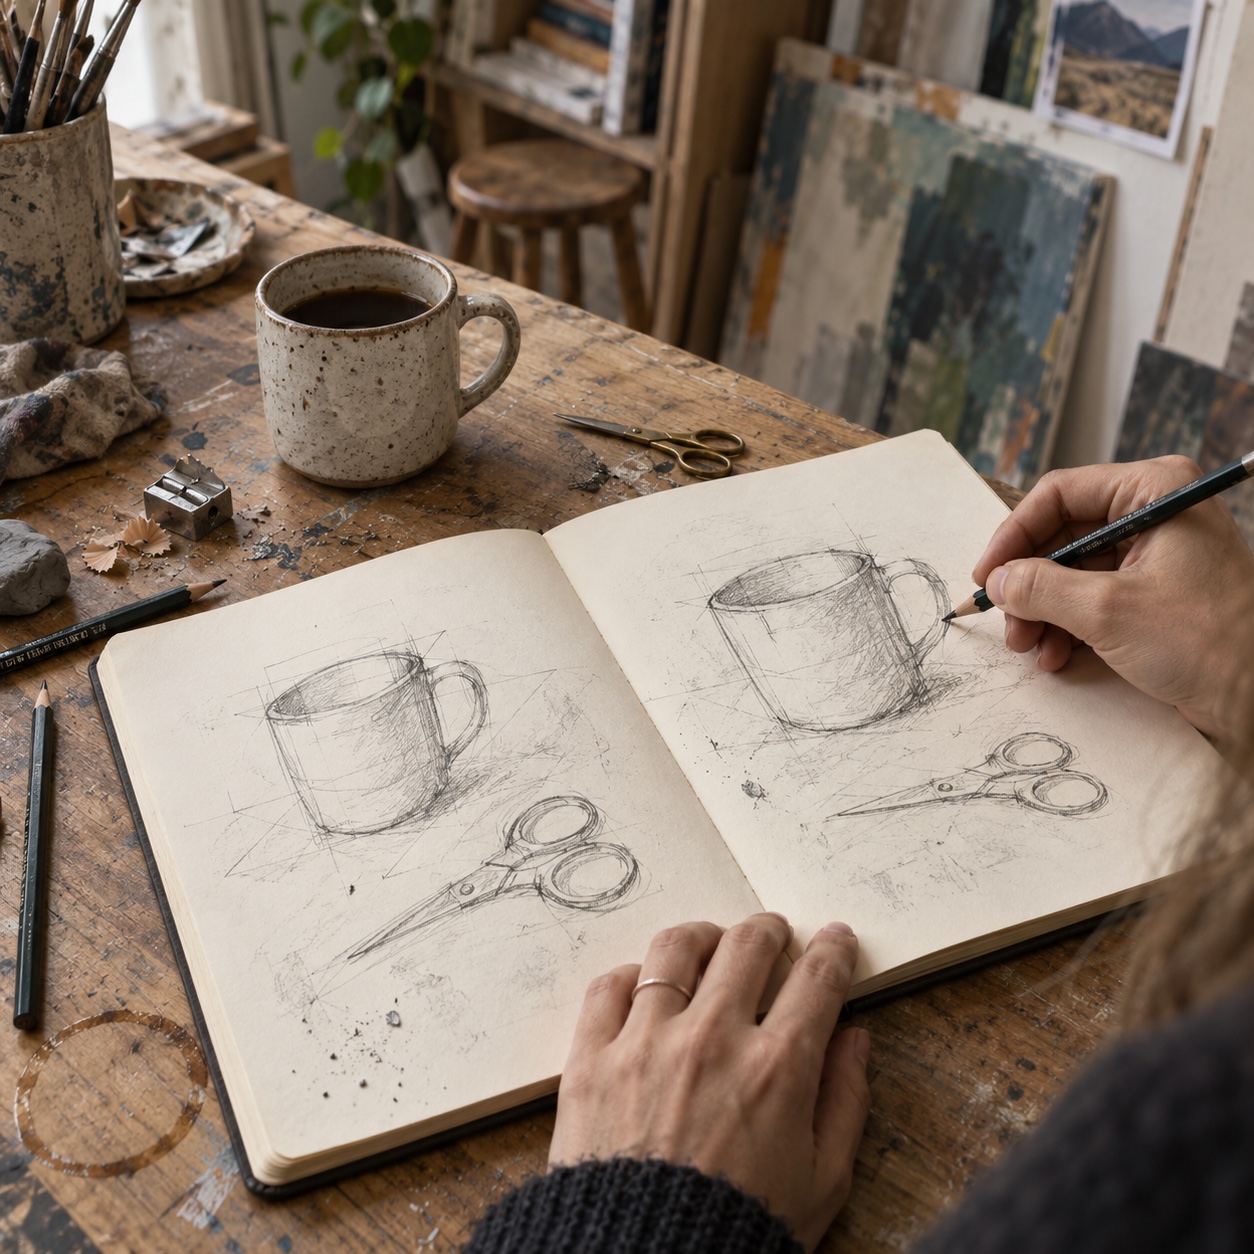
Put a mug, shoe, plant, or pair of scissors in front of you. For the first sketch, draw the outside contour and the largest internal divisions. For the second, begin with the object’s main angle and compare widths before adding details. These short studies should feel closer to a warm-up than an illustration. If you need more subjects later, keep a page of simple sketchbook ideas ready.
Finish rule: no shading until the big proportions are in place. Reflection: which measurement would have prevented the largest error? This is the first design habit I check in a thumbnail: if the silhouette is weak, added texture rarely saves it.
Day 2: Build a memory from simple shapes
Materials: pencil, eraser, one colored pencil. Difficulty: beginner. Timebox: 20 minutes.
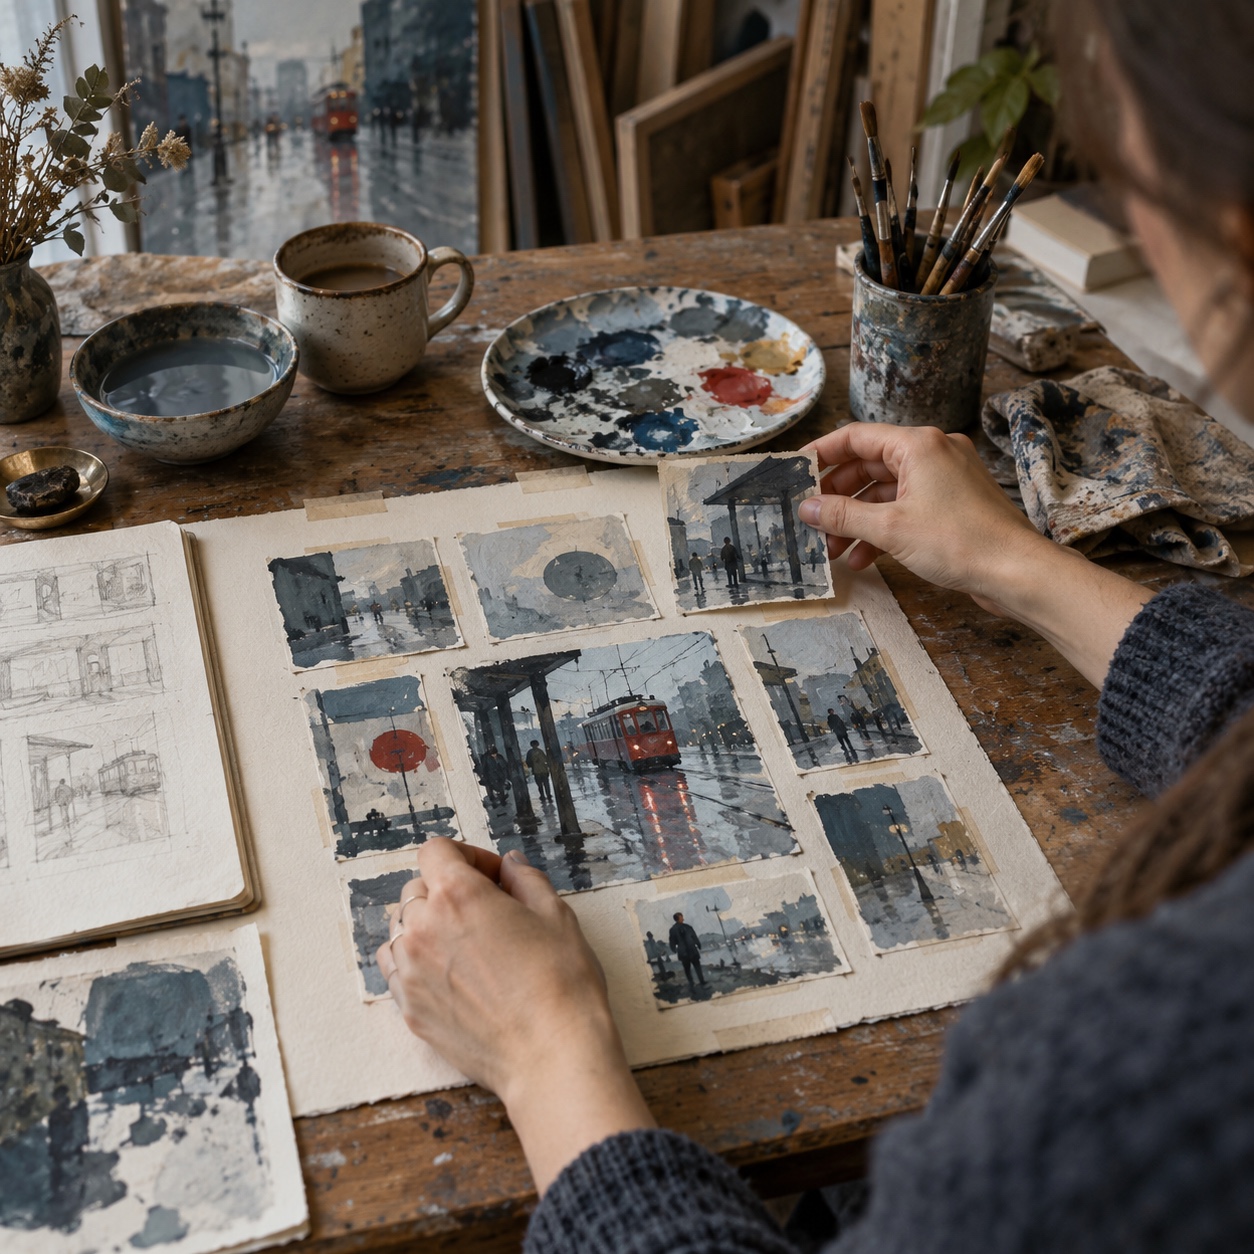
Choose a small memory with a clear place and action: waiting for a train, eating outside, walking home in rain, or sitting beside a window. Write five visual facts before drawing. Block the scene with rectangles, circles, and one directional line, then select a single focal point. The memory does not need photographic accuracy; it needs a readable arrangement. A short set of drawing exercises for creativity can supply another prompt if your first idea feels too broad.
Finish rule: use the colored pencil only on the focal point. Reflection: can another person tell where to look first? If not, simplify the background rather than adding detail.
Day 3: Turn a scribble into a character
Materials: pen, marker, optional colored pencils. Difficulty: beginner. Timebox: 20 minutes.
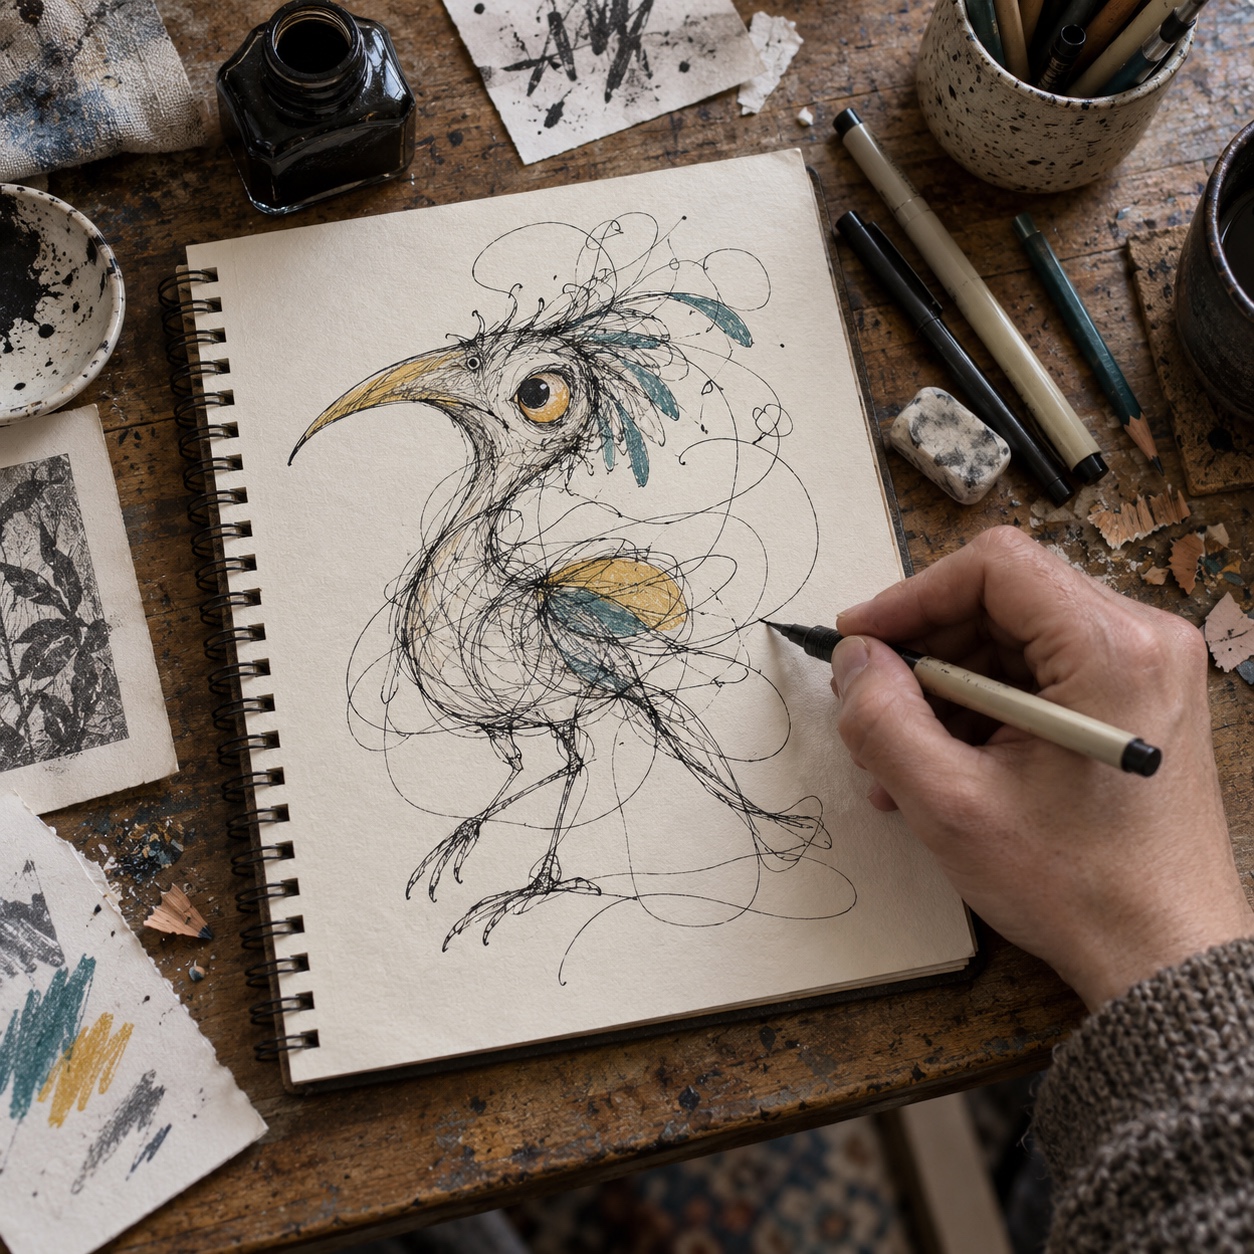
Fill a quarter of the page with one continuous looping line. Rotate the sketchbook until you see a head, creature, vehicle, or object inside the marks. Trace the useful contour with a darker pen, erase nothing, and add only the features needed to explain the idea. This approach borrows the playfulness of doodle art while forcing you to edit a messy starting point.
Finish rule: keep at least half of the original scribble visible. Reflection: which accidental line created the strongest idea? If the drawing becomes crowded, review these practical drawing tips and remove secondary marks instead of outlining everything.
Day 4: Describe light with three values
Materials: pencil plus a dark marker, or three grey markers. Difficulty: intermediate. Timebox: 25 minutes.
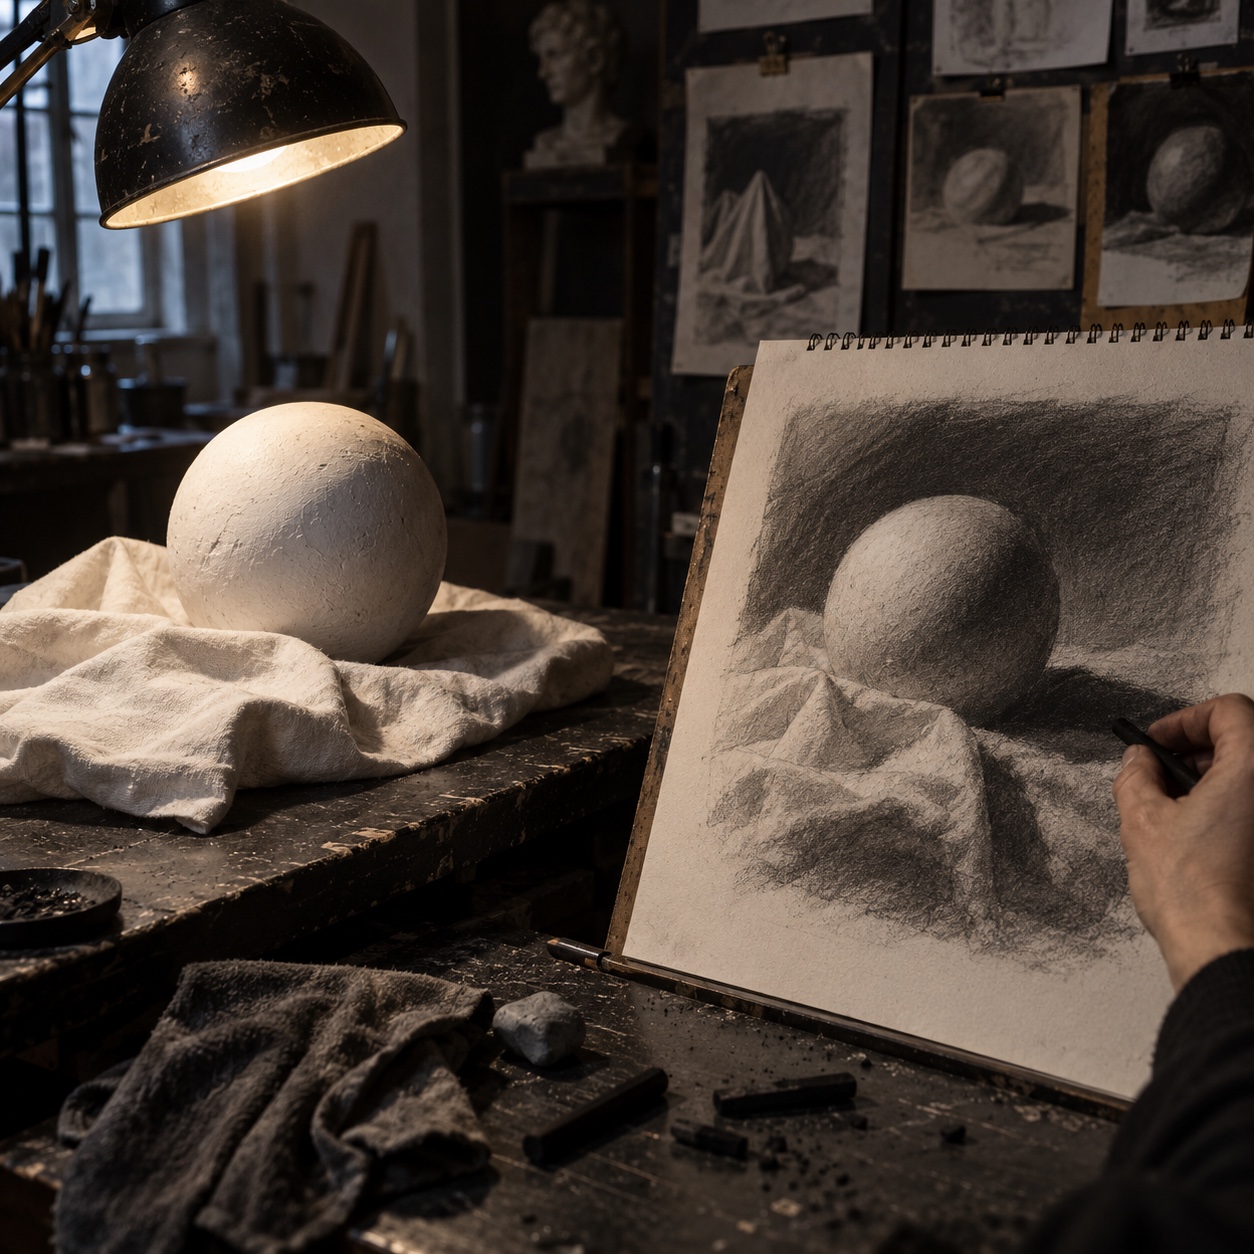
Photograph a simple object near a window, then squint at the reference until details disappear. Divide the image into light, middle, and dark shapes. Leave the light as paper, group most surfaces into the middle value, and reserve the darkest value for the cast shadow and a few accents. The goal is a readable value pattern, not smooth rendering. Use the examples in this shading techniques guide if the shadow edge is difficult to place.
Finish rule: do not blend. Reflection: does the object still read when you view the page from across the room? If it disappears, enlarge the dark shape or simplify the middle value.
Day 5: Edit a real place into a clear sketch
Materials: pen or pencil, optional wash. Difficulty: intermediate. Timebox: 25 minutes.
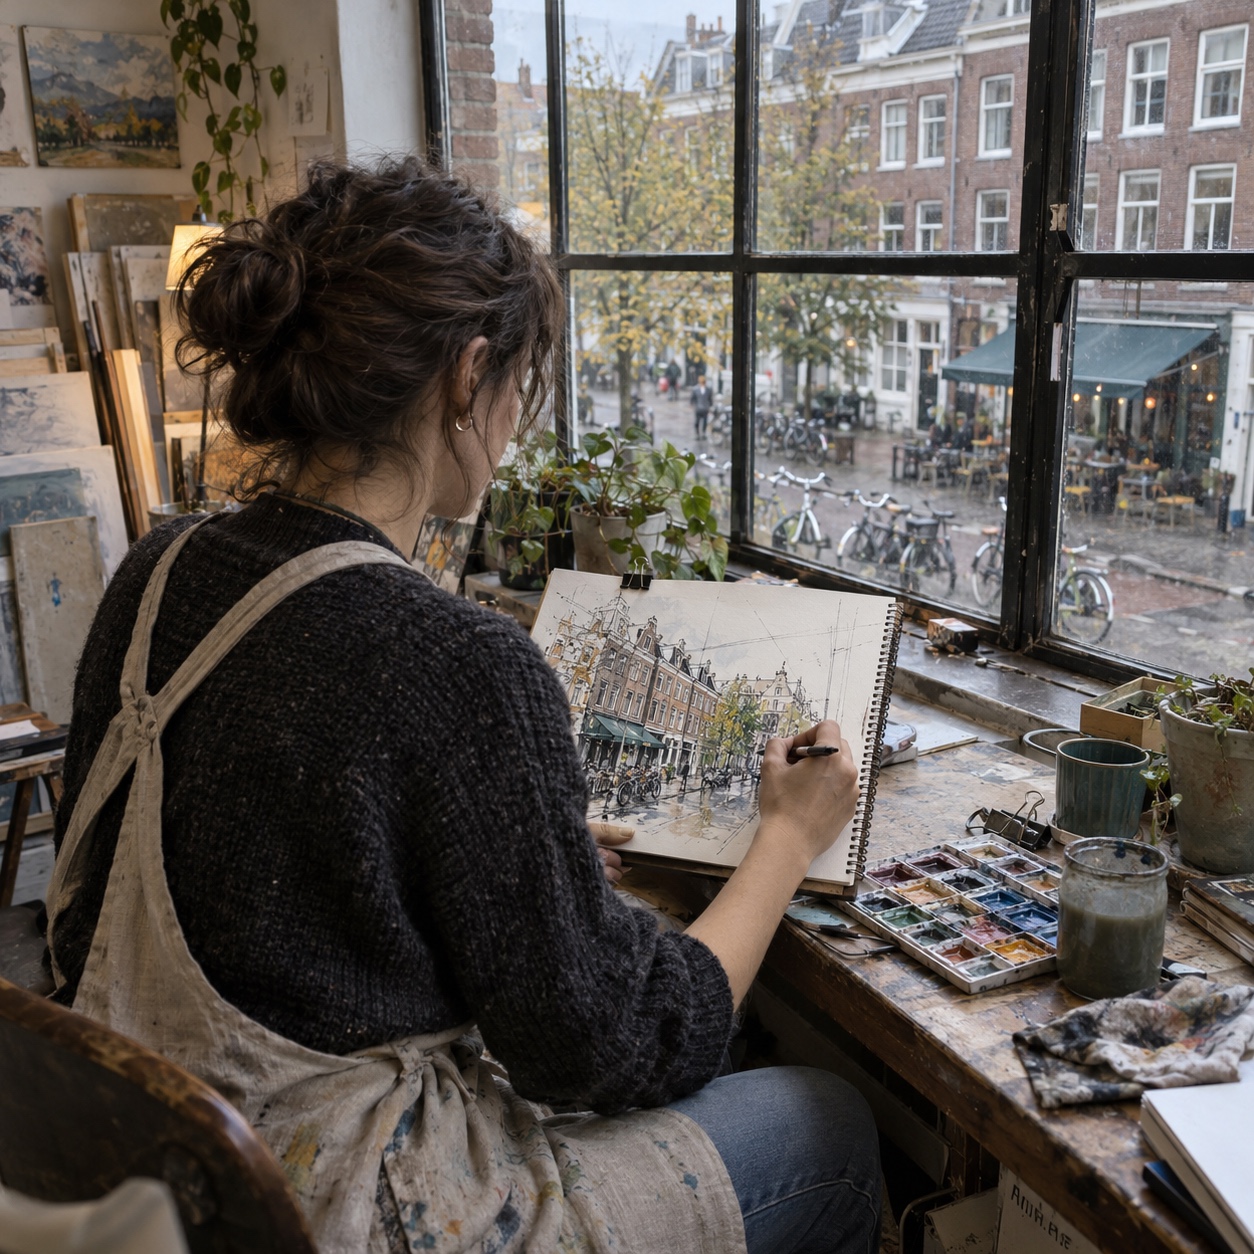
Draw from a window, cafe, park bench, or quiet corner of your home. Start with the horizon and the largest vertical. Choose three elements to keep and deliberately omit the rest. A street scene does not need every window, sign, or chair. The useful skill is deciding what supports the composition. These urban sketching ideas offer location prompts, while the longer urban sketching guide covers observation in more depth.
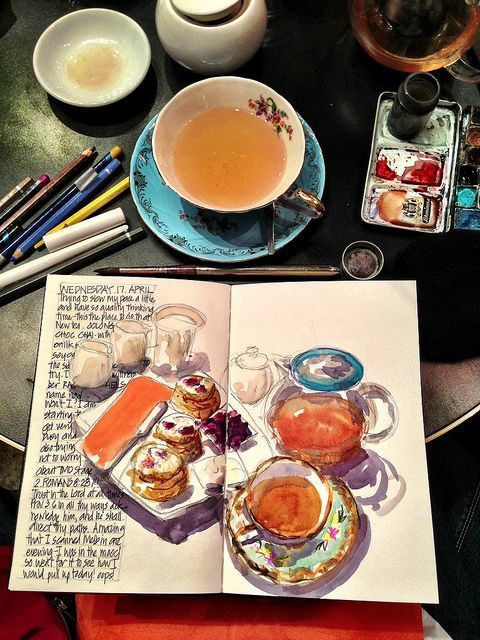
Finish rule: add detail only near the focal point. Reflection: what did you remove, and did the scene become clearer? If you enjoy recording small observations, try turning them into visual notes.
Day 6: Move from loose marks to controlled edges
Materials: watercolor, gouache, ink, or one digital brush. Difficulty: intermediate. Timebox: 30 minutes.
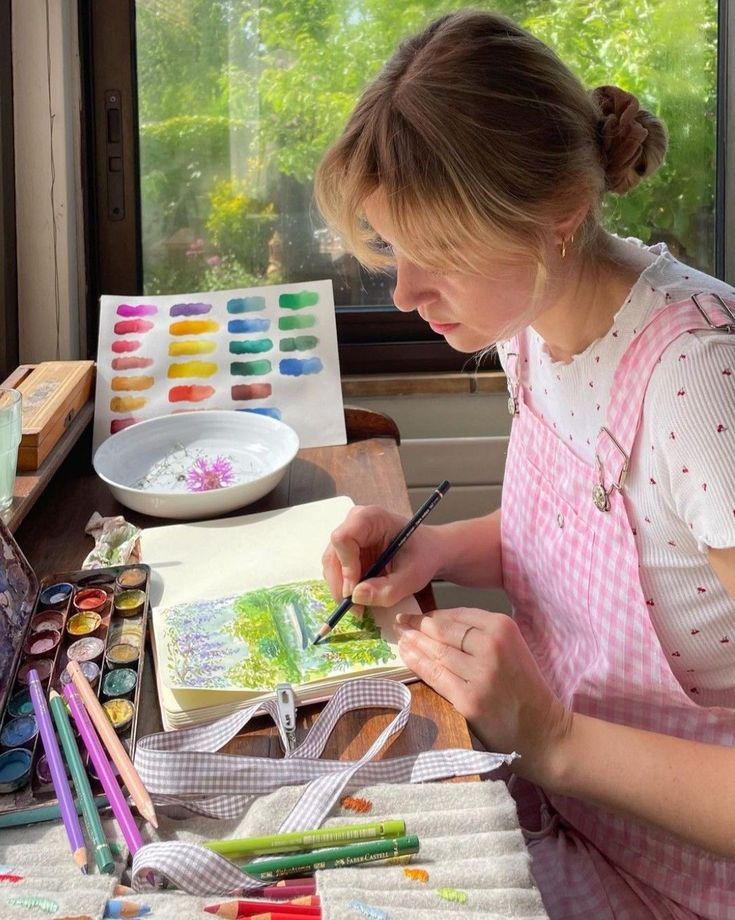
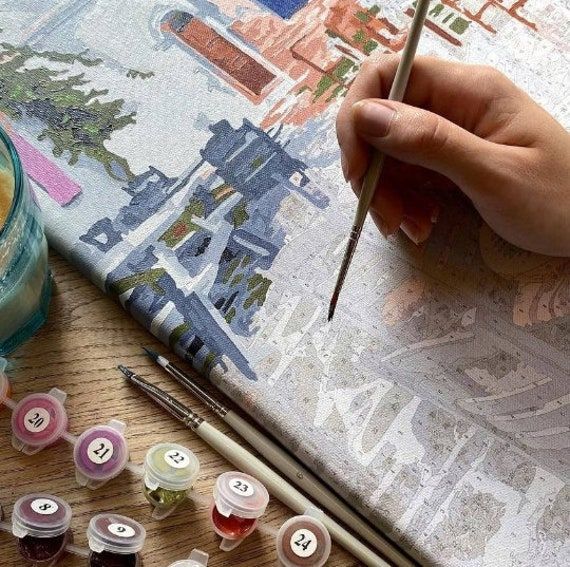
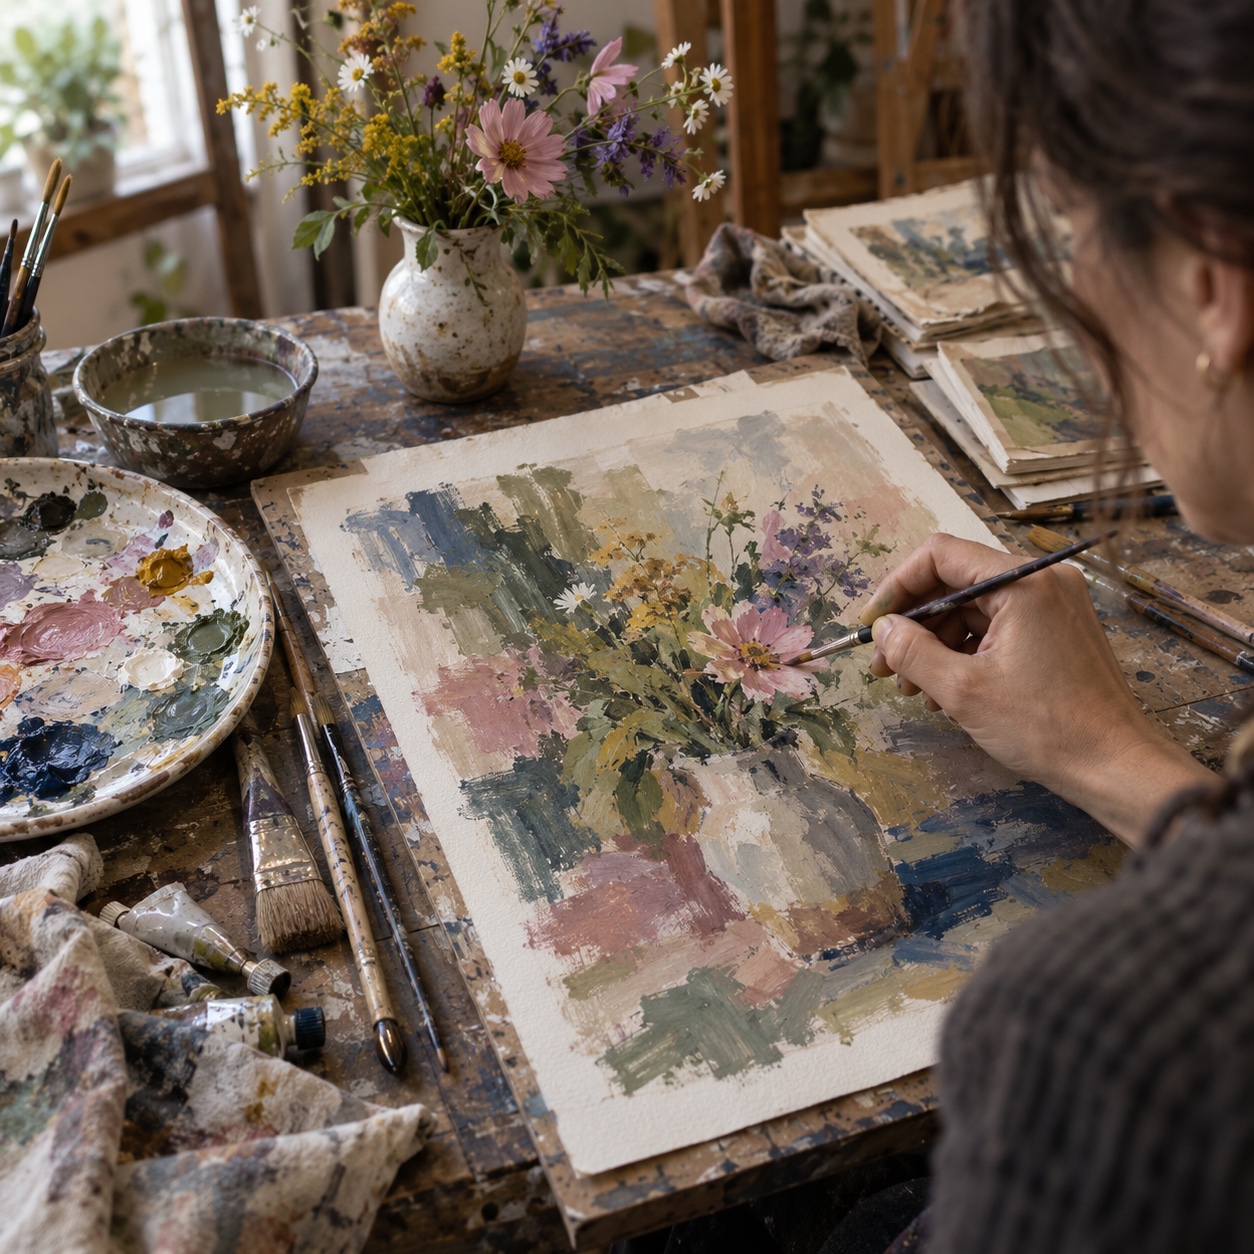
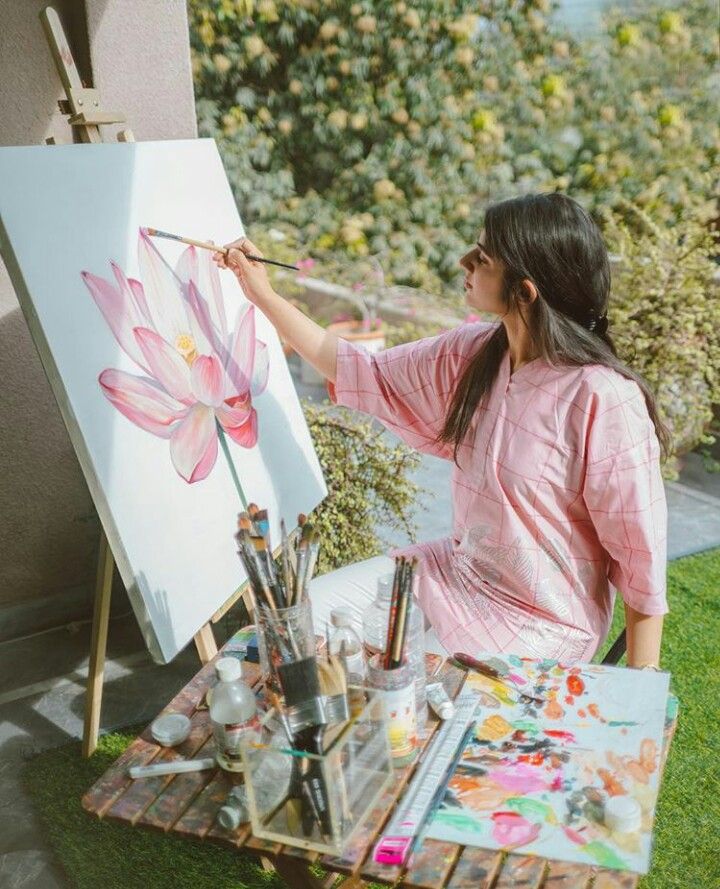
Choose a flower, fruit, bird, or simple landscape. Spend the first ten minutes placing broad shapes with the largest brush you can control. In the next ten, refine only the focal area. Use the final ten to add two or three hard edges and accents. This loose-to-controlled sequence prevents the entire image from becoming equally sharp. Browse these watercolor painting ideas for subject options, or compare the controlled workflow of paint-by-numbers art.
Finish rule: leave at least one area unresolved. Reflection: where does the sharpest edge lead your eye? If every edge competes, soften the least important area rather than sharpening the focal point again.
Day 7: Create one visual diary page
Materials: any tools used during the week, glue or tape if needed. Difficulty: intermediate. Timebox: 30 minutes.
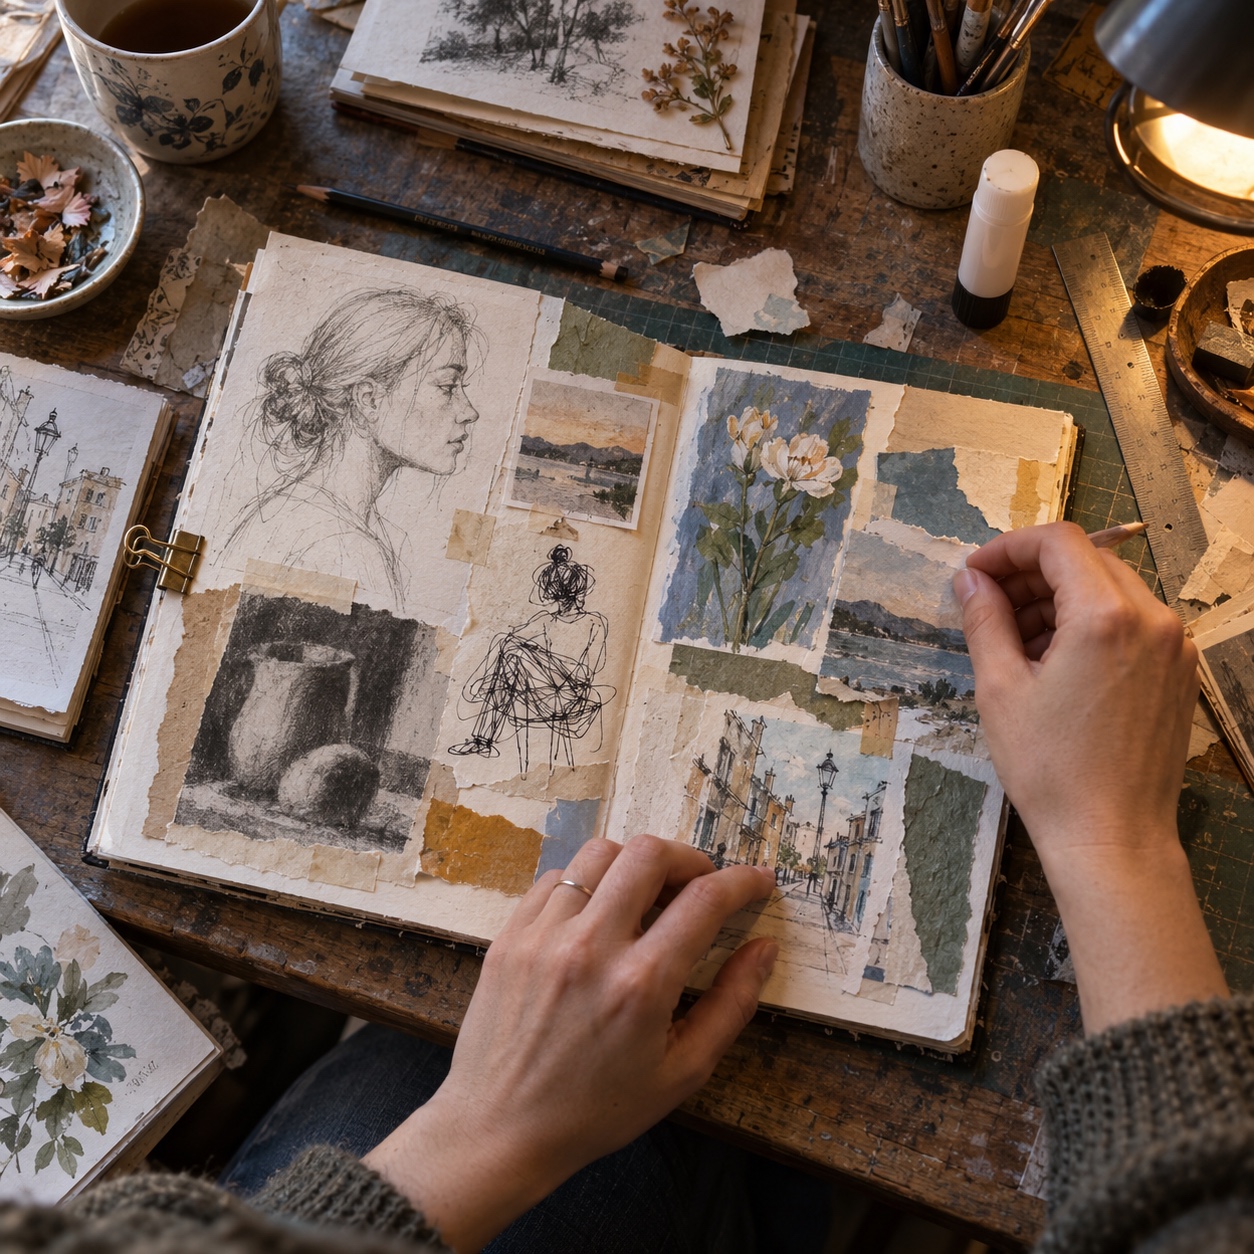
Select one fragment from each of the previous six studies: a contour, shape, character, shadow pattern, location detail, or brush mark. Arrange three to five fragments on a fresh page. Add the date and one short sentence about the week. This turns the challenge into a small story instead of a pile of unrelated exercises. The method pairs naturally with a visual diary practice and the habit of keeping a daily sketchbook.
Finish rule: every element must support one idea or mood. Reflection: which exercise would you repeat for another week, and what would you change? Do not choose the prettiest result automatically. Choose the prompt that made you notice or decide something new.
Printable 7-day art challenge tracker
Print this page or screenshot the table before you begin. Keep the notes short so tracking does not replace drawing.
| Day | Done | Minutes | One thing I noticed | Repeat? |
|---|---|---|---|---|
| 1: Line | □ | □ | ||
| 2: Memory | □ | □ | ||
| 3: Scribble | □ | □ | ||
| 4: Value | □ | □ | ||
| 5: Observation | □ | □ | ||
| 6: Brushwork | □ | □ | ||
| 7: Visual diary | □ | □ |
Common mistakes that weaken the challenge
- Choosing a project that cannot fit the timebox. Crop the subject or make a study instead of rushing a finished painting.
- Changing every variable at once. Keep the sketchbook and basic tools consistent so the prompt remains the main challenge.
- Judging while drawing. Finish the timed session first, then write the reflection.
- Hiding failed pages. Mark what went wrong. That note is often more useful than a polished result.
What to draw after the seven days
Repeat the strongest prompt with a new subject, or use five daily sketch ideas when you want subject-based practice. For speed, work through these quick draw techniques. If starting remains the main obstacle, use the practical steps for working through artist’s block and keep your creative workspace simple enough to begin without setup.
The useful outcome is not a perfect streak. It is a repeatable session: a clear prompt, limited tools, a fixed time, and a short review. Keep that structure and replace the subjects whenever the routine starts to feel automatic.
- 348shares
- Facebook0
- Pinterest348
- Twitter0
- Reddit0