Bloom from Winx Club is a popular fairy character loved by many fans. Drawing her can seem tricky at first, but with the right steps, anyone can create a great picture. This step-by-step guide will break down the process so drawing Bloom becomes easy and fun.
The guide shows how to start with simple shapes like circles to outline her head and body. After that, it explains how to add important details like her arms, legs, and wings. Following these clear steps helps bring Bloom to life on paper.
Fans of Winx Club who enjoy art will find this guide useful and rewarding. Learning to draw Bloom not only improves drawing skills but also lets artists connect with a favorite character in a new way.
Gathering Materials for Drawing Bloom
Having the right tools and clear images to study makes drawing Bloom easier. Choosing simple, quality supplies and good reference pictures helps create a better final drawing.
Essential Art Supplies


To start drawing Bloom, basic art supplies are enough. A pencil is important for sketching outlines lightly. Using an eraser lets them fix mistakes without leaving marks.
For adding color, colored pencils or markers work well. A fine-tip pen can help outline the drawing neatly once the sketch is complete.
Here’s a simple list to keep handy:
- Pencil (HB or 2B)
- Pencil sharpener
- Eraser
- Fine-tip black pen
- Colored pencils or markers
- Drawing paper or sketchbook
Using good quality but simple tools makes drawing easier.
Selecting Reference Images
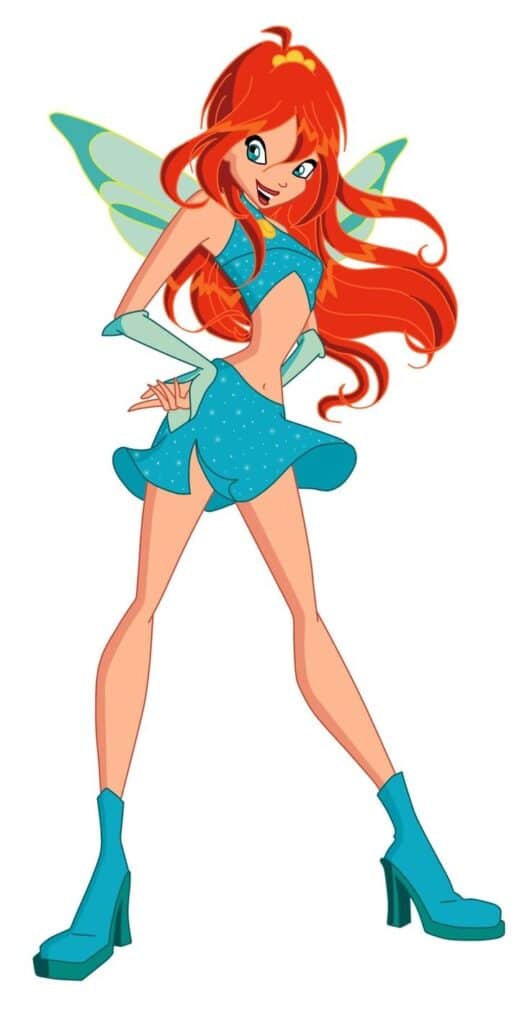
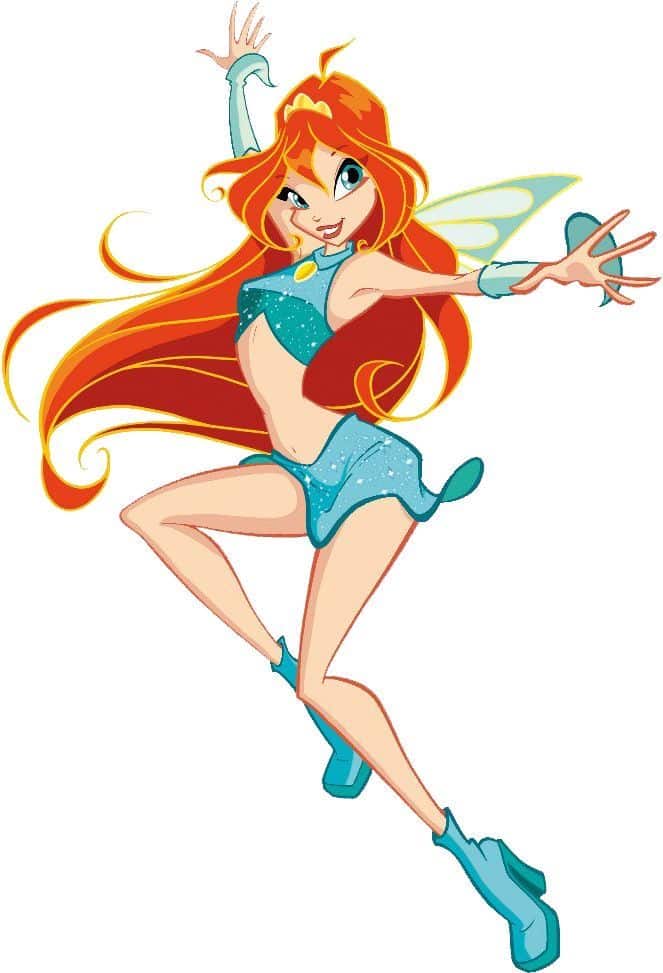
Clear reference photos or screenshots of Bloom help capture her details. She has distinctive features like big eyes, fairy wings, and her hairstyle, so good images make these easier to copy.
It’s smart to pick pictures with different angles and poses. This gives a better understanding of how Bloom looks. Normal cartoon stills or official art from Winx Club work best.
Using multiple references helps in drawing Bloom accurately and adds detail without guessing.
Step-by-Step Guide to Drawing Bloom from Winx Club
The process breaks down into clear parts: starting with a simple outline of her shape, then adding her face details and expressions. After that, the focus moves to her long, flowing hair, and finally, the outfit and fairy wings get drawn with care for detail and style.
Sketching Bloom’s Basic Outline
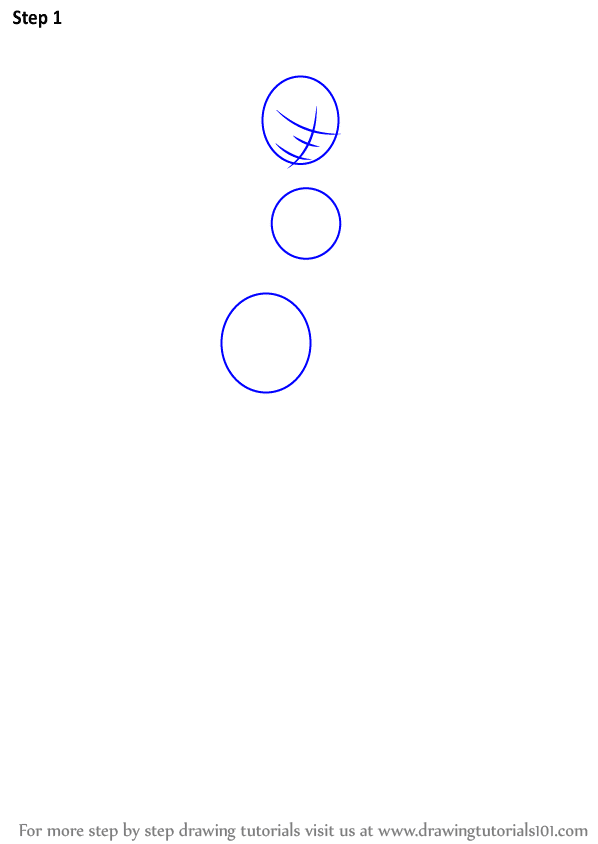
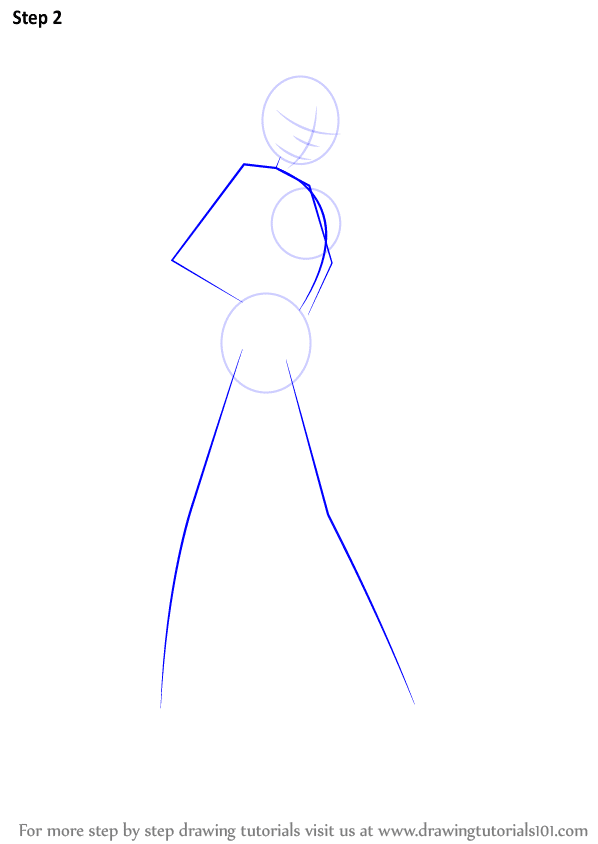
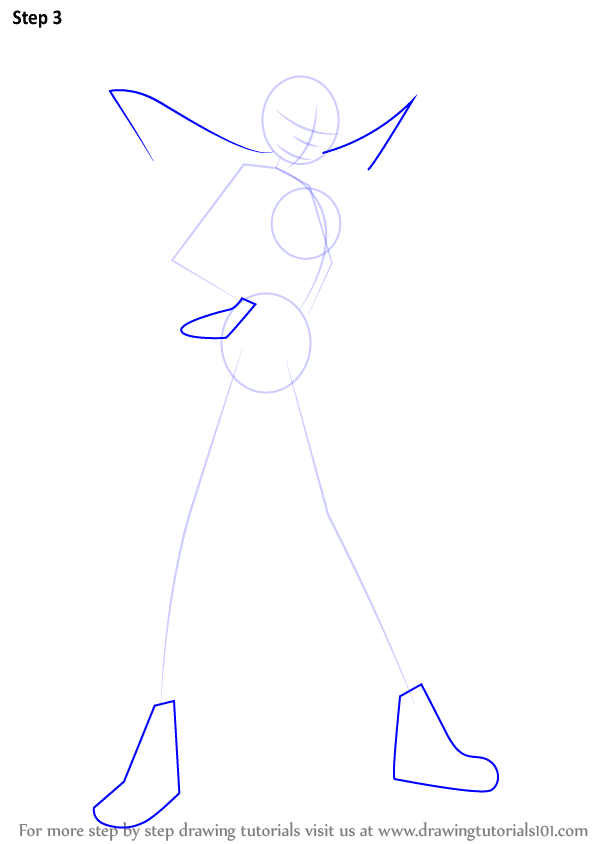
Begin by drawing a light circle for Bloom’s head. Next, add guidelines: a vertical line down the center and a horizontal one for the eyes. This helps place her features evenly.
Draw the neck and shoulders with simple lines. Use soft shapes to sketch her torso and arms. Keep the shapes rounded to match Bloom’s soft, youthful design.
Make sure to keep lines light and loose so changes are easy to make. This base helps control the proportions and pose of Bloom before adding details.
Drawing Facial Features and Expressions
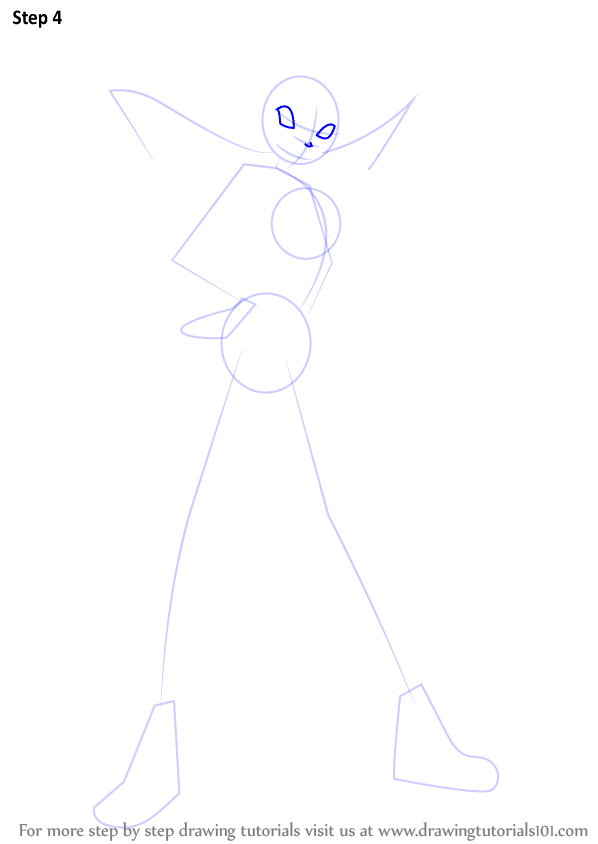
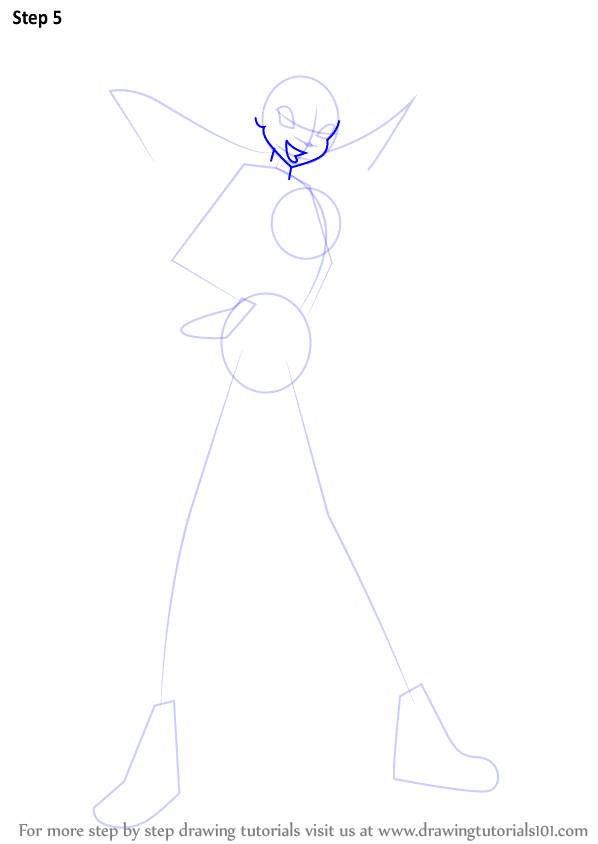
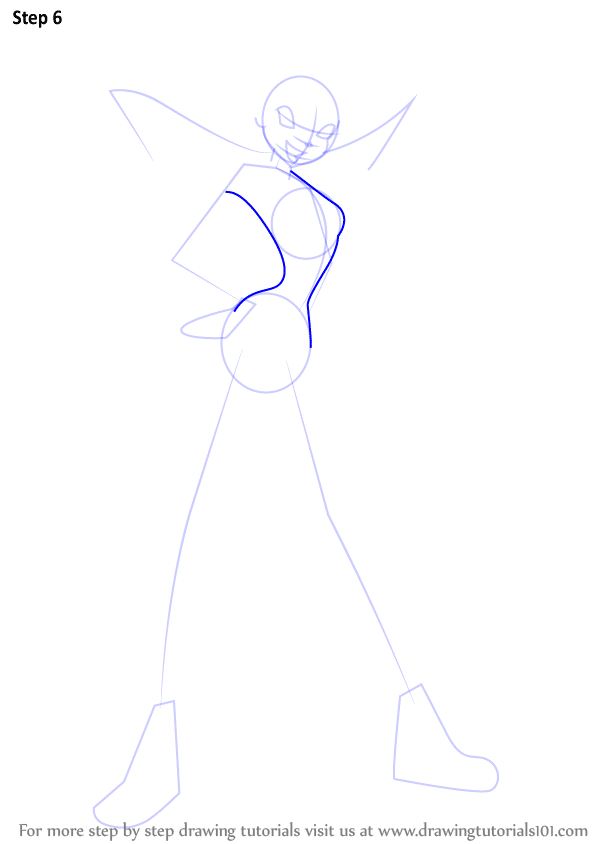
Start by drawing big almond-shaped eyes on the horizontal guideline. They should have gentle curves and thick eyelashes. The eyes show Bloom’s friendly personality.
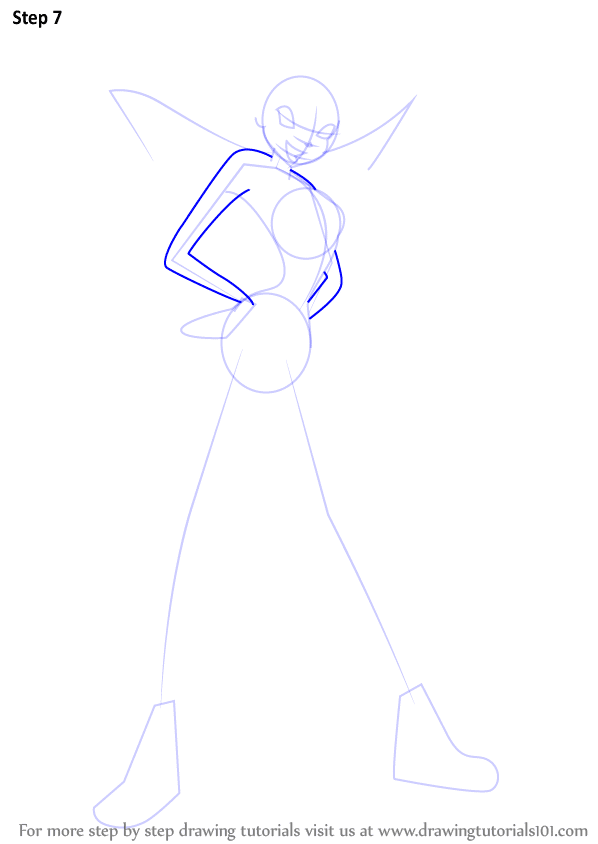
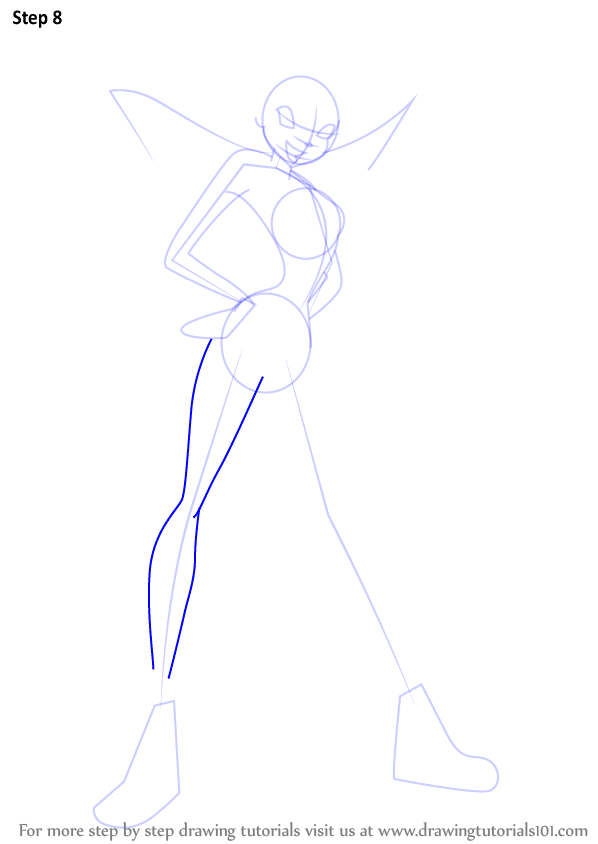
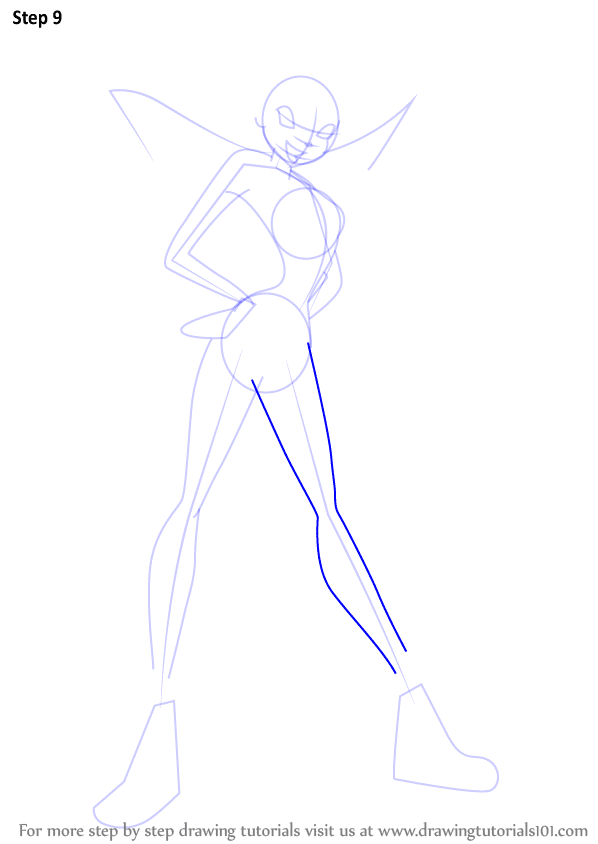
Place her small nose just below the eye line. Sketch her lips softly curved in a slight smile.
Add eyebrows above the eyes, tilted gently to keep her expression kind and curious. Pay attention to the spacing of features to keep the face balanced.
Detailing the Outfit and Wings
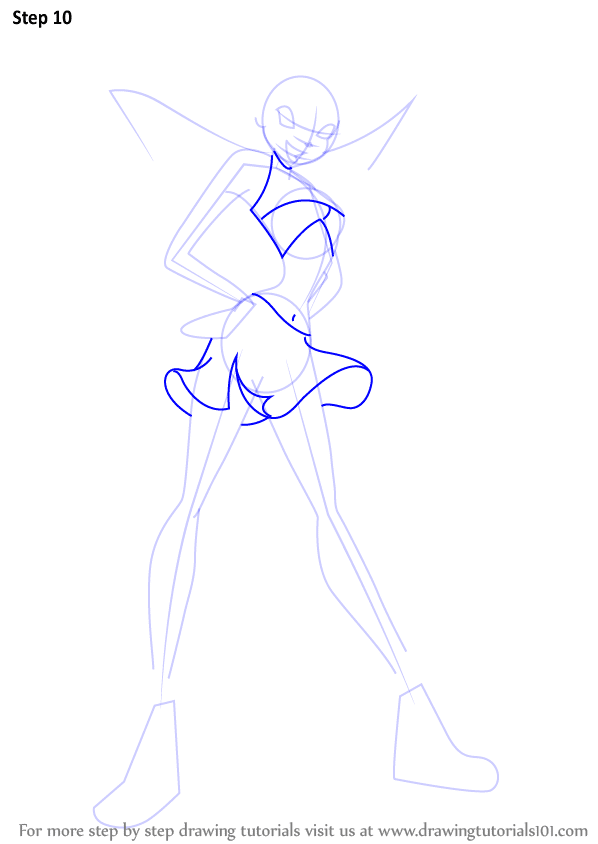
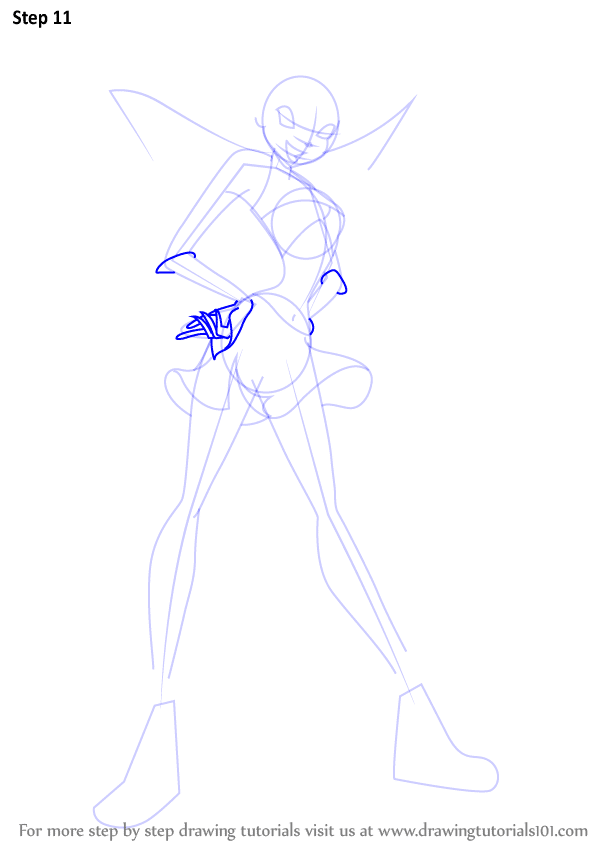
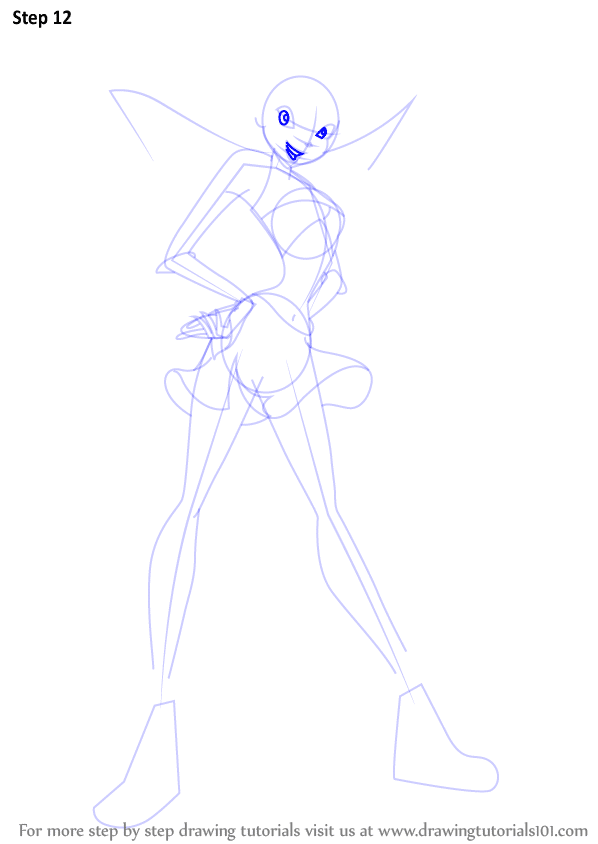
Bloom’s outfit is made of simple shapes and soft details. Draw the smooth lines of her top and skirt, paying attention to the shapes that fit her slim figure.
Add small decorations like stars or floral designs on her clothes to show her magical style.
For the wings, start with the large wing shapes behind her shoulders. They often have soft curves and symmetrical patterns.
Fill the wings with vein-like lines to add texture without overcomplicating the design. This brings her fairy look to life fully.
Constructing Bloom’s Iconic Hairstyle
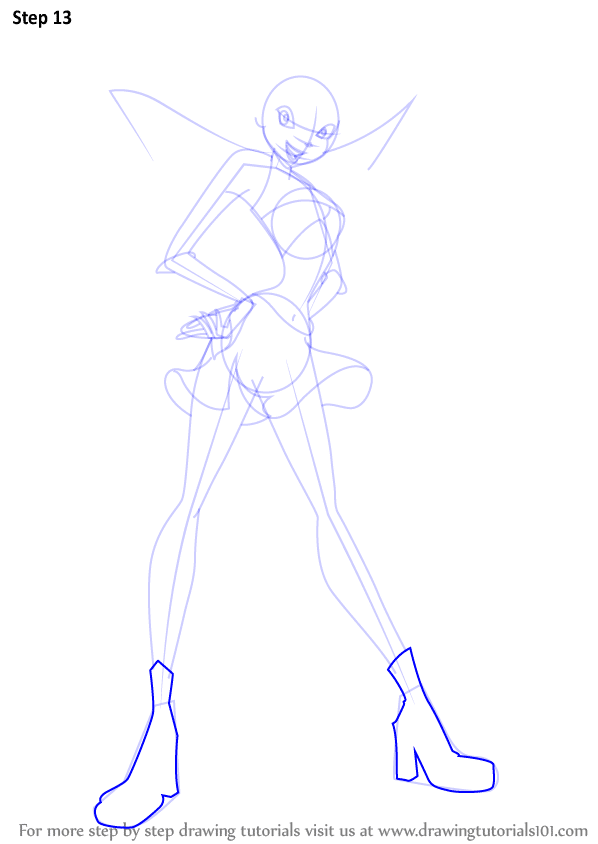
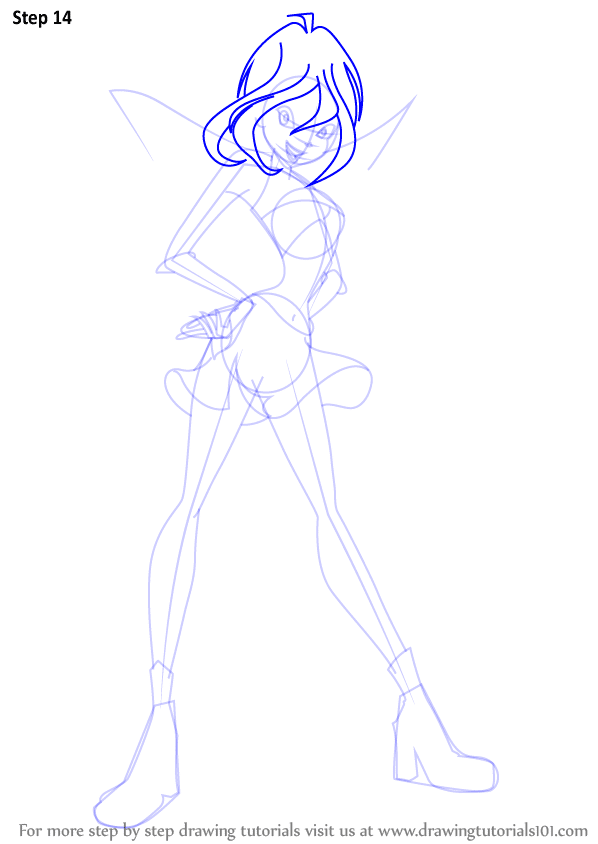
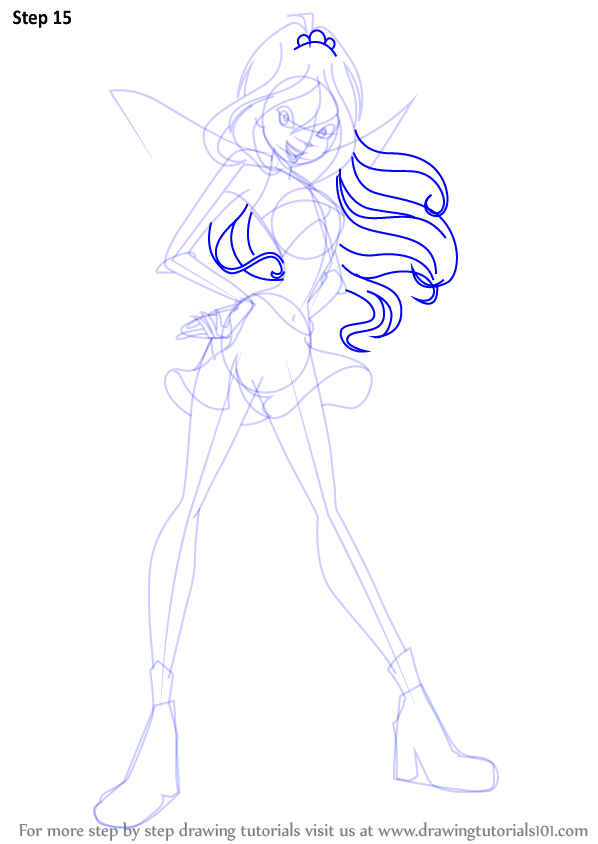
Bloom’s long hair flows in smooth, curved lines. Start by drawing the outline around her head, making it full and wavy.
Divide the hair into large sections or locks to give it volume. Notice how her bangs frame her forehead and feather to the sides.
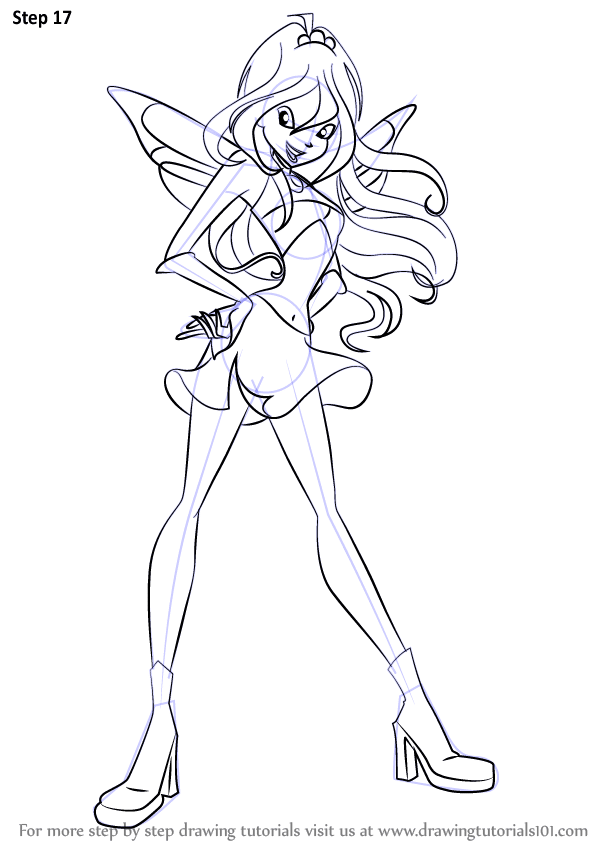
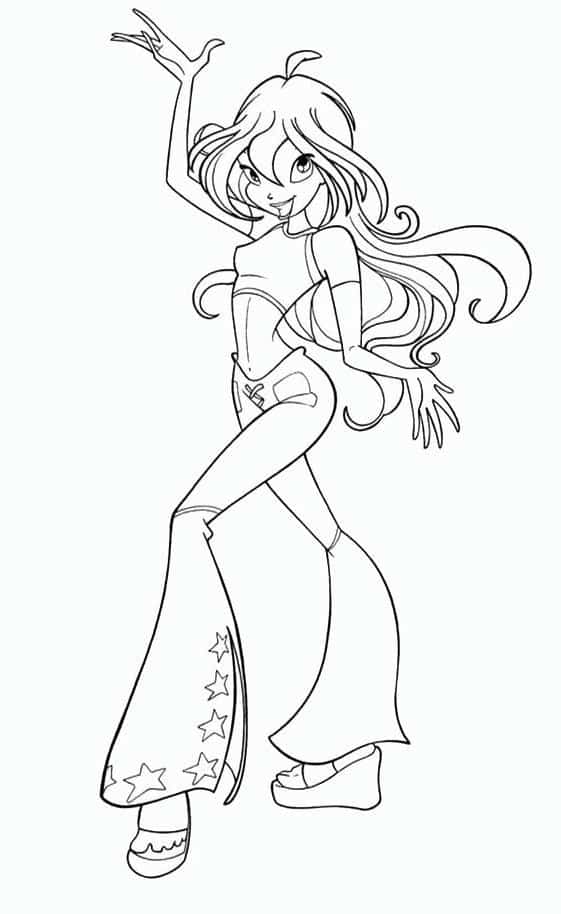
Add smaller strands for texture after the main shapes are clear. The hair should look light and flowing, emphasizing her fairy character.
Adding Color and Final Touches
After finishing the basic drawing, it’s important to choose the right colors, apply shading and highlights carefully, and add final details. These steps bring Bloom to life and make the drawing look polished and complete.
Choosing the Right Colors
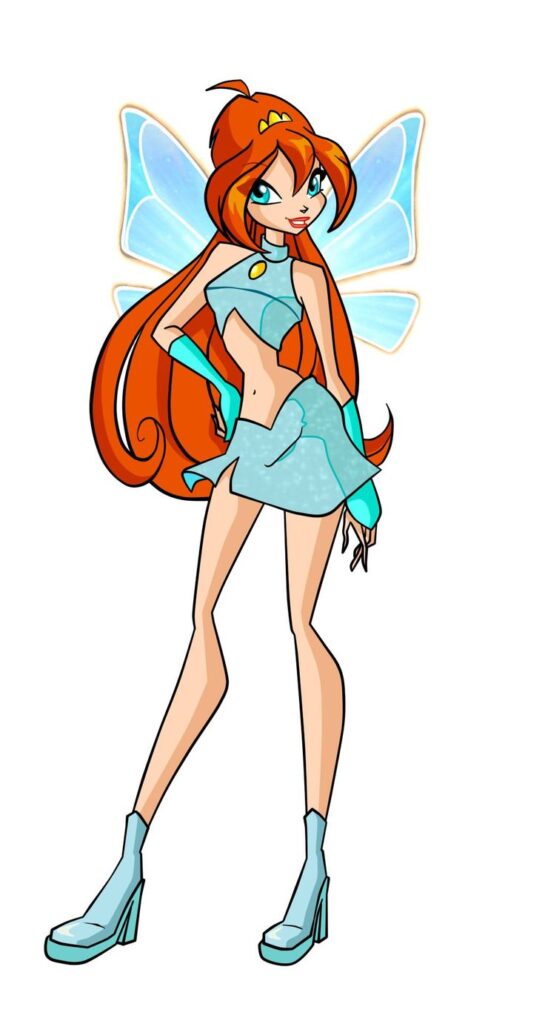
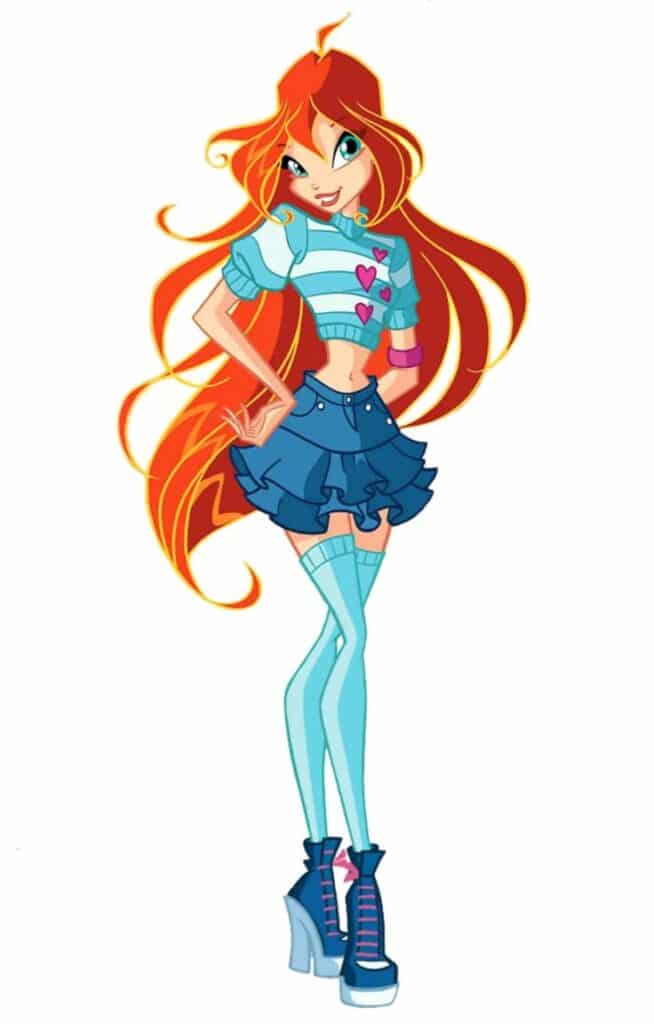
Bloom’s main colors include bright orange for her hair, light skin tones, and soft blue for her eyes and outfit. Picking colors that match these helps keep the character recognizable. Using colored pencils, markers, or digital tools with smooth blending works well.
It’s best to start with light layers of color and build up gradually. This avoids making the drawing look harsh or overdone. She can use a reference image to match colors accurately. Keeping the color choices consistent and clean highlights Bloom’s fairy style.
Shading and Highlights
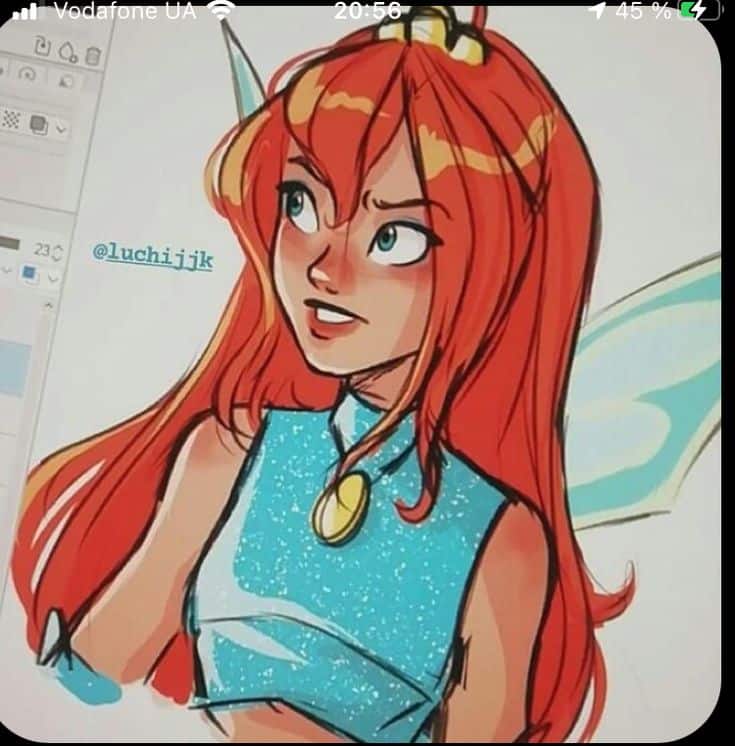
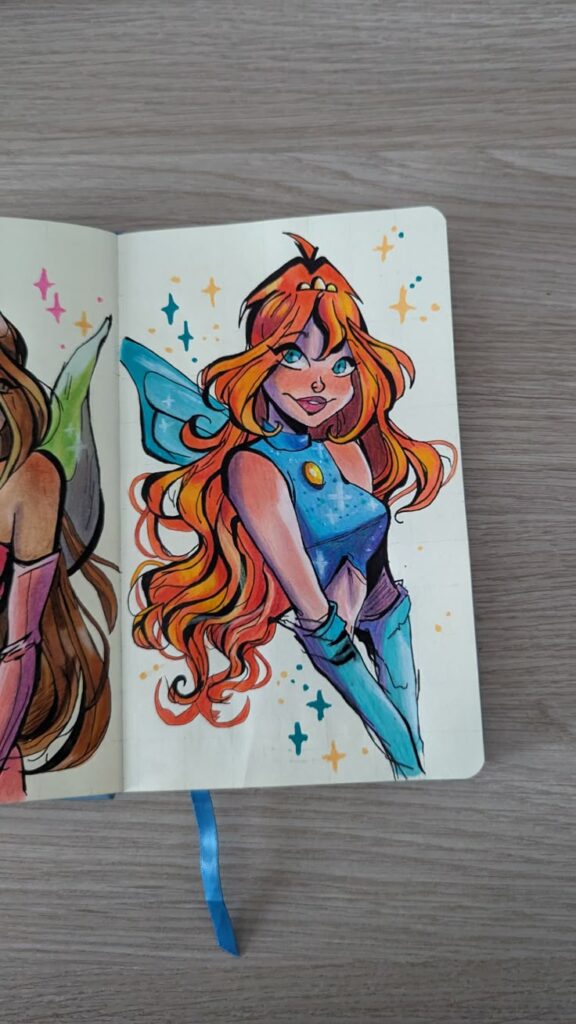
Shading adds depth and shows where light hits Bloom. Typically, shading is darker near her arms, under her chin, and along her clothes where shadows fall. Using softer pencils or lighter markers for shading helps keep smooth transitions.
Highlights should go on places like her hair, cheeks, and wings to create a glowing effect. A white gel pen or a small light brush stroke can bring out these bright spots. This step gives Bloom a three-dimensional look without making the drawing too busy.
Refining and Presenting Your Drawing
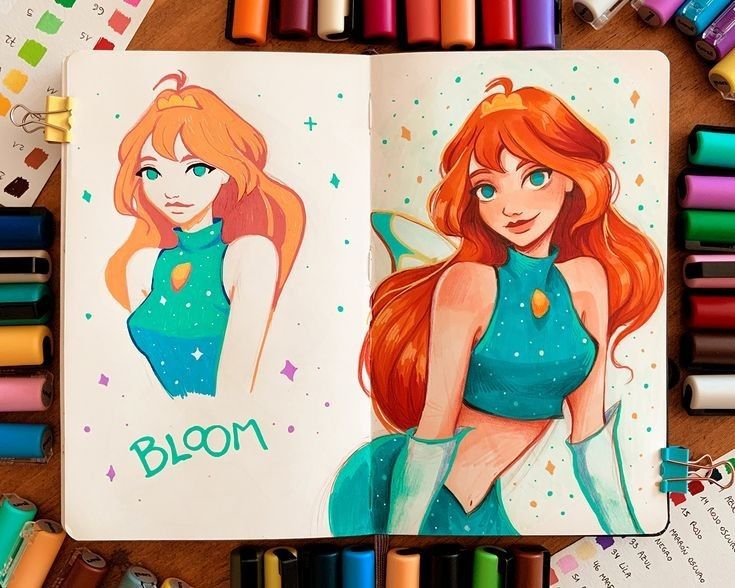
Once coloring and shading are done, it’s time to clean up any stray lines or smudges for a neat finish. Using an eraser gently or digitally touching up can sharpen the edges.
Adding small details like sparkles on the wings or a soft glow effect can enhance the magical feel. Finally, displaying the drawing on a clean background or framing it can show off the work nicely and protect it for the future.
- 0shares
- Facebook0
- Pinterest0
- Twitter0
- Reddit0
