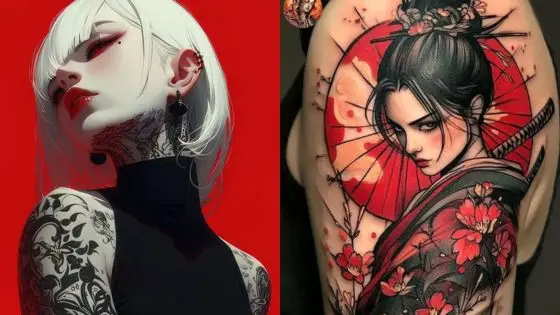
Drawing a girl might seem hard when you’re just starting out. Many beginners feel stuck when trying to sketch human figures, especially the delicate features of a female face. But with the right approach, anyone can learn this rewarding skill.

Learning how to draw a girl is easier when you break it down into simple steps like sketching the basic head shape, adding facial features, and then details like hair and clothing. This method helps you build the drawing gradually rather than trying to create the whole image at once. Starting with light pencil lines allows you to adjust your work as you go.
Drawing girls gives you endless creative possibilities. You can create characters with different hairstyles, outfits, and expressions. Whether you prefer a cute cartoon style or a more realistic approach, the fundamentals remain the same. Practice will help you develop your own unique style over time.
Key Takeaways
- Start with basic shapes and guidelines before adding details to create a properly proportioned drawing of a girl.
- Practice facial features separately before combining them, focusing on eyes, nose, and lips to capture expression.
- Experiment with different hairstyles and clothing to develop your own style and bring your girl drawings to life.
Getting Started with Drawing
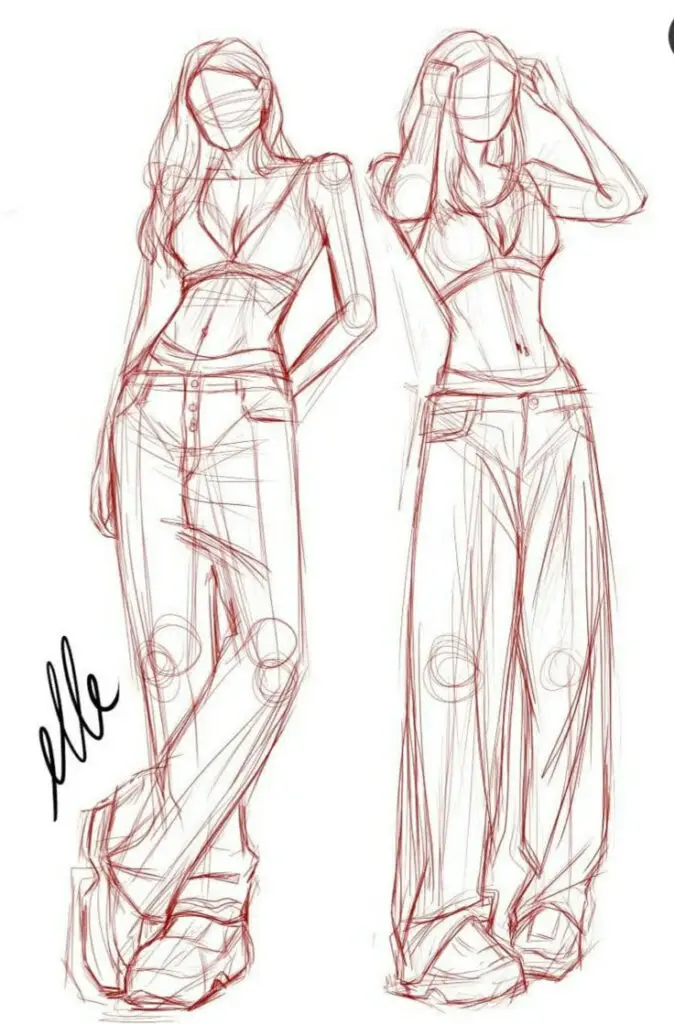
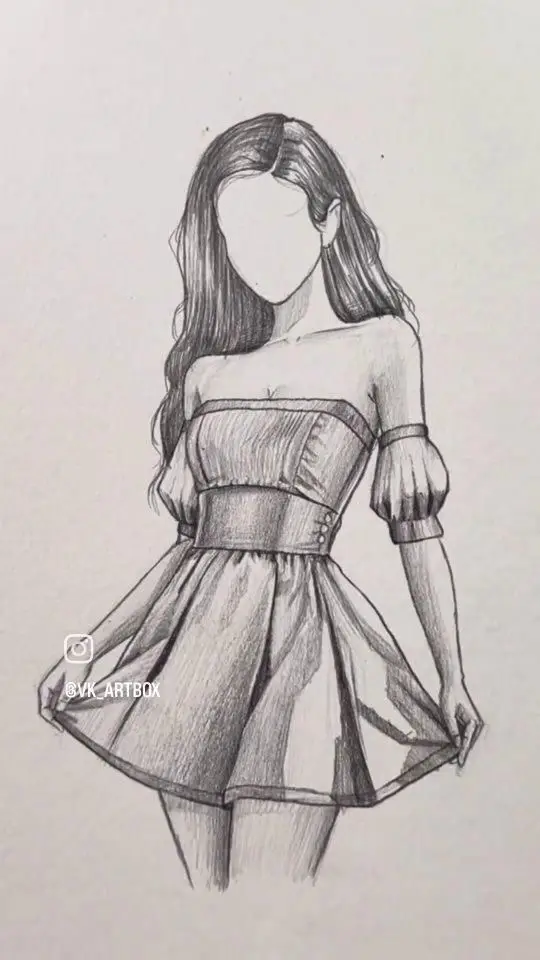
Before you begin drawing a girl, it’s important to understand some basic concepts and choose the right materials. These fundamentals will help you create better artwork from the beginning and avoid common mistakes.
Understanding Basic Drawing Concepts
Drawing begins with understanding shapes and proportions. When drawing girls, artists typically start with simple shapes like circles for the head and ovals for the body. Proportions matter greatly – a typical female figure is about 7-8 heads tall.
Light and shadow create dimension in your drawings. Notice where light hits the face and body to add depth to your girl drawing. This technique makes your artwork look more realistic.
Guidelines are temporary lines that help map out your drawing. Many tutorials suggest drawing a vertical line down the center of the face to ensure symmetry.
Practice basic shapes first before attempting detailed drawings. Many drawing lessons recommend mastering circles, ovals, and lines as building blocks.
Choosing the Right Drawing Materials
Pencils are essential for beginners. Start with an HB pencil for sketching outlines and add 2B or 4B pencils for darker shading. Mechanical pencils work well for fine details like eyelashes.
Paper quality affects your results significantly. Smooth, heavyweight paper (60-80 lb) prevents smudging and allows for clean erasing. Sketchbooks designed specifically for pencil work are ideal.
Color pencils add life to your girl drawings. Beginners should start with a small set of 12-24 colors that include skin tones.
Markers offer bold colors for stylized girl drawings. Water-based markers are easier for beginners to control than alcohol-based ones.
Erasers are just as important as drawing tools. Kneaded erasers can lift graphite without damaging paper, while vinyl erasers completely remove dark marks.
Fundamental Techniques

Learning the right techniques is essential for creating beautiful girl drawings. These methods will help you create proportional, expressive artwork no matter your skill level.
Sketching the Girl’s Basic Outline
Start with simple shapes to form the foundation of your drawing. A circle works well for the head, with a smaller oval or U-shape for the jaw. For the body, use a vertical line extending from the head to mark the spine’s position.
Next, add horizontal guide lines across the circle to help place facial features correctly. The eyes typically sit halfway down the head, while the nose falls halfway between the eyes and chin.
For a cute style, make the head slightly larger in proportion to the body. Use light pencil strokes during this stage so you can easily erase and adjust as needed.
Create the body using simple geometric shapes – rectangles for the torso and cylinders for limbs. This approach makes proportions easier to control.
Proportions and Anatomy


Proper proportions are crucial for realistic girl drawings. The average human body is about 7-8 heads tall, but for cute drawings, you might use 5-6 heads for a more stylized look.
Keep shoulders approximately the same width as the head for younger girls. The waist should be narrower than the shoulders, and hips slightly wider than the waist.
Arms typically reach mid-thigh when hanging naturally. Hands end around mid-thigh, with fingers extending to about mid-thigh.
For facial proportions, the eyes are typically placed halfway down the head. The space between eyes equals roughly one eye width. The bottom of the nose falls halfway between the eyes and chin.
Remember that girls often have softer jaw lines and slightly larger eyes in most drawing styles.
Adding Details and Features
Focus on the eyes first as they express the most emotion. For cute drawings, make the eyes larger and add reflective spots to create a lively appearance. Draw eyelashes slightly longer for a feminine look.
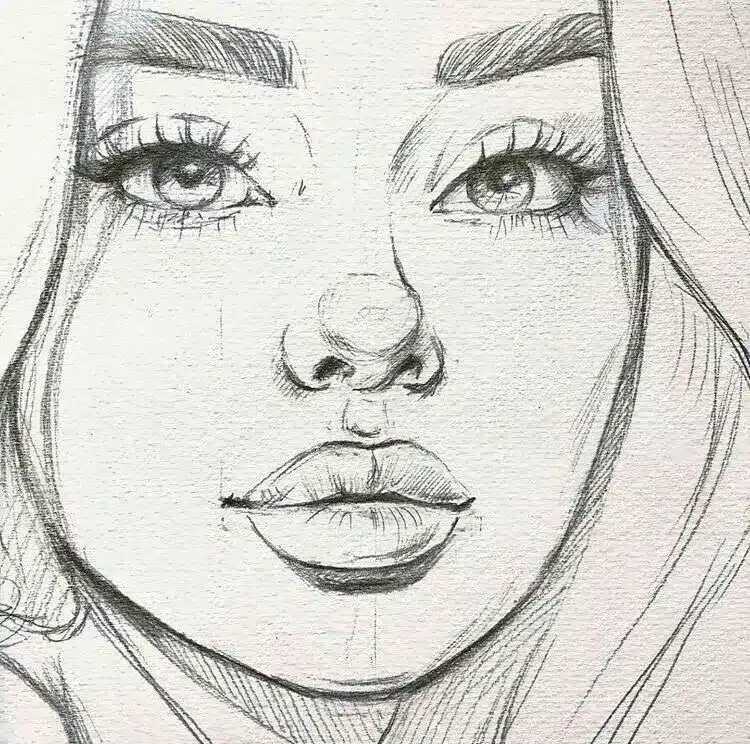

The nose can be simplified to a small curved line or a tiny “button” shape in cute styles. Keep lips soft with a gentle curve for the upper lip and a fuller lower lip.
Hair frames the face and adds character to your drawing. Start with the hairline around the upper third of the head, then add large shapes for hair volume before detailing individual strands.
Clothing adds personality to your drawing. Begin with simple shapes that follow the body’s form, then add folds where fabric would naturally bend – at elbows, waist, and knees.
Add final touches like small accessories, subtle shading, and refined line work to bring your girl drawing to life.
Drawing the Face and Features

The face is the most expressive part of any character drawing. Getting the proportions and features right creates a foundation for bringing your girl character to life through both structure and emotion.
Eyes, Nose and Mouth
Start by drawing the eyes about halfway down the face oval. For cute art styles, make the eyes larger than realistic proportions—typically taking up about one-third of the face width. Place them approximately one eye-width apart.


The eyebrows should sit slightly above the eyes, following a gentle arch that helps convey personality. For a feminine look, keep the eyebrows relatively thin compared to male characters.
The nose can be minimal in cute art styles—often just a small upside-down “V” or a simple line. Position it halfway between the eyes and the bottom of the chin.
Draw the mouth about one-third of the way between the nose and chin. For a cute style, keep the mouth small and simple with a slight upward curve at the corners for a friendly appearance.
Facial Expressions
Expressions bring your girl character to life. The eyes communicate most of the emotion—wide eyes show surprise, half-closed eyes indicate sleepiness or skepticism.
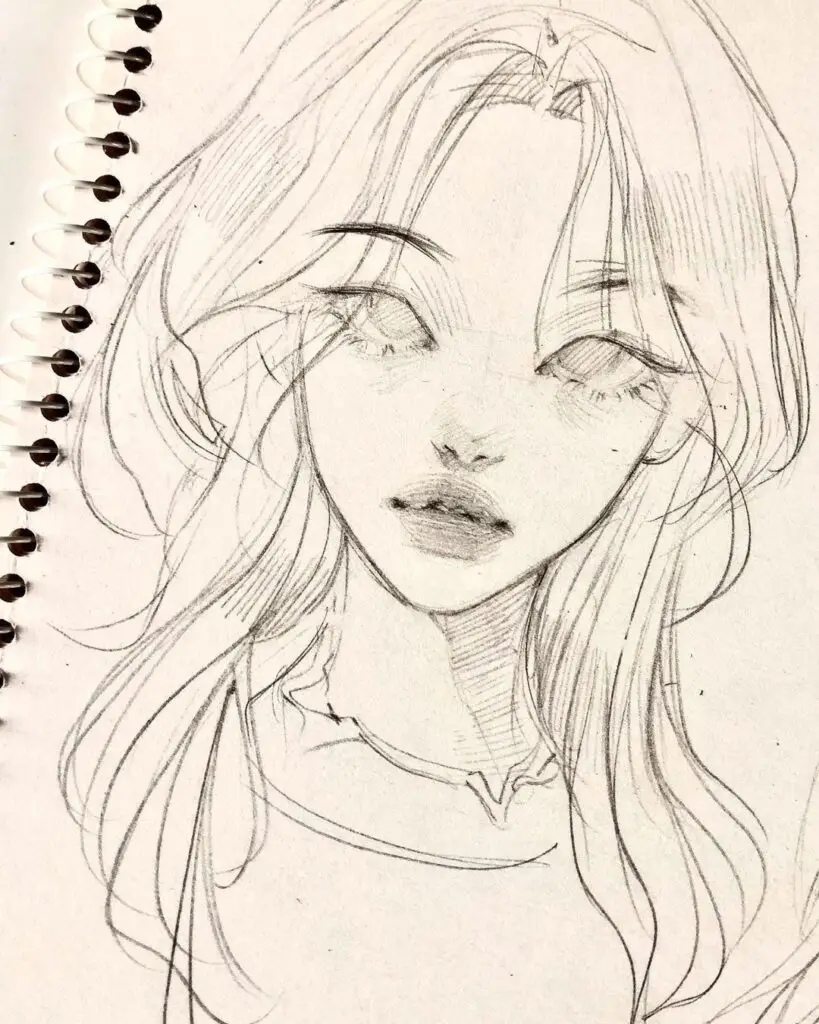

When drawing so cute characters, exaggerate certain features to enhance expressions. Make the eyes sparkle with small white dots to show excitement. Add slight blush marks on the cheeks for happiness or embarrassment.
Eyebrows are crucial for expressions. Raised eyebrows indicate surprise, while furrowed brows show anger or concentration. The mouth shape changes dramatically with different emotions—a small “o” for surprise, a wide smile for happiness.
Practice basic expressions first: happy, sad, angry, and surprised. Then combine these elements to create more complex emotions like “happily surprised” or “sadly confused.”
Hairstyles in Drawing

Hair brings life to your character drawings. The right hairstyle can express personality, age, and culture in your artwork. Different techniques help create realistic and stylized hair effects.
Capturing Different Hairstyles
When drawing girls, hairstyles vary greatly from short pixie cuts to elaborate updos. Start by sketching the basic hairline shape around the face. This creates the foundation for any hairstyle.
Next, outline the overall shape of the hair before adding details. For curly hair, use circular strokes to create bouncy curls. For straight hair, draw long flowing lines that follow the direction of hair growth.
Different hair textures require different approaches. Use tight zigzag lines for curly textures and straight parallel lines for sleek styles. When drawing braids, create overlapping sections to show the weaving pattern.
Remember that hair follows the shape of the head but has volume. Don’t draw hair flat against the skull – add some lift at the roots for realism.
Detailing Long Hair
Long hair presents unique challenges and opportunities in drawings. Begin with flowing lines that show movement and weight. Hair doesn’t stick straight out but falls with gravity.
Add dimension by varying line thickness. Darker, thicker lines work well for sections closer to the face, while lighter, thinner lines suit hair ends. This creates depth in your drawing.
For shine effects, leave small white spaces untouched where light would hit the hair. These highlights bring the drawing to life and add glossiness to the hairstyle.
When drawing strands, avoid drawing every single hair. Instead, draw hair in sections or clumps. Focus on the overall flow and only add individual strands as accents where needed.
Wind effects in long hair can express motion in your drawing. Show this through curved lines that sweep in the wind’s direction.
Fashion and Clothing

Drawing clothing on your girl character adds personality and style. The right outfit can tell a story about who she is and what she does.
Drawing Clothes
Start with basic shapes when drawing clothes. For dresses, begin with simple triangles or rectangles that follow the body’s shape. Sketch light guidelines to help place clothing correctly on the figure.
Off-shoulder dresses can be drawn by creating curved lines across the upper chest area. For tops, draw the neckline first, then add sleeves and the rest of the garment.


Consider proportions carefully. Clothes should look like they fit the character naturally. Folds appear where fabric bends—like at elbows, knees, and waist.
Try different styles to practice. Draw casual outfits with t-shirts and jeans, or formal wear like elegant dresses with flowing skirts.
Conveying Fabric and Texture
Different fabrics move and fold in unique ways. Light fabrics like silk create gentle, flowing lines while heavier materials like denim form more structured folds.
Use line weight variation to show texture. Thicker lines can represent seams or edges, while thinner lines work for creases and folds.
For texture details:
- Tiny dots for sequins or beaded fabric
- Small zigzag lines for wool or knitted items
- Parallel lines for pleats or ribbed fabric
Shading helps show how clothes interact with light. Add shadows where fabric folds or where one piece of clothing overlaps another.
Remember that clothing responds to movement and gravity. A running character will have clothes that flow backward, while a standing pose shows clothing hanging downward.
Bringing Your Drawing to Life

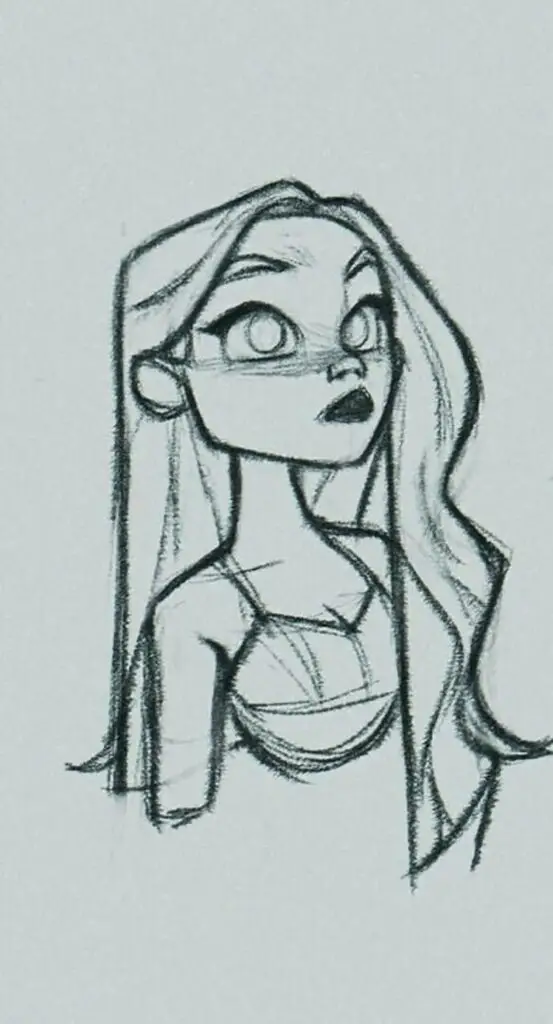
Once you have your basic girl sketch ready, adding color and shading transforms a simple drawing into something special. These techniques help create a more realistic and expressive artwork.
Coloring Techniques
Choose your coloring tools based on the effect you want to achieve. Color pencils work well for detailed drawings and allow for gentle blending between colors. Press lightly at first and gradually build up intensity for the best results.
Markers create bold, vibrant colors that really make artwork pop. They work best on thicker paper that won’t bleed through. Consider using alcohol-based markers for smoother blending and water-based markers for beginners.
Coloring pages provide excellent practice for beginners. They let artists focus on color selection and application techniques without worrying about the drawing itself.
Layer colors from light to dark. This technique allows artists to build depth gradually and correct mistakes more easily.
Shading for Depth and Dimension
Shading transforms flat drawings into three-dimensional figures. First, determine a consistent light source direction – this dictates where shadows will fall on your girl drawing.


Use lighter pressure when shading to create soft transitions. The areas farthest from the light source should be darkest, while areas facing the light remain brightest.
Cross-hatching uses intersecting lines to create shadow effects. The closer the lines, the darker the shadow appears. This technique works well with both pencils and fine-tip markers.
For colored artwork, try using complementary colors for shadows instead of just black. For example, use dark purple for shadows on yellow areas.
Remember that shadows aren’t simply dark versions of the base color – they often contain hints of surrounding colors reflected into them.
Advanced Drawing Challenges

Once you’ve mastered the basics of drawing girls, taking on more challenging projects can help you grow as an artist. These challenges push your skills and creativity to new levels while keeping your practice interesting and fun.
Creative Art Projects
Drawing 100 faces over a period of time can dramatically improve your skills. This challenge forces you to explore different facial features, expressions, and angles. Try drawing girls from different ethnicities and age groups to expand your range.
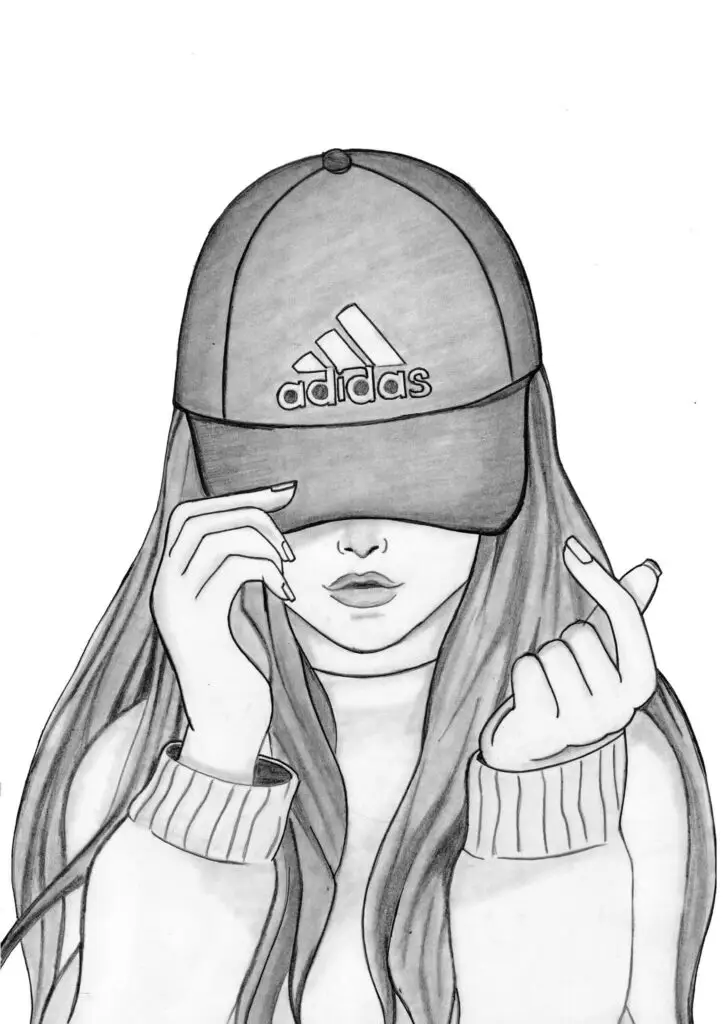

Character design challenges are also excellent for growth. Create a girl character for a specific story, game, or time period. Focus on clothing, accessories, and poses that tell her story without words.
Try the “draw this again” challenge where you redraw an old piece after several months of practice. This clearly shows your improvement and identifies areas where you’ve grown most.
Style exploration projects help too. Draw the same girl in anime, realistic, cartoon, and abstract styles to understand how fundamental principles adapt across different art forms.
Fun Art Challenges

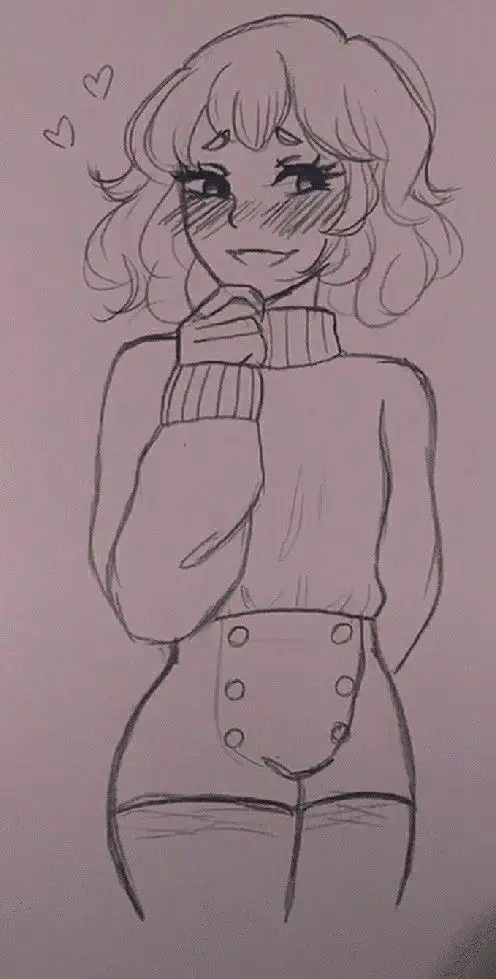
The 30-day drawing challenge is perfect for building consistency. Draw a girl in a different scenario each day—studying, playing sports, or dreaming. This builds your storytelling ability through visuals.
Drawing hands is notoriously difficult, but crucial for depicting girls naturally. The 10-day hands challenge mentioned in search results can transform this weakness into strength. Draw hands in different positions: holding objects, gesturing, or resting.
Try “drawing from imagination” exercises to strengthen your mental library. Sketch a girl doing an activity without reference images. This tests your understanding of anatomy and poses.
Theme-based challenges like “draw a girl in every season” or “draw a girl with different pets” create cohesive collections while testing your versatility and problem-solving skills.
Learning Resources

Finding the right resources can make learning to draw girls much easier. Both guided instruction and self-directed practice play important roles in developing your artistic skills.
Online Tutorials and Courses
Directed drawing videos offer step-by-step instructions that are perfect for beginners. Teach Starter provides videos specifically designed for kids that break down the process using basic shapes like circles and rectangles as starting points. These tutorials make the drawing process accessible by using familiar shapes.
YouTube hosts numerous detailed tutorials on mastering the art of drawing female characters. These videos typically progress from basic outlines to adding details that bring the drawing to life.
For consistent practice, some artists document their learning journey online. On platforms like Reddit’s learntodraw community, you can find examples of artists who practice drawing female characters daily, showing progression over time.
DIY Learning and Practice

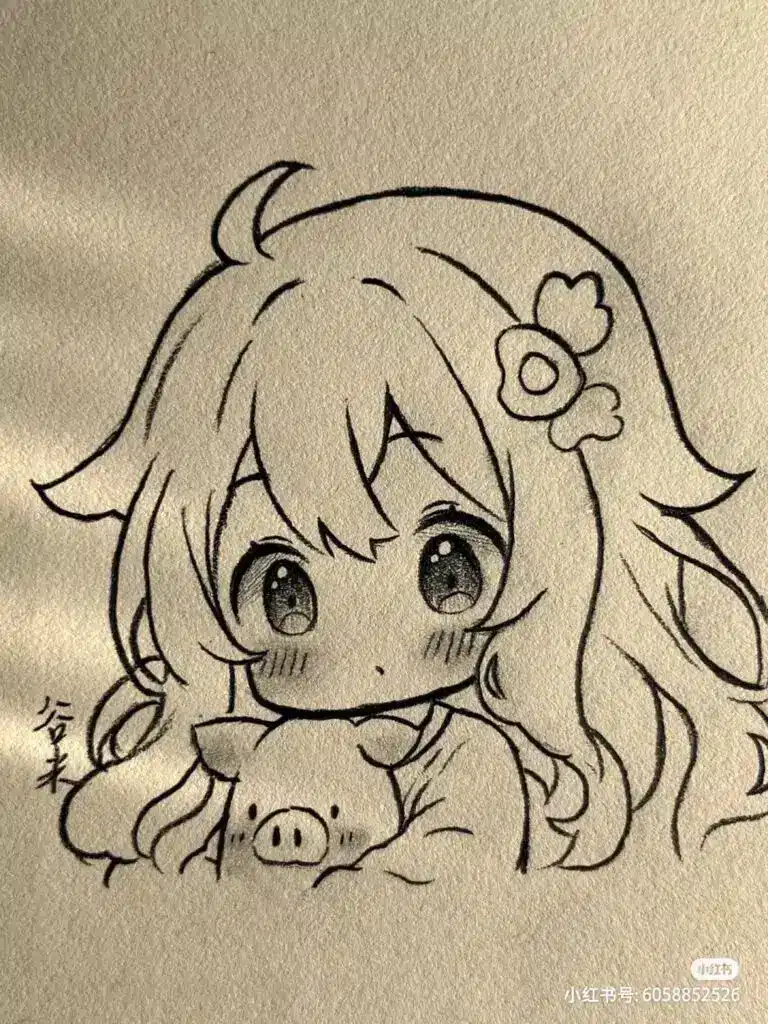
Activity sheets provide structured guidance for independent learning. Resources like Twinkl’s “How to Draw a Girl Activity” offer printable worksheets that children can follow at their own pace to develop artistic skills.
Creating a personal drawing journal helps track progress. Set aside 15-20 minutes daily to practice drawing different facial features or body postures.
Try the shape method for self-practice:
- Start with basic circles for the head
- Add rectangles for the body framework
- Practice curved lines for natural poses
Using grid paper can help maintain proportions when learning. This DIY approach builds fundamental skills through consistent, structured practice.
- 633shares
- Facebook0
- Pinterest633
- Twitter0


