Drawing animals can feel both fun and approachable when you break them down into simple steps. You don’t need advanced skills or fancy tools to start—just a pencil, some paper, and a bit of curiosity. This guide gives you clear and easy ideas to help you sketch a variety of animals with confidence.
You’ll explore ways to create everything from playful pets to gentle wildlife using basic shapes and lines. Each idea builds your skills while keeping the process light and enjoyable, so you can focus on practicing and improving at your own pace.
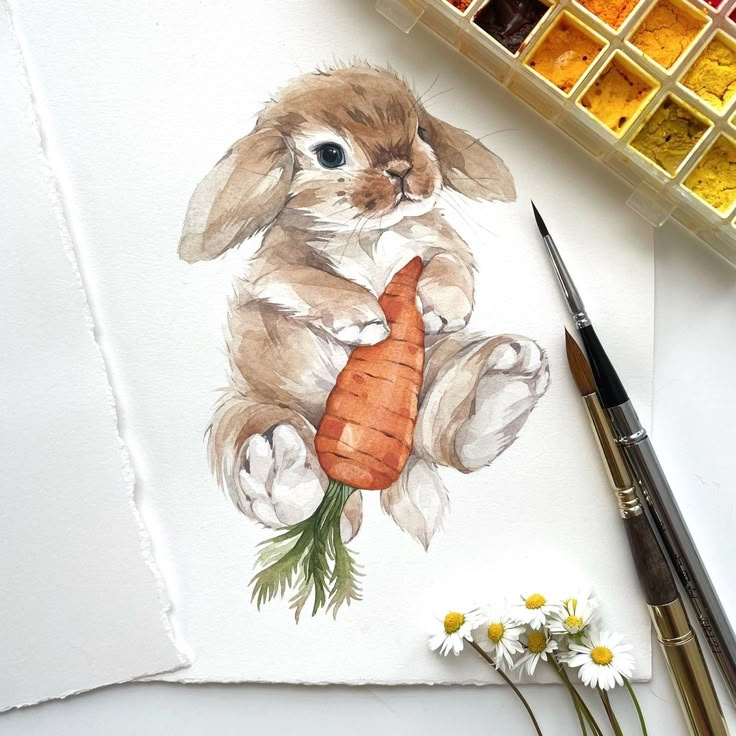
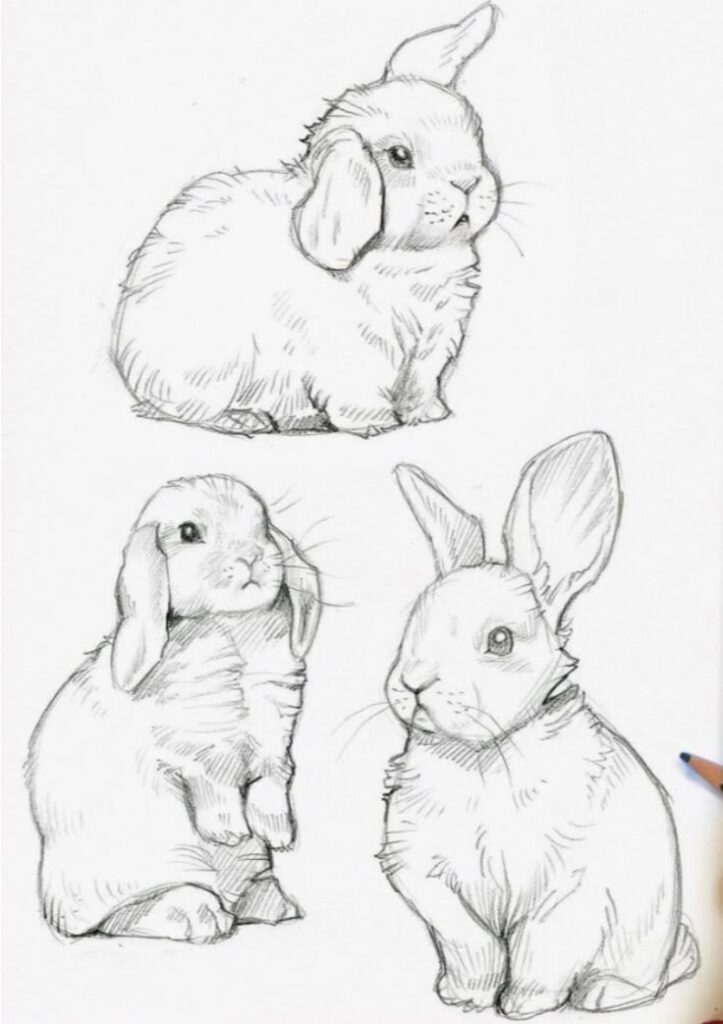
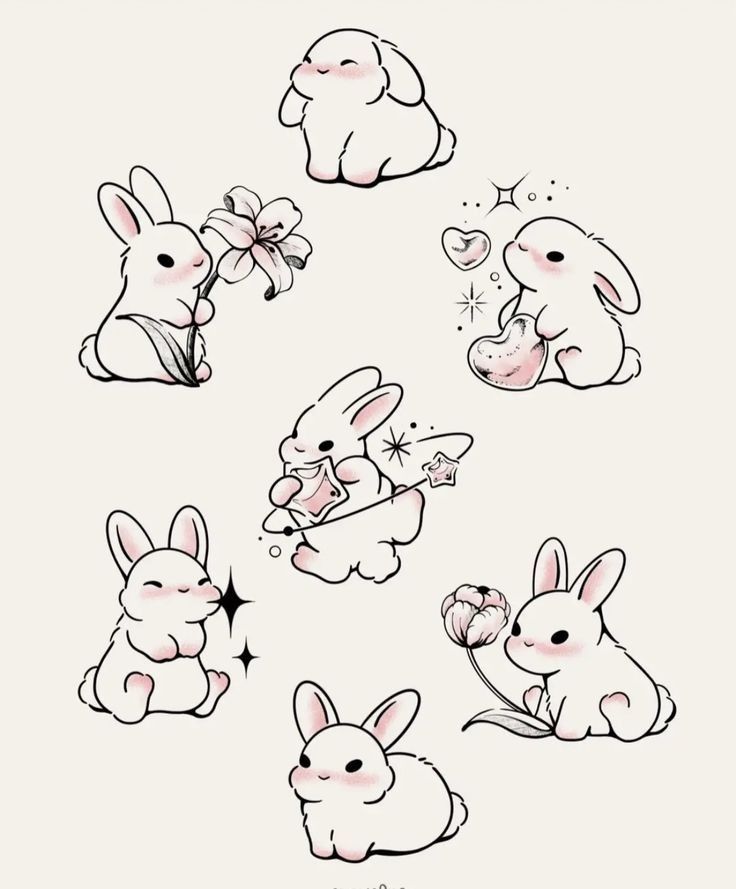
1) How to draw a cute bunny with simple shapes
Start by sketching a large circle for the head. This gives you a base to place the rest of the features. Keep it light so you can adjust as you go.
Under the head, draw a smaller oval for the body. Think of it as a simple shape that connects naturally to the circle above.
Add two long ears on top of the head. You can make them stand straight up or slightly floppy for variety.
For the face, place two small circles for the eyes, a tiny triangle for the nose, and a short curved line for the mouth. Keep the features close together so the bunny looks soft and gentle.
Draw short ovals for the front paws and small circles for the back paws. A tiny round shape at the back makes a fluffy tail.
Once the shapes are in place, trace over them with smoother lines. Erase the extra guidelines and add small details like whiskers or fur texture if you want.
You can finish by coloring the bunny with light grays, browns, or soft pastels. This keeps the drawing simple but still adds charm.
2) Step-by-step owl drawing for beginners
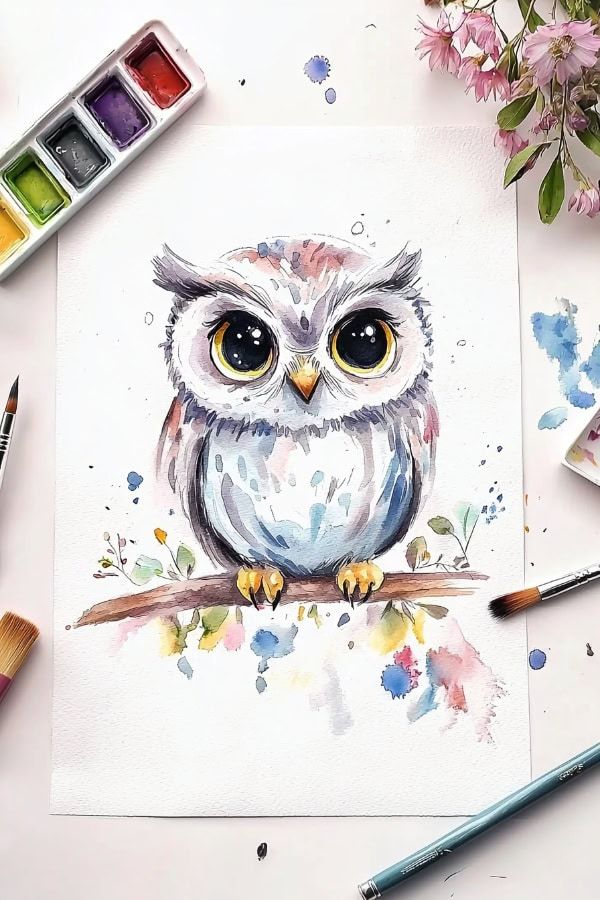
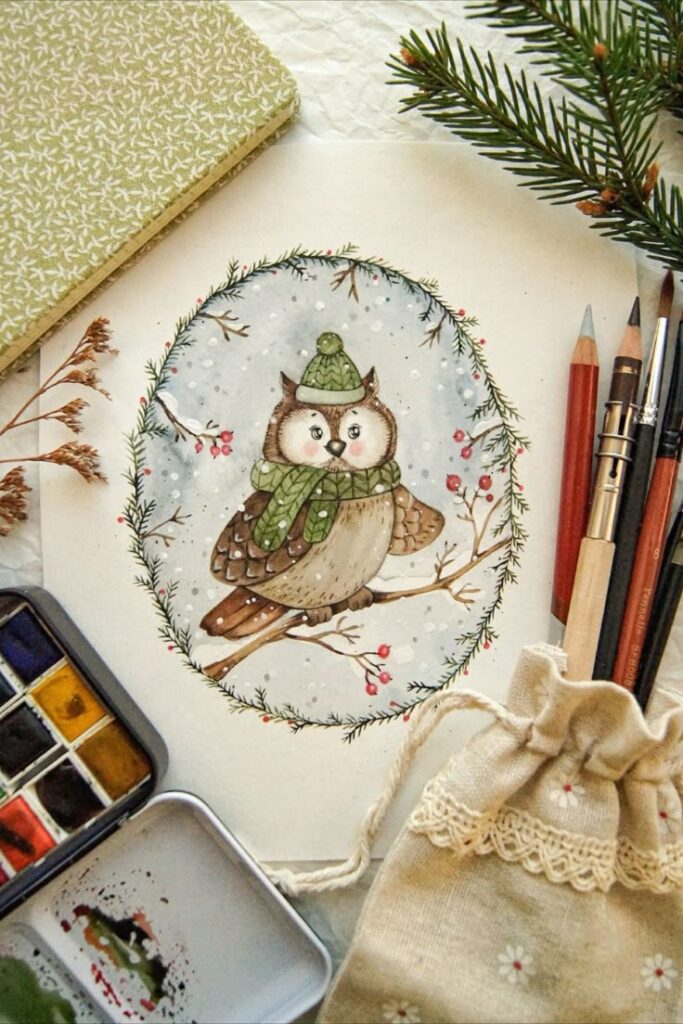
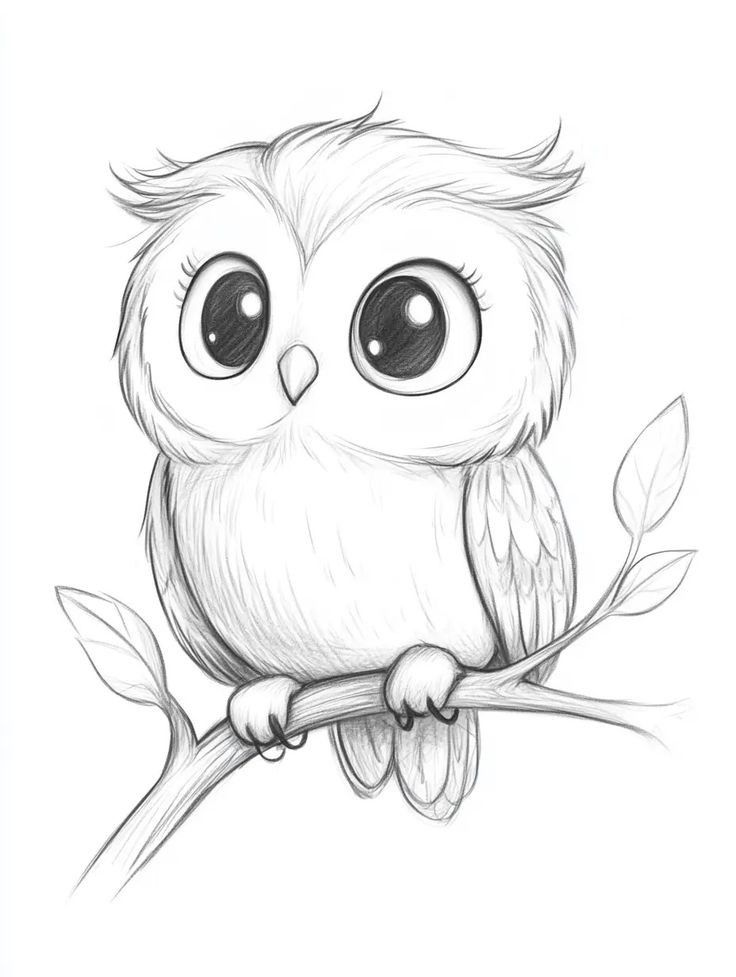
Start by sketching a simple oval for the owl’s body. Keep your lines light so you can adjust them as you go. Add a smaller circle on top for the head.
Next, draw two large circles for the eyes. Place a small dot inside each one for the pupils. Add a short triangle between the eyes to form the beak.
Sketch two curved lines on each side of the body for the wings. You can keep them simple or add feather details with short, curved strokes.
Draw small feet at the bottom using short lines or tiny claws. If you like, add a branch under the feet to give your owl something to perch on.
Finish by outlining your drawing with a darker pencil or pen. Erase the extra sketch lines, then add shading or color to bring your owl to life.
3) Easy whale sketch using basic lines
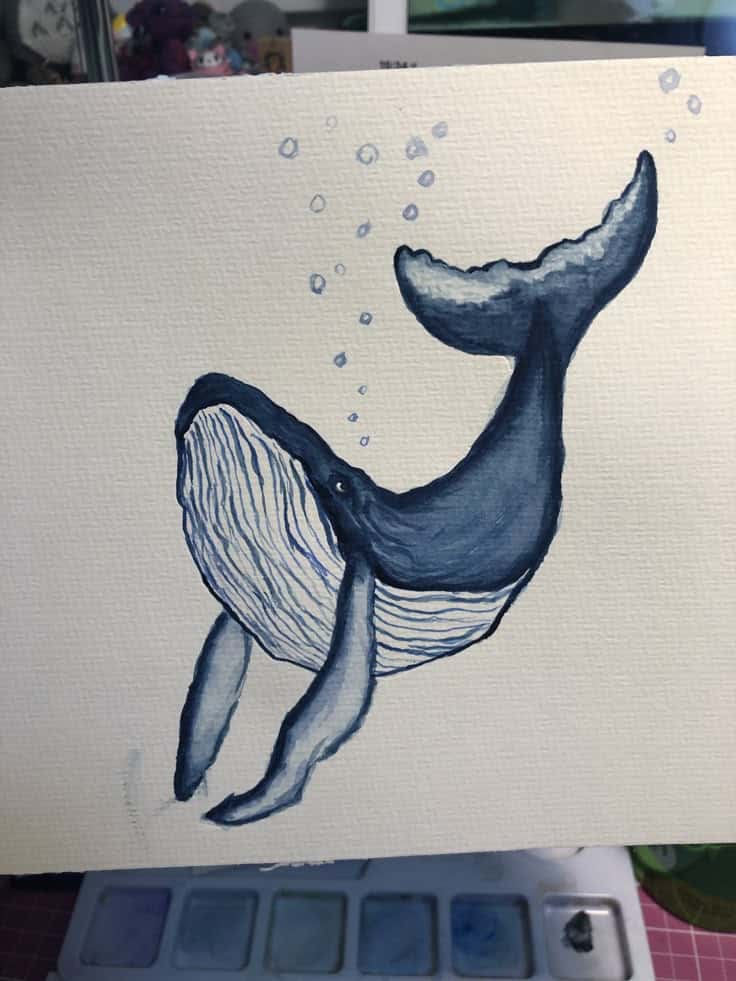
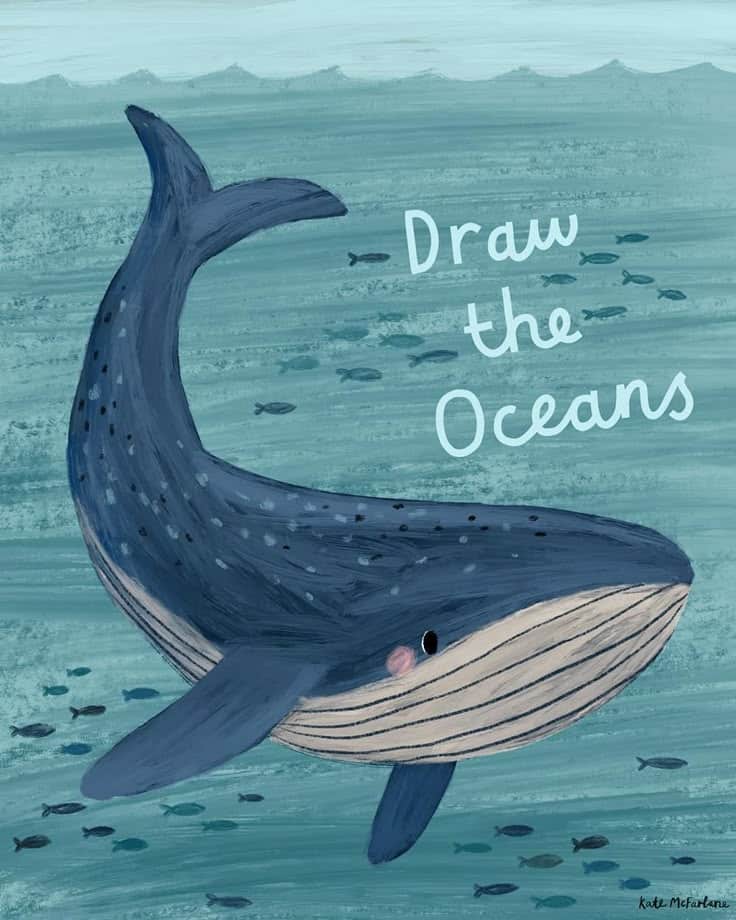
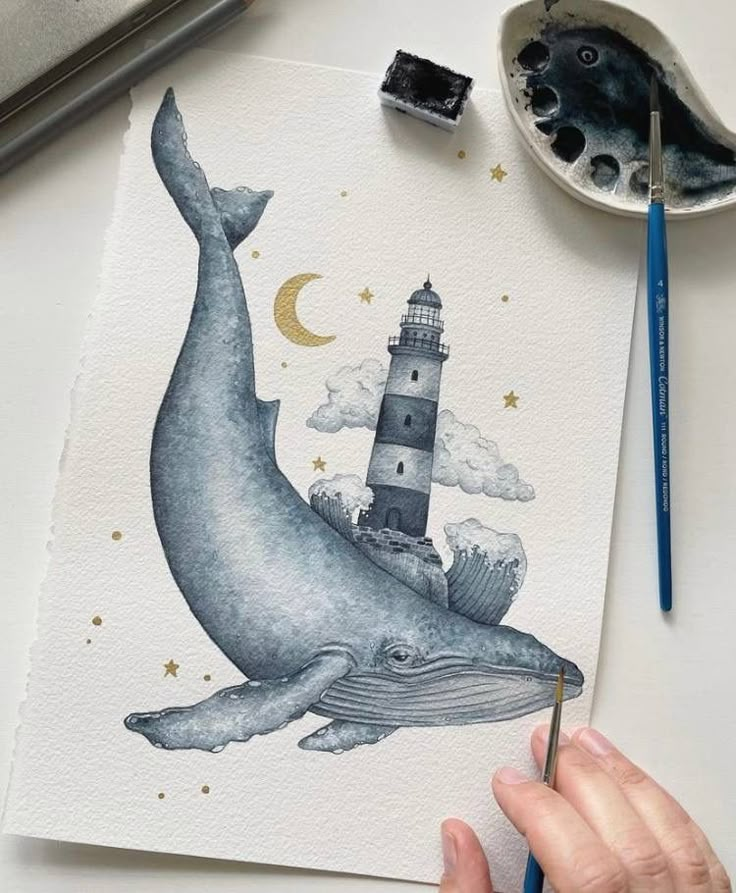
You can start a whale sketch by drawing a simple oval or curved shape for the body. Keep the lines light so you can adjust them as you go. A gentle curve at one end works well for the head.
Next, sketch a small triangle or fin shape on top of the body. Add another fin underneath with a similar curve. These don’t need to be perfect—just simple shapes to suggest movement.
For the tail, draw two curved triangles extending from the back of the body. Angle them slightly apart to give the tail a natural look. Keep the lines smooth and rounded.
Add a small dot for the eye and a short curved line for the mouth. This tiny detail makes the whale look friendlier. You can also draw a little water spout above the head if you want.
Once you’re happy with the outline, trace over your lines with a darker pencil or pen. Erase any extra marks to clean up the sketch. If you’d like, shade the body lightly to give it more depth.
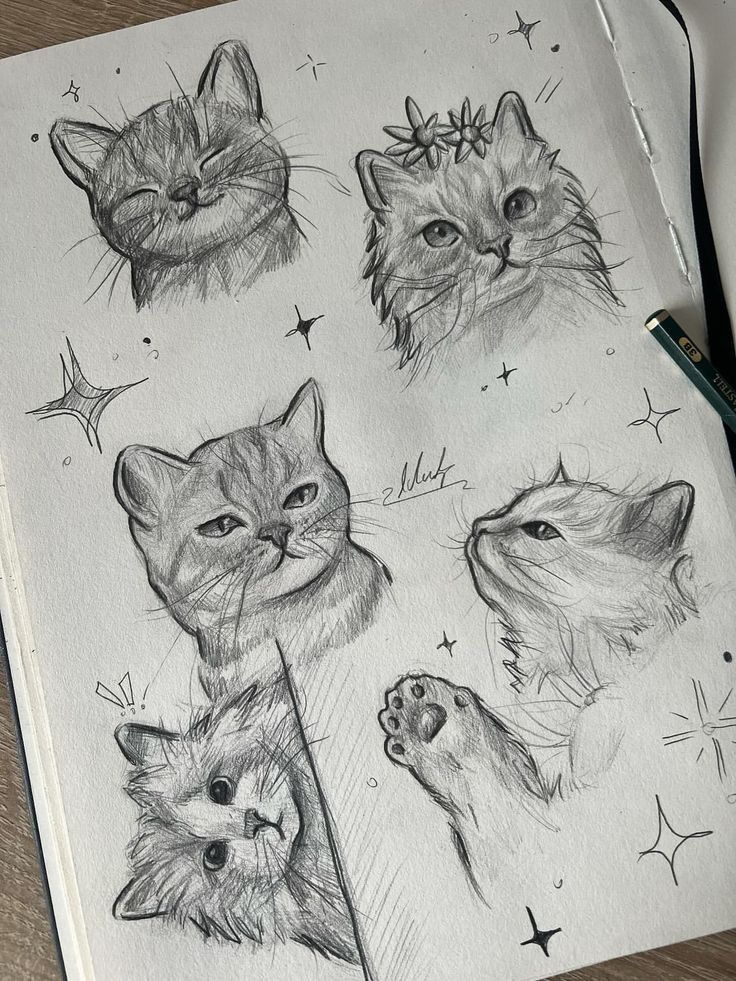
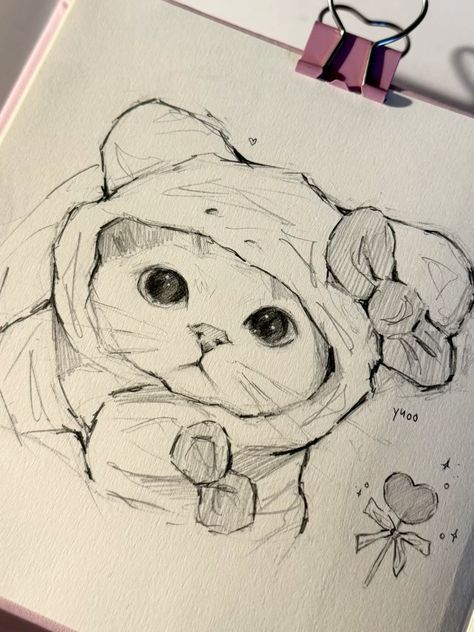
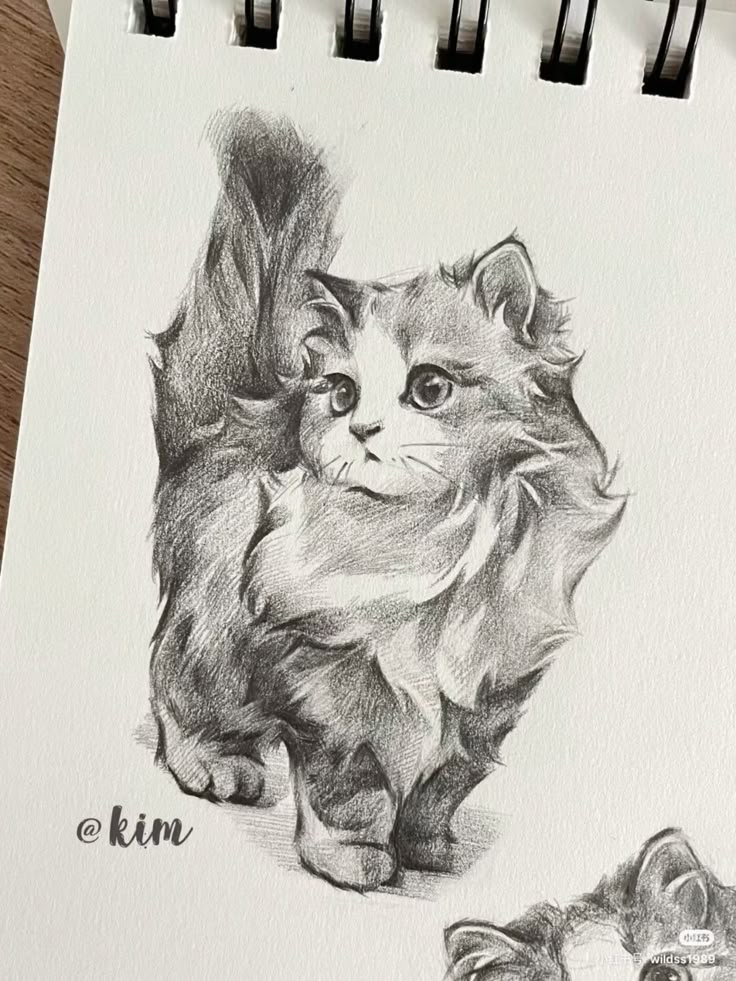
4) Drawing a playful kitten with minimal details
You can capture the charm of a kitten without adding too many lines. Focus on the basic shapes first, like a rounded head, small body, and a curved tail. Keeping the details simple makes your drawing approachable and fun.
Start with large eyes and small ears to give your kitten a playful look. A few curved lines for whiskers and a tiny nose are often enough to suggest personality. You don’t need shading or textures to make it recognizable.
Try sketching the kitten in a curious pose, such as peeking out of a box or playfully stretching. These positions add energy to your drawing while still staying minimal. A simple outline can suggest motion without becoming complicated.
If you want to experiment, adjust the size of the eyes or tilt the head slightly. Small changes can make your kitten appear more curious or mischievous. This approach helps you create variety while still keeping the style simple.
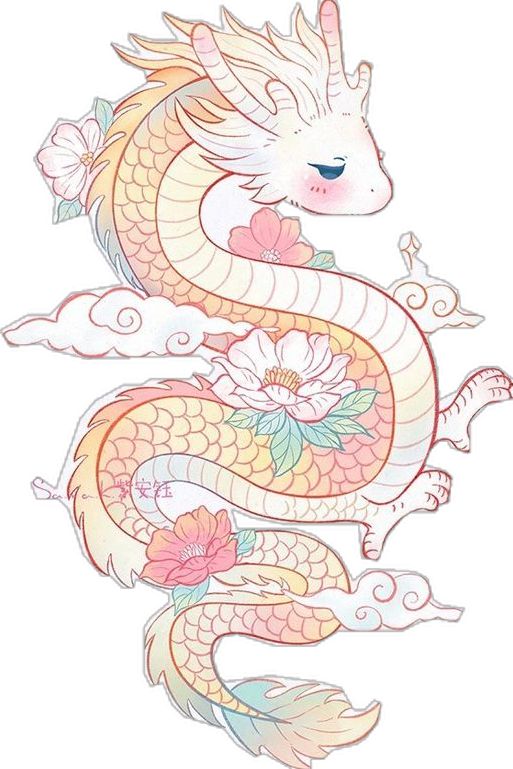
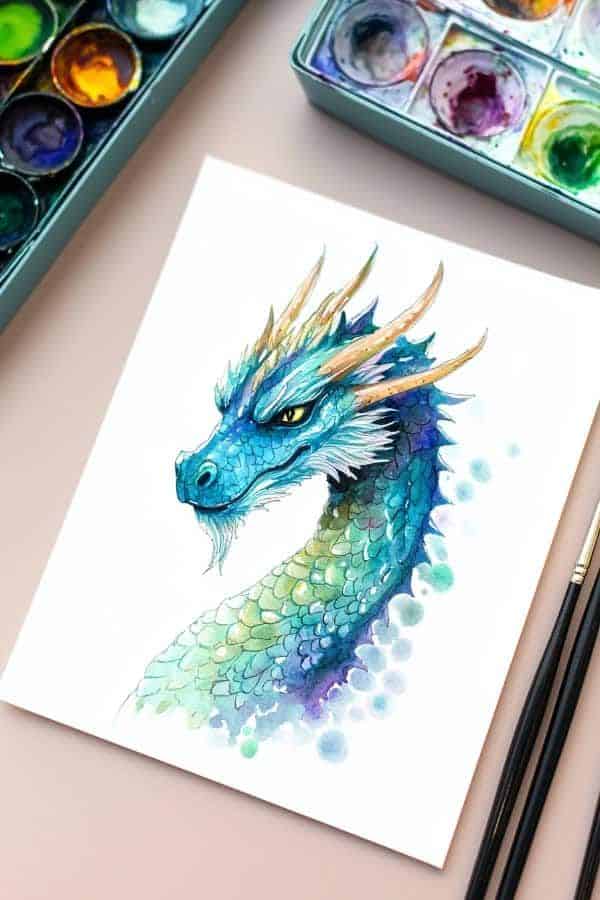
5) Simple dragon illustration for kids
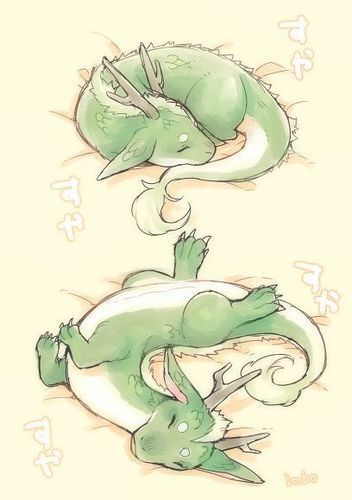
You can start your dragon drawing with basic shapes like circles and ovals. These simple forms help you outline the head, body, and wings without worrying about details right away.
Add small wings and a short tail to keep the dragon looking playful rather than intimidating. Rounded shapes make it appear friendly and approachable for kids.
Give your dragon big eyes and a small smile to make it look cute. You might also try adding tiny horns or a little flame puff for extra character.
Keep the lines smooth and avoid too many sharp angles. This makes the drawing easier to follow and more enjoyable for younger artists.
Once you finish the outline, you can color your dragon with bright greens, blues, or even pinks. Encourage creativity by letting kids choose any colors they like.
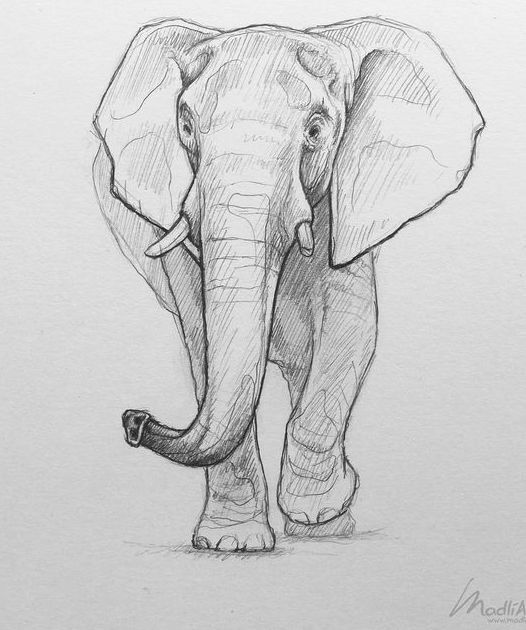
6) Sketching a realistic elephant outline
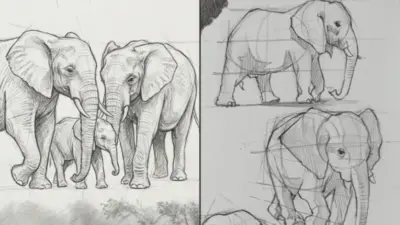
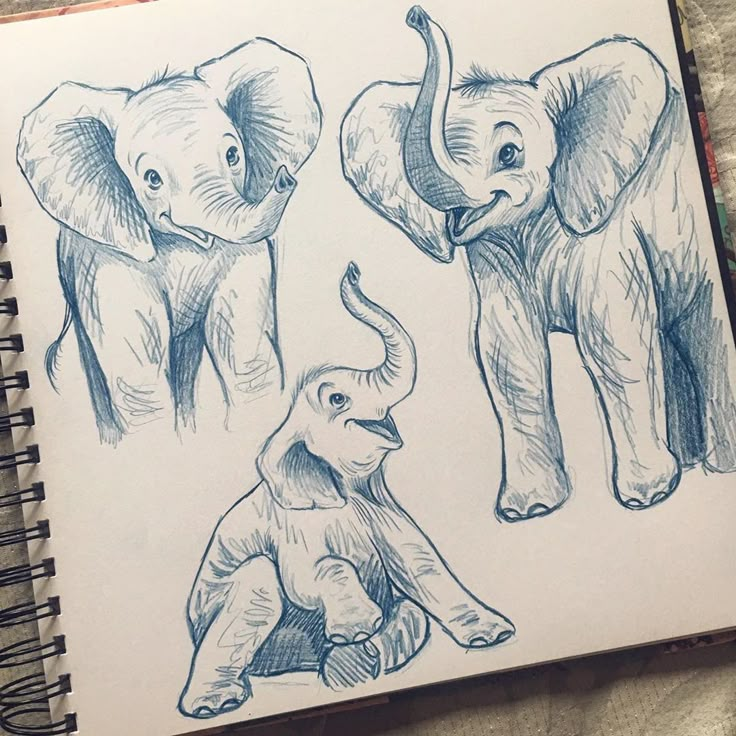
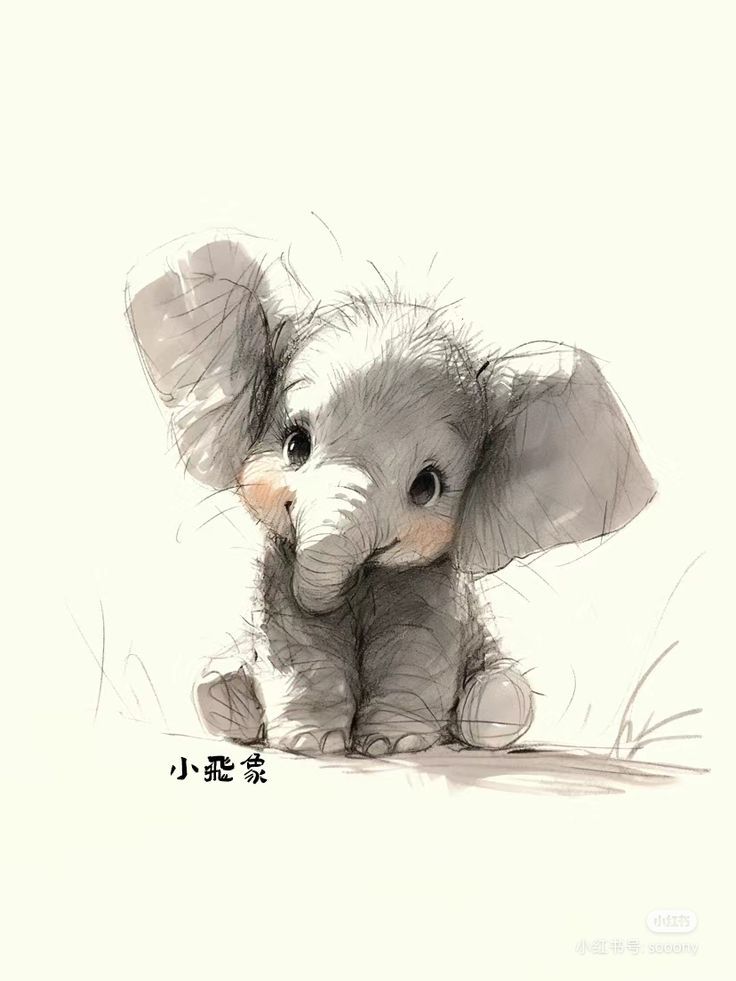
Start your elephant sketch by drawing a large oval or circle for the head and a bigger shape for the body. These simple forms help you place the proportions before adding details. Keep your lines light so you can adjust them easily.
Next, sketch the trunk as a long curved shape extending from the head. Add two large ears that spread out from the sides, making sure they balance with the head size. Use simple outlines first before refining.
Draw four sturdy legs beneath the body, keeping them straight and slightly thick. Elephants have strong, pillar-like legs, so avoid making them too thin. Add small rounded shapes at the bottom for the feet.
Once the basic outline is in place, refine the shapes by smoothing curves and adjusting proportions. Lightly sketch in the eyes, tusks, and tail. These small details bring the outline closer to a realistic look.
You can finish by cleaning up extra lines and darkening the final outline. At this stage, you should see a clear elephant form that’s ready for shading or additional detail work.
7) Fun and easy fox drawing tutorial
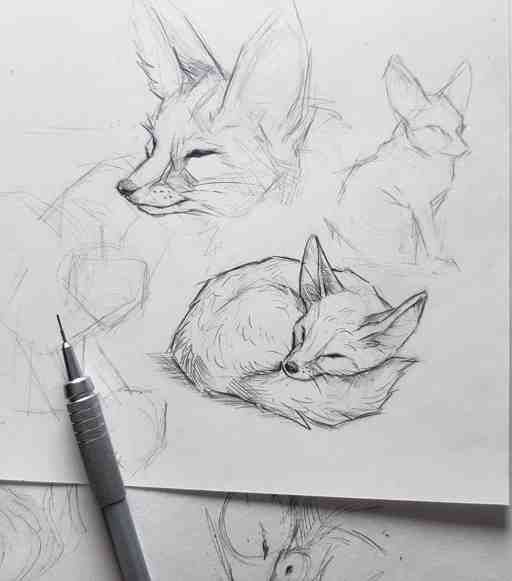
You can start your fox drawing with a simple oval for the head and a slightly larger oval for the body. Lightly sketch these shapes so you can adjust them as you go.
Next, add two pointed ears on top of the head. Draw a small triangle for the nose and guide lines for where the eyes will sit. Keep the shapes basic so it’s easier to refine later.
For the body, extend a curved line from the head to form the back, then add shorter lines for the legs. Sketch a long, bushy tail that curves around the body, since the tail is one of the fox’s most recognizable features.
Once the outline looks balanced, you can add details like fur texture, facial features, and the inner ear lines. Keep your strokes light at first, then darken the final lines when you’re happy with the shape.
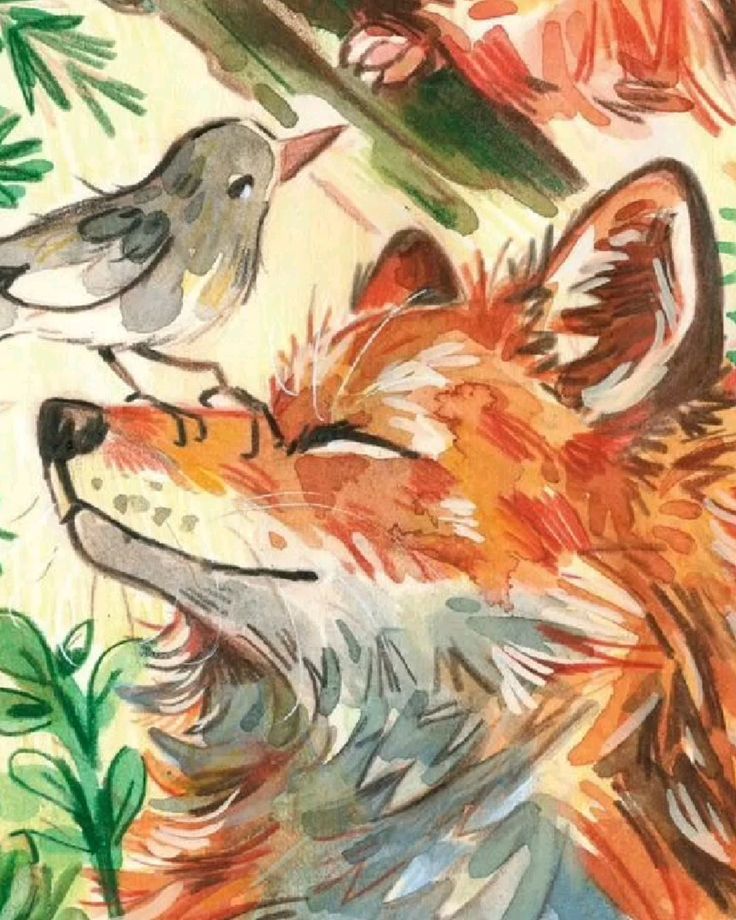
Finish by coloring your fox with shades of orange, white, and a bit of black on the ears and legs. If you prefer a playful look, you can use softer pastel colors or even try a cartoon style.

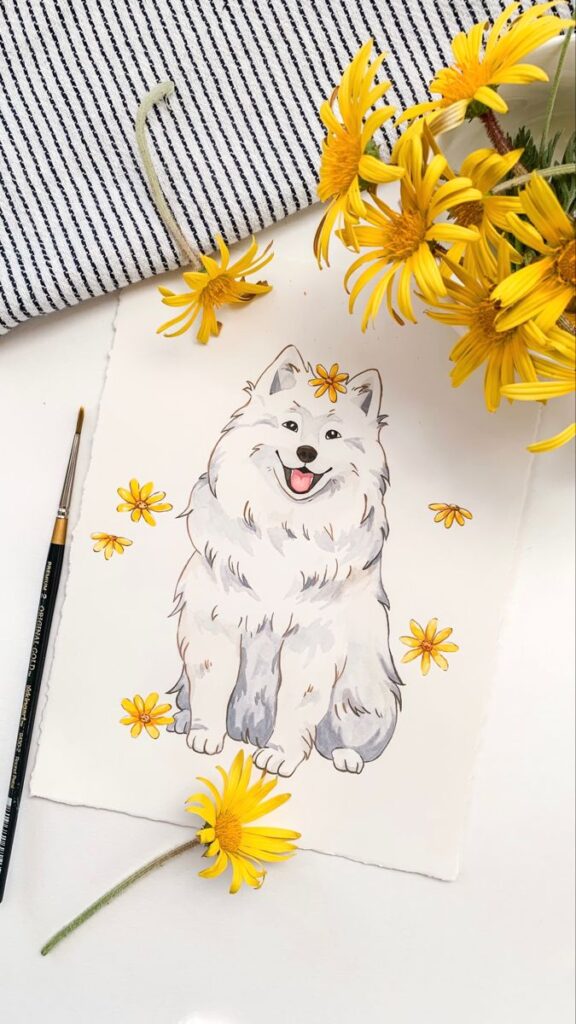
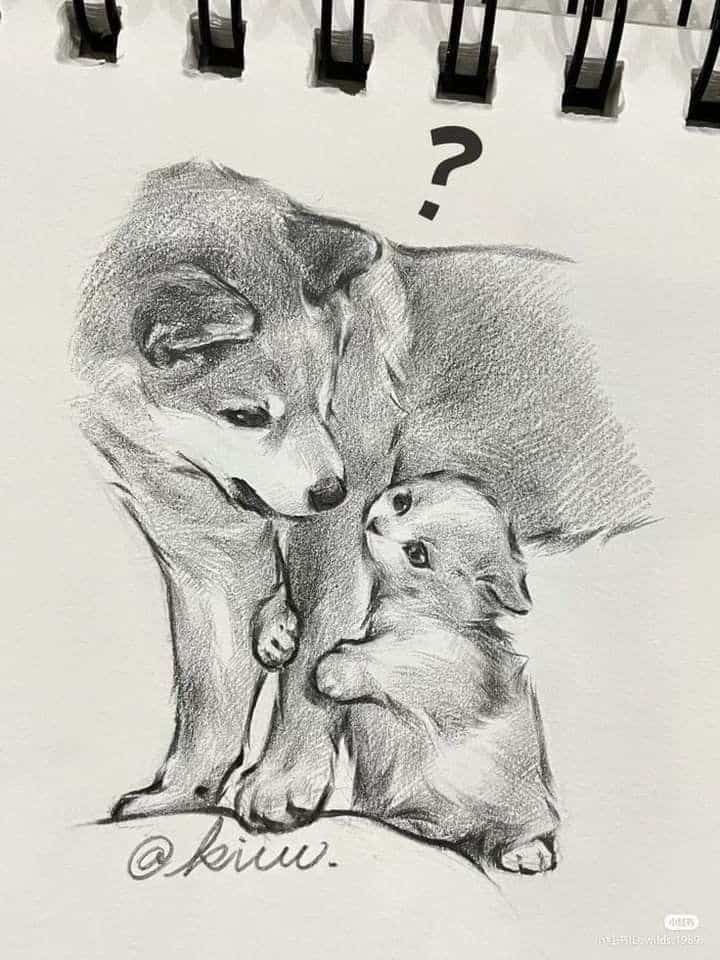
8) Drawing a charming cartoon dog
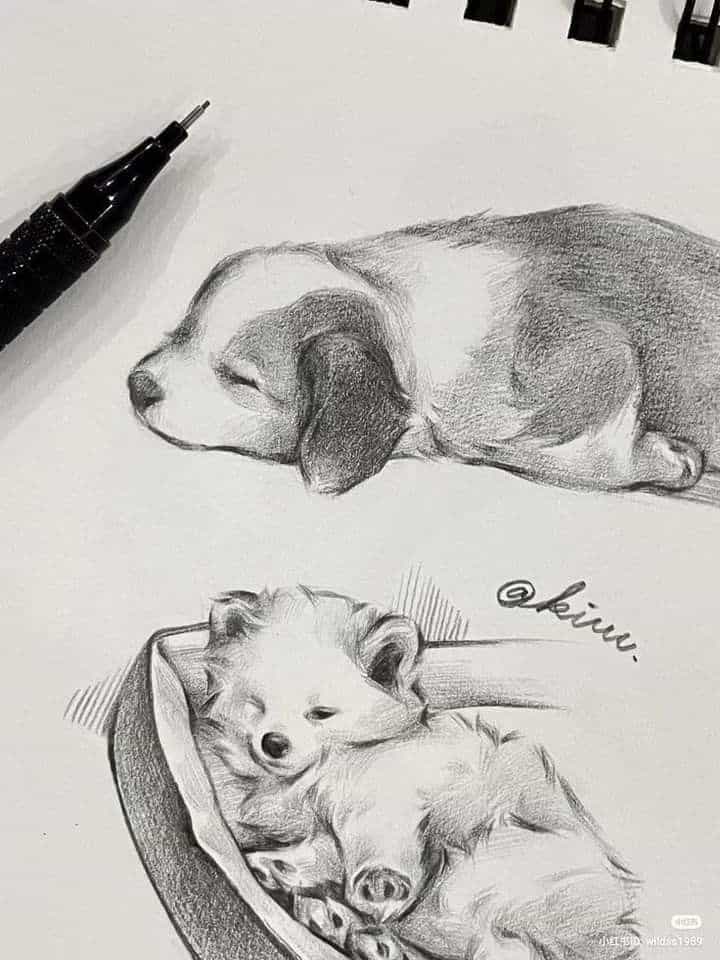
You can start a cartoon dog drawing with a few simple shapes. Try sketching a round head, floppy ears, and a small oval body to build the basic form. Keeping the shapes soft will help the dog look friendly and approachable.
Add details like big eyes, a button nose, and a wagging tail. These features instantly give your drawing a playful personality. You don’t need perfect proportions—slight exaggeration often makes cartoon dogs look cuter.
Experiment with different ear styles, such as long droopy ears or short pointy ones. Changing small details like this can make each drawing feel unique. Try drawing a sitting pose or a playful stance to capture energy.
If you’d like, use light shading or color to bring the dog to life. A touch of brown, gray, or even bright colors can make the character stand out. Keep it simple so the design stays easy and fun to draw.
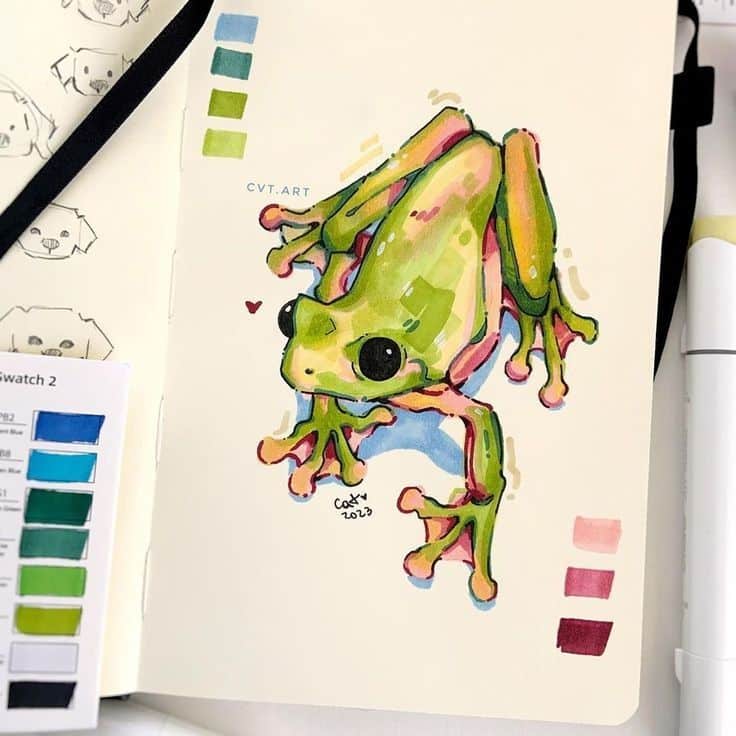
9) Basic frog sketch for beginners
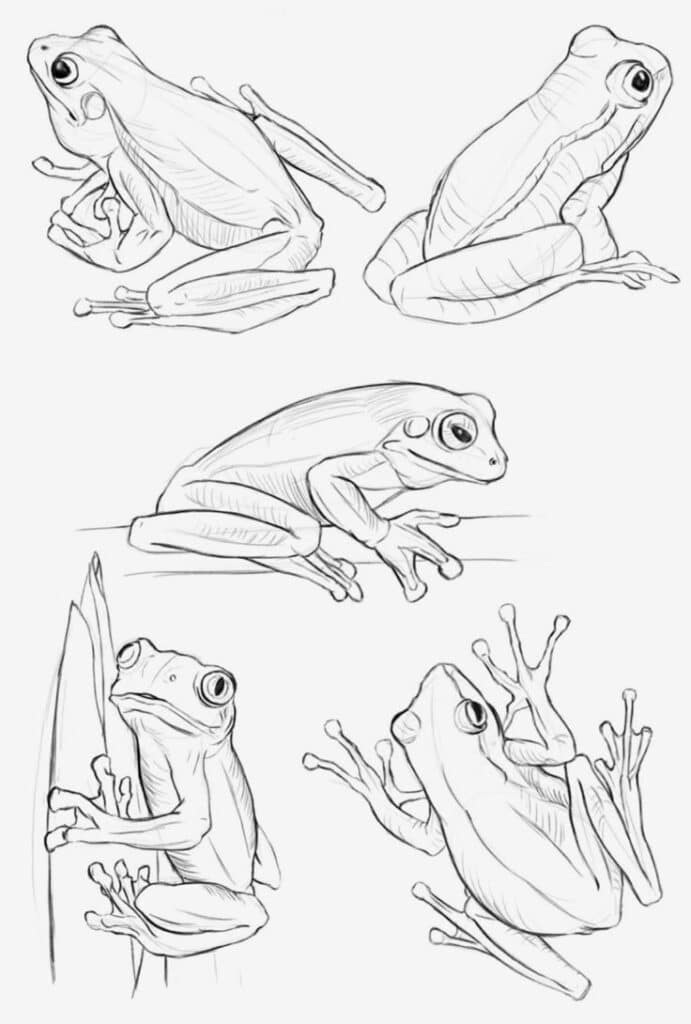
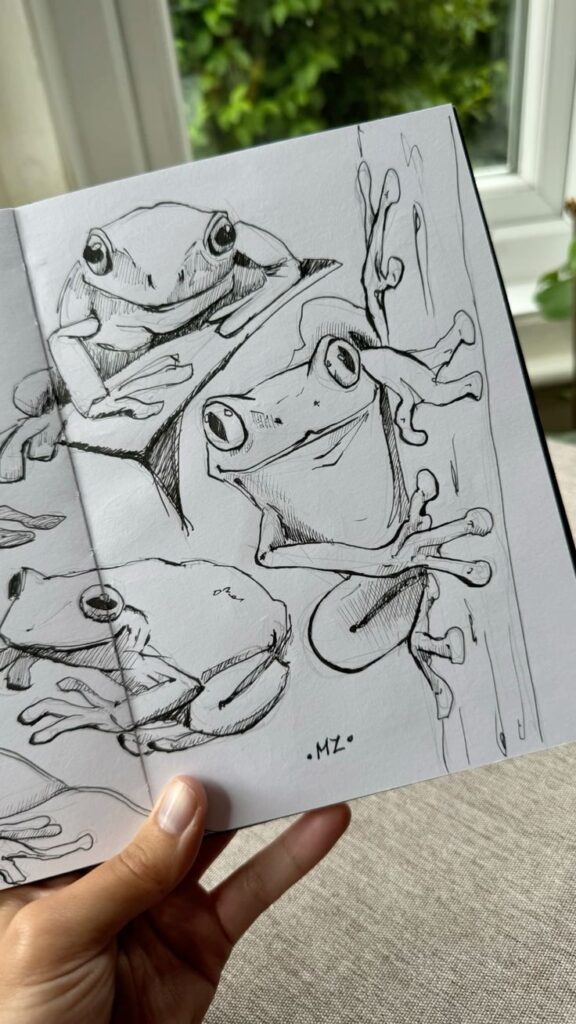
You can start a frog sketch by drawing a simple oval for the body and a smaller circle for the head. Keep your lines light so you can adjust shapes as needed.
Add two round eyes on top of the head to give the frog a recognizable look. Placing them slightly apart helps capture the wide-eyed expression frogs are known for.
Sketch short front legs with small oval shapes for toes. For the back legs, use longer curved lines to suggest their strong, folded shape. Keep details simple so the drawing stays easy to follow.
If you want to make it more playful, try adding a small smile or a tongue. These small touches can give your frog more personality without making the sketch complicated.
Finish by outlining your shapes with a darker line and erasing any extra guidelines. You can leave it as a clean sketch or add light shading to show form.
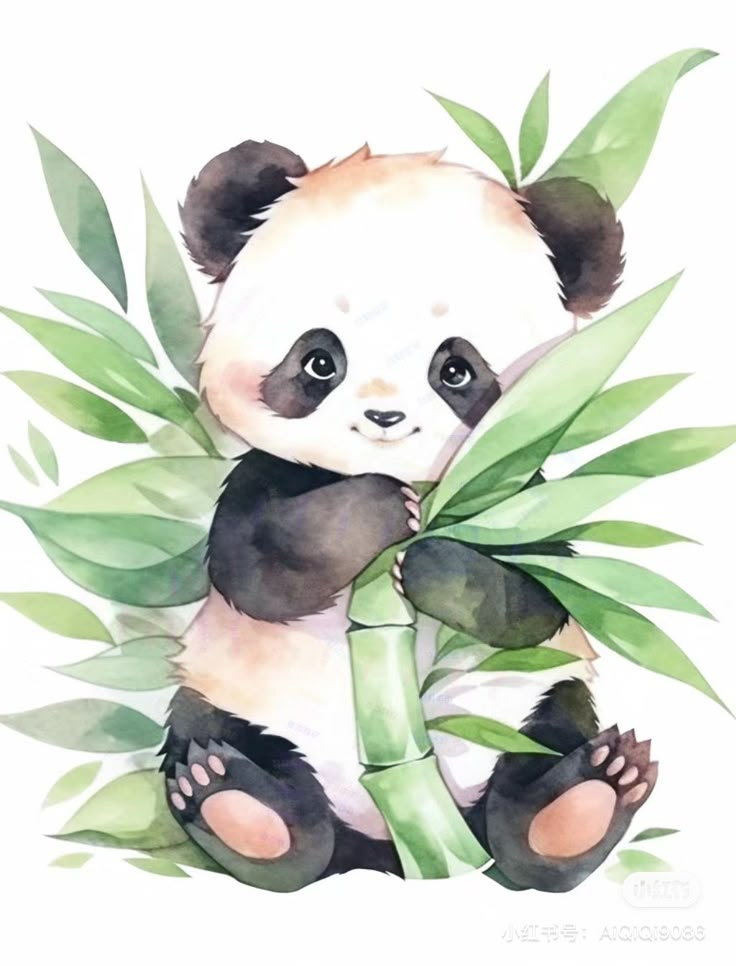
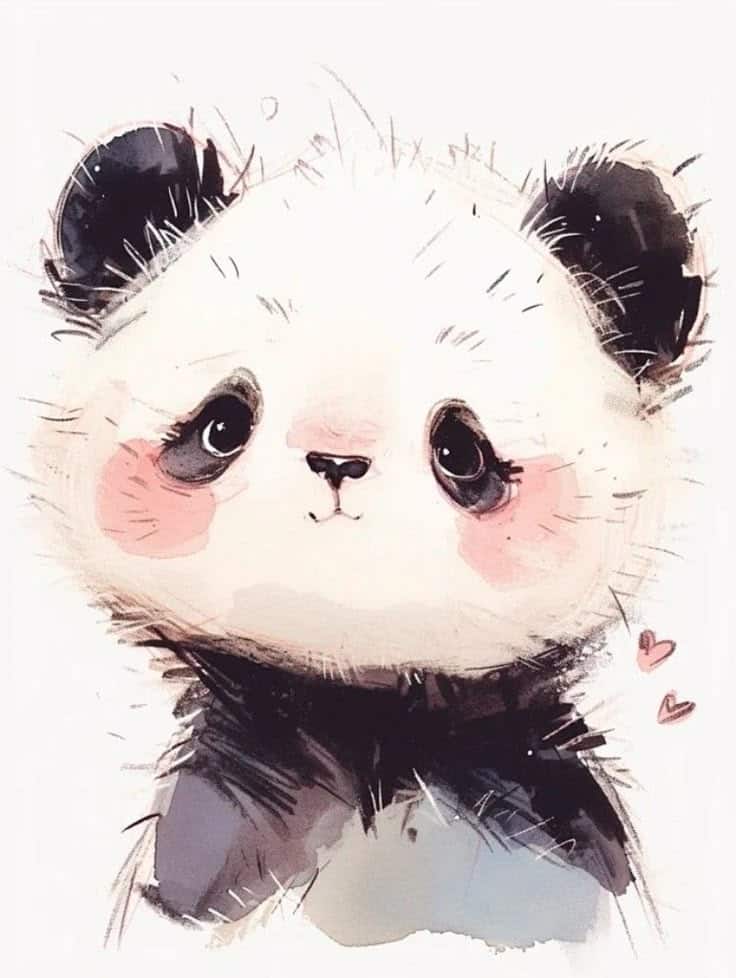
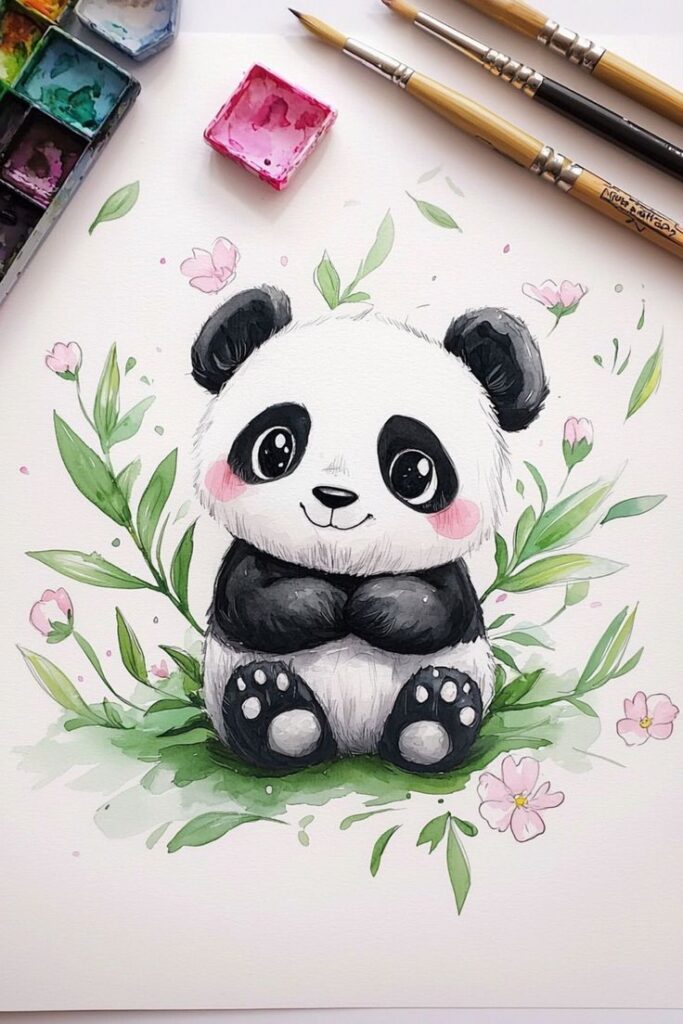
10) How to draw a smiling panda face
Start by sketching a round circle for the head. Keep the shape soft and slightly wide to give your panda a friendly look. Lightly draw the outline so you can adjust it if needed.
Add two large oval patches for the eyes. Place them evenly on both sides of the face, leaving space in the middle for the nose. Inside each patch, draw small circles for the pupils.
Draw a small triangle or rounded shape for the nose just below the eyes. From the bottom of the nose, curve a short line downward and then curve it outward on both sides to form a simple smile.
Place two rounded ears on top of the head. Keep them slightly tilted to make the face look more expressive. Shade the ears and eye patches to match the panda’s classic black-and-white pattern.
Finish by cleaning up extra lines and adding light shading around the cheeks. This helps the smile stand out and gives your panda a softer appearance. Keep your strokes gentle so the overall look stays playful and approachable.
Tips for Drawing Animals
When you draw animals, the tools you use, the way you study proportions, and the attention you give to details like fur or scales all make a noticeable difference. Focusing on these areas helps you create drawings that look more natural and accurate.
Choosing the Right Materials
The materials you use affect both the look of your drawing and how easy it is to work on details. A simple set of pencils ranging from HB to 6B gives you flexibility with shading and line work. Mechanical pencils are useful for fine details like whiskers or feathers.
For smoother blending, keep a blending stump or tissue nearby. If you prefer bold outlines, fine-tip pens or ink can add clarity. Colored pencils and watercolors let you experiment with tone and depth, especially for animals with distinctive markings.
Paper choice also matters. Heavier paper (around 100–120 gsm) prevents smudging and holds shading better. If you’re working with ink or watercolor, choose thicker paper that won’t warp. A small sketchbook is handy for practice, while larger sheets give you more space for full-body studies.
Understanding Animal Anatomy
Learning the basic structure of animals helps you draw them more accurately. Start by breaking the body into simple shapes—circles for joints, ovals for the torso, and rectangles for the head or muzzle. This makes proportions easier to manage before adding detail.
Pay attention to how animals move. For example, a cat’s flexible spine allows it to crouch low, while a horse’s long legs create strong, upright lines. Observing these differences helps you capture realistic poses.
A quick study of skeletal and muscular systems can guide you when sketching. Even if you don’t draw every muscle, knowing where they sit under the skin improves accuracy. Practice drawing animals in motion as well as at rest to build confidence in proportion and balance.
Incorporating Texture and Patterns
Texture adds life to your drawings. Fur, feathers, and scales all require different approaches. For short fur, use small, controlled strokes in the direction of growth. For long fur, vary your line length and layer strokes for depth.
Feathers often overlap, so sketch them in groups rather than one by one. Start with larger wing shapes, then add smaller details where needed. Scales can be suggested with repeating patterns, but avoid drawing each one unless you want a highly detailed effect.
Patterns like stripes or spots should follow the form of the body. For example, a tiger’s stripes curve with its muscles, while a giraffe’s patches stretch slightly around its legs. Paying attention to how markings wrap around the body helps your drawing look more natural.
Adding Creativity to Your Animal Drawings
You can make your animal sketches more engaging by exploring new ways to draw and by using color in thoughtful ways. Small changes in technique and color choice can completely change the mood and style of your artwork.
Experimenting With Different Styles
Try drawing the same animal in multiple styles to see what feels most natural to you. For example, sketch a cat in a realistic style, then redraw it in a cartoon style with larger eyes and simplified shapes. This lets you compare how different approaches affect the personality of your drawing.
You can also play with line work. Use thick, bold outlines for a more graphic look or soft, broken lines for a gentler appearance. Even changing how much detail you include—like fur texture or feather patterns—can shift the drawing’s focus and tone.
Mixing influences from other art forms can also spark ideas. For instance, you might borrow patterns from folk art or simplify shapes like in minimalist design. Keeping a small sketchbook of these experiments helps you track what works best for you.
Using Color for Expression
Color choices can guide how someone feels about your drawing. A bright palette with yellows and pinks gives a cheerful effect, while muted blues and grays create a calmer mood. Think of color as a tool to highlight the personality of the animal you’re drawing.
Try using colored pencils, markers, or digital brushes to test different effects. For example:
| Color Choice | Effect on Drawing |
|---|---|
| Warm tones (reds, oranges) | Energetic, playful |
| Cool tones (blues, greens) | Relaxed, peaceful |
| High contrast | Bold, eye-catching |
You can also experiment with non-traditional colors. A purple elephant or green fox may not exist in reality, but it can make your drawing stand out and feel more imaginative.
- 1.9Kshares
- Facebook0
- Pinterest1.9K
- Twitter3
- Reddit0
