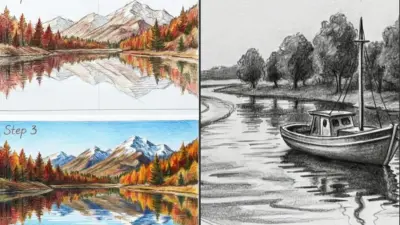
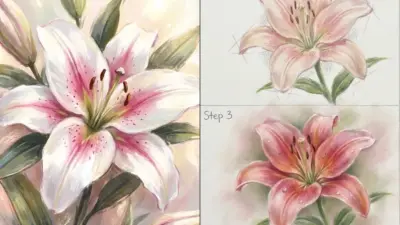
Sketching is one of the most accessible and rewarding ways to begin your artistic journey. Whether you want to capture quick ideas, improve your drawing skills, or simply enjoy a creative hobby, sketching requires minimal supplies and can be practiced anywhere.
Learning fundamental sketching techniques and practicing regularly will help you develop confidence and create more expressive artwork. From understanding how different pencils work to mastering basic shading methods, these core skills form the foundation for all your future drawing endeavors. You’ll discover how proper hand positioning, observation skills, and consistent practice can transform simple marks on paper into compelling sketches.
1) Start with loose, light lines to build your sketch gradually
Begin every sketch with gentle, soft strokes rather than bold, dark lines. Light lines allow you to make adjustments easily without creating messy corrections.
Use the side of your pencil to create these initial marks. This technique helps you establish the basic shape and proportions before committing to darker details.
Think of loose lines as your foundation. They capture the essential form and energy of your subject without getting caught up in precise details too early.
Start by sketching basic shapes that represent your subject. A circle for a head, rectangles for buildings, or ovals for body parts work perfectly at this stage.
Keep your hand relaxed and move from your shoulder rather than just your wrist. This creates more fluid, natural-looking lines that feel less stiff and mechanical.
Once you have the basic structure mapped out with light strokes, you can gradually add darker lines to define important edges. Build up the darkness slowly rather than jumping straight to heavy lines.
This approach gives you confidence to experiment. You can try different proportions or adjust shapes without fear of ruining your drawing since the initial marks remain light and changeable.
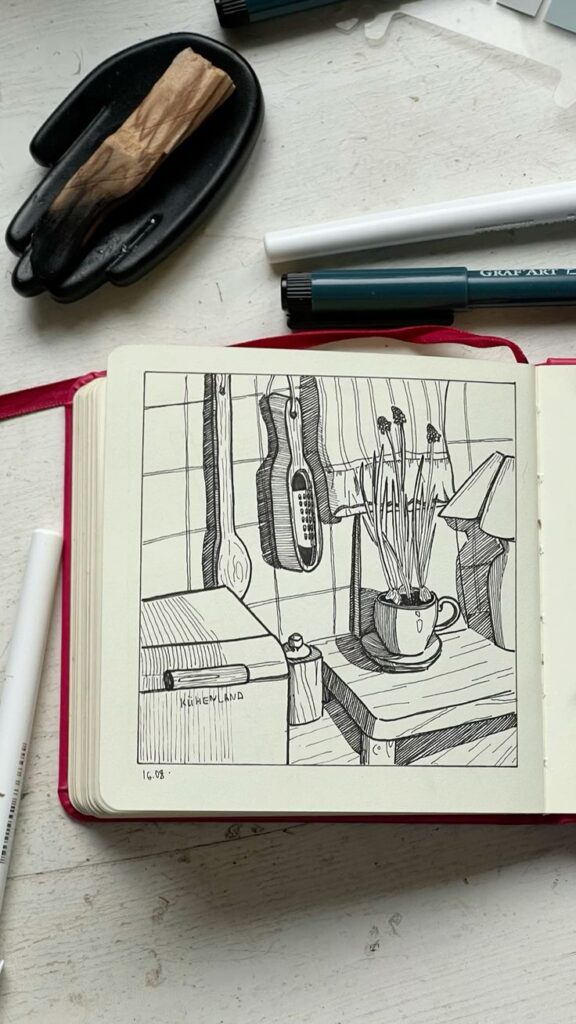
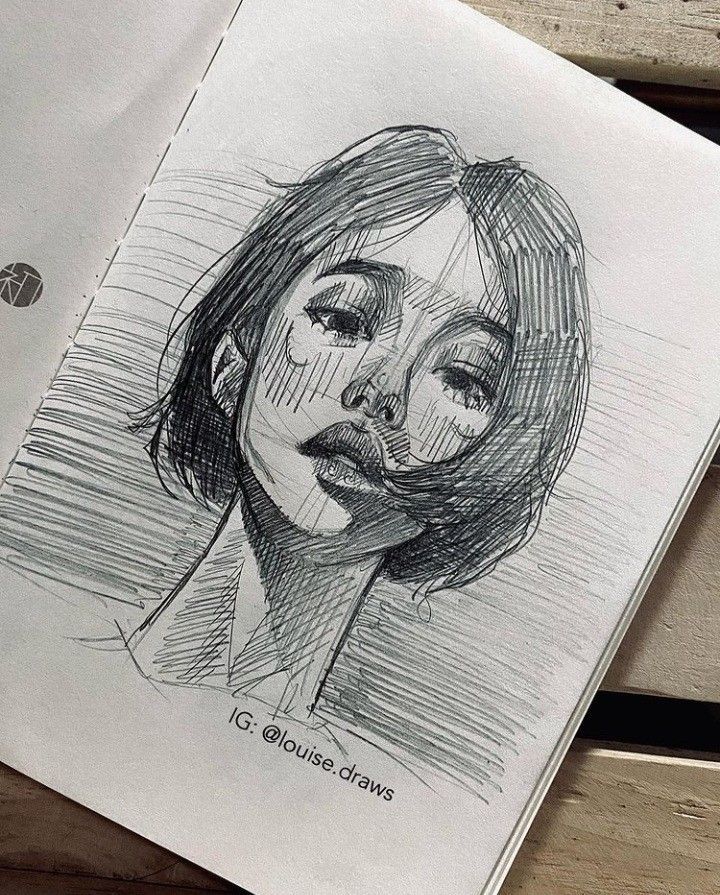
2) Use a variety of pencils, like B for shading and H for fine lines
Different pencil grades give you more control over your sketches. Each type serves a specific purpose in drawing.
B pencils are soft and create dark, rich lines. They’re perfect for shading and adding depth to your drawings. The higher the B number, the softer and darker the pencil becomes.
H pencils are hard and produce light, fine lines. Use them for initial sketches, details, and precise outlines. Higher H numbers mean harder lead that creates lighter marks.
HB pencils sit right between hard and soft. They work well for general sketching and everyday drawing tasks.
Start with a basic set that includes 2H, HB, 2B, and 4B pencils. This range covers most sketching needs without overwhelming you with choices.
Use H pencils to map out your drawing’s basic structure. Then switch to B pencils to add shadows and darker areas. This combination creates drawings with both fine details and rich contrasts.
Sharp H pencils help create texture effects like wrinkled surfaces. Blunt B pencils work better for smooth shading and broader strokes.
Mixing different pencil grades in one drawing adds visual interest and makes your sketches look more professional.
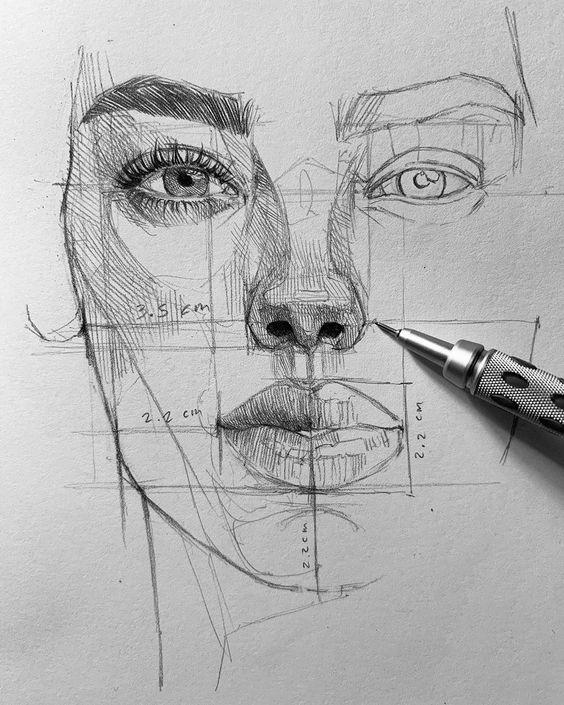
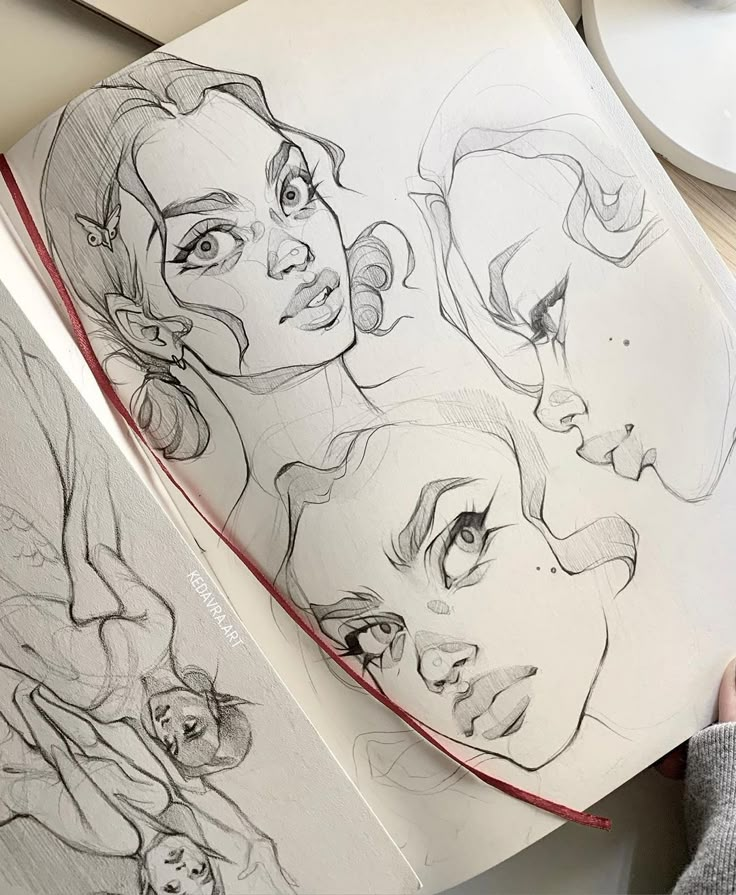
3) Practice drawing simple shapes to improve hand-eye coordination
Drawing basic shapes builds the foundation for all your future sketching skills. Your brain learns to send precise instructions to your hand through repeated practice with circles, squares, and triangles.
Start with circles since they’re one of the most challenging shapes to draw freehand. Practice making them in different sizes without lifting your pencil. Don’t worry if they look wobbly at first.
Move on to straight lines and squares. Try drawing parallel lines that stay evenly spaced. This exercise develops your control over consistent strokes and spacing.
Practice drawing ovals in various orientations. Tilt them at different angles to challenge your coordination further. Your hand will gradually learn to follow what your eye sees.
Break down complex objects into simple geometric shapes before sketching them. A house becomes a triangle on top of a rectangle. This approach improves your drawing accuracy significantly.
Draw these shapes quickly without looking at your paper occasionally. This blind drawing technique forces you to rely on touch and observation, strengthening the connection between your eyes and hands.
Regular shape practice sessions will make your lines smoother and more intentional over time.
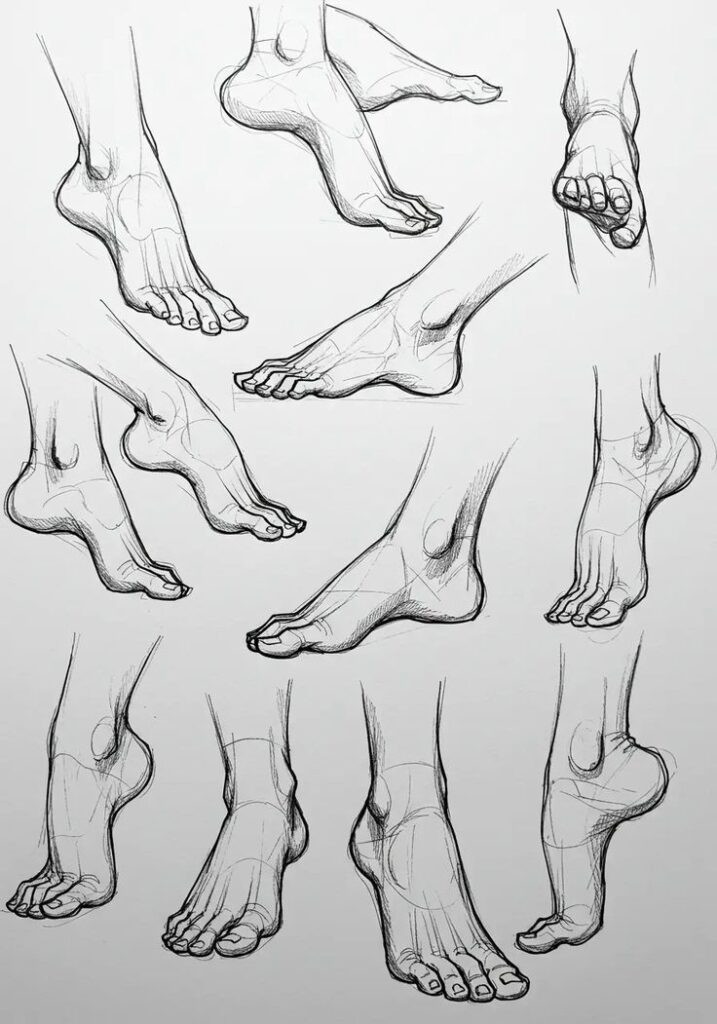
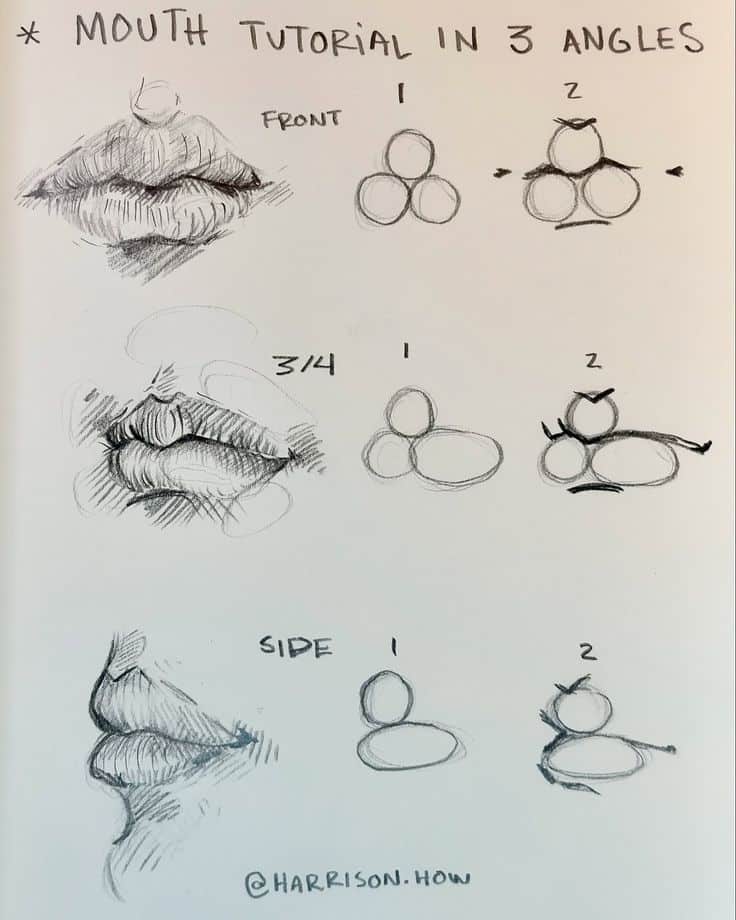
4) Warm up your hand with quick sketches before serious drawing
Your first sketch of the day often feels shaky and unpredictable. This happens because your hand muscles need time to loosen up and find their rhythm.
Quick warm-up sketches prepare both your hand and mind for better drawing. They help reduce line shakiness and eliminate that intimidating feeling when starting a new piece.
Spend 5-10 minutes on simple exercises before your main drawing session. Draw basic shapes like circles, squares, and triangles repeatedly. Practice straight lines in different directions.
Try scribbling loose, flowing movements across your paper. This gets your arm moving freely and builds muscle memory for smoother strokes.
Draw quick gesture sketches of objects around you. Don’t worry about perfection – focus on capturing basic shapes and proportions in under a minute each.
These warm-up exercises serve a dual purpose. They literally warm up your hand muscles while making your mind more alert and focused.
Small studies of your planned drawing work perfectly as warm-ups too. They help you solve potential problems before tackling the final piece.
Regular warm-ups build confidence and control in your drawing technique over time.
5) Focus on observation to capture accurate details
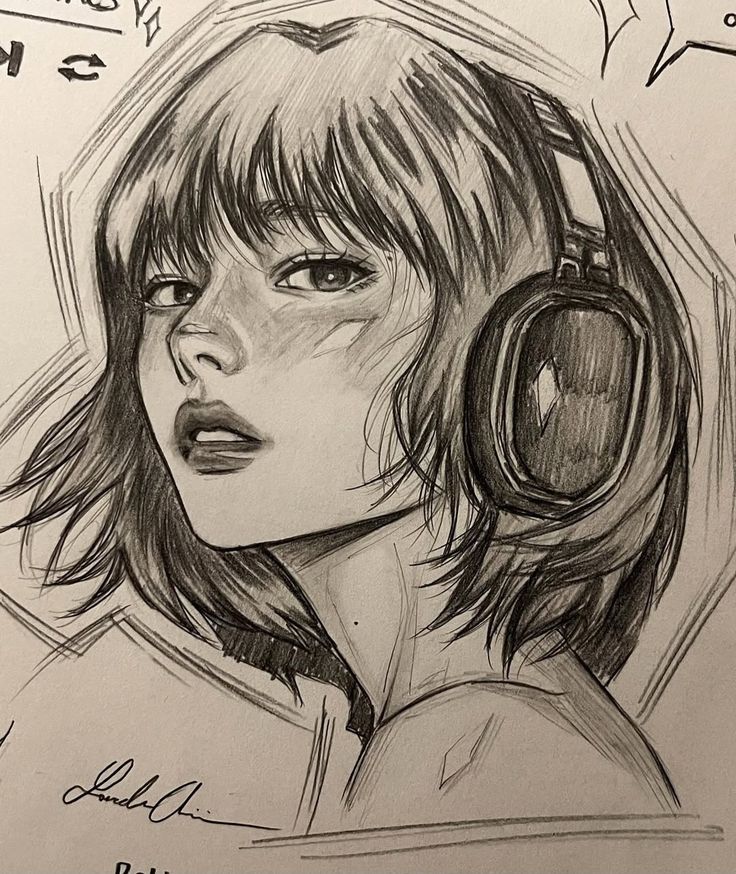
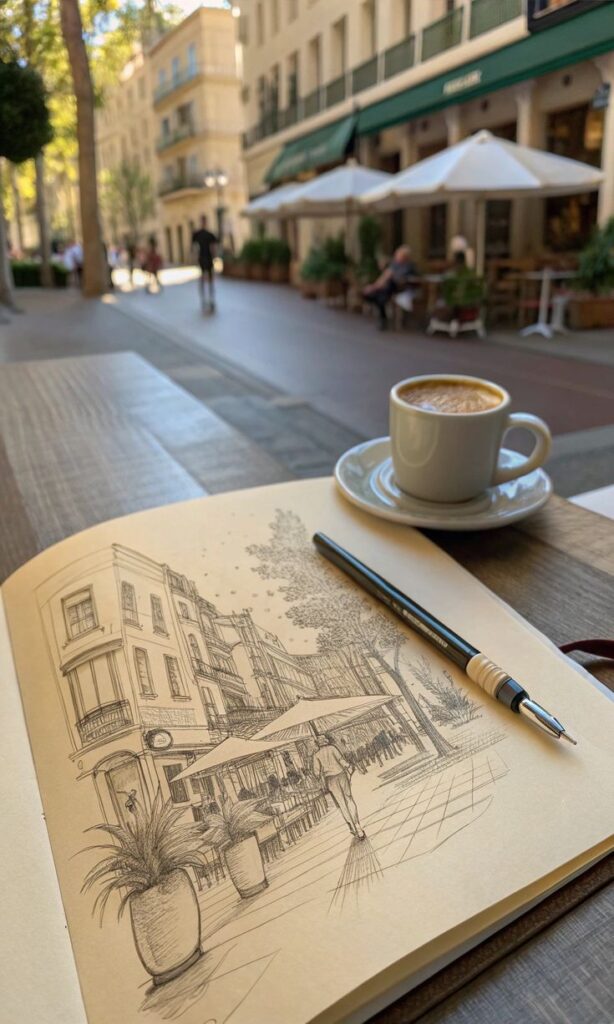
Observational drawing is the foundation of accurate sketching. Instead of drawing what you think something looks like, train your eyes to see what’s actually there.
Take time to really study your subject before making your first mark. Notice the shapes, proportions, and how light falls across different surfaces.
Start by looking at your subject for longer than you look at your paper. This forces you to observe details you might otherwise miss. Your drawing will become more accurate as your observation skills improve.
Practice sketching simple objects around your home first. A coffee mug, an apple, or a house plant make excellent subjects for developing your observation abilities.
Look for negative spaces – the empty areas around and between objects. These shapes are just as important as the object itself and help create accurate proportions.
Pay attention to values and shadows. Light and dark areas give your sketches dimension and make them appear more realistic.
Don’t rush the observation process. The more you practice looking carefully at your subjects, the better your sketches will become. Your hand will learn to follow what your eyes observe.
6) Experiment with different shading techniques for depth
Shading transforms flat drawings into realistic artwork with dimension. You can start with basic techniques that are easy to learn.
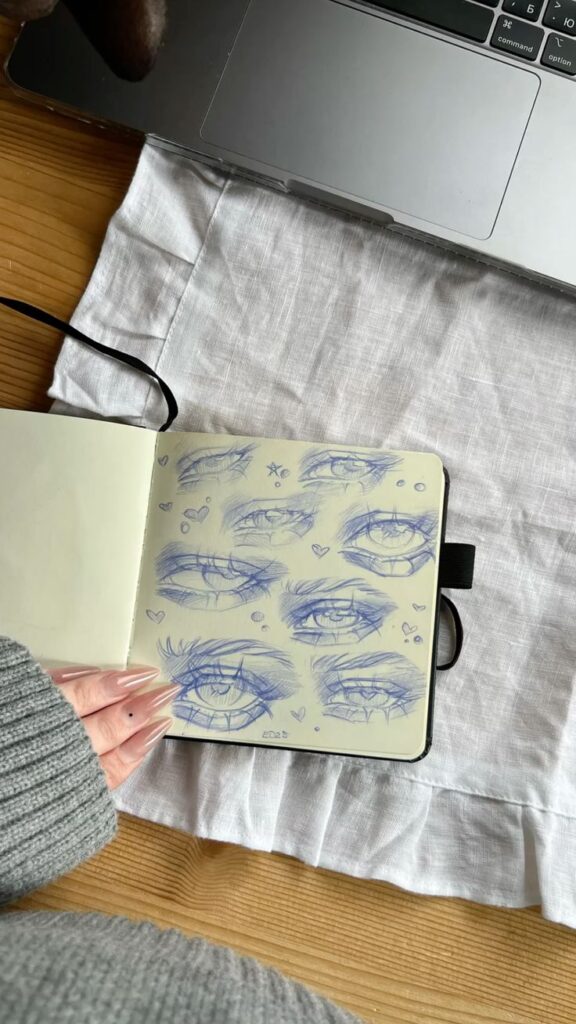
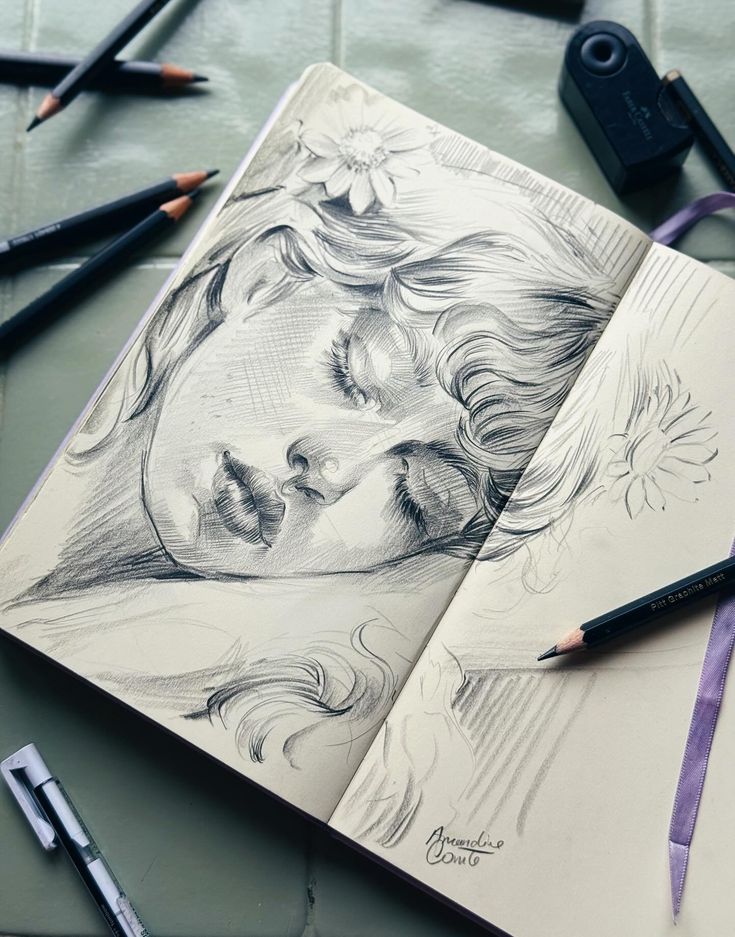
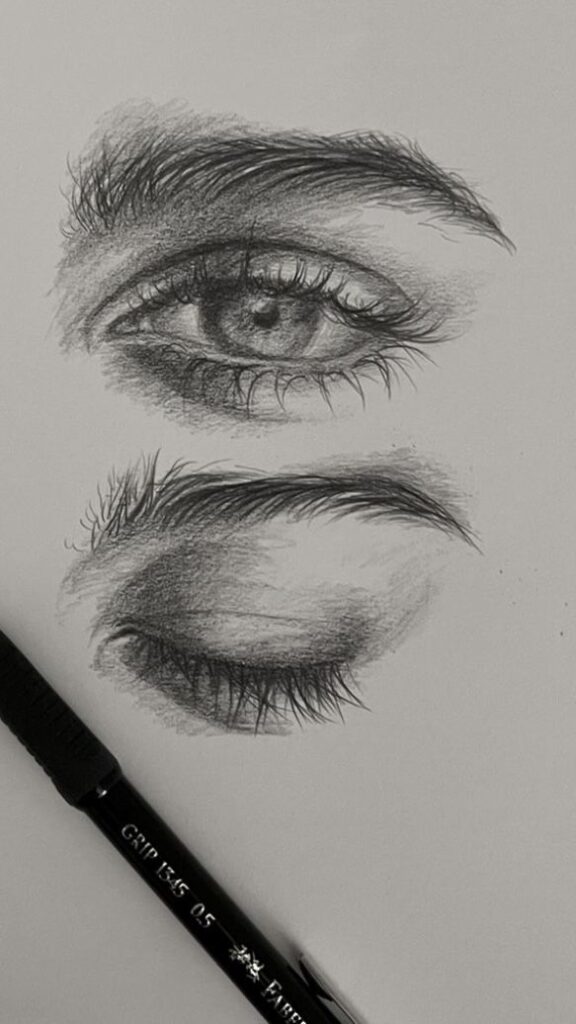
Hatching involves drawing parallel lines close together to create shadows. The closer the lines, the darker the area appears.
Cross-hatching takes this further by adding perpendicular lines over your hatching. This creates deeper shadows and richer tones in your sketches.
Stippling uses small dots to build up shaded areas. You control the darkness by varying dot density and spacing.
Blending creates smooth gradients by smudging pencil marks with your finger or blending tool. This technique works well for soft shadows and curved surfaces.
Try combining different techniques in one drawing. You might use hatching for texture and blending for smooth areas.
Practice on simple objects like spheres or cubes first. These basic shapes help you understand how light creates form and shadow.
Start light and build up darker tones gradually. You can always add more shading, but removing it is harder.
Each technique creates different moods and textures. Experiment to discover which methods work best for your drawing style.
7) Keep your wrist relaxed to create smoother strokes
Tension in your wrist creates shaky, uneven lines. When you grip your pencil too tightly or stiffen your muscles, your strokes become jerky and difficult to control.
Let your wrist stay loose and flexible while drawing. Avoid pressing your wrist firmly against the paper or holding it in a rigid position.
Your arm movement plays a bigger role than you might think. For longer lines, engage your shoulder and let the motion flow from there rather than forcing everything through your wrist.
Practice holding your pencil with a lighter grip. You should be able to move the pencil easily without it slipping from your fingers.
Take breaks when you feel your hand getting tense. Shake out your wrist and fingers to release any built-up tension before continuing.
Short, confident strokes often work better than trying to draw one perfect long line. Your relaxed wrist will naturally create smoother connections between these shorter marks.
Focus on keeping your entire arm relaxed, not just your wrist. Tension in your shoulder can travel down and affect your line quality too.

8) Use an eraser to add highlights and refine edges
Think of your eraser as more than just a mistake-fixing tool. It’s actually a powerful drawing instrument that can create highlights and refine your artwork.
A kneaded eraser works best for this technique. You can shape it into precise points or flatten it for broader strokes.
To create highlights, gently lift graphite from areas where light naturally hits your subject. Press the eraser lightly and pull upward to avoid damaging the paper.
Use your eraser to sharpen edges and define shapes. This technique helps separate objects from their backgrounds and adds depth to your drawings.
For clouds, hair, or water reflections, erasers excel at creating natural-looking textures. Work gradually and build up your highlights slowly.
Clean your kneaded eraser by stretching and folding it regularly. This keeps it effective and prevents it from smudging graphite back onto your drawing.
Try using an eraser shield for precise highlights in small areas. This tool helps you target specific spots without affecting surrounding artwork.
Remember to work from light to dark areas when adding highlights. This approach gives you better control over the final result.
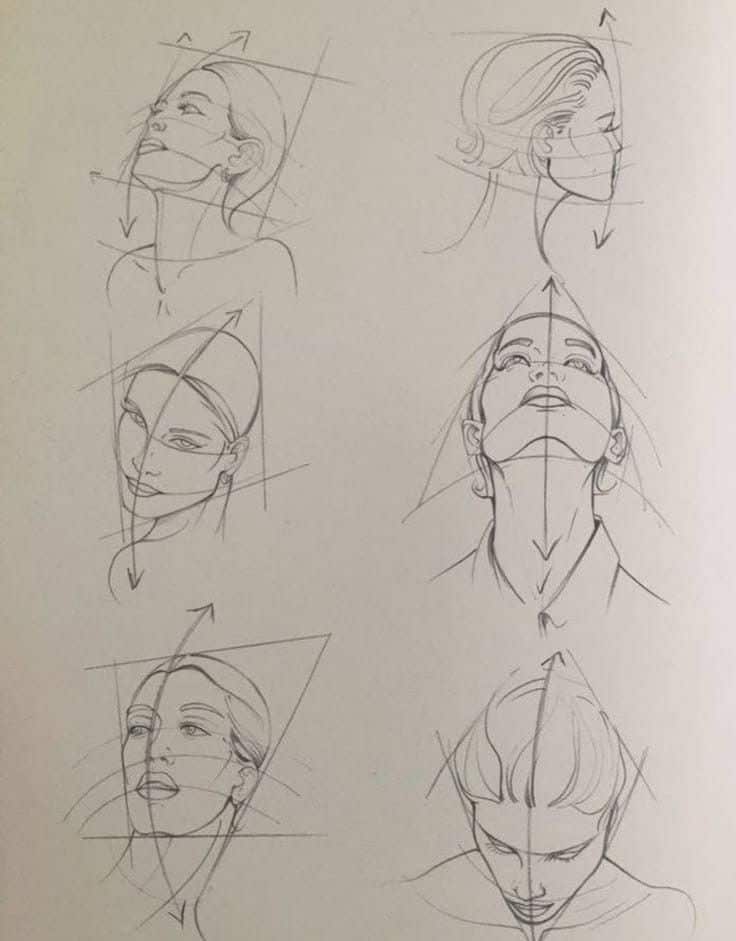
9) Try sketching with your non-dominant hand to boost creativity
Using your non-dominant hand might feel awkward at first, but it’s one of the most effective ways to unlock fresh creative perspectives. This technique forces your brain to work differently and can lead to surprising artistic breakthroughs.
When you switch hands, your usual expectations disappear. You can’t rely on muscle memory or practiced techniques. This limitation actually becomes a strength, freeing you from perfectionist tendencies.
Start with simple shapes and objects like leaves, circles, or basic still life items. Keep your sessions short, around 5-10 minutes initially. The goal isn’t to create masterpieces but to explore new ways of seeing.
Art therapists frequently use this method because it encourages a playful, experimental mindset. Your non-dominant hand connects to different neural pathways, often producing more intuitive and expressive marks.
Try drawing the same subject with both hands. Notice how the non-dominant version captures different qualities or emotions. The imperfect lines and wobbly shapes often convey more character than technically perfect drawings.
This exercise improves your overall artistic flexibility and problem-solving skills. Regular practice helps you become more comfortable with uncertainty and experimentation in all your artwork.
10) Practice regularly to develop your unique style
Regular practice is the foundation for developing your personal sketching style. Set aside time each day, even just 10-15 minutes, to sketch something new.
Your unique style emerges naturally through consistent drawing sessions. The more you practice, the more your hand learns to move in ways that feel comfortable and authentic to you.
Don’t worry about copying other artists perfectly when you start. Focus on drawing what interests you most, whether that’s people, landscapes, or everyday objects.
Try different techniques during your practice sessions. Experiment with various line weights, shading methods, and approaches to see what feels right for your artistic expression.
Keep a sketchbook with you to capture quick drawings throughout your day. These spontaneous sketches often reveal elements of your developing style more than planned drawing sessions.
Your style will evolve as you gain experience and confidence. What feels natural to you today might change in six months, and that’s perfectly normal in your artistic journey.
The key is maintaining consistency in your practice routine. Regular sketching builds muscle memory and helps you discover the unique way you see and interpret the world around you.
Essential Supplies for Sketching
Quality materials make a significant difference in your sketching experience and results. The right sketchbook and pencils form the foundation of your artistic toolkit.
Choosing the Right Sketchbook
Your sketchbook is where your artistic journey unfolds. Paper weight matters more than you might think.
Look for paper between 140-300 GSM (grams per square meter). Lighter paper works fine for pencil sketches but may buckle with heavier media.
Paper texture affects your drawings:
- Smooth paper works best for detailed work and fine lines
- Medium texture handles most sketching techniques well
- Rough texture adds character but can be challenging for beginners
Size considerations depend on your needs. A5 (5.8 x 8.3 inches) offers portability for outdoor sketching. A4 (8.3 x 11.7 inches) provides more space for detailed work.
Spiral-bound books lay flat and flip easily. Hardbound sketchbooks offer better paper quality and durability.
Pencil Types and Their Uses
Different pencil grades create distinct effects in your sketches. Understanding the numbering system helps you choose correctly.
Graphite pencil scale ranges from 9H to 9B:
| Grade | Hardness | Best For |
|---|---|---|
| H (2H-4H) | Hard | Light lines, initial sketches |
| HB | Medium | General sketching |
| B (2B-6B) | Soft | Dark lines, shading |
Start with three essential grades: 2H for light construction lines, HB for general sketching, and 4B for dark accents and shadows.
Mechanical pencils offer consistent line width. They work well for detailed work and don’t require sharpening.
Charcoal pencils create rich, dark marks. They blend easily but can be messy for beginners.
Keep pencils sharp for precise lines. A simple handheld sharpener works for most sketching needs.
Overcoming Common Sketching Challenges
New sketchers often struggle with self-doubt and lack of motivation. These mental barriers can prevent artistic growth more than any technical limitation.
Building Your Confidence
Fear of making mistakes kills creativity before it starts. Every professional artist began with imperfect sketches, and your early work doesn’t define your potential.
Start with simple subjects like basic shapes, fruits, or household objects. These give you immediate wins that build momentum. Success with easier subjects creates a foundation of positive experiences.
Embrace your mistakes as learning opportunities. That wonky circle teaches you more about hand control than a perfect one ever could. Keep a “practice mindset” where every sketch serves a purpose.
Set small, achievable goals rather than attempting complex portraits immediately. Draw for 10 minutes daily instead of forcing hour-long sessions. Consistency beats intensity for beginners.
Compare your work to your past sketches, not to professional artists with decades of experience. Take photos of your early work to track improvement over weeks and months.
Create a dedicated sketchbook for experiments only. This removes pressure to create “good” drawings and lets you focus on learning techniques without judgment.
Finding Inspiration to Practice
Motivation fades without fresh ideas and clear direction. Regular practice requires a steady stream of interesting subjects and achievable challenges.
Keep a reference photo collection on your phone or computer. Save images of objects, people, animals, and landscapes that catch your eye. This eliminates the “what should I draw?” barrier.
Follow the 80/20 rule: spend 80% of your time on subjects you enjoy and 20% on areas you want to improve. If you love drawing trees, sketch them often while occasionally practicing hands or faces.
Join online sketching communities where you can share work and get encouragement. Daily sketch challenges provide structure and accountability without pressure.
Sketch from life whenever possible. Your coffee cup, pet, or view from your window offer unlimited practice opportunities. Real objects teach you more about light and form than photos.
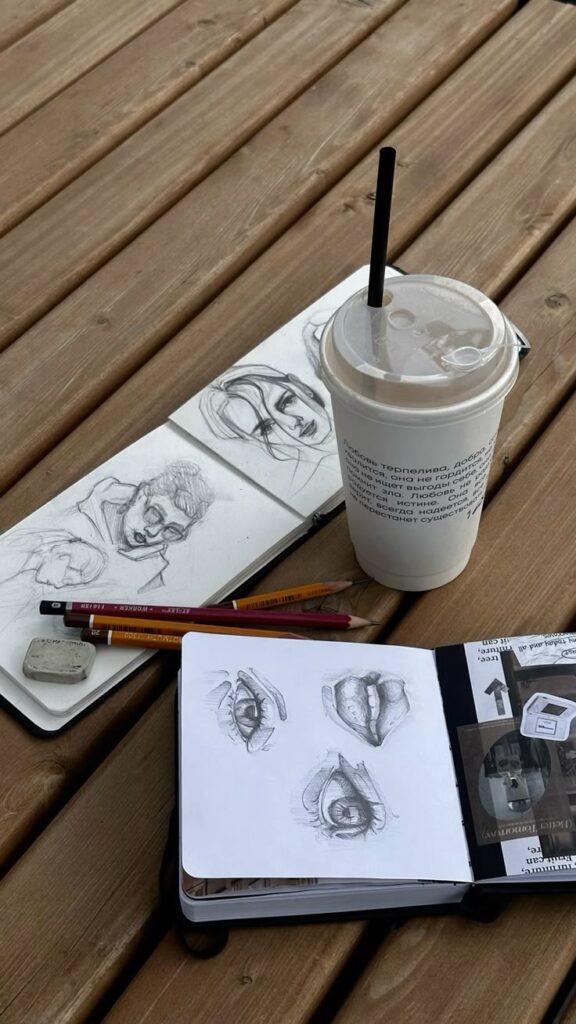
Set up a simple sketching kit you can carry anywhere. A small sketchbook and two pencils remove excuses and help you capture spontaneous inspiration.
- 576shares
- Facebook0
- Pinterest576
- Twitter0
- Reddit0
