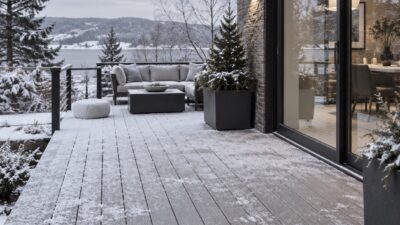
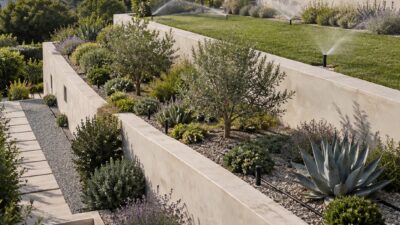
Good outdoor living design begins with movement, climate, and daily routines—not with a shopping list. Decide how people will enter, cook, eat, relax, play, and move through the yard. Then place shade, lighting, utilities, planting, and furniture around those activities. The result should feel like a natural extension of the house while still handling rain, sun, wind, drainage, and seasonal maintenance.
Quick answer: map the site first, create only the zones you will genuinely use, keep circulation direct, put utilities in before finished surfaces, and choose materials for your climate and maintenance tolerance. Treat furniture and decoration as the final layer.
Start with a Site Assessment
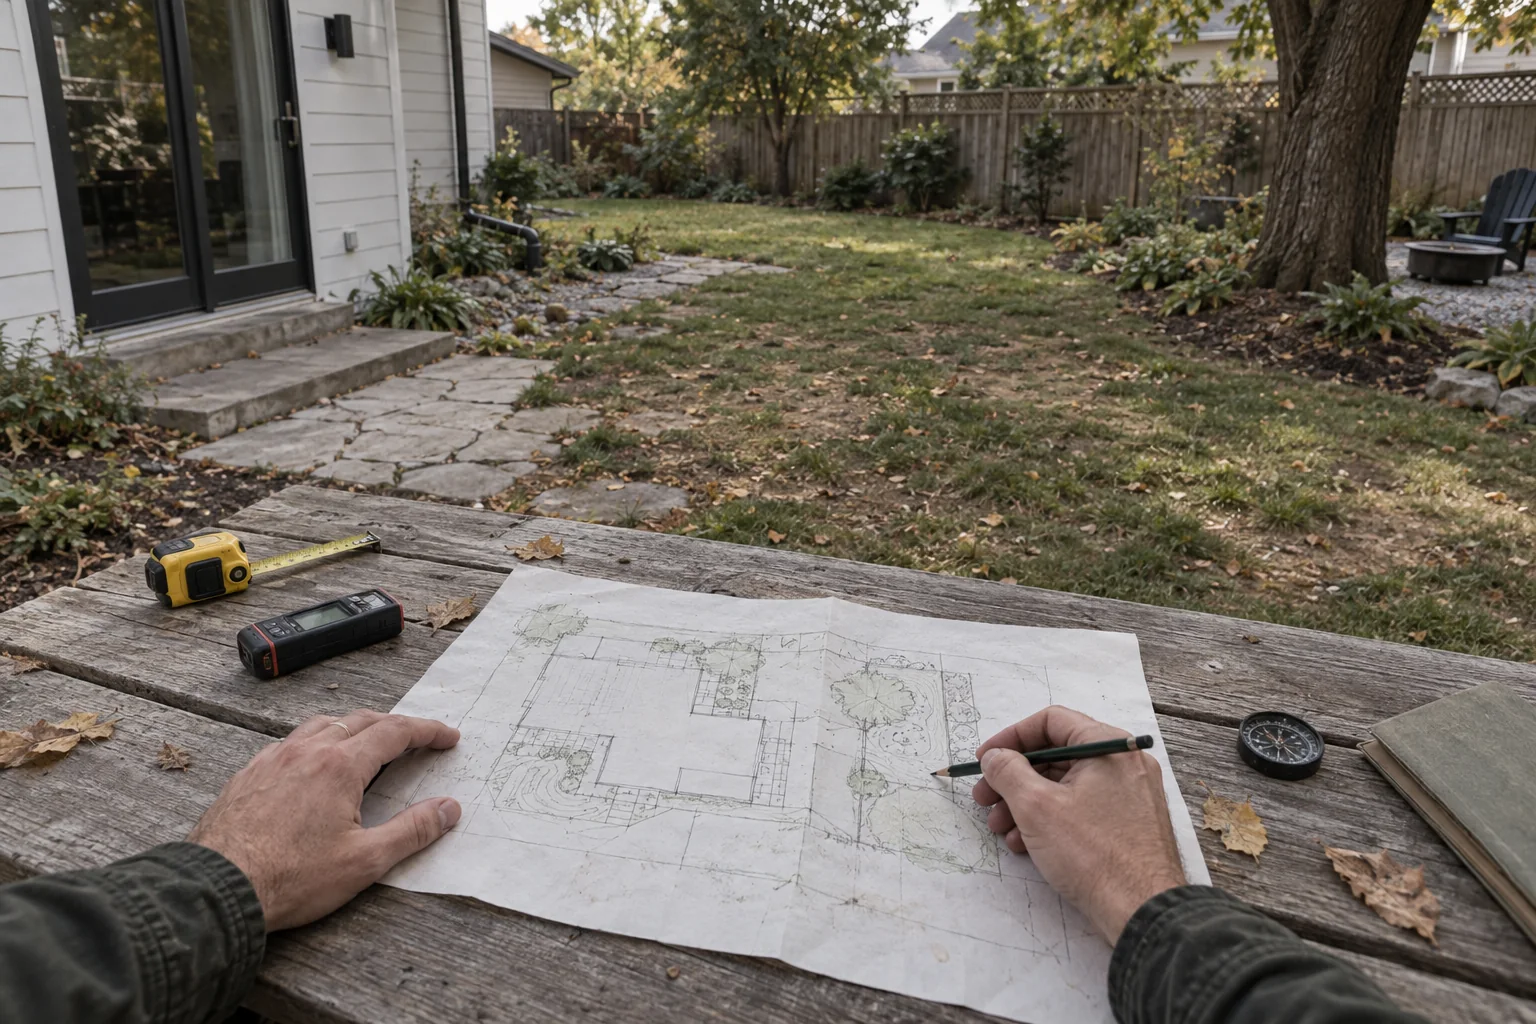
Before drawing a patio or buying furniture, create a simple base plan. Measure the usable area and mark the house, doors, windows, steps, property boundaries, mature trees, slopes, drains, utility equipment, hose bibs, exterior outlets, and any structures that must remain. Photograph the site in the morning, at midday, and near sunset so you can compare shade, glare, and privacy throughout the day.
Observe what already happens in the yard. A shortcut across the lawn may reveal the most natural path. A corner that stays damp should not receive an expensive rug or timber platform until drainage is understood. A beautiful view deserves a clear sightline, while a service area, neighboring window, or road may need screening. For a more formal sequence, follow our landscape design process before selecting finishes.
| Site factor | What to record | Design response |
|---|---|---|
| Sun and shade | Hours, direction, seasonal change, reflected heat | Place dining and lounging where shade can be controlled |
| Wind and weather | Prevailing wind, rain exposure, snow storage, storm runoff | Orient screens, roofs, drains, and storage accordingly |
| Access | Doors, steps, gates, service routes, kitchen connection | Keep frequent trips short and avoid crossing quiet zones |
| Views and privacy | Best outlooks, neighboring windows, street exposure | Frame desirable views and screen distractions |
| Utilities | Power, water, gas, drainage, equipment clearances | Plan infrastructure before hardscape and built-ins |
Build Zones Around Real Activities
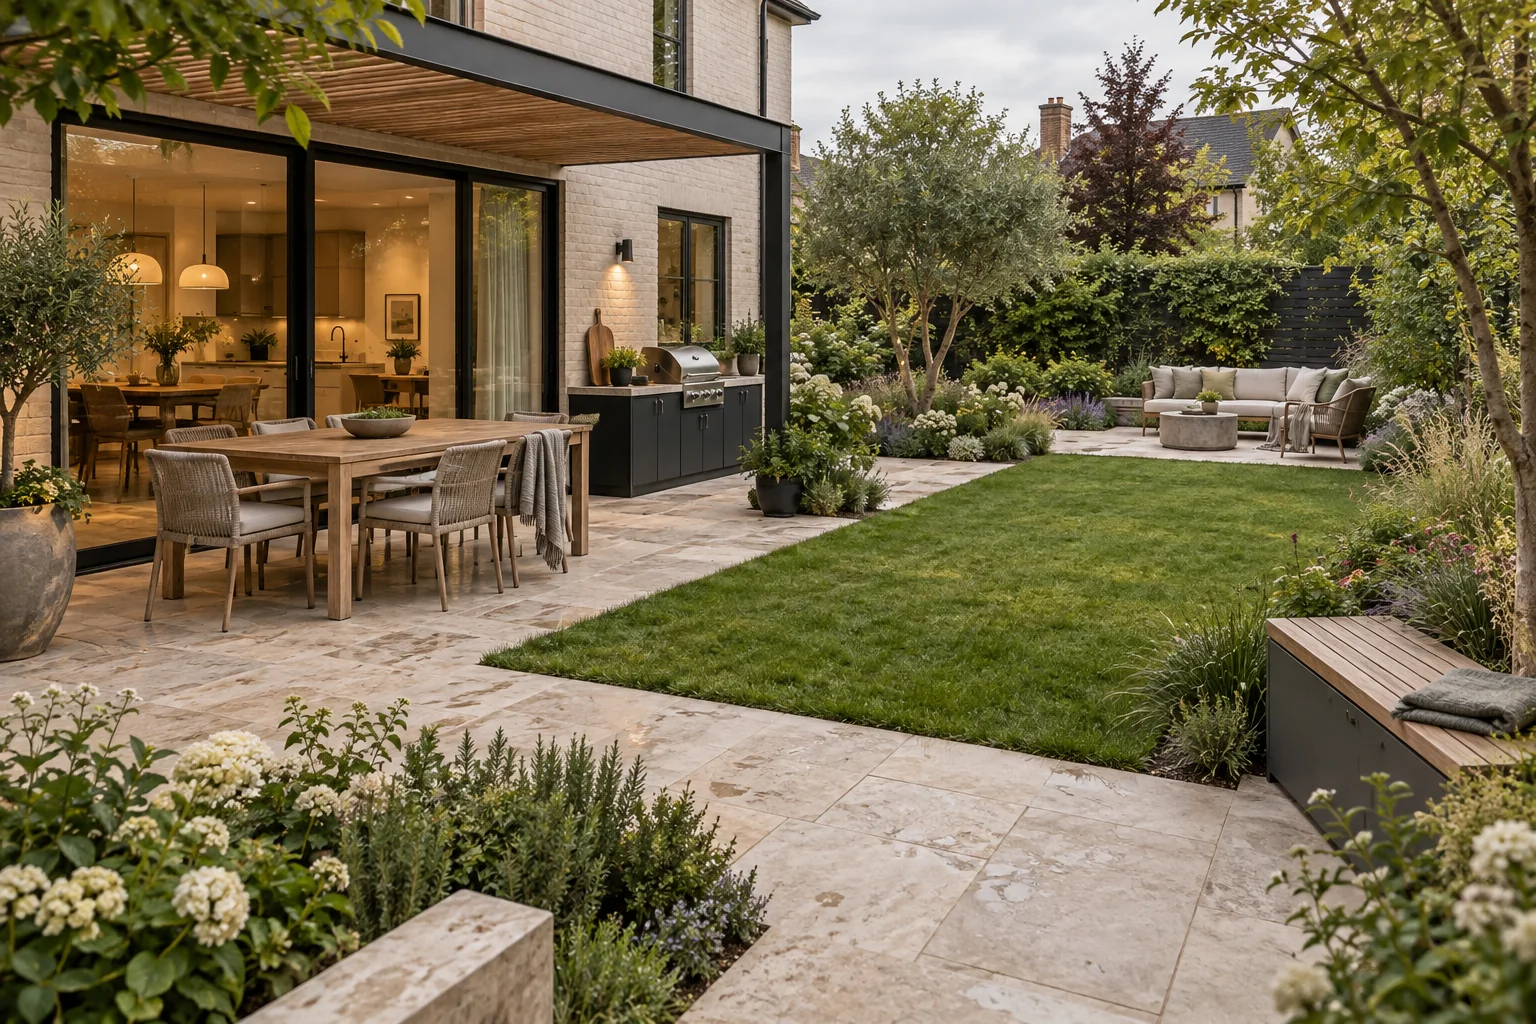
A functional outdoor room does not need every possible feature. It needs a clear purpose. Write down the activities that occur weekly, occasionally, and rarely. Give permanent space to frequent activities; let occasional activities share flexible space; and avoid dedicating a large area to a feature that will be used only once or twice a year.
Cooking and Dining
Keep outdoor cooking reasonably close to the indoor kitchen so food, dishes, and waste do not travel across the entire yard. Separate hot equipment and smoke from doors, operable windows, combustible materials, and crowded paths according to the appliance instructions and local requirements. If the project includes a sink, refrigerator, or permanent grill, coordinate the appliance plan with our outdoor kitchen plumbing and layout guide before pouring slabs or installing cabinets.
Conversation and Quiet Lounging
Conversation seating works best when chairs face one another and people can enter without stepping between the table and every seat. A separate quiet chair or daybed can face a garden, water feature, or long view. In small spaces, a built-in bench against the perimeter frees the center for movement and can incorporate storage for cushions.
Flexible Space
Leave at least one area deliberately open. It can support children’s play, exercise, extra tables, a temporary projector, or seasonal gatherings without locking the yard into one use. Lightweight furniture, nesting tables, movable planters, and folding shade make this zone easier to adapt. Browse these DIY outdoor furniture projects for flexible pieces rather than filling every edge with fixed construction.
Plan Circulation Before Furniture
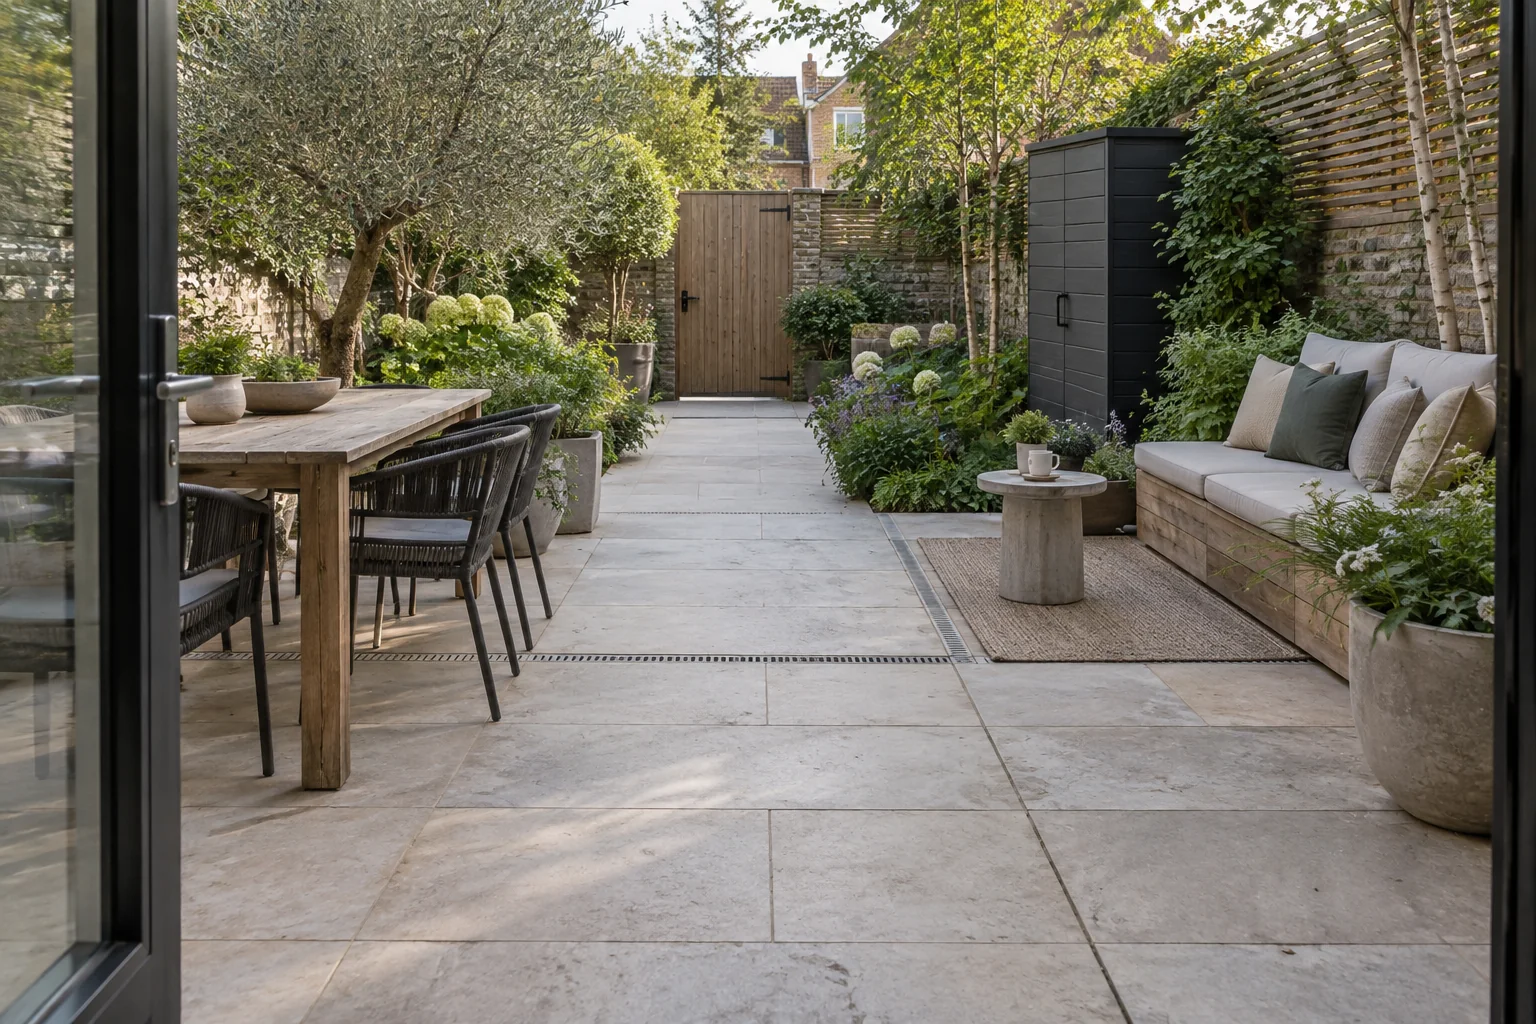
Draw paths as continuous lines between the house, gate, dining table, cooking area, lawn, and storage. The most-used route should be direct, stable, well lit, and free of chair backs, grill lids, planter overhangs, and doors that swing into the path. Secondary paths can be quieter and more informal, but they should still lead somewhere meaningful.
As a useful accessibility benchmark—not a universal residential code—the 2010 ADA Standards specify a 36-inch (915 mm) minimum clear width for accessible walking surfaces in covered settings. A private home may be governed by different rules, but planning generous, firm, slip-resistant routes and adequate turning space makes an outdoor area easier for guests, strollers, serving carts, and future mobility needs. Confirm local requirements when accessibility compliance is part of the project.
Control Sun, Wind, Rain, and Privacy
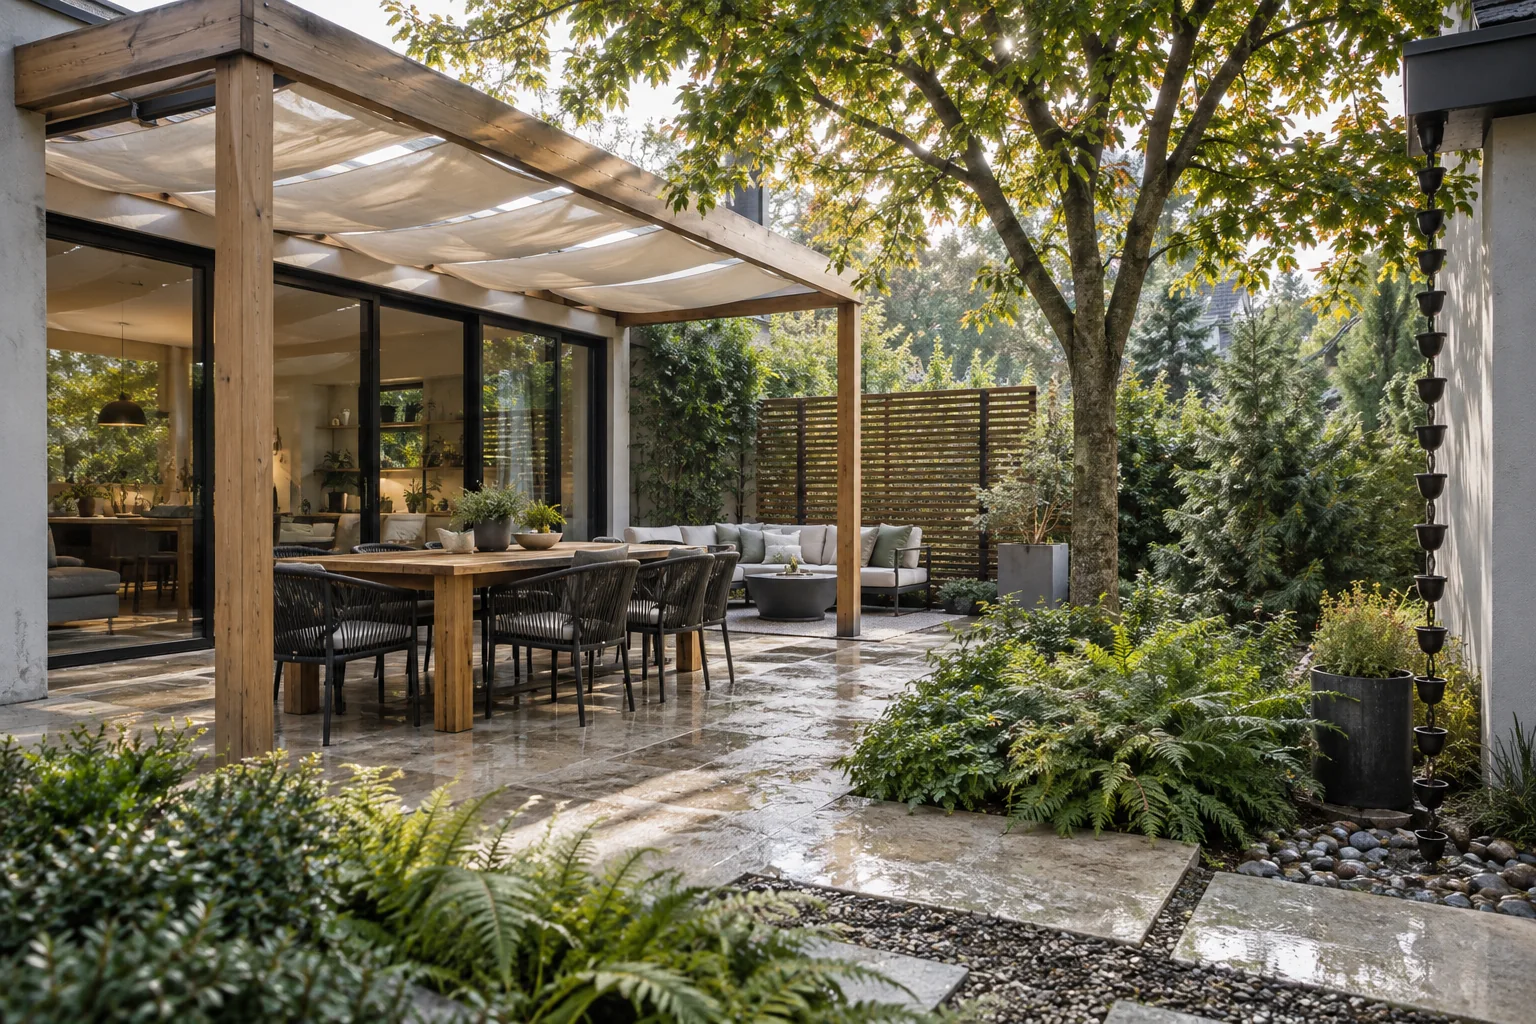
Comfort determines whether an outdoor space is used. Match the type of shade to the exposure: a tree or pergola filters light, an adjustable canopy responds to changing conditions, and a solid roof offers stronger rain protection but may require permits, gutters, foundations, and structural design. Study the sun path before choosing a permanent roof; shade that works at noon may not stop low western sun during dinner.
Privacy can come from layered planting, slatted screens, walls, changes in level, curtains, or the orientation of furniture. Avoid creating a tall, solid barrier without checking wind behavior and local limits. A screen that solves one view may redirect wind, shade plants, or make a small space feel boxed in. A pergola seating area can combine partial enclosure, shade, and a clear focal point without turning the yard into another indoor room.
Choose Surfaces and Furniture for the Climate
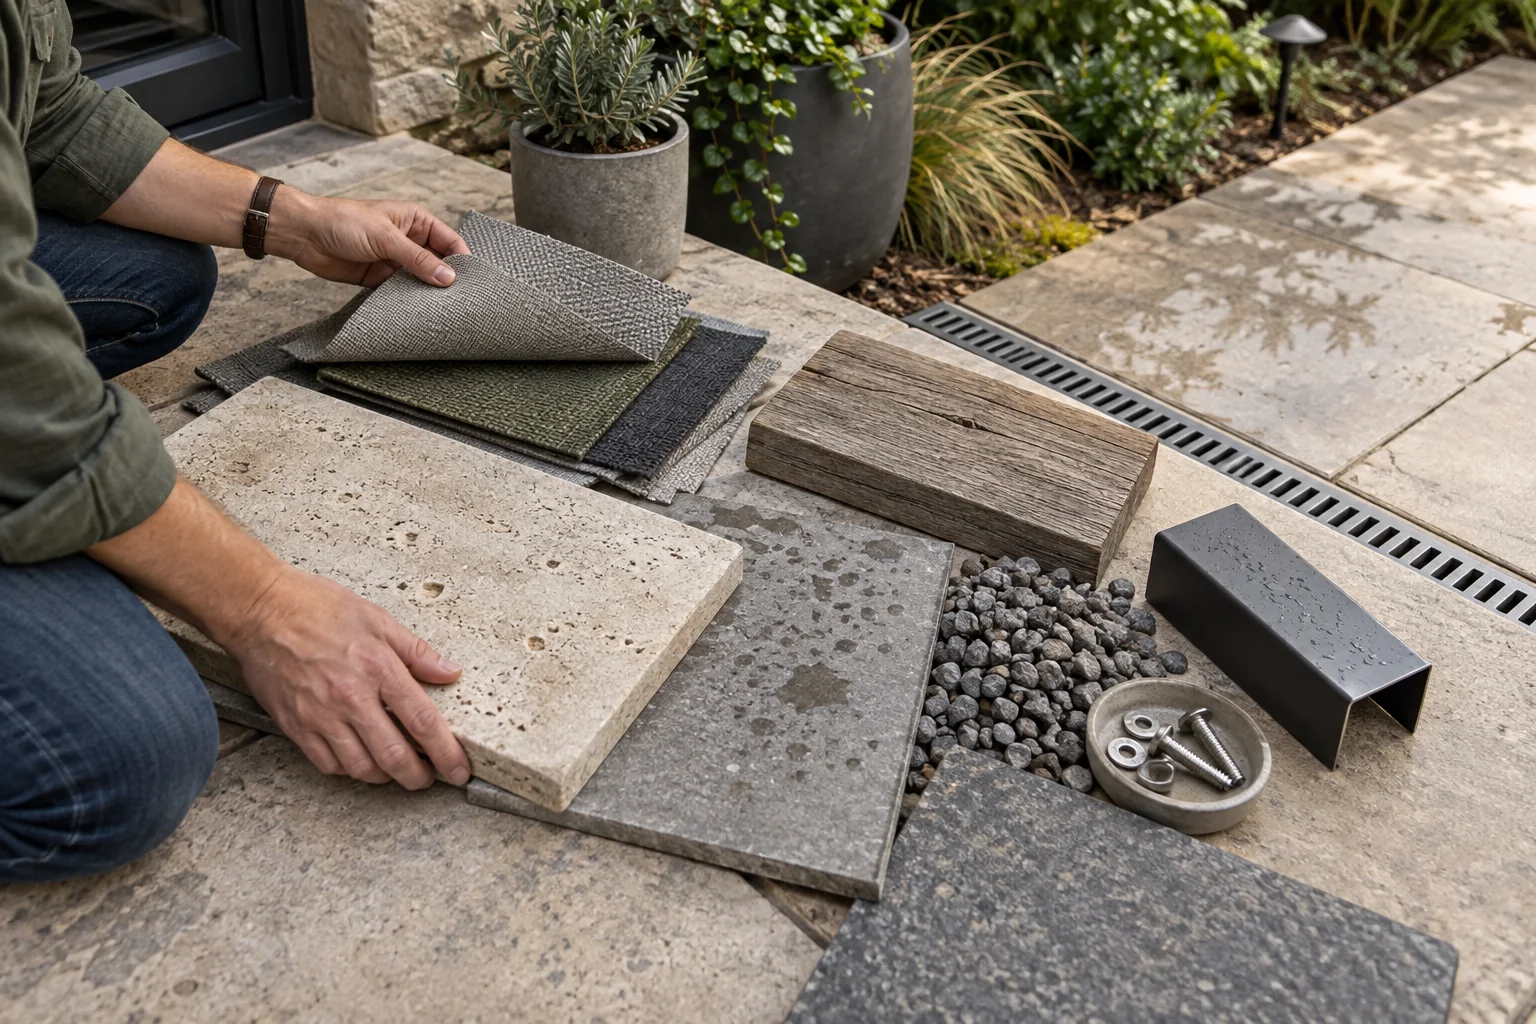
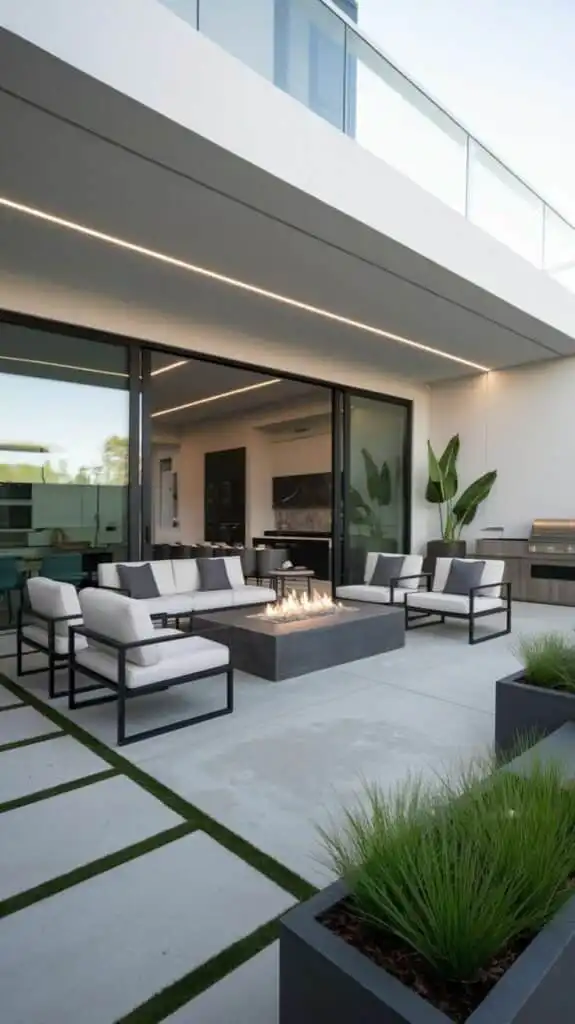
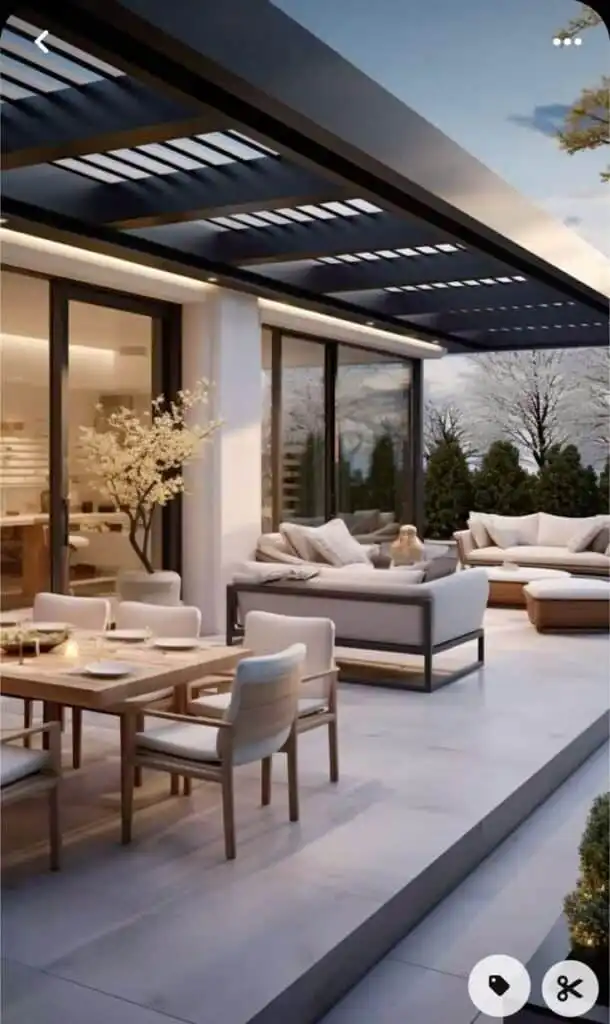
Select materials by exposure, drainage, texture, heat, freeze-thaw conditions, salt, maintenance, and repairability—not by appearance alone. Request full-size samples and leave them outside if possible. A surface that looks subtle indoors may glare in direct sun, become hot underfoot, or show every leaf and water mark.
| Material or element | Useful qualities | Questions before specifying |
|---|---|---|
| Concrete or pavers | Stable surface, broad style range, individual pavers may be repairable | Drainage, movement joints, base preparation, heat and slip behavior |
| Timber or composite decking | Warm appearance, can bridge changes in level | Structure, ventilation, fastening, fading, cleaning, local fire exposure |
| Gravel | Permeable feel, informal character, easy to phase | Edging, migration, chair stability, weeds, accessibility and maintenance |
| Outdoor furniture | Immediate comfort and flexibility | Wind, UV, rain, storage, replaceable cushions, cover dimensions |
| Textiles and rugs | Color, softness, acoustic comfort | Drying time, mildew risk, cleaning, storage and drainage beneath |
Limit the palette to a few compatible materials that relate to the house. Repeating one paving tone, timber color, or metal finish across zones creates unity even when furniture changes. For a lower-maintenance approach, review our guide to low-maintenance landscape design before choosing plants and finishes.
Coordinate Lighting, Power, Water, and Fire Features
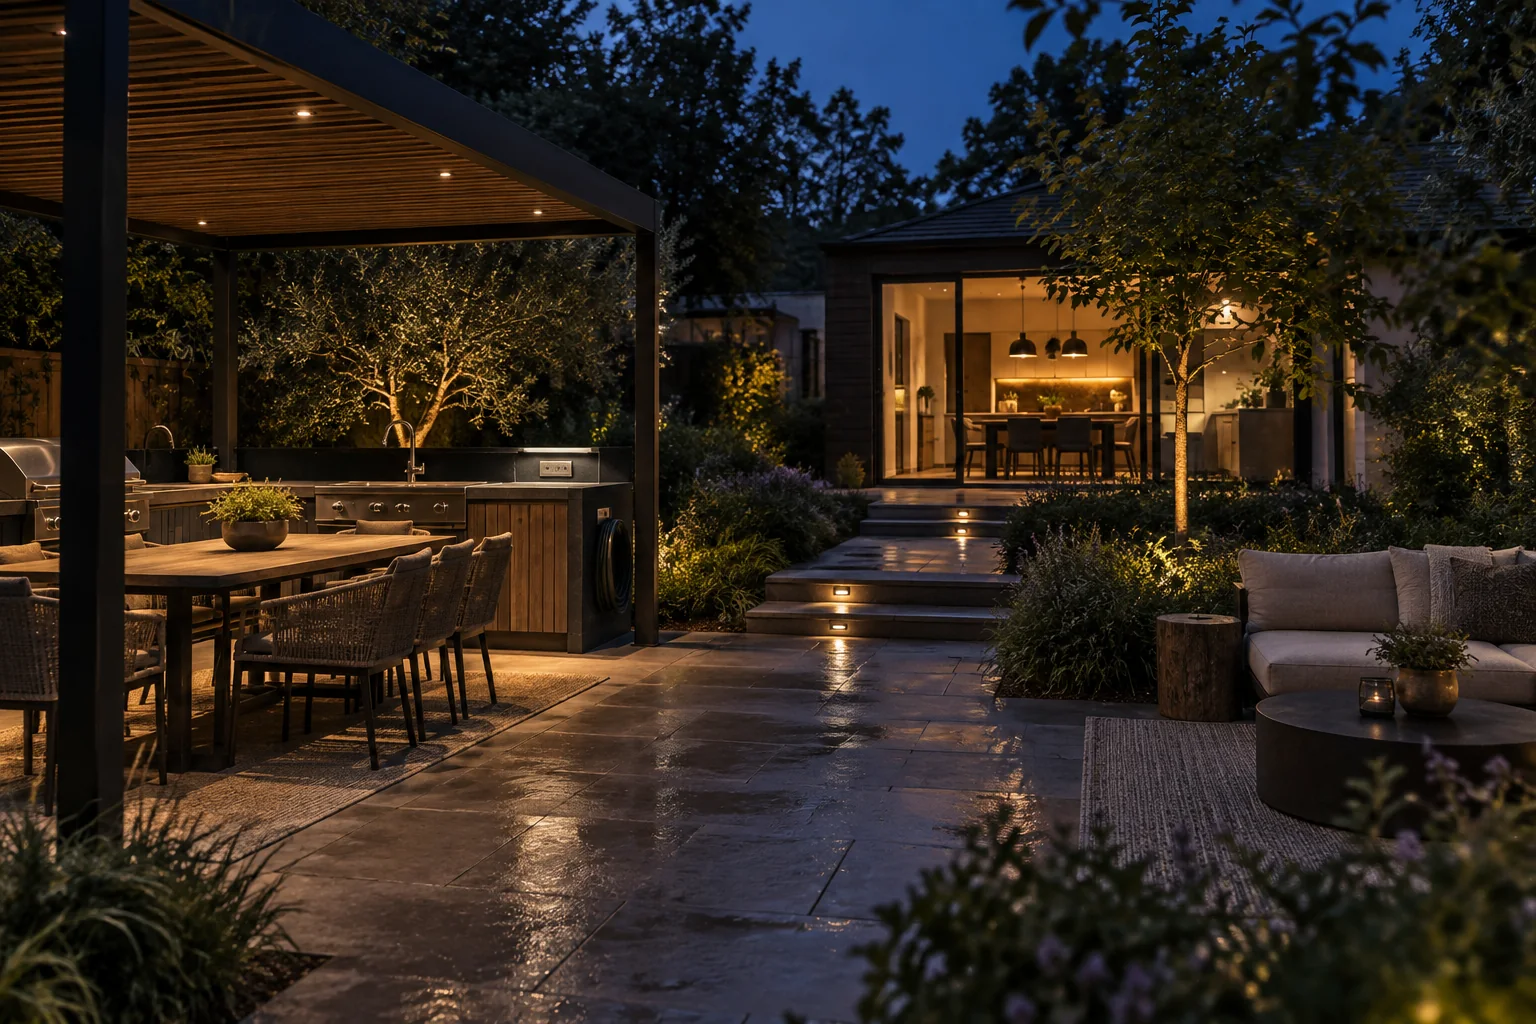
Infrastructure should be planned before finished paving, walls, kitchens, or built-in seating. List every fixture and appliance, then map how power, water, drainage, and fuel will reach it. Permanent outdoor electrical, gas, structural, and plumbing work should be designed and installed to local requirements by qualified professionals.
Use layers of light: low-level path lighting for movement, focused task lighting for cooking and steps, and restrained ambient light for dining and conversation. The DarkSky and Illuminating Engineering Society principles recommend lighting that is useful, targeted, low level, controlled, and warm-colored. Shield fixtures, aim light downward, and use timers, dimmers, or motion controls instead of flooding the whole yard.
For temporary power, the U.S. Consumer Product Safety Commission advises using extension cords labeled for outdoor use, GFCI protection, and keeping cord-connected devices away from water. Extension cords are not a substitute for a properly planned permanent installation. Fire pits, heaters, and grills also require manufacturer clearances, stable noncombustible placement, supervision, and compliance with local fire restrictions.
Use Planting and Water as Functional Infrastructure
Planting can create shade, filter wind, screen views, cool hard surfaces, guide movement, and soften sound. Choose plants for the site’s soil, water, sunlight, mature size, roots, and local climate rather than selecting only by appearance. The U.S. Department of Energy’s consumer guide to home landscaping explains how trees, shrubs, and groundcover can shade the home and outdoor surfaces and how windbreaks can be positioned for climate-responsive design.
Group plants with similar water needs and separate them from hardscape zones that should remain dry. EPA WaterSense recommends adjusting irrigation to weather and plant needs, directing water onto the landscape rather than pavement, and checking systems for leaks or blocked heads. Its watering guidance and microirrigation resources can help reduce runoff and avoid watering areas that do not need it.
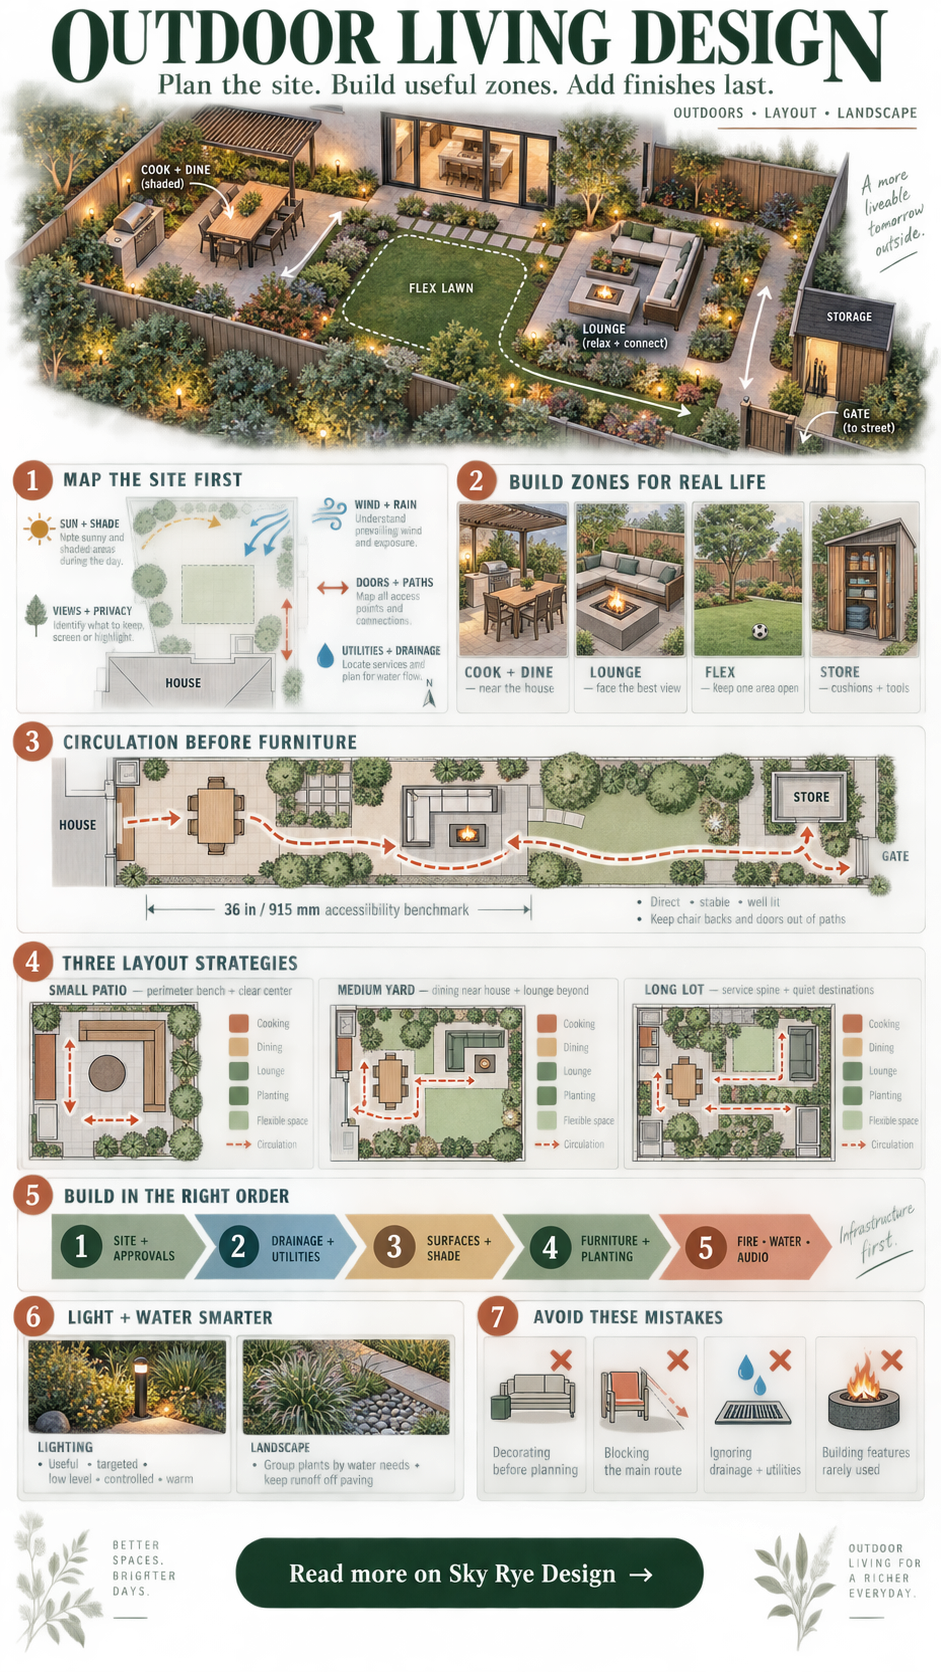
Three Outdoor Living Layout Strategies
Small Patio or Courtyard
Use the perimeter first: a wall-side bench, narrow dining table, vertical planting, and one movable chair preserve a clear center. Keep the route from the door to the seat unobstructed. A single overhead or wall-mounted shade element can define the room without consuming floor area. If the space is rented or extremely compact, adapt ideas from our summer balcony and terrace guide.
Medium Backyard
Place cooking and dining near the house, then lead to a lounge or fire feature farther into the garden. Use planting or a change in paving to separate zones without blocking views. Keep a flexible lawn, deck, or paved area between permanent elements so the yard can support play and larger gatherings.
Large or Long Lot
Create a clear service spine from the house to cooking, dining, storage, and utilities. Branch quieter paths toward a garden lounge, pool, water feature, or viewing deck. Avoid scattering isolated features across the property; connect them with a repeated material, planting rhythm, lighting language, or framed view. For a stronger destination, see how interactive water features can organize a courtyard or garden sequence.
Set the Budget in the Right Order
Do not begin with a universal cost-per-square-foot promise. Site access, demolition, soil, drainage, structure, utilities, permits, labor, climate, and material availability can change the budget dramatically. Obtain itemized local estimates and keep a contingency for concealed conditions and changes discovered during excavation.
| Phase | Complete now | Can often wait |
|---|---|---|
| 1. Risk and approvals | Survey, drainage, permits, structural and utility planning | Decorative accessories |
| 2. Hidden infrastructure | Conduits, sleeves, drains, supply lines, foundations, subbase | Appliances not needed immediately |
| 3. Core room | Main path, primary patio or deck, essential shade | Secondary destinations |
| 4. Comfort | Essential seating, task lighting, screening, priority planting | Premium furniture sets and extra planters |
| 5. Enhancements | Only after the core space works | Fire, water, audio, outdoor kitchen expansion |
A phased project still needs one overall plan. Install sleeves beneath paving, reserve electrical capacity, define future footing locations, and protect access for later construction. Otherwise, a “budget” first phase may force expensive demolition during the second.
Design Maintenance into the Plan
Every outdoor room changes with weather and time. Provide a place for cushion storage, leave access to drains and equipment, keep plants away from service panels and hot appliances, and choose finishes that can be cleaned or repaired without dismantling the whole space. Confirm how decking, pavers, metal, timber, fabrics, and appliances should be maintained before purchase.
- Spring: inspect drainage, fasteners, sealants, irrigation, lighting, and winter damage.
- Summer: manage shade, watering, pests, fabric drying, and high-use cleaning.
- Autumn: clear drains and gutters, protect furniture, and prepare plants and water lines for colder weather.
- Winter: follow local freeze, snow-load, fire, and storage requirements; avoid trapping moisture beneath covers.
Outdoor Living Design Checklist
- Measure the site and map doors, windows, slopes, drainage, trees, and utilities.
- Record sun, wind, privacy, views, and seasonal weather.
- Rank real activities before assigning zones.
- Draw the main circulation routes before placing furniture.
- Resolve shade, rain protection, and screening.
- Select surfaces for climate, drainage, maintenance, and accessibility.
- Coordinate electrical, plumbing, gas, fire, and structural work with qualified professionals.
- Use planting to provide shade, structure, privacy, and water efficiency.
- Build the core room first and preserve infrastructure for future phases.
- Create a seasonal maintenance and storage plan.
The Bottom Line
The best outdoor living design is not the one with the most features. It is the one that fits the site, supports real routines, stays comfortable in local weather, and can be maintained over time. Start with the site and circulation, build a small number of purposeful zones, coordinate infrastructure early, and add furniture and decoration only after the plan works. For more visual inspiration once the framework is set, explore these outdoor living space ideas.
Sources and Further Reading
- U.S. Department of Energy: Consumer Guide to Home Landscaping
- EPA WaterSense: Watering Tips
- EPA WaterSense: Microirrigation
- U.S. Consumer Product Safety Commission: Electrical Safety
- DarkSky and IES: Five Principles for Responsible Outdoor Lighting
- ADA.gov: 2010 Standards for Accessible Design
- 484shares
- Facebook0
- Pinterest484
- Twitter0
- Reddit0