Picture a new terrace in pale sandstone, edged with grasses and lavender. It looks finished until one bed wilts in midsummer and the valve feeding it turns out to sit beneath a paver. There is no box, no marker and no record of the pipe route, so the repair starts with lifting stone. An irrigation layout plan helps avoid that. It is a drawing made before anything is buried or paved, showing where water goes and where you will need to reach it later.

A water-wise landscape is not simply a garden filled with drought-tolerant plants. Long-term water conservation depends on how the entire outdoor watering system is planned, installed, and maintained. Irrigation zones, drip lines, pressure controls, watering schedules, plant placement, and leak prevention all need to work together.
When the plumbing plan is designed around the actual needs of the landscape, homeowners can reduce water waste while still maintaining healthy plants and attractive outdoor spaces.
What an irrigation layout plan contains
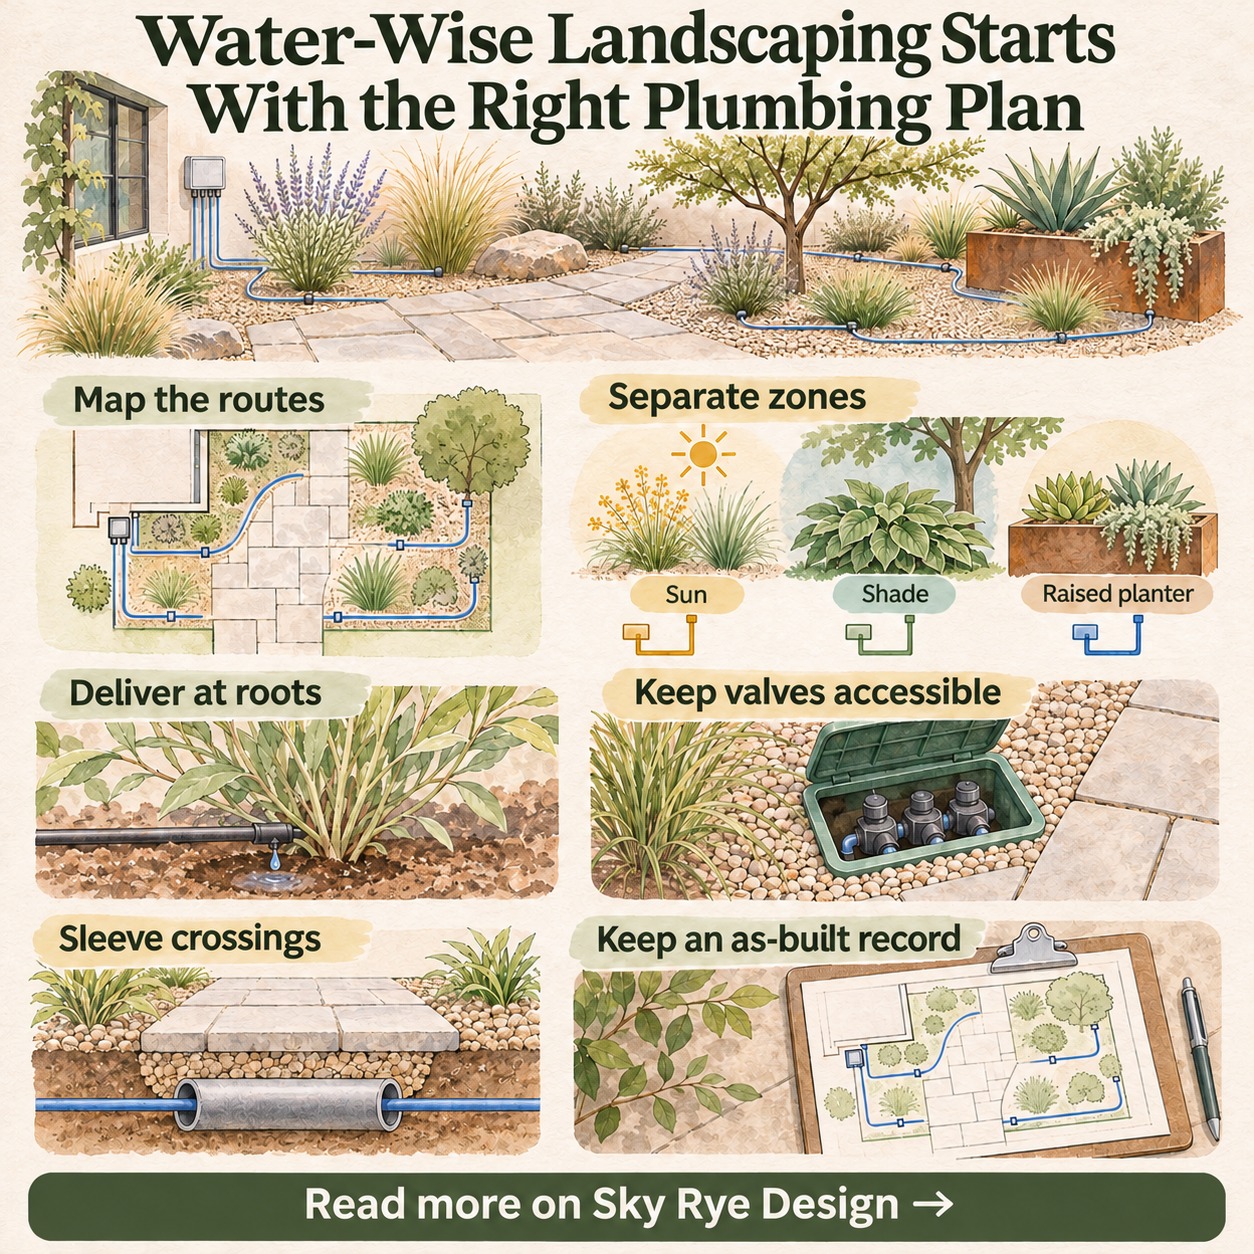
An irrigation layout plan is a homeowner’s coordination drawing. It overlays planting beds, pipe routes, valves, filters, pressure regulators, the controller and every point where a line passes under paving. The garden designer, landscaper and irrigation installer can then work from the same picture.
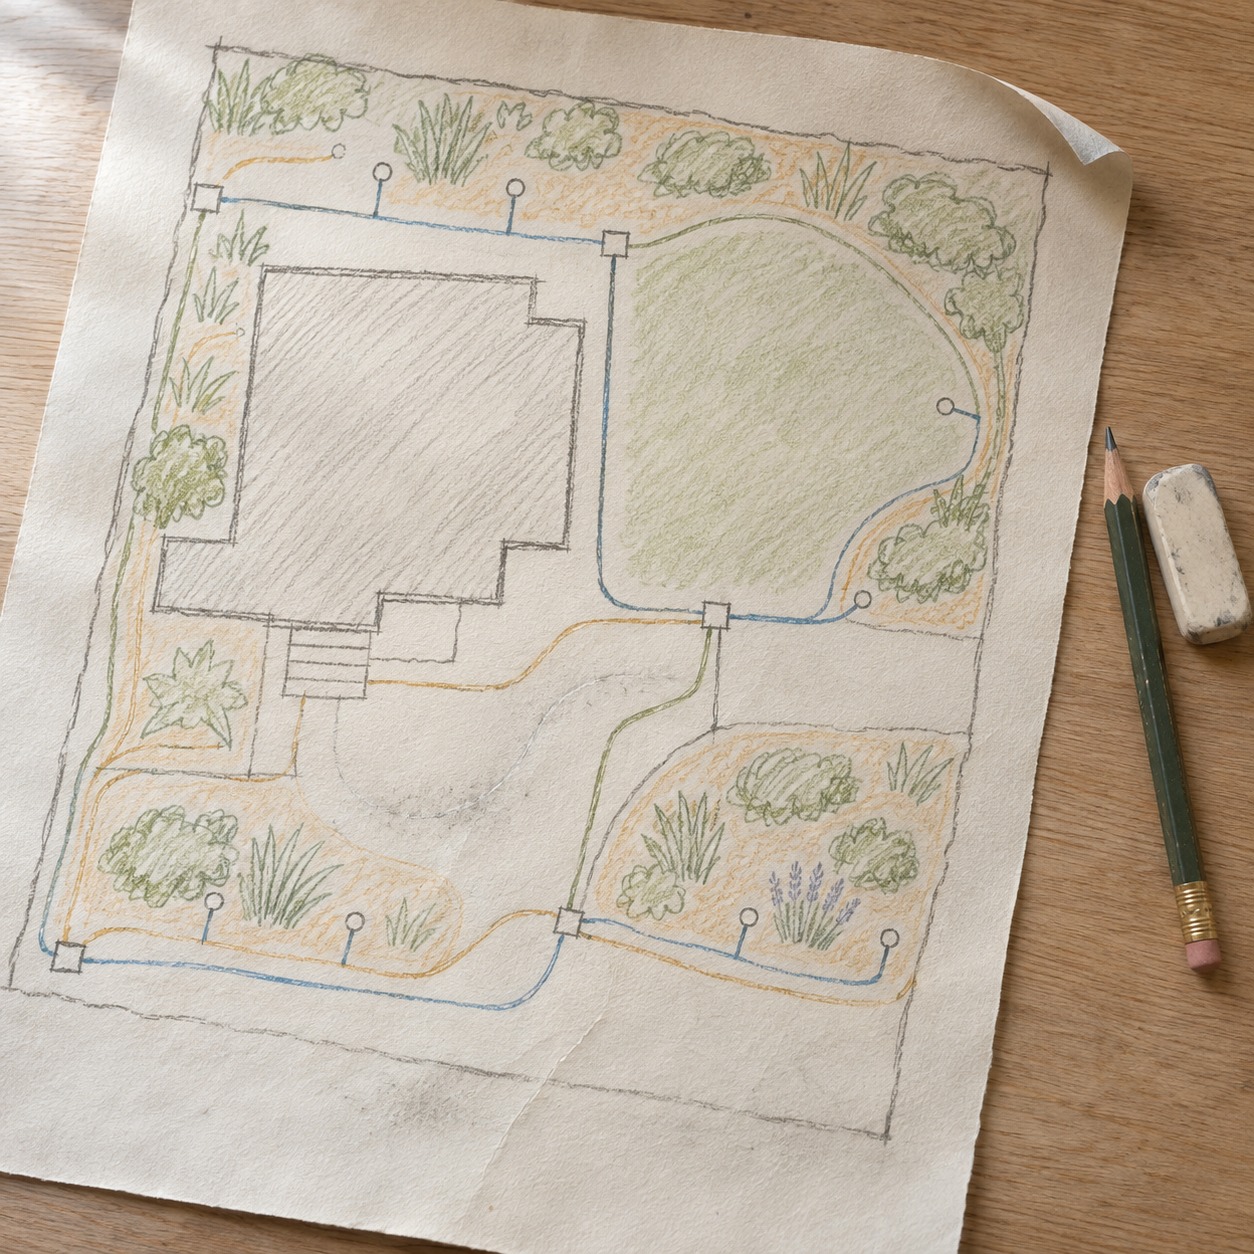
It is not a hydraulic specification. Pipe sizes, zone flow and equipment selection belong to a qualified irrigation specialist. That specialist will need the measured supply flow and operating pressure at your property.
| Item | What the drawing should show |
|---|---|
| Water source and shutoff | Location and how it is reached |
| Valves and valve boxes | Each zone’s valve, with clear access |
| Filter and regulator | Position and room for servicing |
| Controller | Mounting point and power supply |
| Pipe and tubing routes | Main line, laterals and drip runs |
| Hardscape crossings | Sleeve locations under paths, patios and drives |
| Zones and line ends | Which beds each valve serves, and where drip runs can be flushed |
Divide the landscape into irrigation zones
Different parts of a landscape rarely require the same amount of water. A sunny lawn, a shaded flower bed, a vegetable garden, and a row of established shrubs may all have different moisture requirements.
Dividing the property into irrigation zones allows each area to be watered independently. Instead of running every sprinkler or drip line at the same time, each zone can operate according to its plant type, soil condition, sun exposure, and drainage rate.
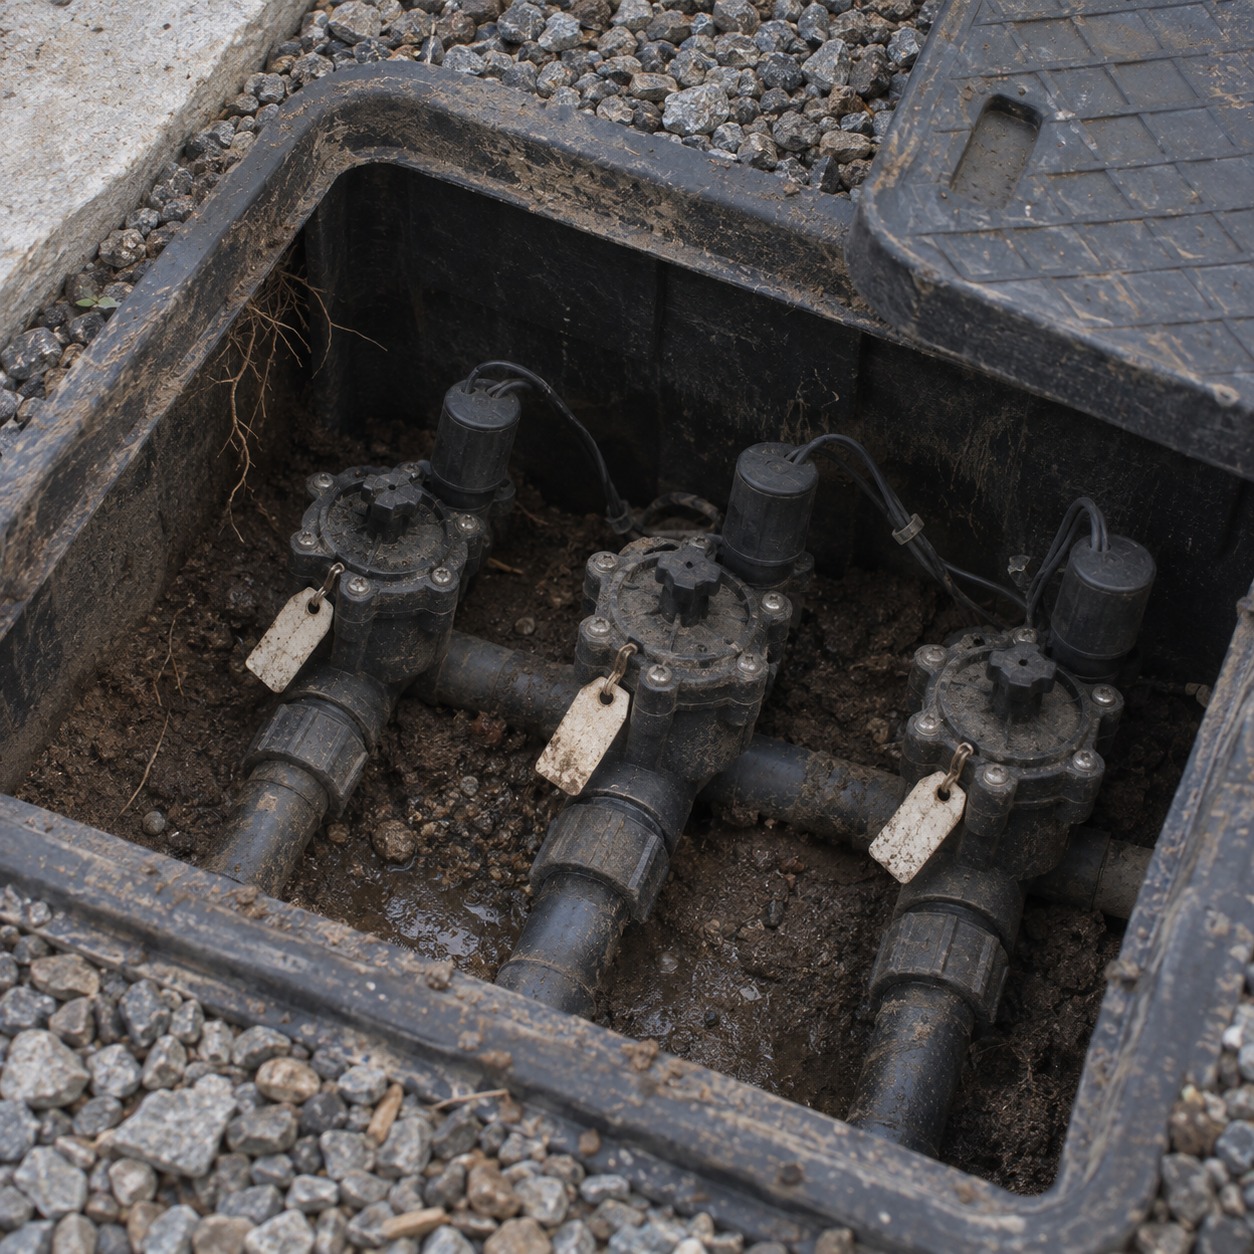
Take a hypothetical garden with three areas: a sunny bed of Mediterranean shrubs, a shade bed of ferns under a tree, and a raised edible planter by the kitchen door. The shade bed may need less frequent irrigation than the sunny bed, and the edible planter will probably need more attention than either. Each would normally get its own valve. On the drawing, group the three valves in one accessible box near the planter and label which line serves which zone. Don’t scatter them under the beds.
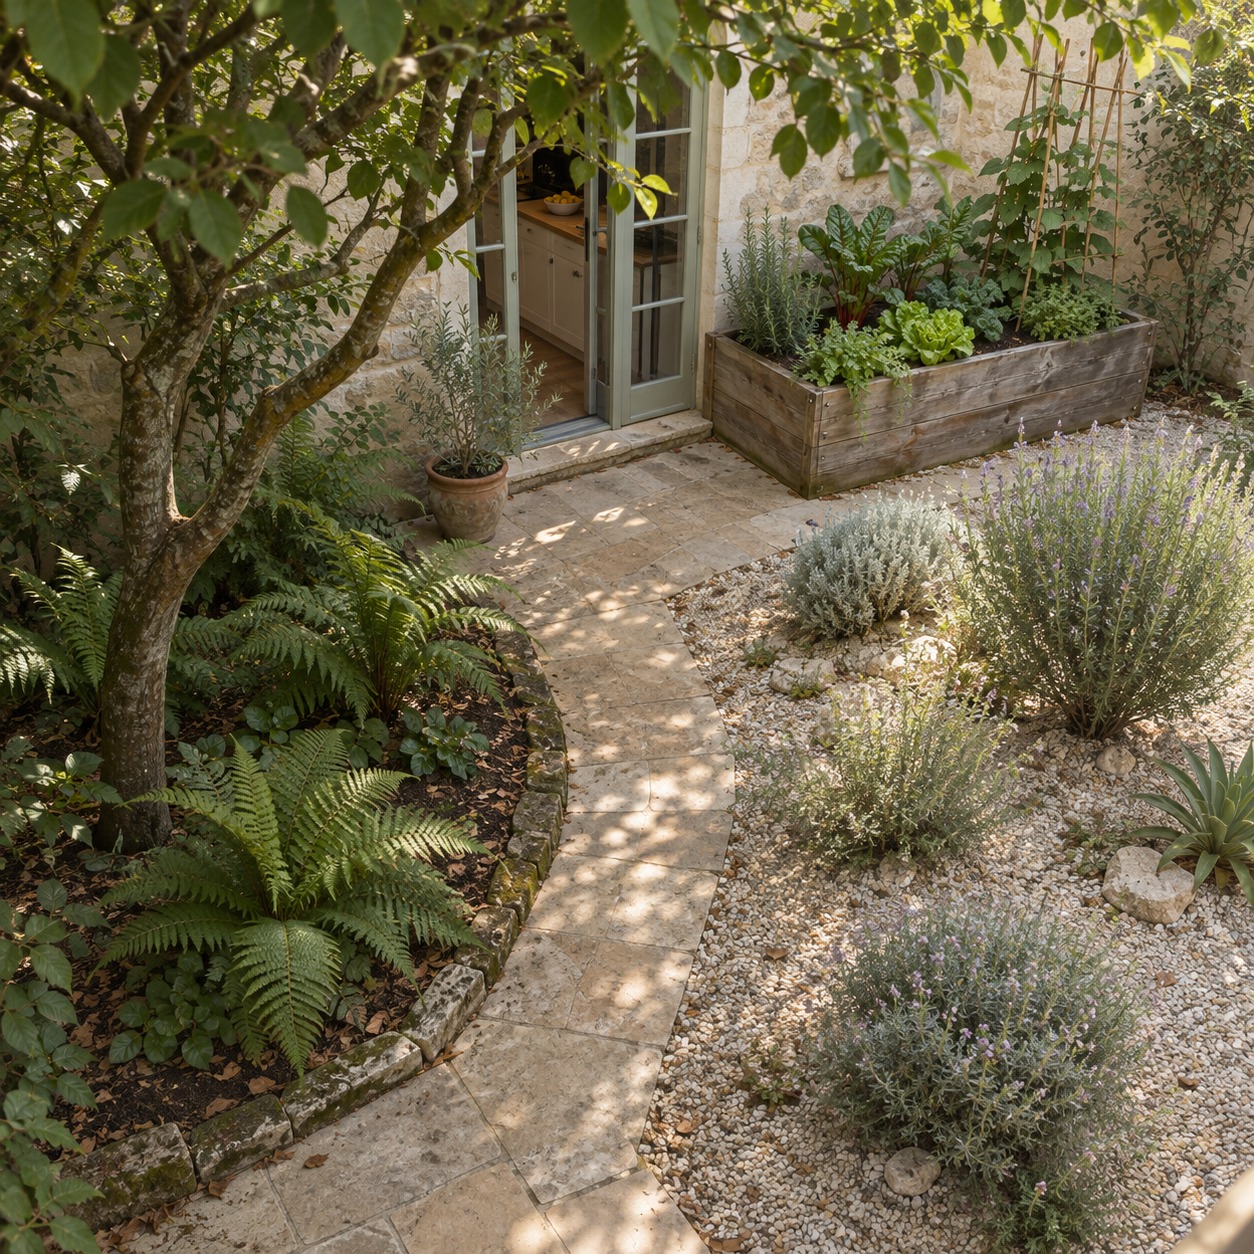
Separate zones also make the system easier to manage. Individual valves can control each section, making it possible to adjust or shut down one area without affecting the rest of the landscape. Don’t put incompatible delivery types, such as spray heads and drip emitters, on one valve just because two beds sit side by side.
Use drip irrigation where it makes sense
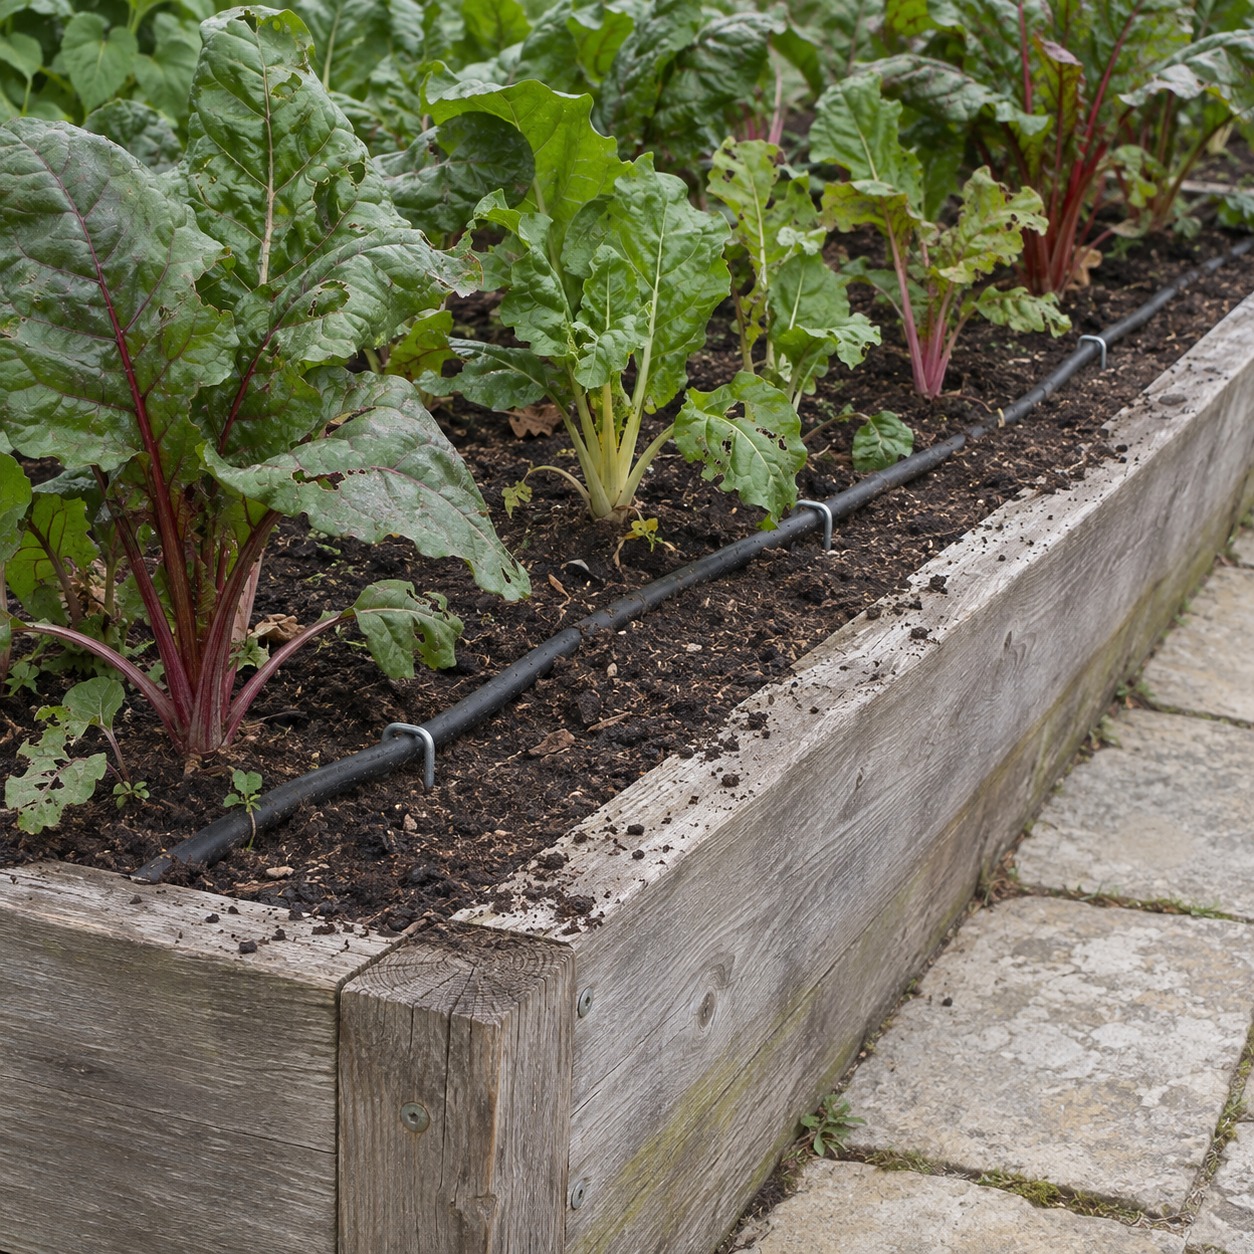
Drip irrigation delivers water slowly and directly to the soil near plant roots. The EPA’s WaterSense guidance on microirrigation describes it as low-pressure, low-flow delivery. It can reduce losses to evaporation and runoff compared with overhead watering, though savings depend on design and upkeep.
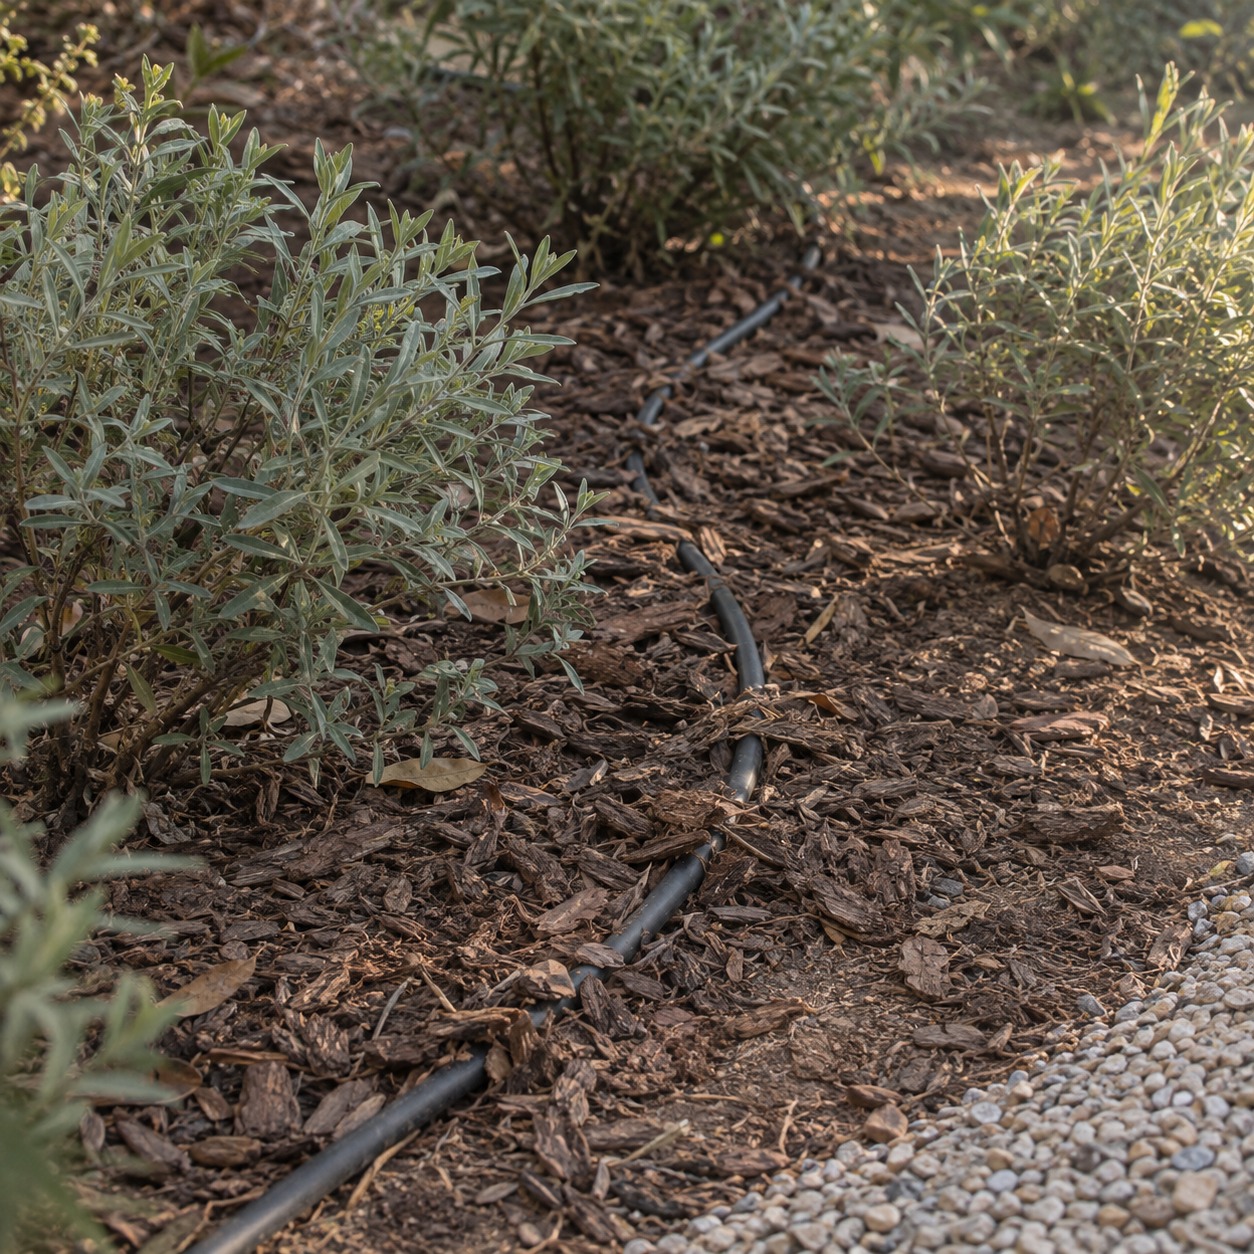
Drip systems are especially useful for:
- Garden beds, shrubs and hedges
- Trees
- Raised vegetable gardens and planter boxes
- Narrow planting strips
A well-planned drip system uses tubing, emitters, filters, fittings, and control valves to distribute water consistently. Emitters should be selected according to plant size and soil conditions. Sandy soil may require shorter, more frequent watering because it drains quickly, while clay soil often needs slower application to prevent pooling and runoff.
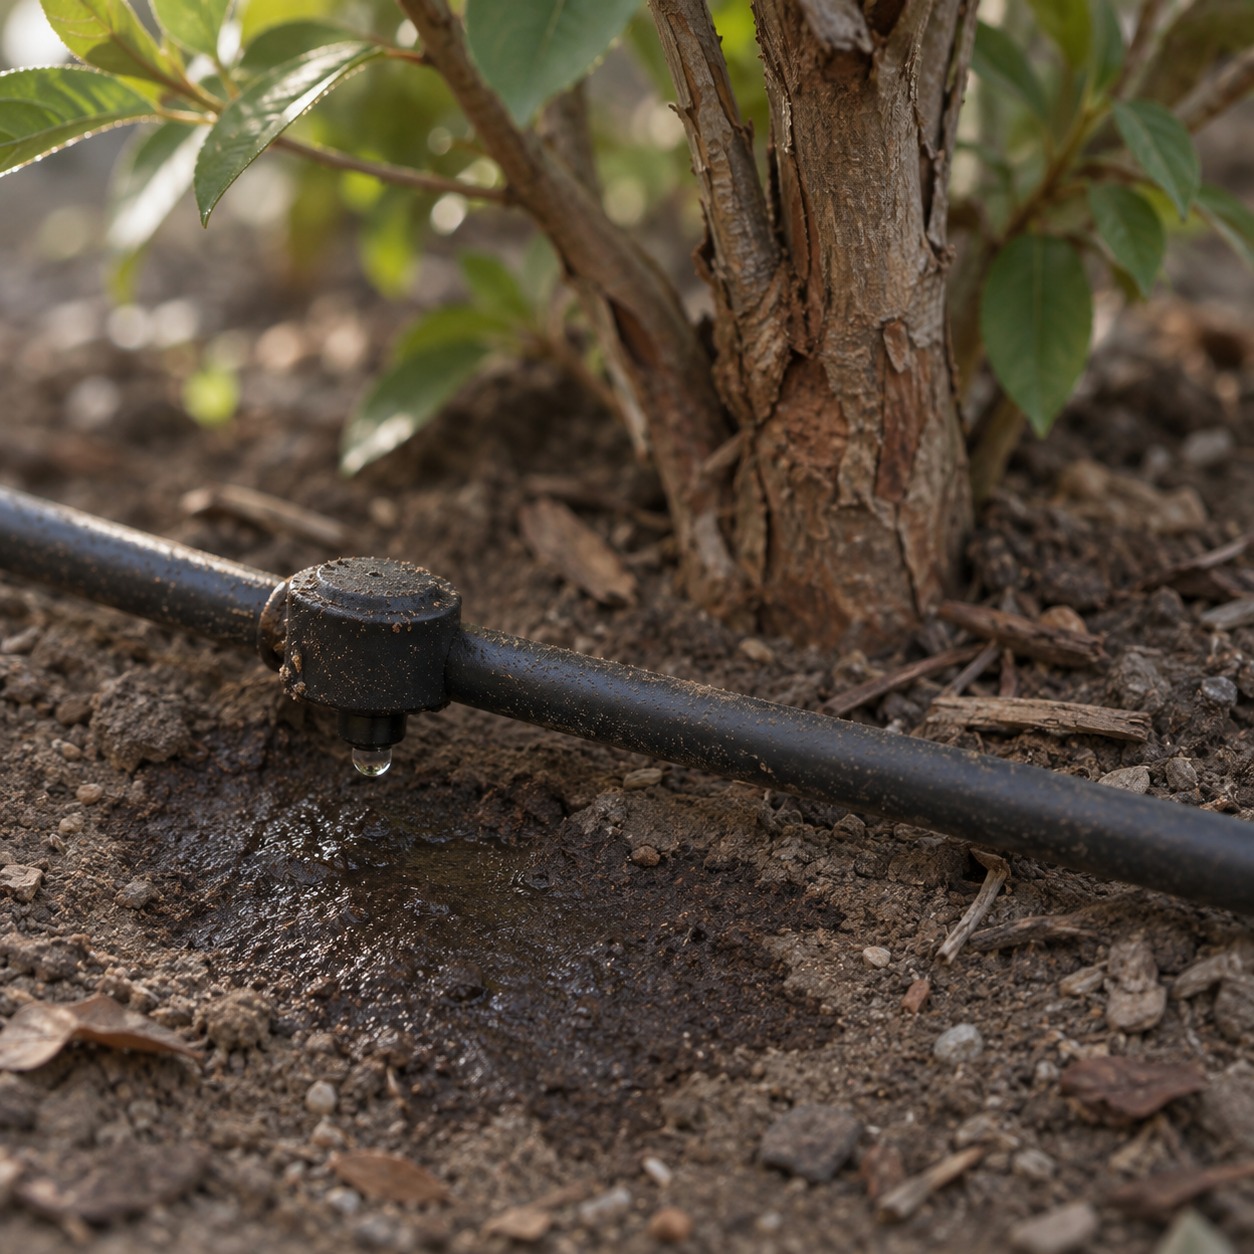
Reliable connections are also important. Loose fittings or poorly supported tubing can create hidden leaks and uneven watering. When building or updating an irrigation system, homeowners can find suitable plumbing and irrigation connection supplies for joining tubing, controlling flow, and adapting different parts of the system.
Manage water pressure
Pressure shapes how every zone performs, so the plan should start from measured flow and pressure rather than assumptions.
Excessive pressure can cause misting, damaged emitters, loose connections, and uneven distribution. Low pressure, on the other hand, may prevent sprinklers from reaching their intended coverage area or keep drip emitters from operating correctly.
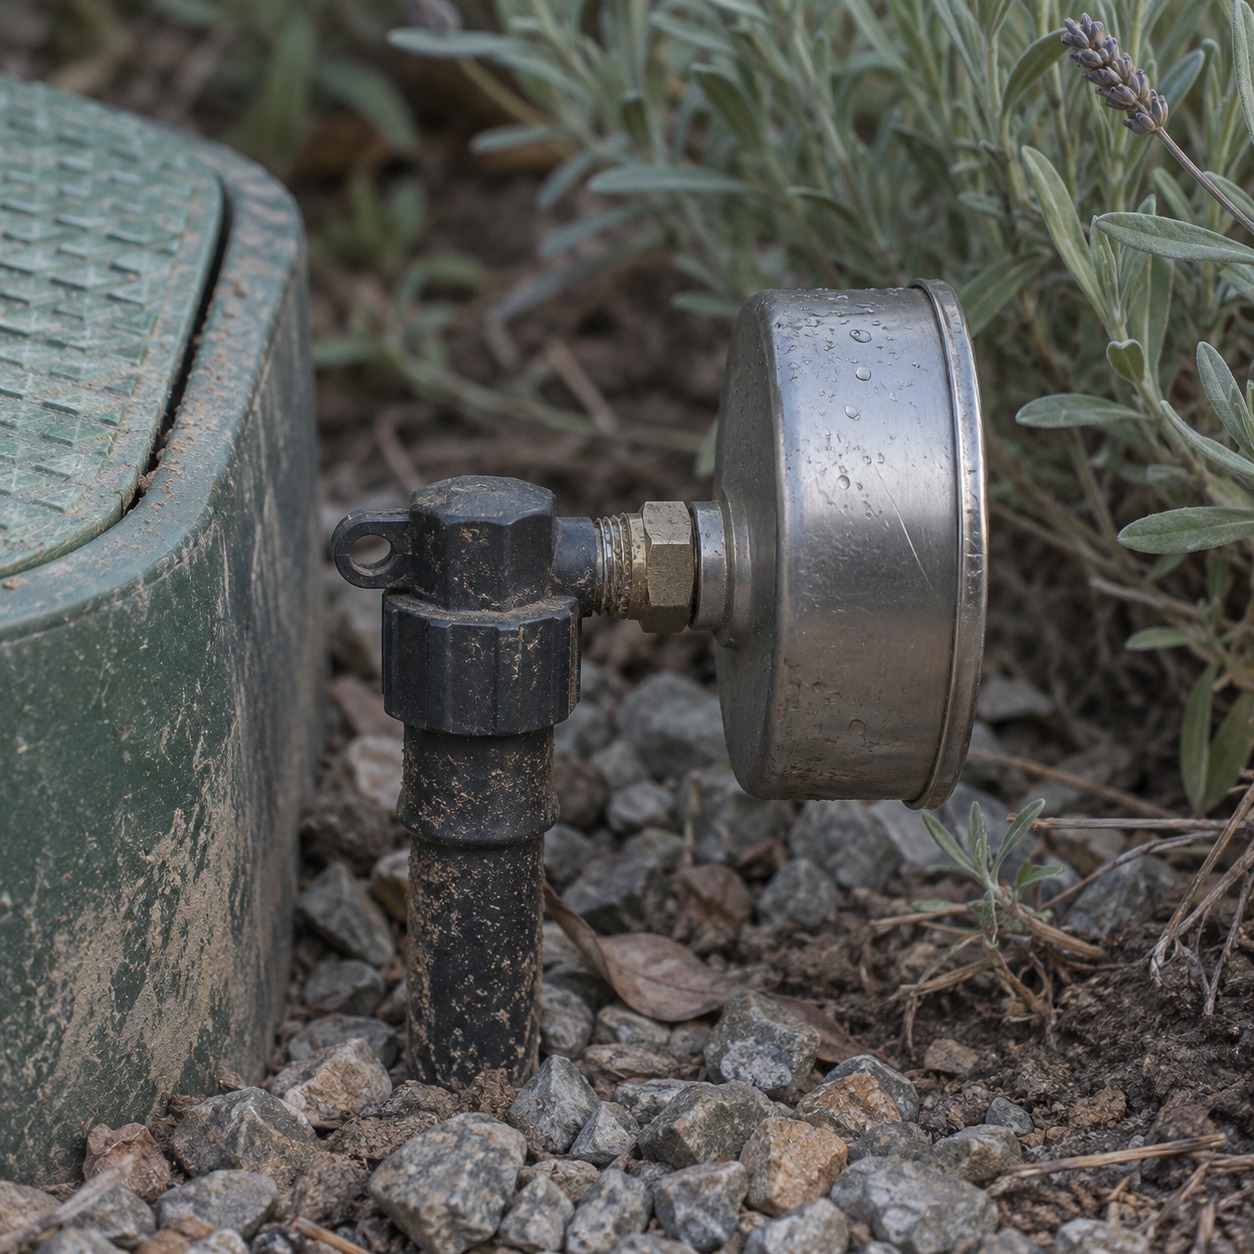
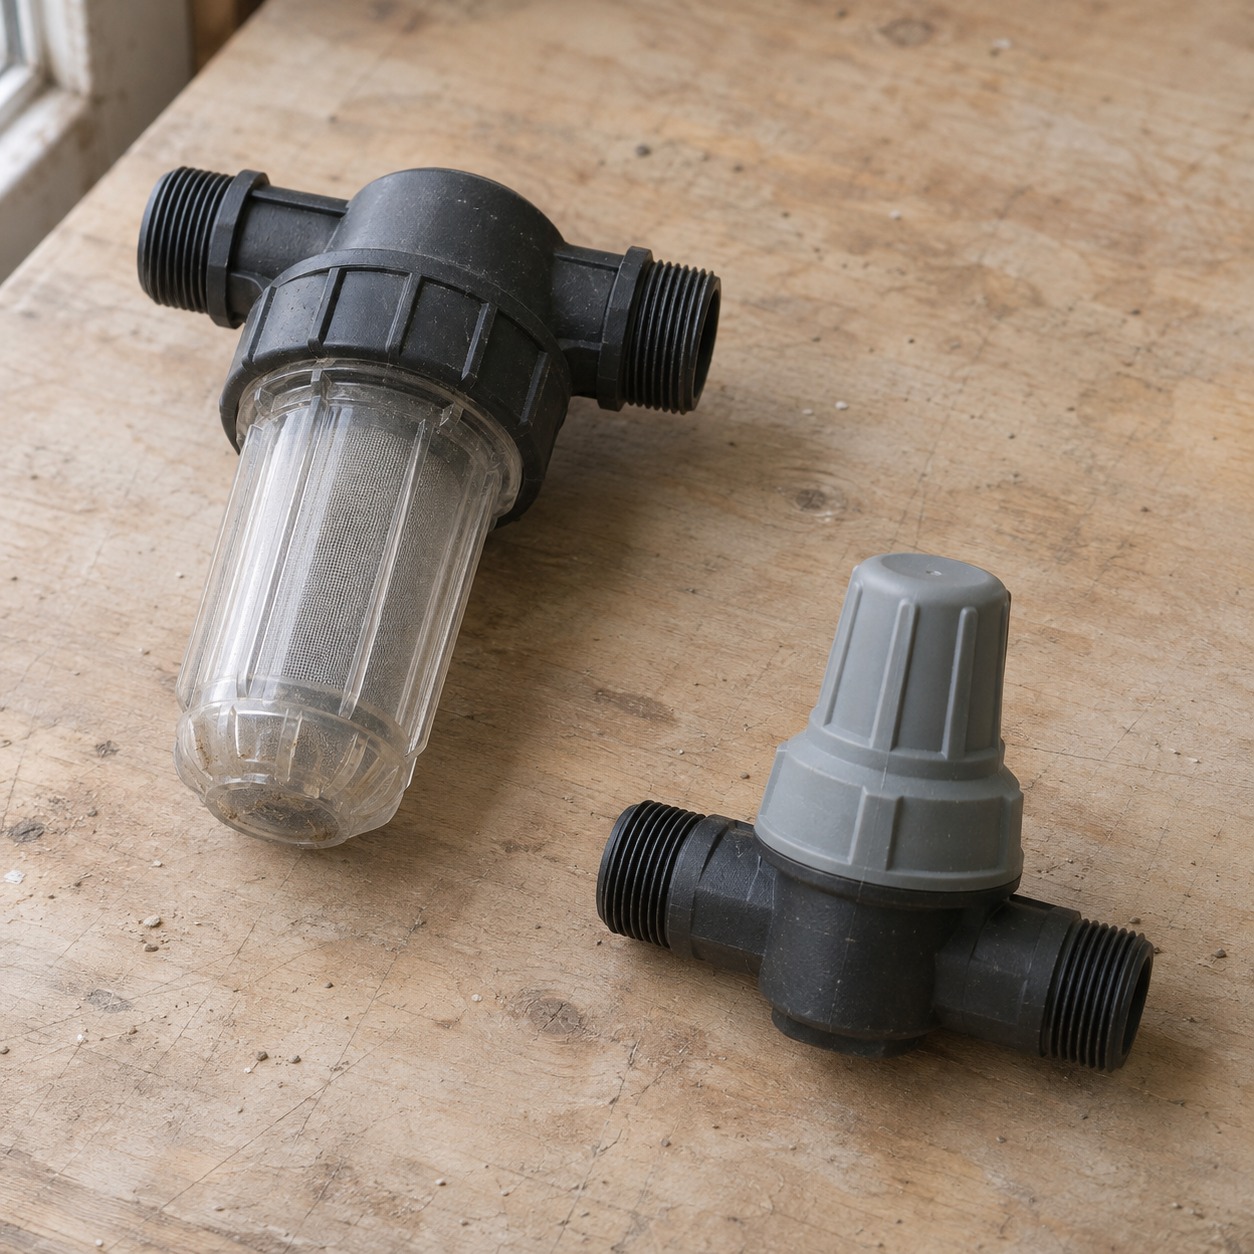
Pressure regulators help maintain a suitable operating pressure for the irrigation equipment. UC ANR’s guide to checking pressure-regulating valves explains that a regulator reduces higher incoming pressure to a suitable downstream level. It cannot boost a weak supply. Gauges can show whether it is working. Drip systems generally require lower pressure than many sprinkler systems, so they should not always be connected directly to a high-pressure supply.
Long pipe runs, elevation changes, and multiple zones affect pressure at different points, which is why a specialist should size the lines and zones. The order and clearances of the filter, regulator and valves follow the equipment specifications. Where the system connects to drinking water, local rules decide the required protection. This guide to irrigation backflow prevention gives background. A qualified installer or your water authority chooses the device and where it goes.
Create smarter watering schedules
Even a well-designed irrigation system can waste water if it runs too often or at the wrong time.
Watering schedules should be based on weather, soil moisture, plant maturity, and seasonal conditions rather than using the same timer settings throughout the year. Established plants usually need different watering patterns from newly planted landscaping.
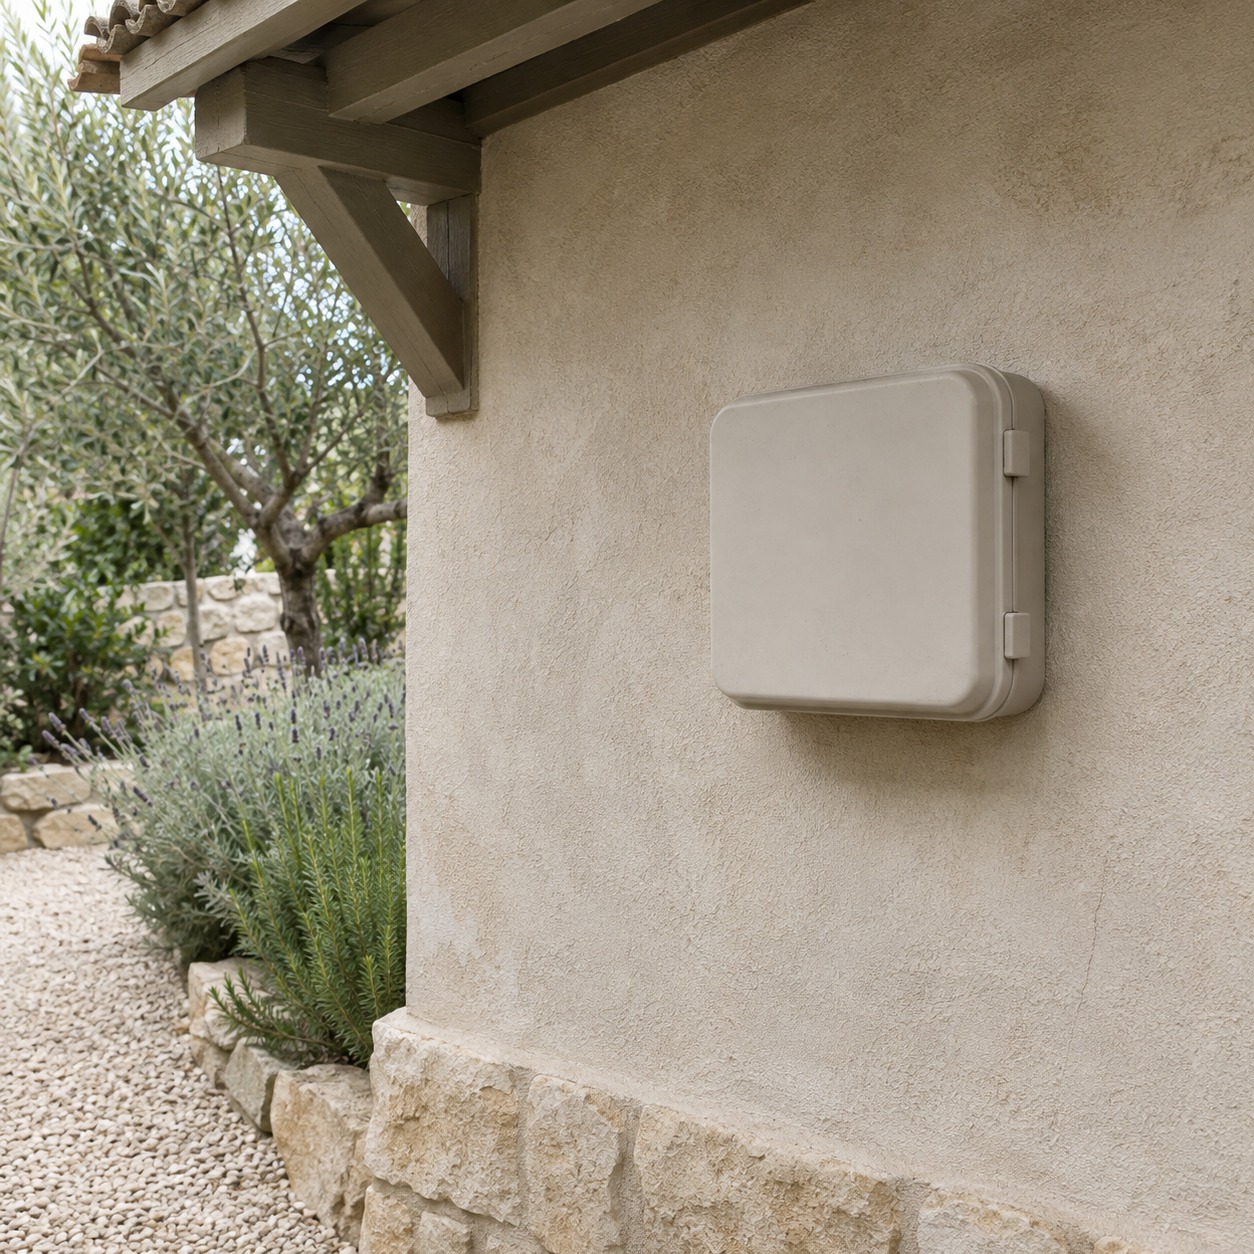
Early morning is often the most practical watering time because temperatures are cooler and wind may be lower. Check local watering restrictions first. Some areas benefit from cycle-and-soak scheduling, which splits watering into shorter intervals to reduce runoff. The right duration depends on soil, plants and irrigation method.

The EPA’s WaterSense controller guidance notes that weather-based controllers adjust schedules from weather and landscape data. Soil-moisture sensors can stop unnecessary watering. Both still need correct programming and maintenance. On the plan, place the controller where it can be reached and powered. For seasonal changes once the system runs, see these everyday watering adjustments.
Choose plants with similar water needs
Plant selection is part of the plumbing plan because it directly affects how irrigation zones should be arranged.
Grouping plants with similar water requirements makes each zone easier to control. Drought-tolerant shrubs should not share an irrigation zone with plants that need consistently moist soil. Otherwise, one group may be overwatered while the other receives too little. For broader composition choices, see our guide to water-wise landscape design.
Native and climate-appropriate plants can reduce supplemental watering once established, but they still need a plan for the establishment period.
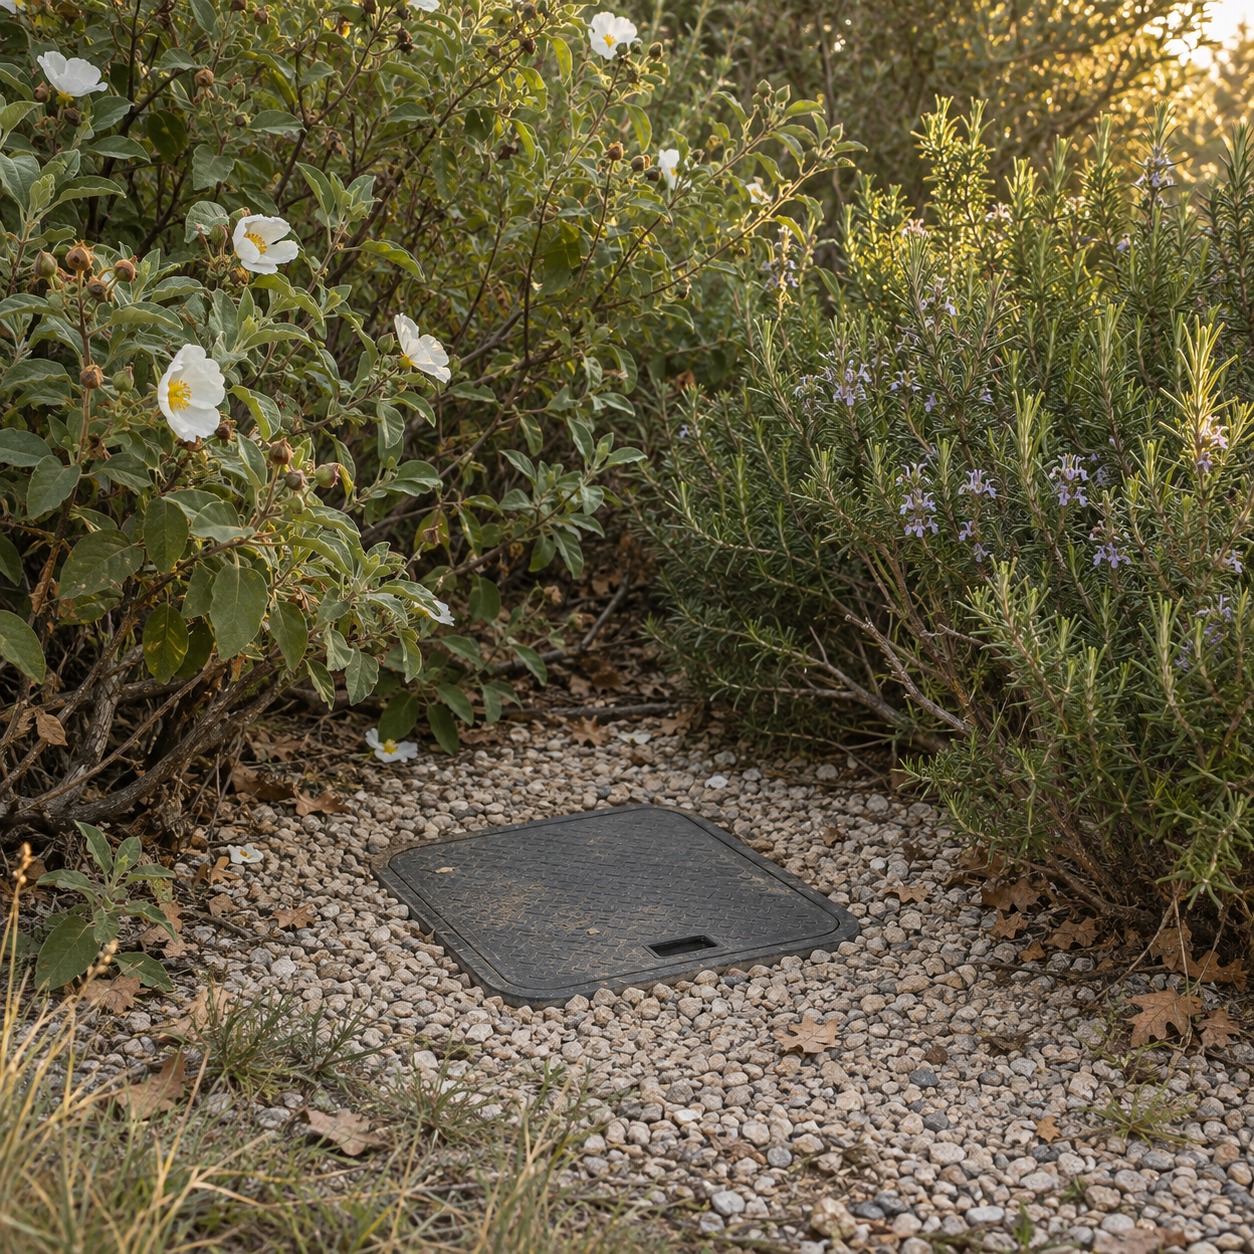
Homeowners should also consider mature plant size. Trees and shrubs that outgrow their original locations can interfere with irrigation lines, block sprinklers, or require extensive system changes later. Keep valve boxes clear of where a shrub’s canopy will eventually spread.
Prevent and detect irrigation leaks
Small irrigation leaks can waste a significant amount of water because they may continue unnoticed underground or behind dense plants.
Common warning signs include:
- Unusually wet areas or eroded soil around fittings
- Reduced sprinkler coverage or drip zones with inconsistent flow
- Water running onto paths or driveways
- Sudden increases in water use
- Valves that continue flowing after a zone shuts off
Connections, valve boxes, emitters, and exposed tubing should be inspected regularly.
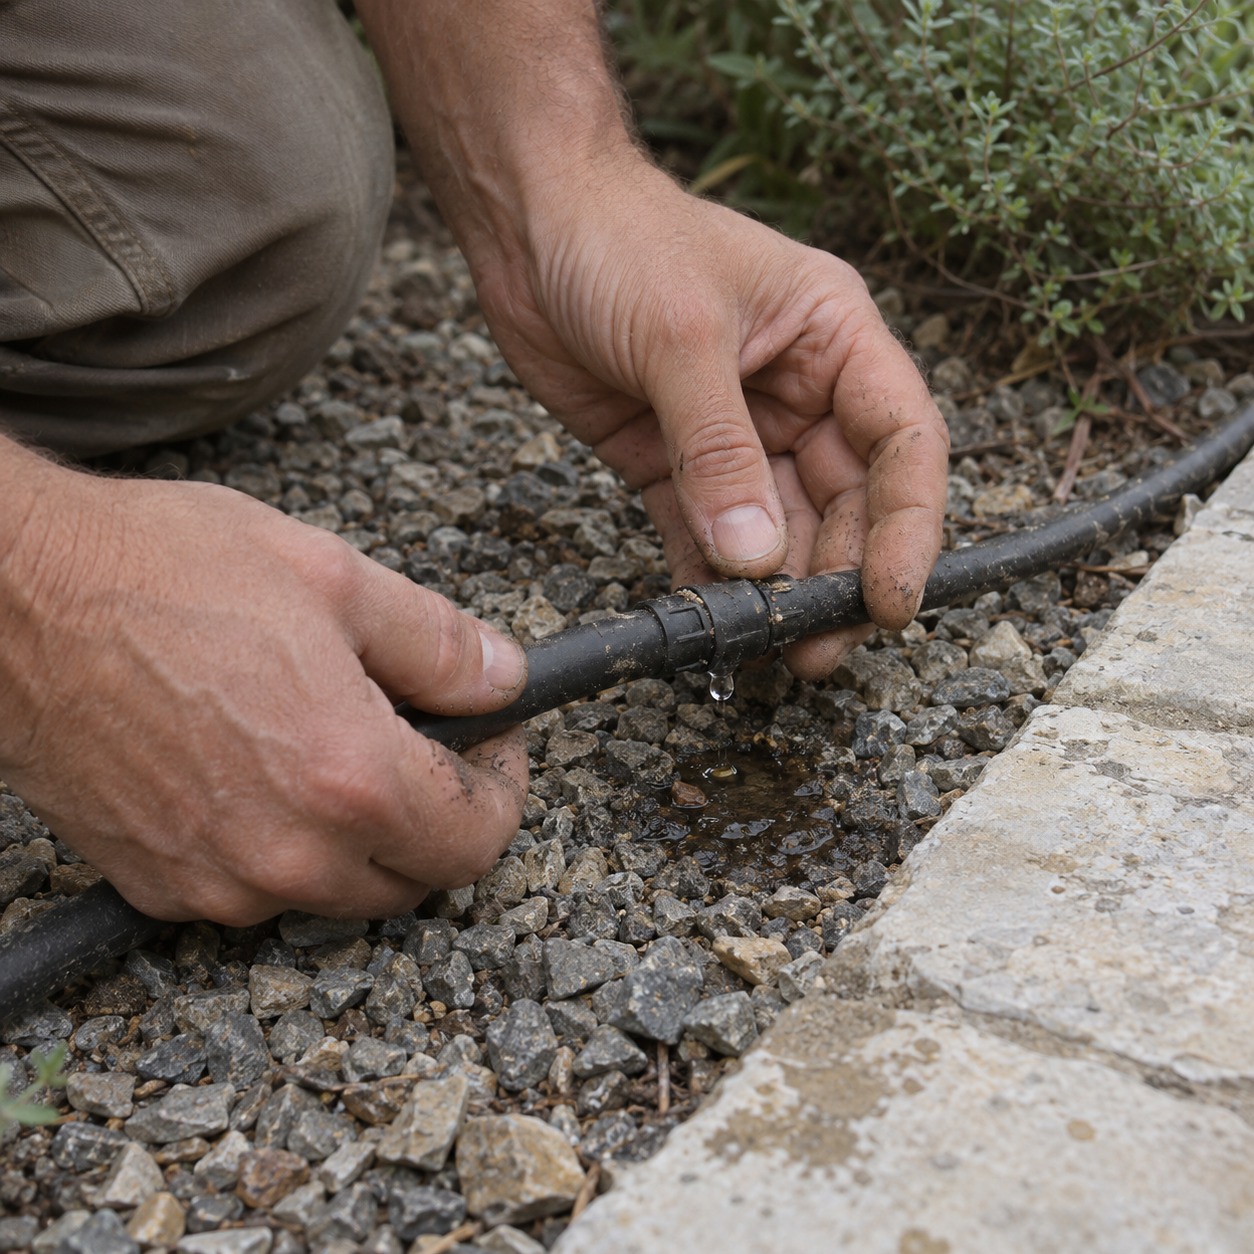
Installing accessible shutoff valves makes maintenance easier. If a leak develops in one section, that zone can be isolated while repairs are completed. Quality valves, fittings, adapters, and tubing connections can also help create a more dependable system when components are properly selected and installed.
Pre-paving checklist
Before stone, decking or gravel goes down, check the drawing against the site. In the wider landscape design process, this check comes after the planting plan is settled and before hardscape is built.
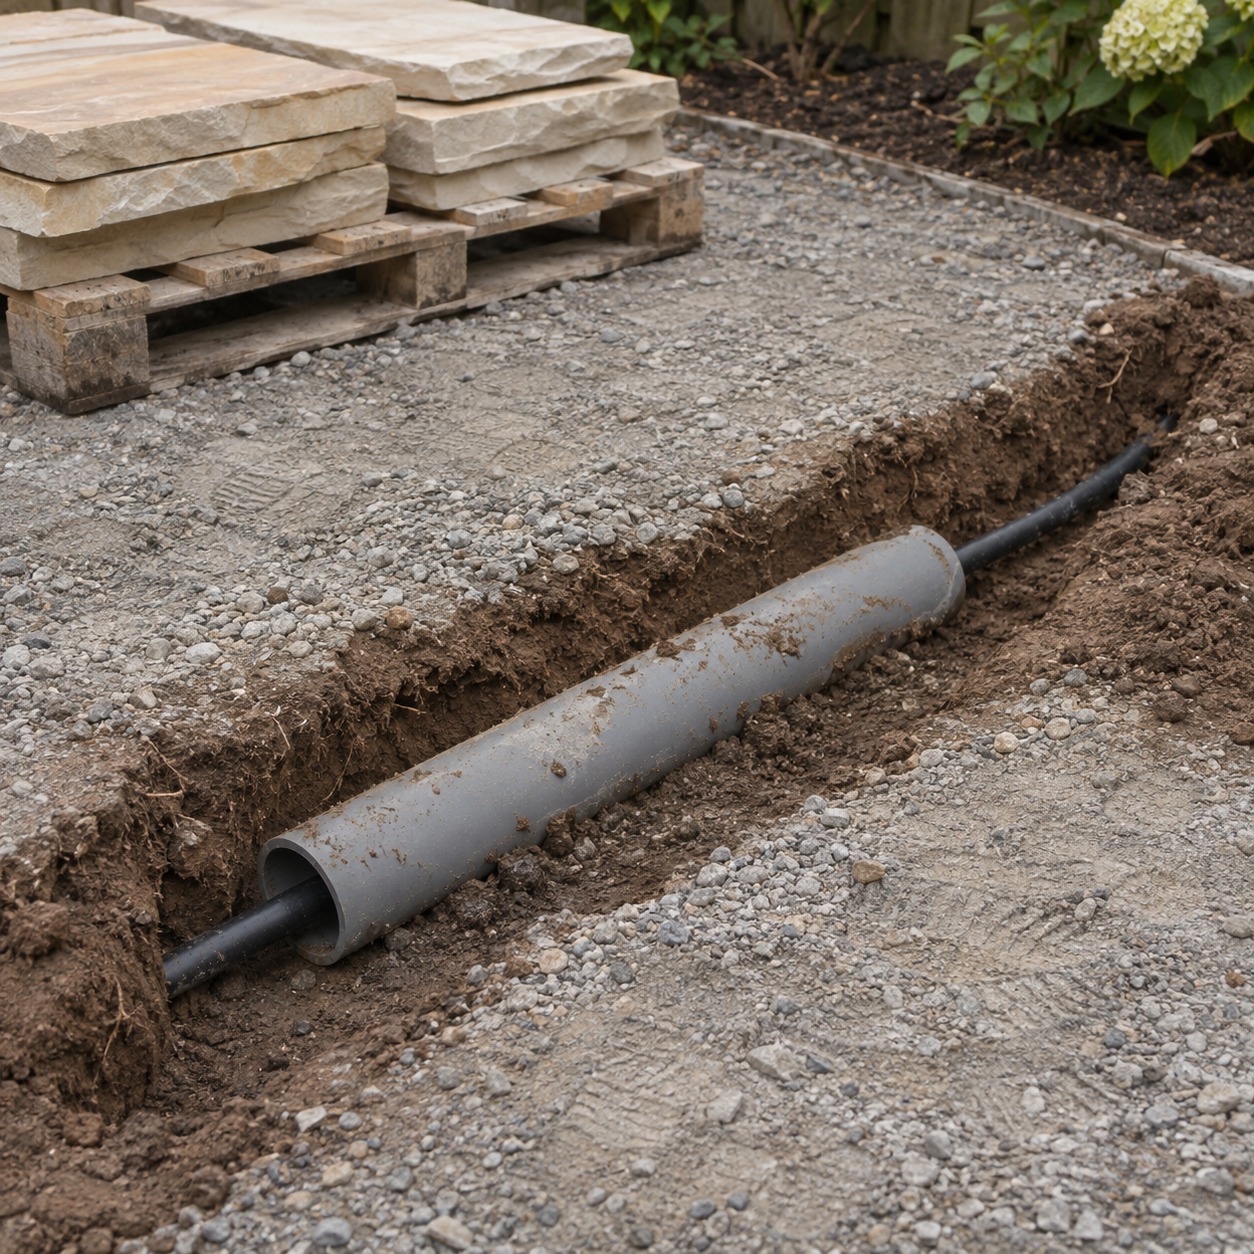
- Every hardscape crossing has a sleeve, with its location marked on the plan and on site.
- Valve boxes sit in beds or gravel strips, not under pavers or decking.
- The filter and regulator have room to be opened and serviced.
- Drip line ends are reachable for flushing.
- Consider spare sleeves under paths where future zones are likely.
- Supply flow and operating pressure have been measured and given to the installer.
- Each zone has been run and checked for uneven delivery or leaking joints before trenches are closed.
The Arizona Municipal Water Users Association’s irrigation design advice makes the same core point: map valves, the controller and routes so components can be found for repair. Installation details vary by region.
Plan the system as a whole
Water-wise landscaping works best when irrigation and planting decisions are made together. Zones should reflect plant needs, drip systems should deliver water to roots, pressure should stay within the equipment’s operating range, and schedules should respond to actual conditions.
At handover, ask for an as-built record that includes:
- The final layout with valve and zone labels
- Sleeve locations
- The main shutoff
- Controller settings
- Equipment model notes
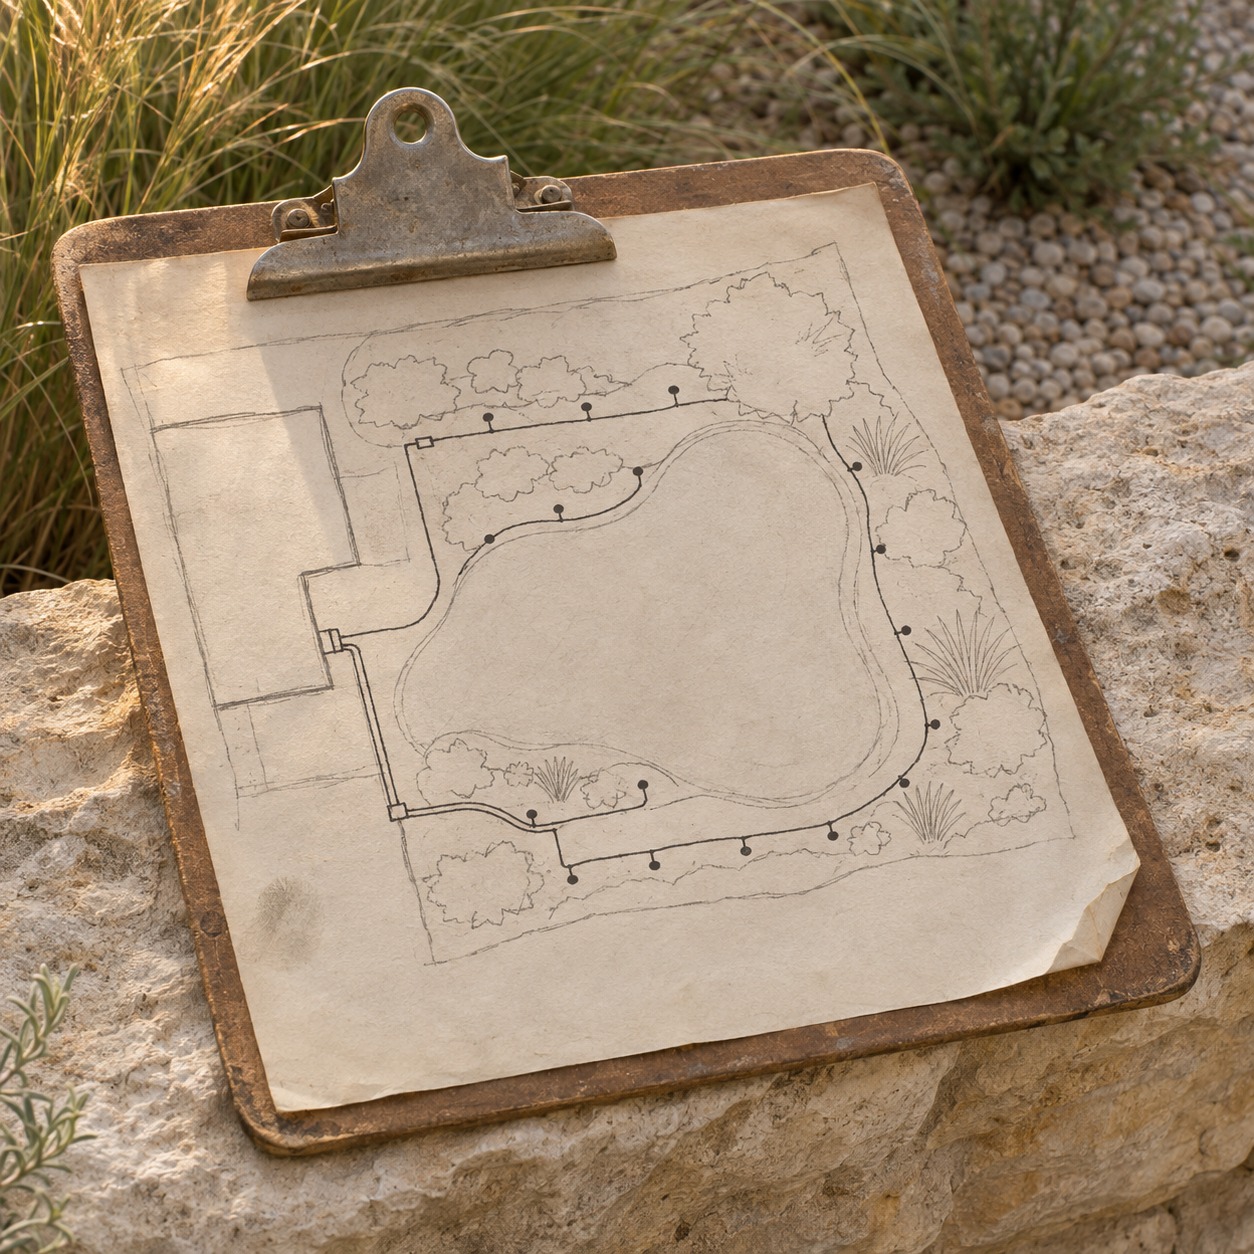
Keep a copy with your house documents so the next repair starts with a map, not a crowbar.
FAQs
Is an irrigation layout plan the same as an irrigation design?
No. The layout plan coordinates locations: beds, routes, valves, access points and hardscape crossings. A specialist produces the hydraulic design, including pipe sizes and zone flow, from measured supply data.
Can a valve box go under a patio if it has a lid?
It’s better placed in a bed or gravel strip beside the paving, where it can be opened without lifting anything. Record the location on the as-built drawing.
When should the drawing be made?
Make it once the planting plan is agreed and before trenching or hardscape work begins. That timing lets sleeves and access points be built in.
- 0shares
- Facebook0
- Pinterest0
- Twitter0
- Reddit0