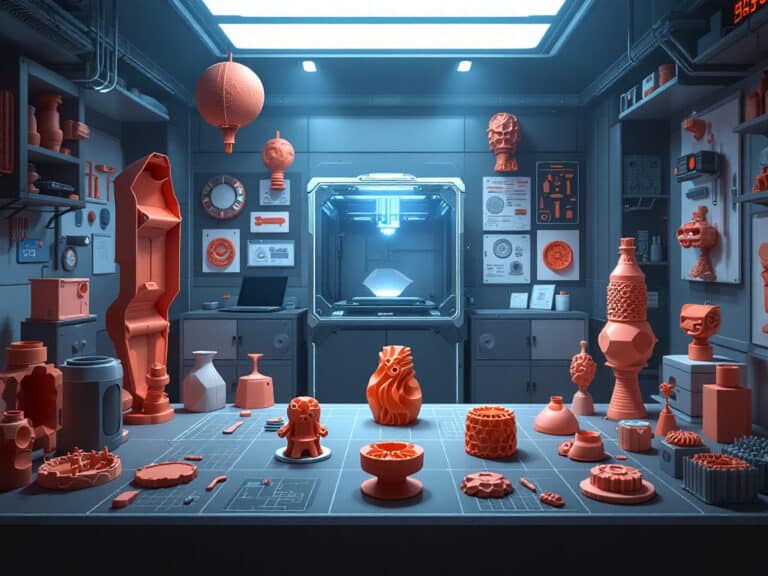
3D printing has revolutionized how we create objects at home, turning digital designs into tangible items with just the push of a button. Whether you’re new to 3D printing or looking for fresh inspiration, exploring different project types can help you discover the full potential of your printer.
This collection of 10 cool 3D printed projects will give you practical ideas that range from decorative pieces and functional organizers to intricate mechanical designs and wearable accessories. Each project offers something different, allowing you to experiment with various printing techniques while creating useful or entertaining items for your home, office, or personal use.
1) Articulated Dragon Model
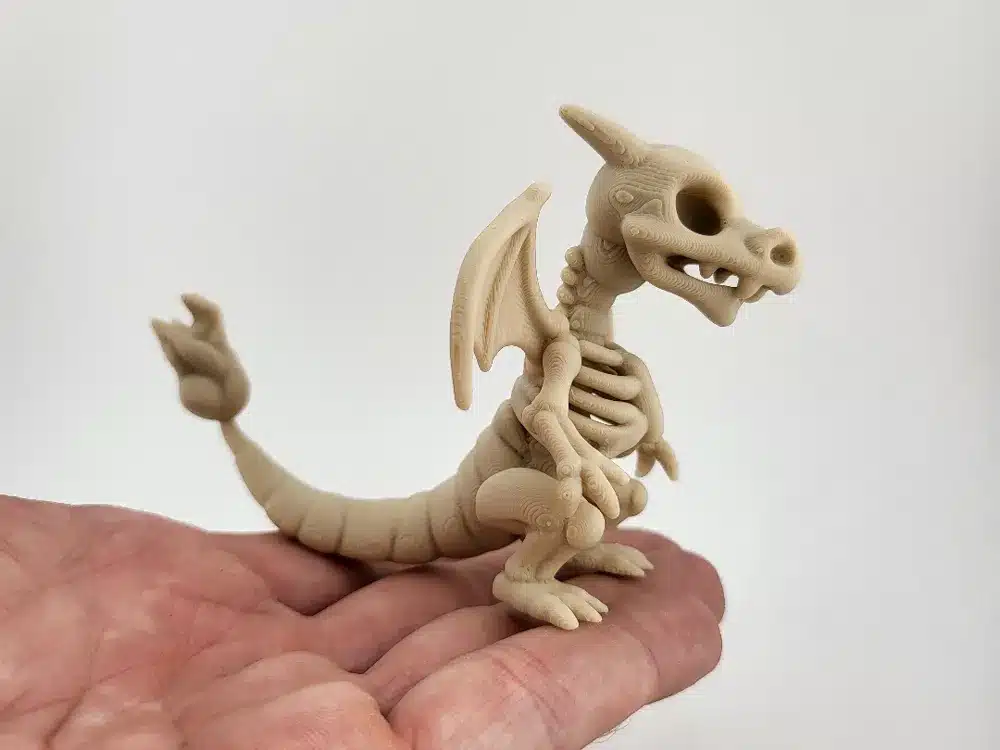
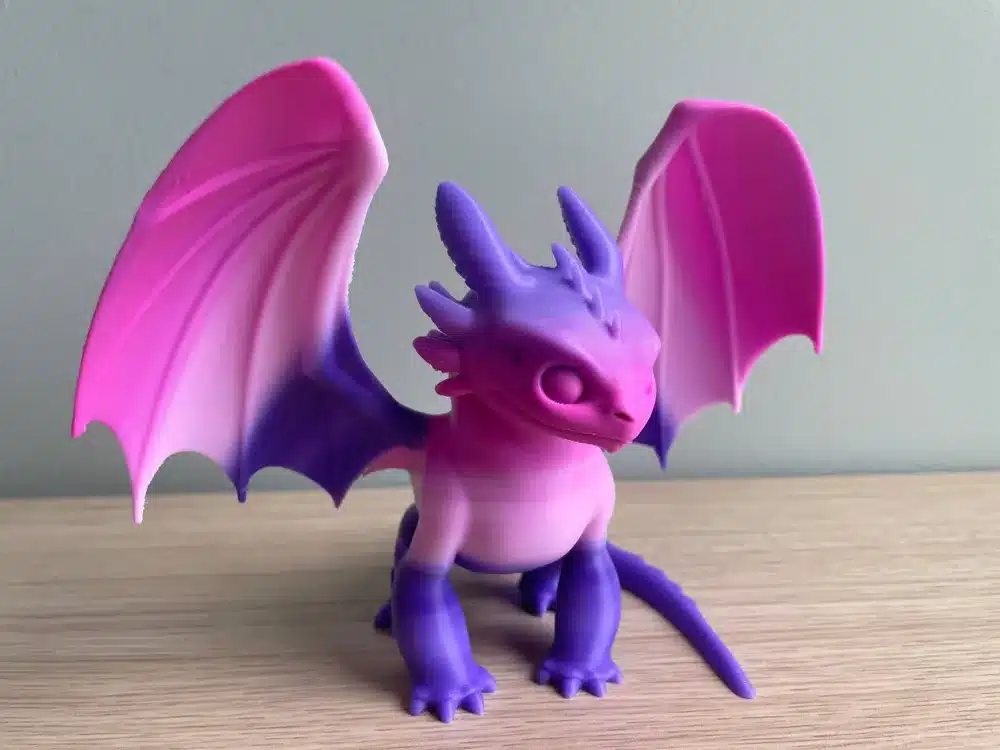
You can bring fantasy to life with an articulated dragon 3D print. These models feature moveable joints that let you pose your dragon in different positions.
The most popular option is “Seven the Articulated Dragon.” This free model offers multiple joints and impressive articulation possibilities. You can download it without cost and start printing right away.
What makes these dragons special is their print-in-place design. You don’t need to assemble separate parts after printing. The joints are built into the model and work immediately once printing finishes.
Your finished dragon can move its head, tail, legs, and body segments. This creates endless posing opportunities for display or play. The articulation makes each dragon feel more lifelike than static models.
These prints work well for dragon enthusiasts and collectors. They also make great gifts for fantasy fans or anyone who appreciates detailed craftsmanship.
You’ll find hundreds of free articulated dragon files available online. Different designs offer various sizes, styles, and complexity levels. Some feature baby dragons while others showcase full-grown mythical creatures.
The combination of fantasy appeal and mechanical function makes articulated dragons one of 2024’s most popular 3D printing projects.
2) Seamless Print-in-Place Fidget Spinner
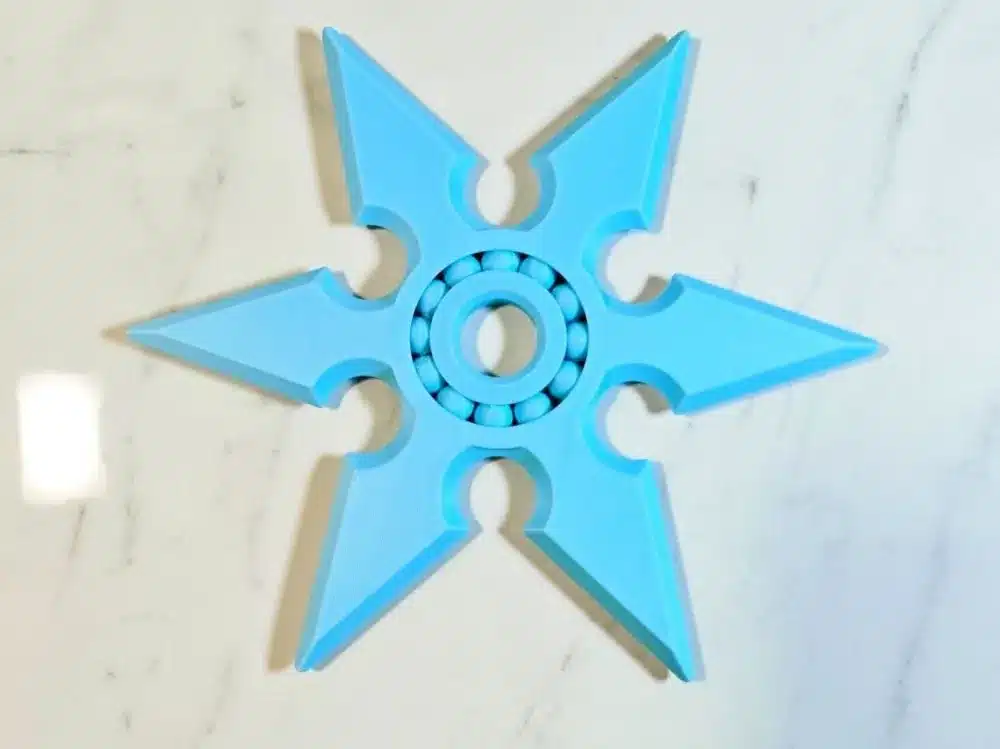
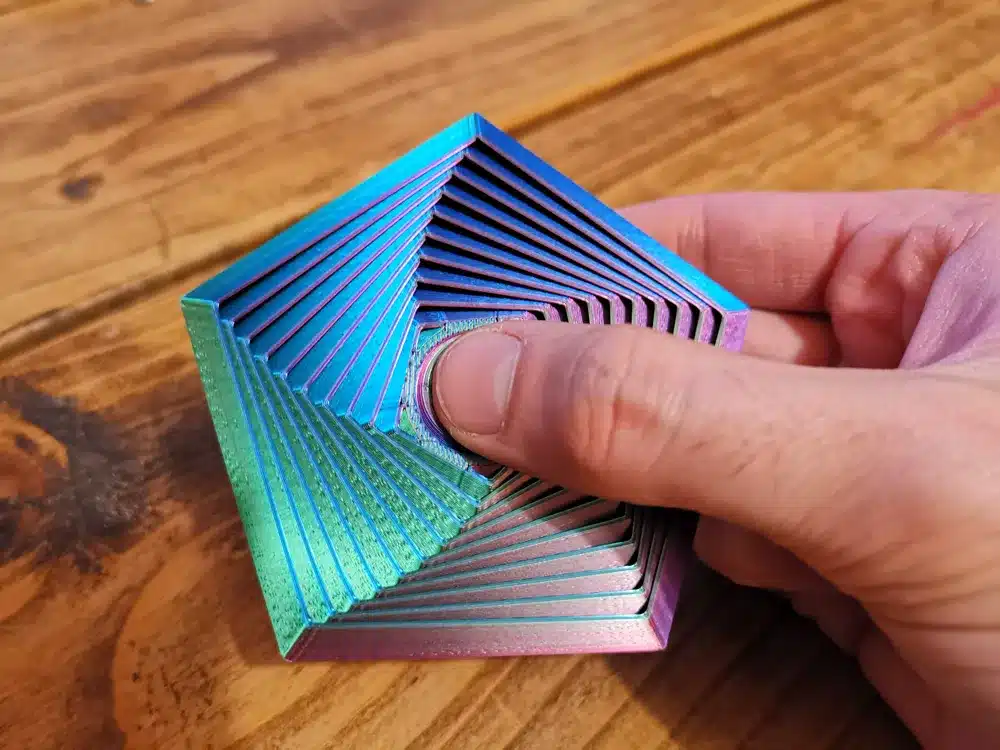
Print-in-place fidget spinners represent one of the most impressive demonstrations of 3D printing technology. These clever designs eliminate the need for assembly or separate bearings.
You can download the entire spinner as a single STL file and print it ready to use. The moving parts are built into the design, with precise tolerances that allow smooth rotation straight off the print bed.
Modern versions feature innovative bearing systems that work without traditional ball bearings. The plastic-on-plastic contact provides surprisingly smooth spinning motion for stress relief and focus.
These spinners require no supports during printing, making them beginner-friendly projects. You simply start the print and return to find a fully functional toy waiting for you.
The print-in-place approach saves time and materials compared to multi-part designs. You avoid the hassle of sourcing additional hardware or dealing with small assembly components.
Many designs incorporate double-layer structures for enhanced durability. Others feature spiral patterns or unique geometric shapes that create visual interest while spinning.
Your printer settings matter for optimal results. Proper calibration ensures the moving parts have enough clearance to rotate freely without being too loose.
3) Miniature Eiffel Tower Replica
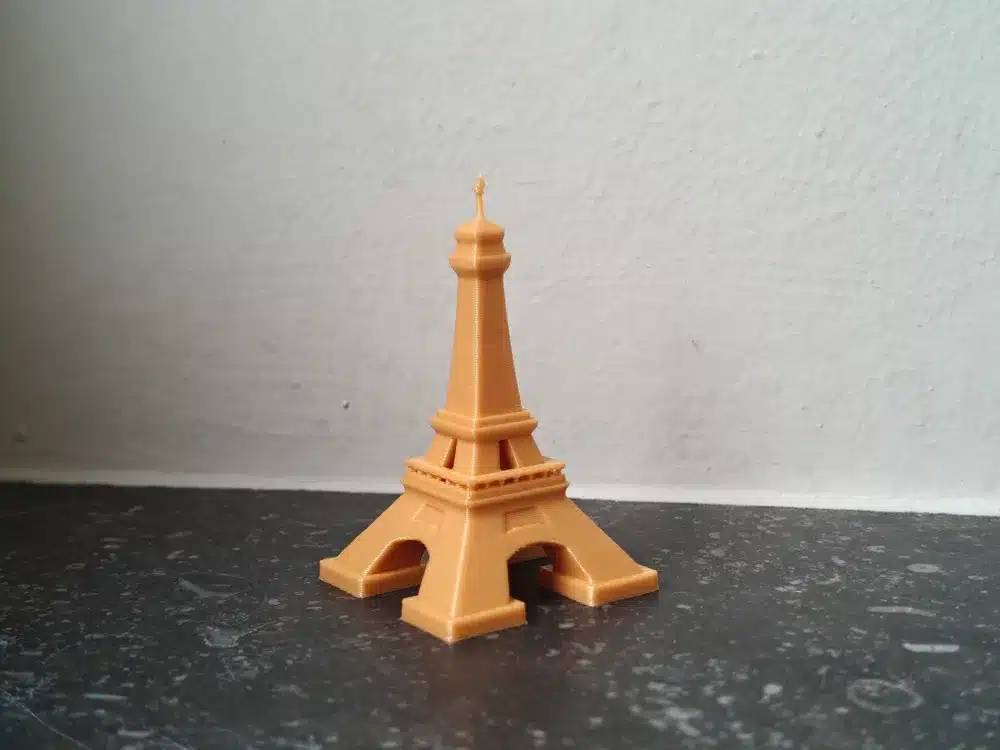
A 3D printed Eiffel Tower replica brings a piece of Paris right to your desk. These models capture the intricate details and iconic architecture of the original structure in a compact size.
You can find thousands of different Eiffel Tower designs online. Many are optimized for easy printing without supports, making them perfect for beginners.
The simplest models require just 10-15% infill and 0.2mm layer height. You can print small versions in just a few hours using basic PLA filament.
Some designers offer multi-piece models that create impressive 40-inch tall replicas. These larger versions require assembly with plastic glue but deliver stunning results.
Mini versions work great as desk decorations or educational tools. You can scale them down to 2-3 inches for quick test prints or small gifts.
The geometric structure of the Eiffel Tower makes it ideal for showcasing your printer’s capabilities. Fine details like the lattice work help demonstrate print quality and precision.
Many files come in vintage or aged metal styles for a classic appearance. These decorative pieces work well in offices, classrooms, or as conversation starters on your workspace.
https://makerworld.com/en/models/1650762-mini-eiffel-tower?from=search#profileId-1745207
4) Customizable Phone Stand
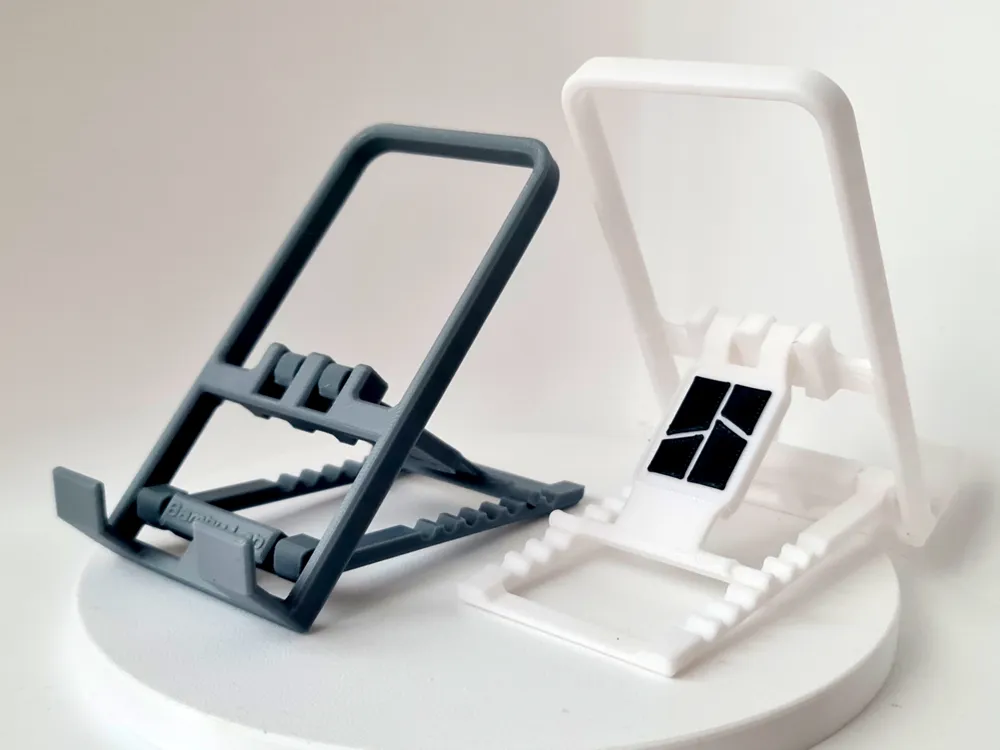
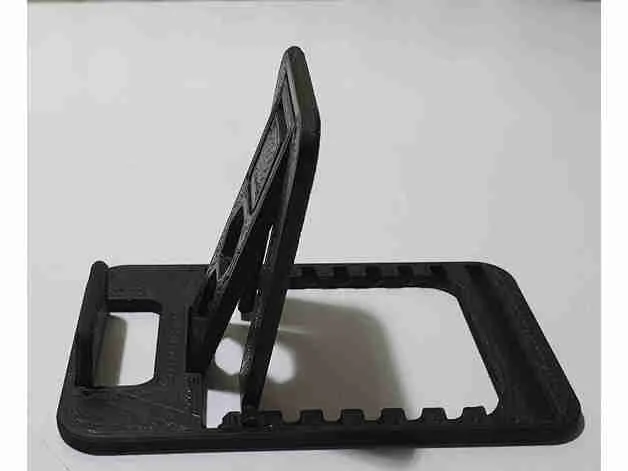
A 3D printed phone stand offers the perfect blend of functionality and personalization for your workspace. You can design one that fits your exact phone size and preferred viewing angle.
The beauty of printing your own stand lies in the customization options. You can add your favorite images, engrave custom text, or create unique patterns that match your style.
Most designs require no tools or glue for assembly. Simple two-part stands just slide together, making them incredibly user-friendly and quick to assemble.
You’ll find thousands of free STL files online with different styles and features. Some include cable management, adjustable angles, or special grips for different phone cases.
Creating your own design is surprisingly straightforward with basic 3D modeling software. You can adjust dimensions, add personal touches, and ensure it perfectly fits your device.
3D printed stands work great with various materials like PLA or PETG. The printing process is usually quick, taking just a few hours depending on the complexity of your chosen design.
This project saves money compared to buying commercial stands while giving you something truly unique for your desk or nightstand.
5) Mechanical Iris Box
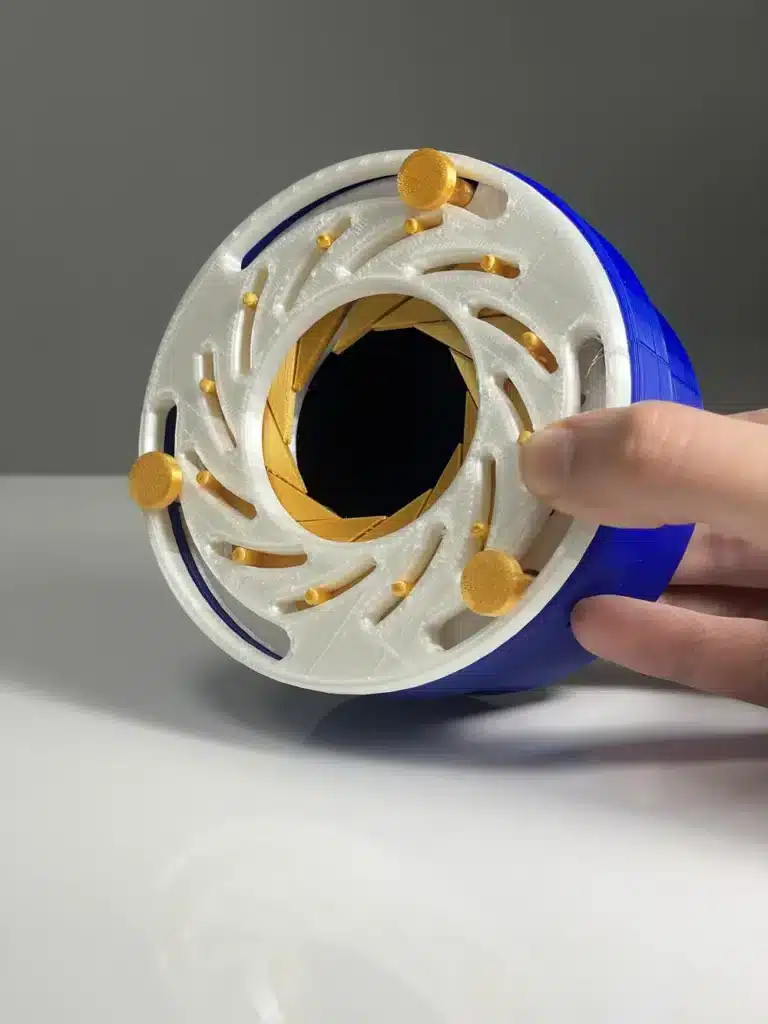
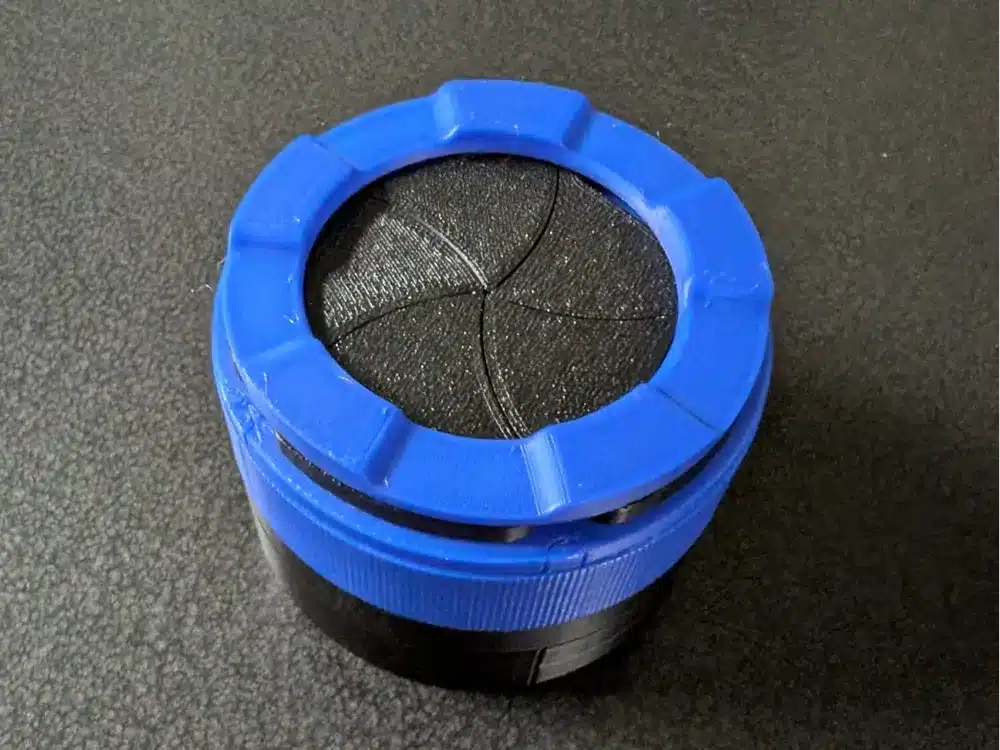
You can create an impressive storage container with a mechanical iris opening mechanism. This 3D printed project combines functionality with an eye-catching design that works like a camera aperture.
The iris mechanism uses multiple overlapping blades that rotate to open and close the container. When you twist the outer ring, the blades move simultaneously to reveal or hide the contents inside.
Most designs require no support material during printing. You can complete the entire project in about 2-3 hours depending on your printer speed and layer resolution.
The mechanical iris box works great as a conversation starter on your desk or shelf. You can customize the design to include logos or personal touches on the lid.
Assembly typically involves fitting the printed parts together with minimal tools. Some versions use hot glue or small screws to secure the mechanism, while others rely on precise tolerances for a friction fit.
This project showcases the capability of 3D printing to create complex mechanical movements. The iris mechanism demonstrates how multiple moving parts can work together in a compact design.
You’ll find various versions available with different sizes and complexity levels to match your printing skills.
6) Puzzle Cube with Interlocking Pieces
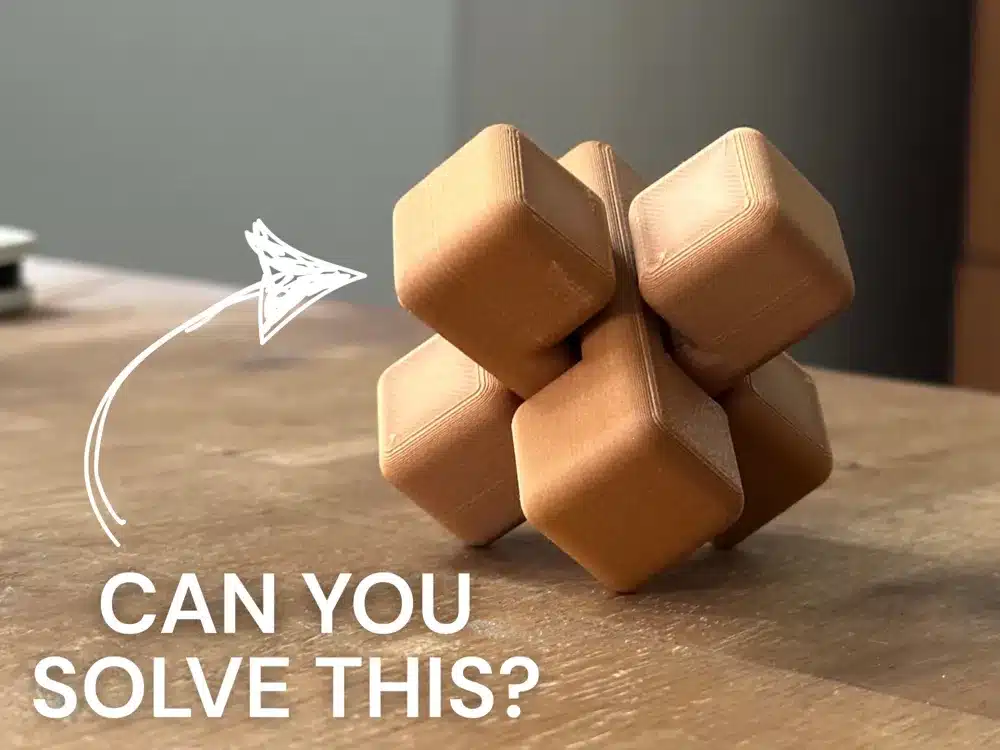
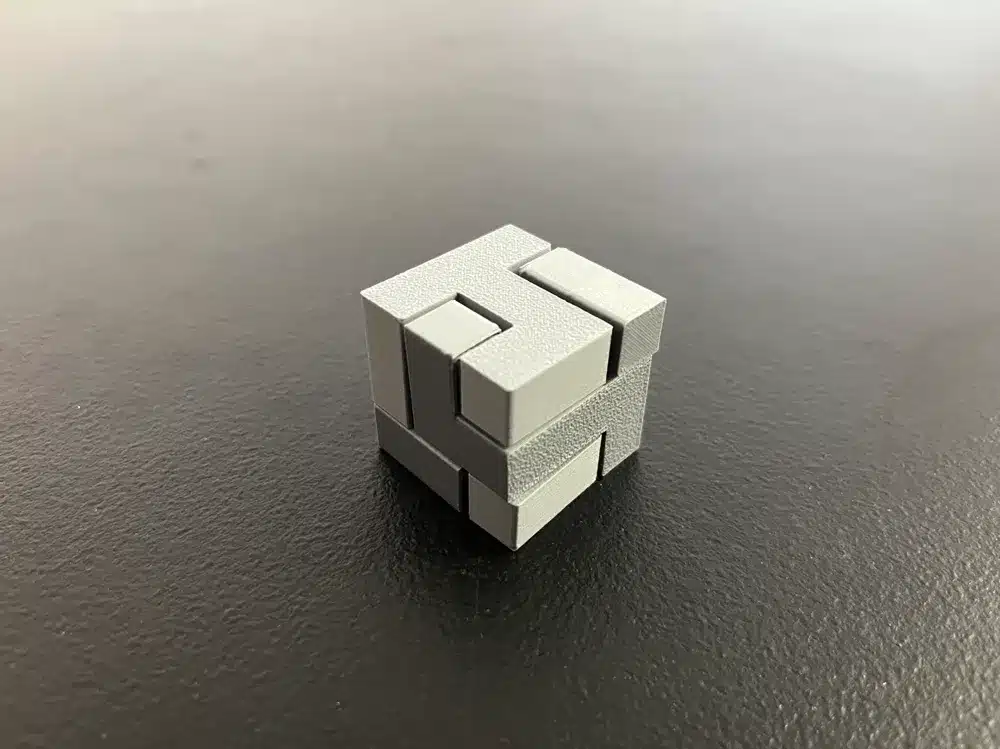
You can create fascinating puzzle cubes that challenge both your 3D printing skills and problem-solving abilities. These interlocking puzzles consist of multiple pieces that fit together in only one specific way to form a complete cube.
The beauty of these puzzles lies in their precision requirements. Each piece must interlock perfectly with the others, testing your printer’s accuracy and your design skills.
You’ll find designs ranging from simple 5-piece puzzles to complex multi-part challenges. Some feature smooth curved cuts, while others use geometric segments with chamfered edges for better fitting.
Print-in-place versions eliminate the need for assembly after printing. Your printer creates all pieces simultaneously in their interlocked state, which you then separate and scramble.
The solving process requires specific movements – sliding pieces up, down, sideways, and sometimes rotating them. This makes each puzzle unique in its assembly sequence.
You can customize difficulty levels by adjusting the number of pieces or complexity of the interlocking mechanism. Beginners might start with 3-piece designs, while experienced puzzlers can tackle 10+ piece challenges.
These puzzles make excellent gifts and desk toys. They’re safe for children and provide hours of entertainment while showcasing your 3D printing capabilities.
7) Wearable Geometric Ring
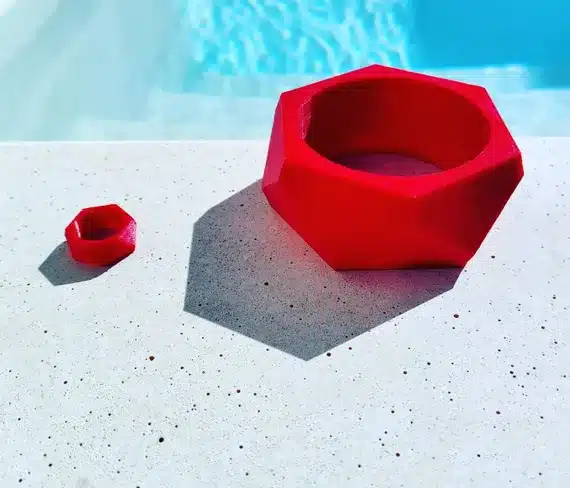
Creating a geometric ring is one of the most rewarding 3D printing projects you can tackle. These designs combine mathematical precision with wearable art.
Geometric rings offer endless design possibilities. You can experiment with angular patterns, interlocking shapes, or tapered designs that catch the light beautifully.
The printing process is straightforward and beginner-friendly. Most ring designs take just a few hours to complete, making them perfect for quick projects.
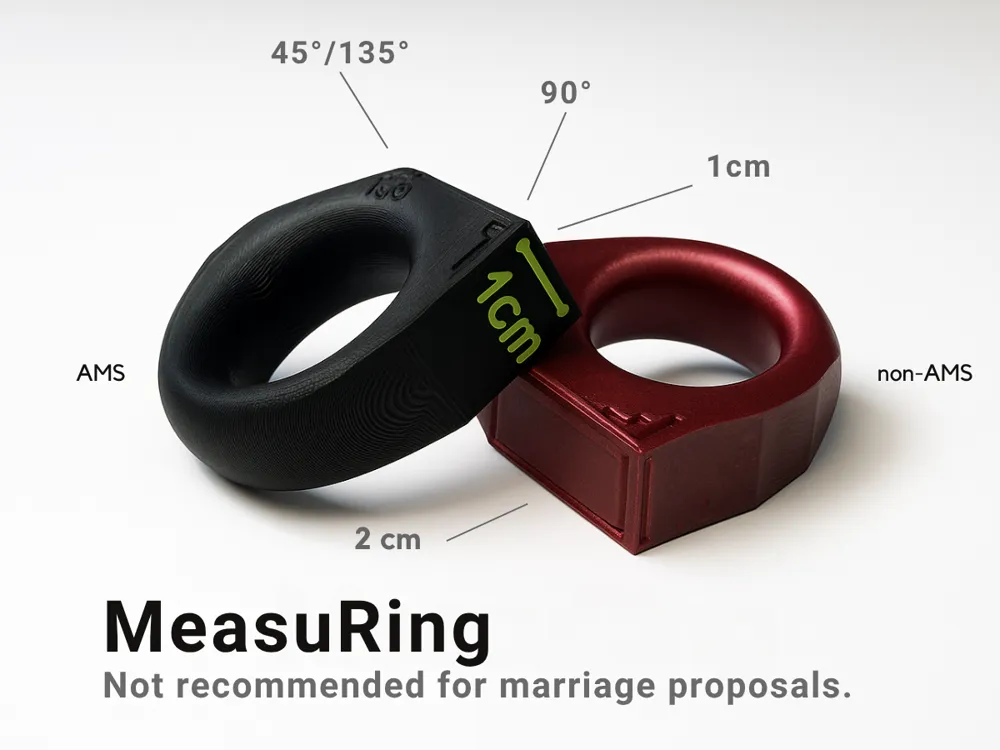
You’ll need to measure your finger diameter accurately before printing. Most geometric ring files come in standard sizes, but you can easily scale them to fit perfectly.
Purple PLA filament works exceptionally well for geometric designs. The vibrant color highlights the angular features and creates a striking visual impact.
These rings serve as excellent foundations for further customization. You can add embellishments, paint details, or combine multiple geometric elements.
The small size means minimal material waste and low printing costs. You can experiment with different designs without significant investment in filament.
Geometric rings showcase the precision capabilities of 3D printing technology. The clean lines and sharp angles demonstrate what’s possible with modern additive manufacturing.
8) Modular Desk Organizer
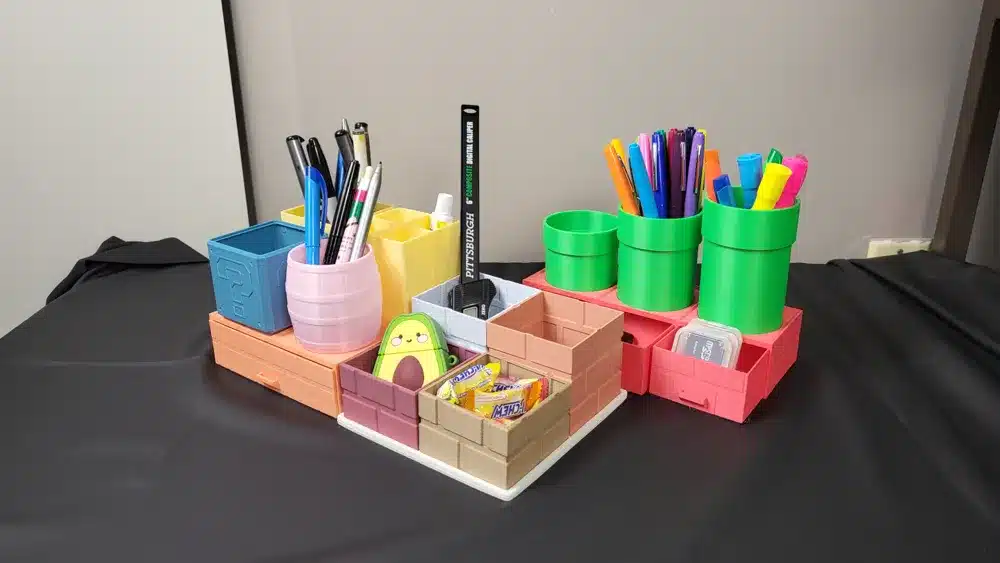
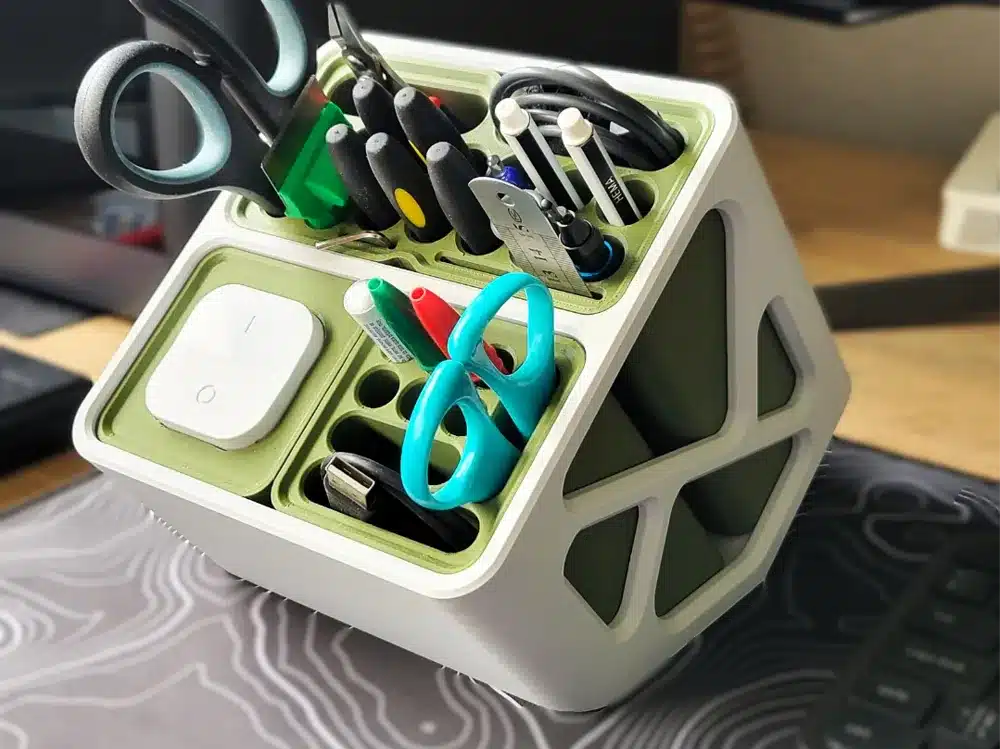
You can transform your cluttered workspace with a 3D printed modular desk organizer. These customizable storage solutions let you arrange compartments exactly how you need them.
The modular design means you can add or remove sections based on your requirements. You might need space for pens, sticky notes, cables, or small office supplies.
Projects like OrganiZen offer simple yet effective designs. You can download free STL files from platforms like Thingiverse, Printables, or Cults 3D.
The beauty of modular organizers lies in their flexibility. You can start with a basic design and expand it over time as your storage needs change.
Most designs feature interlocking components that fit together seamlessly. This allows you to create custom configurations that match your desk layout perfectly.
Your printer quality will affect the final results. Higher quality prints ensure better fitting joints and smoother sliding drawers if your design includes them.
These organizers work well for students, remote workers, and anyone who spends time at a desk. You can organize everything from stationery to electronic accessories in dedicated compartments.
9) Functional Key Holder
You can solve the daily frustration of misplaced keys with a 3D printed key holder. These practical designs mount easily on your wall near your front door.
Most key holder designs feature simple hooks or slots that accommodate different key sizes. You can customize the layout to match your specific needs and key collection.
The beauty of 3D printing key holders lies in personalization. You can add your family name, house numbers, or decorative elements that match your home’s style.
Popular designs include minimalist wall-mounted versions and more elaborate holders with compartments for mail or small items. Some models incorporate magnetic elements for additional functionality.
Installation typically requires basic wall anchors or screws. Choose a location at eye level near your main entrance for maximum convenience.
You can download free STL files from various online repositories or design your own unique version. Simple key holders print quickly and use minimal filament, making them perfect beginner projects.
The durability of printed key holders depends on your filament choice. PLA works well for indoor use, while PETG or ABS offer better longevity in humid environments.
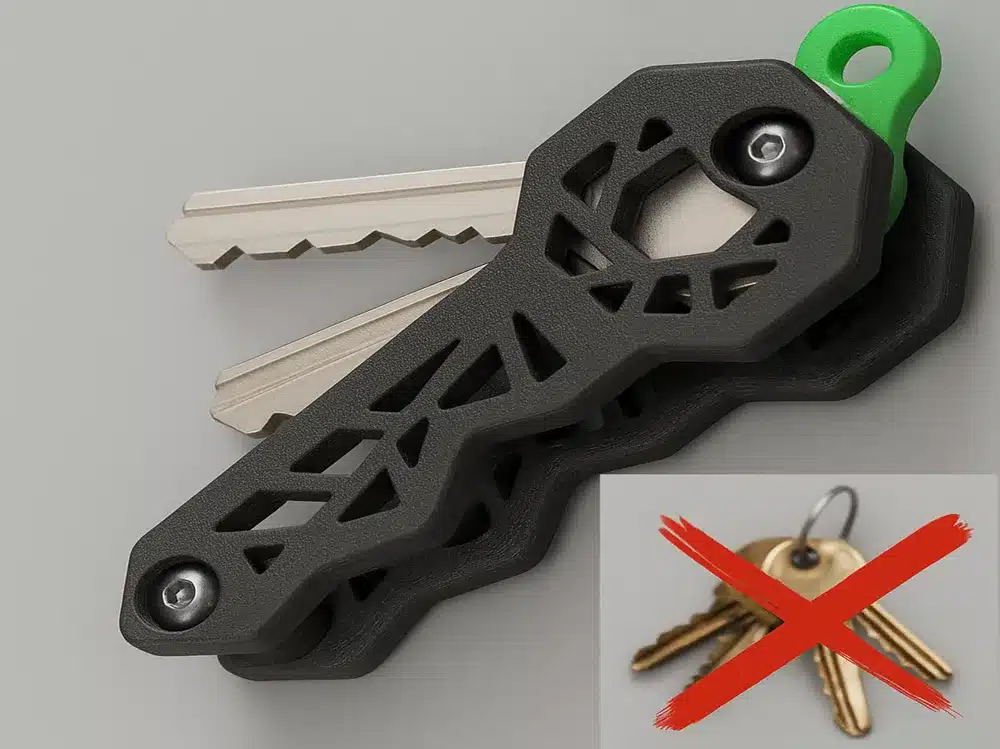
https://makerworld.com/en/models/1678867-key-organizer?from=search#profileId-1778365
10) Decorative Wall Planter
Wall planters bring your plants to new heights while saving valuable floor space. You can transform any blank wall into a living garden display.
These 3D printed designs offer practical features you won’t find in store-bought planters. Many models include built-in water receptacles and drainage systems to keep your plants healthy.
You’ll discover wall planters in countless styles, from geometric shapes to themed characters. Gyroid planters create eye-catching patterns that double as artistic wall decor.
The customization options are endless when you 3D print your own. You can adjust sizes to fit specific wall spaces or plant types perfectly.
Installation stays simple with integrated mounting hooks and hardware slots. Most designs print in multiple parts that assemble easily after printing.
Your wall planters can accommodate various plants, from trailing vines to compact succulents. The elevated position gives climbing plants room to grow naturally.
You’ll want to use higher infill percentages for the structural components to ensure durability. The drainage elements need special attention to proper airflow and water management.
These functional art pieces transform boring walls into vibrant living displays that showcase both your plants and your 3D printing skills.
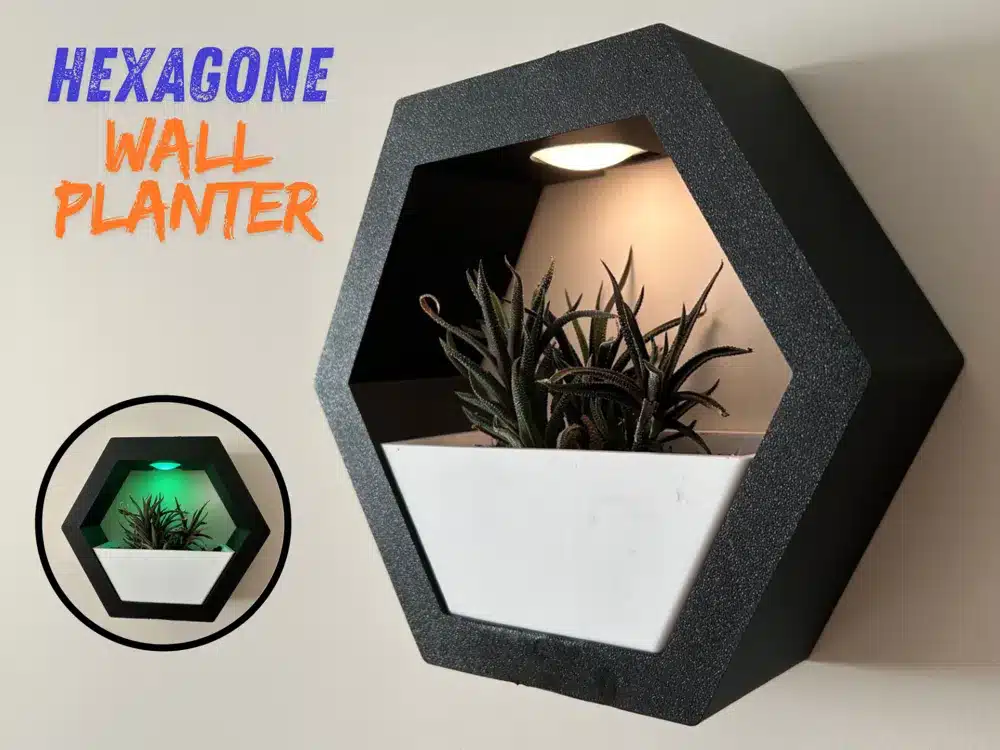
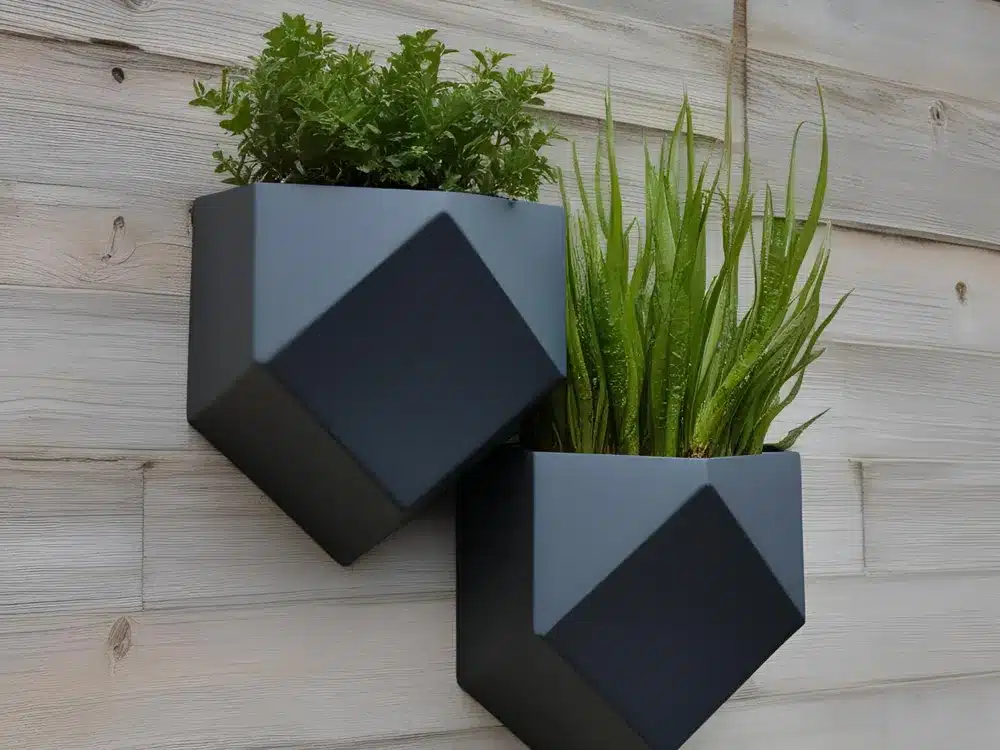
Getting Started With 3D Printing
Starting with 3D printing requires understanding the essential equipment, learning design fundamentals, and preparing for common technical challenges. Success depends on having the right tools, following proven design principles, and troubleshooting print issues effectively.
Essential Tools and Materials
Your 3D printer is the centerpiece, but you’ll need several additional items to succeed. A reliable computer with 3D modeling software like Tinkercad or Fusion 360 handles design work.
Printing Materials:
- PLA filament – beginner-friendly, low temperature, minimal warping
- PETG filament – stronger than PLA, chemical resistant
- ABS filament – durable but requires heated bed
Essential Tools:
- Digital calipers for precise measurements
- Scraper or spatula for removing prints
- Needle-nose pliers for support removal
- Small files for smoothing surfaces
You’ll also need a heated print bed or adhesion aids like painter’s tape. Keep spare nozzles on hand since they wear out over time.
Proper workspace ventilation matters, especially with ABS printing. A dedicated table reduces vibrations that can affect print quality.
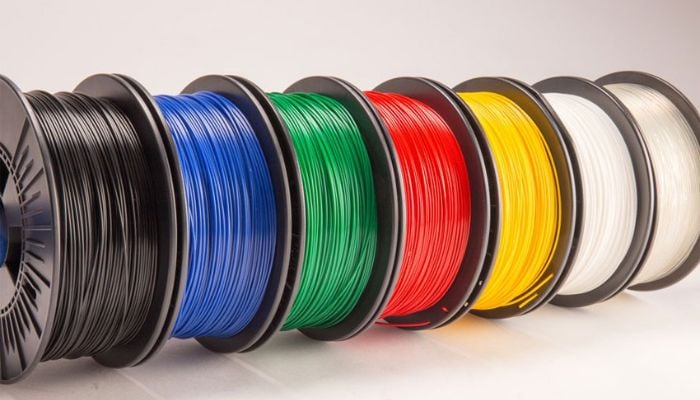
Tips for Designing Your Own Projects
Start with simple geometric shapes before attempting complex designs. Cubes, cylinders, and basic containers teach fundamental principles without overwhelming complexity.
Design Guidelines:
- Keep wall thickness between 1-3mm for strength
- Avoid overhangs greater than 45 degrees without supports
- Add chamfers to sharp edges for easier printing
- Design parts that fit within your printer’s build volume
Learn your software’s basic functions first. Master extrusion, boolean operations, and dimensioning before moving to advanced features.
Test print small prototypes before scaling up. This saves filament and time when adjustments are needed.
Consider print orientation during design. Parts print strongest along the layer lines, so orient critical stress points accordingly.
Common 3D Printing Challenges and Solutions
Bed adhesion problems cause prints to warp or detach mid-print. Clean your print surface regularly and ensure proper bed leveling.
Layer Adhesion Issues:
- Increase print temperature by 5-10 degrees
- Slow down print speed to 30-50mm/s
- Check for drafts cooling the print too quickly
Stringing occurs when filament oozes between print moves. Enable retraction in your slicer settings and adjust retraction distance to 2-6mm.
Clogged nozzles stop extrusion completely. Perform cold pulls with cleaning filament or use a thin wire to clear blockages.
Under-extrusion creates weak, incomplete layers. Check your filament diameter settings and ensure the extruder gear grips properly.
Over-extrusion causes blobbiness and poor surface finish. Calibrate your extruder steps and reduce flow rate by 5-10% if needed.
How to Customize 3D Printed Projects
The right filament choice and professional finishing techniques transform basic prints into polished, customized creations. These two elements determine both the functionality and appearance of your final project.
Choosing the Right Filament for Your Project
PLA filament works best for decorative items and beginner projects. It prints easily at lower temperatures and produces minimal warping. This material comes in dozens of colors and specialty variants like wood-filled or silk finishes.
PETG filament offers superior strength for functional parts. It combines the ease of PLA with the durability of ABS. Choose PETG for phone cases, tool holders, or items that need flexibility.
ABS filament handles high temperatures and stress better than other options. Your automotive parts, enclosures, and outdoor projects benefit from ABS properties. This material requires a heated bed and good ventilation.
Specialty filaments create unique effects. Wood-filled filaments sand and stain like real wood. Metal-filled options polish to a metallic shine. Glow-in-the-dark filament adds fun elements to decorative prints.
Consider your project’s environment and use case. Indoor decorative items work with PLA. Outdoor applications need UV-resistant materials like PETG or ASA.
Post-Processing Techniques for a Professional Finish
Sanding removes layer lines and creates smooth surfaces. Start with 220-grit sandpaper and progress to 400-grit for fine details. Wet sanding prevents plastic dust and gives better results.
Acetone vapor smoothing works exclusively with ABS prints. Place your print over heated acetone in a sealed container. The vapor dissolves surface imperfections for glass-like finishes.
Primer and paint transform plain prints into professional-looking items. Use plastic-specific primers before applying acrylic paints. Light coats prevent drips and maintain detail.
Support removal requires careful attention to avoid damaging your print. Use flush cutters for thick supports and needle-nose pliers for small pieces. File rough spots smooth after removal.
Heat treatment can strengthen certain filaments. Annealing PLA in a low-temperature oven increases its strength significantly. Follow specific temperature guidelines for your filament type.
- 0shares
- Facebook0
- Pinterest0
- Twitter0
- Reddit0


