3D printing offers a wide range of possibilities, letting you create practical items and creative projects from your own designs. Whether you’re a hobbyist, professional, or just starting out, finding useful and interesting ideas can help you make the most of your printer.
The top 7 3D printing ideas can provide inspiration and practical options that fit different needs and skill levels. These ideas focus on items that add value to your daily life while being fun and rewarding to print.
1) Modular Phone Mount for Cars
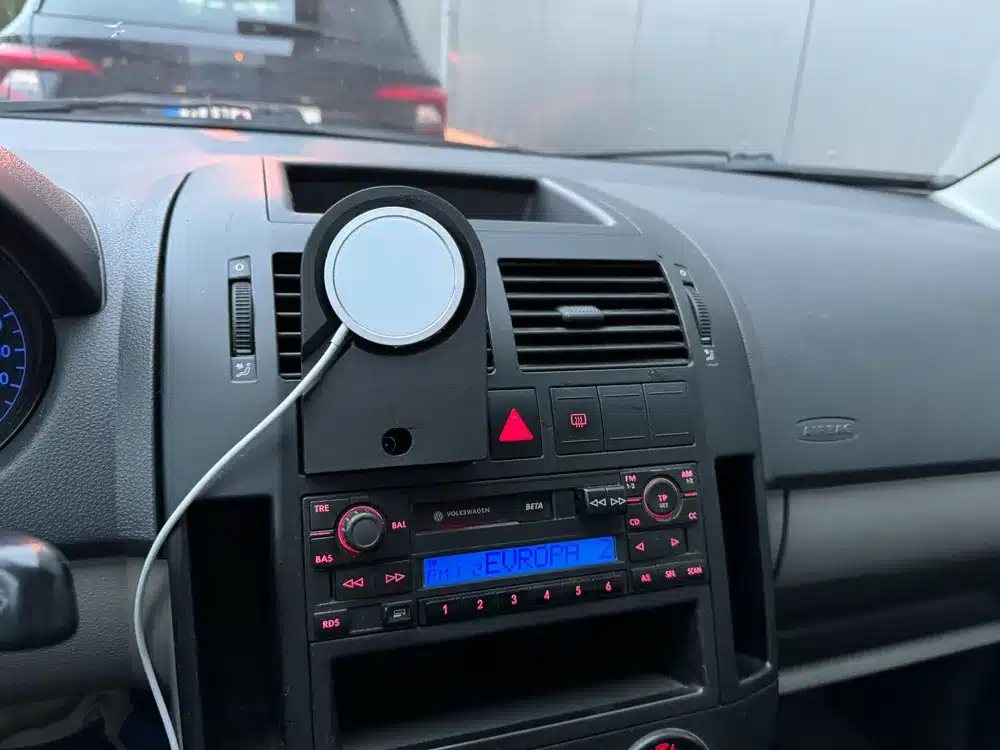
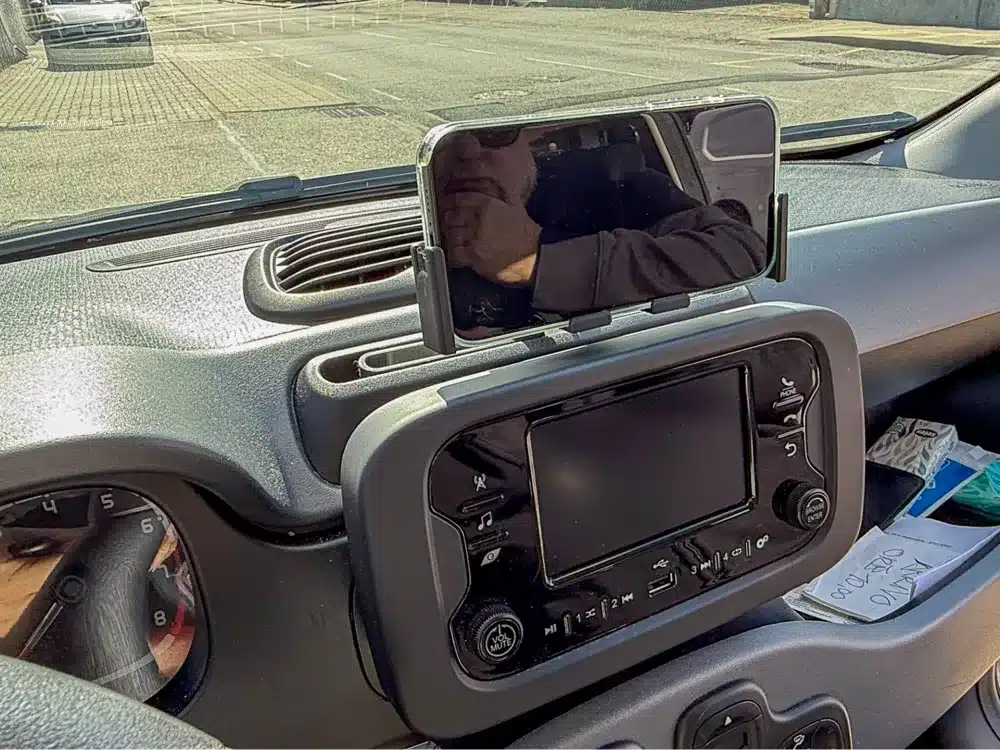
A modular phone mount is a practical 3D printing project that fits various phone sizes and car interiors. You can customize its components to suit your preferences, making it versatile and easy to adjust.
These mounts often use ratcheting or locking mechanisms to hold your phone securely while driving. The modular design means you can replace or upgrade parts without reprinting the entire mount.
Many designs feature attachments for steering wheels, dashboards, or air vents. This flexibility allows you to position your phone where it is safest and most convenient for you while on the road.
3D printing your own modular phone mount can save money compared to buying one. It also gives you control over material choice and design details to better match your style or needs.
2) Customizable Board Game Organizer
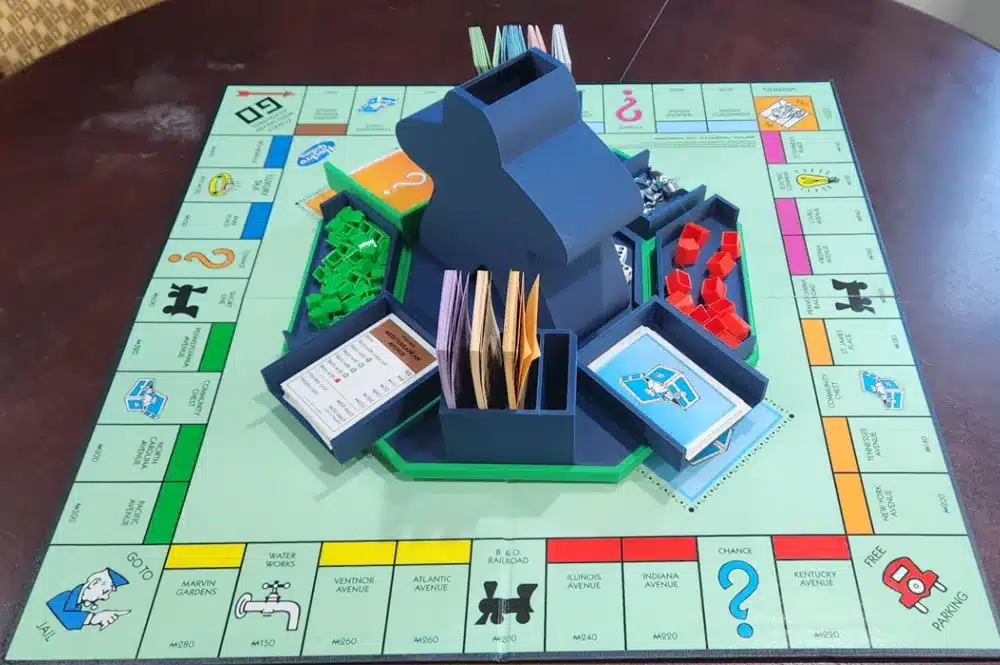
You can create a customizable board game organizer tailored to your collection. These organizers are designed to fit specific game components, such as cards, tokens, and dice, helping you keep everything neat and accessible.
3D printing allows you to adjust dimensions and compartments to suit your needs. Many designs also accommodate card sleeves if you use them, preserving your cards while organizing.
Using online repositories like Thingiverse or Printables, you’ll find a wide variety of pre-made designs. Customizable options let you modify inserts to fit unique or expanded game sets.
A well-organized game box reduces setup and cleanup time. It can also protect delicate pieces from damage during storage or transport.
By printing your own organizer, you save money compared to buying commercial inserts. Plus, you get the flexibility to create a storage solution that fits your gaming habits perfectly.
https://makerworld.com/en/models/782694-orbit-organizer?from=search#profileId-719979
3) Minimalist Wall Clock
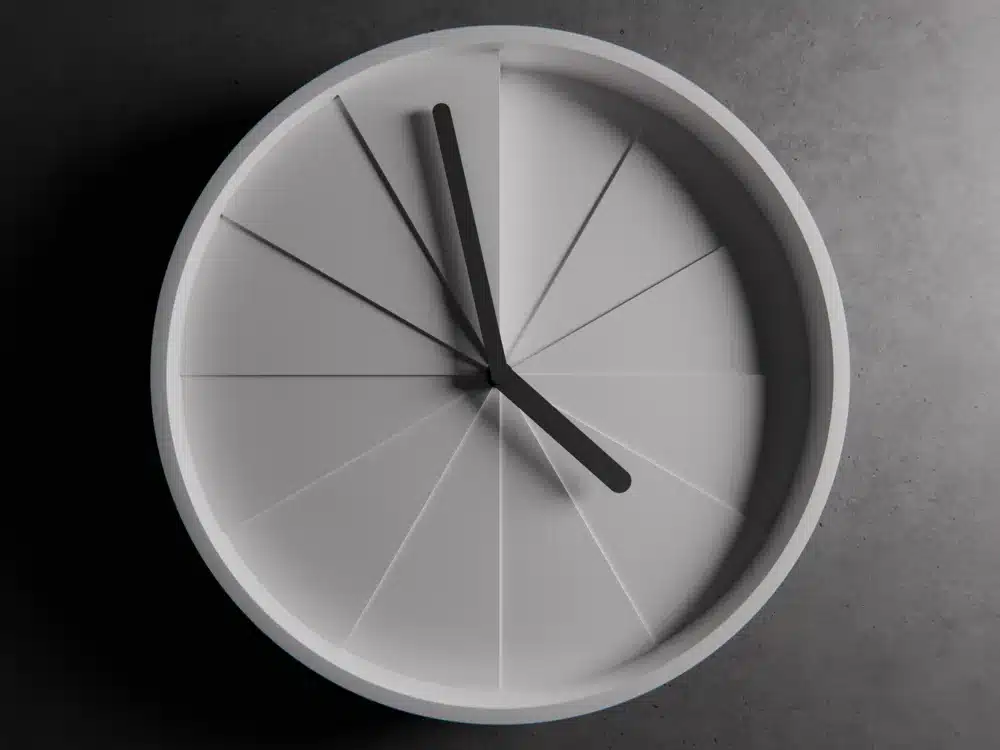
A minimalist wall clock is a practical and stylish 3D printing project. You can design a simple frame and dial that fit your interior without overwhelming the space.
Using basic geometric shapes, you create a clean look that highlights the essentials—hour and minute markers, and hands. The design allows easy customization of colors and sizes to match your decor.
You will need to prepare the frame and clock holder parts before assembly. Once printed, these components fit together to house a standard clock mechanism.
Minimalist clocks are functional with an aesthetic that suits modern and minimalist interiors. They demonstrate how 3D printing can improve everyday objects by making them personal and efficient.
https://makerworld.com/en/models/845874-heights-minimalist-clock?from=search#profileId-792993
4) Magnetic Tool Holder
A magnetic tool holder is a practical 3D printing project that helps you organize tools efficiently. You can design holders with built-in magnets to keep screwdrivers, wrenches, and other metal tools accessible and visible.
Printing magnetic holders allows you to customize the size and shape to fit your workspace. Many designs include slots or compartments for additional storage alongside the magnets.
You just need to attach small magnets into the printed holder. This keeps your tools secure without damaging them or the holder itself.
These holders are useful in workshops, garages, or any area where tool organization is important. They save space and reduce clutter by holding tools vertically.
You can find many free 3D models online for magnetic tool holders. This makes it easy to start without designing from scratch.
Using a magnetic tool holder can improve your workflow by making tool access faster and more convenient. It is a simple, effective addition to your workspace management.
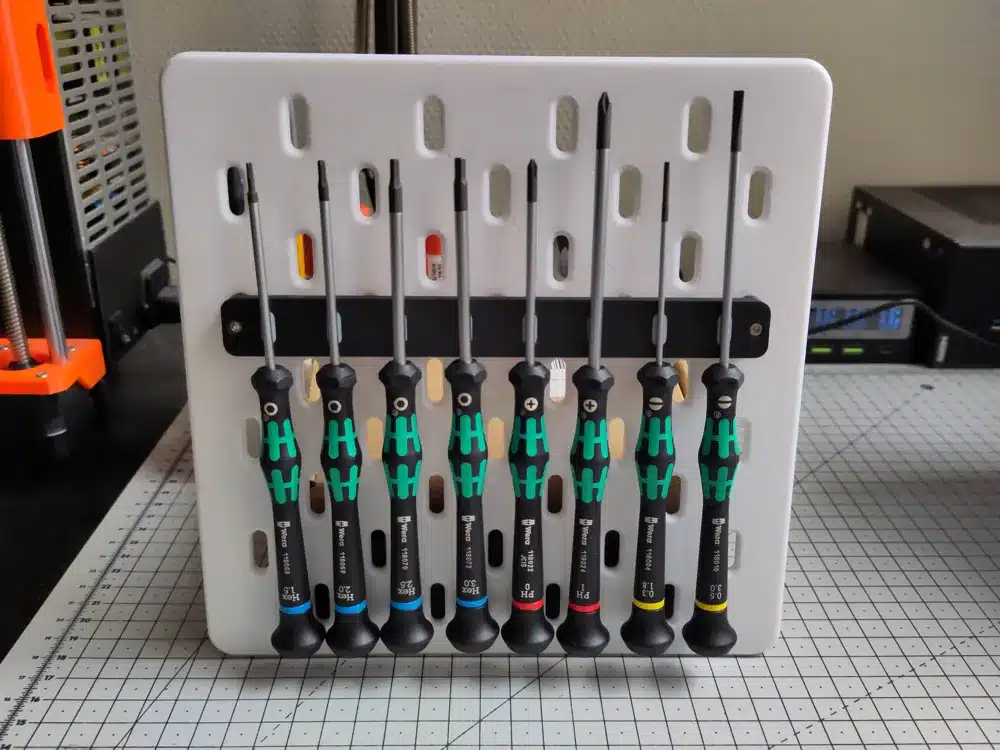
https://makerworld.com/en/models/495990-skadis-magnetic-tool-holder?from=search
5) Foldable Tripod Stand
A foldable tripod stand is a practical 3D printing project that combines portability with stability. You can design one to fit your specific devices like cameras, phones, or small tablets.
The foldable mechanism helps reduce bulk, making it easy to carry or store in tight spaces. Many printable models include hinges or joints that allow legs to collapse smoothly.
Creating a stand tailored to your needs saves money and offers customization options. For example, you can adjust height, angles, or attachment types depending on your device.
You can find various STL files for foldable tripods online, ready for printing and assembly. This type of project is suitable for intermediate users familiar with functional moving parts.
This stand can be used in photography, video calls, or even as a display holder. Its design emphasizes convenience while retaining enough strength to support your gear effectively.
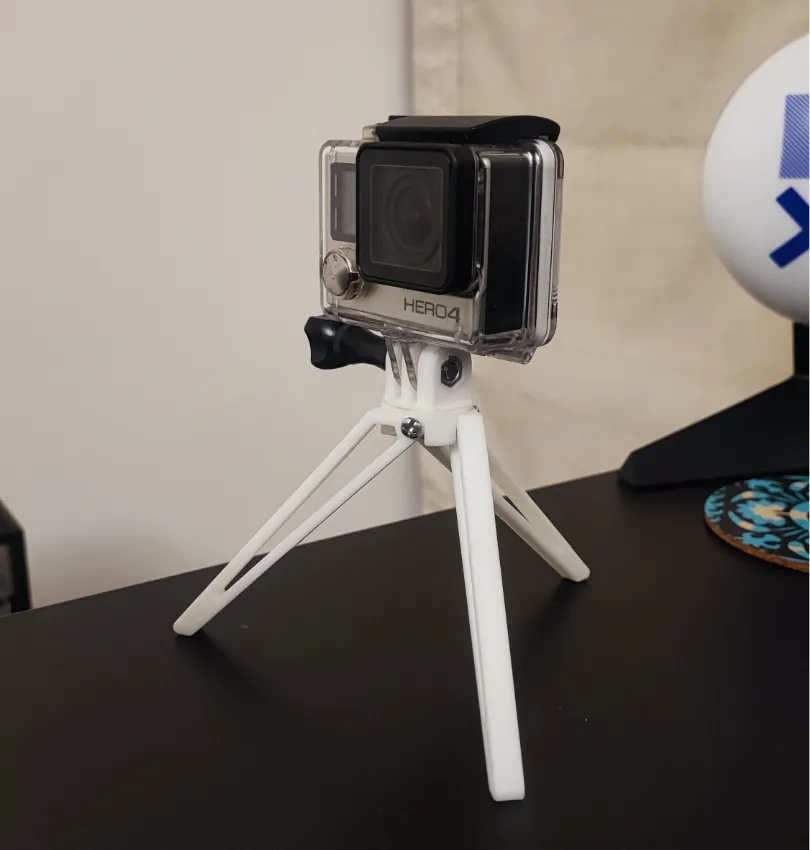
https://makerworld.com/en/models/677487-gropro-foldable-tripod-stand?from=search#profileId-605639
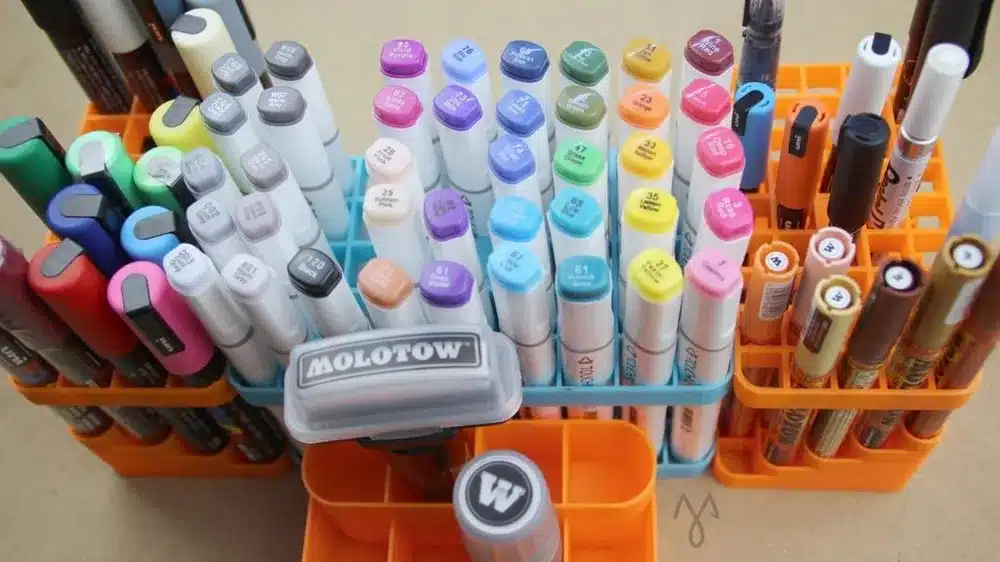
6) Silhouette Alta Label Holder
You can use the Silhouette Alta to create practical label holders for organizing your space. These holders help keep items clearly identified in your home, office, or workshop.
The 3D printer allows you to customize size and design, fitting various containers, shelves, or drawers precisely. You can print durable holders that securely display labels without damage or fading.
Creating label holders with the Silhouette Alta is straightforward. You design or download a 3D file, then print it using the filament. This process gives you control over shape, color, and style.
Using label holders can improve efficiency and reduce clutter, making it easier to find what you need. This simple project is well suited for beginners and adds value by keeping your spaces orderly.
7) Finger Chopsticks for Gamers
Finger chopsticks are small, 3D-printed tools designed to fit over your fingers. They allow you to pick up snacks without touching them directly, helping keep your hands clean while gaming or working.
These chopsticks extend your fingers, making it easier to grab food without interrupting your gameplay. Their lightweight design ensures they do not interfere with your typing or controller use.
You can customize the size to fit your fingers comfortably. Many 3D printing communities offer free models you can download and print at home.
Using finger chopsticks can reduce grease and crumbs on your gaming setup. This keeps your keyboard, mouse, or controller cleaner and lowers the need for frequent cleaning.
For gamers who snack often, finger chopsticks offer a practical and hygienic solution. They are simple to make and convenient for long sessions without pausing the action.
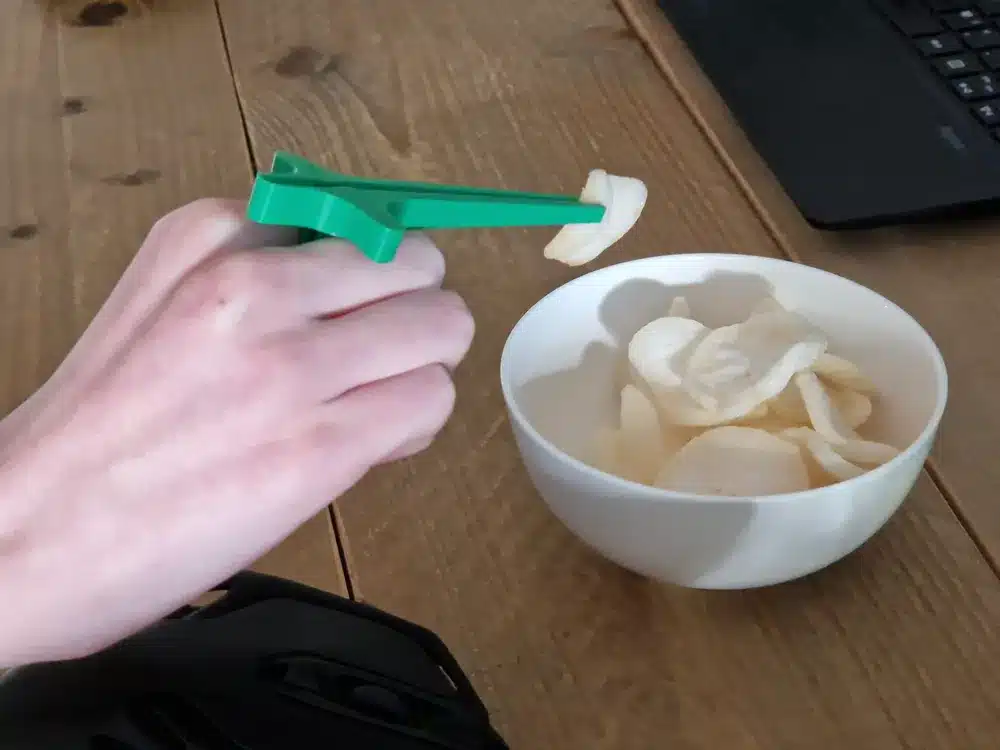
https://makerworld.com/en/models/112805-gaming-chopsticks-v1-and-v2?from=search#profileId-121081
Choosing the Right Materials for 3D Printing
Selecting the right material depends on the mechanical properties you need and the environment where your print will be used. Consider factors like strength, flexibility, and ease of printing to pick the best option for your project.
Comparing PLA, ABS, and PETG
PLA is a common choice because it’s easy to print and environmentally friendly. It works best for prototypes and decorative parts but can be brittle and less heat-resistant.
ABS offers better strength and heat resistance than PLA. It’s suited for functional parts exposed to stress but requires a heated bed and well-ventilated area due to fumes.
PETG combines strength and flexibility. It is more durable than PLA and easier to print than ABS. PETG resists moisture well, making it suitable for parts exposed to humidity.
| Material | Strength | Flexibility | Heat Resistance | Ease of Print | Best Use Case |
|---|---|---|---|---|---|
| PLA | Low | Low | Low | Easy | Prototypes, decorative |
| ABS | High | Medium | High | Moderate | Functional parts, enclosures |
| PETG | Medium | High | Medium | Easy-Moderate | Durable parts, humidity exposure |
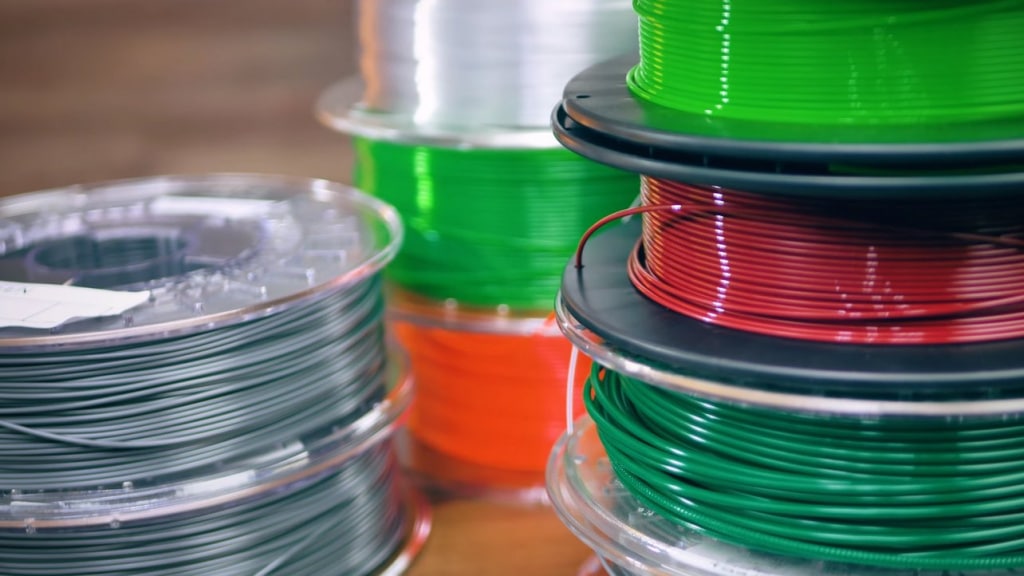
Selecting Filaments Based on Project Needs
Identify what qualities are essential for your part. For mechanical strength and impact resistance, materials like ABS, nylon, or carbon fiber composites are preferred.
If your print requires flexibility or exposure to wear, choose materials such as PETG or flexible resins. Remember that more specialized filaments may need specific printer settings and hardware.
Consider environmental factors. For outdoor use or moisture exposure, PETG and nylon outperform PLA. For high-temperature applications, ABS or specialized resins provide better stability.
Adjust your material choice based on print speed, cost, and finish quality. Some filaments offer smooth finishes without post-processing, while others may require sanding or painting.
Design Tips for Unique 3D Printing Creations
To create successful and distinctive prints, focus on preparing your model correctly and balancing fine details with structural strength. Both steps are essential for achieving high-quality results and durable objects.
Optimizing Models for Print Success
Start by checking your 3D model for common issues like non-manifold edges or intersecting geometry. Use software tools such as Meshmixer or Netfabb to repair these errors before printing.
Scale your design to fit your printer’s build volume while maintaining critical features. Avoid overly thin walls; a minimum thickness of 1-2 mm is generally advised, depending on the material.
Consider the orientation of your model on the print bed. Position parts to reduce the need for supports and ensure stronger layer adhesion. Proper orientation can also improve surface finish on visible areas.
Finally, slice your model with settings tailored to your printer and filament type. Adjust layer height, nozzle temperature, and print speed to balance detail and print time.
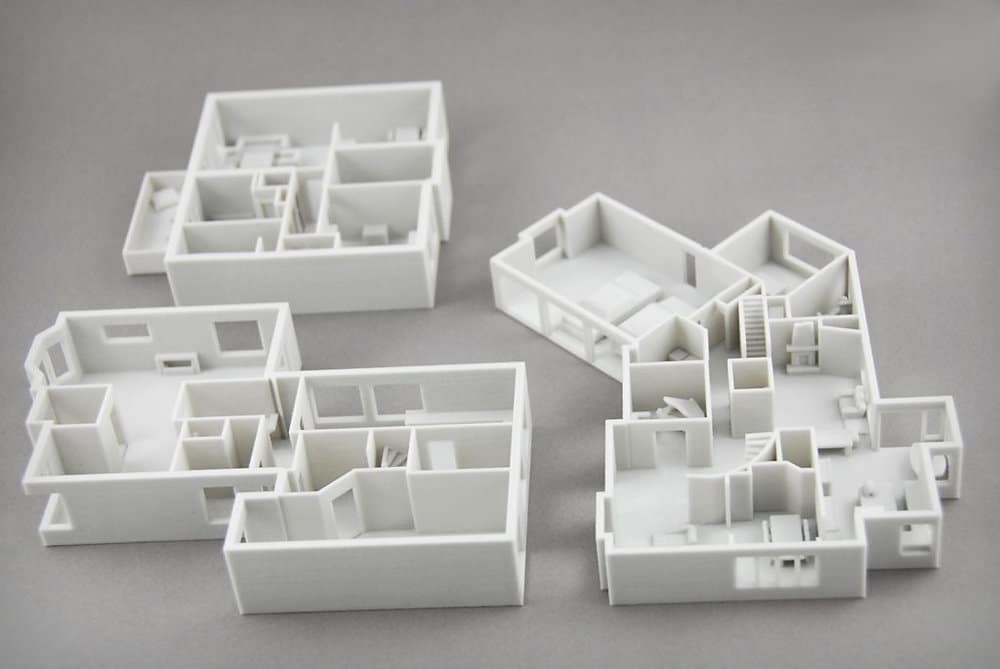
Enhancing Detail and Durability
Use thinner layer heights (0.1-0.15 mm) to capture small features with better resolution. This helps highlight intricate patterns and textures in your design.
For durability, choose materials known for strength, such as PETG or ABS if your printer supports these. Increase the infill percentage (at least 20-30%) to add internal support without excessive weight.
Incorporate design elements like fillets or chamfers at edges to reduce stress concentration and prevent cracking. Avoid sharp corners that may become weak points in your final print.
You can also reinforce parts by adding ribs or thicker sections in load-bearing areas. These modifications improve overall stability while keeping the model functional and visually appealing.
- 0shares
- Facebook0
- Pinterest0
- Twitter0


