Drawing a strawberry can be a fun and simple way to practice basic art skills. Whether someone wants to create a realistic fruit or a cute cartoon version, it’s easy to get started with just a few shapes and colors. The key to a good strawberry drawing is capturing its unique heart shape and adding the small seeds that cover the surface.
Many people enjoy drawing strawberries because they are bright, colorful, and full of detail without being too difficult. By following some easy steps, anyone can create their own strawberry art, from simple doodles to more detailed pictures. This makes it a great subject for beginners and those looking to improve their drawing skills.
Trying different styles, like a realistic or a cute look, can make strawberry drawings even more interesting. Plus, strawberries are popular in art for designing cards, decorations, and fun character sketches. This simple fruit offers a lot of room for creativity and learning.
Essential Materials for Strawberry Drawing
A good strawberry drawing starts with the right tools. The choice of pencils, paper, and coloring supplies can affect the look and feel of the artwork. Using proper erasers and blending tools helps add clean details and soft textures.
Pencils and Paper Choices
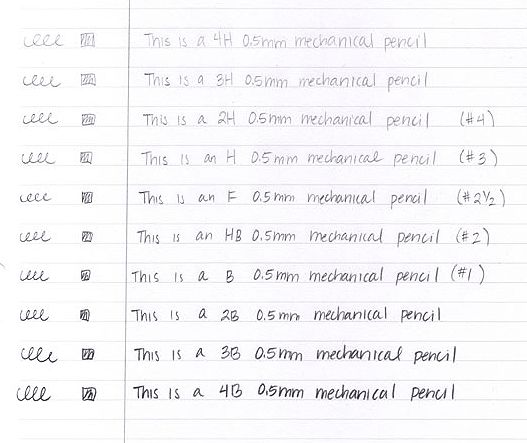
A set of different pencils is useful for drawing strawberries. A hard pencil (H or 2H) works well for light outlines. Softer pencils like 2B or 4B help create shading and darker lines.
Smooth drawing paper is best for pencil work. It allows easy erasing and clean lines. For more texture, heavier sketch paper can add a natural feel.
Paper size matters too. A small sketchbook or a sheet about 9×12 inches is good for practice. Larger paper offers more space for detailed drawings.
Recommended Coloring Tools

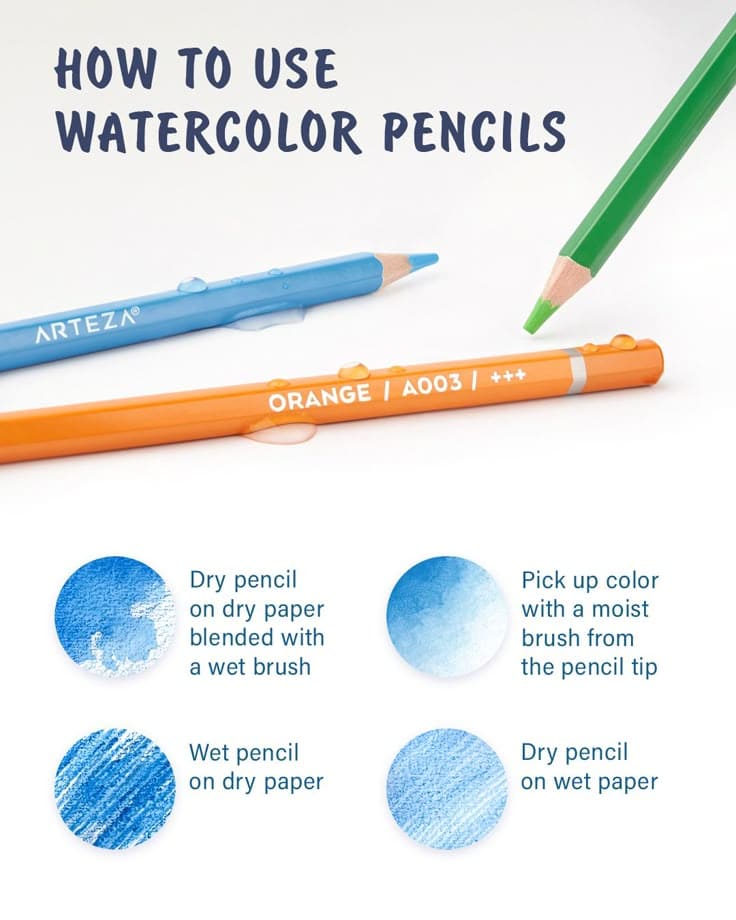
Colored pencils are popular for strawberry art because they offer control and build-up of color. Look for watercolor pencils if blending with water is desired.
Markers add bright, bold colors but can bleed through thin paper. Use thick paper or marker-specific sheets to avoid this.
Crayons or pastels can give a soft, blended look but may lack fine detail. They work well for quick color fills.
A simple set of red, green, yellow, and brown shades covers the basic strawberry colors.
Erasers and Blending Tools
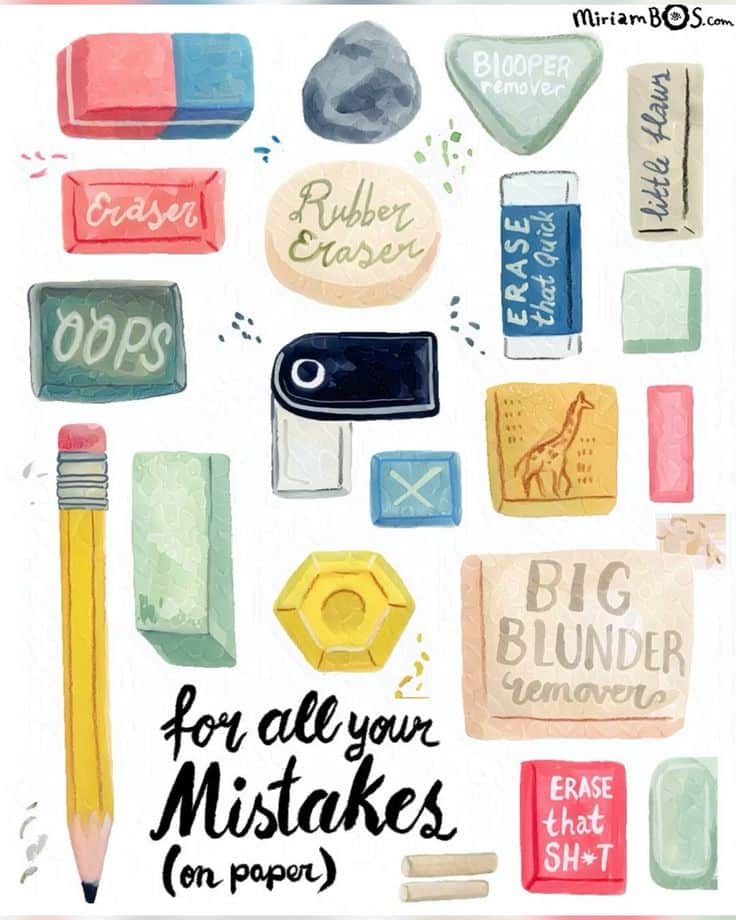
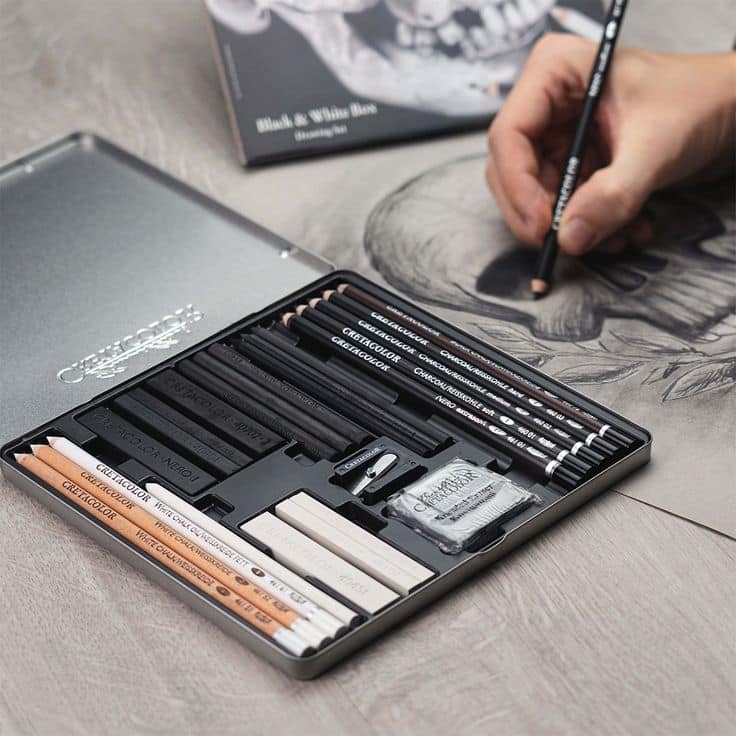
A kneaded eraser is gentle and perfect for lifting light pencil marks without damaging paper. It can be shaped into a fine point for detail erasing.
A standard white eraser works well for bigger corrections.
Blending tools like tortillons or paper stumps help smooth pencil or colored pencil shading. Cotton swabs or soft brushes can also gently blend colors without harsh lines.
These tools help create soft shadows and smooth transitions in your strawberry drawing.
Step-by-Step Guide to Drawing a
This guide breaks down drawing a strawberry into clear parts. It starts with the basic shape, adds details like seeds and texture, then focuses on creating the leaves. Finally, it covers how to outline and add shading for depth.
Sketching the Basic Shape
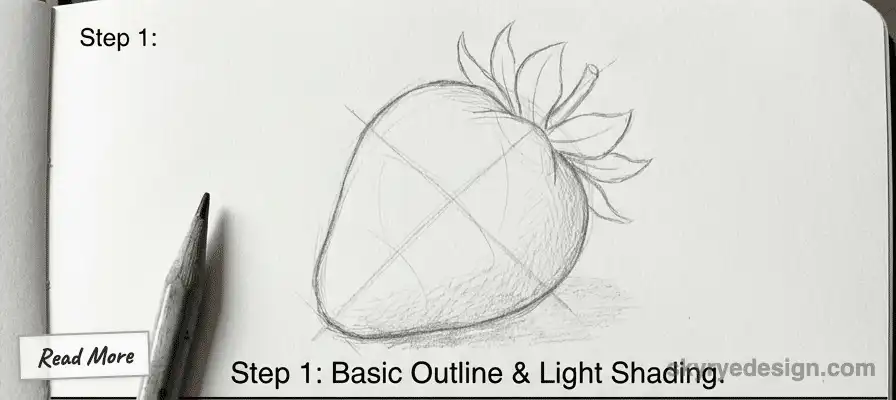
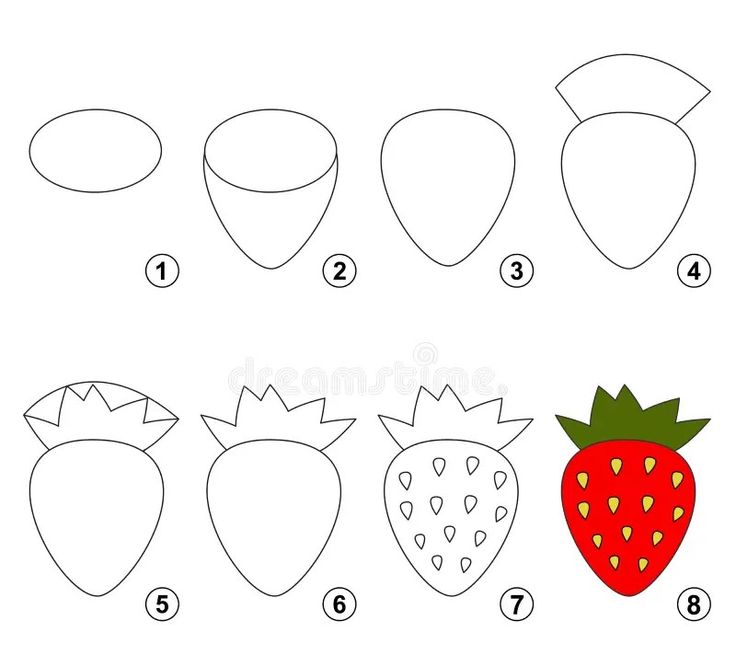
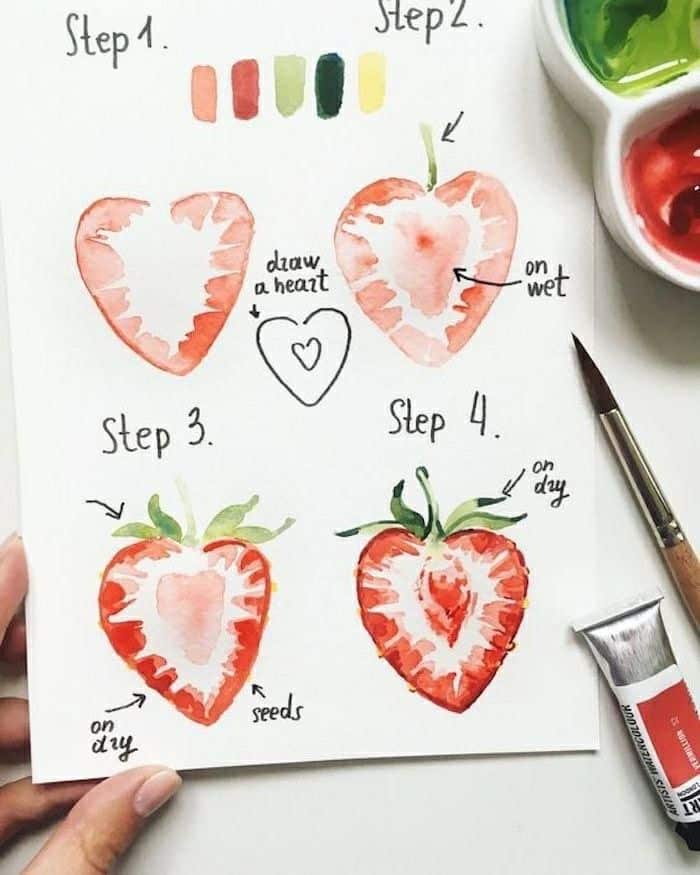
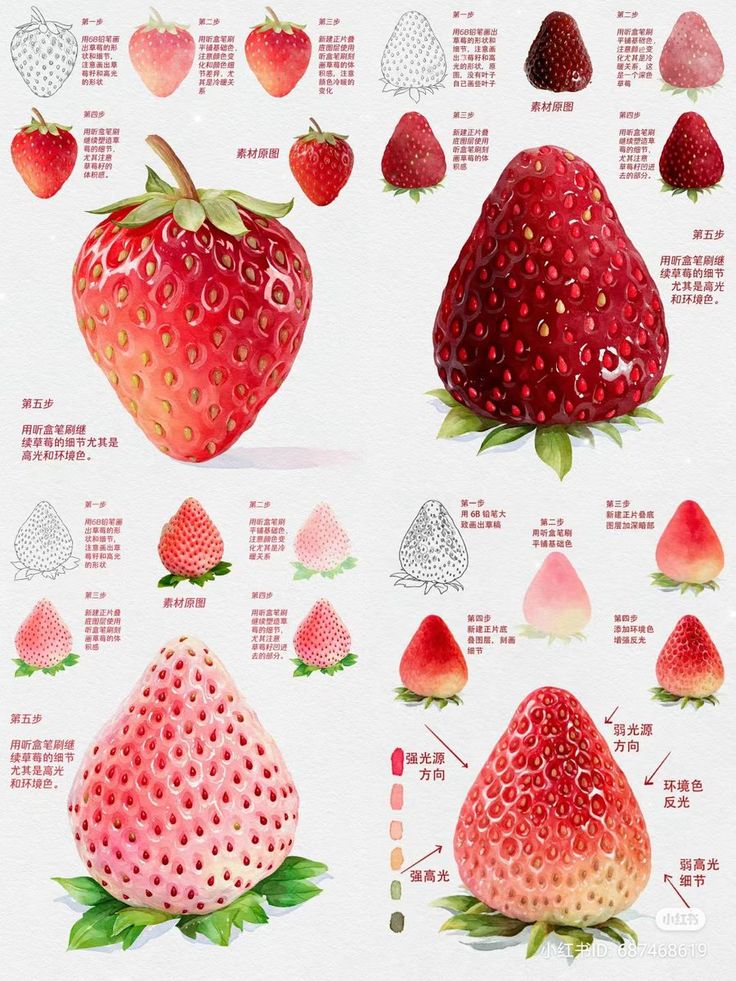
First, the artist draws the main outline of the strawberry. This shape is like a heart but with a rounder bottom and a slightly pointed top. It should not be perfectly symmetrical to look natural.
A light pencil sketch works best here. This allows easy corrections before adding details. The shape should be smooth but a bit uneven to show the fruit’s irregular surface.
Next, the artist adds a small curved line at the top. This marks where the leaves will attach. Keeping the lines light is important since the sketch will be refined later.
Adding Seeds and Texture
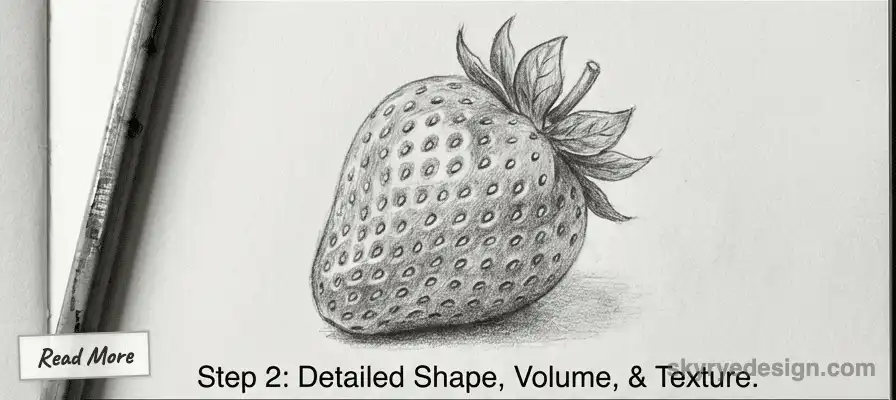
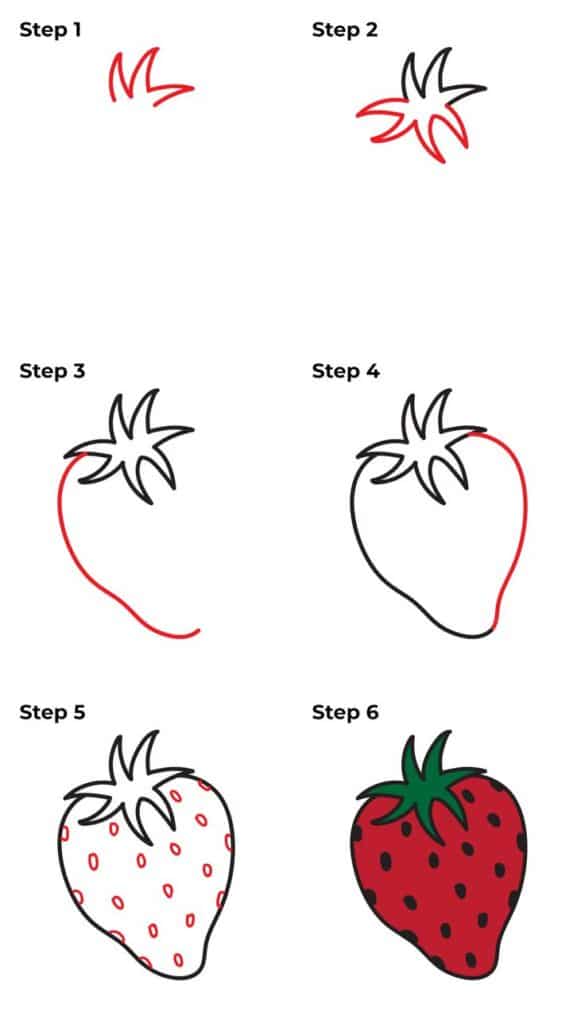
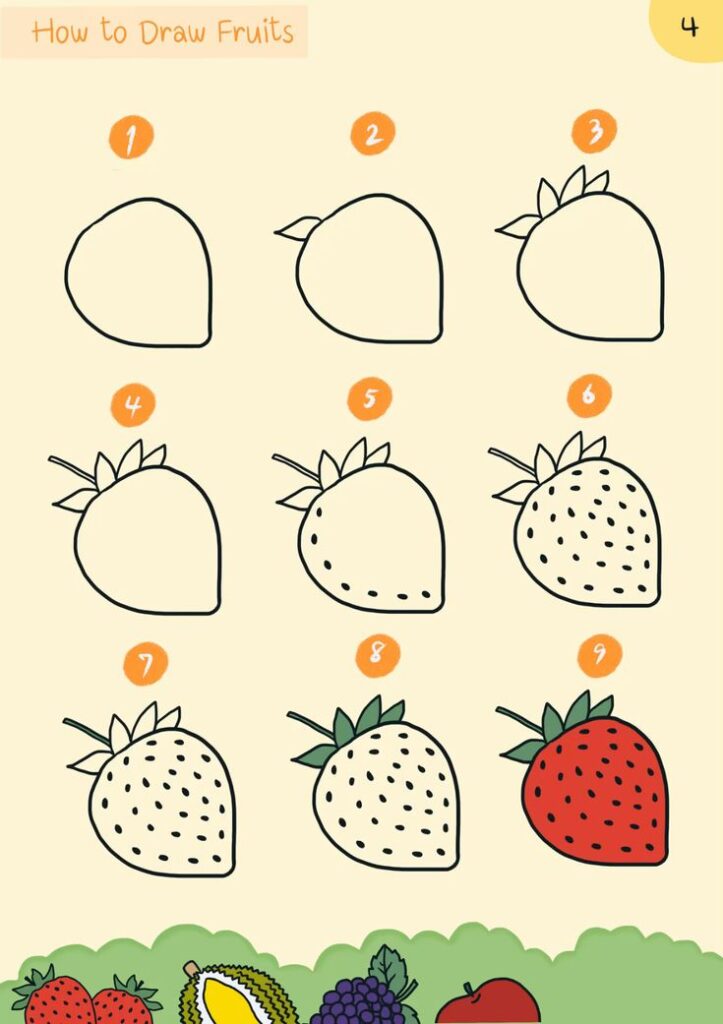
Strawberries have many tiny seeds on their surface. The artist adds small teardrop or oval shapes scattered over the body. These seeds are usually arranged in rough rows or patterns.
The seeds should be smaller near the tip and larger near the bottom for a realistic look. It’s okay if some overlap or are slightly irregular.
To give the strawberry texture, the artist lightly shades around the seeds. This slight shadowing makes them pop. Small dots or lines can also be added to suggest the fruit’s rough skin.
Drawing Strawberry Leaves
The leaves sit on top of the strawberry and are an important detail. They are shaped like small, pointed ovals with slightly jagged edges.
The artist draws 3-5 leaves arranged in a circle where the curve line meets the strawberry. The leaves overlap and fan outward, creating a natural look.
Veins are drawn on each leaf using simple fine lines. These add realism and texture. The leaves can be drawn larger or smaller depending on the strawberry’s size.
Outlining and Shading Techniques
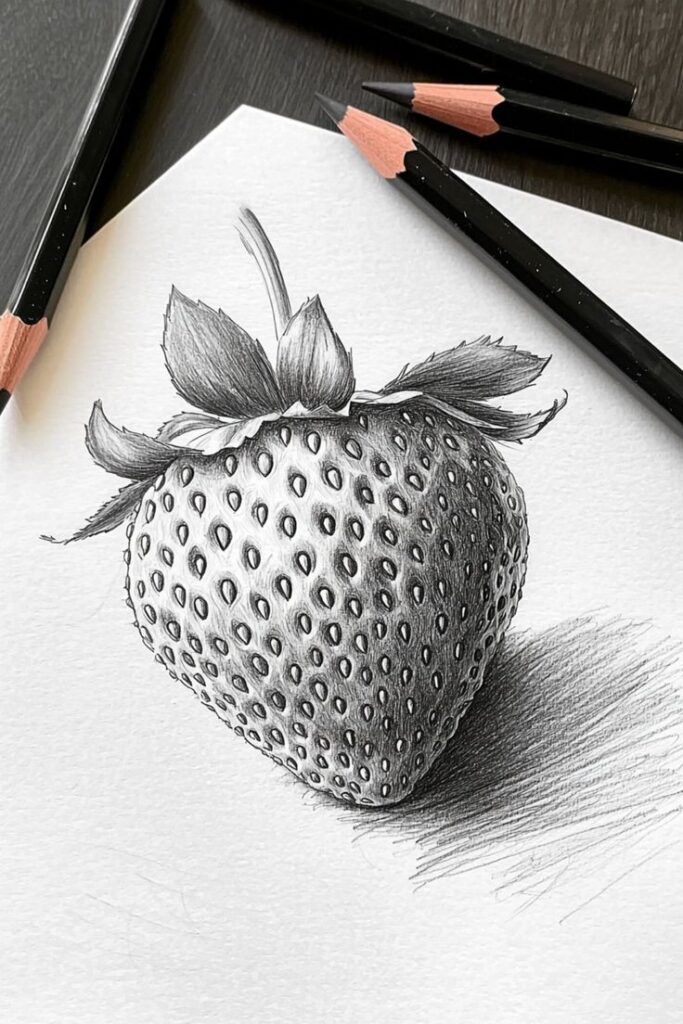
Once the sketch is complete, the artist outlines the drawing with a fine pen or darker pencil. Care is taken not to make the lines too thick, keeping them clean and smooth.
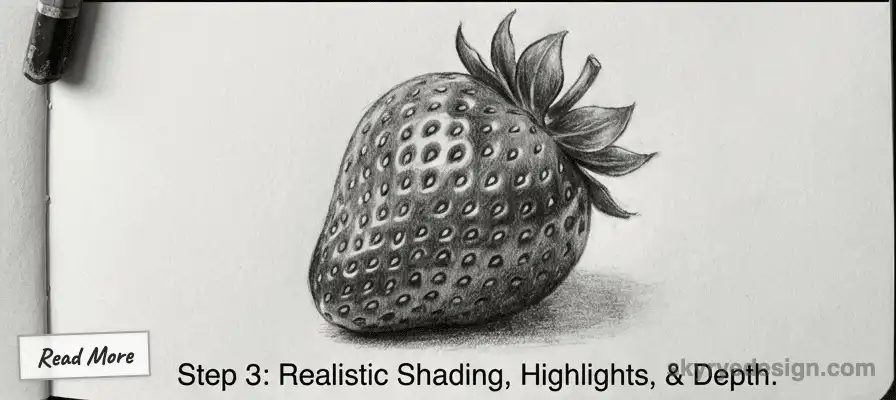
For shading, the artist focuses on light direction. Shadows are added under leaves, along one side of the strawberry, and near the seeds to create depth.
Blending tools or light pencil strokes help achieve smooth shading. Highlights are left lighter or erased gently to show where light hits the strawberry. This contrast makes the drawing more lifelike.
Coloring and Finishing Touches
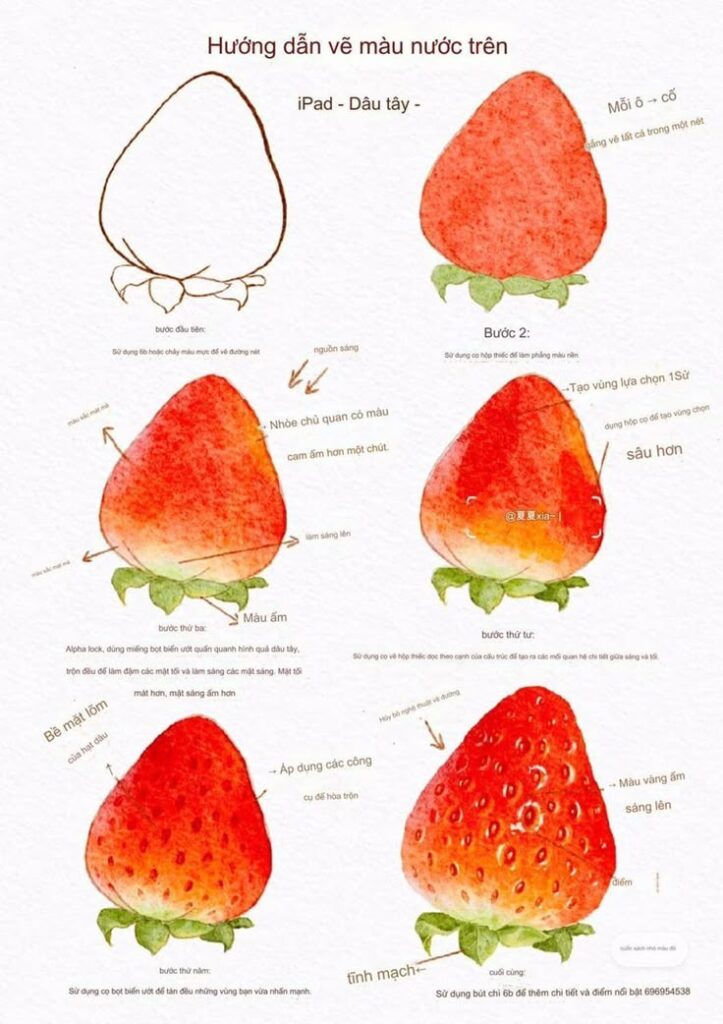
Adding color to the strawberry drawing brings it to life. The artist focuses on using bright shades, adding shadows, and blending tones to make the strawberry look natural and appealing.
Applying Vibrant Colors
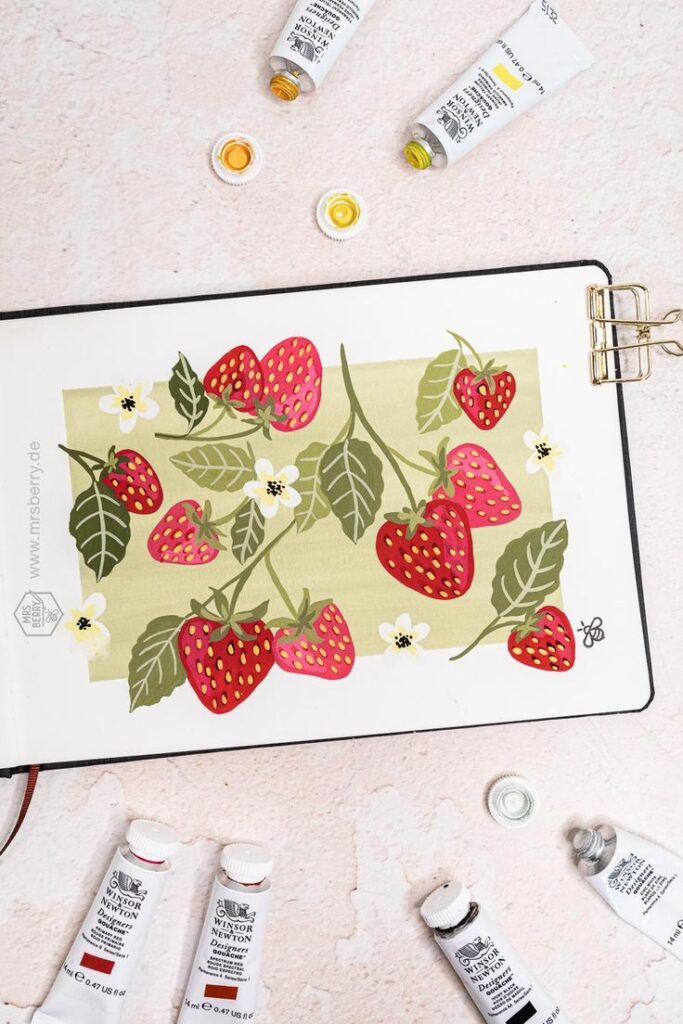
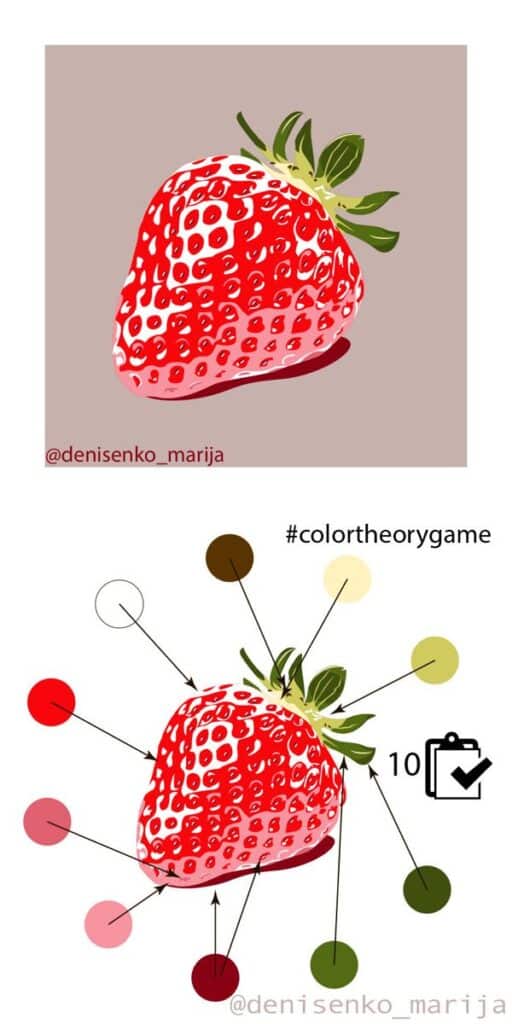
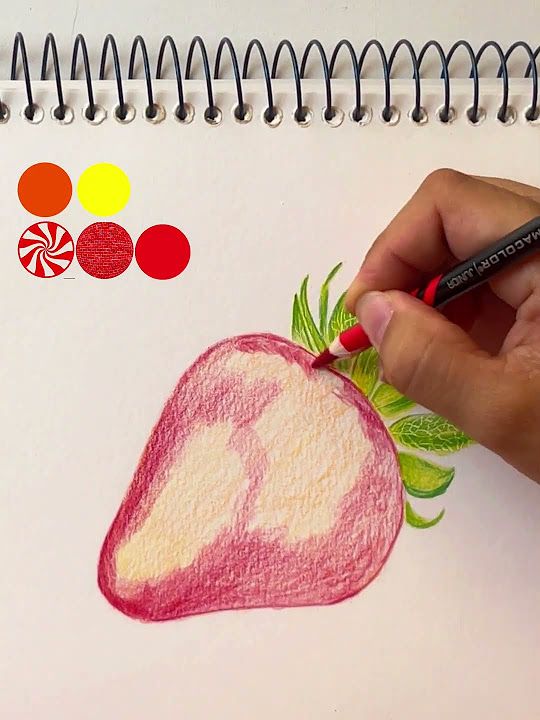
He or she starts with the base colors. Bright red is used for most of the strawberry’s body. It’s best to leave small white spots to represent light reflecting off the surface.
Adding small touches of orange or pink can make the red more lively. The green leaves on top are colored with bright green shades, mixing in some yellow to show freshness.
Watercolor, colored pencils, or markers work well. Layering the colors gently helps avoid harsh lines. This technique makes the strawberry look smooth and vibrant.
Highlighting and Shadows
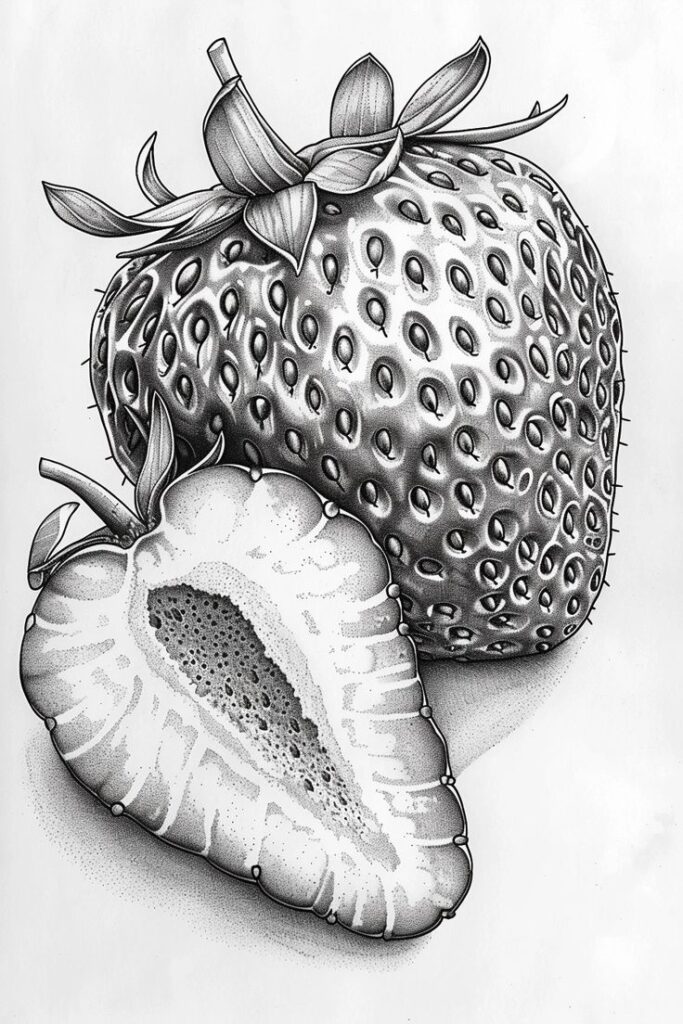
Shadows add depth and make the drawing more three-dimensional. The artist adds darker red or even a little brown in areas where light does not hit directly. These spots are often near the edges or under leaves.
For highlights, leaving small white spaces or using a white pencil to add dots makes the strawberry surface look shiny. Shadows under the seeds also help create a textured effect.
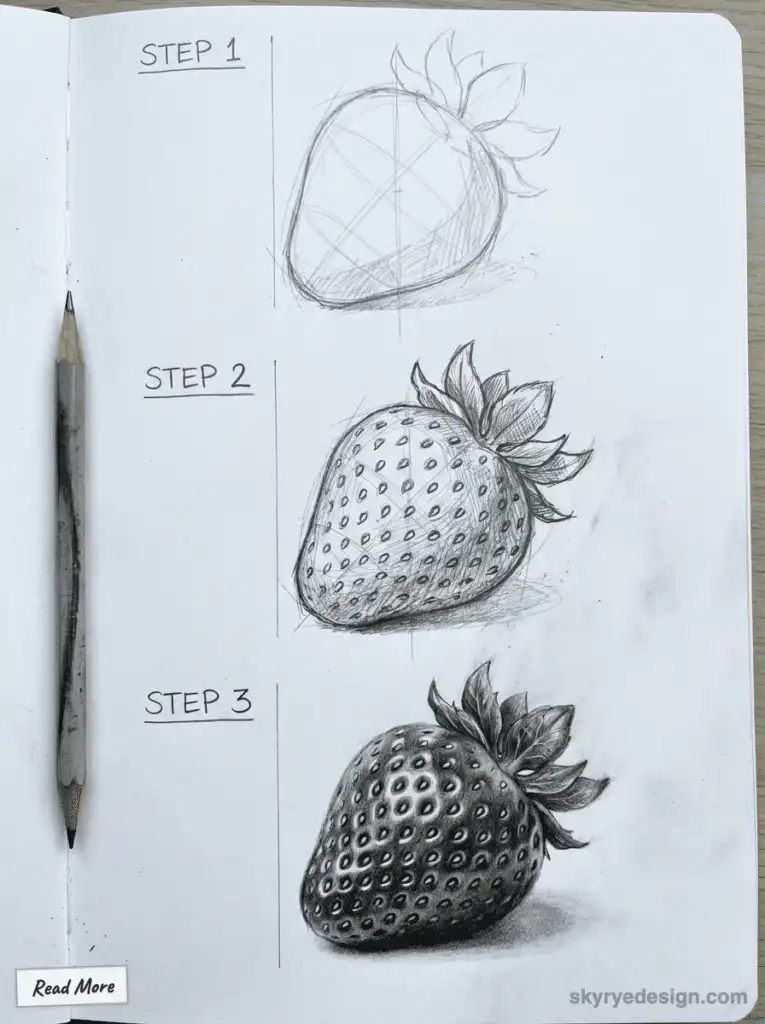
Using a light hand is important. It keeps the highlights and shadows soft, avoiding sharp contrasts that can make the image look flat.
Creating a Realistic Look
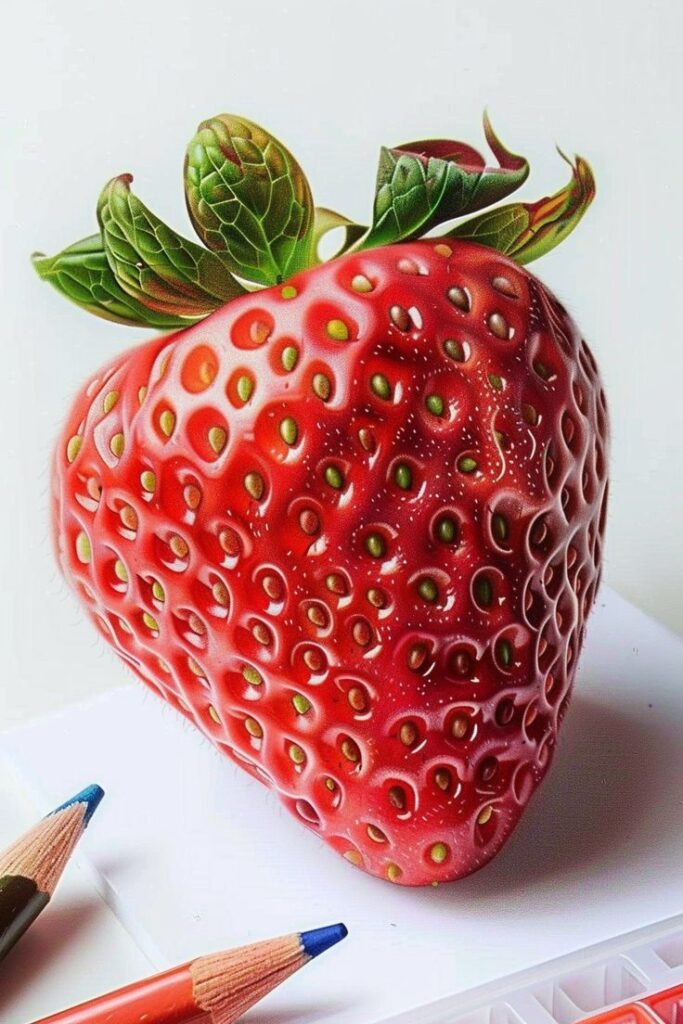
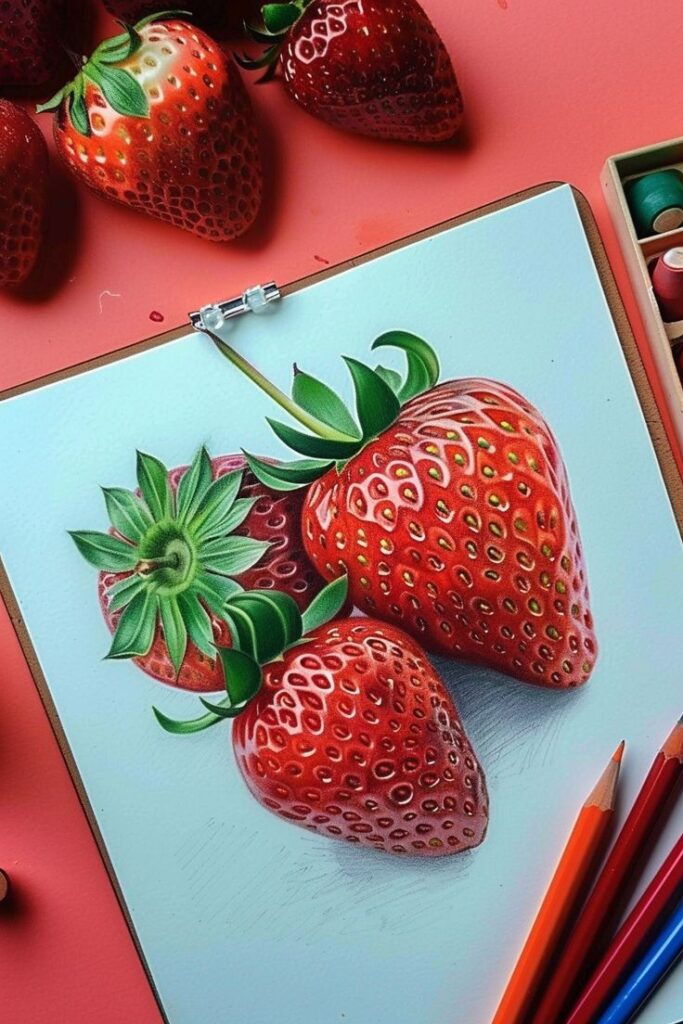
Blending is key. The artist blends colors where the red meets the seeds and around the edges for a smooth transition. Softening these borders avoids the appearance of flat shapes.
Adding tiny details like the little dots inside the seeds helps realism. Each seed is shaded softly to give it shape.
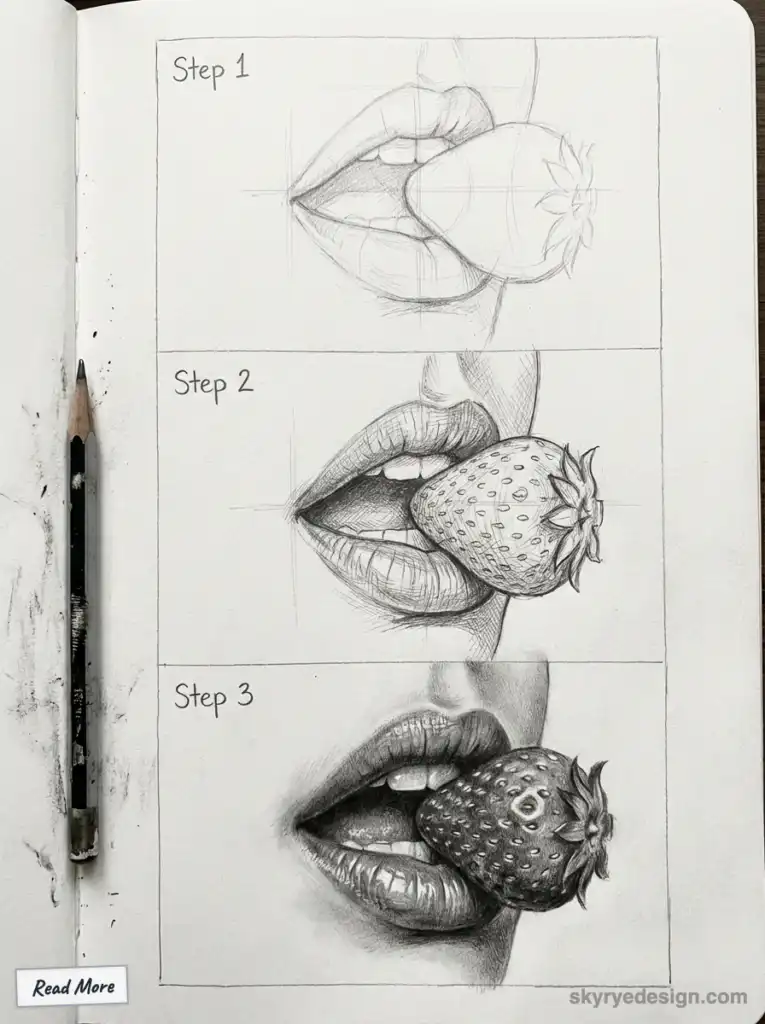
Using layers of color with small brush strokes or pencil marks builds texture. This technique shows the strawberry’s natural bumps and curves.
Finally, reviewing and adjusting light and color balance brings a polished look to the strawberry drawing.
- 6.9Kshares
- Facebook0
- Pinterest6.9K
- Twitter1
- Reddit0
