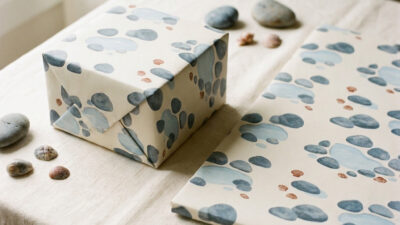
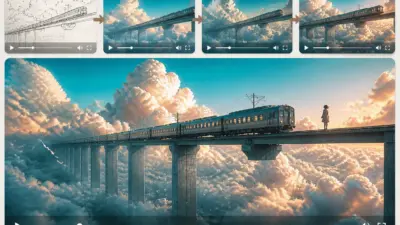
Image to image AI uses one or more reference images plus a written prompt to generate a new visual or edit an existing one. The reference shows the system what should remain recognizable—such as a product shape, composition, character, material, or color direction—while the prompt states what should change.
For designers, that changes the starting point. Instead of describing every visible decision from scratch, you can begin with an approved sketch, layout, photograph, or mood-board fragment. The useful question is not “Which prompt makes the prettiest image?” It is “Which parts of the brief must stay fixed, and which parts are safe to explore?”
Choose the right generation mode first
| Mode | Best starting point | Use it when | Main risk |
|---|---|---|---|
| Text to image | A written concept | You need broad visual exploration | Composition and identity can drift |
| Image to image | A reference plus a prompt | You need controlled variations | The model may copy unwanted details |
| Masked edit | An image with a selected area | Only one region should change | Edges, light, and texture may not blend |
| Traditional editing | Layered source files | Exact pixels, typography, or brand assets matter | Manual work can be slower |
Do not use image to image AI merely because a tool offers it. If the task is a precise logo lockup, a measured product drawing, or a retouch that must preserve every pixel outside one area, a conventional editor is usually safer. Reference-based generation is strongest when controlled variation is valuable and some interpretation is acceptable.
What image to image AI actually does
The system reads visual patterns in the input and combines them with the written instruction. Different tools expose different controls, but the practical inputs usually fall into four roles: subject, composition, style, and edit target. Adobe, for example, separates composition references from style references, while other platforms accept several images and rely on the prompt to define each role.
- Subject reference: preserve identity, silhouette, product geometry, or a recognizable object.
- Composition reference: guide camera angle, framing, depth, gesture, or spatial arrangement.
- Style reference: guide palette, materials, texture, line treatment, lighting, or rendering language.
- Edit target: provide the actual image to extend, clean, replace, or locally revise.
A reference can influence more than one role, but that makes the result harder to diagnose. Before generating, label each input in your own brief. A design mood board may define the art direction, while a separate sketch defines the layout. Keeping those jobs separate makes feedback much clearer.
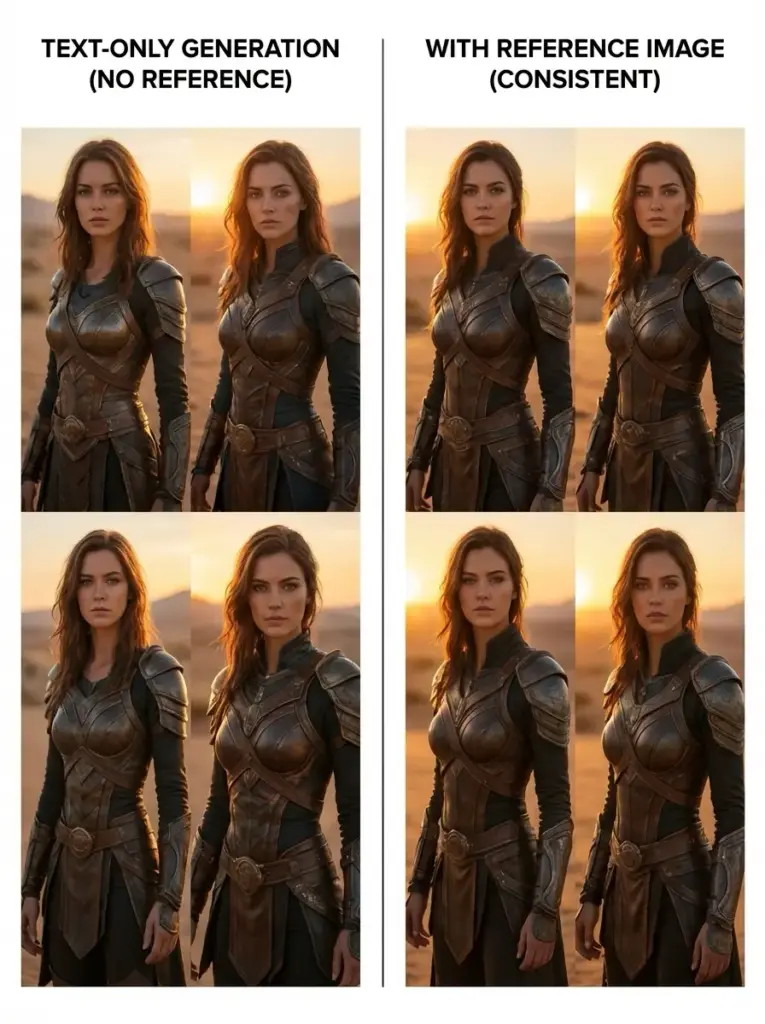
A practical image to image AI workflow
1. Write the fixed-versus-flexible brief
List the decisions that cannot move: product proportions, garment details, approved palette, camera position, room layout, or character markers. Then list what the model may explore: background, lighting, surface finish, season, supporting props, or rendering style. This short split prevents a common failure in which the prompt asks for novelty and consistency at the same time.
2. Prepare one reference for each job
Crop empty space and unrelated objects. Use a sharp, readable image rather than a compressed screenshot. If identity matters, choose a neutral view with clear proportions. If composition matters, prioritize the silhouette and depth. For style, select a coherent sample instead of a collage containing five incompatible aesthetics. An infinite canvas workflow is helpful for arranging those inputs without losing their provenance.
3. Write the prompt as preserve, change, and avoid
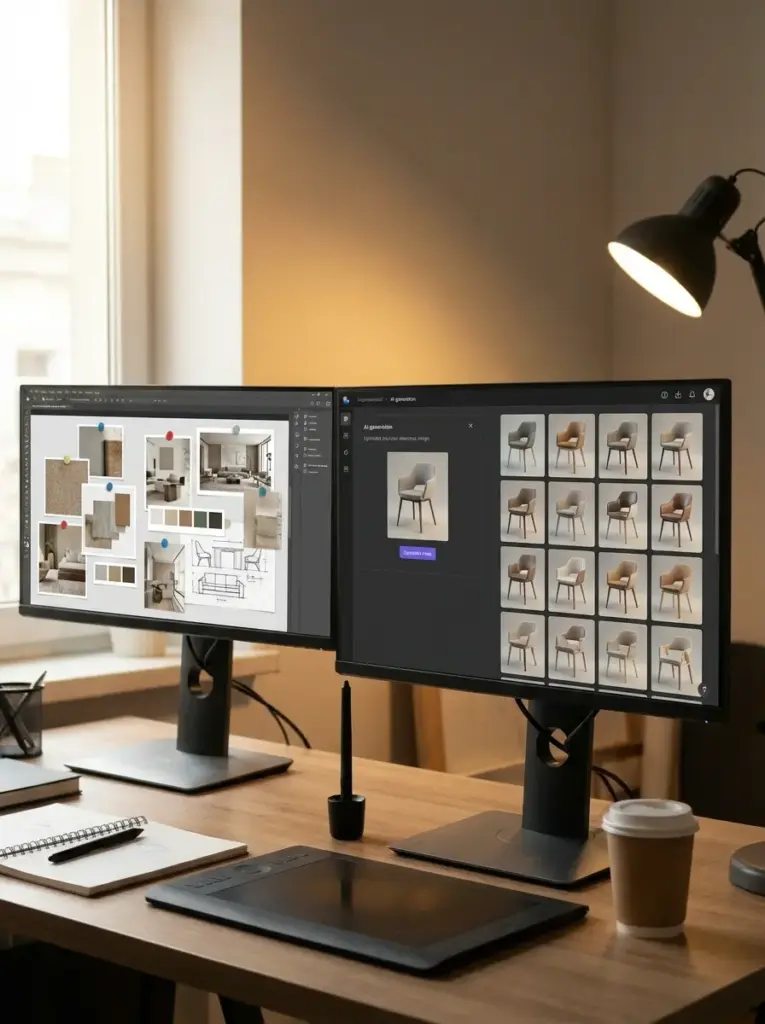
A useful prompt is operational. Start by naming the reference role, then state what must remain, what may change, and what must not appear. For example: “Use image one for the chair silhouette and image two for the warm oak and linen material language. Keep the seat proportions and three-quarter camera angle. Replace the studio background with a daylight apartment. Avoid extra legs, printed text, glossy plastic, and a wider lens.”
That structure is easier to review than a string of adjectives. It also creates a record of the design decision, which matters when several people are comparing outputs.
Use a prompt template the team can repeat
A repeatable brief reduces accidental changes between rounds. Write the prompt in five parts: reference role, fixed elements, requested change, visual treatment, and exclusions. Add the delivery format only after the visual direction is stable. This keeps an aspect-ratio request or export instruction from becoming mixed with the creative problem.
| Prompt part | Question to answer | Example |
|---|---|---|
| Reference role | What should the image control? | Use image one for product shape. |
| Preserve | What cannot change? | Keep proportions, seams, and three-quarter view. |
| Change | What should be different? | Place it in a quiet residential interior at sunrise. |
| Treatment | How should the result feel? | Soft directional light, restrained neutral palette, editorial photography. |
| Avoid | Which failures matter most? | No extra parts, text, logos, wide-angle distortion, or glossy plastic. |
Keep the language concrete. “More premium” is hard to test; “matte stone, brushed aluminum, soft side light, and more negative space” gives the model and the reviewer visible criteria. If a client asks for a change, update the relevant line instead of rewriting the entire prompt. The prompt history then becomes a compact decision log.
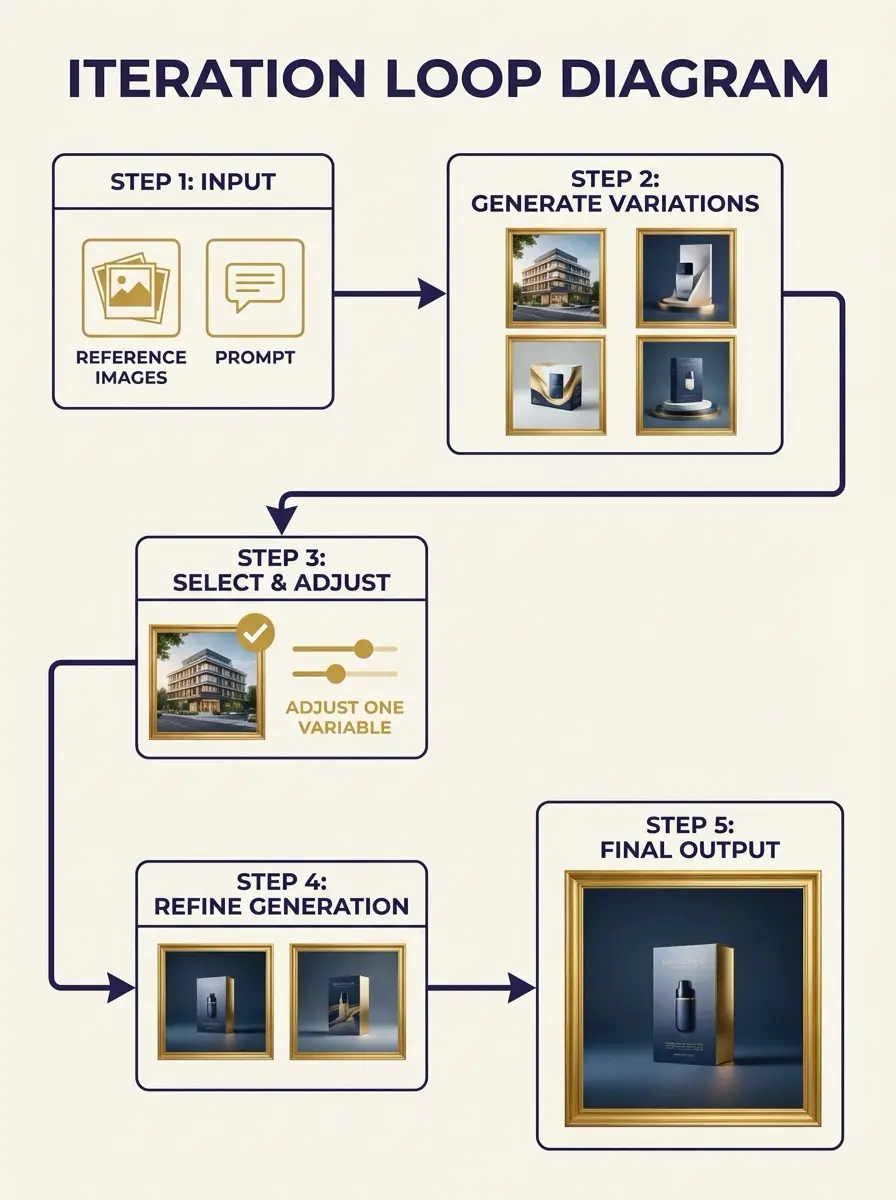
4. Generate a small diagnostic batch
Begin with a few variations, not dozens. The first batch should answer one question: did the system understand the hierarchy of references? If every result breaks the product shape, adjust the subject reference or the preserve instruction. If the shape is right but the room feels wrong, keep the seed or selected output and revise only the environment cues.
Score the batch before choosing a favorite
Visual appeal alone is not enough. Give every option a quick score for reference fidelity, brief fit, technical quality, editability, and risk. A polished image that changes the product geometry should lose to a quieter option that preserves the approved design. A dramatic frame that requires hours of retouching may also be a weaker production choice than a simpler, cleaner result.
- Reference fidelity: are the fixed shapes, identity cues, and proportions intact?
- Brief fit: does the result answer the actual communication problem?
- Technical quality: do anatomy, perspective, edges, lighting, and materials hold up?
- Editability: can the remaining issues be corrected without rebuilding the image?
- Risk: are there rights, privacy, similarity, or factual concerns?
Record a short reason for the selected option. “Best balance of silhouette fidelity and usable daylight” is more useful than “client liked version three.” That note guides the next round and helps another designer reproduce the choice.
5. Change one variable per round
Lock the strongest result and revise one dimension at a time: camera, material, palette, background, or detail. This is the visual equivalent of controlled testing. The iteration loop becomes easier to explain to a client and easier to reproduce later. A broad AI image tool comparison can help choose the platform, but a stable test brief is what reveals whether a tool fits your work.
6. Finish outside the generator
Export the largest useful file, then inspect edges, anatomy, perspective, reflections, labels, and repeated patterns at 100 percent. Correct typography and brand marks manually. Keep the prompt, reference sources, selected output, and final layered file together. OpenAI’s current image generation documentation describes both reference-image edits and multi-turn editing, but available controls and output sizes remain model-specific.
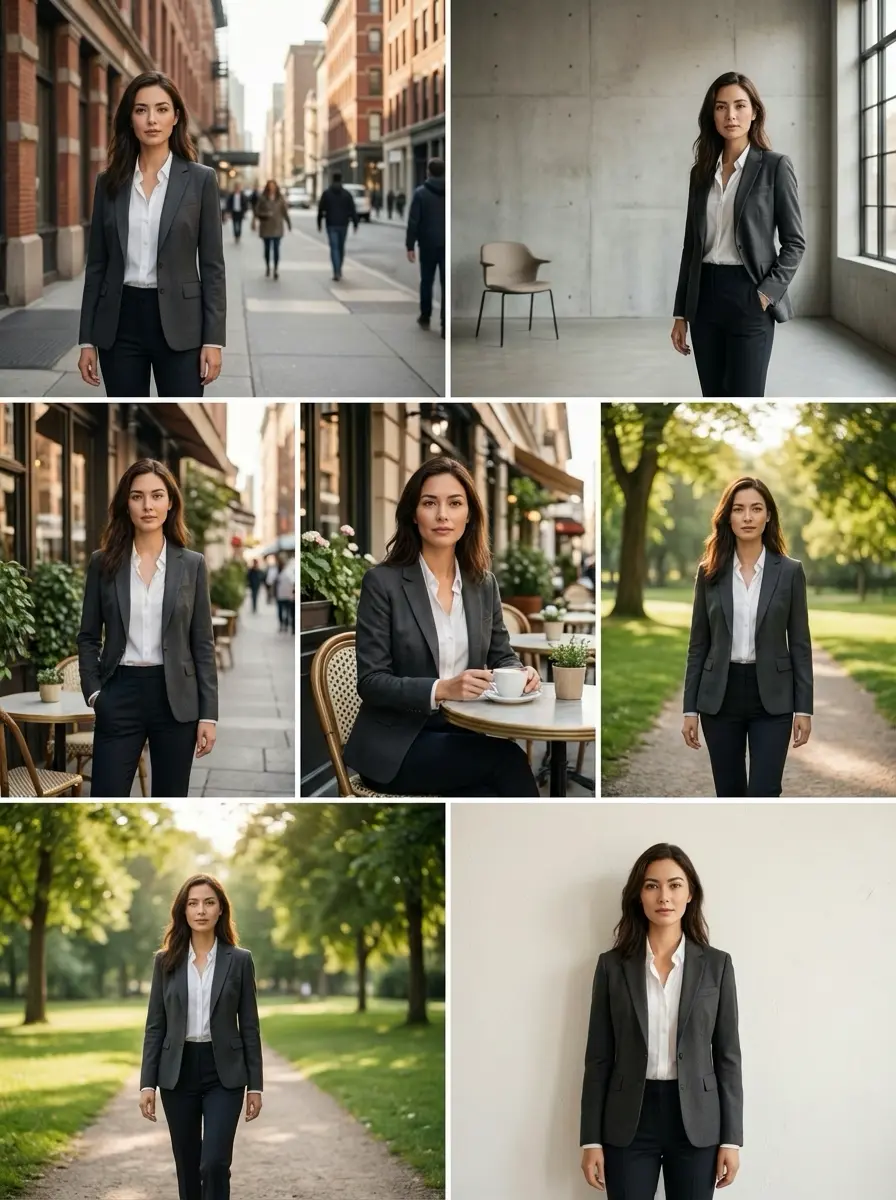
Where reference-based generation helps designers
Campaign and social variations
Start with an approved hero image, then explore new crops, environments, or seasonal treatments while keeping the subject recognizable. The method is useful for concepting a family of assets before final photography or production. It is not a substitute for checking every product detail, disclosure, logo, and claim.
Product and interior visualization
A product cutout can anchor form while the model explores settings and material stories. A room sketch can anchor layout while finishes and light change. Keep measured geometry outside the generator when the image will be used for specification, construction, or an exact purchase decision. For lighter post-production, compare the output with tools in our free AI photo editor guide.
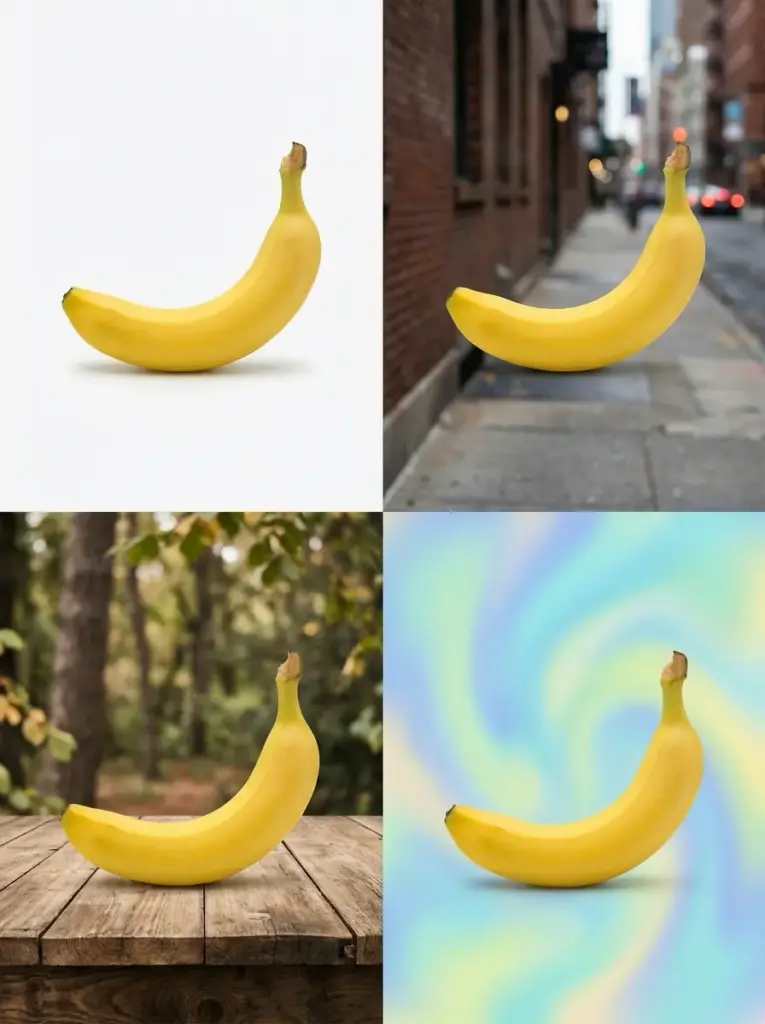
Character and narrative continuity
Reference images can stabilize clothing, proportions, palette, and facial cues across a sequence. They still require a continuity sheet and manual review. Save front, side, and three-quarter references; repeat the same descriptive language; and compare every frame for accessories, hands, scale, and left-right reversals. The same discipline applies when a still later moves into an image-to-video workflow.
Concept exploration before production
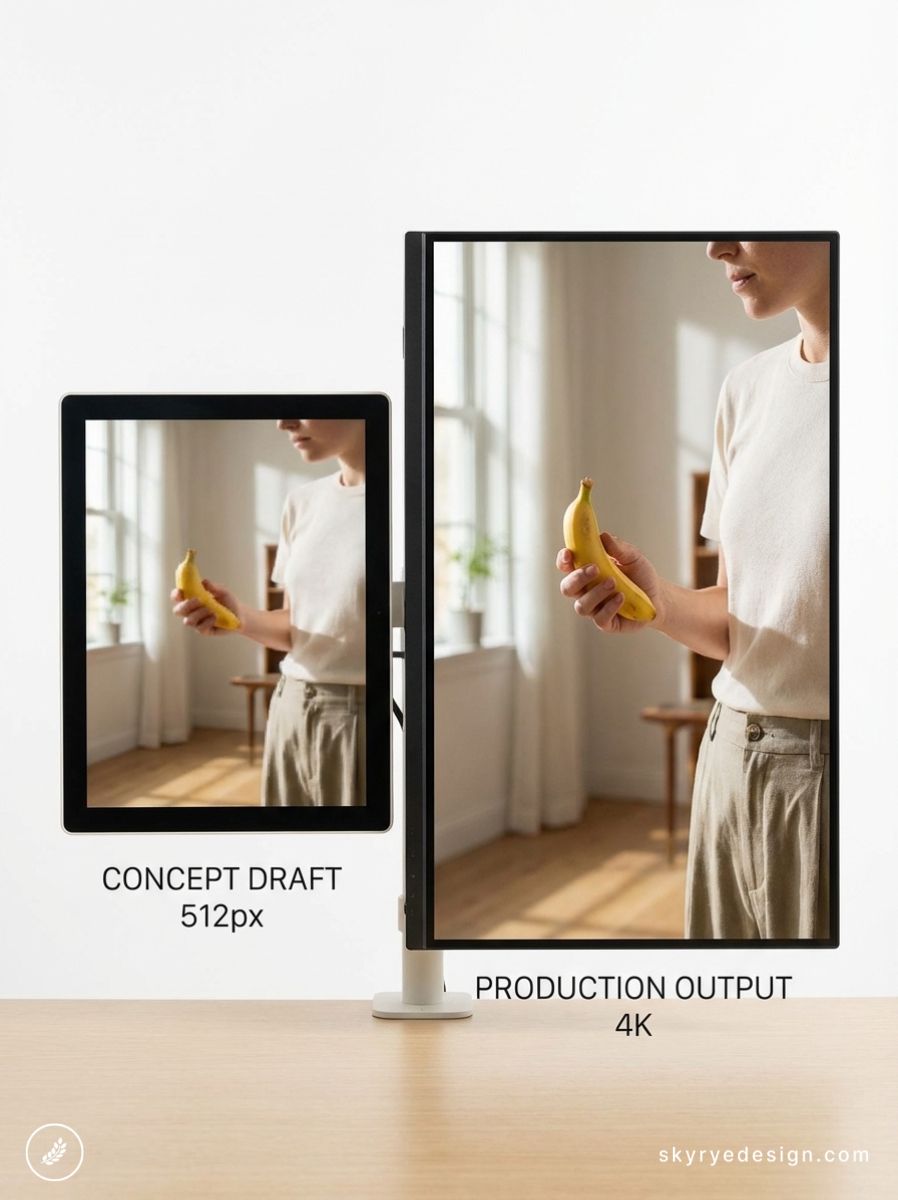
Image to image AI can turn a rough sketch into several lighting, material, or atmosphere studies. Treat these as questions, not finished answers. A promising render may still contain an impossible joint, misleading reflection, or unusable fabrication detail. The value is faster comparison of directions before the team commits to the expensive stage.
Common image to image mistakes
- One reference is asked to do everything. Separate subject, composition, and style when the platform allows it.
- The prompt only describes the desired image. Add explicit preserve, change, and avoid instructions.
- Too many variables change between rounds. Lock the strongest result and alter one decision at a time.
- The team selects at thumbnail size. Review full-size anatomy, edges, texture, labels, and perspective before approval.
- Generated typography is treated as final. Rebuild important text and logos in a conventional design tool.
- Source rights and client privacy are checked too late. Clear inputs before upload, not after the visual is approved.
If the main task is cleaning, relighting, or removing a background from an existing photograph, start with an AI photo editing workflow rather than regenerating the full scene. Local edits reduce the number of elements that can drift.
Consumer image tools need the same reference and privacy checks as a professional workflow. This AI baby generator privacy and accuracy guide shows why a generated child portrait is an imagined visual, what source photos affect, and which upload terms to review.
Rights, privacy, and delivery checklist
| Check | What to confirm |
|---|---|
| Reference rights | You created the image, licensed it, or have permission to use it for this purpose. |
| Client privacy | The platform and account settings are acceptable for confidential material. |
| Similarity risk | The result is not a close imitation of protected work, a public figure, or a competitor asset. |
| Factual accuracy | Products, places, people, labels, and physical details are represented honestly. |
| Production quality | Edges, anatomy, perspective, reflections, patterns, and resolution pass full-size review. |
| Provenance | References, prompts, outputs, edits, approvals, and license terms are recorded. |
Mask-based tools can narrow a change to one area. Google’s image editing overview documents insertion, removal, outpainting, and background replacement as separate edit operations. Whatever platform you choose, confirm its current terms and data settings before uploading client work.
If you are evaluating a commercial service such as ToImage, test it with non-confidential material first and compare its reference controls, export quality, usage rights, and cleanup time against your actual brief.

A designer’s decision rule
Use text to image when the brief is open, image to image when visual continuity matters, a masked edit when one region must change, and traditional editing when exact control is non-negotiable. The best workflow often combines all four. Reference-based generation should shorten the route to a defensible design decision, not replace the decision itself.
For a broader production system, connect this method with an AI design workflow and a clear Figma handoff process. Keep generation exploratory, approvals documented, and final brand assets editable.
Image to image AI FAQ
What is image to image AI?
Image to image AI uses an existing image as visual input and generates a new image or edit from it. The reference can guide the subject, composition, style, color, or area to change, while the written prompt explains what to preserve and what to modify.
How is image to image AI different from text to image?
Text to image starts mainly from a written description. Image to image begins with visual evidence, so it is usually better when a designer needs continuity in pose, layout, product shape, palette, or art direction. The prompt still matters, but it works alongside the reference instead of carrying the full brief alone.
What reference images work best?
Use a clear, high-quality image that shows only the qualities you want the model to follow. Choose an uncluttered subject reference for identity, a readable silhouette for composition, or a coherent material and color sample for style. Crop distractions and avoid mixing several conflicting directions in one image.
Can image to image AI keep a character or product consistent?
It can improve consistency, but it does not guarantee an exact match. Clean reference images, repeated camera cues, stable proportions, and small controlled edits usually help. Designers should compare logos, hands, labels, construction details, and distinctive features across every output before approval.
Should I use a style reference or a composition reference?
Use a style reference when you need a visual language such as palette, texture, lighting, or rendering treatment. Use a composition reference when the placement, camera angle, depth, or silhouette matters. If a tool accepts both, assign each reference one clear role and state that role in the prompt.
Can I use client or copyrighted images as references?
Use only images you are allowed to upload and transform. Check the platform's terms for data handling and commercial use, obtain client approval for confidential material, and document the source of each reference. For a high-risk campaign or a close imitation of protected work, get qualified legal advice before publication.
- 16shares
- Facebook0
- Pinterest16
- Twitter0
- Reddit0