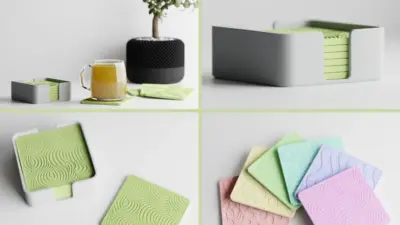
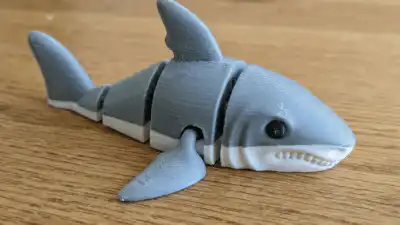
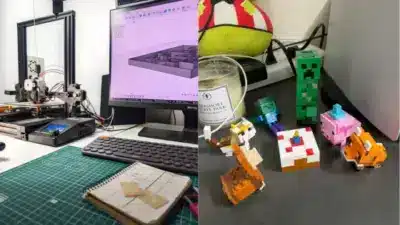
3D printing offers endless possibilities for creating functional objects, decorative items, and engaging puzzles right from your home or workspace. Whether you’re looking to organize your desk, solve brain teasers, or display your favorite plants, additive manufacturing lets you produce practical solutions tailored to your specific needs.
This collection of printable objects combines utility with creativity, featuring everything from organizational tools to intricate models that showcase your printer’s capabilities. You’ll discover projects ranging from simple desk accessories to complex geometric designs, along with guidance on material selection and printing techniques to ensure successful results every time.
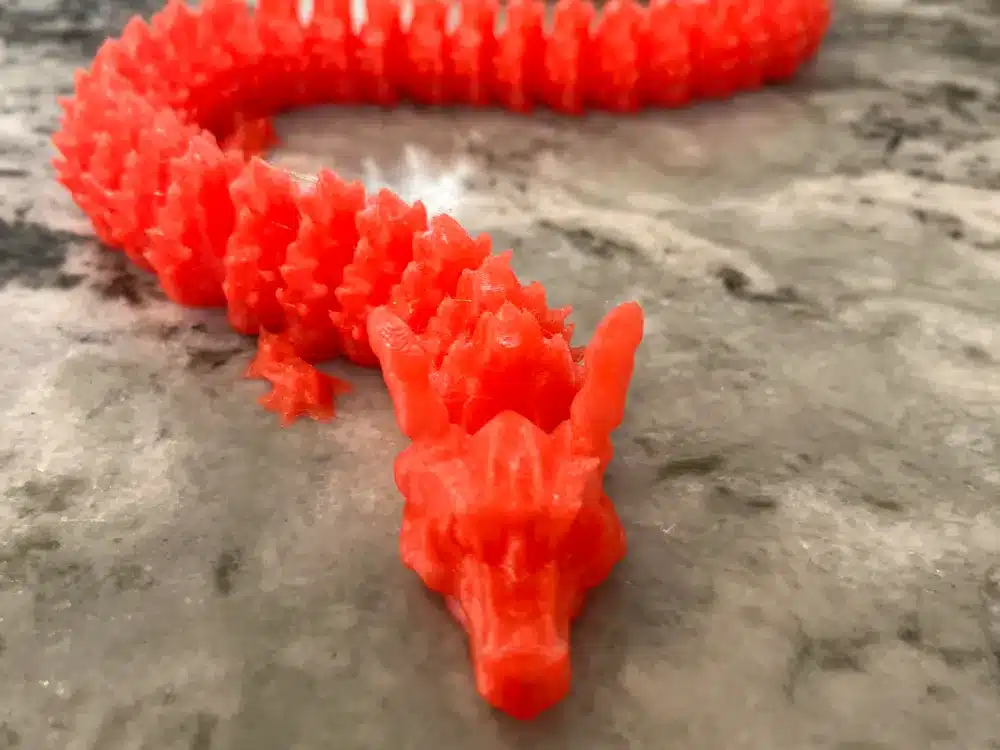
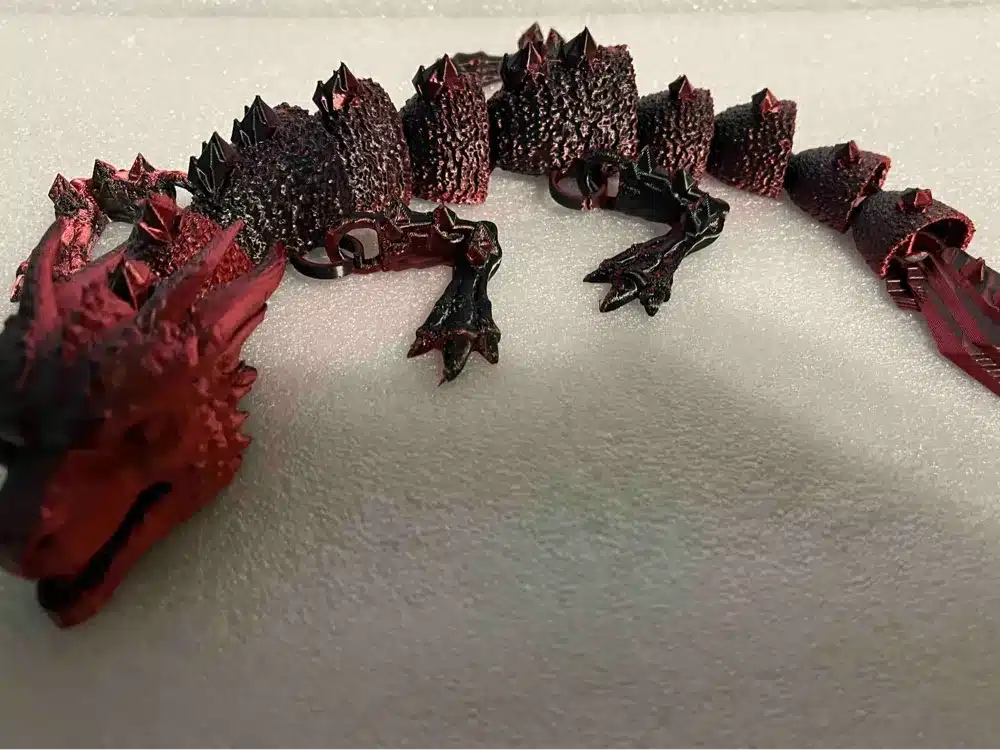
1) Articulated Dragon Model
Articulated dragon models rank among the most popular 3D printing projects available today. These designs feature movable joints that allow you to pose and manipulate different body parts after printing.
You can find hundreds of free articulated dragon files on platforms like Cults 3D, Printables, and MakerWorld. Many of these models print in place, meaning the joints work immediately without assembly.
Seven the Articulated Dragon stands out as one of the most downloaded designs. This model offers multiple joint connections and smooth articulation throughout the body, wings, and tail.
The printing process requires no support materials for most articulated dragon designs. You simply load the file and print, then carefully flex the joints to break them free from any bridging material.
These models serve as excellent display pieces and functional toys. You can pose your printed dragon in various positions or use it as a desk ornament that moves and flexes.
Articulated dragons demonstrate the capabilities of 3D printing technology while providing an engaging project for beginners and experienced makers alike.
2) Modular Desk Organizer
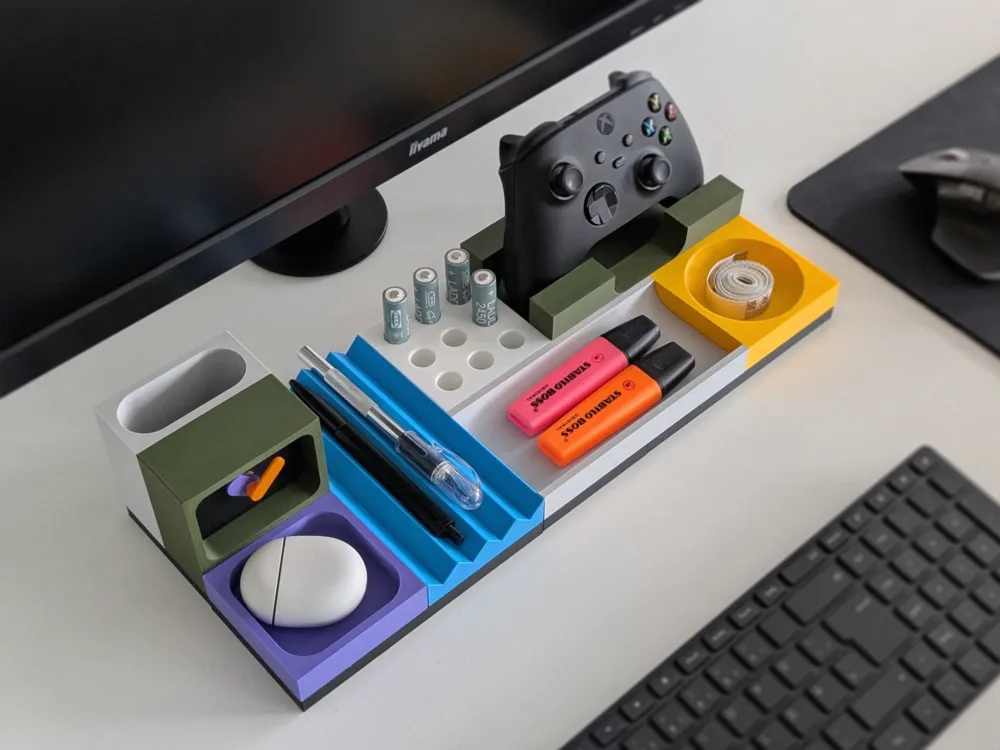
Your workspace deserves better than cluttered drawers and scattered supplies. A 3D printed modular desk organizer transforms any desk into an efficient, customized storage system.
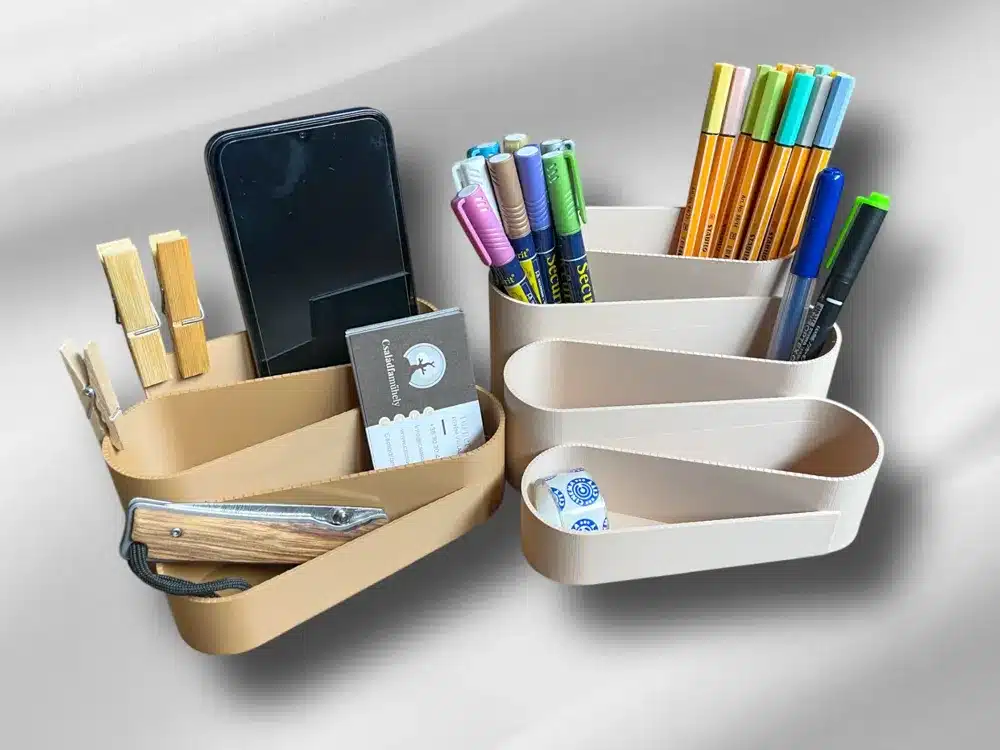
These organizers consist of interchangeable components that snap or fit together. You can create different layouts by mixing and matching pieces like pen holders, small bins, and cable management sections.
Standard sizes typically include small (95x95mm), medium (95x190mm), and large (190x190mm) footprints. This sizing system lets you plan your desk layout precisely before printing.
The modular design adapts to your changing needs. Add new components when you acquire different tools or rearrange existing pieces for seasonal projects.
Most designs print without supports using standard PLA settings. Some complex pieces like wavy pen holders may require printing vertically with a small brim for better surface quality.
You can customize compartment sizes for specific items like fountain pens, USB drives, or paper clips. The flexibility eliminates the frustration of buying organizers that almost fit your needs.
Popular modular systems include triangle stands for angled tool storage, rectangular racks for brushes, and square boxes for small parts. Each piece serves a specific organizational purpose while maintaining design consistency.
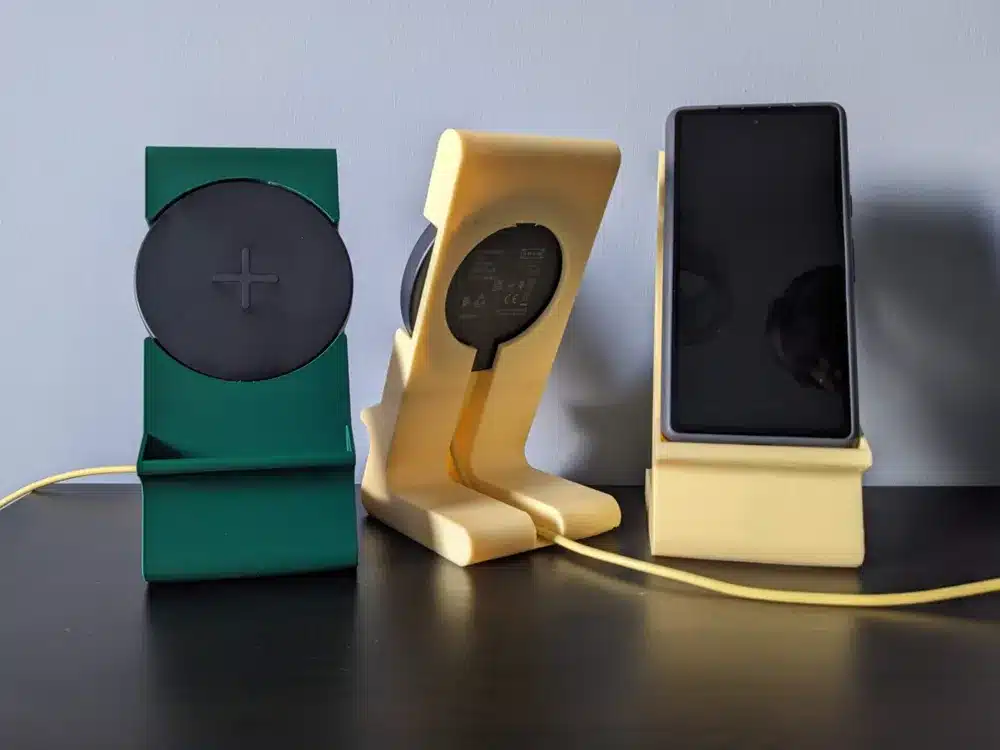
3) Customizable Phone Stand
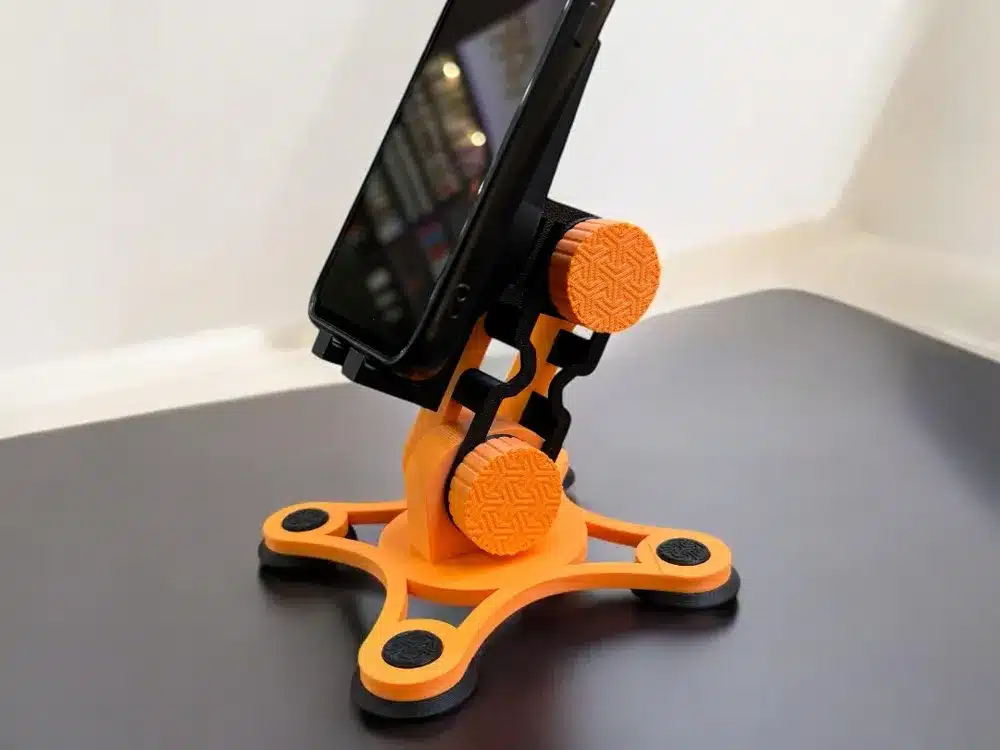
You can create the perfect phone stand tailored specifically to your device and preferences. 3D printing allows you to customize every aspect, from the angle and height to decorative elements that match your style.
Your phone stand can accommodate different phone sizes and cases. You design the exact dimensions needed for your device, ensuring a secure fit that won’t tip over or scratch your screen.
The printing process typically takes 1-3 hours depending on complexity. Most designs use minimal filament, making them cost-effective compared to store-bought alternatives.
You have access to thousands of free STL files online. Popular platforms offer everything from minimalist designs to elaborate artistic stands with cable management features.
Your stand can serve multiple purposes beyond just holding your phone. Many designs incorporate charging cable slots, small storage compartments, or adjustable viewing angles for video calls and media consumption.
The customization extends to materials and colors. You can print in different filaments to match your desk setup or create stands with specific textures and finishes that suit your workspace aesthetic.
4) Print-in-Place Puzzle Cube
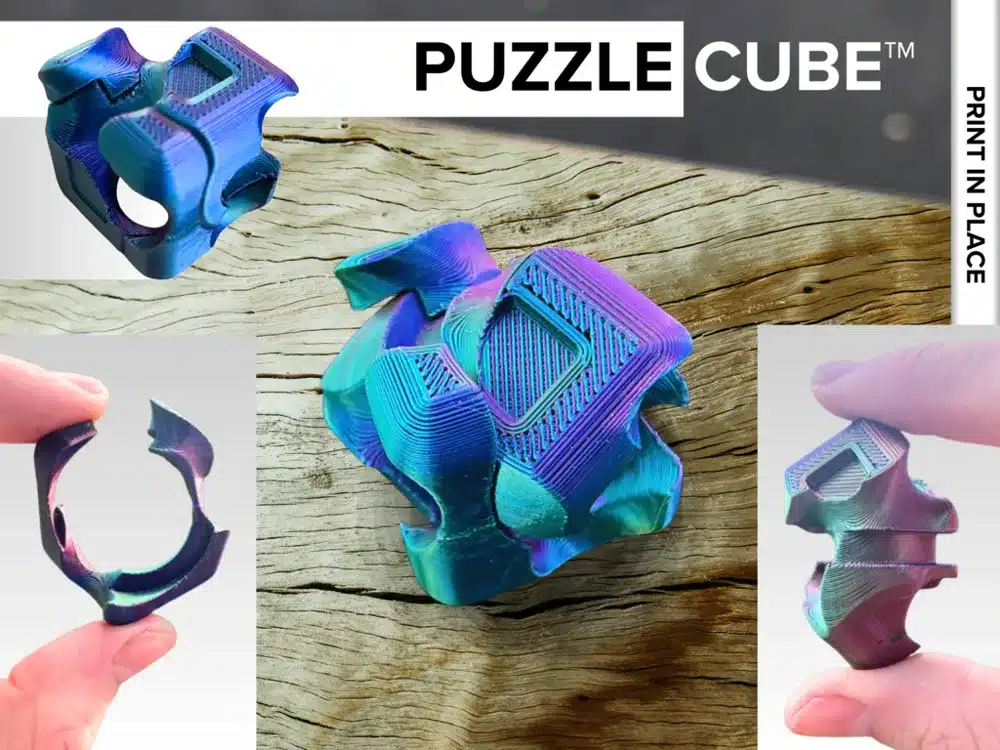
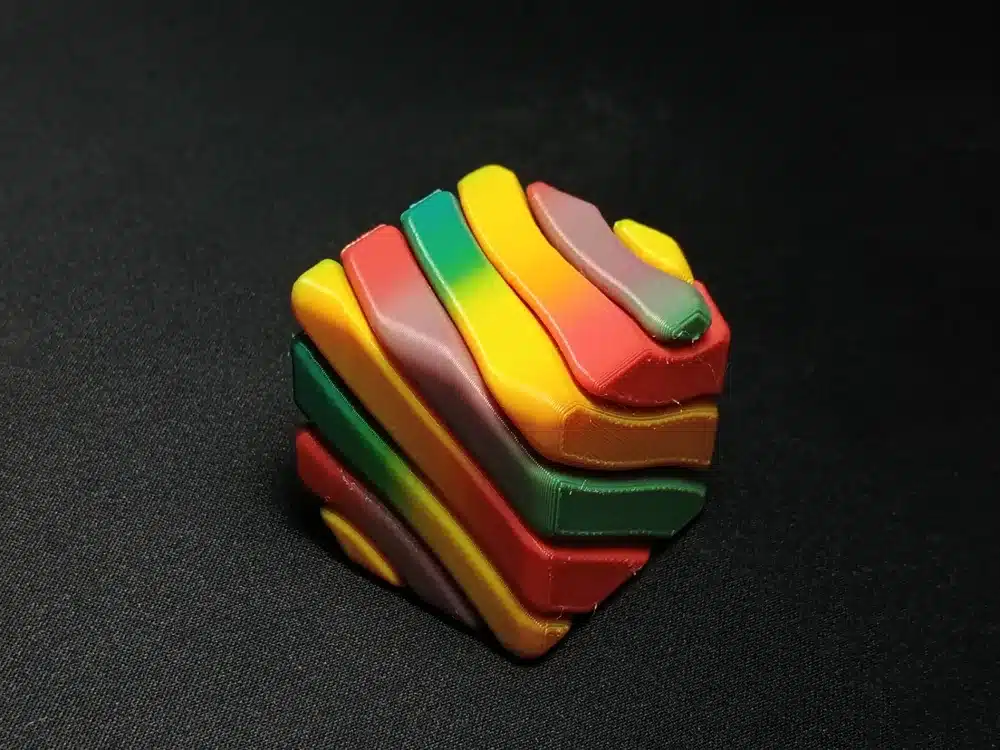
Print-in-place puzzle cubes represent one of 3D printing’s most impressive capabilities. These puzzles emerge from your printer fully assembled and ready to use, with no additional assembly required.
The design eliminates the need for supports or post-processing. You simply remove the completed puzzle from your print bed and start solving immediately.
These cubes typically feature interlocking segments that move independently. The precision required to achieve proper clearances between moving parts showcases advanced 3D modeling skills.
Print temperature matters significantly for functional results. Many designers recommend printing at 215°C or higher to ensure the plastic maintains sufficient flexibility for repeated use.
The puzzles often incorporate spiral cuts or geometric divisions that create multiple pieces within a single cube structure. Each piece must fit precisely with others while maintaining enough clearance to move freely.
Popular variations include three-piece designs and more complex interlocking patterns. Some models feature passthrough mechanisms where objects can be inserted and manipulated within the puzzle structure.
The compact size and relatively quick print times make these puzzles ideal for testing your printer’s precision capabilities. They also serve as excellent demonstration pieces for showcasing 3D printing technology to others.
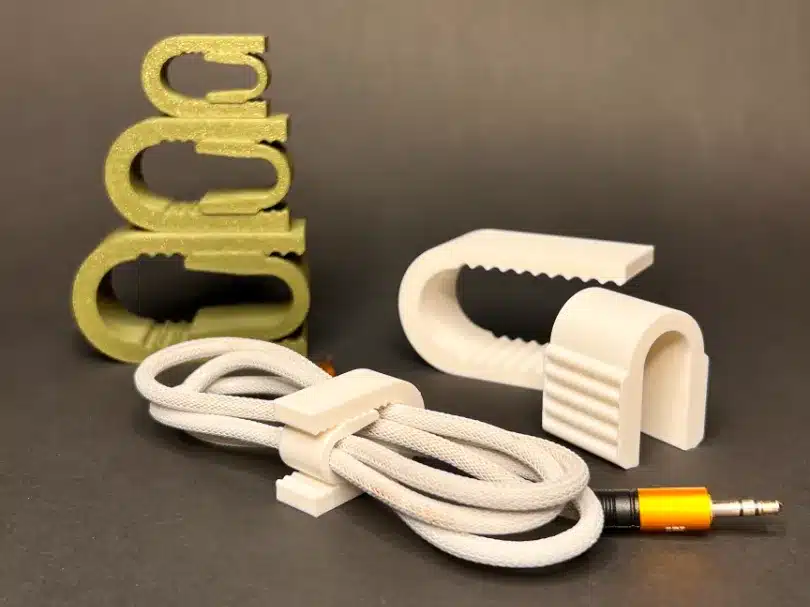
5) Adjustable Cable Holder
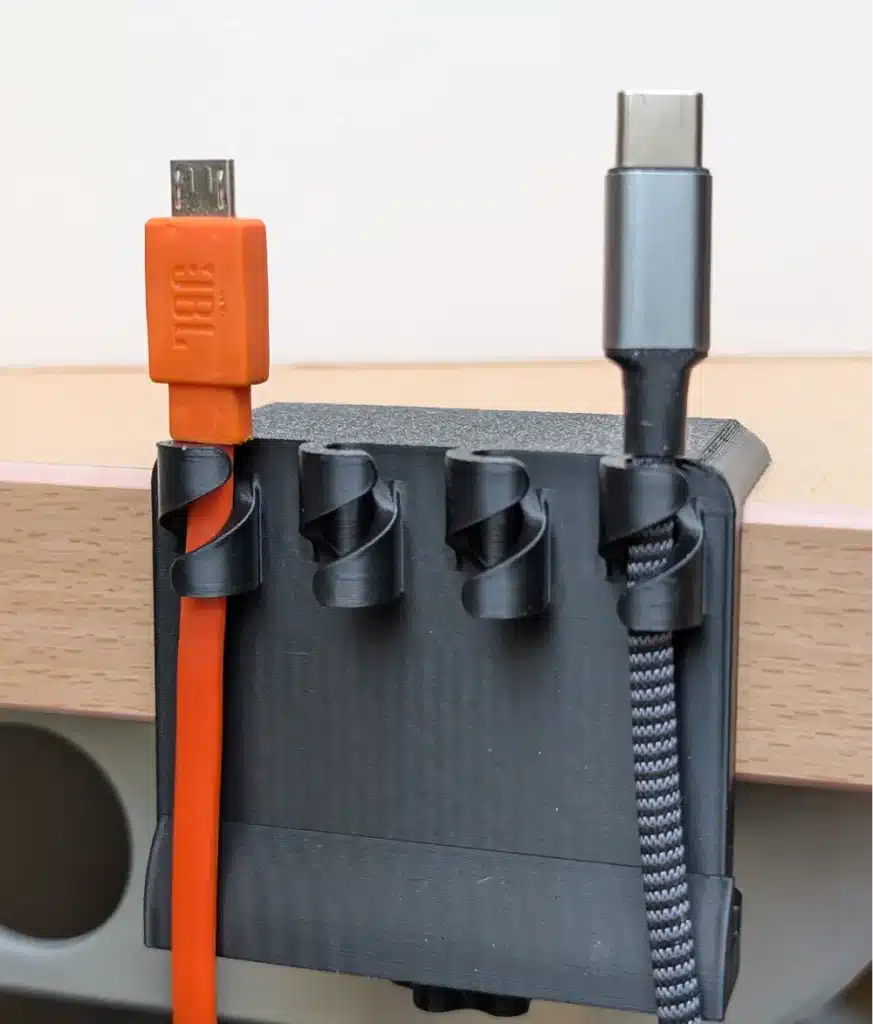
You can transform your workspace organization with a 3D printed adjustable cable holder. These practical accessories keep your charging cables, data cords, and power wires neatly positioned and easily accessible.
The adjustable design allows you to accommodate different cable thicknesses. You can modify the grip tension to hold thin USB cables or thicker power cords securely in place.
Many adjustable cable holder models feature clips that attach to desk edges or computer monitors. This positioning keeps your cables at the perfect height and prevents them from falling behind your workspace.
You can customize the holder size during printing to match your specific needs. Some designs include multiple cable slots, letting you organize several cords simultaneously.
The printing process typically requires minimal support material and completes within a few hours. Most designs use standard PLA filament and work well on entry-level 3D printers.
Your finished cable holder will provide years of reliable service. The adjustable mechanism maintains its grip strength through repeated use, making it a practical long-term organization solution for any desk setup.
6) Functional Heat Exchanger Model
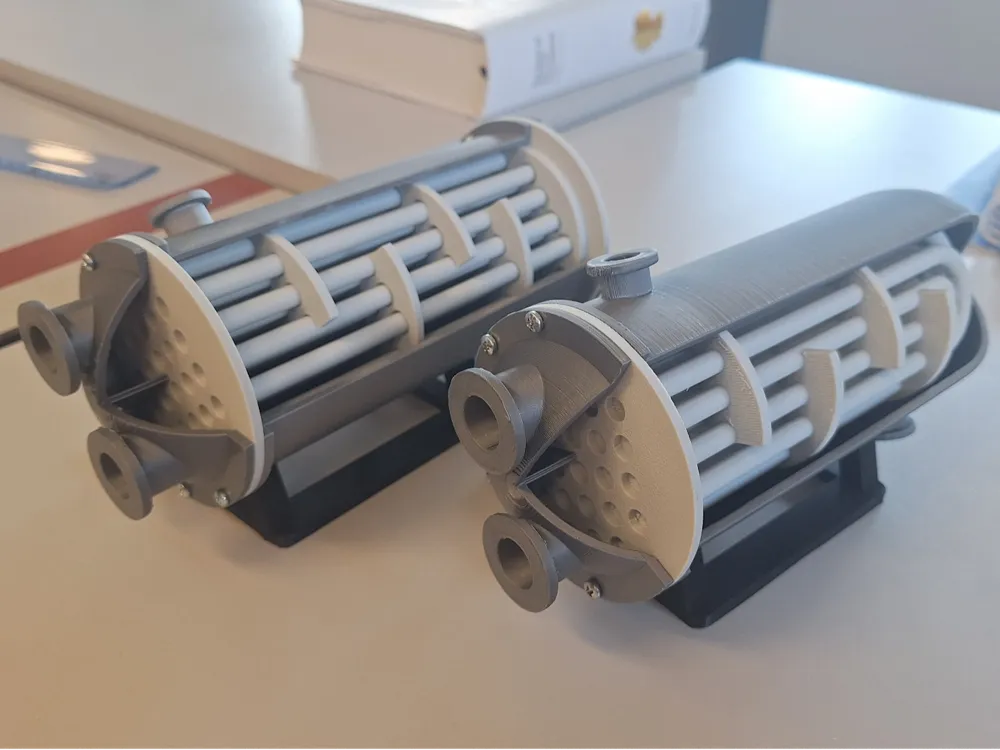
You can 3D print working heat exchanger models that demonstrate real thermal engineering principles. These educational designs help visualize how heat transfer occurs between different fluid streams.
Shell and tube heat exchangers are popular 3D printing projects. They show the basic components of industrial heat exchange systems in a compact format.
You’ll find models designed by engineers that replicate actual refinery equipment. These scaled versions provide detailed cross-sections of complex heat transfer mechanisms.
Some designs use specialized infill patterns like gyroid structures to maximize surface area. This approach improves cooling efficiency within the printed model.
The models typically connect to standard hose fittings for water flow testing. You can actually run fluids through them to observe heat exchange in action.
Many designs fit standard print beds and use common materials like PLA or PETG. The parts often snap together without requiring support structures.
These functional models serve educational purposes in classrooms and training facilities. They make abstract thermal concepts tangible and easier to understand.
You can modify the designs to experiment with different configurations. This allows testing of various heat exchanger geometries and flow patterns.
7) Cosplay Helmet Replica
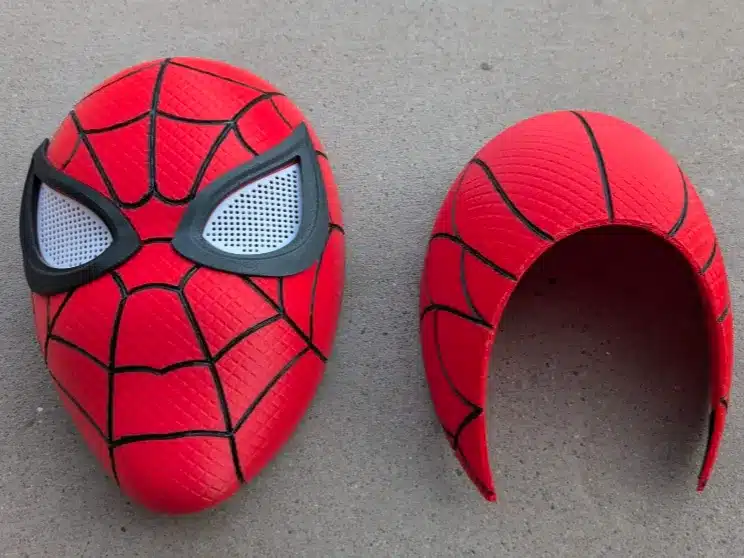
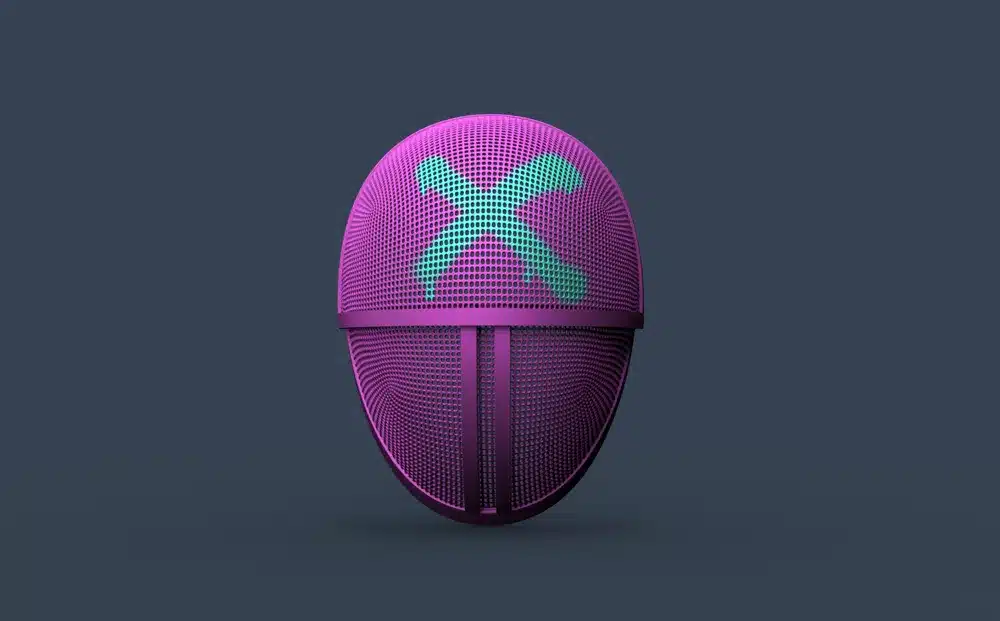
Cosplay helmet replicas offer an impressive way to showcase your 3D printing skills. You can create detailed reproductions of iconic helmets from movies, TV shows, and video games.
Popular options include helmets from Star Wars, Marvel, and DC Comics characters. These models are widely available as STL files on various platforms.
Your 3D printer can produce helmets with intricate details that match professional costume pieces. Many files include multiple parts that you assemble after printing.
You’ll need to consider your printer’s build volume when selecting helmet files. Some designs require splitting into multiple sections for smaller printers.
Post-processing typically involves sanding, filling gaps between parts, and painting. This finishing work transforms raw prints into convincing replicas.
The printing time varies based on helmet complexity and size. Most helmets require 20-40 hours of printing time across all pieces.
Choose helmet designs that match your skill level for finishing work. Simpler designs work better for beginners, while experienced makers can tackle highly detailed models.
These replicas make excellent display pieces even when not used for cosplay. They demonstrate both your 3D printing capabilities and passion for pop culture.
8) Geometric Planter Pot
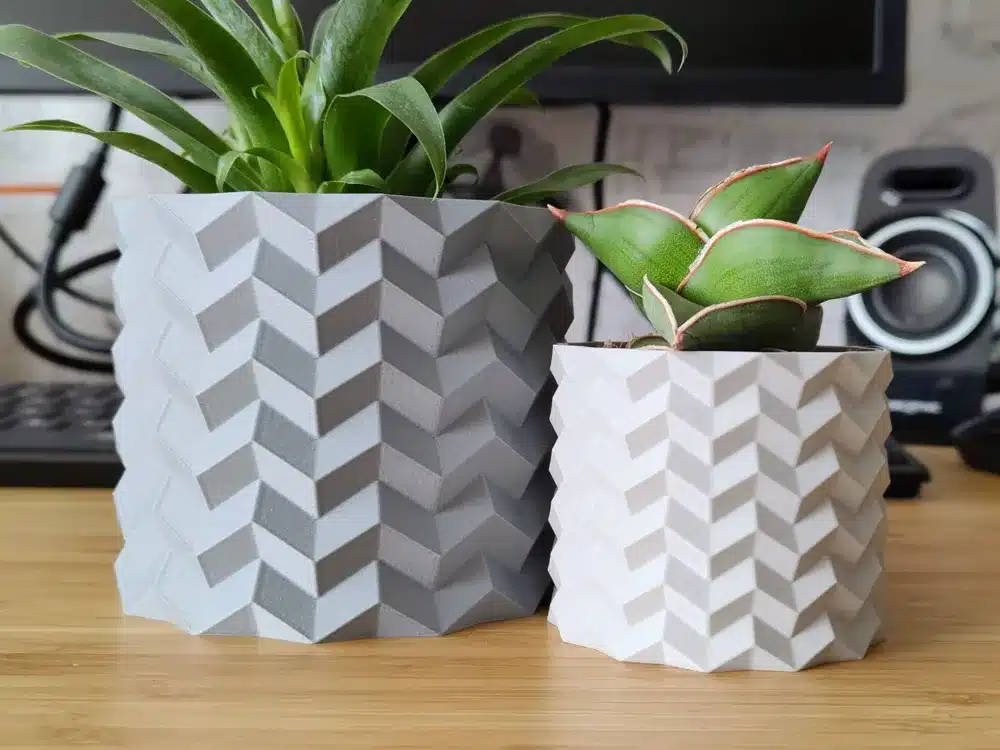
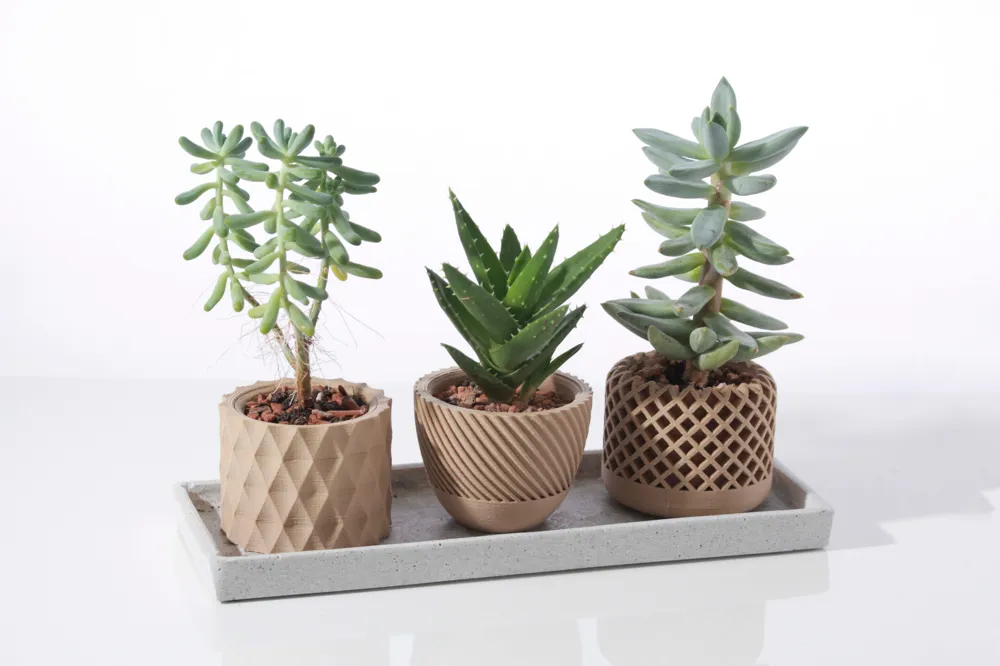
Geometric planter pots offer a modern way to display your plants while showcasing your 3D printing skills. These angular designs create striking visual appeal compared to traditional round planters.
You can find thousands of geometric planter models available for download. Popular designs include triangular faces, hexagonal patterns, and complex geometric shapes that catch light beautifully.
Many models come with built-in drainage holes for proper plant care. Others function as decorative covers that hold standard plastic pots inside.
Gyroid planters represent one popular geometric style. These mathematical patterns create unique organic-looking shapes despite their geometric foundation.
The printing process works well with standard PLA filament. Most designs print without supports due to their angular construction and optimized geometry.
You can scale these planters to fit different plant sizes. Small versions work perfectly for succulents, while larger prints accommodate bigger houseplants.
Geometric planters suit modern home decor styles. They work particularly well on desks, shelves, and windowsills where their angular shapes complement contemporary furniture.
The printing time ranges from two to six hours depending on size and complexity. Most designs use minimal filament while maintaining structural strength for holding soil and plants.
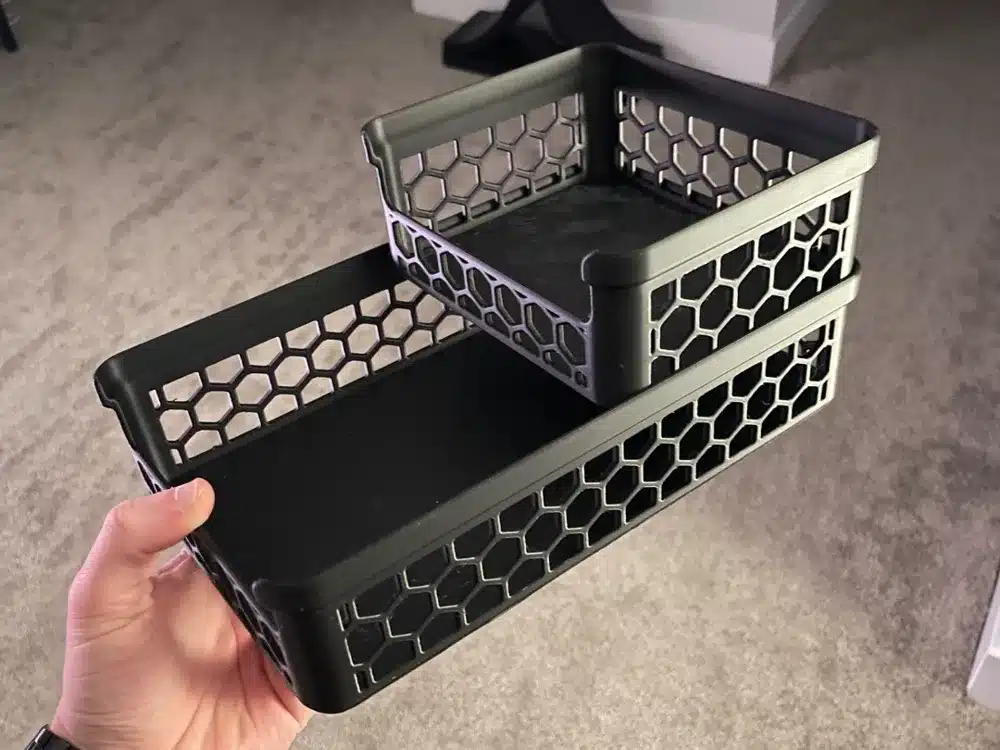
9) Stackable Storage Bins
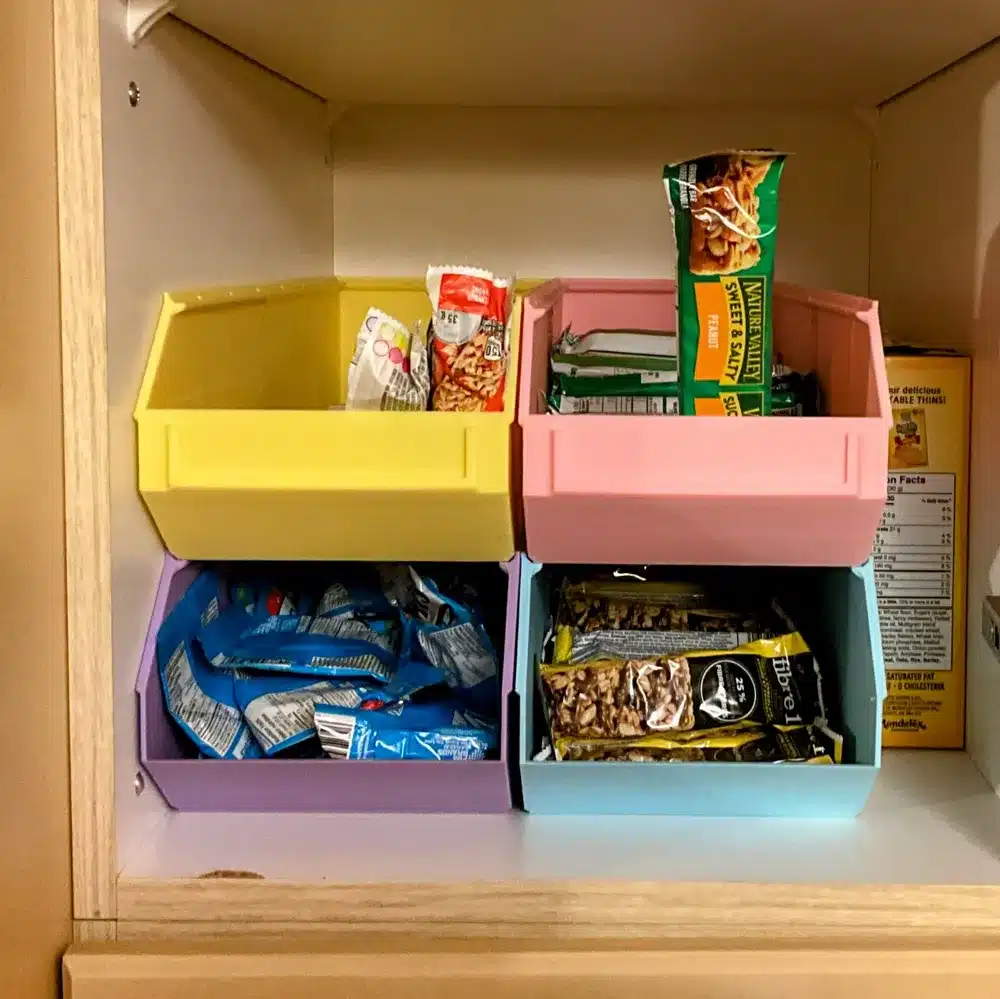
Stackable storage bins offer practical solutions for organizing your workspace, home, or garage. You can print these containers in multiple sizes to fit your specific storage needs.
These bins maximize vertical space while keeping items easily accessible. The interlocking design ensures stable stacking without requiring glue or additional fasteners.
Many designs print as single pieces, making them simple to produce. You can customize dimensions, shapes, and compartments based on your requirements.
Vase mode printing reduces material usage and speeds up production time. This printing method maintains structural strength while using minimal filament.
The bins work well for storing small hardware, craft supplies, electronic components, or tools. You can create matching sets or different sizes for various applications.
Most designs feature smooth surfaces that clean easily and rounded corners for safety. The stackable nature helps maintain organized storage systems that expand as needed.
You can print these bins in different colors to create coding systems for your stored items. This organization method helps you locate specific materials quickly without opening multiple containers.
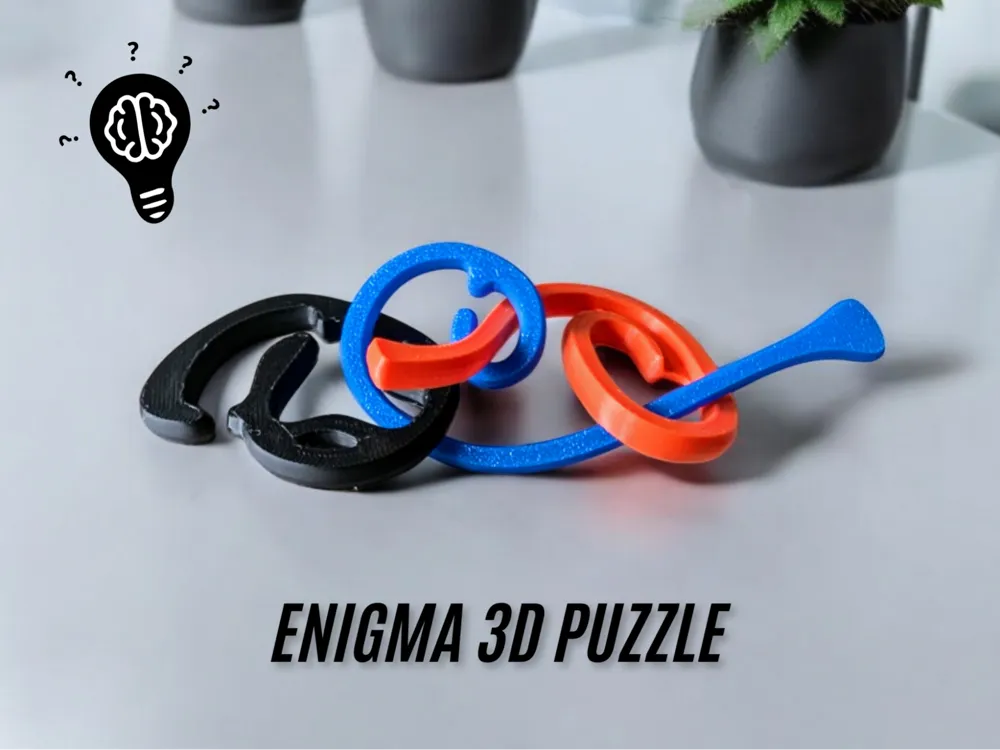
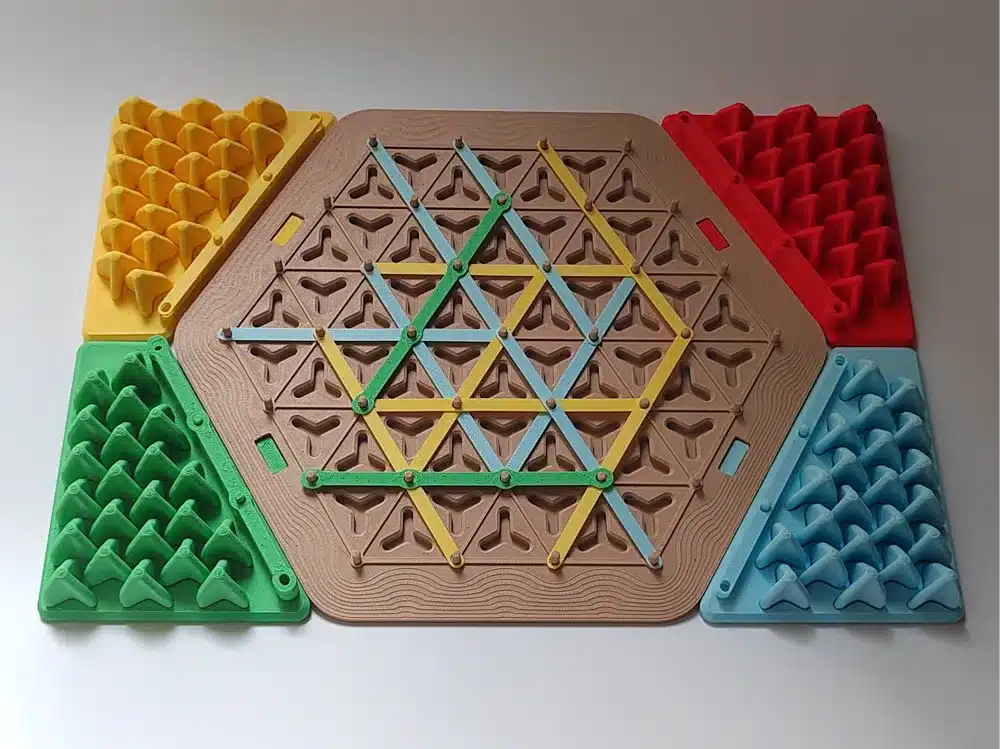
10) Interlocking Brain Teaser
Interlocking brain teasers offer a perfect combination of mental challenge and hands-on puzzle solving. These geometric puzzles feature multiple pieces that fit together in specific ways, requiring spatial reasoning and patience to solve.
You can find numerous STL files for interlocking puzzles on 3D printing platforms. Popular designs include three-piece geometric puzzles that create satisfying interlocking shapes when assembled correctly.
The appeal lies in their difficulty level. These puzzles can leave you stumped for extended periods, making the eventual solution incredibly rewarding.
3D printing allows you to create these puzzles with precise tolerances. The pieces need to fit together smoothly while maintaining the challenge of the puzzle mechanics.
Most interlocking brain teasers print without supports, making them accessible projects for beginners. You can experiment with different materials and colors to create visually appealing versions.
These puzzles serve multiple purposes beyond entertainment. They make excellent desk toys, conversation starters, or gifts for puzzle enthusiasts.
The geometric nature of most designs means they look attractive even when solved. You can display them as decorative objects while keeping the challenge readily available for guests or breaks from work.
Choosing the Right 3D Printer Materials
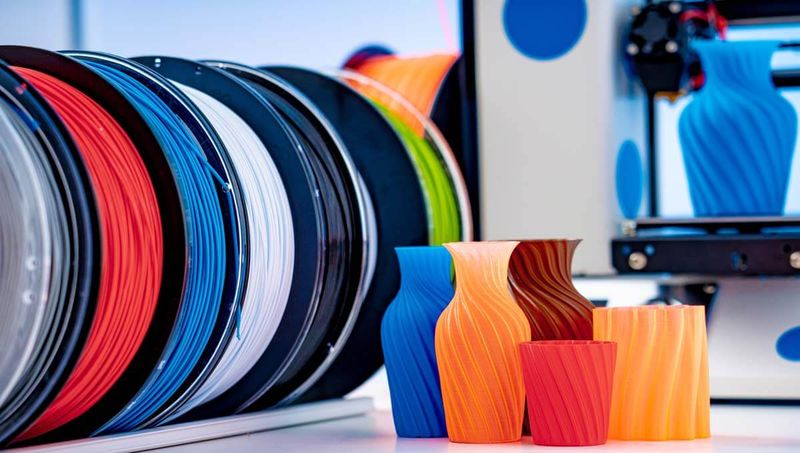
The material you select directly impacts your print’s strength, flexibility, and overall quality. PLA and ABS remain the most popular choices for beginners, each offering distinct advantages for different project types.
PLA vs. ABS: Pros and Cons
PLA (Polylactic Acid) offers the easiest printing experience for beginners. It prints at lower temperatures (190-220°C) and requires no heated bed.
PLA produces minimal odor and warping during printing. The material creates smooth surface finishes and sharp detail reproduction.
However, PLA becomes soft at temperatures above 60°C. It breaks more easily under stress compared to ABS.
ABS (Acrylonitrile Butadiene Styrene) provides superior strength and flexibility. It withstands higher temperatures up to 80°C without deforming.
ABS requires higher printing temperatures (220-250°C) and a heated bed. The material produces strong chemical odors during printing.
| Material | Print Temp | Bed Temp | Flexibility | Heat Resistance |
|---|---|---|---|---|
| PLA | 190-220°C | Optional | Low | Poor (60°C) |
| ABS | 220-250°C | Required | High | Good (80°C) |
Safety Considerations for Home Printing
Ventilation becomes critical when printing ABS or other materials that release fumes. Set up your printer in a well-ventilated area or use an enclosure with filtration.
ABS releases styrene vapors that can cause headaches and respiratory irritation. PLA produces minimal emissions but still benefits from air circulation.
Temperature safety requires attention to heated components. Print beds and nozzles reach temperatures that cause burns on contact.
Keep your workspace clear of flammable materials. Store filaments in dry conditions to prevent moisture absorption that degrades print quality.
Tips for Successful 3D Printing
Achieving high-quality 3D prints requires careful attention to print settings and proper finishing techniques. The right combination of temperature, speed, and layer height settings paired with effective post-processing methods will transform your prints from basic objects into professional-looking creations.
Optimizing Print Settings
Your print settings determine the quality and success rate of every project. Layer height affects both detail and print time.
Use 0.1-0.2mm layer height for detailed objects requiring smooth surfaces. Choose 0.3mm layers for quick prototypes where speed matters more than precision.
Print speed impacts quality significantly. Start with 40-60mm/s for most materials. Reduce to 20-30mm/s for intricate details or overhangs.
Temperature settings vary by filament type:
| Material | Nozzle Temp | Bed Temp |
|---|---|---|
| PLA | 190-220°C | 50-60°C |
| ABS | 230-250°C | 80-110°C |
| PETG | 220-250°C | 70-80°C |
Enable supports for overhangs exceeding 45 degrees. Use tree supports instead of linear supports for complex geometries to reduce material waste and cleanup time.
Set infill between 10-20% for decorative items and 40-80% for functional parts requiring strength.

Post-Processing for a Professional Finish
Post-processing transforms rough prints into polished objects. Start with proper support removal using flush cutters or needle-nose pliers.
Sand prints with 220-grit sandpaper first, then progress to 400-grit for smooth surfaces. Always sand in circular motions to avoid visible scratches.
Acetone vapor smoothing works excellently for ABS prints. Place prints in a sealed container with acetone-soaked paper towels for 10-15 minutes.
For PLA prints, use heat gun smoothing on low settings. Keep the gun moving to prevent melting.
Prime prints with spray primer before painting. Use thin, even coats and allow complete drying between applications.
Apply acrylic paints in multiple thin layers rather than single thick coats. This prevents drips and ensures even coverage across detailed surfaces.
- 9shares
- Facebook0
- Pinterest9
- Twitter0
- Reddit0

