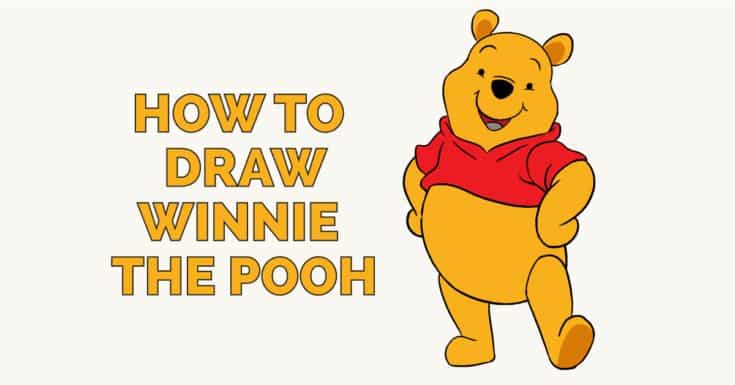
A good Winnie the Pooh drawing starts with big, friendly shapes before it becomes a character. Think round head, tiny ears, soft belly, short limbs, and the red shirt that makes Pooh recognizable even in a very simple sketch.
This guide keeps the process practical for beginners, but it also gives more experienced artists cleaner checkpoints for likeness, line weight, color, and small storytelling details like honey pots, bees, balloons, and friends from the Hundred Acre Wood.
How to draw Winnie the Pooh step by step
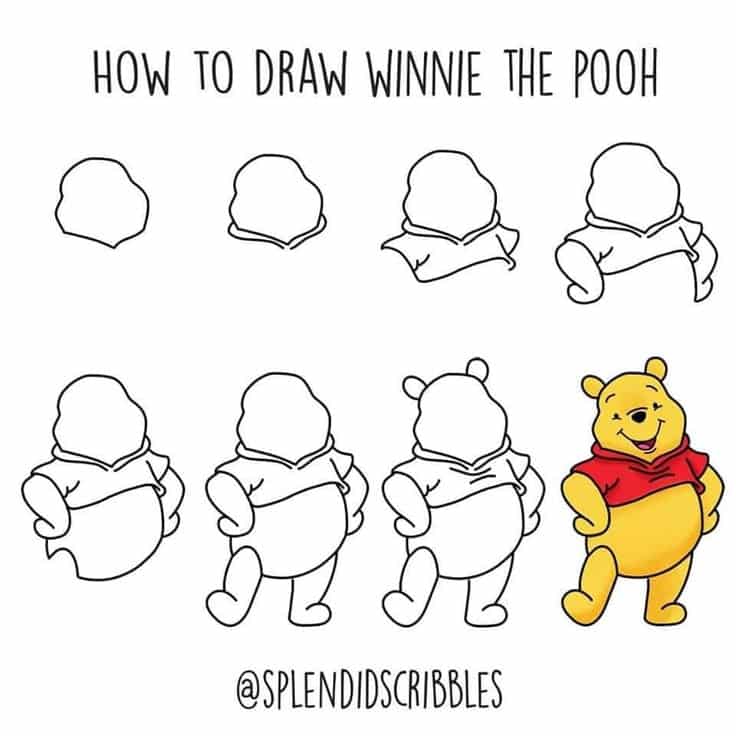
To draw Winnie the Pooh, sketch a round head, add two small ears, place an oval body underneath, draw the red shirt, then build the face from tiny eyes, a small nose, a soft muzzle, and a gentle smile. Keep the first pass light. Pooh depends more on proportion and warmth than on complicated anatomy, so the drawing improves fastest when the head, belly, shirt edge, and pose are adjusted before the final outline.
| Step | What to draw | What to check |
|---|---|---|
| 1 | Round head and small ears | Ears sit low enough to feel soft, not pointed or high |
| 2 | Oval body and short limbs | Body is wider than the head, with rounded arms and feet |
| 3 | Muzzle, nose, eyes, brow | Features stay small and close together |
| 4 | Red shirt and pose | Shirt wraps around the belly and arms naturally |
| 5 | Clean outline, color, shadow | Yellow body, red shirt, gentle shadows under forms |
Winnie the Pooh drawing basics to remember
- Use circles and ovals first; save details for the final pass.
- Keep the eyes, nose, and smile small so Pooh stays cute instead of busy.
- Draw the shirt as a real shape around the body, not a flat band.
- Use warm yellow, soft red, and light brown shadows for a classic Pooh look.
- Add honey, bees, balloons, or Piglet only after the main Pooh sketch is readable.
Essential materials for a Winnie the Pooh sketch
You do not need fancy supplies for a Pooh bear drawing. A pencil, eraser, smooth paper, and a few warm colors are enough. If you want cleaner line art, use a fine-tip pen after the pencil sketch works. For color, try colored pencils, markers, or light watercolor washes.
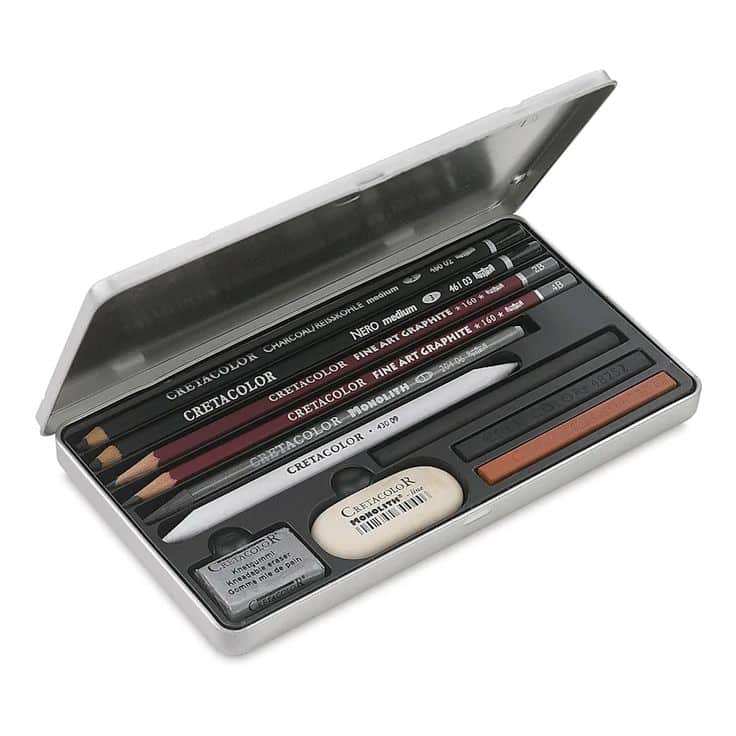
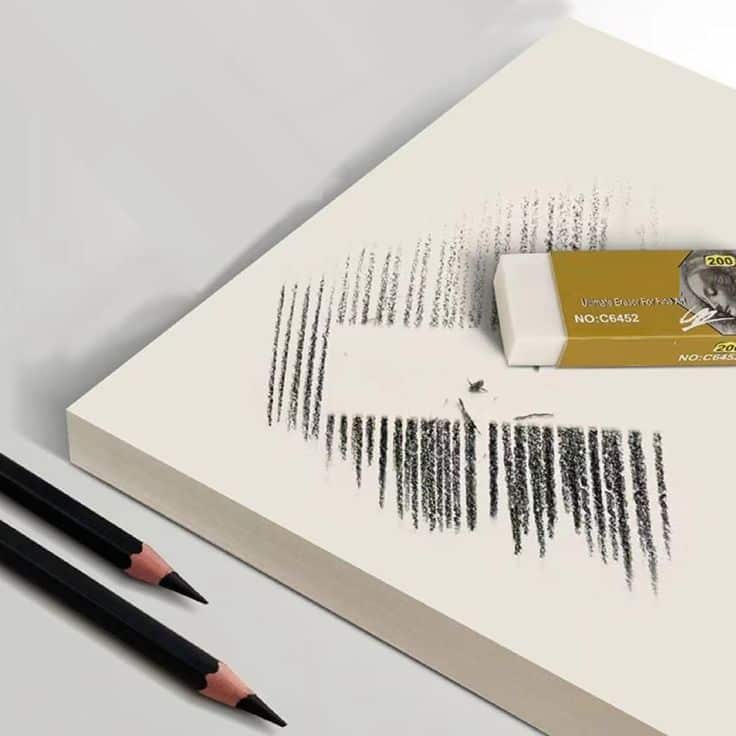
For more tool comparisons, the Sky Rye guide to drawing materials is useful in the middle of this workflow. If you are staying in graphite, these pencil drawing pictures show how much can be done with pressure, values, and clean edges.
Build Pooh from simple round shapes
The easiest Winnie the Pooh drawing is not built from detail. It is built from a few soft forms: a round head, rounded muzzle, pear-shaped body, half-circle ears, and short tube-like arms and legs. Lightly draw through the forms before you erase construction lines. This keeps the body compact and prevents the head from floating above the shirt.
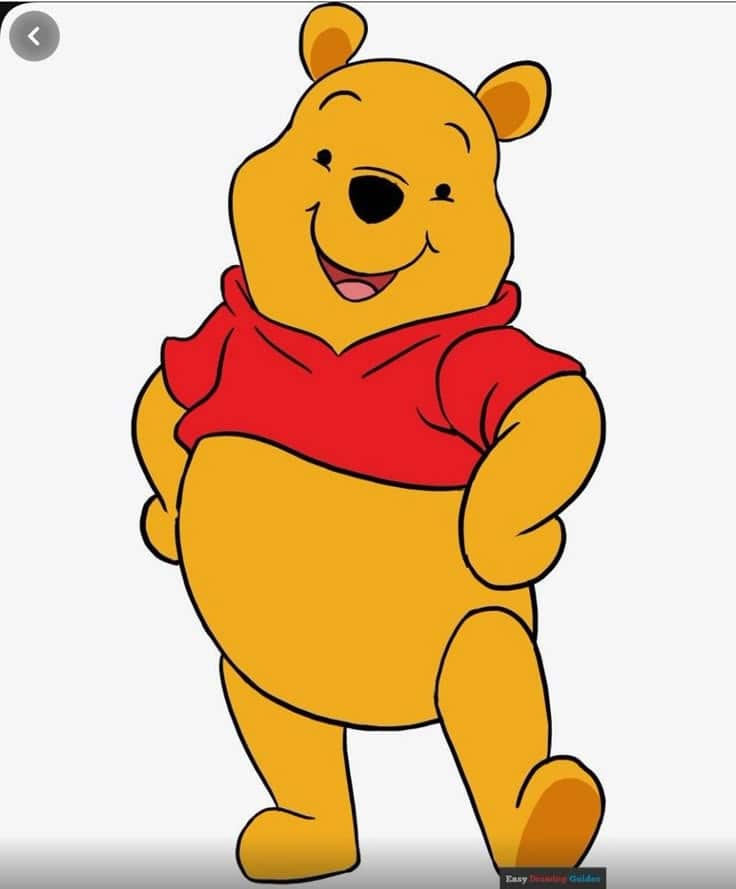
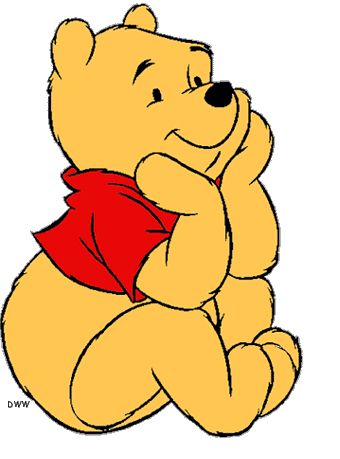
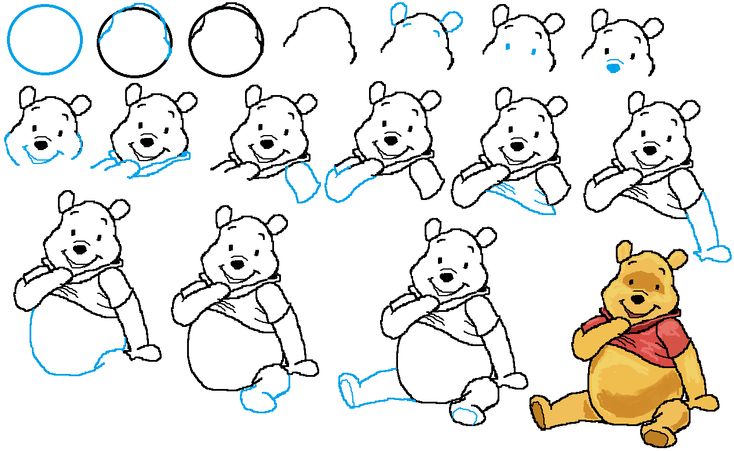
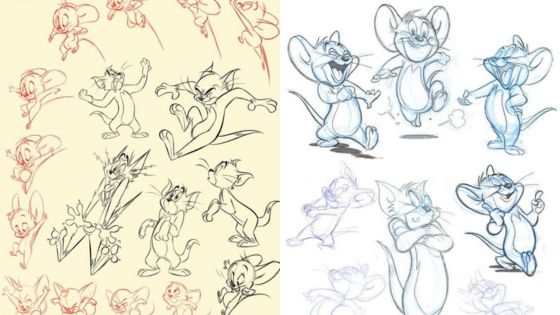
If the pose feels stiff, borrow the same shape logic from general cartoon character drawing practice: simple silhouette first, expression second, costume last.
Common mistakes in an easy Winnie the Pooh drawing
Most beginner Pooh sketches go wrong in the same few places. The head becomes too narrow, the ears sit too high, the shirt turns into a straight stripe, or the face gets drawn too large. Fix those before adding color. Pooh should feel compact and soft, with the shirt wrapping around the round body instead of cutting across it like a flat label.
Another common issue is pressing too hard too early. Build the first Winnie the Pooh pencil drawing with pale construction lines, then choose the final outline only when the pose feels balanced. If you want ink, wait until the smile, ears, and belly curve are working together. A careful second pass looks cleaner than a dark first pass that needs heavy erasing.
How to capture Pooh’s face and character likeness
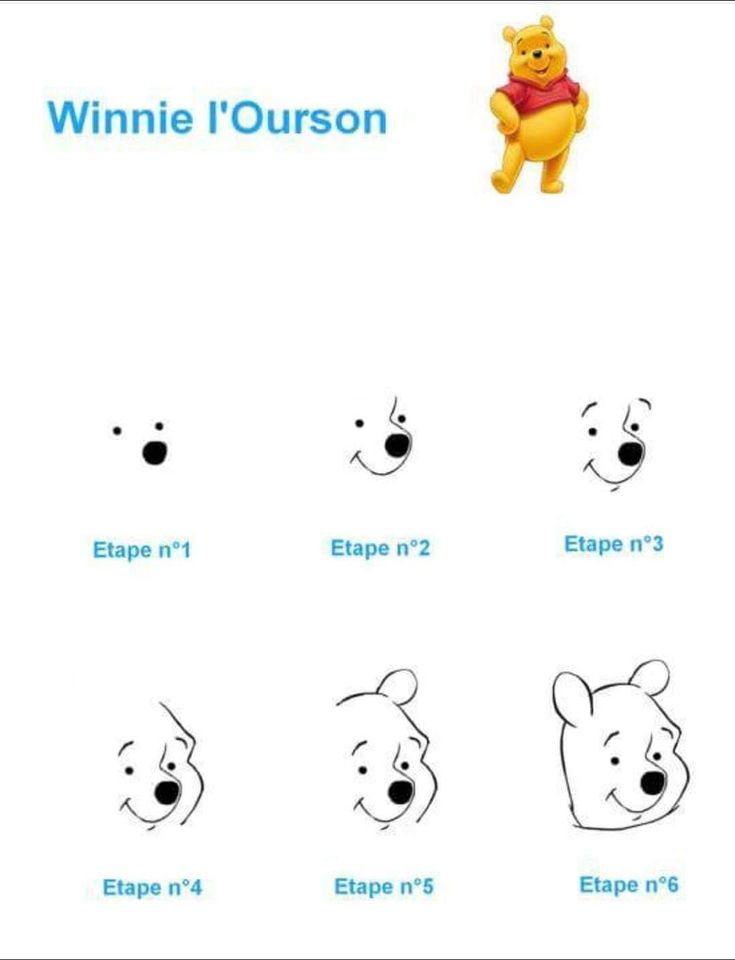
Pooh’s face works because the features are modest. Place the eyes close to the muzzle, keep the nose small and dark, and curve the brow gently over the eyes. A large smile or dramatic eyebrow angle can push the character away from the classic look, so make tiny changes and compare the expression after each one.
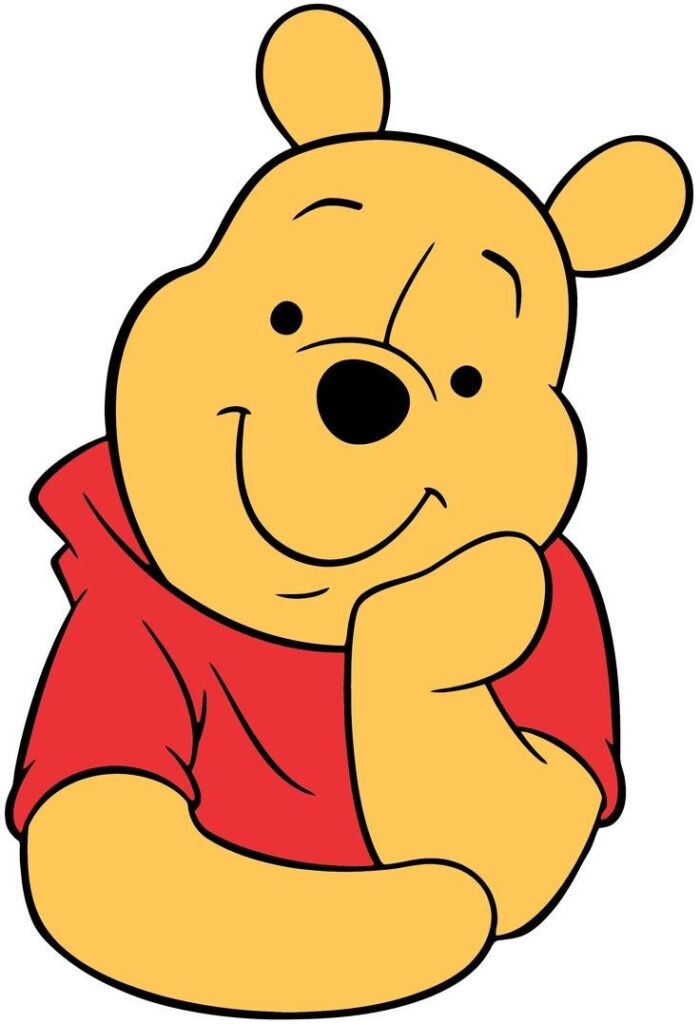
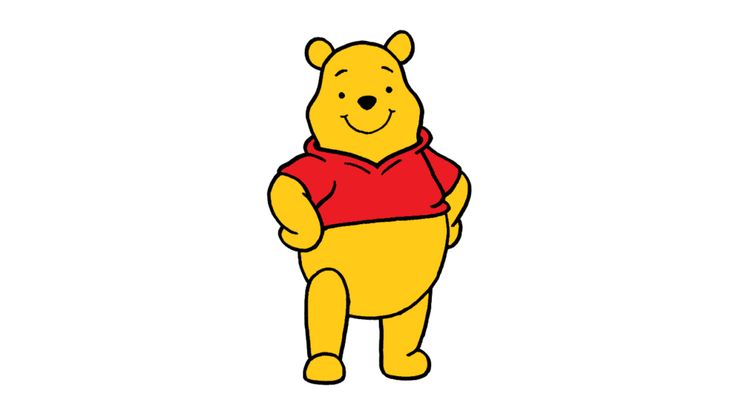
For face practice, study drawing face expressions and then bring the idea back to Pooh with a much simpler expression. The goal is a soft, readable mood, not a detailed portrait.
Coloring and shading a Winnie the Pooh drawing
Color is where a simple Pooh drawing becomes instantly recognizable. Use golden yellow for the body, red for the shirt, and warm brown for the nose, mouth, and light shadows. Put the strongest shadows under the chin, arms, belly, shirt hem, and feet. Leave broad yellow areas clean so the character keeps a soft children’s-book feeling.
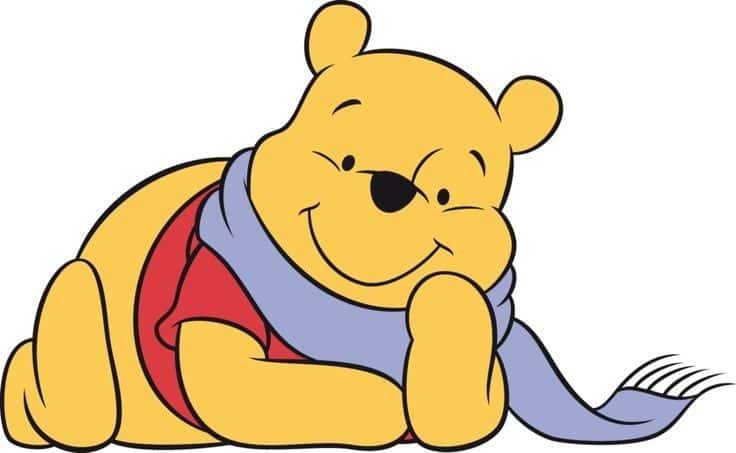
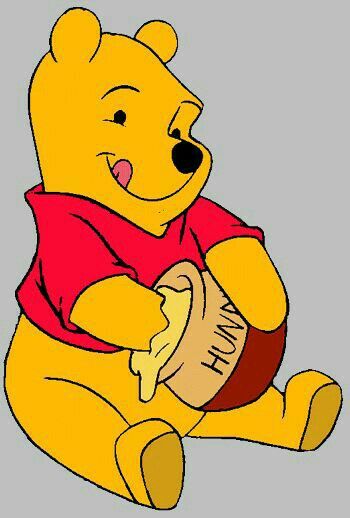
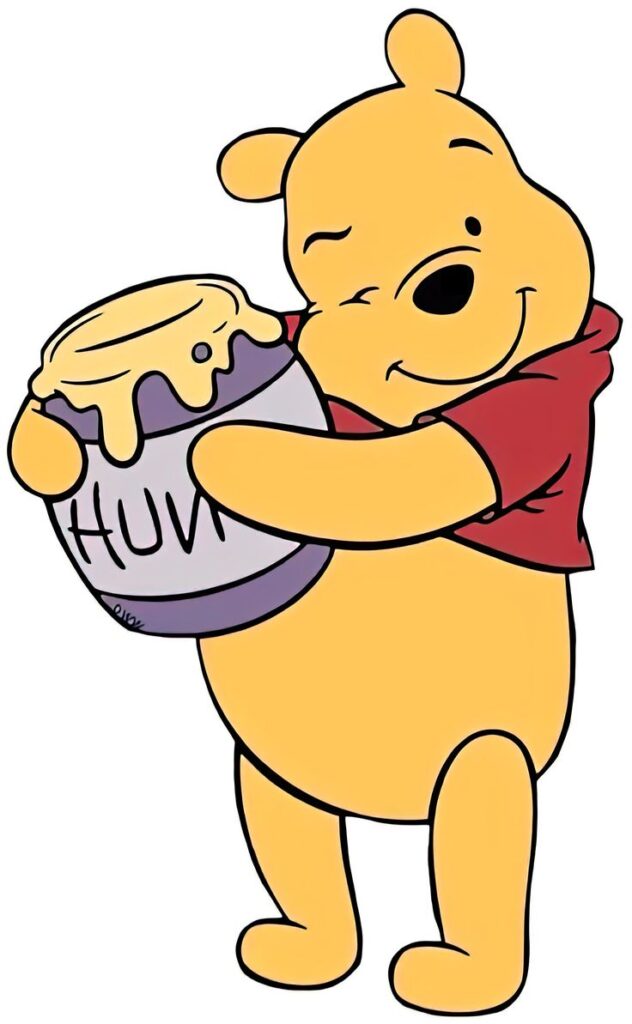
If you are coloring digitally, keep your line layer separate from the flat color layer. The Sky Rye digital painting tutorial explains a simple layer workflow that works well for a clean Winnie the Pooh sketch.
Cute Winnie the Pooh drawing ideas
Once the basic character feels steady, change the story instead of overloading the drawing. Pooh can hold a honey pot, walk with a balloon, peek around a corner, sit with friends, or stand in a tiny outdoor scene. Keep the background lighter than the character so the eye still lands on Pooh first.
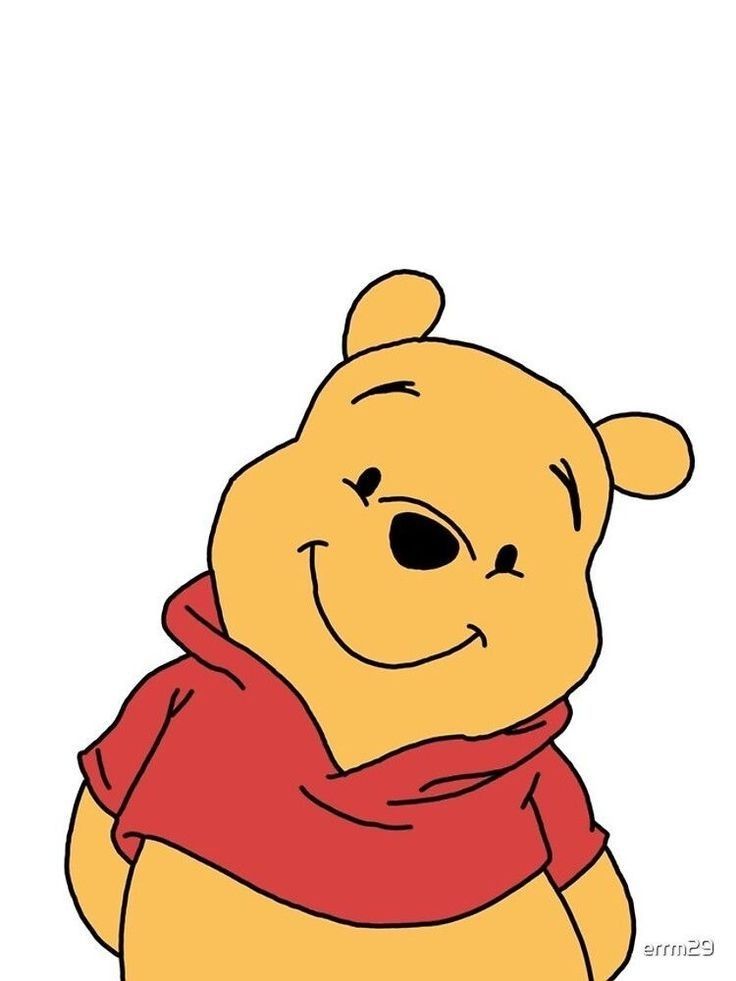
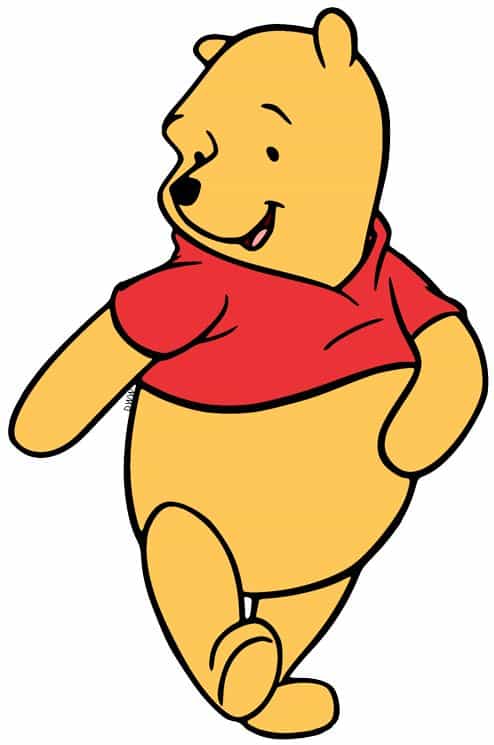
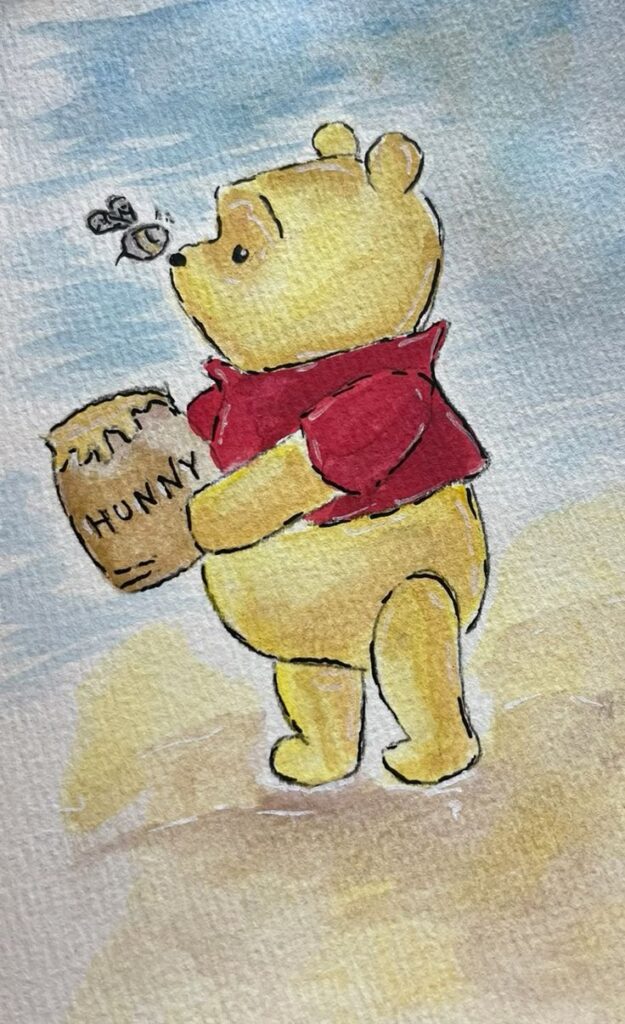
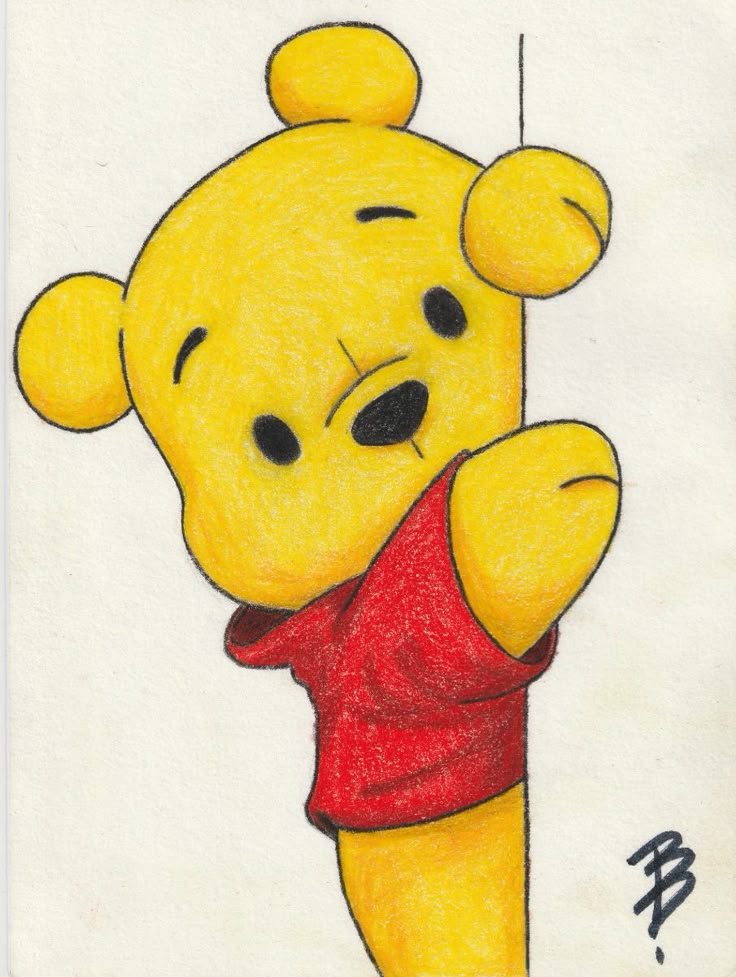
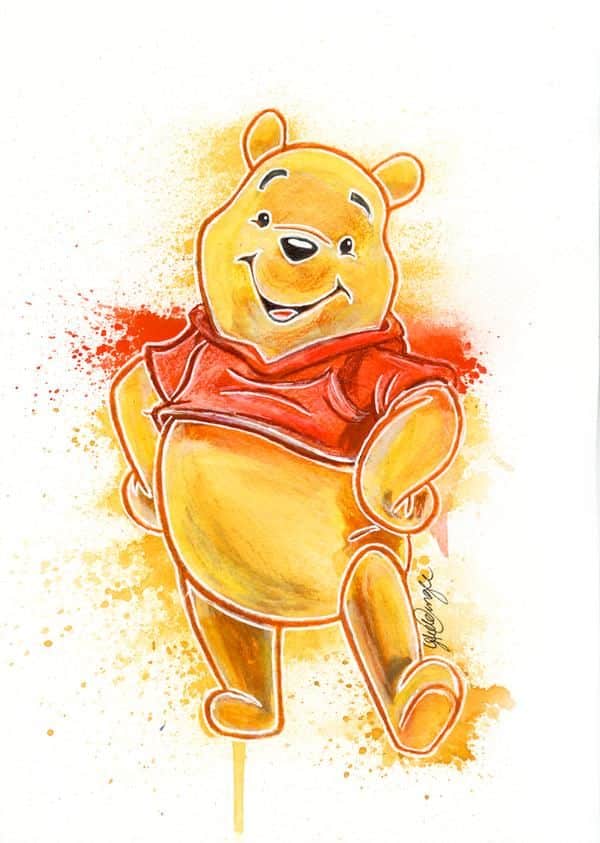
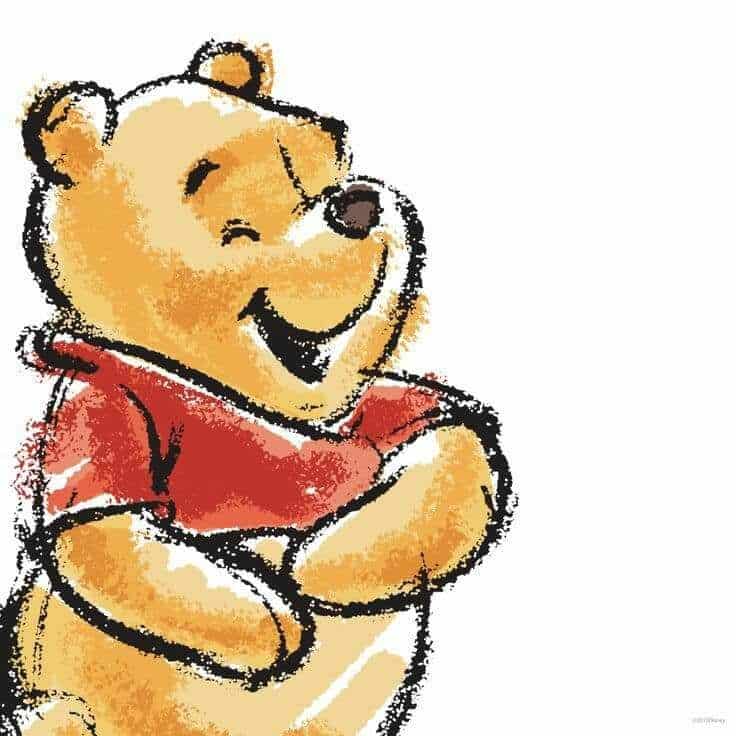
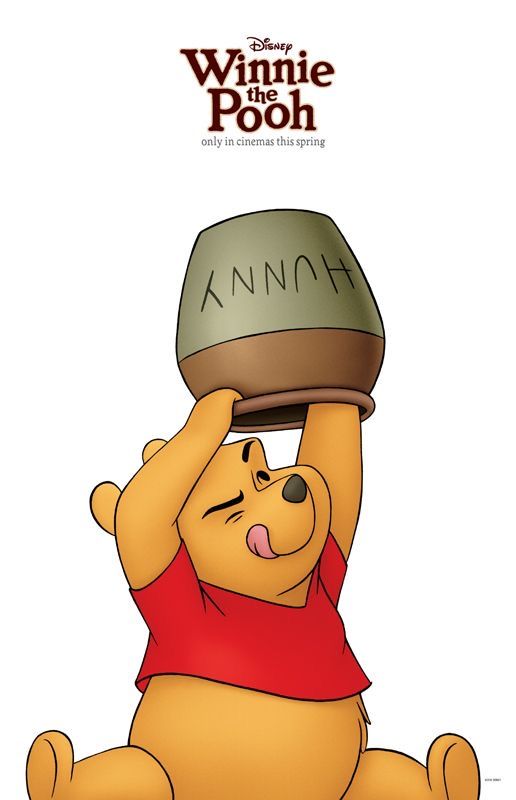
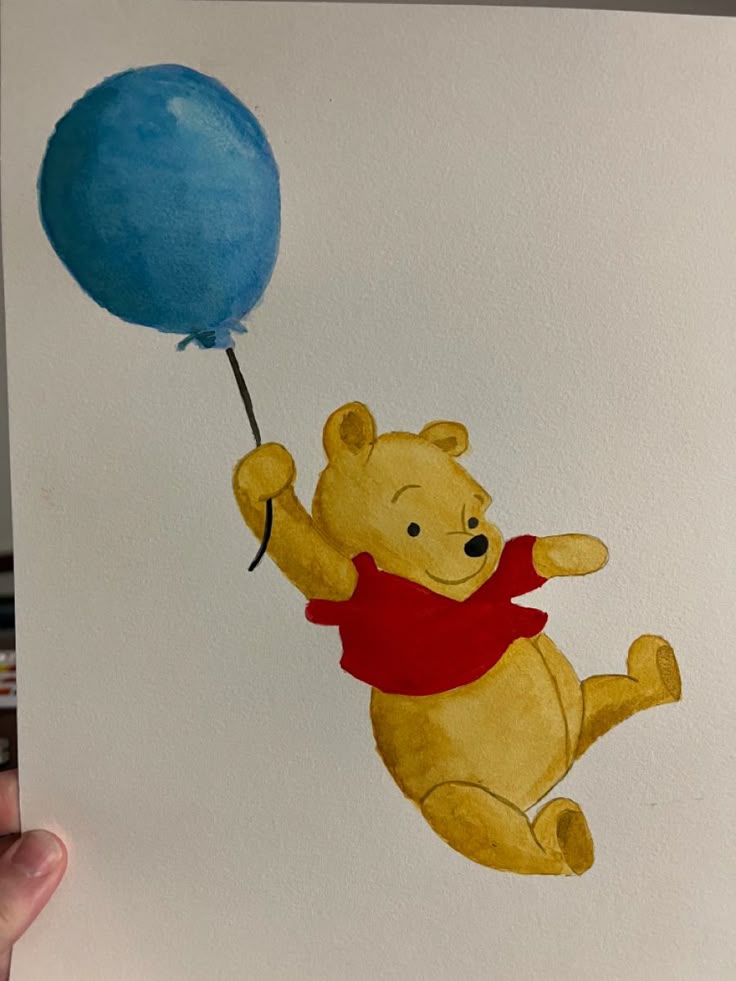
For more soft practice prompts, try easy drawing ideas for kids, then return to a Pooh drawing with one small change: a new pose, a honey detail, or a friend in the background.
A short practice routine for better Pooh drawings
Use a small routine if you want the character to improve quickly. Draw three tiny thumbnail poses first: standing, sitting, and holding honey. Pick the clearest one, redraw it larger, then spend five minutes only on the face. On the final pass, compare the head width, ear height, shirt curve, and foot placement before coloring.
This keeps the practice light and repeatable. One polished drawing is nice, but several small Pooh sketches teach you more about proportion, gesture, and expression. When a sketch fails, circle the one part that worked best and carry that detail into the next attempt.
Draw Pooh with friends
Group drawings look charming, but they need a quick size plan. Rough in Pooh, Piglet, Tigger, and Eeyore as simple height blocks before drawing faces. Pooh should still feel round and grounded; Tigger can be taller and bouncier, Piglet smaller and narrower, and Eeyore lower with a heavier posture.
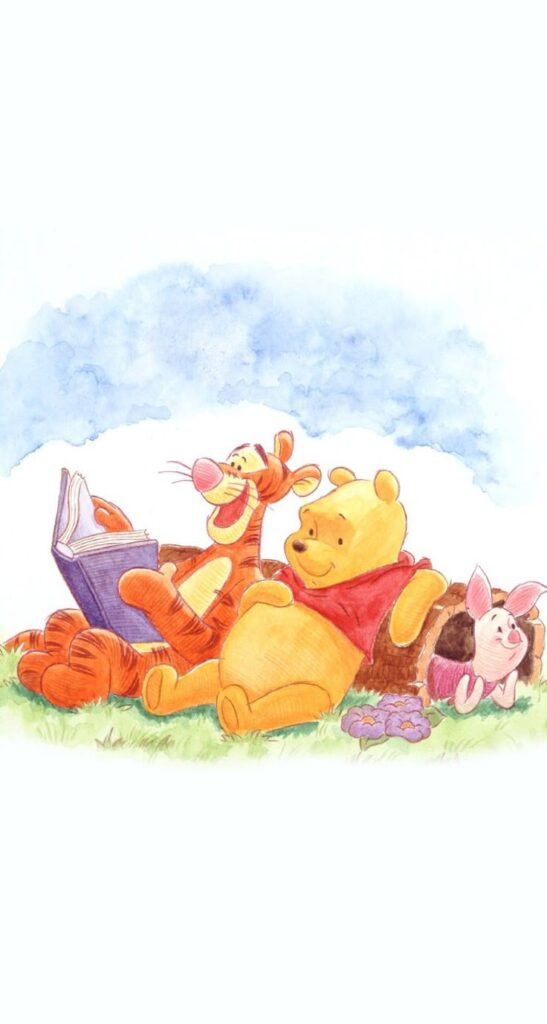
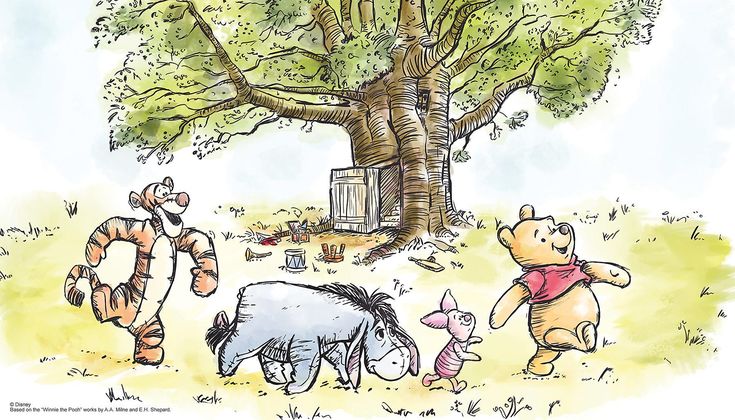
Character clusters are easier after you practice a few related lessons, such as Disney drawing style, how to draw Simba, and how to draw Stitch. Use those pages for structure, then keep Pooh softer and rounder.
Digital vs traditional Pooh drawing
Traditional drawing gives you a gentle, handmade line, especially with pencil and colored pencil. Digital drawing makes it easier to resize the head, adjust the shirt edge, and test colors without redrawing the character. Either way, avoid polishing too early. A clean outline only helps after the simple shapes are working.
Reference links for Winnie the Pooh drawings
Use outside references after your own sketch is underway. These links are helpful for character context, classic illustration background, and seeing how other artists simplify the same subject.
- Official Disney Winnie the Pooh site for the current official Disney character hub.
- E. H. Shepard illustration archive for background on E. H. Shepard’s illustration work.
- Winnie-the-Pooh background on Britannica for a concise character overview.
- Winnie-the-Pooh history on Wikipedia for broader publication and character history.
- High Museum exhibition notes on E. H. Shepard’s Pooh drawings for museum context around E. H. Shepard’s original illustration work.
- Art Projects for Kids Winnie the Pooh tutorial for another beginner-friendly step sequence.
- HelloArtsy Winnie the Pooh drawing lesson for a second simplified drawing lesson to compare shapes.
A quick note for artists: Winnie the Pooh is a recognizable character, so keep fan art for personal practice unless you have the rights needed for commercial use.
FAQ about Winnie the Pooh drawing
What is the easiest way to draw Winnie the Pooh?
Start with a round head, two small ears, an oval body, short arms and legs, and a simple red shirt. Add the tiny eyes, nose, brow line, and smile only after the big shapes feel balanced.
How do you draw Winnie the Pooh step by step?
Sketch the head and body lightly, place the ears, map the center of the face, add the shirt and limbs, clean the outline, then color the body yellow and the shirt red. Finish with soft shadows under the chin, arms, belly, and feet.
What shapes should I use for a Pooh bear drawing?
Use circles and ovals first: a round head, oval muzzle, small half-circle ears, a pear-shaped body, and short rounded limbs. Pooh looks wrong when the body gets too angular, so keep the construction soft.
How do I make a Winnie the Pooh drawing look cute?
Keep the eyes small, the smile gentle, and the pose simple. A slight head tilt, rounded hands, a honey pot, or one lifted foot can make the drawing feel warmer without adding difficult detail.
What colors do I need for Winnie the Pooh?
Use golden yellow for the bear, red for the shirt, warm brown for the nose and light shadows, and a darker red or orange-red for shirt folds. Keep the colors soft if you want the sketch to feel classic.
Can beginners draw Winnie the Pooh with pencil?
Yes. A pencil version is often the best first attempt because you can adjust the head size, ear placement, and smile before committing to ink or color. Use a softer pencil only after the outline is clean.
What can I add around Winnie the Pooh after the character is finished?
Try a honey pot, bees, balloons, grass, a small tree, or friends like Piglet, Tigger, and Eeyore. Keep the background lighter than Pooh so the character remains the focus.
Final sketch checklist
Before you call the drawing finished, check the head size, ear placement, shirt edge, tiny facial features, and the balance of the pose. If those parts read clearly, even a very simple Winnie the Pooh pencil drawing will feel warm, recognizable, and finished.
- 358shares
- Facebook0
- Pinterest358
- Twitter0
- Reddit0