Learning to draw Simba from The Lion King is a right of passage for many artists – and for good reason. Simba isn’t just a lion, he’s a character with a whole lot of personality & emotion – his design effortlessly blends a touch of realism with the endearing charm of classic animation.
- Why Simba Is a Great Character to Draw
- What You’ll Need Before You Start
- Step 1: Start with Simple Shapes (The Foundation)
- Step 2: Shape Simba’s Face
- Step 3: Draw the Ears and Mane (Cub vs Adult)
- Step 4: Add Details Using Simple Forms
- Step 5: Refine the Line Art
- Step 6: Add Facial Details and Expression
- Step 7: Coloring Simba the Right Way
- Common Mistakes to Avoid
- Practice Exercises to Improve Faster
- How Long Does It Take to Learn to Draw Simba Well?
- Frequently Asked Questions
- Final Thoughts: Drawing Simba Is About Storytelling
Whether you’re just doodling for fun, trying to improve your illustration skills or actually making art to share online, this guide will walk you through all the stages of drawing Simba from basic shapes all the way up to fine-tuned line work & colour
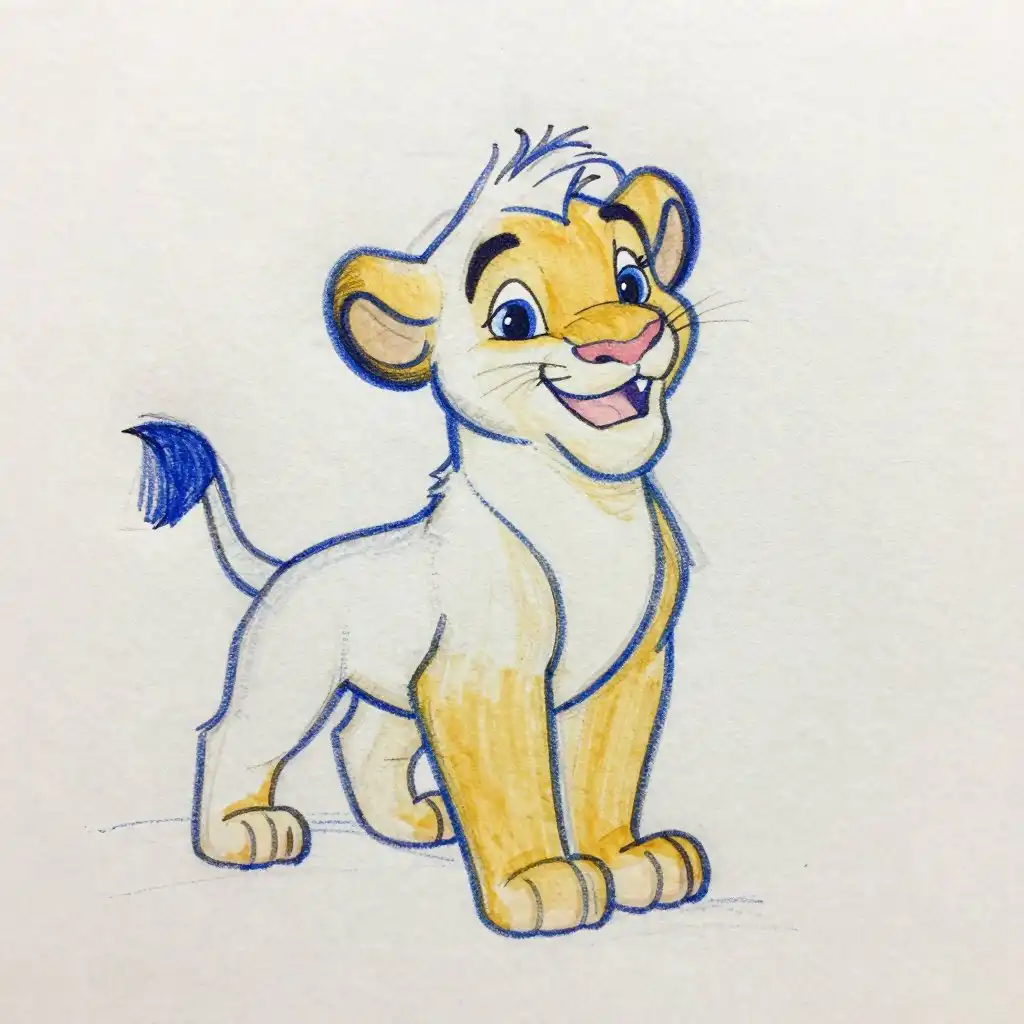
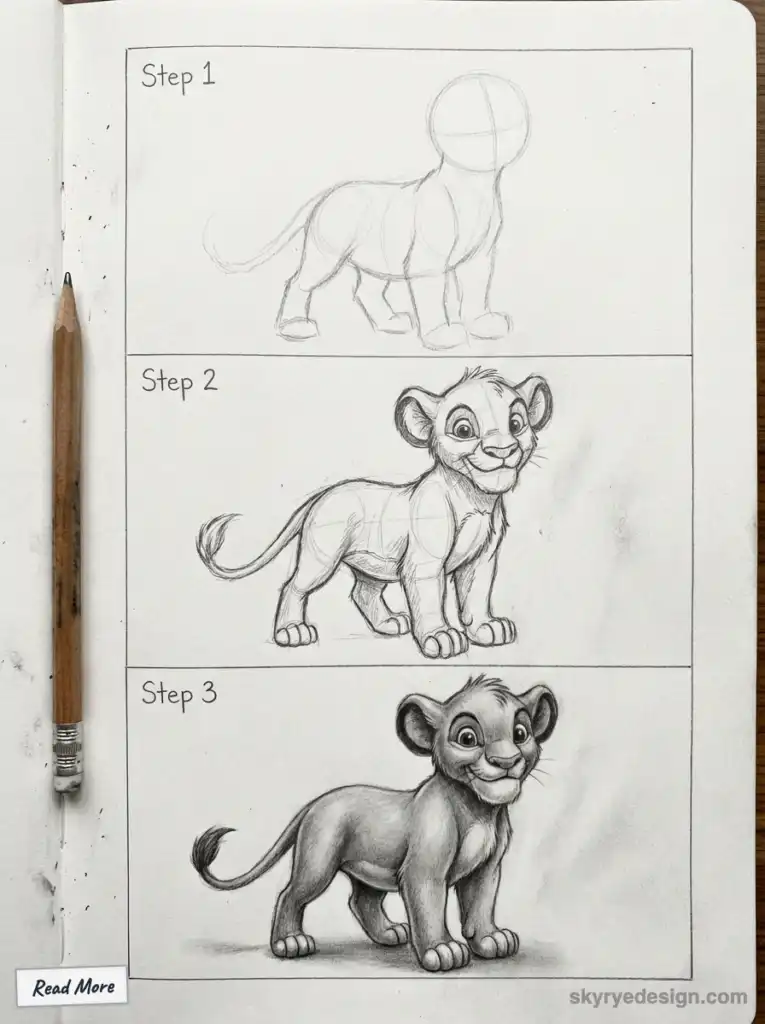
How to draw Simba step by step
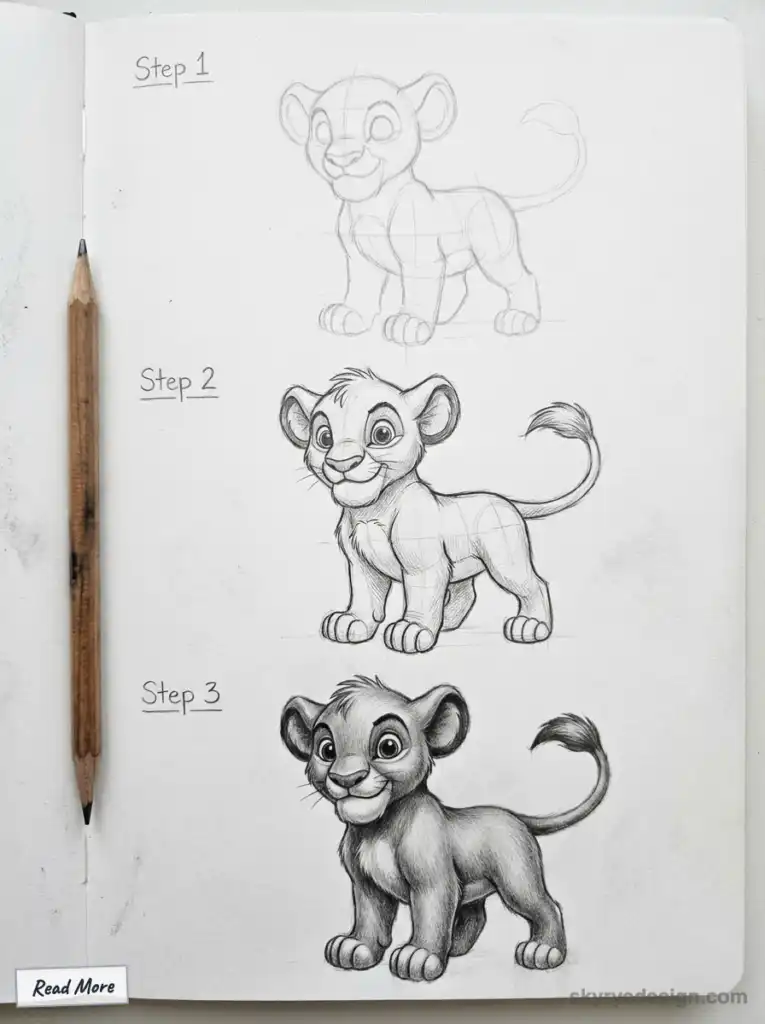
To draw Simba step by step, start with a large circle for the head, then add a smaller muzzle circle overlapping the lower half. Place a vertical centerline and a soft horizontal eye guide before drawing the features. Keep the eyes large, the nose rounded, and the cheeks soft so the face stays friendly instead of realistic. Add rounded ears slightly behind the head shape, then decide whether you are drawing cub Simba or adult Simba. Cub Simba needs a smoother head and smaller tufts; adult Simba needs a loose mane silhouette before any hair detail. Refine the line art only after the expression works. For color, use warm golden yellows, lighter muzzle tones, and controlled brown shadows so the drawing still feels clean. Use light pencil pressure at first, compare both sides before inking, and keep each correction tied to the centerline so the character stays balanced.
Simba drawing construction checklist
| Part | What to sketch | Drawing check |
|---|---|---|
| Head | Large circle with a light centerline | The face angle should be clear before details start. |
| Muzzle | Smaller rounded oval overlapping the lower face | Keep it soft; sharp corners make Simba look older. |
| Eyes | Large rounded eyes under the guideline | Match the tilt on both sides so the expression feels intentional. |
| Nose | Rounded triangle above a short mouth line | The nose should sit centered on the muzzle, not the whole head. |
| Ears | Two rounded ears set slightly behind the head circle | Place them high enough to frame the face. |
| Mane or tufts | Loose outer shape before individual hair marks | Cub Simba needs small tufts; adult Simba needs a bigger silhouette. |
| Line art | Clean final contour over the construction sketch | Erase only after the expression and proportions work. |
| Color | Golden base, lighter muzzle, warm brown shadows | Keep shadows grouped so the cartoon style stays readable. |
Common Simba drawing mistakes
| Mistake | What it does | Quick fix |
|---|---|---|
| Muzzle too narrow | Simba starts to look like a generic cat. | Widen the lower oval and soften the cheek curves. |
| Eyes placed too high | The face loses its young, expressive look. | Lower the eye guide slightly below the head center. |
| Ears too small | The head feels stiff and under-designed. | Make the ears larger and set them behind the head circle. |
| Mane drawn strand by strand | Adult Simba looks messy instead of iconic. | Draw the outer mane shape first, then add a few inner breaks. |
| Flat color everywhere | The drawing loses depth. | Add grouped shadows under the muzzle, ears, mane, and chin. |
| Too much black outline | The sketch feels heavy for a soft cartoon character. | Use thicker lines only around the outside silhouette. |
Why Simba Is a Great Character to Draw
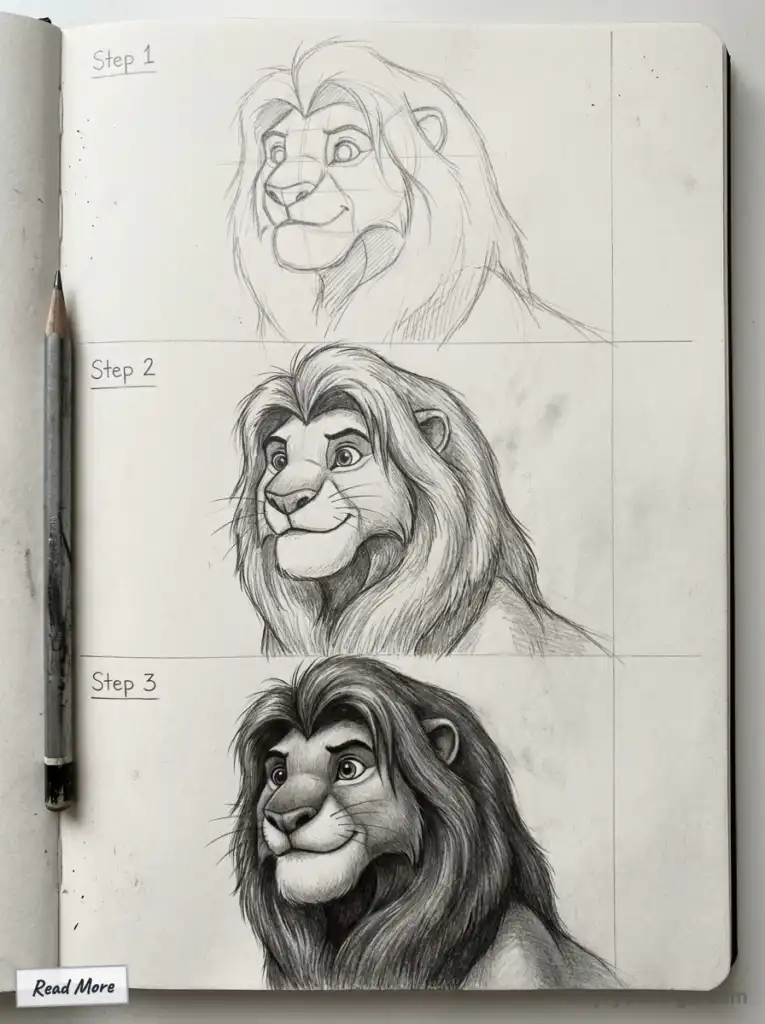
Simba—voiced and animated by Disney artists—is designed with:
- Readable facial expressions
- Clean, rounded shapes
- Strong silhouette and posture
That makes him ideal for beginners learning character construction and for intermediate artists practicing anatomy, emotion, and stylization.
For the wider Disney character construction system, use this Disney drawings guide as a companion. It explains why characters like Simba, Mickey, Stitch, and Belle are built from different shape families before the details go in.
You can draw Simba as:
- A playful cub
- A teenage lion
- A regal adult king
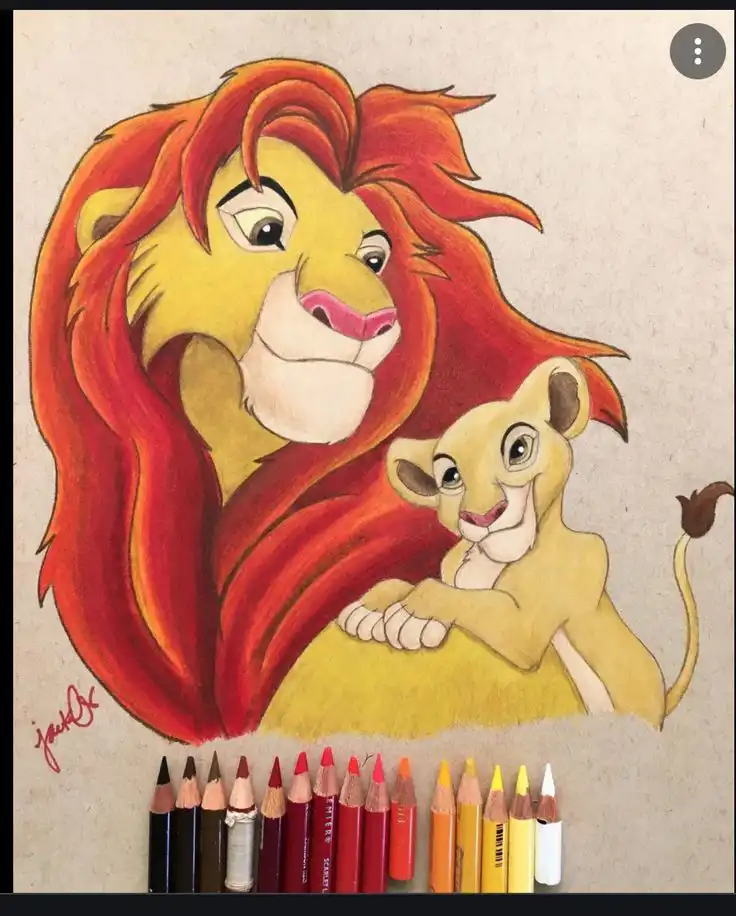
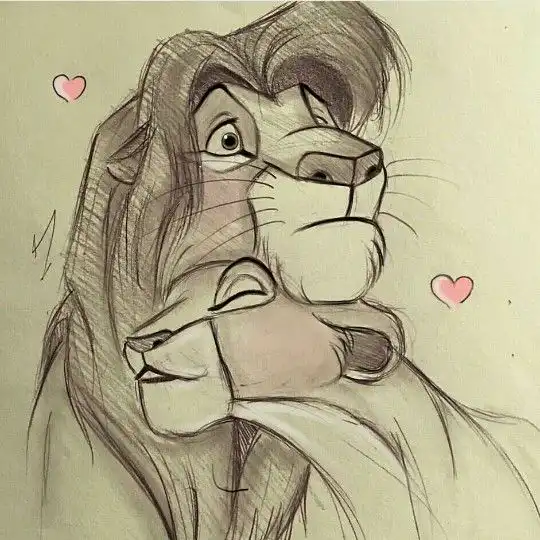
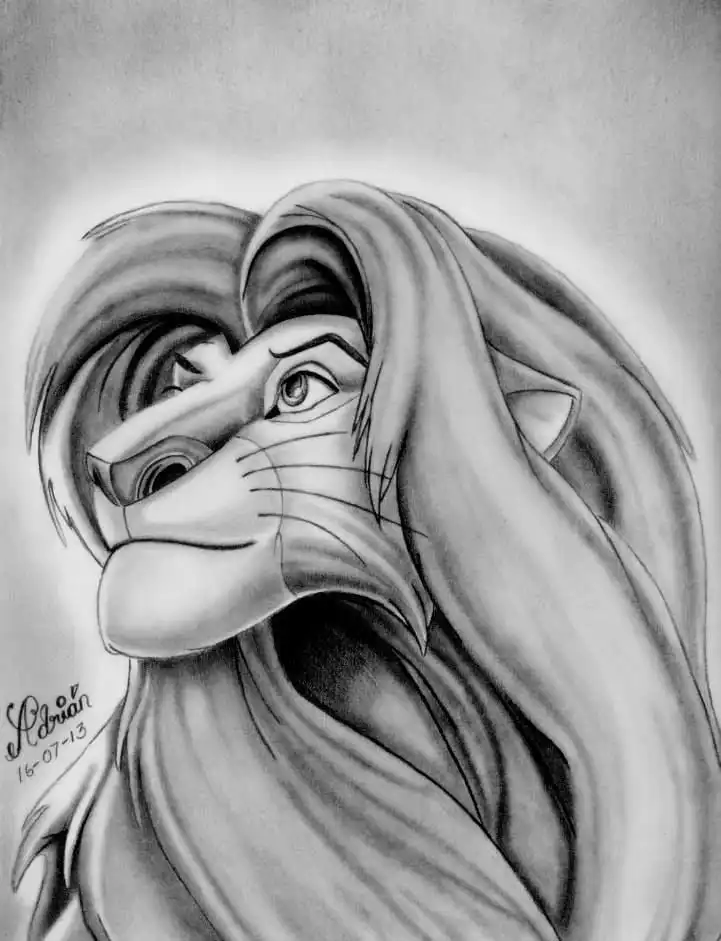
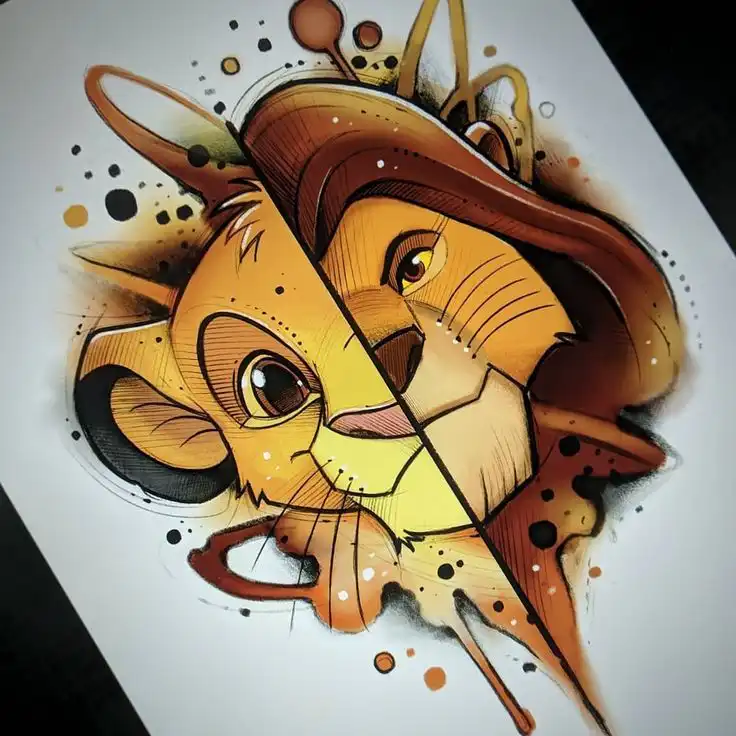
This tutorial focuses on classic animated Simba, not hyper-realistic lion anatomy.
What You’ll Need Before You Start
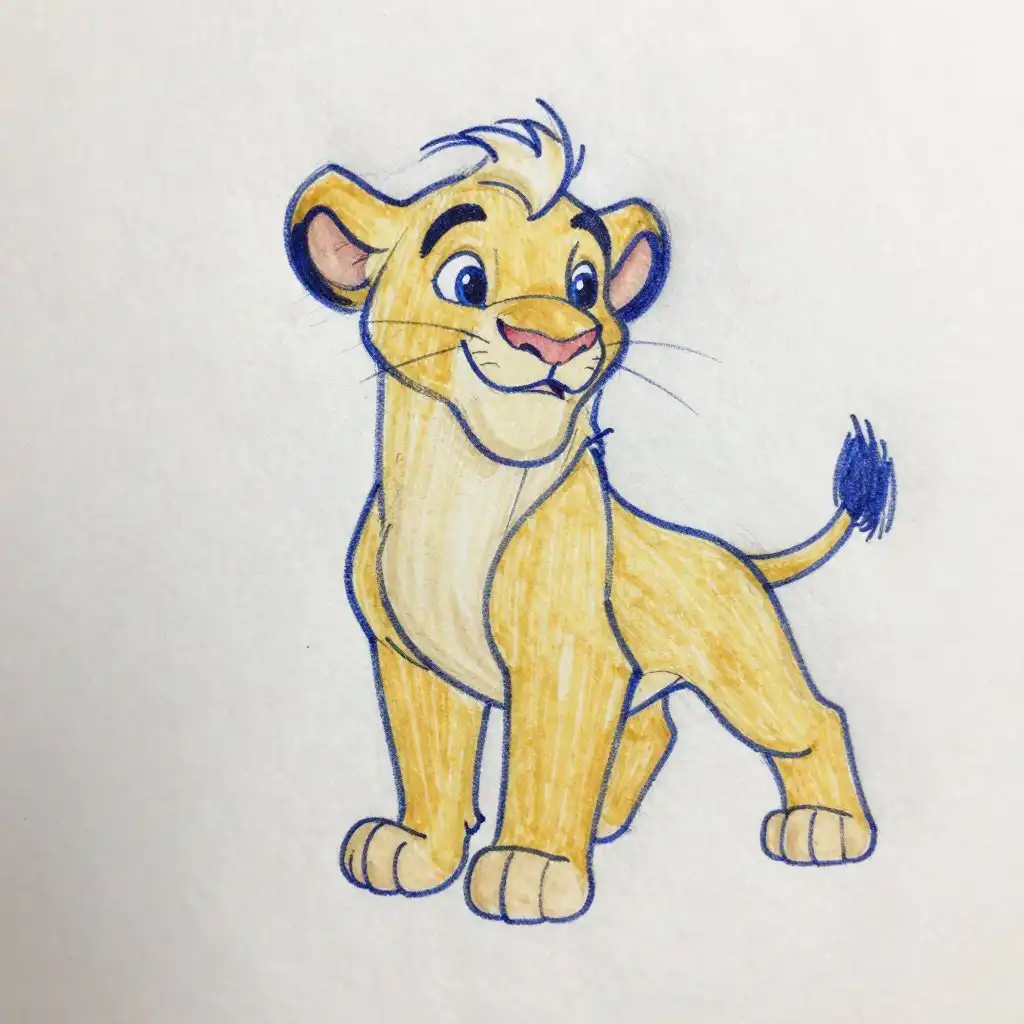
You don’t need expensive tools—just consistency and patience.
Basic supplies
- Pencil (HB or 2B)
- Eraser
- Paper or sketchbook
Optional tools
- Fine liner or ink pen
- Colored pencils, markers, or digital tablet
- Reference images from The Lion King
Pro tip: Always keep one reference image open. Even professionals rely on references.
Step 1: Start with Simple Shapes (The Foundation)
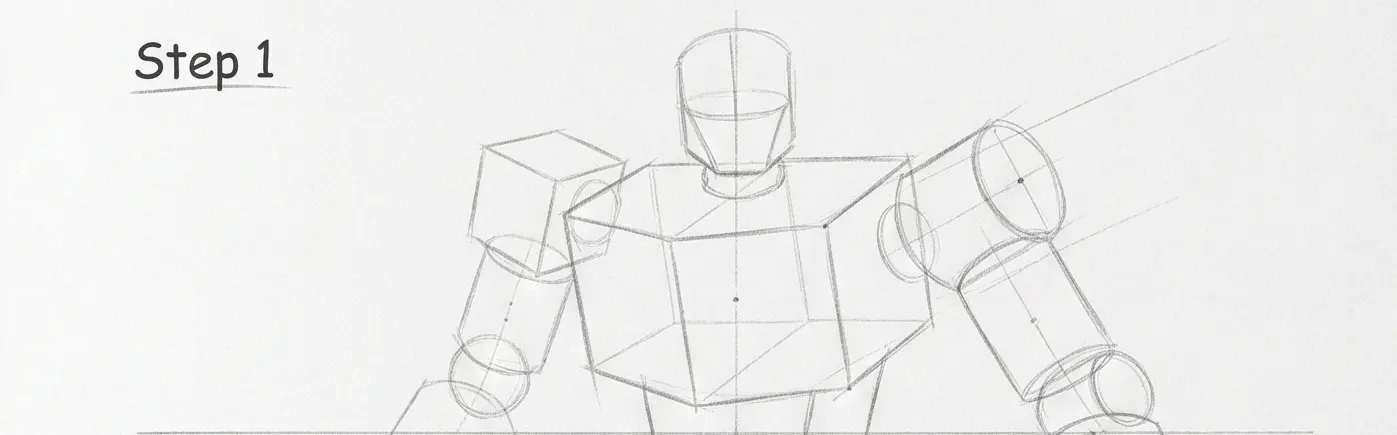
Every strong drawing starts with structure.
- Draw a large circle for Simba’s head
- Add a smaller circle overlapping the lower half for the muzzle
- Draw a vertical centerline to keep the face symmetrical
- Add a horizontal guideline for eye placement
At this stage:
- Don’t worry about details
- Keep lines light
- Focus on proportions
Think of this as scaffolding—you’ll remove it later.
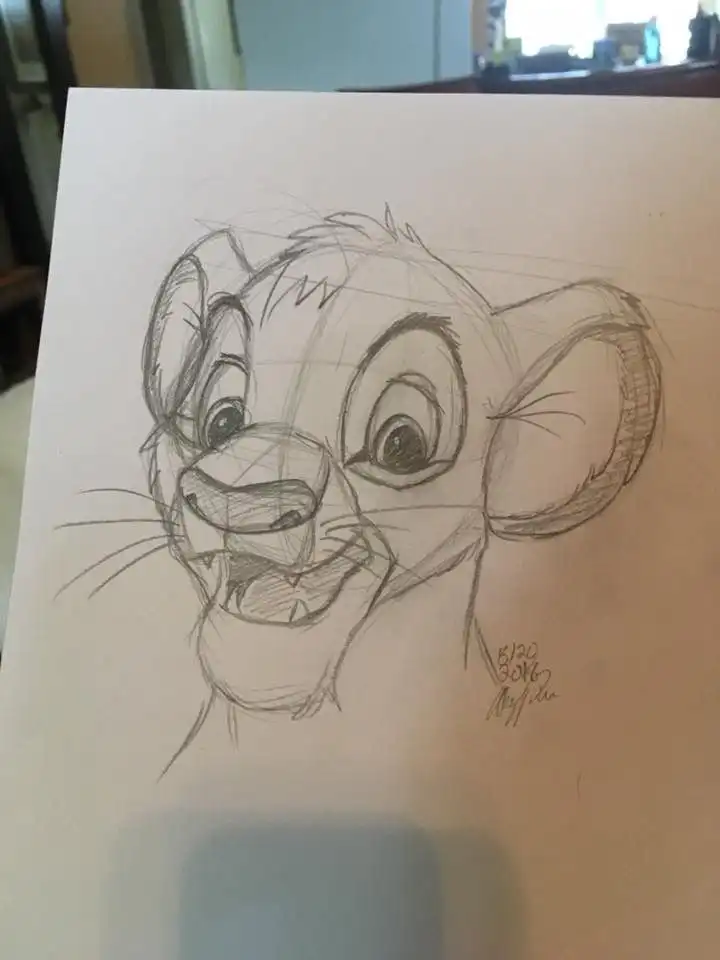
Step 2: Shape Simba’s Face
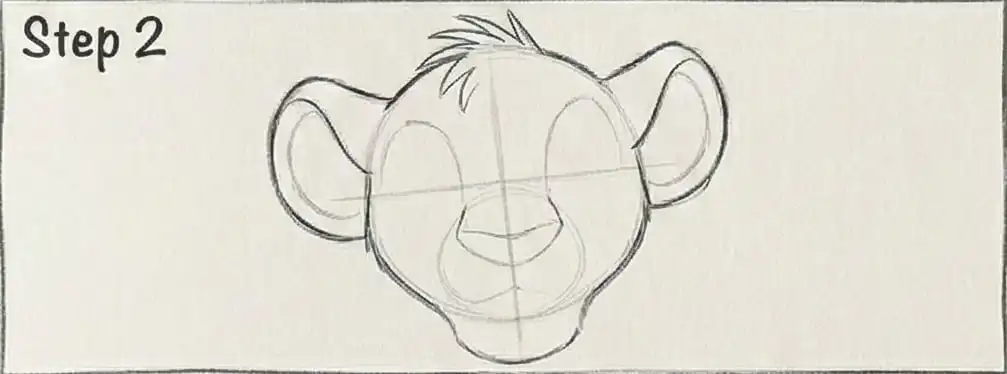
Now you’ll turn circles into character.
Eyes
- Place eyes slightly below the horizontal guideline
- Draw them large and rounded
- Add thick upper eyelids for Simba’s expressive look
Nose and Mouth
- Simba’s nose is a rounded triangle
- Add a short line down from the nose
- Curve the mouth upward slightly for a friendly expression
Cheeks and Jaw
- Use soft curves, not sharp angles
- Simba’s face is youthful and rounded—even as an adult
Erase overlapping guidelines as you refine the shape.
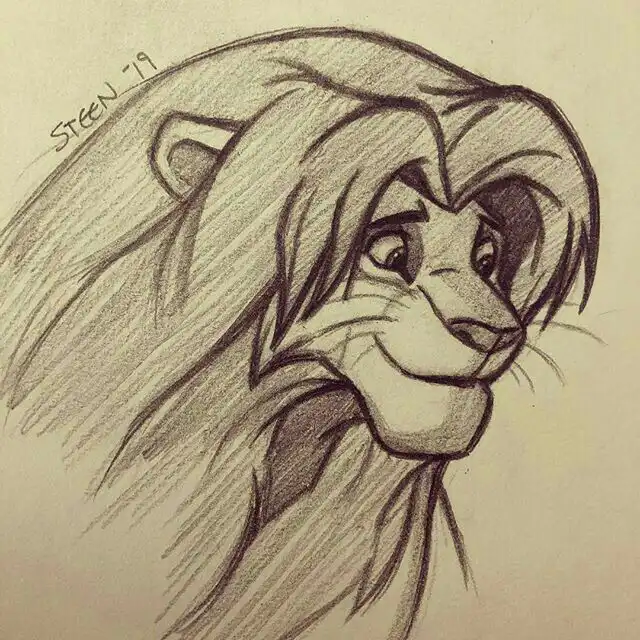
Step 3: Draw the Ears and Mane (Cub vs Adult)
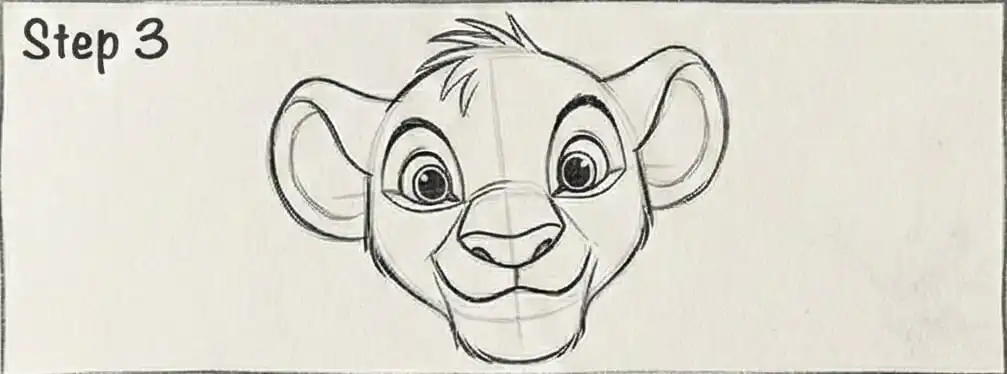
Ears
- Draw two rounded half-circles
- Place them slightly behind the head circle
- Add inner ear detail with a soft curve
Mane (If Drawing Adult Simba)
- Start with a rough outline
- Keep the mane flowing and uneven
- Avoid drawing individual hairs too early—focus on shape first
For cub Simba, skip the mane entirely and keep the head smooth.
Step 4: Add Details Using Simple Forms
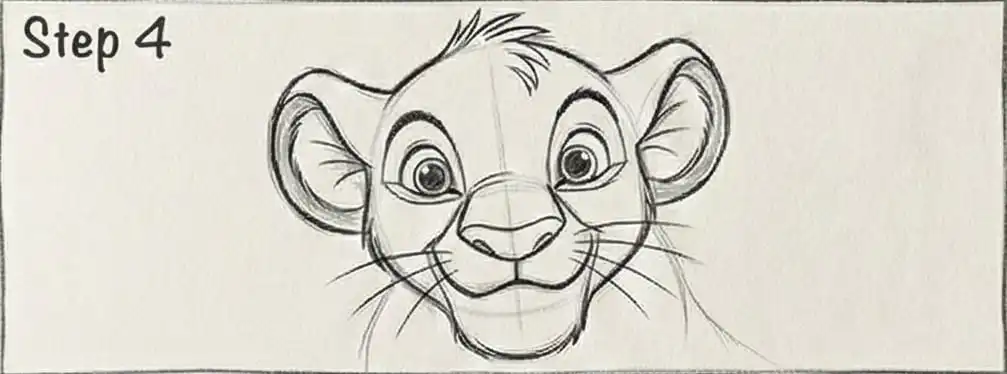
- Draw an oval beneath the head for the torso
- Add four simple leg shapes using cylinders or rectangles
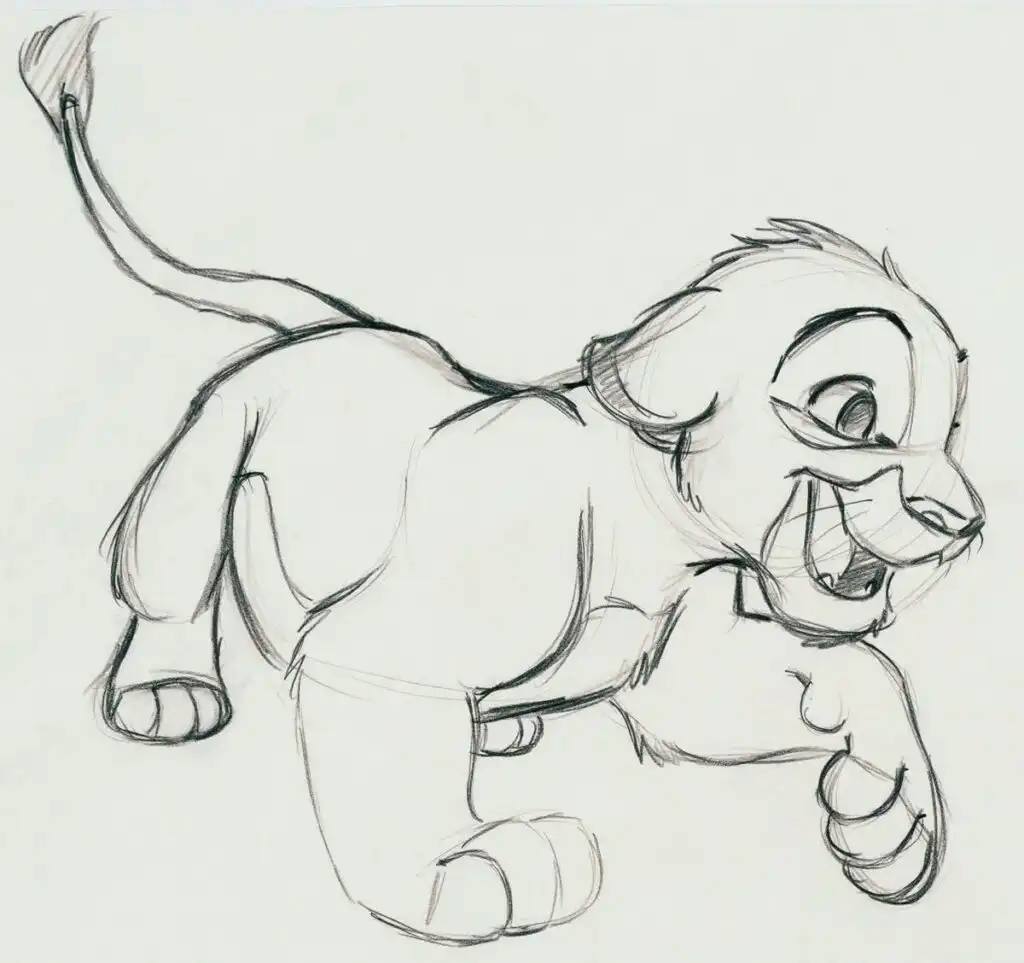
- Sketch a long, curved tail with a tuft at the end
Key proportions:
- Simba’s body is compact
- Legs are sturdy, not thin
- The tail adds motion—use curves
Don’t rush this step. A balanced pose makes the final drawing feel alive.
Step 5: Refine the Line Art
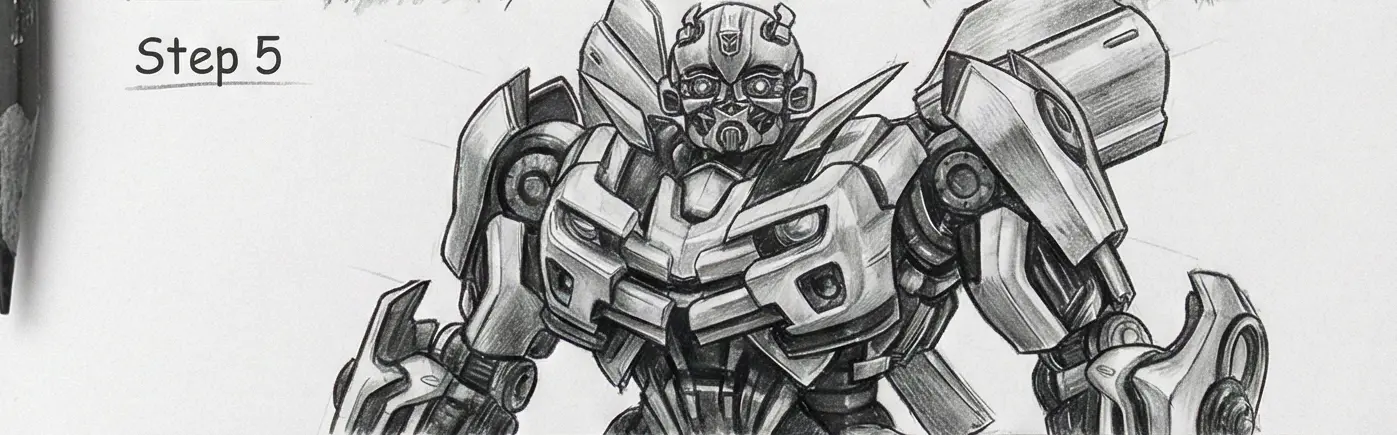
This is where your sketch turns into a finished drawing.
- Trace over your best lines
- Smooth out curves
- Remove construction shapes
- Define paws, claws, and tail tuft
If inking:
- Use consistent line weight
- Thicker lines for outer edges
- Thinner lines for facial details
Take breaks—fresh eyes catch mistakes faster.
Step 6: Add Facial Details and Expression
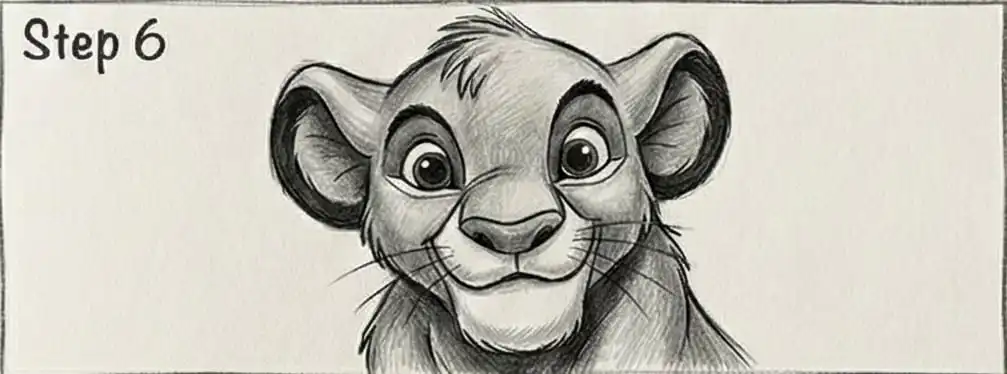
Simba’s personality lives in his face.
Focus on:
- Eyebrows (subtle but powerful)
- Eye highlights (small white circles)
- Cheek markings
- Whisker dots and whiskers
Ask yourself:
Does Simba look curious, confident, playful, or proud?
Adjust the eyebrows and mouth slightly until it feels right.
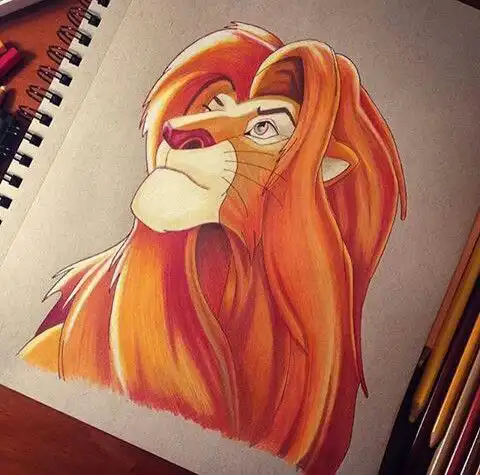
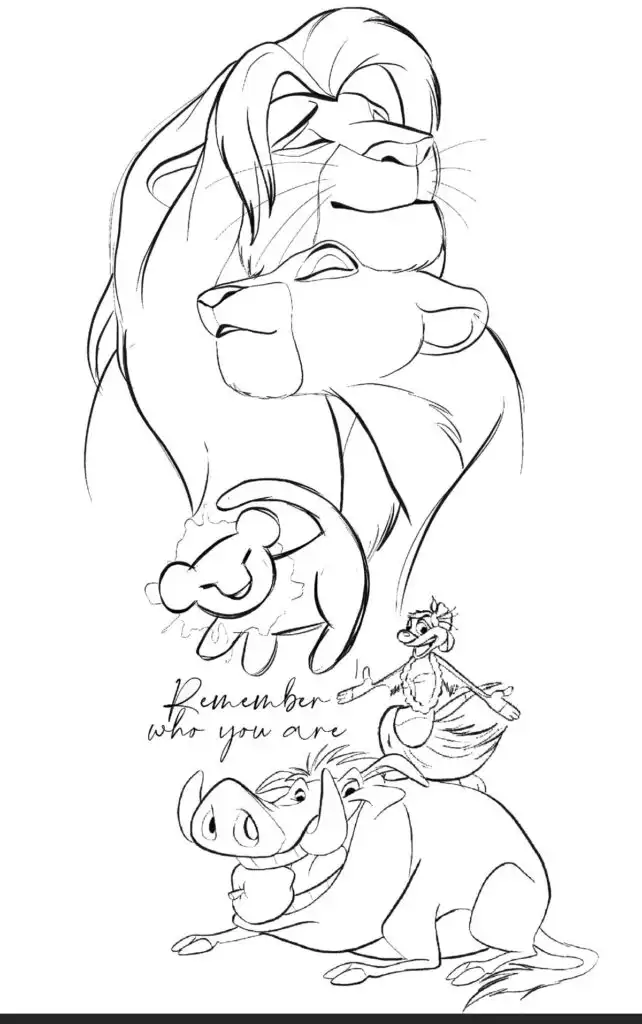
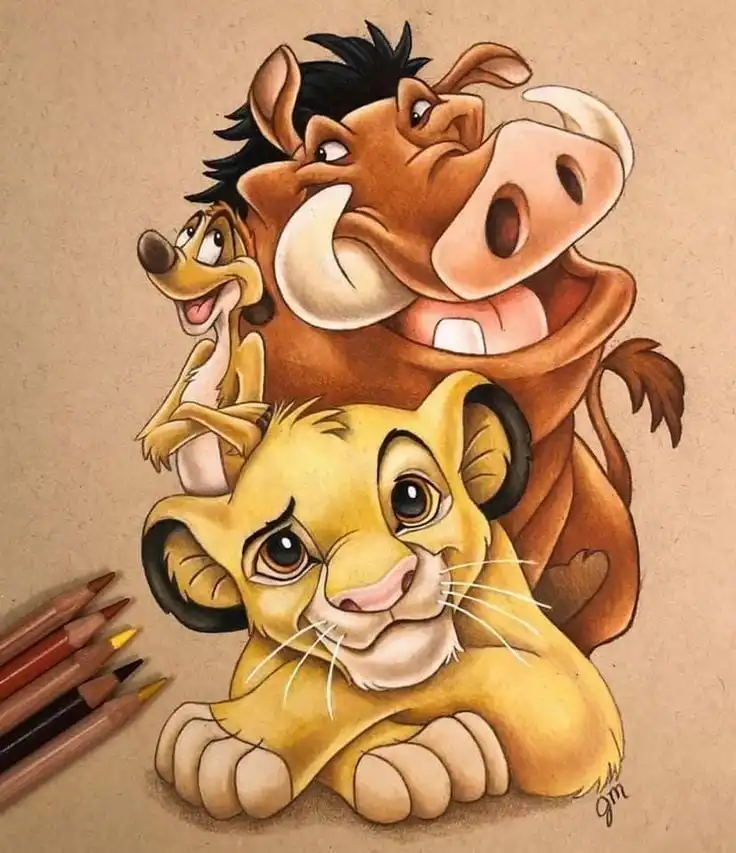
Step 7: Coloring Simba the Right Way
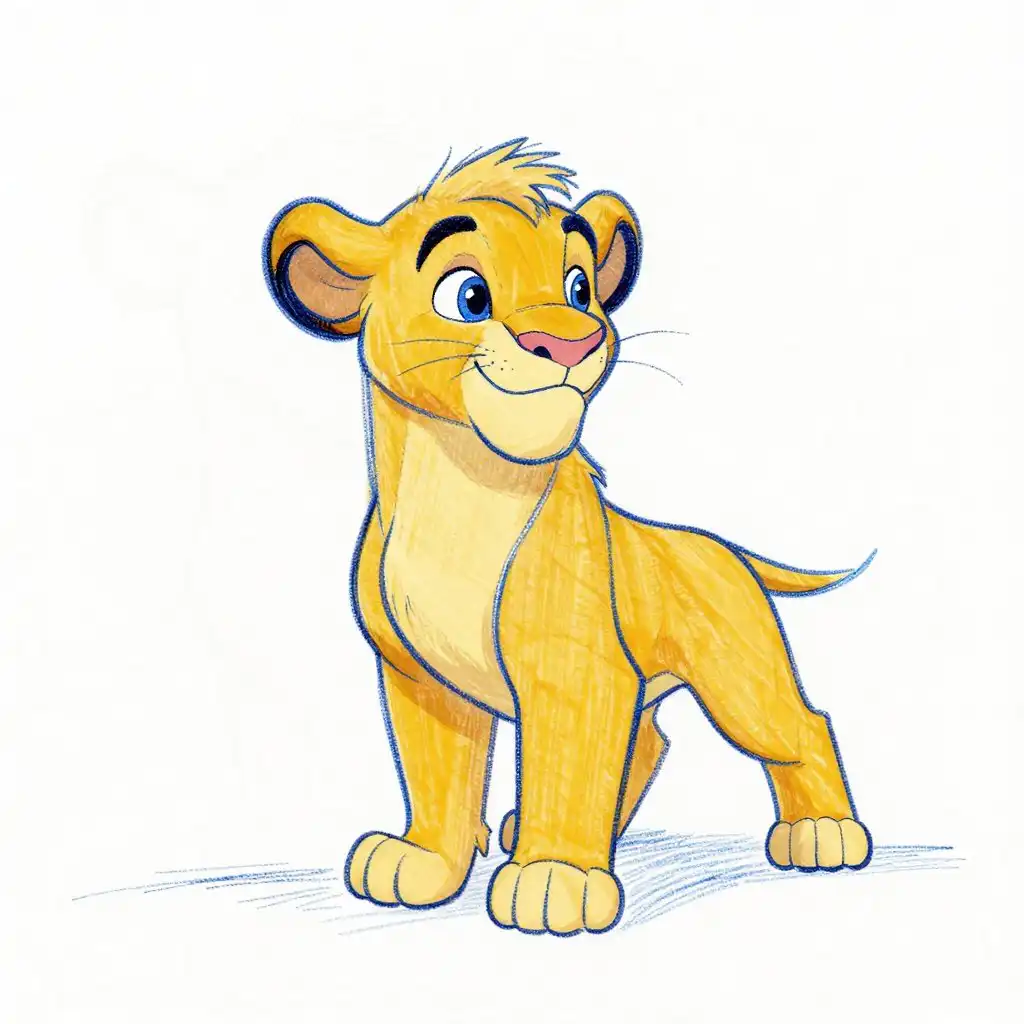
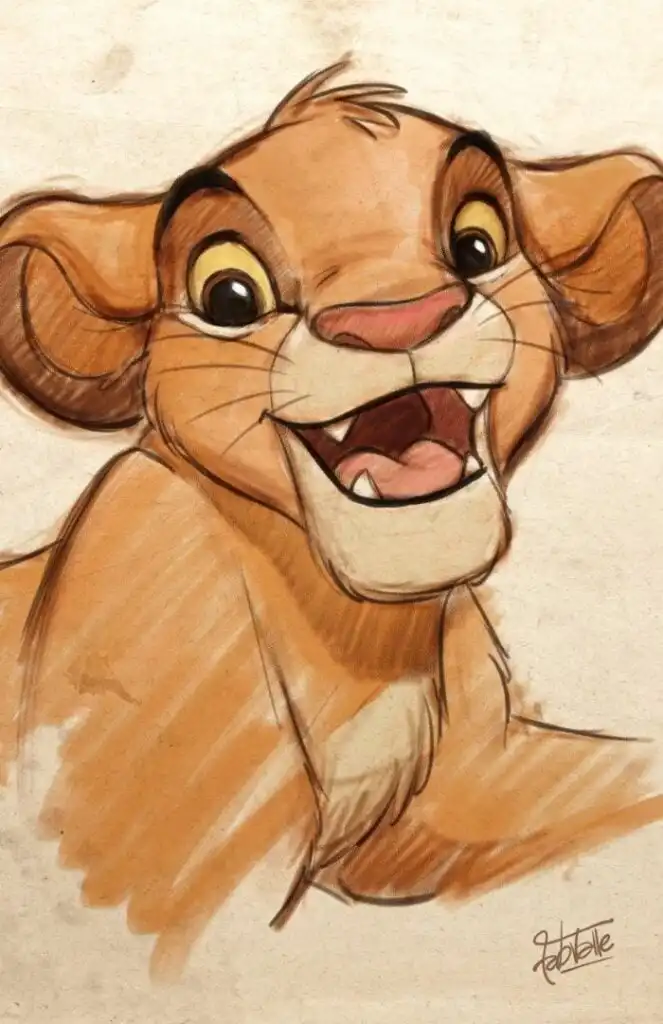
Classic Simba Colors
- Fur: golden yellow
- Mane (adult): reddish-brown
- Muzzle & belly: cream
- Nose: dark brown or black
- Eyes: warm amber
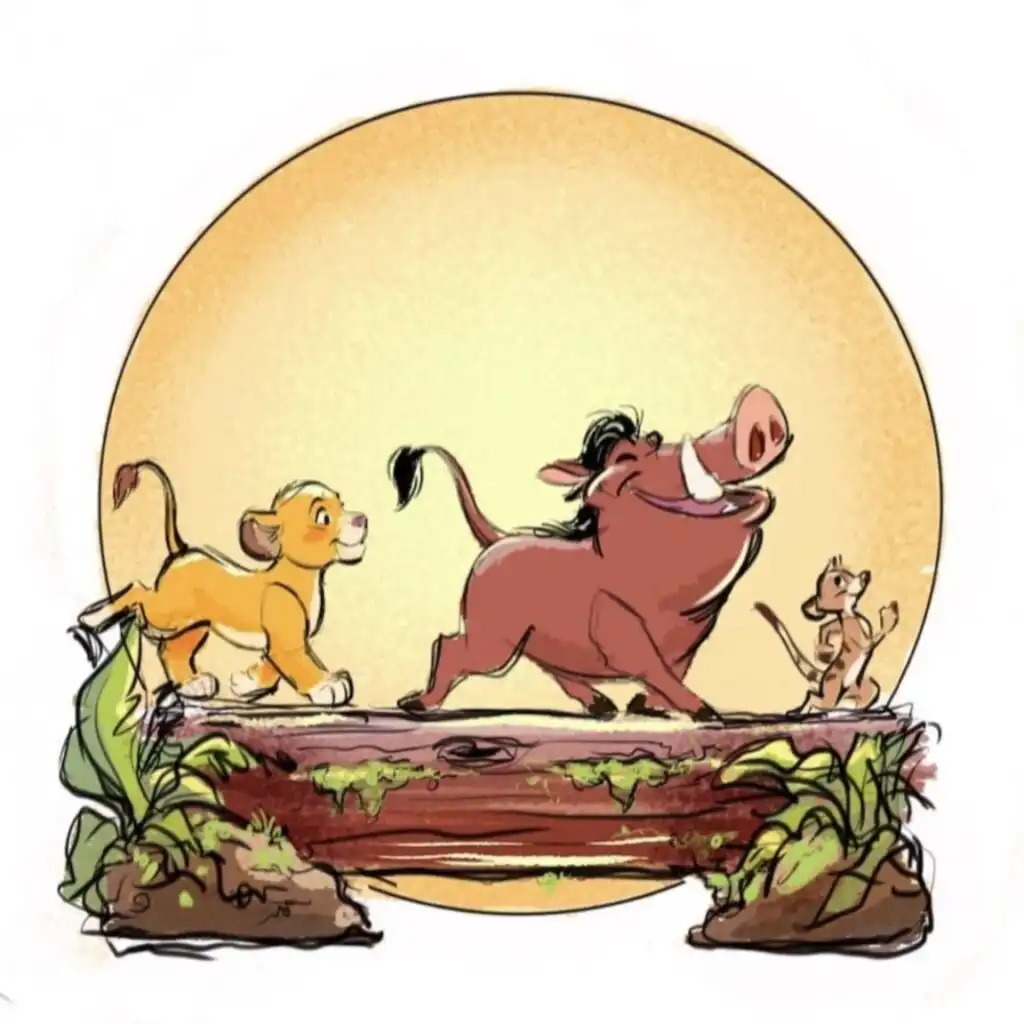
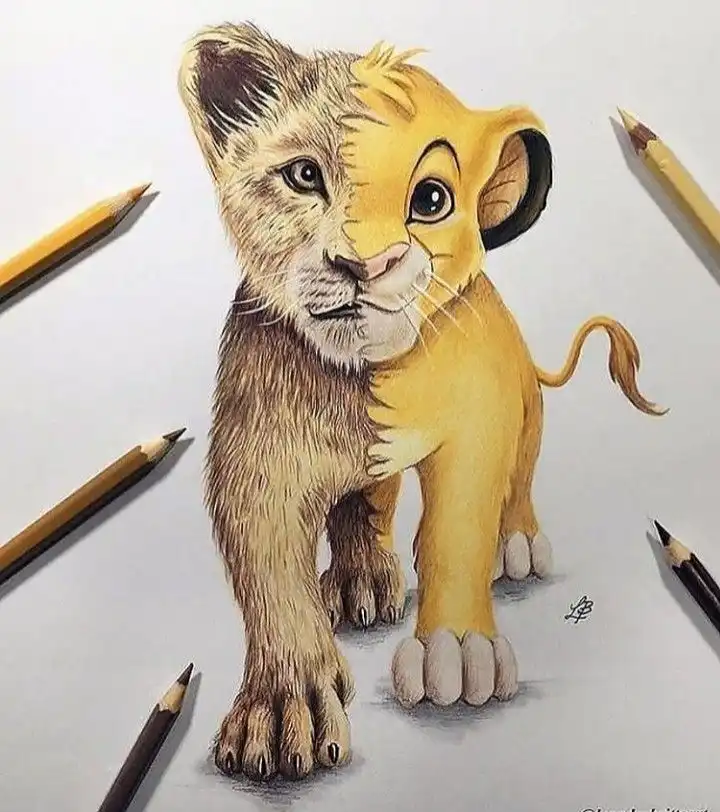
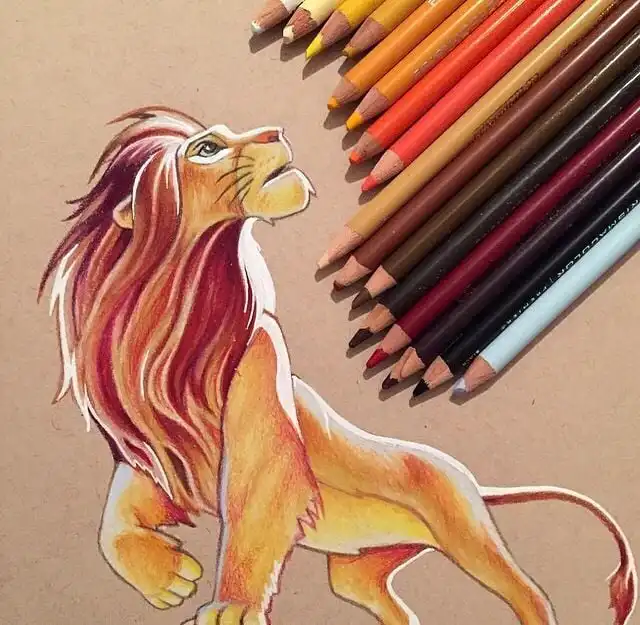
Coloring tips
- Start light, then build darker tones
- Add subtle shading under the chin and mane
- Avoid harsh outlines between colors
Digital artists: use layers (base color, shading, highlights).
Common Mistakes to Avoid
Even experienced artists make these mistakes:
- ❌ Eyes too small or too high
- ❌ Head too narrow
- ❌ Over-detailing too early
- ❌ Forgetting symmetry guidelines
Fixing these early saves time and frustration.
After practicing Simba, it is worth learning how to draw Winnie the Pooh because the same simple-shape approach works well for another warm, expressive character.
Practice Exercises to Improve Faster
Try these drills:
- Draw Simba’s head five times in a row
- Practice only eyes and noses
- Redraw Simba from different movie screenshots
- Time yourself (5-minute sketches)
Improvement comes from repetition, not perfection.
How Long Does It Take to Learn to Draw Simba Well?
Most artists see improvement within:
- 1–2 sessions for basic likeness
- 1–2 weeks for confident sketches
- 1 month with regular practice for polished results
Consistency matters more than talent.
Frequently Asked Questions
Is Simba hard to draw for beginners?
No. Simba is one of the best beginner-friendly Disney characters thanks to his rounded shapes and expressive design.
Should I draw Simba realistically or cartoon-style?
Start cartoon-style. Once you understand proportions, you can experiment with realism.
Can kids learn to draw Simba?
Yes. Simplify steps and focus on basic shapes—kids love drawing Simba.
Do I need to be good at drawing animals first?
Not at all. Simba is a character, not a real lion anatomy study.
Final Thoughts: Drawing Simba Is About Storytelling
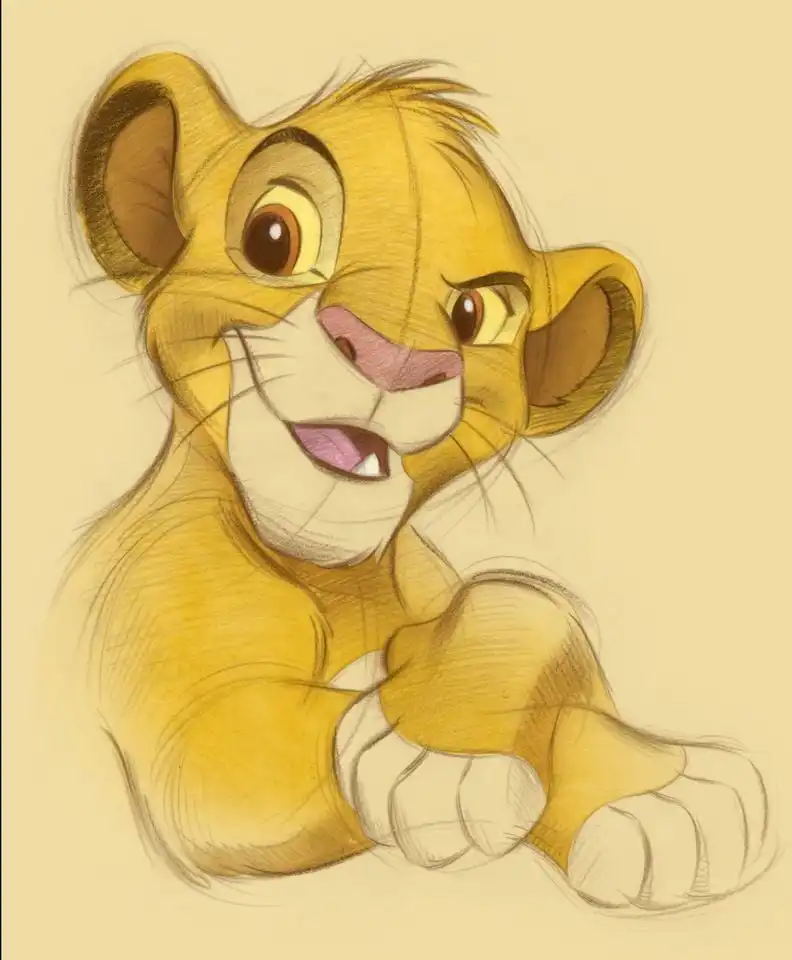
When you draw Simba, you’re not just sketching a lion—you’re capturing confidence, curiosity, and courage. Every line contributes to that story.
Start simple. Practice often. Don’t erase your progress.
And remember: every great artist once struggled with their first circle.
After drawing Simba, this broader cartoon character drawing guide gives you more classic characters to study for shape language, expression, and consistency.
- 1.5Kshares
- Facebook0
- Pinterest1.5K
- Twitter0
- Reddit0