Sketching industrial products gives you a fast and effective way to bring ideas to life. You don’t need to create perfect drawings to communicate concepts—what matters is clarity and intent. By learning how to sketch industrial products, you can quickly explore ideas, refine designs, and share concepts that are easy to understand.
You use sketching as a tool to visualize proportions, materials, and functions before committing to detailed models or prototypes. This process helps you test ideas early and make better design decisions without wasting time or resources. With the right techniques, your sketches can guide the entire development process from concept to production.
Whether you’re outlining simple forms or working on more advanced perspective drawings, sketching gives you the flexibility to experiment and improve. The more you practice, the more confident you become in turning abstract ideas into tangible design solutions.
Key Takeaways
- Sketching helps you explore and communicate product ideas clearly
- Strong fundamentals and techniques improve both speed and accuracy
- Effective sketches support the entire design process from concept to production
Fundamentals of Sketching Industrial Products
When you sketch industrial products, you build a bridge between raw ideas and workable designs. Sketching helps you explore form, function, and usability while keeping communication clear and fast. It allows you to test possibilities before committing to detailed models or prototypes.
Purpose and Benefits of Sketching
Sketching gives you a quick way to capture and share ideas without relying on complex tools. You can explore multiple variations of a product in minutes, which makes it easier to compare and refine concepts. This flexibility saves time early in the design process.
You also use sketching to communicate with others. A simple drawing often explains a concept better than words alone. Clients and teammates can see proportions, features, and intent more clearly, reducing misunderstandings.
Sketching supports creativity by lowering the pressure to be perfect. Because sketches are fast and disposable, you can take risks and try unusual approaches without hesitation. Over time, this practice builds confidence in your ability to generate and express ideas visually.
Key Elements of Industrial Design Sketching
Industrial design sketching relies on a few essential elements. Proportion ensures your product looks balanced and realistic. Perspective adds depth, helping others understand how the object would appear in real space. Line quality communicates intent, whether you want a bold structural outline or a light exploratory stroke.
You should also pay attention to basic geometry. Many products start from simple shapes like cylinders, cubes, and spheres. By combining and adjusting these forms, you can create more complex designs while keeping structure clear.
Another important factor is clarity. Avoid cluttering your sketches with unnecessary details too early. Focus first on the silhouette, major features, and usability. Once the foundation is solid, you can add shading, textures, or annotations to highlight function and material choices.
Role in the Design Process
In the design process, sketching acts as the first step in turning abstract ideas into tangible concepts. You use it during ideation to explore possibilities quickly before selecting the most promising directions.
Sketches also support iteration. By redrawing and adjusting, you refine proportions, ergonomics, and aesthetics. This helps you identify problems early, before investing in digital models or physical prototypes.
Finally, sketching strengthens communication at every stage. Early sketches spark discussions with your team, while more polished drawings help clients and stakeholders understand the product vision. This makes sketching not just a creative tool but also a practical part of industrial design workflows.
Types of Sketches for Industrial Products
When you sketch industrial products, you create drawings that serve different purposes at different stages of the design process. Some sketches help you generate ideas quickly, others clarify details, and some are meant to convince others of your proposal.
Ideation Sketches
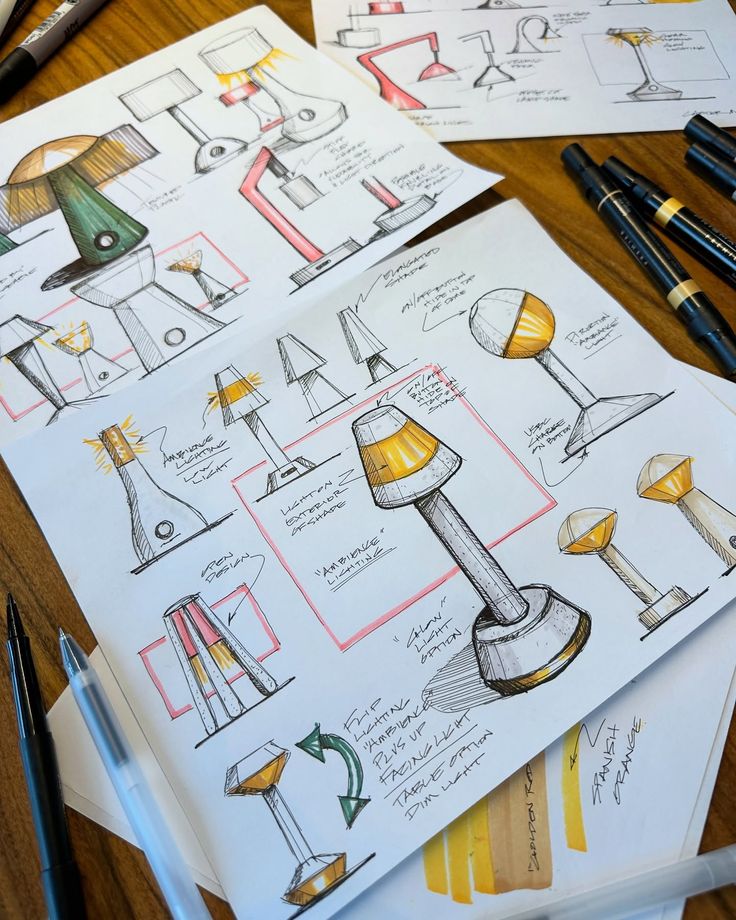
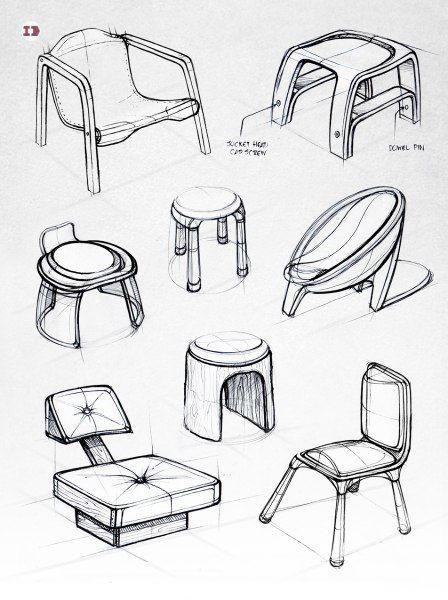
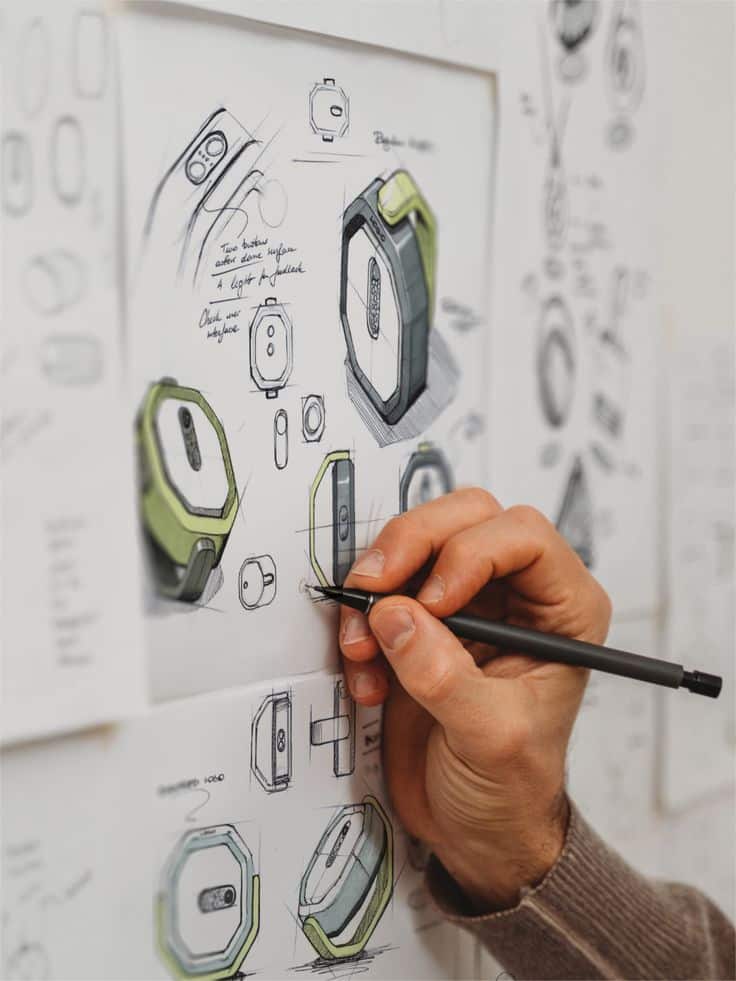
Ideation sketches let you explore possibilities without worrying about polish or precision. You use them to brainstorm and capture many concepts in a short amount of time. These sketches are often rough, fast, and only make sense to you or your immediate team.
You might fill entire pages with variations of a product’s form, layout, or function. The goal is quantity over quality because you want to see as many directions as possible before narrowing down.
Common traits include:
- Loose lines and freehand strokes
- Minimal shading or detail
- Multiple views drawn quickly
By practicing ideation sketching regularly, you train yourself to think visually and not get stuck on a single solution.
Explanatory Sketches
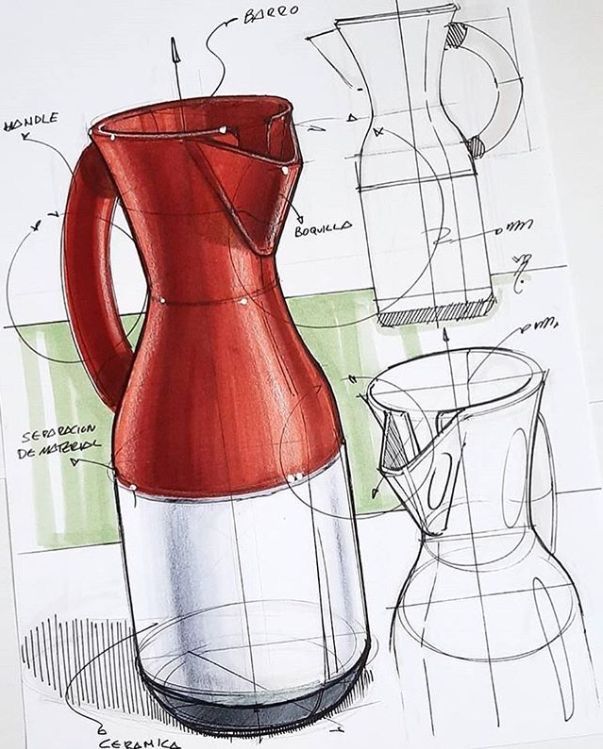
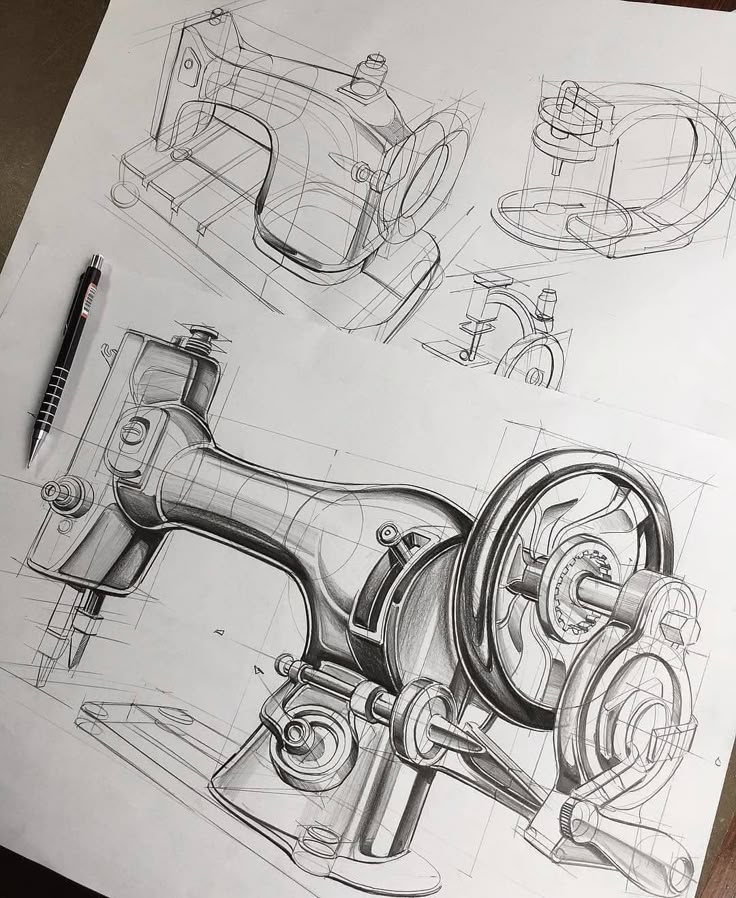
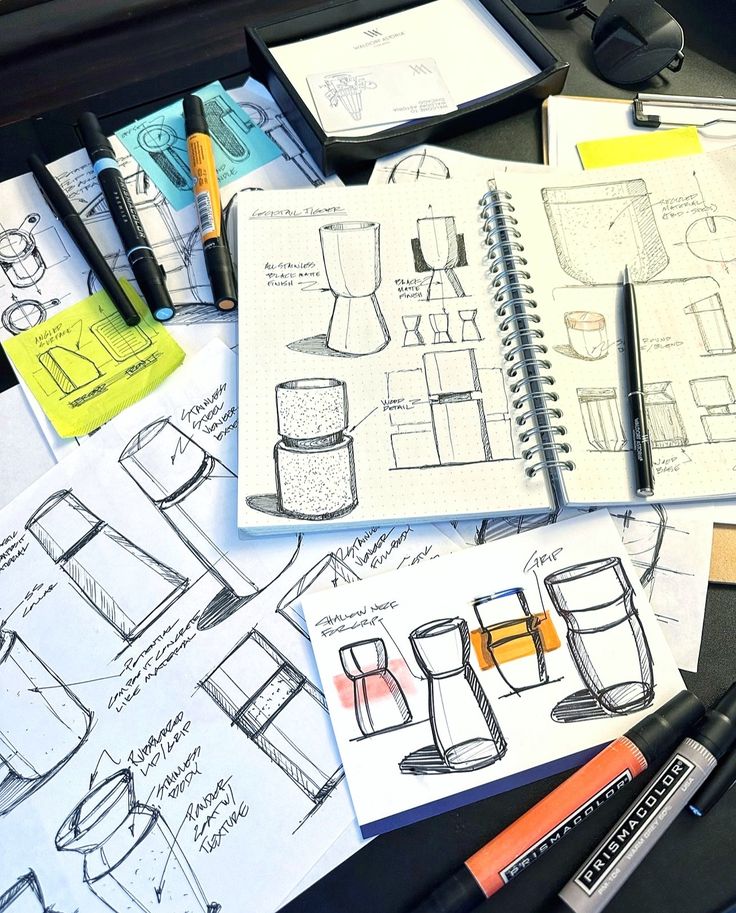
Explanatory sketches help you communicate how a product works or how its parts relate to each other. Unlike ideation drawings, these are clearer and more structured so others can understand your thinking.
You often use them to show dimensions, proportions, or mechanisms. For example, you might sketch a product in perspective and then add a cutaway view to reveal the inside. Labels, arrows, and annotations are common tools here.
A good explanatory sketch usually includes:
- Consistent perspective to show form accurately
- Detail lines for key features
- Notes or callouts to describe function
These sketches bridge the gap between your early ideas and later CAD models by making sure the design intent is clear.
Persuasive Sketches
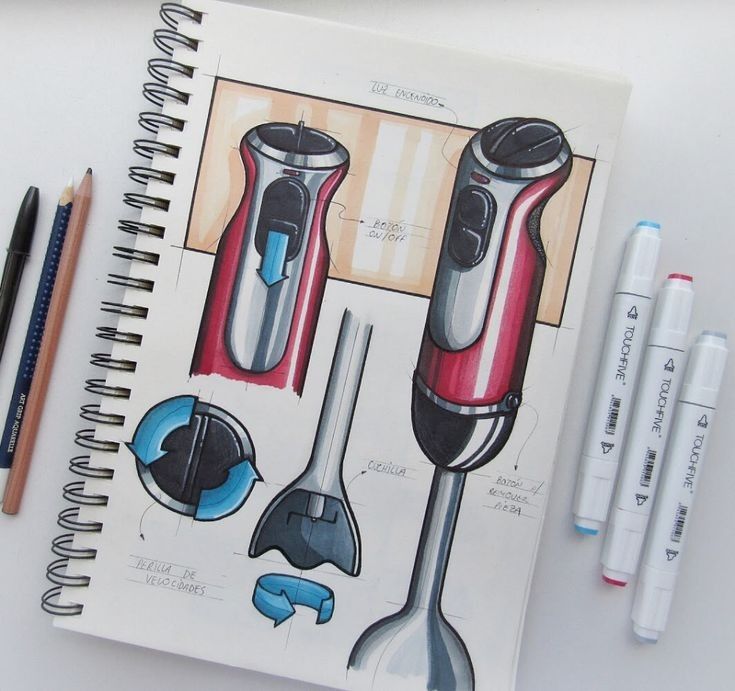
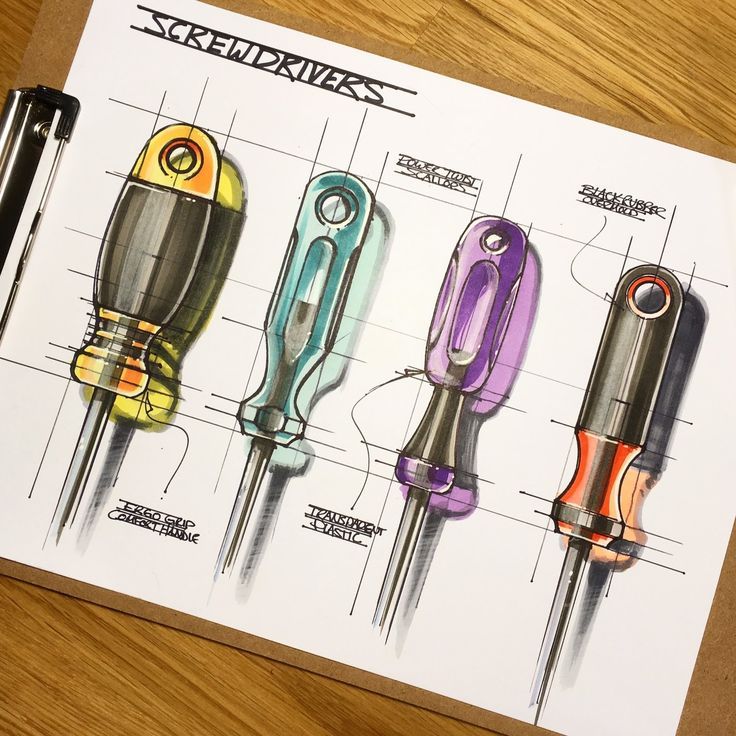
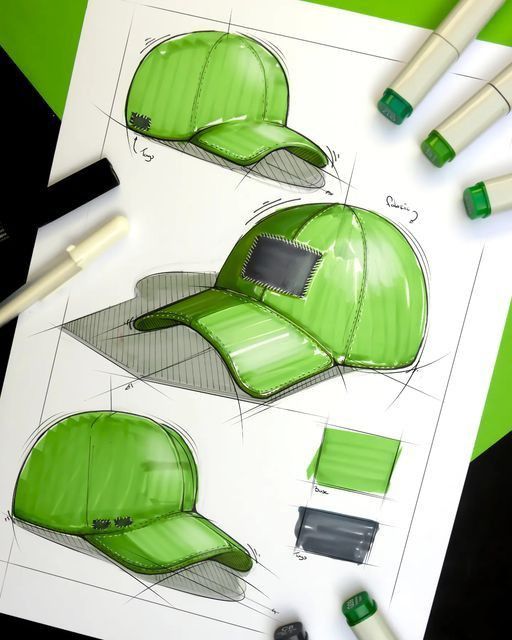
Persuasive sketches aim to sell your design to clients, teammates, or stakeholders. You create them with more care, adding shading, texture, and sometimes color to make the product look appealing and realistic.
Unlike quick ideation drawings, these are refined to highlight the final vision. You might emphasize surface finishes, ergonomics, or branding elements so the viewer sees not just how the product works, but why it should be chosen.
Key features often include:
- Clean line work and controlled shading
- Attention to materials and finishes
- Composition that highlights the product attractively
These sketches act as visual arguments, helping you persuade others of the value and potential of your design.
Essential Techniques and Tools
When you sketch industrial products, you need a mix of practical drawing skills, an understanding of form and scale, and the right tools to bring your ideas to life. By focusing on technique and equipment, you can make your sketches both accurate and visually clear.
Basic Sketching Techniques
Start with simple shapes like cubes, cylinders, and spheres. These building blocks help you break down complex products into manageable forms. Practicing these shapes daily sharpens your control and improves your speed.
Line quality matters. Use light construction lines for structure and darker strokes for defining edges. This layering makes your sketches easy to read. Keep your hand relaxed to avoid stiff, uneven lines.
Try sketching with different strokes—straight, curved, or cross-hatched. Each technique adds a different level of clarity, whether you’re outlining a phone, chair, or appliance. The more you experiment, the more confident you’ll feel in adapting your style to different products.
Perspective and Proportion
Getting perspective right ensures your sketches look believable. Start with one-point perspective for simple objects, then move to two-point or three-point perspective for more dynamic views. This helps you show depth and volume in your designs.
Proportion is equally important. A product drawn with incorrect scale can mislead both you and others reviewing your work. Use reference points and guidelines to keep elements aligned. For example, when sketching a laptop, compare the screen-to-keyboard ratio to maintain accuracy.
A quick way to check proportion is by using bounding boxes. Draw a box around your product idea, then fit the parts inside it. This method keeps your sketch balanced, especially when working on complex objects like furniture or consumer electronics.
Traditional and Digital Tools
You don’t need expensive equipment to start. Basic tools like pencils, fine liners, markers, and sketch pads are enough to practice and refine your skills. Many industrial designers still rely on these traditional tools for their speed and simplicity.
When moving to digital, graphic tablets and stylus pens give you flexibility. Software such as SketchBook, Photoshop, or Procreate allows you to adjust, layer, and refine quickly. These tools also make it easier to share and edit designs with teams.
A simple comparison:
| Traditional Tools | Digital Tools |
|---|---|
| Pencils & markers | Stylus & tablet |
| Paper sketchbooks | Digital canvases |
| Quick, tactile feel | Easy edits & layers |
Using both methods gives you versatility. You can brainstorm quickly on paper, then refine digitally for presentations or production discussions.
Advanced Methods for Industrial Design Sketching
You can refine your industrial design sketching by focusing on how you apply light and shadow, how you make your ideas clear to others, and how you present polished concepts that feel professional. Each step builds on the basics but pushes your sketches closer to real-world design communication.
Rendering and Shading
Rendering helps you move from simple outlines to sketches that show depth, form, and material qualities. You use shading to suggest how a product might look under real lighting conditions. This makes your sketches easier to read and more convincing to clients or teammates.
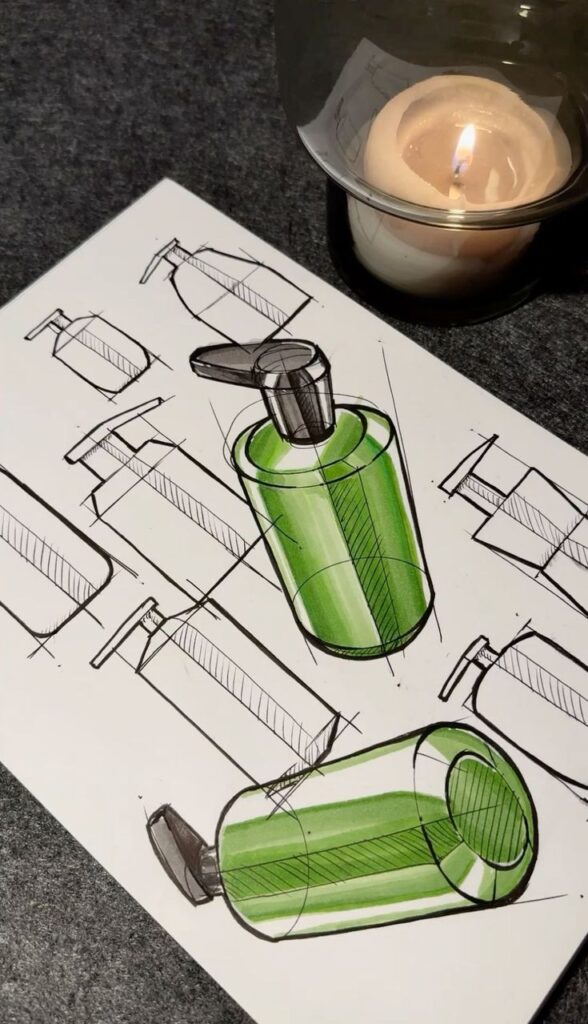
Start with line weight to emphasize edges and separate foreground from background. Then, apply smooth gradients to show curvature or surface changes. A cylinder, for example, benefits from a soft transition from light to dark, while a flat plane might need sharper contrast.
Adding reflections, highlights, and cast shadows gives your sketch a sense of realism. Keep highlights crisp on glossy surfaces and diffuse on matte finishes. Use markers, pencils, or digital brushes to experiment with different surface textures such as plastic, metal, or fabric.
A simple checklist for shading:
- Identify the primary light source
- Use consistent shadow direction
- Add highlights only where necessary
- Adjust contrast for material type
By practicing these techniques, you make your sketches more than just outlines—they become visual tools for exploring and communicating design decisions.
Communicating Design Intent
Sketches are not only for yourself; they are a language for sharing ideas. As an industrial designer, you need to show how a product functions, how it’s assembled, and how users interact with it.
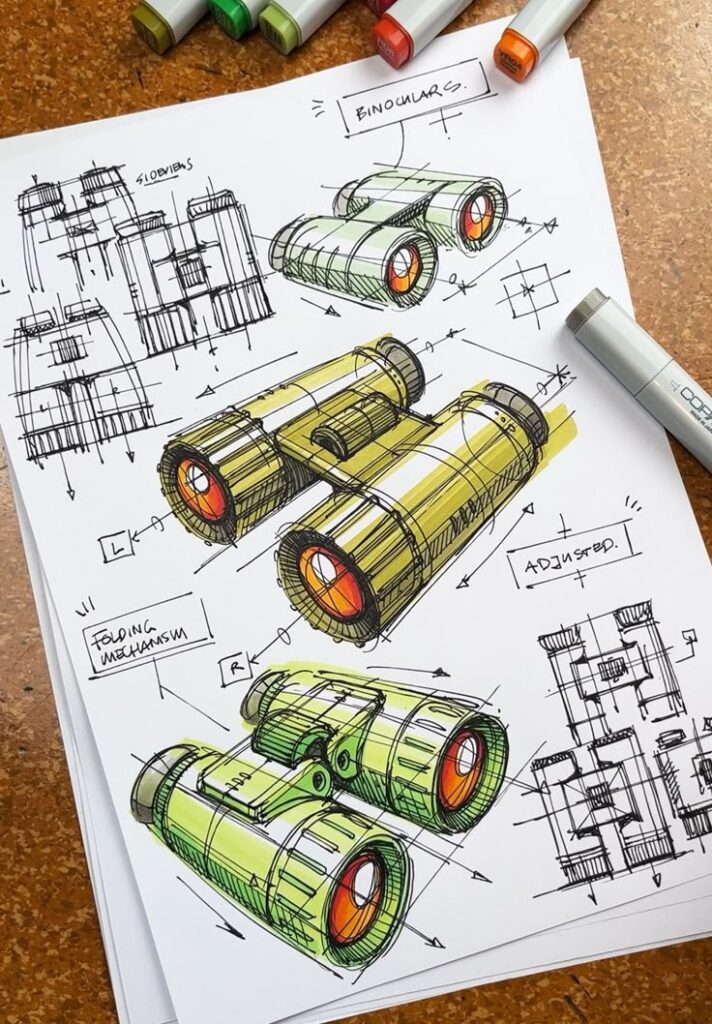
Use exploded views to reveal internal components or assembly order. Arrows and callouts can clarify movement, rotation, or sliding parts. A quick gesture line can explain ergonomics, like how a hand grips a handle.
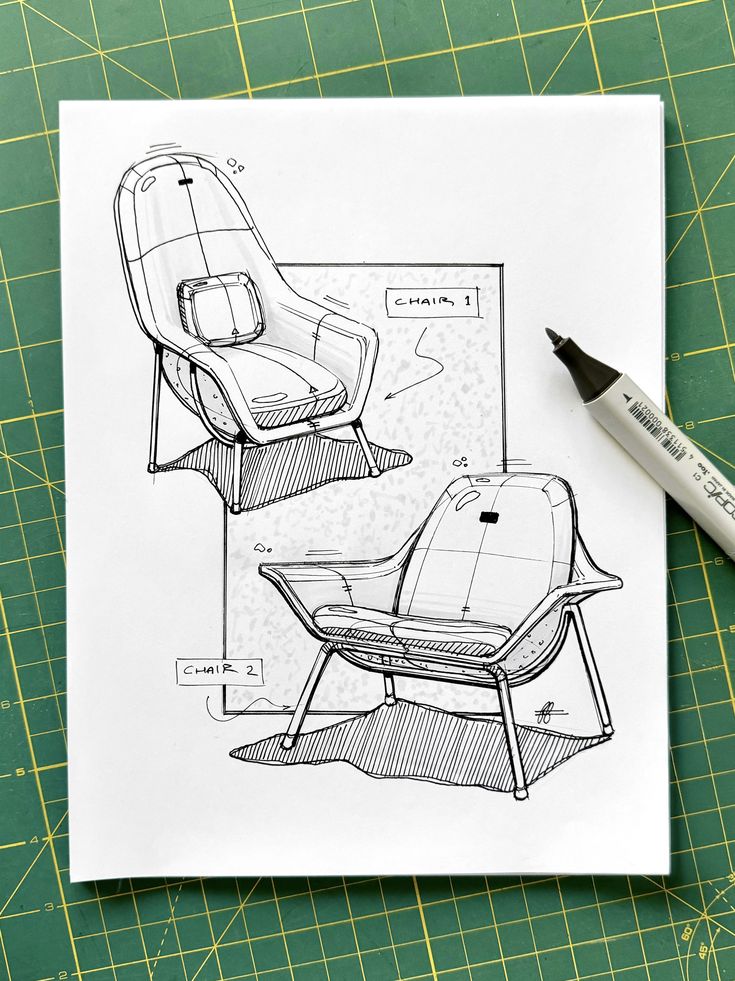
When you show multiple angles on a single page, you help others visualize the product in three dimensions. Perspective sketches paired with orthographic views can balance clarity with creativity.
Keep your sketches clean and avoid unnecessary detail. Every line should serve a purpose—whether it’s showing form, scale, or interaction. This makes your intent clear without overwhelming the viewer.
Presenting Final Product Concepts
When presenting final concepts, your sketches should look polished but still maintain the energy of hand-drawn work. These are the images that clients, managers, or manufacturers will use to evaluate your design.
Use consistent line quality and refined shading to give a professional look. Digital tools can help you add color, textures, and lighting effects that mimic the final product. However, don’t let rendering overpower clarity—your sketch should still communicate structure and usability.
Consider using a layout strategy:
- Place the hero view (main perspective) at the center
- Support it with smaller detail views
- Add annotations only where they add value
Think about scale and proportion by including contextual elements, like a hand, a phone, or a piece of furniture, to show how the product fits into real life.
By presenting your sketches in this structured way, you make it easier for others to understand your design decisions and see the product as a tangible, workable idea.
Integrating Sketches into the Product Development Process
You use sketches to bridge the gap between early ideas and tangible outcomes. They help you move from rough concepts to structured designs, encourage collaboration with others, and give you a clear way to test and refine details before committing to production.
From Sketch to 3D Modeling
When you start with sketches, you create a quick and flexible way to explore shapes, proportions, and functions. These drawings don’t need to be perfect; they just need to capture the essence of your idea.
Once you’ve defined key features, you can translate sketches into 3D models using CAD software. This step allows you to test scale, ergonomics, and mechanical feasibility. Unlike sketches, digital models give you precise measurements and let you simulate real-world use.
Industrial designers often rely on this transition to identify design flaws early. For example, a hand-drawn sketch may look balanced on paper, but a 3D model can reveal weight distribution issues. By combining both methods, you gain speed in the early stages and accuracy later in the design process.
Collaboration and Feedback
Sketches make it easier for you to communicate your ideas to teammates, engineers, or clients. A simple drawing often conveys intent faster than technical descriptions. This helps avoid misunderstandings and keeps everyone aligned on the design direction.
You can use sketches during meetings to spark discussion. For instance, presenting three variations of a product concept encourages stakeholders to compare options side by side. This visual clarity often leads to more direct and useful feedback.
Feedback at this stage is critical because changes are much easier to handle in sketches than in fully developed prototypes. By sharing your sketches early, you create opportunities for collaboration without investing heavily in materials or complex models.
Refinement and Iteration
After gathering feedback, you refine your sketches to address concerns and improve details. This might involve adjusting dimensions, reworking interfaces, or simplifying shapes for manufacturing. Each round of refinement brings the design closer to something practical and ready for production.
Iteration is not just about fixing problems—it’s also about testing alternatives. For example, you might sketch several handle designs for a tool to evaluate comfort and usability. By comparing them side by side, you can quickly identify the most effective solution.
This cycle of sketching, reviewing, and adjusting keeps your design process flexible. It allows you to experiment without committing to costly prototypes and ensures that the final product reflects both creative intent and functional requirements.
- 1.0Kshares
- Facebook0
- Pinterest1.0K
- Twitter0
- Reddit0


