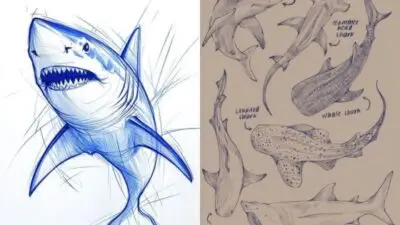
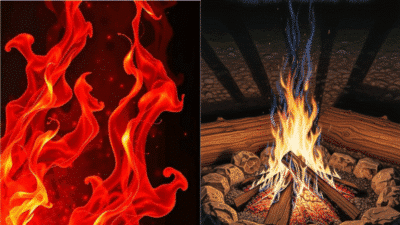
Shading transforms a simple outline into a dynamic, three-dimensional artwork by creating the illusion of light, form, and shadow. Artists have employed various shading techniques for centuries, from basic hatching to more complex methods like cross-hatching and stippling. Each approach offers unique textures and effects that can dramatically enhance your drawings.
Mastering shading techniques allows you to add depth, contrast, and realism to your artwork, turning flat shapes into forms that appear to leap off the page. Whether you’re a beginner experimenting with pencil gradients or an experienced artist refining your stippling technique, understanding how to manipulate light and shadow will significantly improve your artistic capabilities.
The beauty of shading lies in its versatility—you can create anything from subtle, delicate shadows to bold, dramatic contrasts using the same fundamental principles. As you practice these techniques, you’ll develop your own style and discover which methods best express your artistic vision.
Key Takeaways
- Shading creates the illusion of three-dimensionality by strategically applying light and shadow to your drawings.
- Basic techniques like hatching, cross-hatching, and stippling offer different textures and effects for artistic expression.
- Regular practice with various shading methods will help you develop a personal style and improve your overall drawing skills.
Fundamentals of Shading
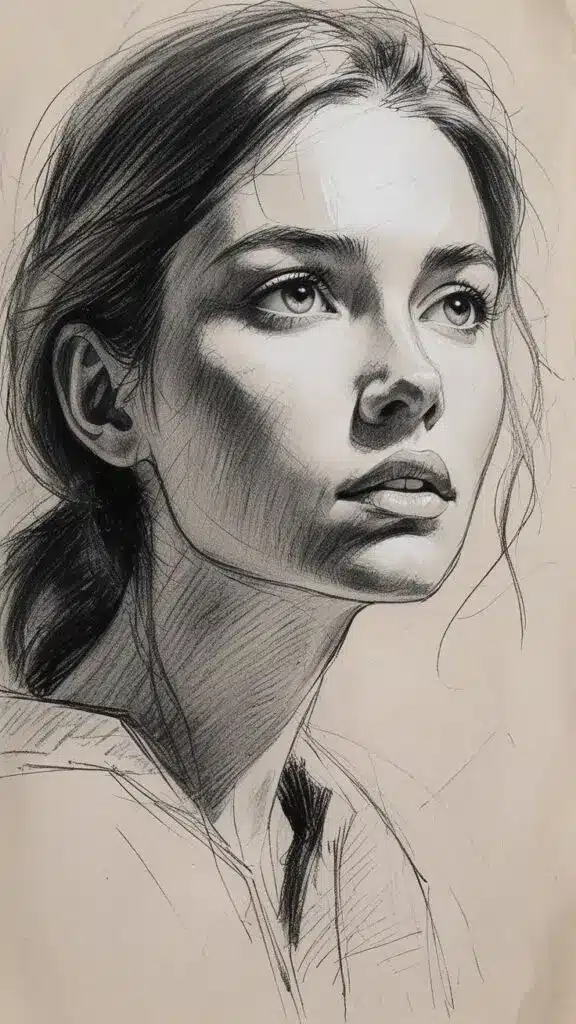
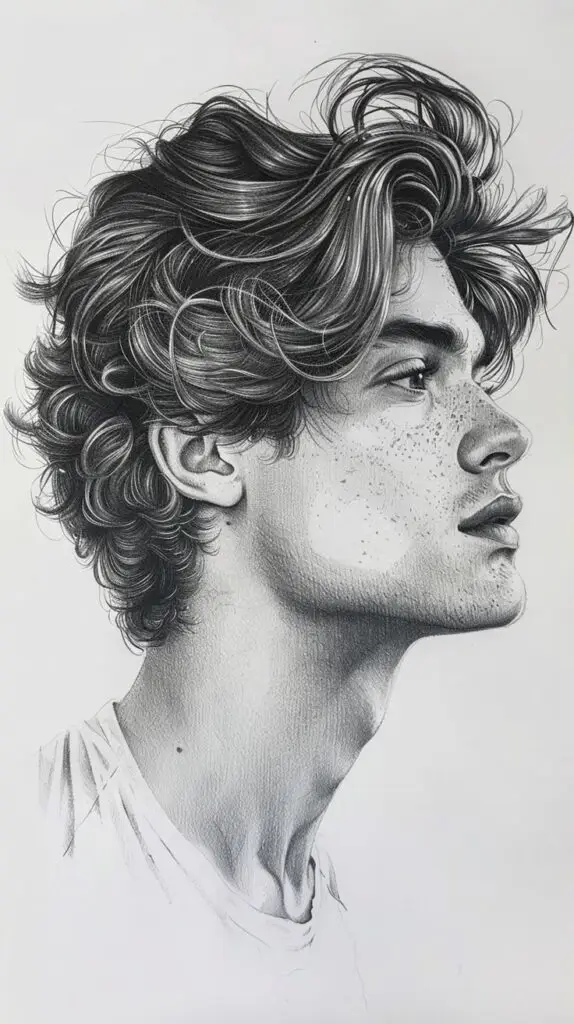
Shading transforms flat drawings into three-dimensional representations by manipulating light and shadow. Mastering these fundamentals will significantly improve your artistic skills and create more realistic artwork.
Understanding Light and Shadow
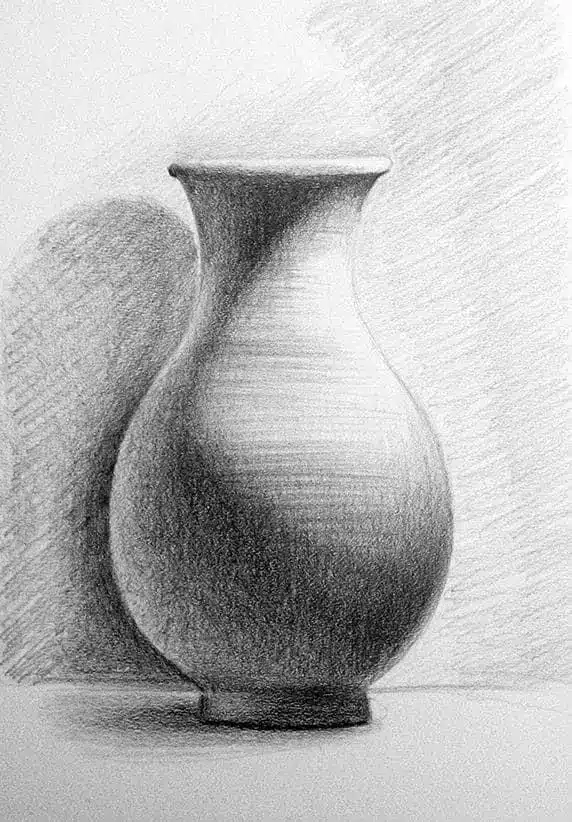
Light and shadow create the illusion of form in drawing. Every object has two main sides: the light side and the shadow side. The light side includes the highlight (the brightest spot where light directly hits the object) and halftones (transitional values between highlight and shadow).
The shadow side consists of the core shadow (darkest area where light doesn’t reach), reflected light (lighter areas within shadows caused by bounced light), and cast shadows (shadows projected onto other surfaces).
To shade effectively, first identify your light source. The position of your light source determines where highlights appear and shadows fall.
Objects with flat planes show more distinct transitions between light and shadow. Curved surfaces display more gradual value changes.
Try practicing with simple geometric shapes to understand how light behaves on different forms before attempting complex subjects.
The Role of Value in Shading
Value refers to the lightness or darkness of a tone. Creating a strong value range—from the lightest highlight to the darkest shadow—adds depth and contrast to your drawings.
Begin by identifying five key values:
- Highlight: Brightest area
- Light value: Main light areas
- Mid-tone: Transitional values
- Core shadow: Darkest part of the object
- Reflected light: Lighter areas within shadow
A value scale helps you organize these relationships. Create a small scale from 1-9 (lightest to darkest) as a reference when shading.
Remember that contrast creates focus. Areas with strong value differences draw the viewer’s eye, while similar values recede into the background.
Your pencil pressure controls value. Light pressure creates lighter values; heavy pressure creates darker values. Practice varying your pressure to achieve smooth transitions between values.
Shading Techniques Overview
Shading adds dimension, depth, and realism to your artwork. These techniques transform flat drawings into three-dimensional representations by creating the illusion of light, shadow, and form.
Hatching and Cross-Hatching
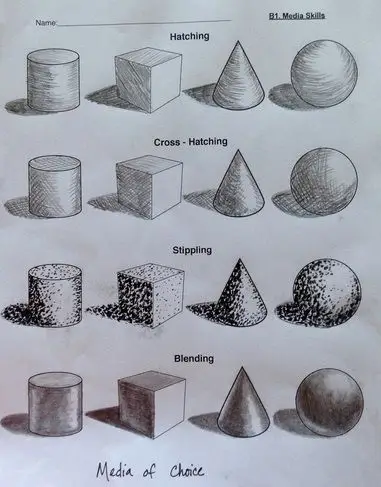
Hatching involves drawing parallel lines close together to create shadow and texture. The closer the lines, the darker the shading appears. This technique works well in both pencil and ink drawings.
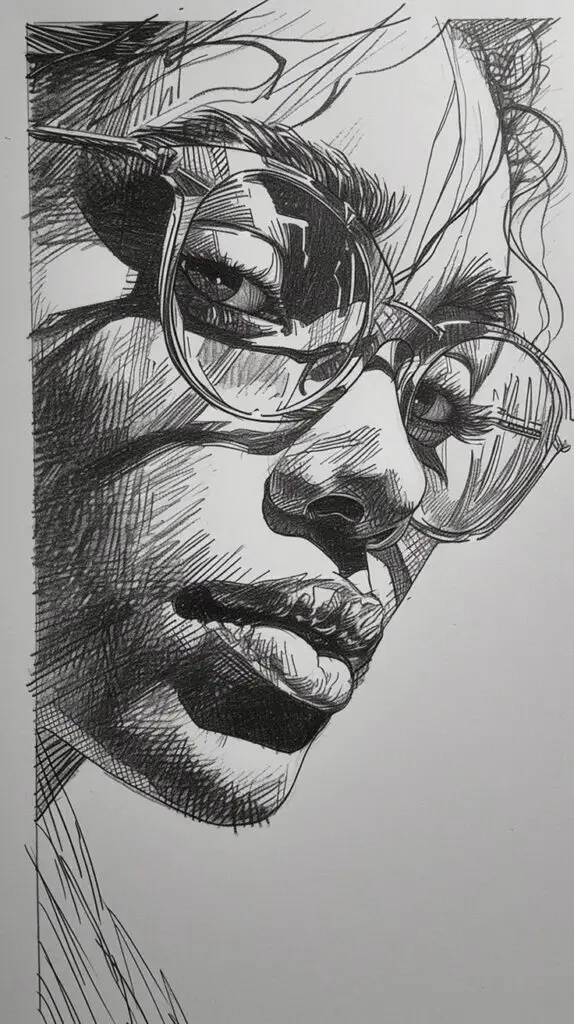
Cross-hatching takes hatching to the next level by adding a second layer of lines that cross over the first set at an angle. This creates a denser network of lines and produces darker values. You can vary the pressure, spacing, and direction of your lines to achieve different effects.
For beginners, start with simple hatching in one direction, then gradually introduce crossing lines. Try using different angles for the cross-hatching to create unique textures and tonal variations.
Professional artists often combine hatching densities within a single drawing to represent different surfaces and lighting conditions.
Stippling Method
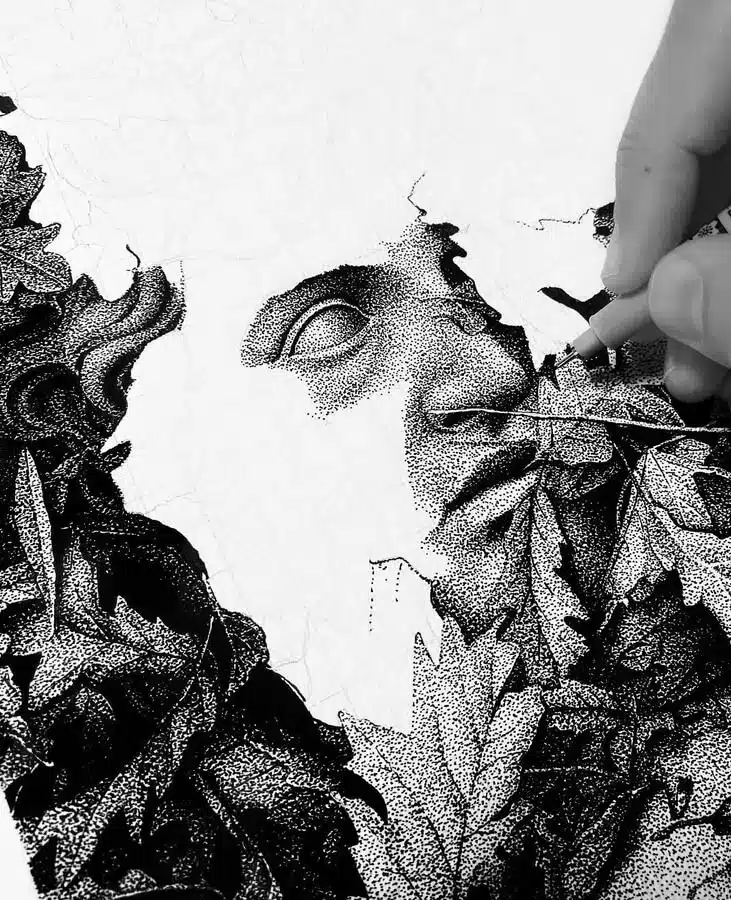
Stippling creates shading through countless small dots. The density of dots determines how dark an area appears—more dots placed closer together create darker areas, while fewer, spread-out dots create lighter areas.
This technique requires patience but offers exceptional control over gradual tonal transitions. Stippling works particularly well with fine-tipped pens and is commonly used in scientific illustrations and detailed portraits.
You can create interesting textures by varying dot sizes. Use a sharper point for finer dots in lighter areas and a broader tip for larger dots in shadows.
Professional stippling can involve thousands of individual dots, but even beginners can achieve impressive results by focusing on dot density rather than quantity.
Blending for Smooth Transitions
Blending creates smooth gradients between light and dark areas. With pencil, you can blend using tools like tortillons, blending stumps, tissue paper, or even your finger.
Start by laying down graphite, then gently rub the area to smooth out the texture. For controlled blending, work from light to dark areas to avoid transferring too much graphite to lighter sections.
Different papers affect blending results. Smoother papers allow for easier blending, while textured papers create more resistance and unique effects.
You can also blend with erasers by first creating a dark area, then selectively removing graphite to create highlights and mid-tones.
Layering for Depth
Layering involves building up multiple thin applications of your medium rather than trying to achieve the desired tone in one pass. This creates rich, dimensional shading with better control.
Begin with light pressure and gradually add layers in the areas you want darker. Allow each layer to serve as a foundation for the next. This approach works well with colored pencils, graphite, and charcoal.
For best results, vary your pencil hardness. Start with harder pencils (H grades) for initial layers, then progress to softer pencils (B grades) for darker values.
You can combine layering with other techniques like hatching or stippling between layers to create complex textures and rich tonal variations.
Materials and Tools
Selecting the right materials is crucial for achieving professional shading results in your artwork. Quality tools can make a significant difference in texture, tone, and overall finish of your shaded elements.
Choosing the Right Pencils
Pencils come in various hardness grades, typically ranging from 9H (hardest) to 9B (softest). Hard pencils (H grades) create lighter marks and are ideal for precise details and preliminary sketches. They allow you to build up tone gradually without overwhelming the paper.
Soft pencils (B grades) produce darker marks and are excellent for creating deep shadows and rich textures. A 2B or 4B pencil offers versatility for general shading work, while 6B and 8B pencils deliver intense blacks for dramatic contrast.
For pencil shading techniques like hatching and cross-hatching, consider keeping at least three different grades (H, HB, and B) to achieve a range of values. Many artists find a set containing 2H, HB, 2B, 4B, and 6B covers most shading needs.
Utilizing Blending Tools
Blending tools help smooth transitions between tones and create soft, realistic shadows. The blending stump (or tortillion) is a tightly rolled paper tool with pointed ends that picks up graphite and allows precise blending in small areas.
Chamois cloths provide gentle blending over larger areas without damaging paper. For more controlled blending, consider using makeup sponges or cotton swabs.
Your fingers can serve as natural blending tools, though they may transfer oils to the paper and create unwanted smudges. When using your fingers, keep a clean sheet of paper nearby to wipe off excess graphite.
Kneaded erasers function as both eraser and blending tool, lifting graphite to create highlights or softening edges between shaded areas.
The Use of Charcoal and Graphite
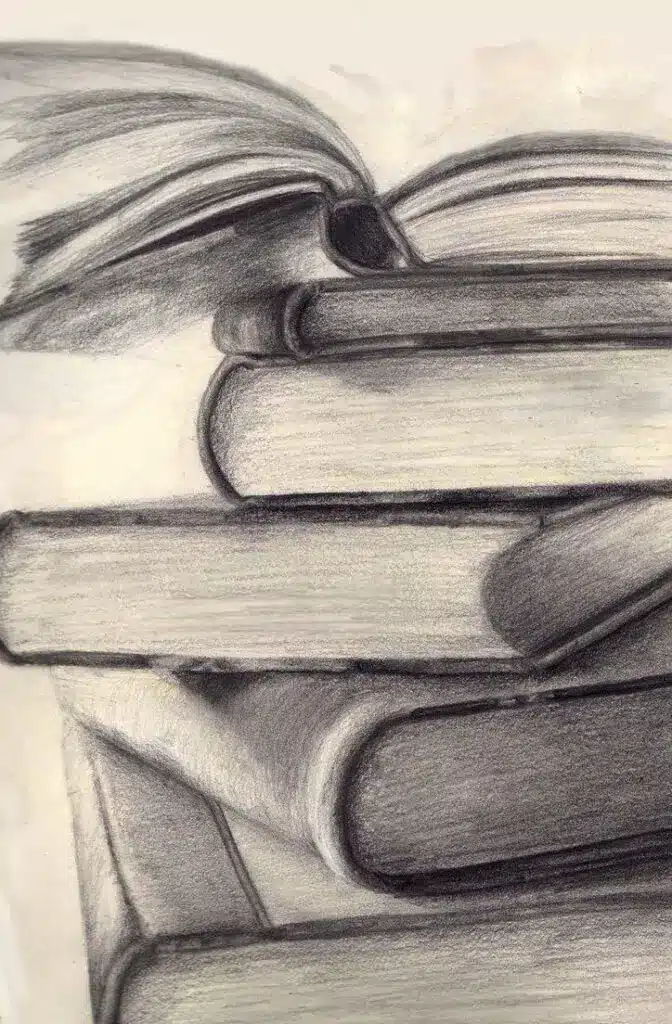
Charcoal and graphite offer distinct shading qualities that can dramatically affect your artwork’s mood and texture. Graphite provides a metallic sheen when heavily applied, creating smooth gradients ideal for realistic renderings and detailed work.
Charcoal delivers rich, matte blacks and smudges easily, making it perfect for expressive, atmospheric drawings. Vine charcoal creates light, easily erasable marks for initial sketching, while compressed charcoal produces deeper blacks for dramatic shadows.
When working with charcoal, fixative spray becomes essential to prevent smudging. Consider combining charcoal with graphite—use graphite for precise details and charcoal for broad, expressive shadows.
For versatility, try charcoal pencils which offer the darkness of charcoal with the precision of a pencil, allowing for detailed work while maintaining charcoal’s distinctive velvety appearance.
Techniques for Realistic Shading
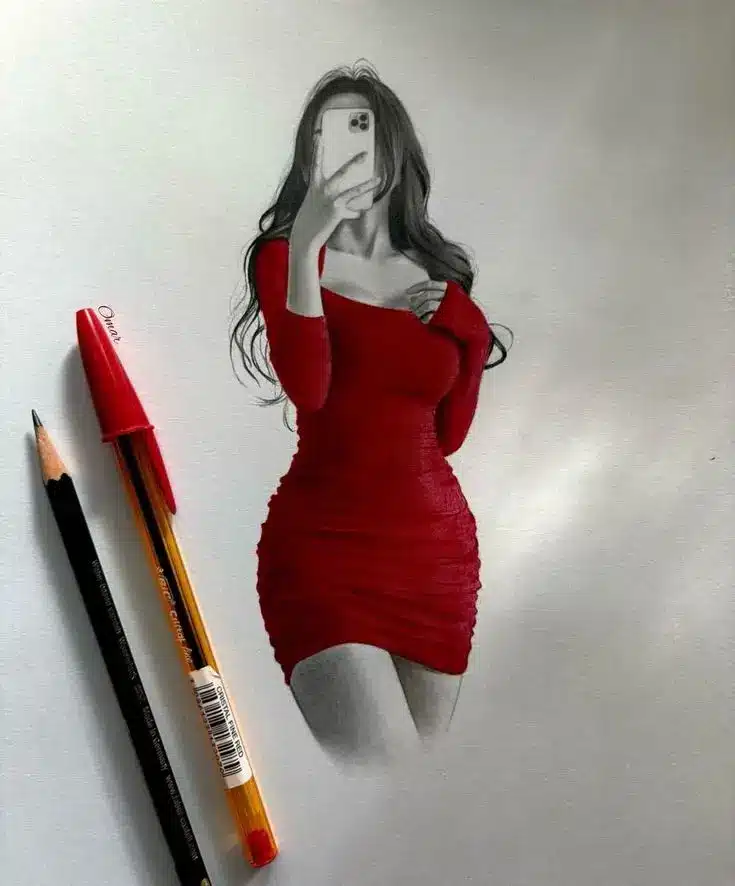
Mastering shading techniques transforms flat drawings into lifelike representations with depth and dimension. The key to realistic shading lies in understanding light behavior, controlling your tools, and developing consistent practice habits.
Managing Pressure for Tonal Variations
Pressure control is fundamental to achieving a wide tonal range in your artwork. Light pressure creates subtle highlights and mid-tones, while heavier pressure produces darker values for core shadows and cast shadows.
Try this exercise: create a value scale by gradually increasing pressure across a single stroke. Practice until you can produce at least five distinct tonal values. This builds muscle memory and precision.
Different drawing tools respond uniquely to pressure. Graphite pencils offer smooth gradients but limited darkness, while charcoal provides richer blacks but requires more careful handling. Experiment with both to understand their pressure-response characteristics.
When working on detailed areas, hold your tool further from the tip for lighter pressure. Move your grip closer to the point when you need darker values for cast shadows or areas of high contrast.
Creating Texture with Shading
Texture brings surfaces to life and adds tactile dimension to your drawings. Different shading techniques create distinctive textures that can represent various materials.
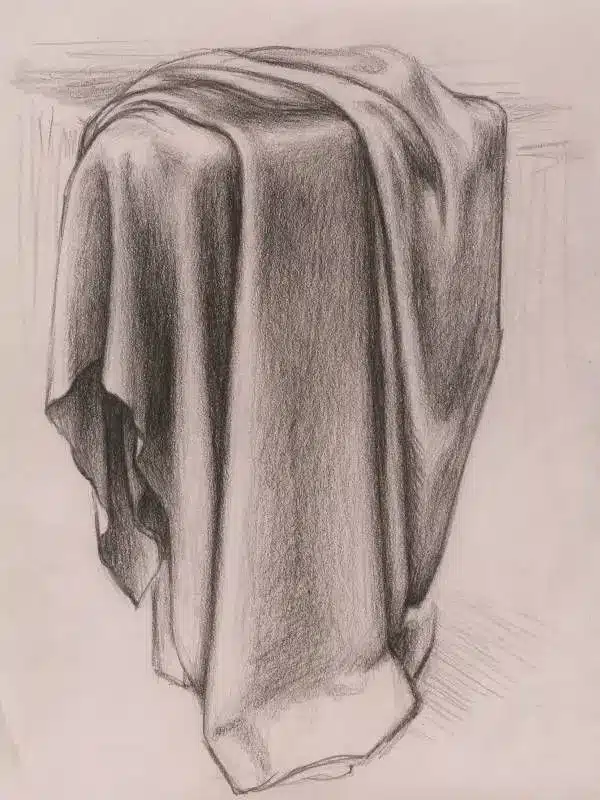
Hatching uses parallel lines to create value, with line density controlling darkness. Cross-hatching adds intersecting lines for deeper shadows. Both techniques work well for angular or structured textures like wood grain or fabric weave.
For organic textures like skin or foliage, try circular shading or stippling. Circular motions create soft blends, while stippling (using dots) builds texture gradually and works exceptionally well for porous surfaces.
Match your technique to your subject. Smooth objects like glass benefit from gradual blending, while rough surfaces like tree bark require more textural mark-making. Always observe your reference closely to identify the appropriate approach.
Shading Complex Forms
Complex three-dimensional forms require careful attention to light direction, form transitions, and value relationships. Understanding these elements creates convincing depth in your drawings.
Start by identifying the light source and mentally mapping where highlights, mid-tones and shadows fall. Core shadows appear at the point where light wraps around a form, while cast shadows project from objects onto adjacent surfaces.
Break complex shapes into simpler geometric forms. A face becomes a collection of planes, cylinders and spheres. This approach simplifies your shading process and ensures proper form rendering.
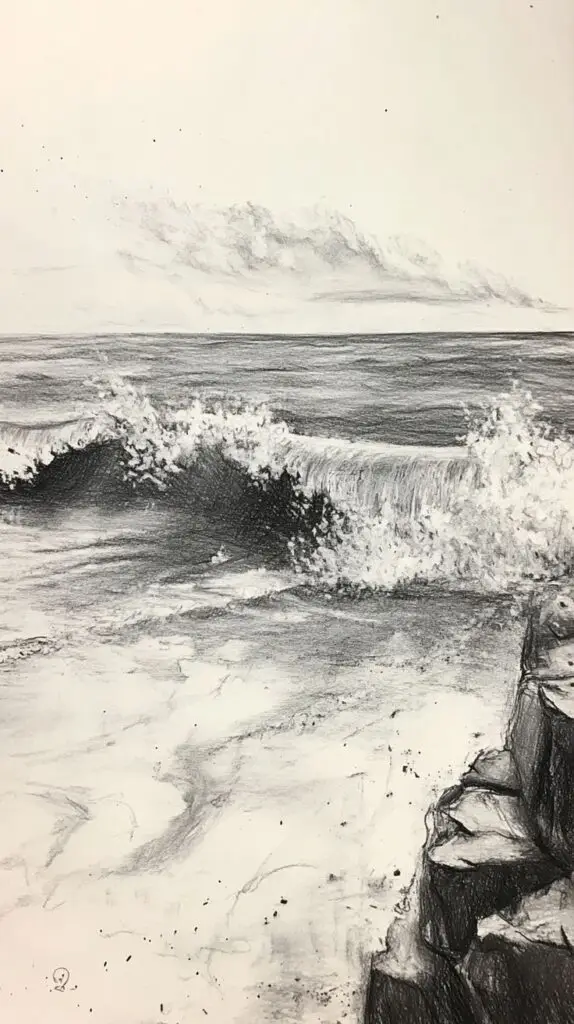
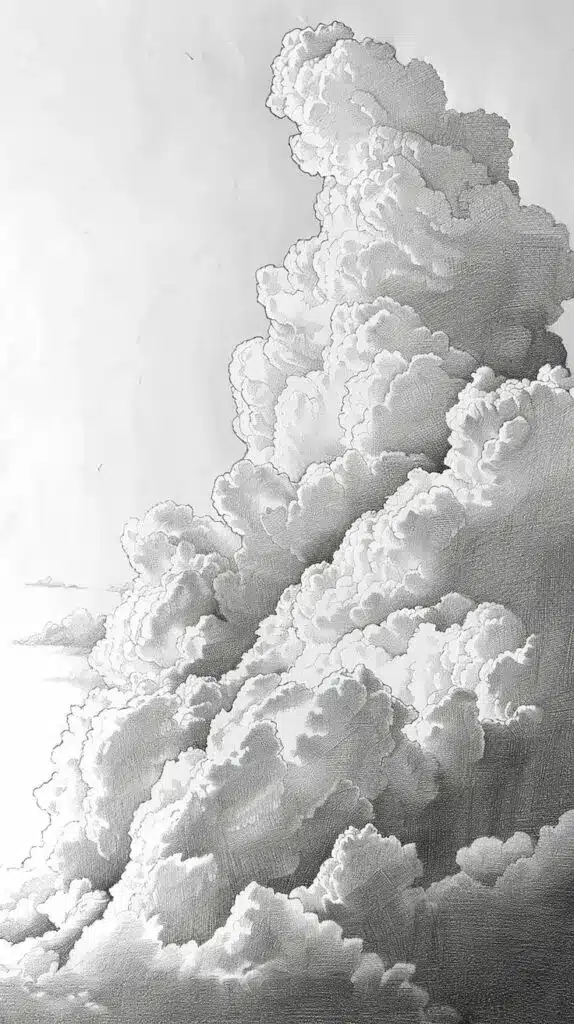
Contrast management is crucial for realistic depth. Increase contrast between adjacent forms to create separation. Reduce contrast in distant or less important areas to create atmospheric perspective. This value manipulation guides the viewer’s eye and enhances dimensional realism.
Practice with simple objects like eggs or apples before advancing to more complex subjects. These basic forms help you understand light behavior without overwhelming detail.
Developing Shading Skills
Mastering shading techniques requires dedicated practice and understanding of how light interacts with different materials. The following approaches will help you develop the necessary skills to render various surfaces convincingly and add depth to your artwork.
Rendering Opaque and Transparent Materials
Opaque materials absorb light completely, creating distinct shadows with clear edges. When shading opaque objects, use stronger contrast and defined transitions between light and shadow areas. Start with a light base tone, then gradually build up darker values for the shadow areas.
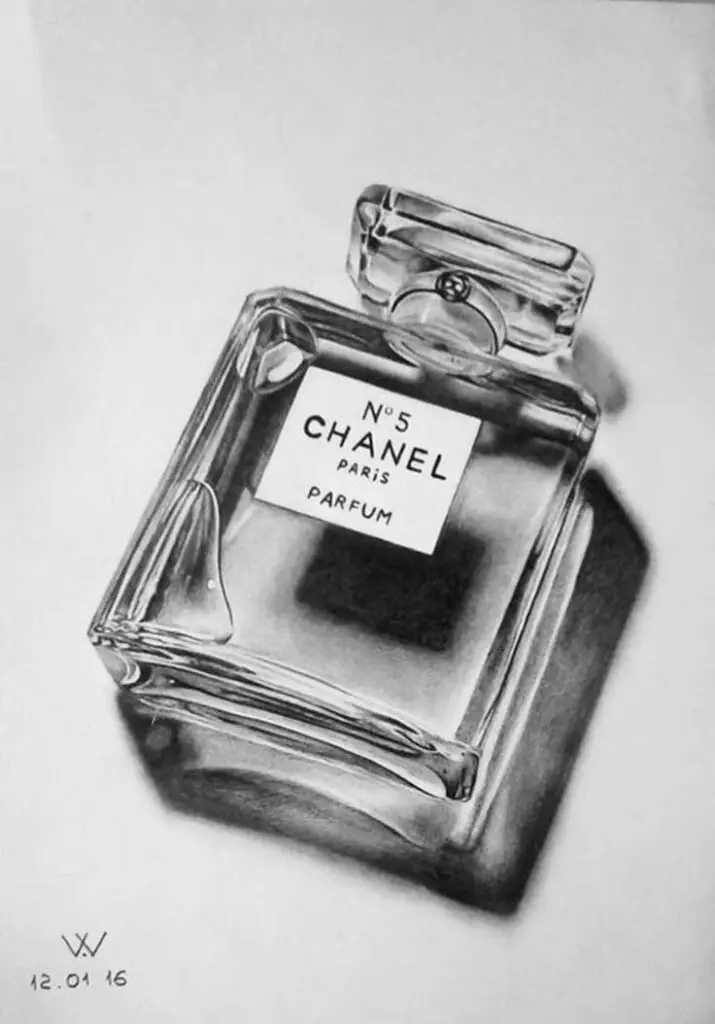
Transparent materials like glass or water require a different approach. Focus on capturing highlights and reflections rather than solid shadows. Use lighter pressure and create subtle value changes to convey transparency.
Remember that even transparent objects cast shadows, though they’re often softer and less defined than those from opaque objects. Practice drawing simple transparent objects like a water glass against a plain background to observe how light refracts through them.
Try the “squint technique” to better see value relationships when rendering different materials. By squinting, you simplify what you see into basic light and dark patterns without distracting details.
Exercises for Improving Technique
Daily Sphere Challenge: Draw a sphere using a different shading technique each day (hatching, cross-hatching, contour shading, etc.). This builds muscle memory and helps you understand how each technique creates form.
Value Scale Practice: Create a 10-step value scale from white to black. This teaches you to recognize and reproduce specific tones consistently.
Light Direction Studies: Draw the same object with light coming from different directions. This helps you understand how light position affects shadows and highlights.
Material Studies: Collect various objects made of different materials (metal, fabric, wood) and practice rendering each one. Focus on capturing the unique surface qualities through appropriate shading techniques.
Timed Exercises: Set a timer for 5-10 minutes and shade an object completely. This prevents overworking and teaches efficiency in your mark-making.
Applying Theory to Practice
Connect your technical skills with theoretical knowledge by studying how masters handle shading. Analyze artwork by skilled artists, noting how they create the illusion of volume and texture through shading choices.
Experiment with combining different techniques for more sophisticated results. For example, use hatching for initial form development, then overlay cross-hatching for darker areas and blend for smooth transitions.
Apply the principle of “form follows function” to your shading. Let the object’s shape guide your shading direction—for cylindrical objects, use contour lines that wrap around the form.
Document your progress by keeping a shading journal. Practice the same subject periodically to see improvement over time. This visual record helps you identify strengths and areas that need more attention.
Remember that consistent practice matters more than perfection. Even spending 15 minutes daily on deliberate shading exercises will yield significant improvement over time.
- 744shares
- Facebook0
- Pinterest744
- Twitter0
- Reddit0

