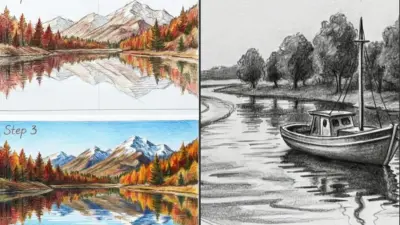
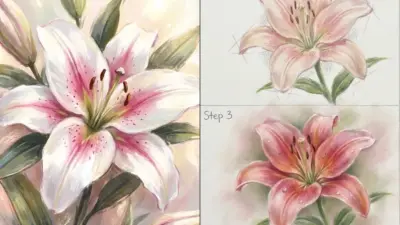
Learning to draw from scratch may feel overwhelming, but it’s a skill you can build step by step with the right approach. You don’t need special talent to begin—just patience, practice, and the willingness to explore. You learn to draw by starting with simple shapes, practicing basic techniques, and gradually building up to more complex forms.
As you progress, you’ll discover how tools, perspective, and shading bring your sketches to life. Each stage helps you see the world differently, turning everyday objects into opportunities to practice. By focusing on fundamentals, you set a strong foundation that makes advanced techniques easier to master.
Drawing is not just about copying what you see; it’s about training your eye and hand to work together. With consistent practice and a structured path, you’ll gain confidence and see steady improvement in your work.
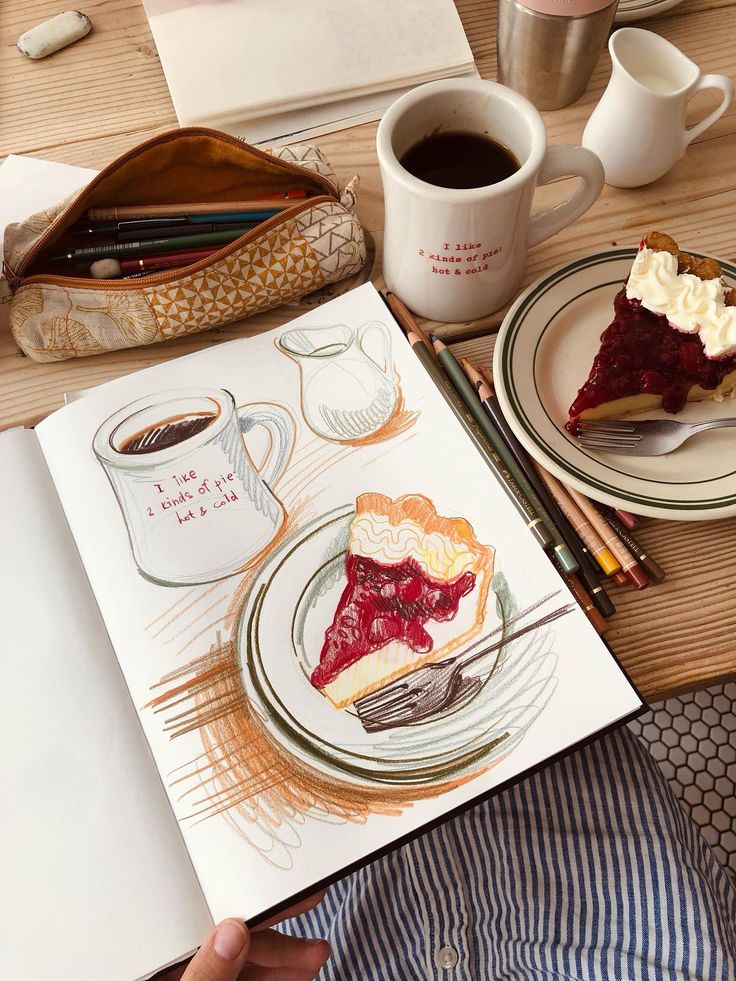

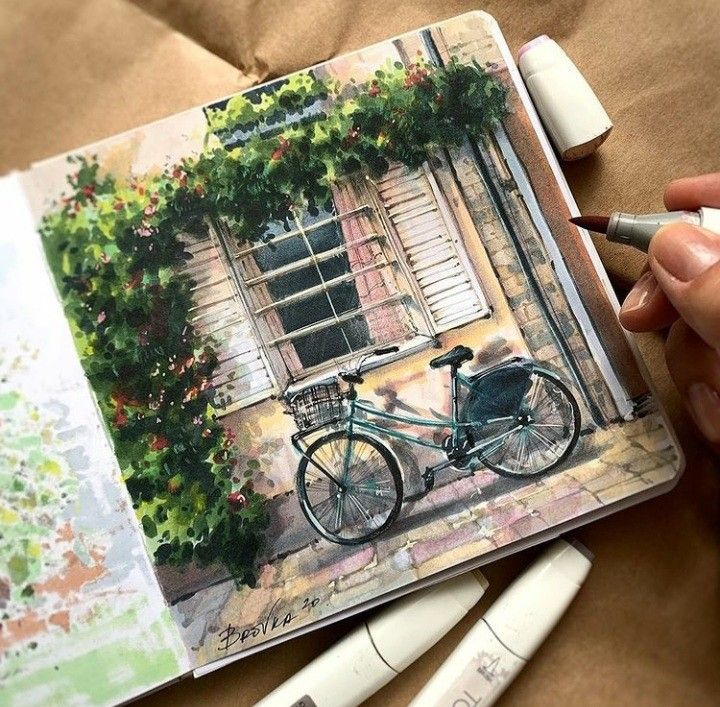
Key Takeaways
- Begin with simple tools and basic exercises
- Build strong skills through steady practice
- Develop depth and style by applying advanced techniques
Getting Started: Essential Drawing Tools and Materials
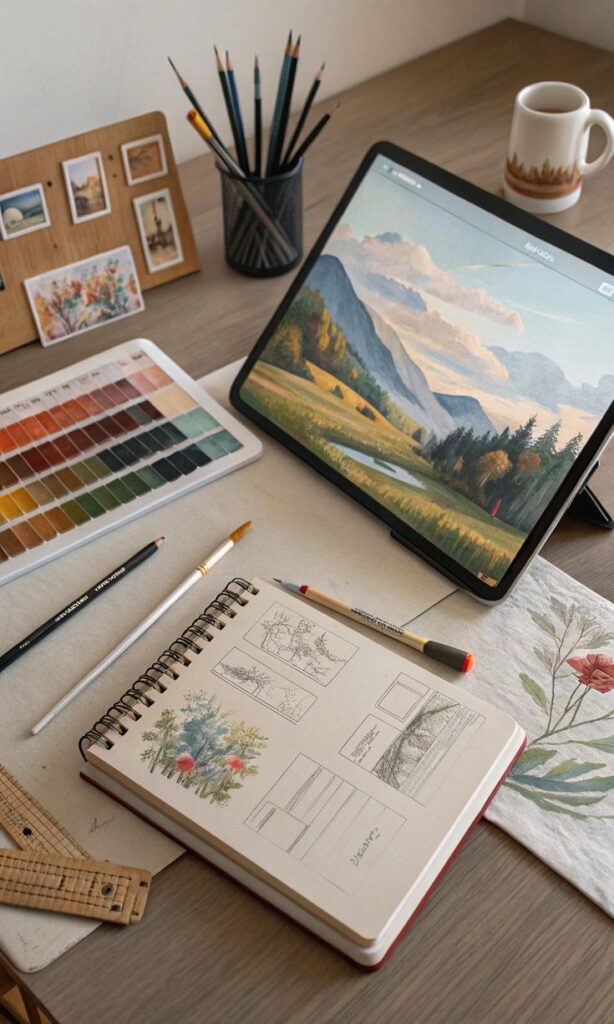
Starting with the right tools helps you practice more comfortably and focus on learning. You’ll rely on a few basics like pencils, sketchbooks, and erasers, while also having the option to explore digital apps if you prefer drawing on a tablet.
Choosing the Right Pencils and Sketchbook
You don’t need a full set of art supplies to begin. A few graphite pencils in different grades are enough. HB is a good all-purpose pencil, while 2B–4B pencils give you softer, darker lines for shading. If you want sharper, lighter lines, an H pencil works well.
A sketchbook gives you space to practice consistently. Choose one with medium-weight paper (around 70–100 gsm) so it can handle erasing without tearing. Spiral-bound sketchbooks make it easier to flip pages and work flat.
If you want to experiment, you can also try toned paper. It lets you practice highlights with a white pencil or pen, which helps you think about light and shadow in your drawings.
Understanding Erasers and Sharpeners
An eraser is more than just a mistake fixer—it’s a drawing tool. A kneaded eraser can be shaped to lift graphite gently, perfect for highlights. A vinyl eraser removes darker marks cleanly, though it can be harsher on paper.
Keep a handheld sharpener for everyday use, but consider a metal sharpener or a craft knife if you want more control over the pencil tip. A fine point helps with details, while a blunt tip is better for shading larger areas.
It’s useful to carry a small eraser and sharpener with your sketchbook. This way you can practice anywhere without worrying about missing tools.
Exploring Digital Drawing Tools
If you prefer drawing digitally, a tablet paired with a stylus gives you flexibility. Apps like Procreate (iPad) and Adobe Photoshop (desktop) offer layers, brushes, and undo options that make experimenting easier.
You don’t need the most expensive device to start. Even entry-level tablets give you enough precision to practice line control and shading. Look for pressure sensitivity in the stylus—it makes strokes feel more natural.
Digital tools also remove the need for physical supplies, but they still require practice. Use them to sketch basic shapes, shade with digital brushes, and test different styles without wasting paper.

Building Foundational Drawing Skills
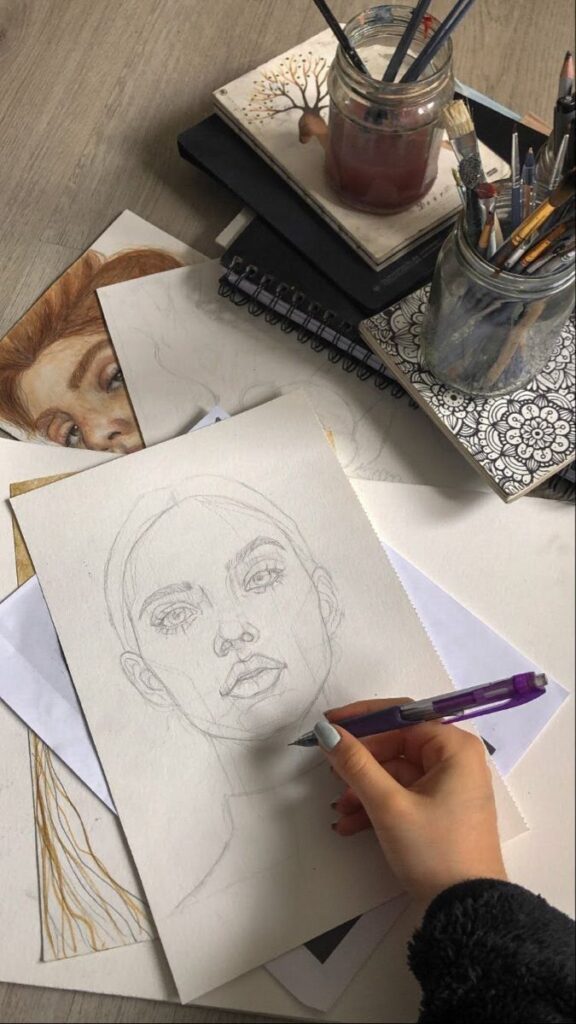
Strong drawing skills start with simple, repeatable exercises that train your eye, hand, and mind to work together. By practicing shapes, improving coordination, and learning to observe carefully, you create a reliable base for sketching and more advanced drawing techniques.
Practicing Basic Shapes and Forms
When you learn how to draw, start with basic shapes like circles, squares, and triangles. These are the building blocks of nearly every object you’ll sketch. Practicing them helps you understand proportion and structure.
Move from flat shapes to 3D forms such as cubes, cylinders, and spheres. This step introduces you to depth and volume, which are essential for realistic drawing. Try shading these forms lightly to see how light and shadow define space.
A simple daily exercise is to fill a page with repeated shapes. Keep them consistent in size and spacing. Over time, this improves your control and accuracy.
You can also combine shapes to build simple objects, like a house from rectangles or a tree from circles. This helps you see how complex drawings break down into smaller, manageable parts.
Developing Hand-Eye Coordination
Hand-eye coordination connects what you observe with how your hand moves on paper. Without it, your sketches may feel stiff or inaccurate. You can strengthen this skill through targeted exercises.
One effective drill is contour drawing. Place an object in front of you and slowly trace its outline with your pencil while keeping your eyes on the object, not the page. This encourages you to trust your observation rather than guess.
Another useful practice is line control. Draw straight lines, curved lines, and parallel lines across a page. Focus on steady motion rather than perfection. Over time, your lines will look cleaner and more confident.
You can also practice drawing without lifting your pencil, creating continuous lines. This builds fluidity and reduces hesitation when sketching.
Observation Techniques for Beginners
Observation is one of the most important drawing skills. You need to train yourself to see shapes, proportions, and relationships rather than assuming how something looks.
Start with negative space drawing. Instead of focusing on the object itself, draw the empty spaces around it. This helps you notice angles and outlines you might otherwise miss.
Use a grid method for practice. Divide both your reference image and paper into equal squares, then copy what you see square by square. This improves accuracy and helps you understand scale.
Pay attention to light and shadow. Sketching simple objects under a lamp allows you to study how light creates contrast and form. Even basic shading exercises make your drawings appear more realistic.
Finally, practice short timed sketches. Set a timer for 1–5 minutes and draw quickly. This trains you to capture essential details without overthinking, which is a key part of learning how to draw effectively.
Mastering Drawing Techniques and Styles
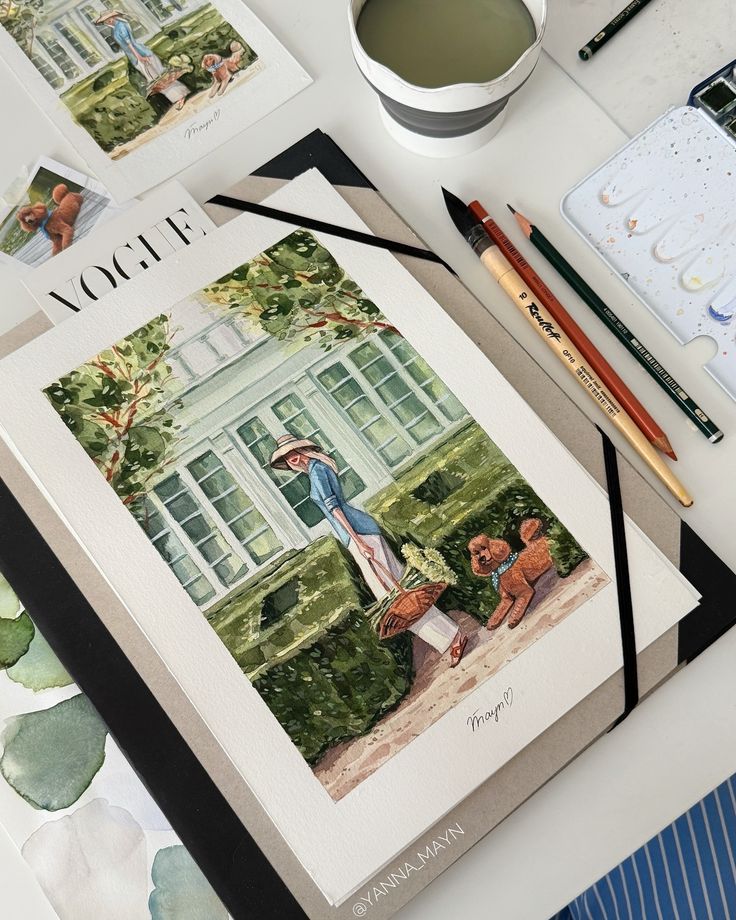
You build stronger drawing skills by practicing how you use lines, shapes, and strokes while also learning to capture movement and personality. Developing both realistic and stylized approaches helps you adapt to different subjects, whether you’re sketching portraits, characters, or quick studies.
Line Art and Pencil Strokes
Line art teaches you how to control weight, direction, and clarity in your drawings. A clean line can define structure, while a varied stroke can suggest depth or texture. Practicing with light, medium, and heavy pressure helps you see how much expression a single pencil can create.
Try exercises like drawing parallel lines, cross-hatching, or contour outlines. These drills improve accuracy and make your hand more confident. You’ll also notice how consistent spacing between strokes can create smoother shading and stronger form.
When you focus on line quality, you also develop the groundwork for illustration. Whether you prefer bold outlines for stylized work or subtle strokes for realism, strong line control gives you flexibility across different drawing styles.
Gesture Drawing and Drawing Styles
Gesture drawing helps you capture movement and energy quickly. Instead of focusing on details, you sketch the overall flow of a pose in 30–90 seconds. This builds speed and sharpens your ability to recognize proportion and rhythm.
You can use gesture drawing to practice different drawing styles. For example:
- Loose sketches for animation or character concepts.
- Structured gestures for figure drawing and anatomy studies.
- Stylized gestures for comics or illustration work.
By repeating short sessions, you train your eye to simplify complex forms. This makes it easier to adapt your drawings to different styles, from expressive cartoons to more naturalistic sketches.
Exploring Realism and Character Design
Realism challenges you to observe closely and translate what you see into accurate forms. Shading, perspective, and proportions become essential when drawing realistic portraits or still-life studies. Practicing gradual value shifts with pencil strokes helps you create believable depth.
Character design, on the other hand, combines observation with imagination. You might exaggerate features, simplify shapes, or invent new proportions. Many artists start with realistic studies, then push or distort those foundations to create unique characters.
Balancing both approaches gives you versatility. Realistic drawing sharpens your technical accuracy, while character design encourages creativity and problem-solving in illustration. Together, they expand your ability to draw subjects with both precision and personality.
Understanding Anatomy, Perspective, and Proportion
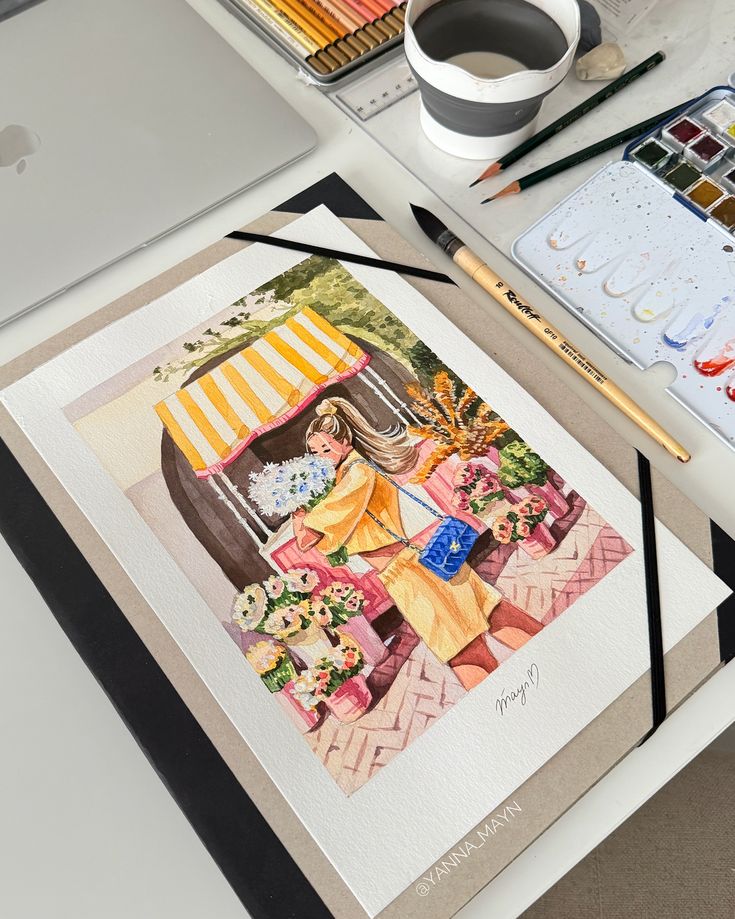
When you start drawing people or objects, accuracy depends on three main skills: knowing how the body is structured, capturing the details of hands and faces, and placing forms correctly in space. These areas work together to make your drawings more believable and balanced.
Learning Anatomy Basics
You don’t need to memorize every muscle, but you should understand the body’s main structures. Think of the skeleton as the framework and the muscles as the shapes that give volume. This helps you avoid flat or stiff figures.
A good way to practice is by breaking the body into simple forms. For example:
- Head = oval
- Torso = box or cylinder
- Limbs = cylinders
Using these shapes lets you sketch quickly and adjust proportions before adding detail.
Proportions matter most. The average adult is about 7–8 heads tall, while children are shorter in proportion. Keeping these measurements in mind keeps your figures consistent.
Reference images are very useful here. Study photos or anatomy diagrams and sketch them repeatedly. Over time, you’ll recognize patterns in how the body moves and rests.
How to Draw Hands and Faces
Hands and faces can feel intimidating, but breaking them into parts makes the process easier. Start with simple shapes: palms as rectangles, fingers as tapered cylinders, and the head as an oval divided into sections.
For faces, use guidelines to place features. A common approach is:
- Eyes halfway down the head
- Bottom of the nose halfway between eyes and chin
- Mouth about one-third of the way down from nose to chin
Hands benefit from studying gesture first. Draw quick outlines of different poses instead of focusing on details. This builds confidence and helps you capture natural positions.
Keep a small sketchbook just for hands and faces. By practicing them separately, you’ll reduce frustration when adding them to full figures.
Grasping Perspective in Drawing
Perspective gives depth to your drawings. Without it, objects and figures can look flat or floating. The three main types are one-point, two-point, and three-point perspective.
For beginners, start with one-point perspective. Imagine everything receding toward a single vanishing point on the horizon. This works well for hallways, roads, or simple room scenes.
Two-point perspective is useful for drawing buildings or boxes at an angle. Three-point adds a sense of height or depth, often used for dramatic views.
When drawing people, perspective affects proportions. A figure closer to the viewer will appear larger, while those farther away shrink in scale. Practice placing figures on a ground plane to see how size changes with distance.
Using grids or light construction lines helps you keep proportions accurate. Reference photos taken at different angles are also excellent tools for training your eye to see perspective clearly.
Adding Depth: Shading, Light, and Blending
You can make your drawings look three-dimensional by practicing shading, observing how light falls on objects, and using blending methods. These skills help you show form, texture, and depth instead of leaving shapes flat on the page.
Introduction to Shading Techniques
Shading is how you move from simple outlines to drawings that show depth. By adjusting the darkness and lightness of your marks, you create the illusion of form. This process relies on controlling values—ranging from highlights to deep shadows.
You can start with basic methods like hatching, cross-hatching, blending, and stippling. Each technique changes how texture and tone appear. For example, hatching uses parallel lines, while stippling builds tone with dots.
Think of shading as mapping light. The side facing the light source stays lighter, while the opposite side becomes darker. Practicing this consistently will train your eye to spot subtle changes in tone.
A helpful way to practice is by shading simple shapes like spheres, cubes, and cylinders. These forms let you see how light behaves on curved and flat surfaces.
Working with Light and Shadow
Understanding light and shadow is key for realistic drawings. Every object has areas such as highlight, mid-tone, core shadow, reflected light, and cast shadow. Recognizing these zones helps you place values in the right spots.
Highlights are the brightest points where light directly hits. Core shadows are the darkest areas where light is blocked. Cast shadows fall on nearby surfaces and show the object’s position.
You can observe these effects by placing a lamp near a simple object and sketching what you see. Changing the light angle will alter the length and intensity of shadows.
A quick tip: avoid filling shadows with a single flat tone. Instead, build them gradually with layers, which makes the drawing more convincing.
Blending, Hatching, and Cross-Hatching
Blending smooths transitions between light and dark. You can use a blending stump, tissue, or even your finger for softer effects. Apply light pressure at first, then build layers for darker areas.
Hatching and cross-hatching give you more control over texture. Hatching uses parallel lines, while cross-hatching layers lines at different angles. The closer the lines, the darker the value.
Here’s a quick comparison:
| Technique | Look/Effect | Best Use Case |
|---|---|---|
| Blending | Smooth gradients | Skin tones, soft surfaces |
| Hatching | Linear texture | Quick shading, sketch studies |
| Cross-Hatching | Dense tonal variation | Strong shadows, detailed work |
| Stippling | Speckled, dotted texture | Subtle shading, texture detail |
Mixing these methods in one drawing gives you flexibility. You might blend larger areas for smoothness, then add cross-hatching for depth in shadows. This variety adds both realism and interest.
Growing as an Artist: Practice, Courses, and Community
Developing your drawing skills takes steady practice, structured learning, and the support of others. You improve faster when you combine daily routines with guided instruction and feedback from a community that understands the challenges of the artistic journey.
Setting Up Effective Practice Routines
Consistent practice builds confidence and helps you sharpen your skills over time. Instead of drawing only when you feel inspired, set aside a specific time each day—even 20 minutes can make a difference.
Start simple by focusing on basic shapes, proportions, and shading. These fundamentals strengthen both traditional sketching and digital illustration. You can also keep a sketchbook where you experiment with new ideas, track progress, and revisit earlier drawings to see growth.
To stay motivated, try small drawing challenges. For example:
- Draw the same object from multiple angles.
- Limit yourself to five minutes per sketch.
- Recreate a past drawing with improved technique.
These challenges keep practice engaging while pushing you to refine your artistic style.
Learning with Online Drawing Courses
Online drawing courses give you structure that self-practice alone may not provide. Many courses break lessons into clear steps, starting with basic forms and moving into more advanced topics like portraits or composition. This progression helps you avoid skipping essential skills.
Look for courses that include practical exercises and not just demonstrations. Platforms like Coursera, Skillshare, and free options like RapidFireArt offer guided projects where you can apply techniques immediately.
A good drawing course often covers:
- Core skills: shapes, perspective, shading.
- Applied practice: sketching real objects or portraits.
- Feedback opportunities: assignments or peer reviews.
If you’re interested in digital illustration, choose a course that introduces drawing software alongside traditional methods. This way, you can expand your toolkit while still building strong fundamentals.
Joining Art Communities and Sharing Work
Practicing alone can feel isolating, which is why joining art communities helps you stay engaged. Online forums, Discord groups, or local art classes give you a space to share work, receive feedback, and learn from others at different stages of their artistic journey.
Sharing your drawings—even early ones—lets you see how others interpret your style. Constructive feedback often points out details you might overlook, like proportion or line weight.
Communities also host group challenges and themed prompts that encourage regular practice. Participating in these events helps you experiment with new approaches while connecting with artists who share your goals.
Whether online or in person, these spaces keep you accountable and motivated while giving you fresh perspectives on your growth.
- 0shares
- Facebook0
- Pinterest0
- Twitter0
- Reddit0
