Stitch is a fun and popular character that many people love to draw. Whether someone is a beginner or just wants to create a cute picture, learning to draw Stitch can be simple and enjoyable. The key to drawing Stitch is starting with basic shapes and adding small details step by step.
This guide will help anyone capture Stitch’s unique look by breaking down the process into easy steps anyone can follow. Drawing Stitch holding a heart or as a Squishmallow can add even more personality to the sketch.
By following clear instructions and practicing a little, anyone can create their own special version of Stitch. It’s a great way to enjoy art while making a character that feels lively and fun.
Gathering Drawing Supplies
Gathering the right tools makes drawing Stitch easier and more enjoyable. Having good paper, pencils, and coloring items ready helps create a clean, neat picture with clear details.
Selecting the Right Paper


He or she should pick paper that suits the drawing method. Plain white sketch paper is a good choice for pencil drawing. It is smooth and does not cause pencils to smudge easily.
If using markers or watercolors, thicker paper is best. It prevents colors from bleeding through. A sketchpad with at least 70 lb weight is strong enough for most coloring tools.
The size of the paper also matters. Starting with an 8.5 x 11 inch sheet is ideal because it offers enough space to draw but is not too large to handle easily.
Essential Pencils and Erasers


A range of pencils helps make different lines and shades. A simple set with HB, 2B, and 4B pencils covers light sketching to dark shading well.
A good eraser is important for fixing mistakes. A soft white eraser works best because it won’t damage the paper or leave smudges. Kneaded erasers are also helpful for gentle lifting of pencil marks without rubbing hard.
It’s useful to have a sharpener to keep pencil tips fine. Fine tips help with small details on Stitch like his eyes and mouth.
Optional Coloring Tools

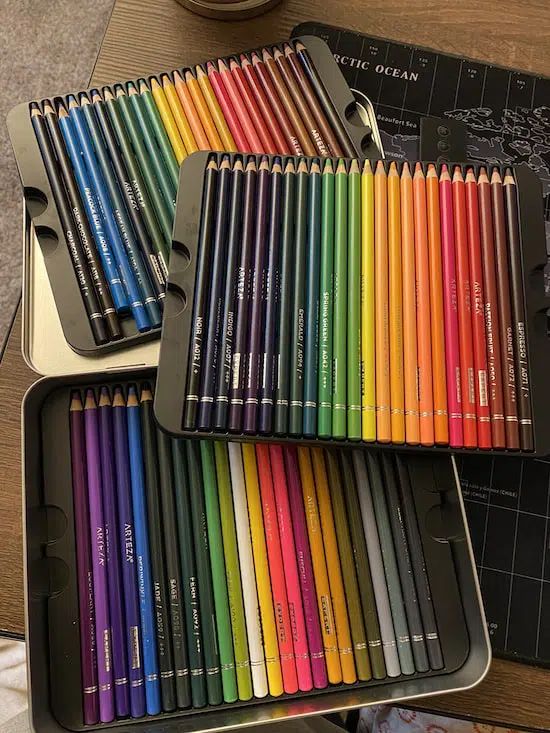
Coloring tools add fun and bring Stitch to life. Colored pencils are easy to control and blend well for smooth shading. They are a good choice for beginners.
Markers provide bright, bold color. They work well but need thicker paper to avoid bleeding. Watercolor paints give a soft, blended look but require more skill to control.
If he or she wants extra texture and effects, adding crayons or pastels can be fun. Using a mix of tools depends on what look they want for their drawing.
Step-By-Step Guide to Drawing Stitch
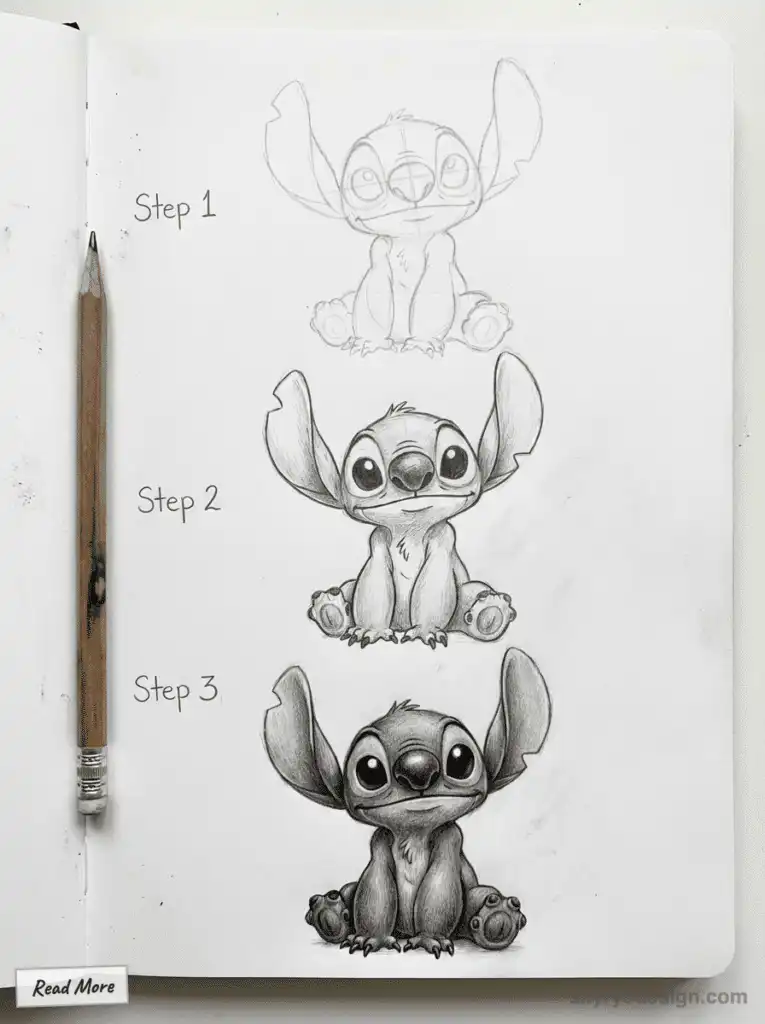
To draw Stitch well, it’s important to start with simple shapes for his body. Then, focus on his face and expression to catch his playful look. Next, add details like his ears, arms, and body shapes. Finally, clean up the lines and add final touches.
Sketching the Basic Shapes

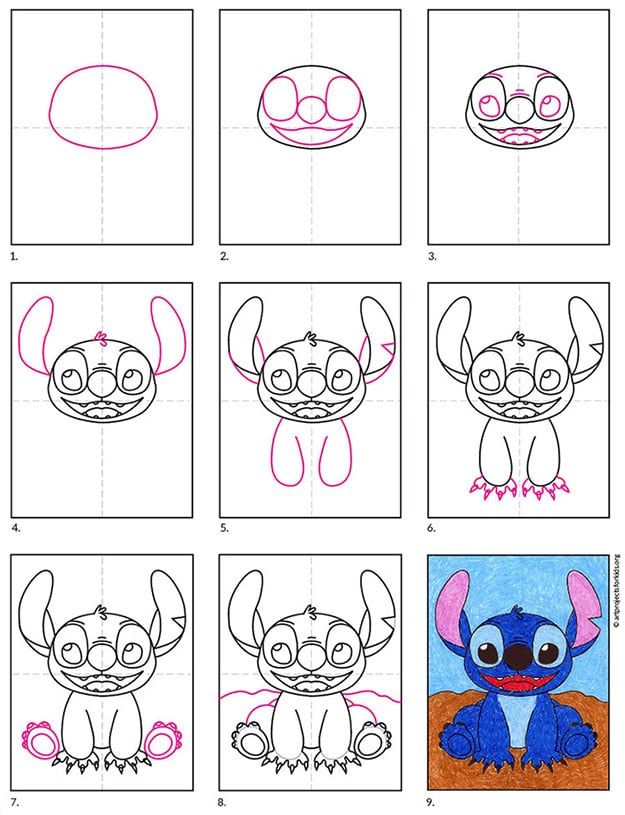
Begin by sketching a large oval for Stitch’s head. Below it, draw a smaller oval tilted slightly for his body. Use light strokes so changes are easy.
Add two small circles for his shoulders and simple lines for his arms and legs. These shapes help place his limbs before details come in.
This step makes sure Stitch’s body looks balanced and his pose feels natural. Keeping the shapes simple at first will save time later.
Drawing Stitch’s Face and Expression


Draw two large round eyes wide apart near the top of the head oval. Inside the eyes, add smaller circles for pupils to give life to his look.
Sketch a small oval nose centered between the eyes but lower on the face. Add a wide grin below the nose, with pointed teeth showing, to capture his mischievous smile.
Draw eyebrows angled to show a playful or curious expression. Make sure the face looks friendly and lively.
Adding Ears, Arms, and Body Details
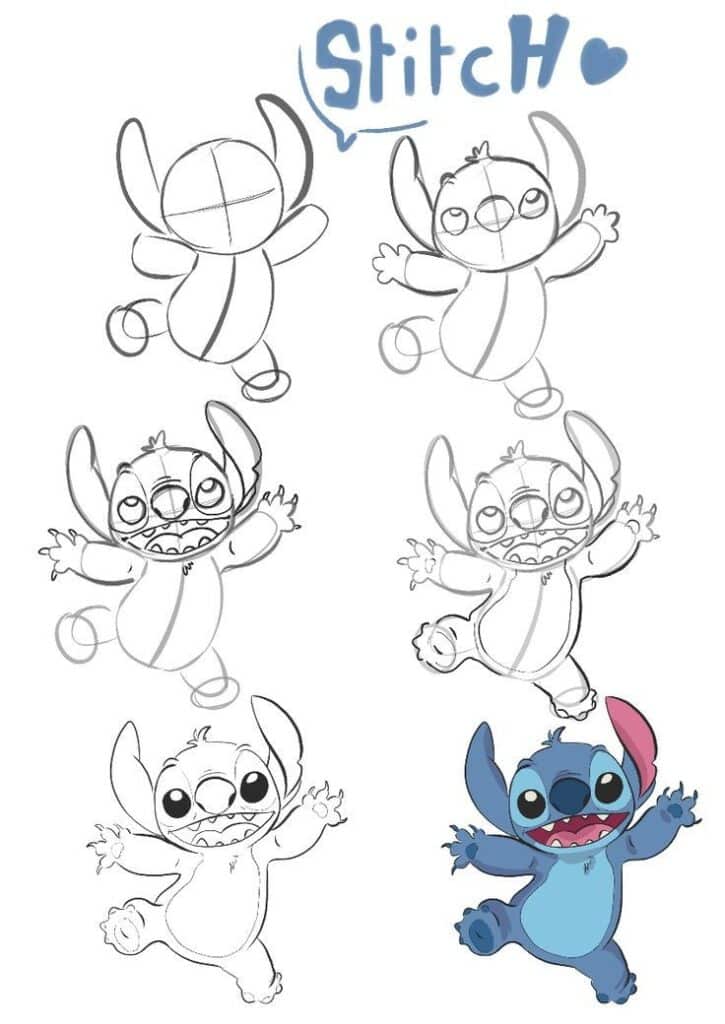

Stitch’s ears are big and rounded with pointed tips. Draw them sticking out from the top sides of the head, slightly bent.
Add his arms using the shoulder circles. Draw three fingers on each hand with claw tips. His legs are short and wide with three toes each.
For the body, add small lines to show fur and a few curves to outline Stitch’s round belly. Keep the shapes soft and rounded.
Outlining and Refining the Sketch
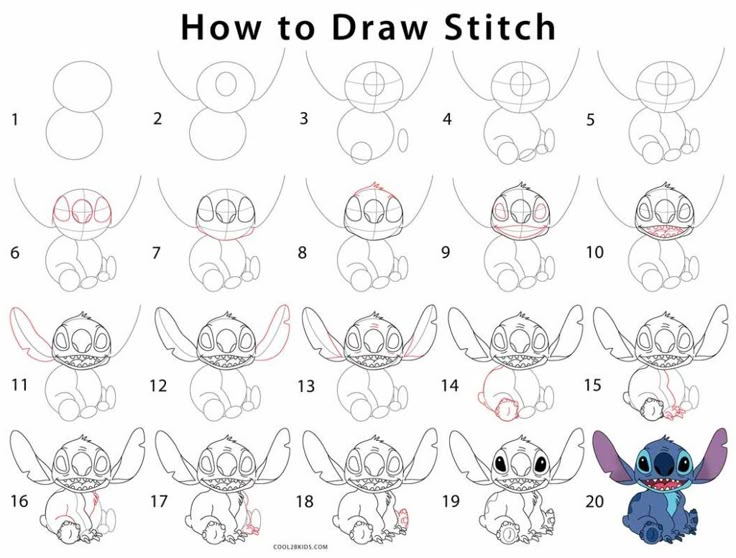
Use a darker pen or pencil to go over the final lines carefully. Erase all the extra basic shapes and sketch marks.
Focus on smooth lines around the eyes, ears, and mouth. Add fine details like small lines on the ears or claws.
This step makes the drawing clear and ready for coloring or shading. It helps make Stitch stand out as a neat and fun character.
Adding Color and Final Touches
After finishing the basic drawing, the next step is to bring Stitch to life with colors and details. This part focuses on picking the right colors, adding shadows for a 3D look, and finishing with highlights to make the drawing pop.
Choosing Colors for Stitch
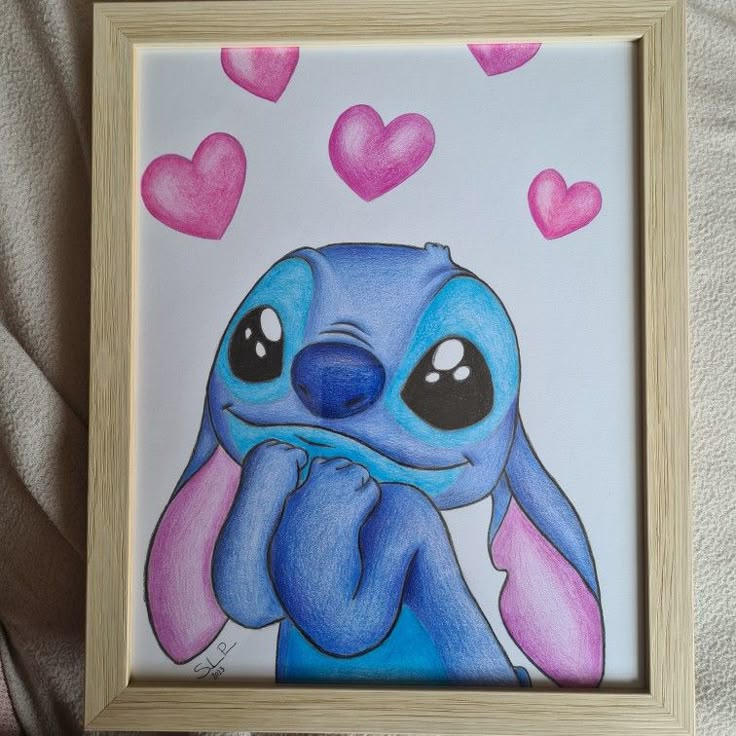

Stitch is mainly blue, but using different shades will make the drawing look more interesting. Start with a medium blue for most of his body. The chest and the inside of his ears should be a light creamy color or pale pink.
Using darker blue for shadows and lighter blue for areas that catch light helps create a more natural look. For the eyes, use black with a small white spot to show shine. The nose is usually dark gray or black.
Suggested colors:
| Part | Color Shade | Notes |
|---|---|---|
| Body | Medium blue | Base color |
| Chest & Ears | Cream or pale pink | Soft contrast |
| Shadows | Dark blue | Adds depth |
| Highlights | Light blue | For raised areas |
| Eyes | Black with white | Adds life |
| Nose | Dark gray or black | Small but important detail |
Shading for Depth and Texture
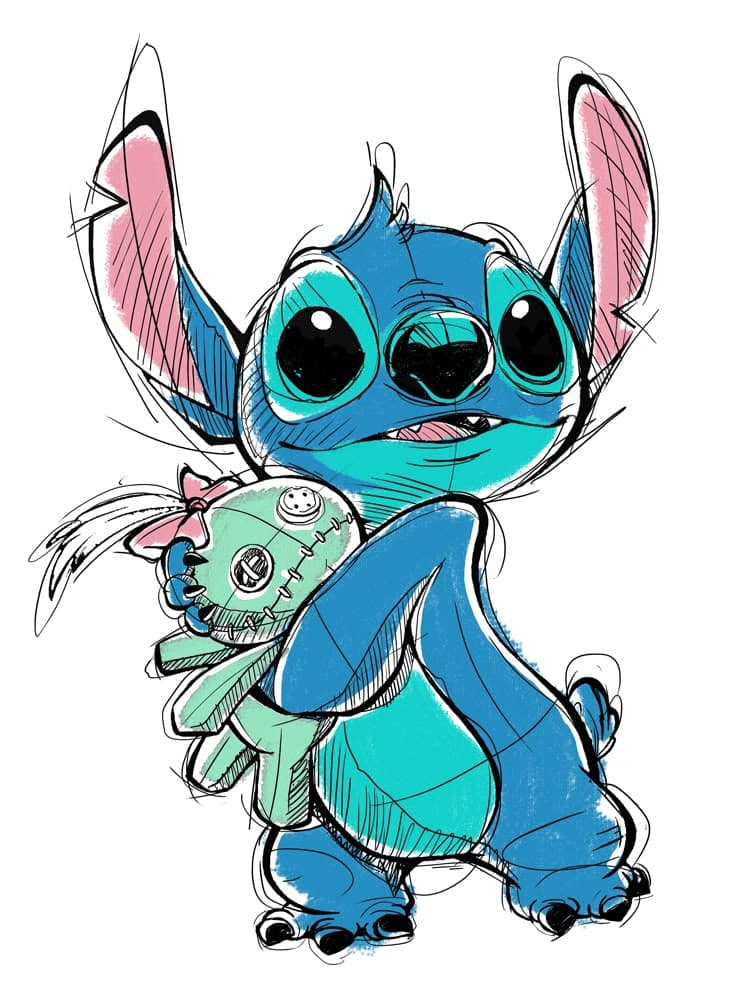
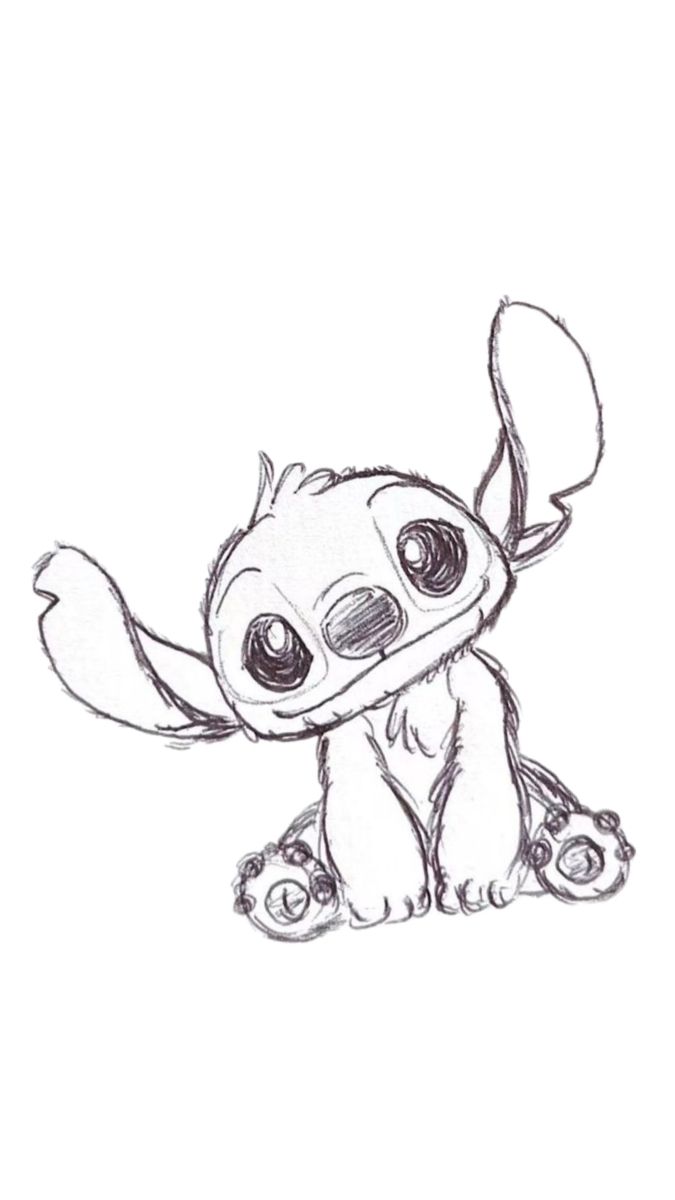
Shading helps make Stitch look three-dimensional. Start by deciding where the light is coming from, usually above. Then, add shadows on the side opposite the light.
Use a soft pencil or light marker to create shadows under the chin, inside the ears, and below the arms. Adding shading around the eyes gives them more depth. Lightly layer darker blue in areas that curve away from the light.
Blending the shading smoothly keeps it looking natural. Avoid harsh lines unless Stitch’s fur is spiky, then small jagged shadows work well.
Highlighting and Finishing Up

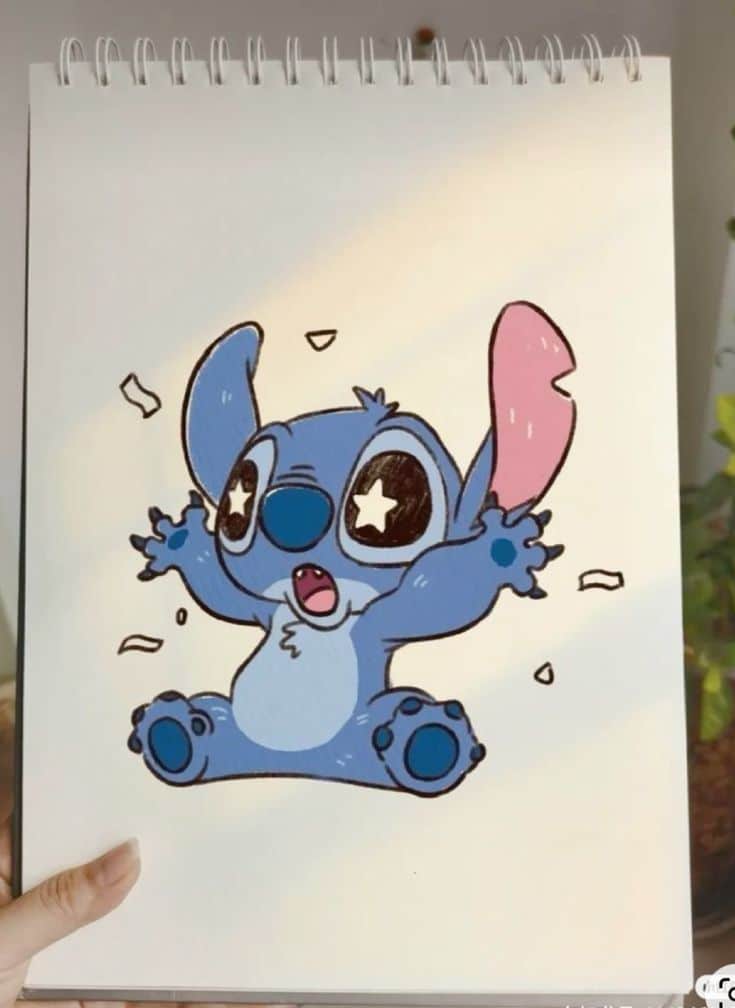
Highlights show where the light hits the most. Use white or a very light blue for tiny strokes on the forehead, nose, tips of the ears, and edges of the arms. These make Stitch look shiny and alive.
Add a small white dot in each eye to mimic a reflection. This simple step brightens the expression.


Finally, clean up any extra lines and sharpen the outlines with a fine pen or darker pencil. This keeps Stitch looking neat and complete.
- 9.1Kshares
- Facebook0
- Pinterest9.1K
- Twitter0
- Reddit0
