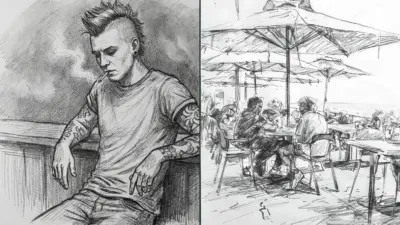
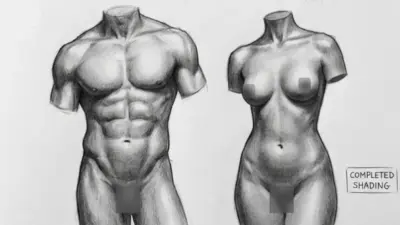
Drawing faces might seem intimidating, but understanding the basic structure can make the process much easier and more enjoyable. By breaking down a face into simple shapes and proportions, you can quickly start to capture a realistic likeness. Paying attention to features like the eyes, nose, lips, and overall symmetry is key to achieving convincing results.
You’ll also benefit from learning how to construct faces from different angles and how to shade for depth and realism. With some foundational knowledge and practice, you can develop your own style and confidently draw faces that look lifelike and expressive. Whether you’re a beginner or improving your skills, there are simple techniques and resources that can help you see progress faster.
Key Takeaways
- Knowing the basic structure of the face helps start your drawing with confidence.
- Constructing and shading individual features brings realism to your artwork.
- Regular practice and using reference resources are essential for skill improvement.


Fundamentals Of Face Drawing
Accurate face drawing depends on understanding facial proportions, precise block-in methods, and the correct spacing of key features. These principles help you achieve more realistic and convincing portrait drawings.
Understanding Facial Proportions
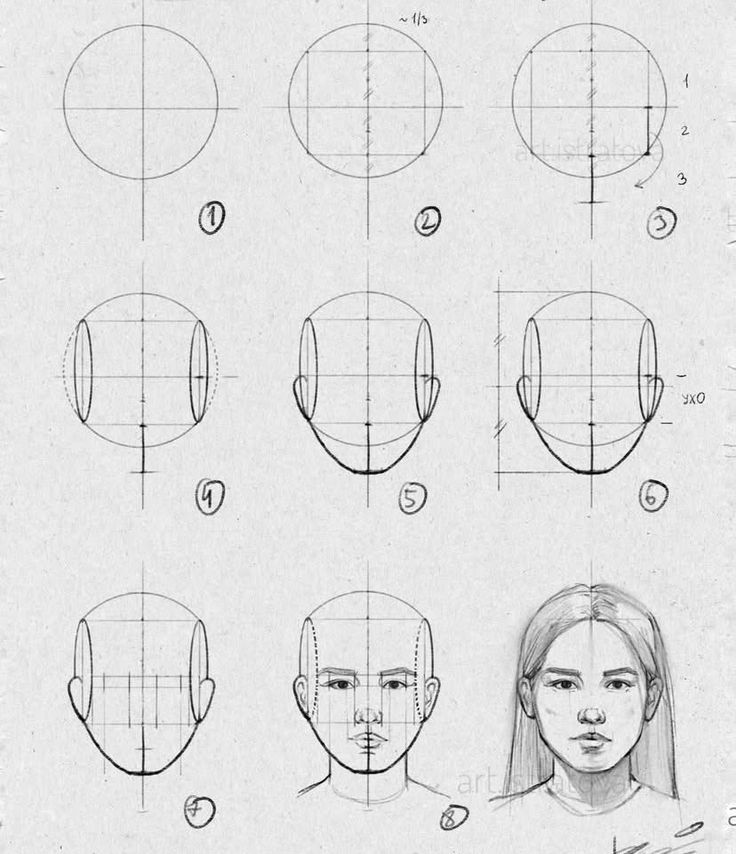
When drawing a face, recognizing standard facial proportions is essential. The head can be broken down into basic units: the cranium (often drawn as a circle), the jaw, and the center lines that orient features.
Common proportional guides include:
- The eyes are usually located halfway between the top of the head and the chin.
- The bottom of the nose is about halfway between the eyes and the chin.
- The mouth sits a third of the way between the nose and chin.
The rule of thirds can help with vertical placement, while measurement techniques like sighting with a pencil keep proportions accurate.
Block-In Techniques
Block-in is the initial stage where you sketch the largest, most basic shapes to establish the head’s structure. Begin by sketching a circle for the cranium and adding lines for the jaw and the symmetry axis.
Use simple geometric shapes such as rectangles or ovals to represent the placement of facial features. Refine the block-in to capture specific angles of the jaw, cheekbones, and hairline.
Block-in helps prevent distortion and keeps you focused on large shapes before moving to details. It is critical for life drawing and for adapting to different people’s features, making later corrections easier.
Space Between The Eyes
The correct space between the eyes is a vital proportion for realistic face drawing. Typically, the width of one eye fits between the two eyes.
You can remember this as:
| Eye | Space | Eye |
|---|---|---|
| 1 | 1 eye-width | 1 |
This measurement gives balance and symmetry to the portrait. If the space is too wide or too narrow, the likeness may suffer.
Accurately marking this gap early in your drawing helps align other features, such as the nose (which usually lines up close to the inner eye corners), and supports overall facial harmony.
Constructing Facial Features
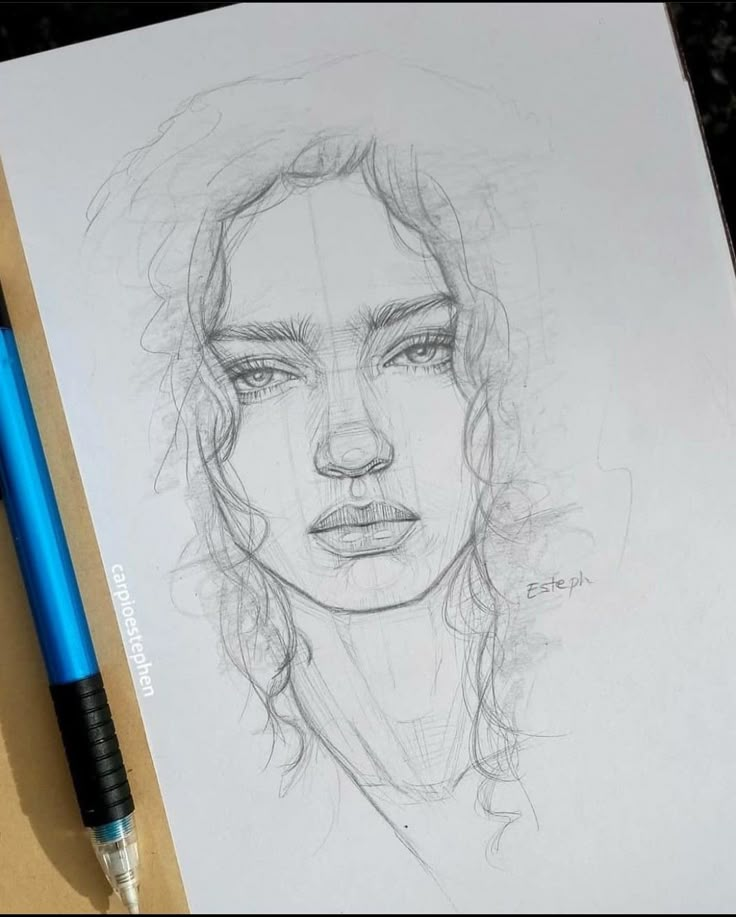
When drawing a face, it’s important to understand both the structure and placement of each individual feature. Accuracy comes from observing how eyes, nose, and mouth relate to each other on the facial plane.
Drawing Eyes
Begin by identifying the eye line, which typically sits halfway between the chin and the top of the head. Human eyes are generally spaced one eye-width apart. Focus first on the shape of the eyelids, avoiding overemphasis on the outline.
Notice the upper eyelid casts more shadow than the lower. Locate the tear duct near the nose and follow the subtle curve as the eyelid wraps around the eyeball. Add the iris centered beneath the upper lid, not as a complete circle.
Use a soft pencil or light pressure to sketch the eyes, marking the highlight before shading. Pay attention to the thickness and direction of eyelashes and avoid drawing them as stiff straight lines.
Shaping The Nose
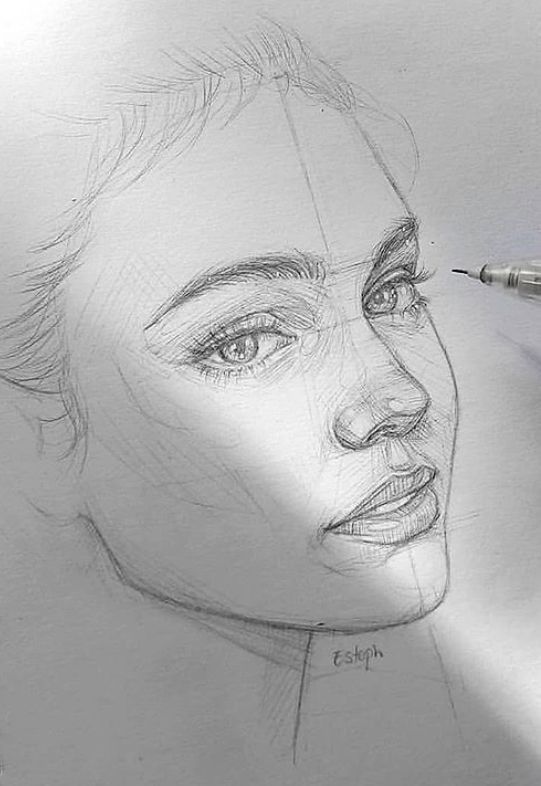
Start by marking the nose’s position vertically—commonly halfway between the eye line and the bottom of the chin. Block in the bridge of the nose using three basic planes: the top (bridge), two sides, and the ball.
The nostrils curve upwards, never appearing as perfect circles. Indicate the wings of the nostrils softly, and use shadow rather than outlines for realistic form. The underside of the nose, including the septum and nostrils, often falls into shadow.
Observe that the nose rarely has a hard outline along its edges. Instead, use light shading to model the structure. Vary the pressure to depict the different surfaces and achieve depth, especially around the nostril and tip.
Corners Of The Mouth
The corners of the mouth align vertically with the inside edges of the eyes. Mark the end points with small dots to check their placement. Corners are not sharp points but have subtle curves that turn outward or downward depending on the expression.
Pay attention to the depth at the corners. Creases called oral commissures form at these locations, giving realism to a smile or frown. Shade lightly beneath the corners to suggest a three-dimensional effect.
It helps to sketch the visible transition where the upper and lower lips meet at the corners, darkening here to show separation. Avoid outlining the entire lip shape, focusing instead on tonal changes.
Building The Mouth Line
The mouth line, or the meeting line of the lips, guides the expression and proportion of the mouth. It usually follows a slight curve rather than a straight line. Start this line directly below the nose tip and connect it with the mouth corners.
Study the subtle changes in this line as expressions shift. For a relaxed face, the line curves gently up or is nearly straight. In a smile, the curve heightens; in a frown, it turns downward.
Introduce shading above and below the mouth line to give volume to the lips. The upper lip is generally in more shadow, while the lower catches more light. By observing and sketching the small variations in this line, you create a more realistic and expressive mouth.
Drawing The Face From Multiple Angles
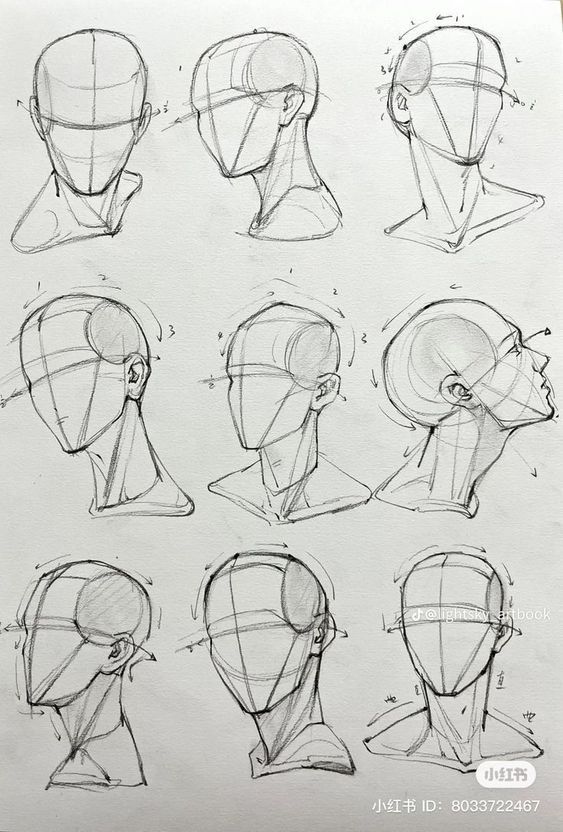
Learning to draw faces from different angles is key for accuracy in portrait work. Approaching each view—front, profile, and the addition of the neck—requires understanding of proportions, alignment, and structure.
Front View Techniques
When drawing the face from the front, start with a simple oval or egg shape for the head. Lightly sketch a vertical center line to divide the face symmetrically. Add a horizontal eye line about halfway down the head.
Place the eyes approximately one eye-width apart. The bottom of the nose usually sits halfway between the eye line and the chin. The mouth line typically falls about one-third of the way between the nose line and the chin.
For ear placement, align the tops of the ears with the eye line and the bottoms with the nose line. Sticking to these proportional guidelines helps your portraits look balanced. Use a grid or measurement trick to keep features evenly spaced.

Profile View Essentials
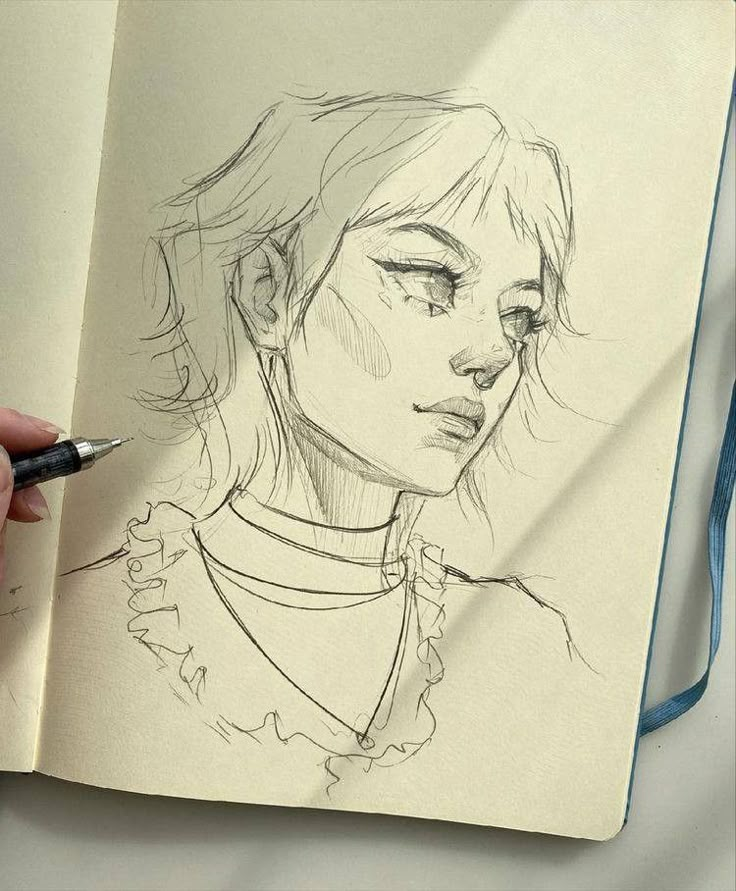
Drawing a profile (side) view involves a different approach to proportion. Begin with a circle for the cranium and add a straight line that marks the face’s front edge. Extend this line downward for the jaw and chin.
Mark the position of the nose—it usually juts out from the center front line. The eyes sit just above the midline of the head, and their shape is narrower from this angle. The mouth rests behind the nose, with the lips following the curve of the face.
Ears are placed roughly between the eye and nose lines, just like the front view, but now they appear in full profile. Pay close attention to the angle of the forehead and jawline for a natural look. Subtle differences in angles can make a big impact.
Adding The Neck
Adding the neck is essential for a realistic portrait. Start the neck at or slightly below the jawline on both sides of the face. The width of the neck should be roughly equal to the distance between the two jaw corners.
In the front view, the neck appears straight and vertical, but in a profile view, it angles back slightly. Avoid making the neck too thin, as this can make the head look unsupported. Indicate the sternocleidomastoid muscles slanting from behind the ear down to the collarbone for anatomical accuracy.
If you’re drawing a portrait, double-check how the neck connects to the head from your angle. Use soft, gradual curves to blend the neck into the base of the jaw and head. Careful attention here gives your drawing a finished, natural look.
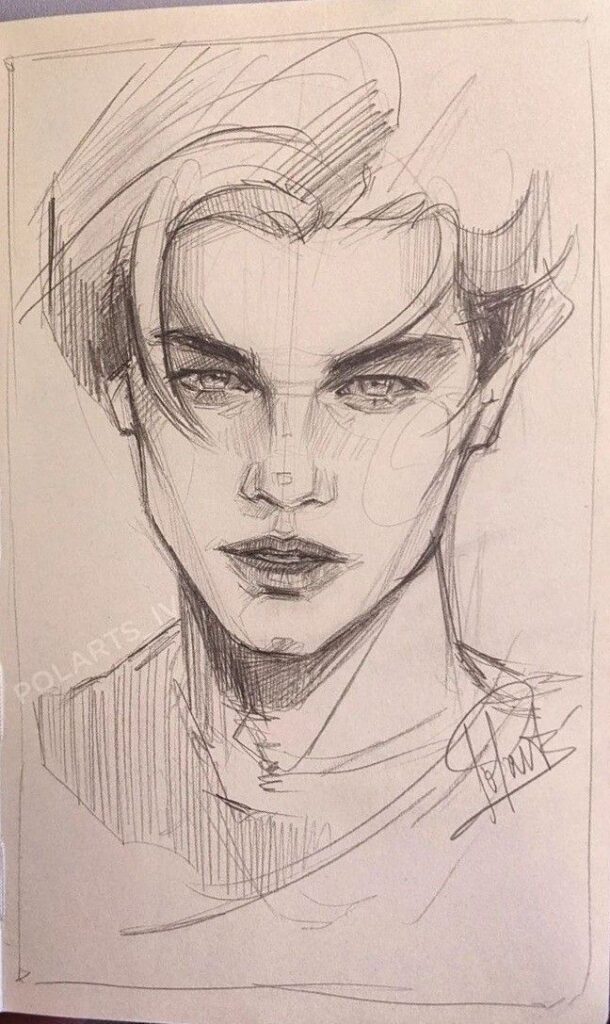
Shading And Rendering For Realism
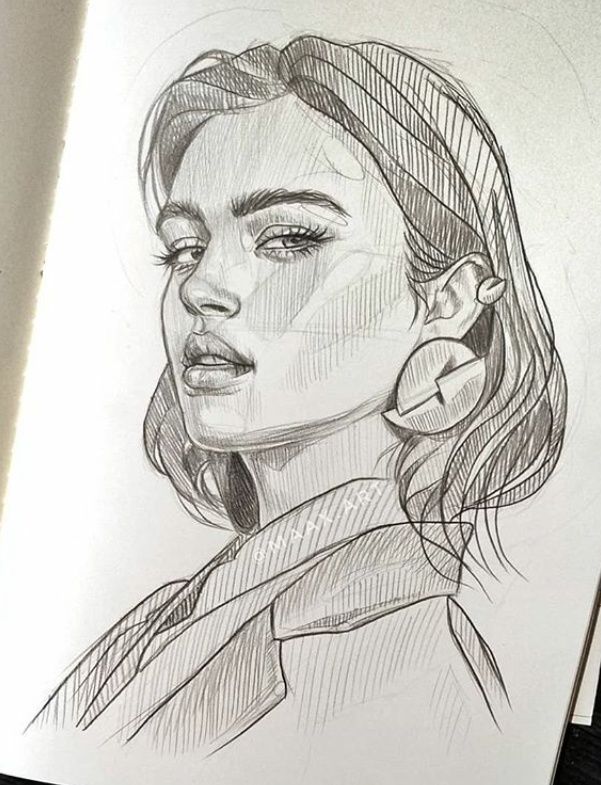
Shading and rendering are essential for creating realistic faces. These techniques help you represent three-dimensional forms, texture, and the effects of light.
Understanding Values And Tone
Values refer to the lightness or darkness of an area in your drawing. Mastering values allows you to show depth and volume. Begin by identifying the lightest highlights and the darkest shadows on the face.
Use a value scale, ranging from white to black, to help you judge and apply different tones. Pay attention to subtle shifts in tone, such as the gentle transition between shadow and light on the cheek or under the eyes.
A blending stump or a soft tissue can help smooth transitions between values, but avoid over-blending, which can flatten the drawing. Mark light sources clearly, as this helps guide your value placement and overall shading decisions.
Achieving Contrast
Contrast brings out the structure of the face and makes your drawing more lifelike. For realism, ensure you have a range of tones, not just midtones. Strong contrast can make features like the nose, lips, and eyes more pronounced.
Start by deepening the darkest areas, such as the nostrils, under the chin, or the crease above the upper eyelid. Then, leave the whitest areas—such as highlights on the forehead or nose—untouched or barely shaded.
Tip:
- Use a kneaded eraser to lift graphite for highlights without damaging the paper.
- Layer graphite gradually for more control over how dark or light each area becomes.
Rendering On Toned Paper
Drawing on toned paper creates a natural midtone, allowing you to handle highlights and shadows more efficiently. For example, when you draw an ear on toned paper, use a white pencil or chalk to add the brightest highlights, then use a regular graphite or charcoal pencil for shadows.
This approach makes features stand out and helps with realistic rendering. Toned paper also reduces the need to shade the entire area, letting you focus on contrasts and details.
It’s helpful to block in the main shadows and highlights first. Refine the edges and transitions as you develop the drawing to capture the subtle planes and contours of the face.

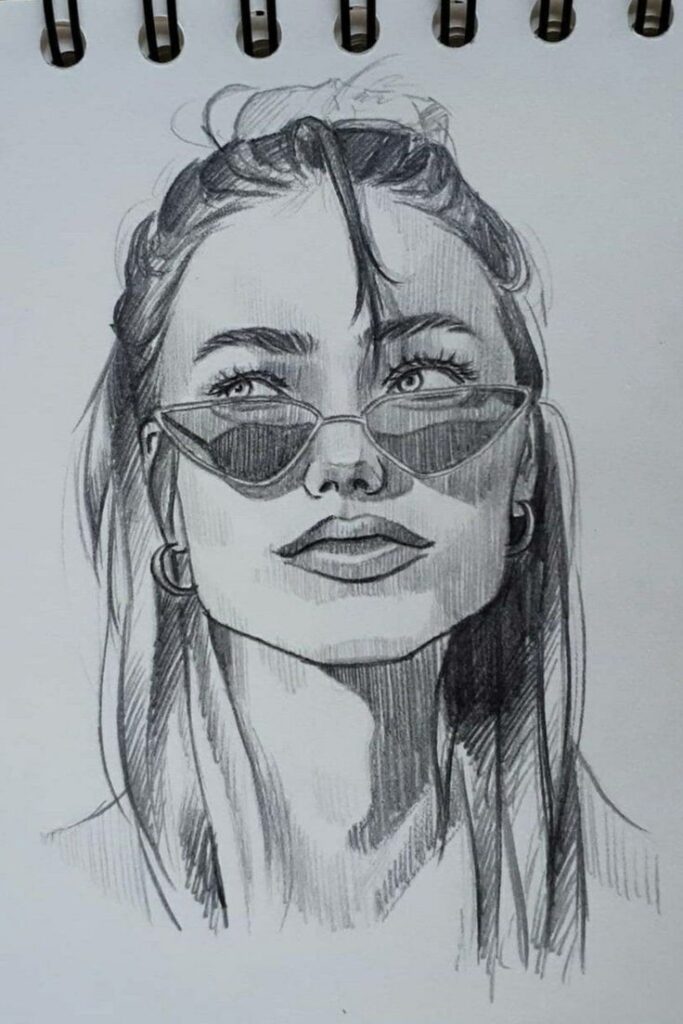
Practice Tips And Resources
Practicing face drawing requires specific exercises and learning strategies. Using dedicated sketches, following step-by-step guides, and building full illustrations can help you develop both confidence and precision.
Quick Sketch Exercises
Begin with daily sketches of faces, aiming to build speed and accuracy. Use a timer to limit each sketch to 2–5 minutes. Focus on the basic shapes and proportions — such as the oval of the head and the horizontal eye line.
Try gesture drawing to capture expressions and head angles quickly. Switch between drawing from reference photos and real life to train your observation skills. Experiment by sketching faces from different angles (front, profile, three-quarter views) to improve versatility.
Keep a small sketchbook specifically for faces. Over time, you’ll start to notice recurring mistakes and improvements. Consider rotating exercises, such as drawing only eyes for one page, noses for the next, and so on.
| Exercise | Time Limit | Focus Area |
|---|---|---|
| Gesture Drawing | 2 min/face | Expression |
| Proportion Study | 3 min/face | Head Structure |
| Feature Practice | 1-2 min | Eyes/Nose/Mouth |
Step-By-Step Drawing Tutorials
Follow structured tutorials designed to teach you the anatomy and layout of facial features. Techniques such as the Loomis Method can guide you through constructing a face from simple geometric shapes. Look for resources that break down the process into stages—from sketching guidelines to adding detail.
Many drawing tutorials offer insights into shading, placement of facial features, and rendering different ages and expressions. High-quality tutorials, whether in books or online videos, often present step-by-step visuals. These visuals are especially helpful when you’re unsure about feature placement or proportions.
Studying with tutorials lets you correct mistakes instantly by comparing your work to the examples. Participate in online communities where you can share your progress and ask for feedback, making learning interactive.
Creating Illustrations
Transition from single-feature studies to full-face illustrations. Start with simple portraits and gradually add complexity, such as lighting, texture, or background elements. Use references to build a composition that feels natural and expressive.
Experiment with different drawing styles—realistic, stylized, or even cartoonish—to discover your preferences. Layer your skills by starting with an initial sketch, refining the facial features, and adding shading or color step by step. Digital drawing programs can help you easily correct mistakes and try multiple versions.
Practice assembling full illustrations from your sketches, using the same structured approach. This helps connect quick practice with more finished, detailed art. Over time, you will notice more control over facial anatomy and a greater variety in your finished work.
- 415shares
- Facebook0
- Pinterest412
- Twitter3
- Reddit0

