Dramatic lighting can completely change the way your figure drawings look and feel. By controlling light and shadow, you add depth, create stronger forms, and guide the eye across the figure. You make your drawings more dynamic by learning how to place light sources and shape shadows with intention.
You don’t need complex setups to start experimenting. A single light from the side or above can carve out structure, highlight muscles, and add intensity to even a simple pose. As you practice, you’ll notice how different angles of light can either flatten or enhance the sense of volume in your figures.
The key lies in simplifying forms and understanding how light interacts with them. Once you break the figure into basic shapes, you can apply lighting principles consistently and build confidence in creating bold, dramatic effects.

Key Takeaways
- Dramatic lighting adds depth and impact to figure drawings
- Light and shadow become easier to control when you simplify forms
- Experimenting with angles and intensity builds stronger results
Understanding Dramatic Lighting in Figure Drawing
When you study dramatic lighting, you focus on how strong contrasts between light and shadow shape the figure. This approach helps you create depth, emphasize form, and guide the viewer’s attention to specific areas of your drawing.
Defining Dramatic Lighting
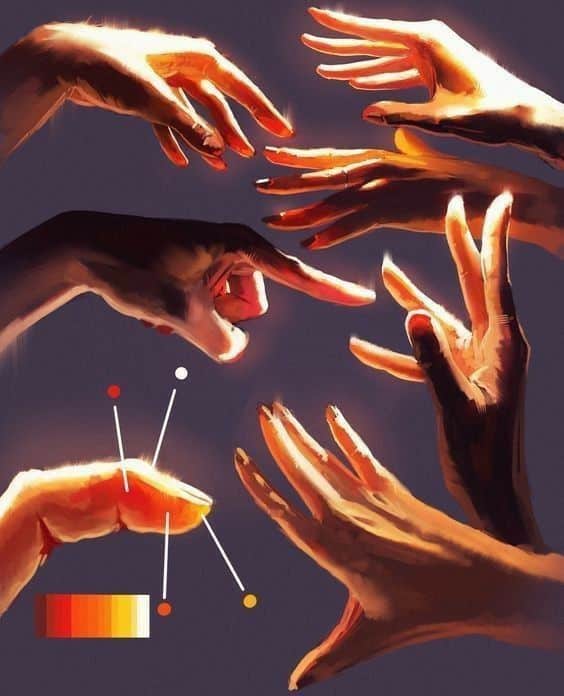
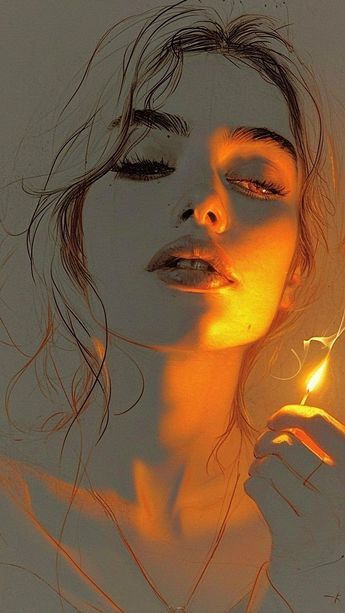
Dramatic lighting refers to setups where a single or strong directional light source creates high contrast on the figure. Instead of evenly lit surfaces, you see bold divisions between illuminated areas and deep shadows.
You often achieve this effect with side lighting, raking light, or a spotlight placed at an angle. Each method highlights contours and emphasizes the three-dimensional structure of the body.
In practice, dramatic lighting simplifies the figure into clear value groups: light, midtone, and shadow. This clarity makes it easier to design strong compositions and avoid flat, indistinct shading.
When you use dramatic lighting, you also control the mood of the drawing. Although the focus is technical, the stark contrasts can add weight and presence to your figure studies.
Importance of Light and Shadow
Light and shadow are not just surface effects—they describe the form itself. By observing how light wraps around muscles, bones, and flesh, you can communicate volume and structure more convincingly.
Cast shadows play a big role. A shadow falling across the body or onto the ground anchors the figure in space. Without it, the drawing can appear to float or lack stability.
You also need to pay attention to reflected light. Even in dark shadow areas, a small bounce of light can suggest subtle detail and prevent the figure from looking flat.
To practice, try breaking down your figure into simple geometric forms. Shade spheres, cubes, and cylinders with a single light source. This exercise helps you understand how values transition across curved and flat planes.
Comparing Flat and Dramatic Light
Flat lighting occurs when the light source hits the figure front-on, reducing shadows and minimizing contrast. While it keeps details visible, it often makes forms appear less dimensional.
Dramatic light, in contrast, emphasizes edges, overlaps, and depth. The shift from highlight to shadow defines the figure’s contours in a way flat light cannot.
For example, a portrait lit from the front may look descriptive but lacks intensity. The same portrait lit from the side shows stronger cheekbones, deeper eye sockets, and a clearer sense of spatial depth.
A simple comparison:
| Lighting Type | Effect on Figure | Usefulness |
|---|---|---|
| Flat | Low contrast, minimal shadows | Good for accuracy and detail |
| Dramatic | Strong contrast, bold shadows | Best for depth and form emphasis |
By experimenting with both, you learn how lighting choices affect the clarity and impact of your figure drawings.


Fundamental Principles of Light and Shadow
Understanding how light interacts with form helps you create believable depth and volume in your figure drawings. Paying attention to the source of illumination, the types of shadows that appear, and how cast shadows behave will make your work more accurate and visually engaging.
Light Source and Direction
Every drawing starts with identifying where the light comes from. The angle, intensity, and distance of the light source determine how highlights and shadows fall across the figure. A single overhead lamp creates different effects than sunlight streaming through a window.
When you choose a direction for the light, you also decide how much of the figure appears in shadow. Strong side lighting emphasizes form and texture, while frontal lighting can flatten details.
It helps to think of light in terms of primary light, ambient light, and reflected light. Primary light defines the brightest areas, ambient light softens transitions, and reflected light bounces from nearby surfaces to subtly illuminate shadowed regions.
Experiment by sketching simple shapes like spheres and cubes under different light positions. This practice trains your eye to see how light direction changes volume and contour on more complex figures.
Types of Shadows
Shadows fall into two main categories: form shadow and cast shadow. Form shadow appears on the surface of the figure itself, marking the side turned away from the light. Cast shadow is projected onto surrounding surfaces when the figure blocks the light.
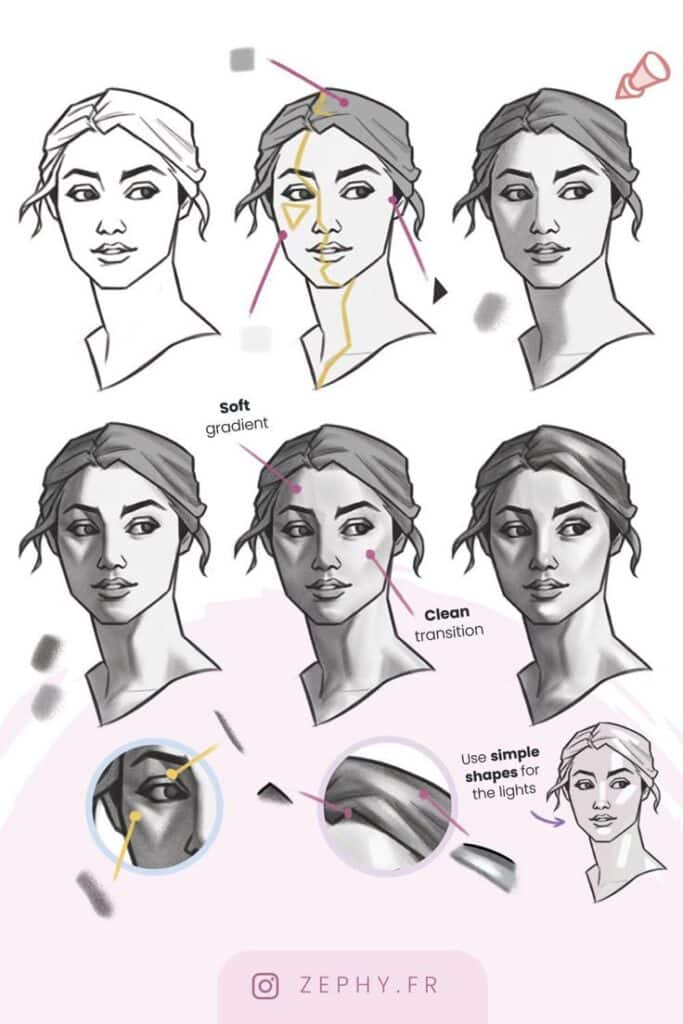
Form shadows often contain gradations. You’ll notice a core shadow near the darkest area, a mid-tone where light begins to fade, and subtle reflected light that prevents the shadow from looking flat.
To show realism, you should vary the edges of your shadows. Hard edges suggest stronger, direct lighting, while soft edges indicate diffused or distant light sources. This variation adds depth and prevents figures from appearing rigid.
Practicing value scales can help you control these differences. By shifting from light to dark smoothly, you’ll gain better control over how shadows describe form.
Role of Cast Shadow
Cast shadows anchor the figure to its environment. Without them, the subject can appear to float on the page. The shape and length of a cast shadow depend directly on the light’s angle and distance.
For example, a low-angle light creates long, stretched shadows, while overhead light produces shorter, tighter ones. Observing these differences helps you place figures convincingly within a space.
Cast shadows also reveal the relationship between the figure and nearby objects. A hand resting on a table will cast a shadow across the surface, showing both contact and depth.
When sketching, pay attention to the edges of the cast shadow. Closer to the figure, the edge appears sharp. As it moves farther away, it softens and disperses. This gradual change adds realism and prevents the shadow from feeling detached.
Try using a simple table to test variations:
| Light Position | Cast Shadow Effect |
|---|---|
| Overhead | Short, compact |
| Side light | Long, directional |
| Low front | Elongated, dramatic |
By studying these effects, you’ll gain more control over how cast shadows enhance both form and setting in your figure drawings.


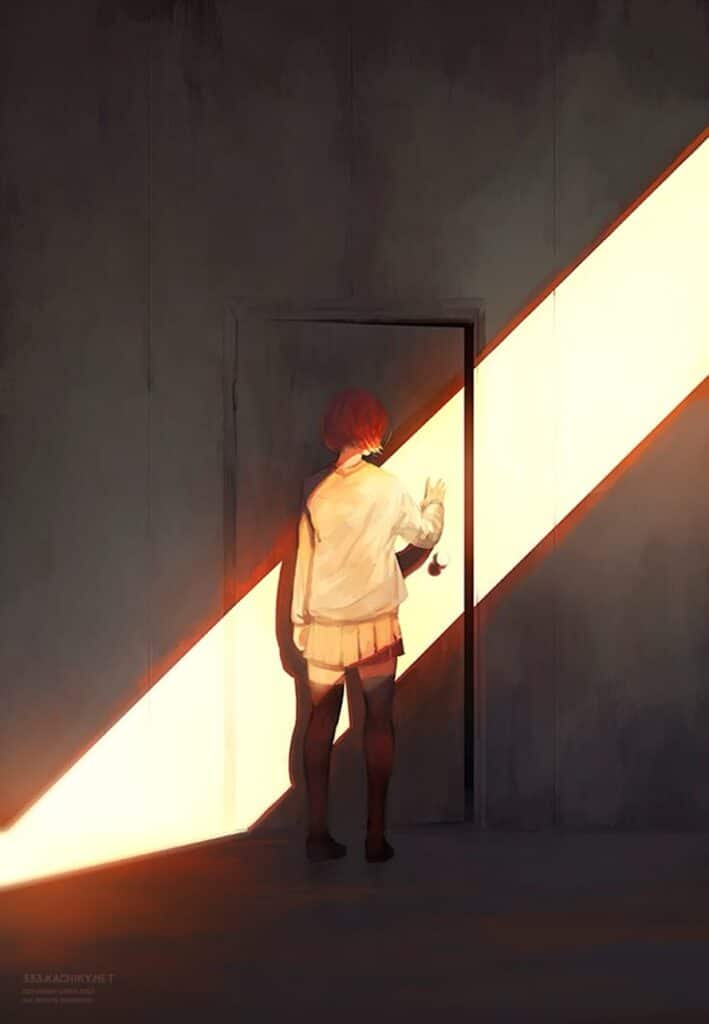
Simplifying the Figure with Geometric Forms
When you reduce the body into simple geometric shapes, you make it easier to study proportions and apply dramatic lighting. This approach helps you control perspective, volume, and shading without getting lost in anatomical detail.
Breaking Down the Figure
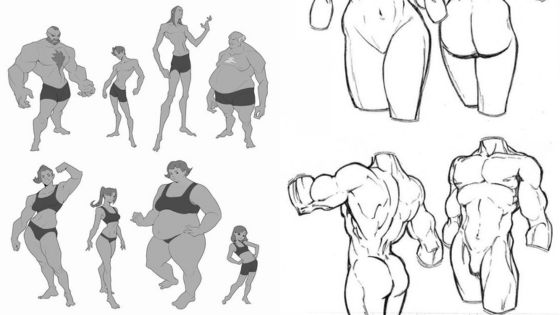
Start by seeing the body as a collection of basic volumes rather than a complex structure. You can think of the torso as a box, the head as an egg, and the limbs as cylinders. This method gives you a strong foundation before you add smaller details.
Using geometric forms also helps you measure relationships between parts of the body. For example, a box-shaped ribcage makes it easier to track the tilt of the shoulders and hips. Cylinders for arms and legs let you quickly capture direction and proportion.
A simple breakdown also supports consistency. When you draw multiple poses, repeating the same shapes keeps your figures more accurate and less distorted. This is especially useful when you want to experiment with light and shadow across different angles.
Using the Egg Shape
The egg shape works well for the head because it naturally suggests both volume and orientation. The wider end represents the cranium, while the narrower end points toward the chin. This makes it easier to establish the tilt and angle of the head.
You can divide the egg with a vertical and horizontal axis. These lines guide the placement of facial features and help keep symmetry. Even without details, the egg shape gives you a clear sense of where light will fall across the forehead, cheeks, and jaw.
Because the egg has a smooth, curved surface, it reacts to lighting in a predictable way. A strong light source will create a highlight on one side and a soft shadow on the other. Practicing this with simple shading exercises will improve how you handle dramatic lighting on the head in figure drawing.
Applying Cylinders and Boxes
Cylinders are useful for arms and legs because they show both direction and volume. You can tilt them, rotate them, and still keep a sense of three-dimensional form. Adding ellipses at the ends of the cylinders helps you track perspective more accurately.
Boxes are especially effective for the torso and pelvis. A box has flat planes, which makes it easier to study how light hits different sides. You can compare the lit plane with the shadowed one to understand contrast more clearly.
Here’s a quick reference:
| Body Part | Shape | Advantage |
|---|---|---|
| Head | Egg | Easy tilt and lighting |
| Torso | Box | Defines planes for light/shadow |
| Arms/Legs | Cylinder | Shows direction and volume |
By combining these forms, you can simplify the figure while still keeping it dimensional. This structure supports more confident shading when you introduce dramatic lighting.
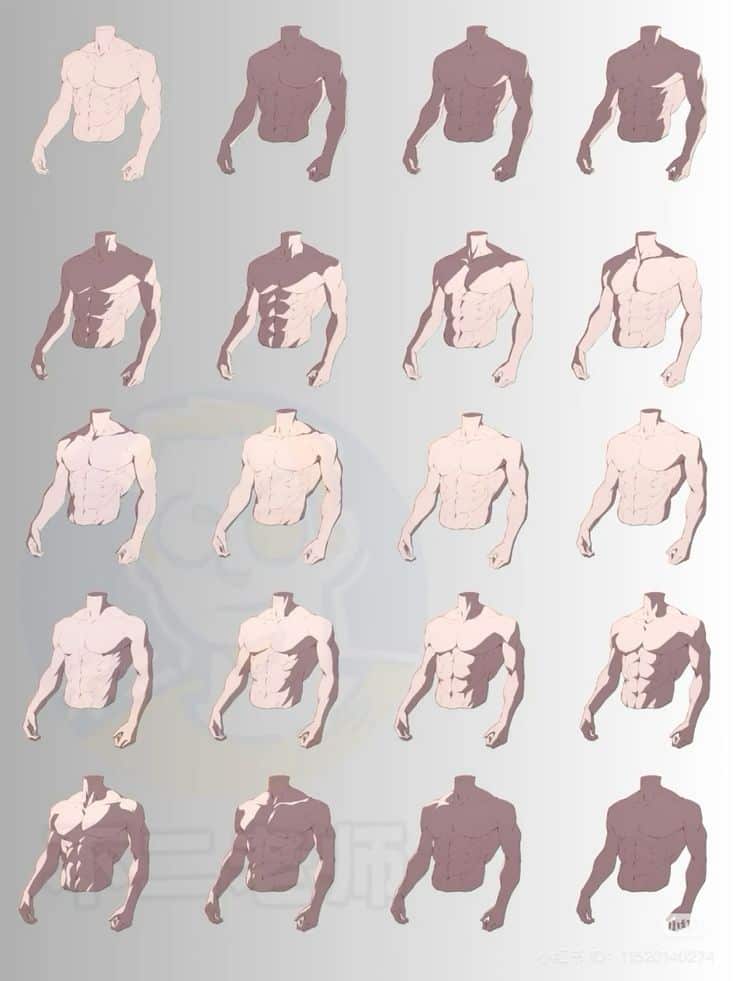
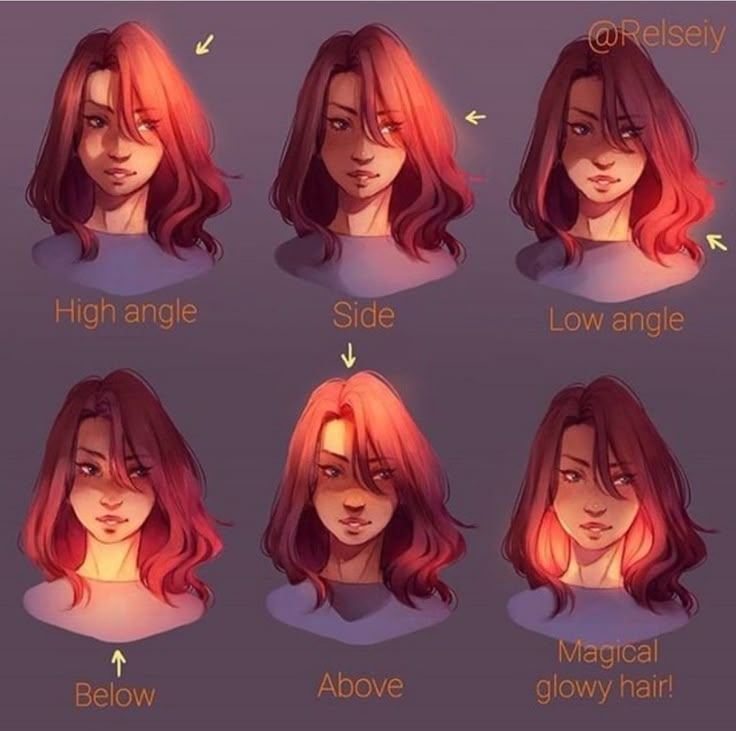
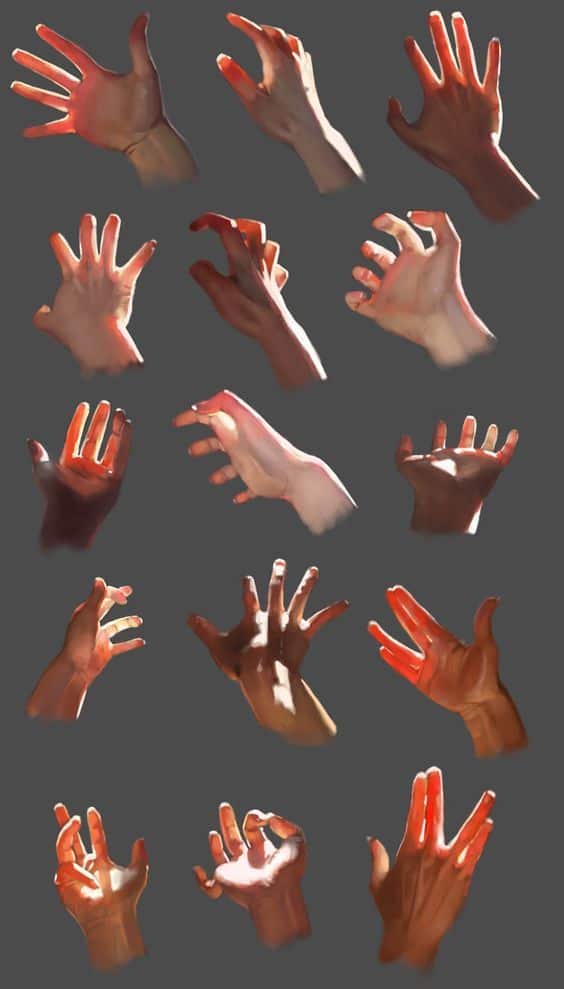
Techniques for Creating Dramatic Lighting Effects
Dramatic lighting depends on how you place your light source, how you manage values, and how you arrange the figure within the composition. By controlling these elements, you can create bold contrasts, emphasize form, and give depth to your drawings.
Setting Up a Single Light Source
Start with one strong light source instead of multiple. This creates clear separation between illuminated areas and shadow. A single lamp, desk light, or even a window can work well as long as the direction is consistent.
Position the light at an angle—commonly from the side or slightly above. This angle produces longer cast shadows and highlights the three-dimensional form of the figure.
Experiment with distance and intensity. A closer light creates sharper edges between light and shadow, while a farther light softens transitions. Keep your setup simple so you can focus on drawing the effect rather than managing several competing lights.
Manipulating Value and Contrast
Use a full range of values to make your lighting feel dramatic. Strong contrast between light and shadow emphasizes form and adds depth to the figure.
Block in large shadow shapes first. Treat them as solid areas before refining details. This helps you see the balance between light and dark early in the process.
Pay attention to edges. Hard edges around cast shadows make the figure look more striking, while soft edges on core shadows suggest a smoother transition. Adjusting these edges lets you control how intense or subtle the lighting feels.
A simple value scale can guide you. For example:
- Lightest value: highlights on skin or clothing
- Mid-value: form shadows
- Darkest value: cast shadows under limbs or against the ground
Designing Dynamic Compositions
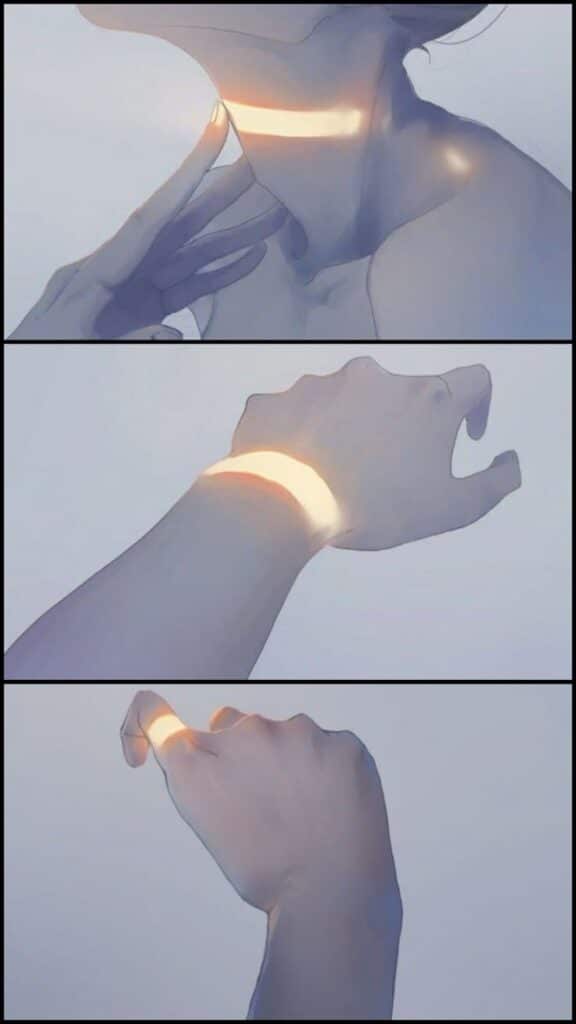
Think about where you place the light relative to the figure and the viewer. Lighting from below creates a more unusual effect, while side lighting emphasizes volume and contour.
Use shadow shapes as part of the composition. A cast shadow stretching across the page can lead the eye and balance empty space.
Frame the figure so both lit areas and shadows work together. You might crop the drawing to highlight a brightly lit torso while leaving other parts in deep shadow.
Don’t forget background interaction. A strong shadow on a wall or floor can reinforce the figure’s presence and add interest without extra details.

Practical Tips and Common Challenges
You can strengthen your figure drawings by learning how to create depth with light and shadow while also correcting mistakes that make the figure look unconvincing. Paying attention to light direction, contrast, and consistency helps you avoid flat results and solve issues that often appear during shading.
Avoiding Flatness in Drawings
Flatness often happens when you spread values too evenly across the figure. If every area has the same level of shading, the form loses volume. To fix this, focus on clear light sources and push the contrast between highlights, midtones, and shadows.
A simple approach is to block in three main values: light, midtone, shadow. This prevents you from over-blending and helps you define planes of the body. For example, keep the light side of the torso distinct from its shaded side instead of smudging them together.
You should also pay attention to edges. Hard edges work well where light sharply cuts across a form, such as under the chin. Softer edges are better for rounded areas like shoulders or thighs. Varying edge quality keeps the drawing dimensional.
Try comparing your figure under frontal lighting versus raking light from the side. Side lighting usually emphasizes depth more clearly because it creates longer shadows across the form. Practicing with both will train your eye to see how light shapes volume.
Troubleshooting Lighting Issues
One common issue is inconsistent shadows. If the cast shadow from an arm points in one direction but the leg’s shadow points elsewhere, the drawing looks confusing. Always decide on a single light source and keep all shadows aligned with it.
Another challenge is over-darkening. If you push every shadow to pure black, subtle differences in form disappear. Instead, reserve your darkest values for the deepest areas, such as under the ribcage or between overlapping limbs. This makes the lighter shadows feel more natural.
Reflected light can also cause problems. Beginners often ignore it, leaving shadow areas too flat. Look for soft bounce light on the underside of arms or legs. Adding these lighter tones inside the shadow gives the figure more realism without breaking the overall mood.
If you work digitally, blending modes like Multiply or Overlay can help test lighting quickly. On paper, small thumbnail sketches are useful for checking light placement before committing to a full drawing. Both methods reduce mistakes and save time.
- 662shares
- Facebook0
- Pinterest659
- Twitter3
- Reddit0
