Starting your drawing journey doesn’t have to feel overwhelming or intimidating. Many beginner-friendly subjects can help you develop basic skills while creating artwork you’ll actually want to show off. Simple subjects like animals, nature scenes, and everyday objects provide the perfect foundation for learning fundamental techniques.
Drawing regularly builds confidence and improves your artistic abilities over time. The right tools and consistent practice sessions will help you progress from basic sketches to more detailed artwork. Whether you prefer doodling cute characters or capturing peaceful landscapes, these beginner projects will give you a solid starting point for your creative adventures.
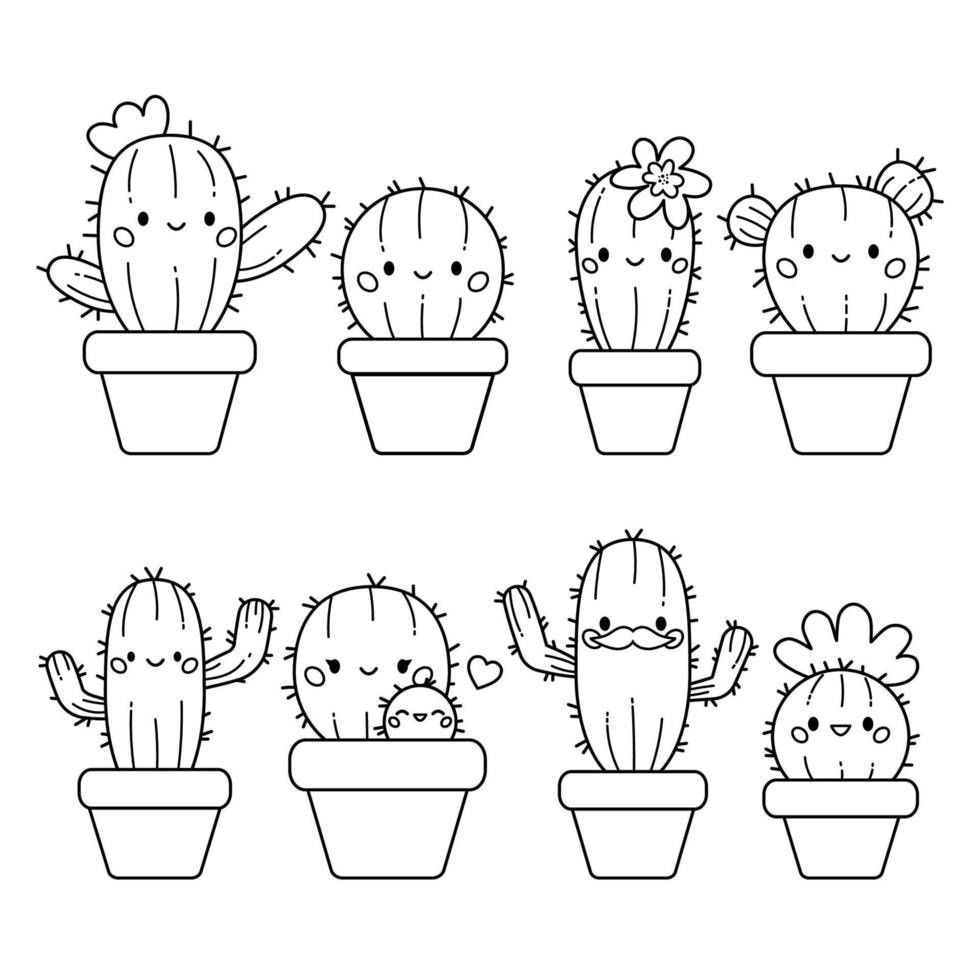
1) Cute cactus with tiny flowers
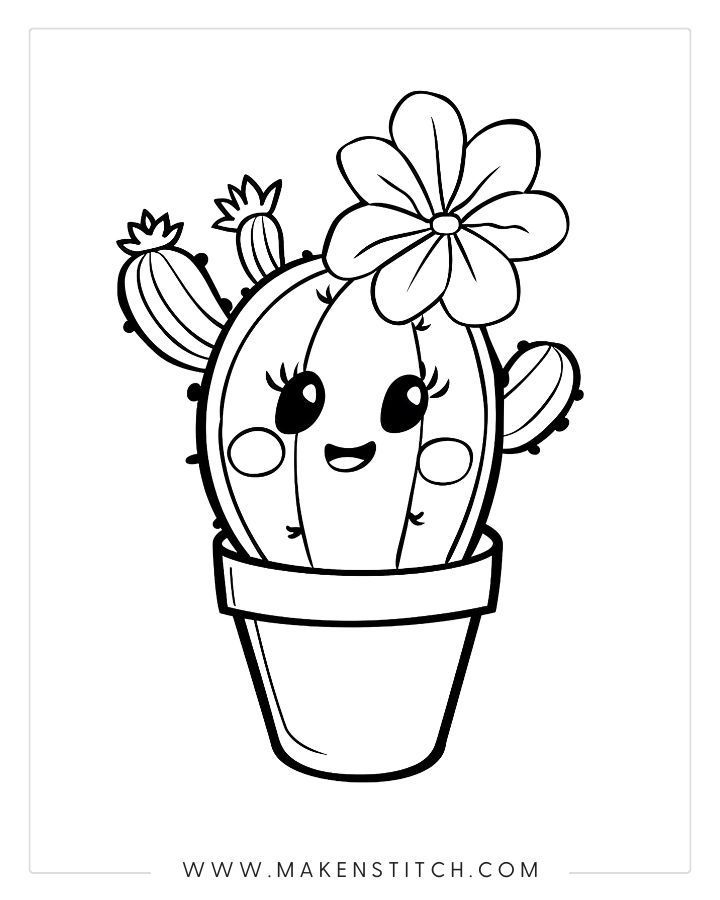
Drawing a cute cactus with tiny flowers is perfect for beginners. The shapes are simple and forgiving, making it hard to mess up.
Start by drawing a slightly oval or round shape for the main body. You don’t need to overthink this step – keep it loose and natural.
Add small vertical lines across the cactus to show the ridges. These lines help give your cactus texture and make it look more realistic.
Draw tiny spikes along the ridges using small curved lines or dots. Keep them small and evenly spaced for the best effect.
Now comes the fun part – adding flowers! Draw small circular shapes at the top of your cactus. You can make them simple with just a few petals each.
Color the flowers in bright shades like pink, yellow, or red. The cactus body works well in various shades of green.
Add a small pot at the bottom to complete your drawing. A simple cylindrical shape works perfectly.
This drawing combines adorable kawaii style with natural elements. The contrast between the spiky cactus and delicate flowers creates visual interest that’s satisfying to create.
2) Smiling bee buzzing around
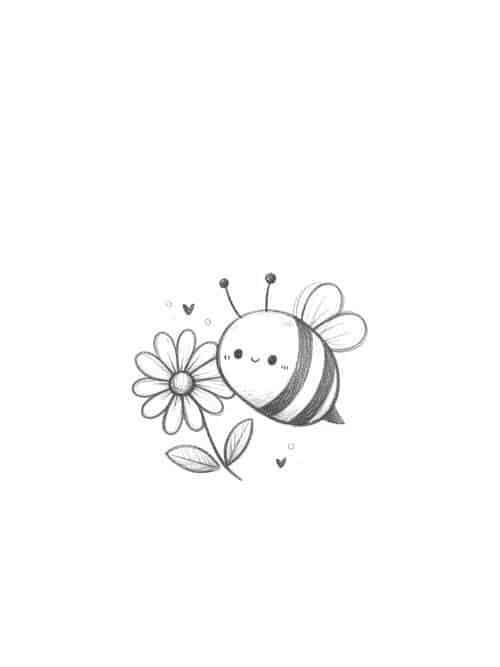
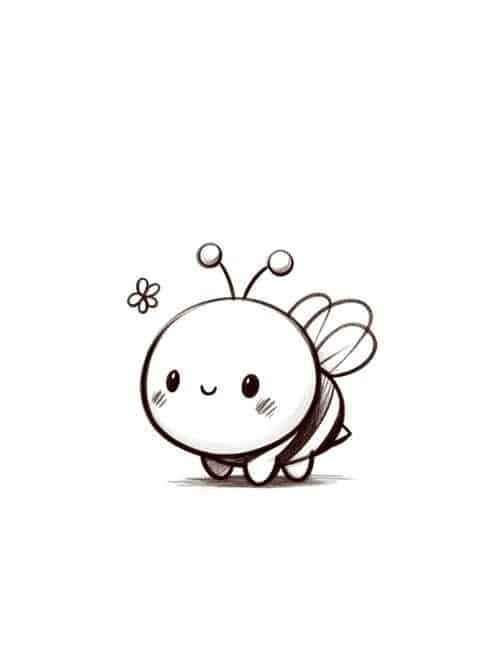
Drawing a happy bee is perfect for beginners. You can create this cheerful insect in just a few simple steps.
Start with an oval shape for the bee’s body. Make it slightly rounded at the top and narrower at the bottom.
Add two small circles for eyes near the top of the body. Draw a curved line underneath for a friendly smile.
Create the bee’s signature yellow and black stripes across the body. You can make these as bold or thin as you like.
Draw two wings on each side of the body. Simple oval or teardrop shapes work great for this step.
Add two thin antennae extending from the top of the head. Small circles at the ends make them look complete.
You can position your bee as if it’s flying by tilting it slightly. This gives your drawing movement and energy.
Use bright yellow and black colors to bring your buzzing friend to life. The contrast makes the bee pop off the page.
This drawing helps you practice basic shapes while creating something cute and recognizable.
3) Sparkly unicorn head
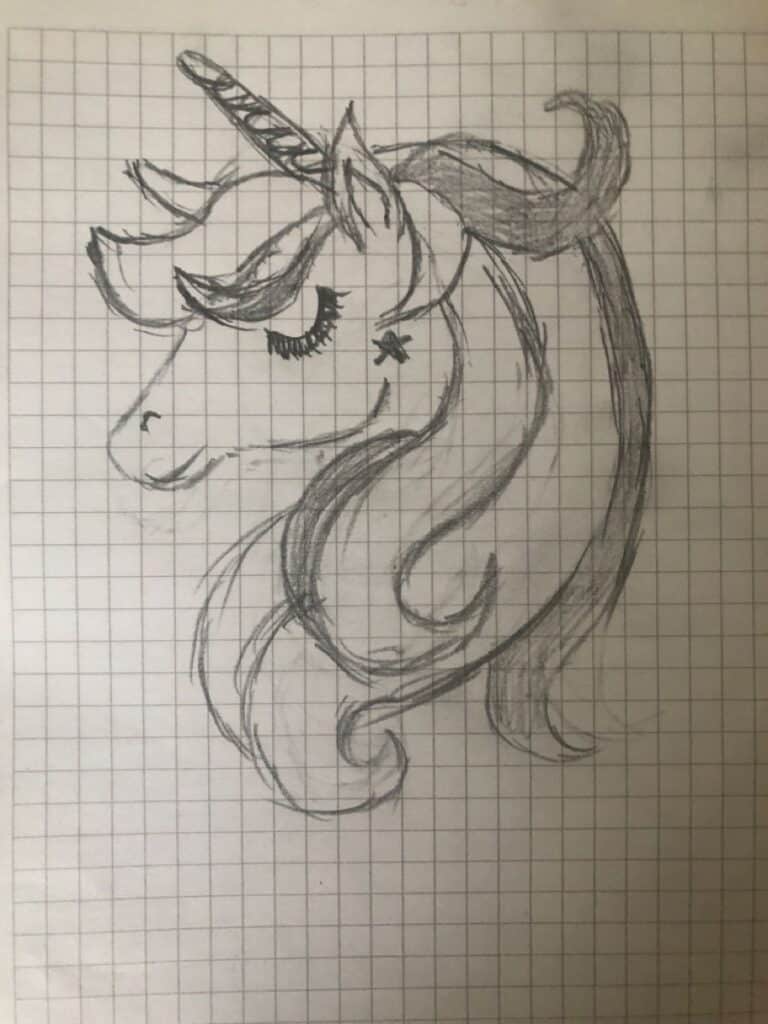
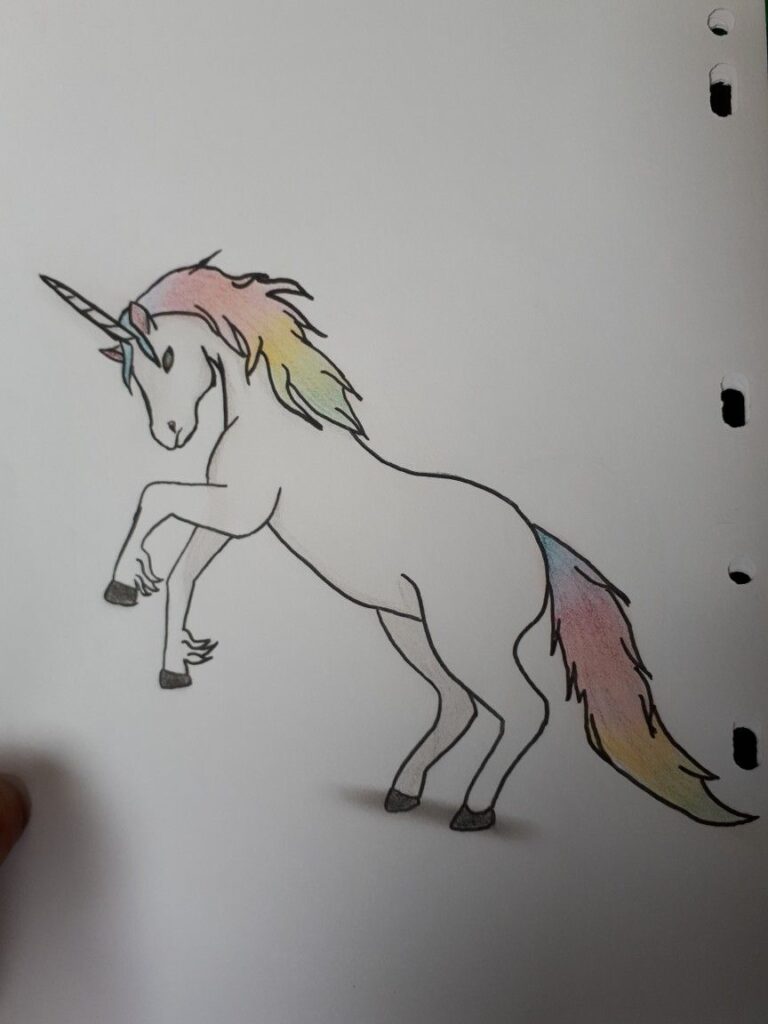
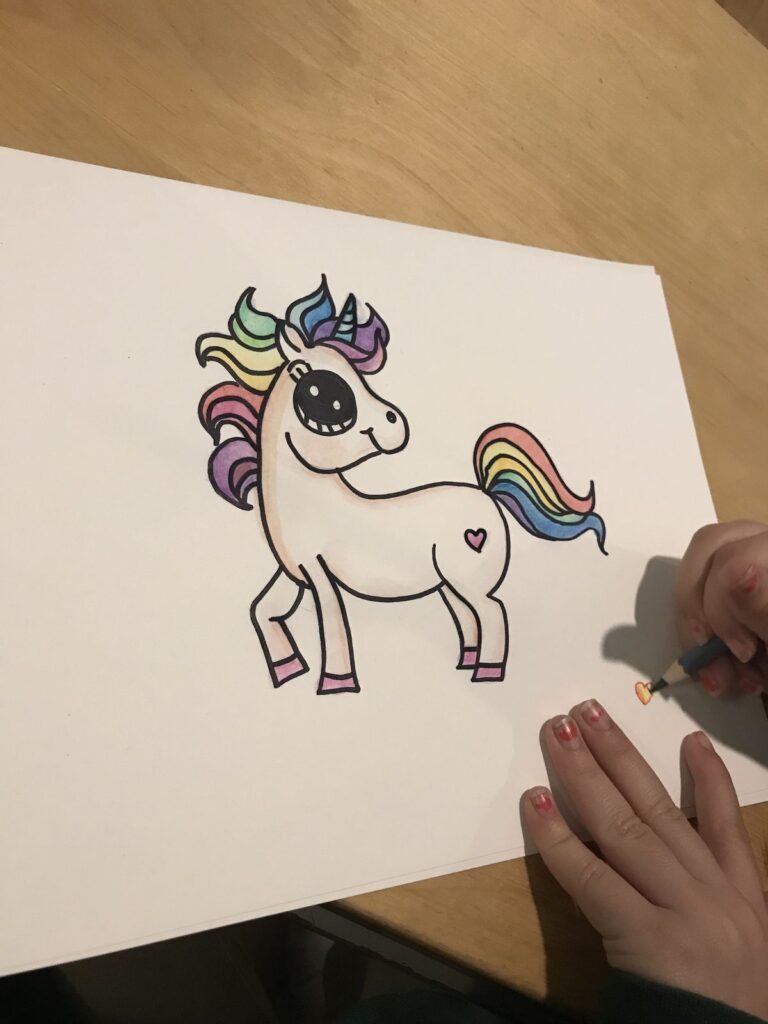
Drawing a unicorn head is one of the most beginner-friendly projects you can start with. You only need to focus on the face and horn, making it much simpler than drawing a full unicorn body.
Start by sketching a circle for the basic head shape. Add two small triangular ears on top of the circle.
Draw the iconic spiral horn in the center, between the ears. Make it slightly curved and add diagonal lines across it to create the twisted effect.
For the eyes, draw two large ovals and fill them with sparkles or stars. This gives your unicorn that magical, dreamy look that makes it special.
Add a flowing mane around the head using curved, wavy lines. You can make it as simple or detailed as you feel comfortable with.
The sparkly elements are what make this drawing truly shine. Draw small stars, dots, and diamond shapes around the horn and throughout the mane.
Use colored pencils or markers to bring your unicorn to life. Pastels like pink, purple, and blue work perfectly for the mane, while silver or gold highlights the horn beautifully.
4) Simple heart with shading
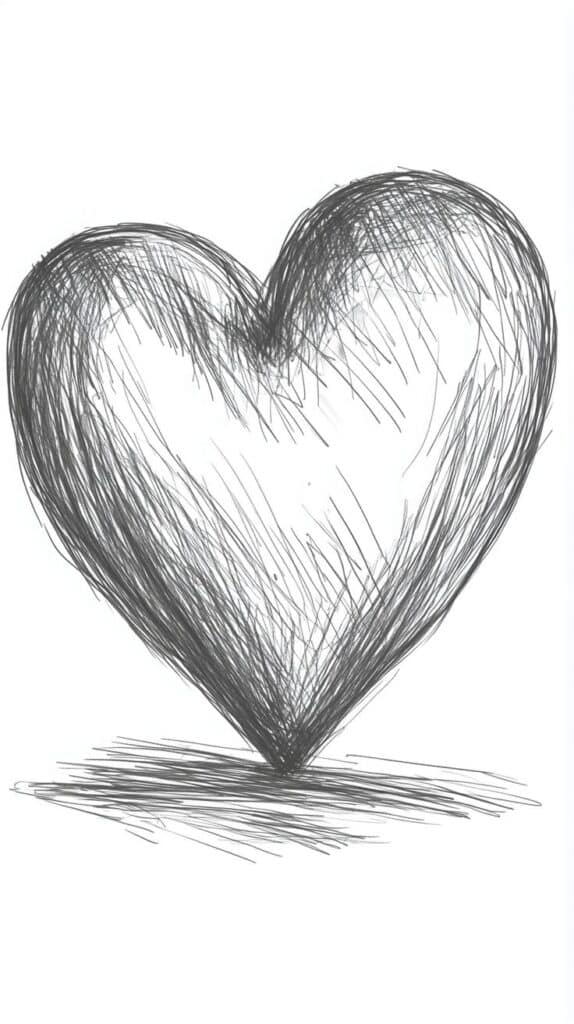
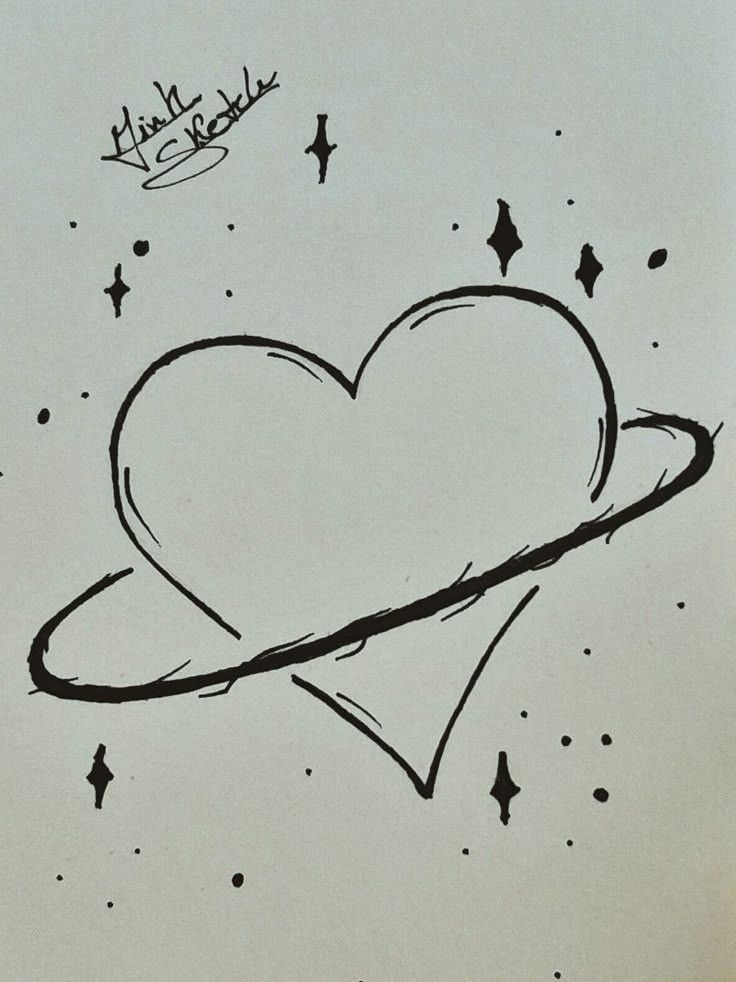
Drawing a basic heart becomes more impressive when you add shading techniques. Start by sketching a traditional heart shape using light pencil strokes.
You can create this drawing with just an A4 paper and a 0.7mm pencil. No special shading pencils are required to achieve good results.
Begin shading by deciding where your light source comes from. The top-left side works well for beginners.
Use light, feathery strokes to add darker tones to the opposite side of your heart. This creates depth and makes your drawing look three-dimensional.
Focus on smooth transitions between light and dark areas. Build up the shading gradually rather than pressing hard with your pencil.
Add highlights by leaving some areas completely white or using an eraser to lift graphite. The lightest spots should face your imaginary light source.
Practice blending the shaded areas with your finger or a blending stump. This softens harsh lines and creates a more realistic appearance.
This heart drawing idea works perfectly for Valentine’s Day cards or doodling practice. The shading technique you learn here applies to many other drawing subjects too.
5) Starry night sky doodle
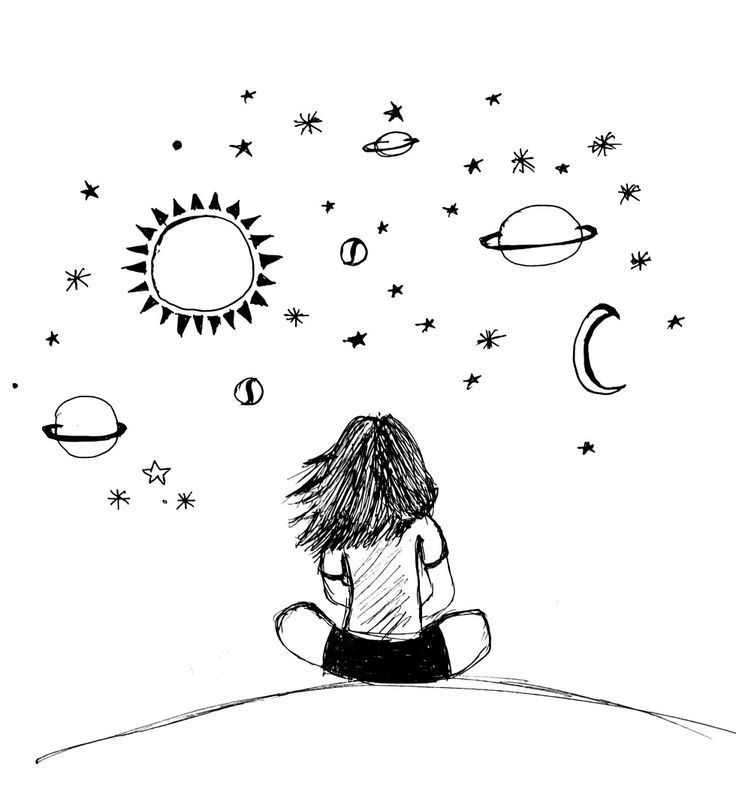
Drawing a starry night sky is one of the most relaxing doodles you can create. You don’t need advanced skills to make something beautiful.
Start with a dark background using a pencil or pen. Add simple dots of various sizes across your paper to represent stars.
Draw a crescent moon in one corner of your sky. You can make it as detailed or simple as you prefer.
Add some wispy clouds by drawing curved, flowing lines. Keep them light and airy-looking.
Consider including a simple landscape silhouette at the bottom. Draw basic tree shapes or mountain outlines against your starry backdrop.
Use different sized dots and small crosses to create variety in your stars. Some can be tiny pinpricks while others are slightly larger.
You can enhance your doodle by adding shooting stars with simple trailing lines. Draw constellation patterns by connecting dots with thin lines.
This type of doodle works great in margins of notebooks or as standalone art. The beauty lies in its simplicity and the peaceful feeling it creates.

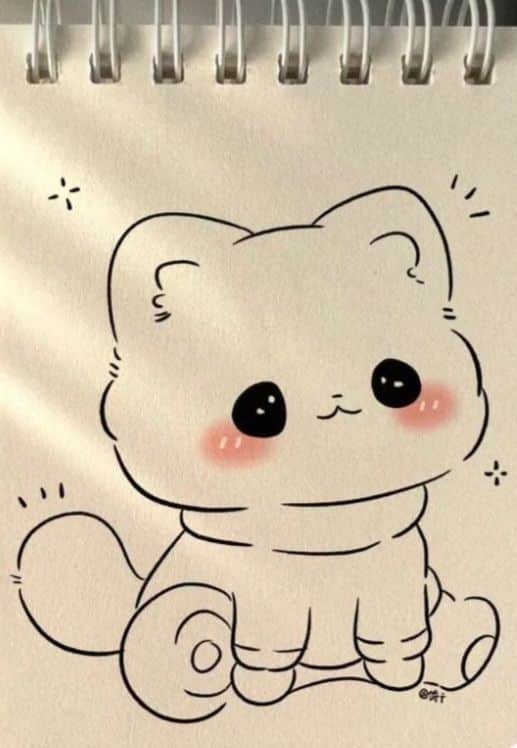
6) Cheerful cartoon cat face
A cartoon cat face makes an excellent choice for beginner artists. You can create an adorable feline character with just a few simple shapes and lines.
Start by drawing a large circle for the head. Add two triangular ears on top, making them slightly rounded at the tips for a softer look.
Draw two big, round eyes near the center of the face. Make them larger than realistic proportions to achieve that cute cartoon style. Add small circles inside for highlights to make the eyes sparkle.
Place a small triangle nose between the eyes, pointing downward. Draw a curved line underneath for the mouth, creating a gentle smile that gives your cat a happy expression.
Add three whiskers on each side of the face using simple straight lines. You can make them slightly curved if you prefer a more playful appearance.
Consider adding simple details like eyebrows, spots, or stripes to give your cat more personality. Keep these elements basic and avoid overcomplicating the design.
The key to a successful cartoon cat face is maintaining simple shapes and focusing on those expressive eyes. This drawing style is forgiving and allows room for creativity while building your confidence.

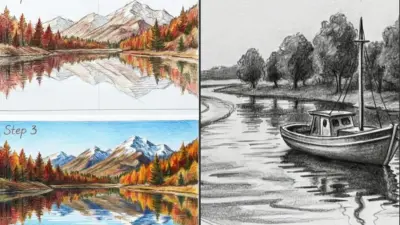
7) Minimalist mountain landscape
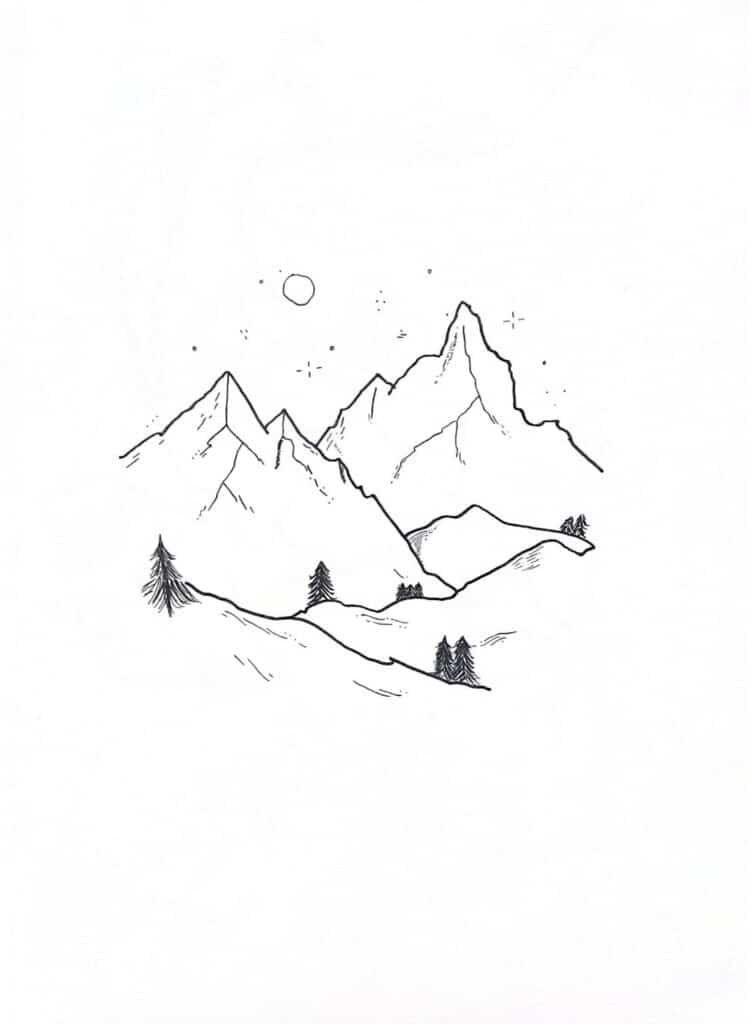
Creating a minimalist mountain landscape is perfect for beginners who want to try landscape painting. You’ll learn basic techniques while making beautiful art that looks impressive.
Start with simple mountain silhouettes using basic triangular shapes. Draw two or three mountain peaks at different heights to create depth. Keep the lines clean and avoid adding too much detail.
Add a simple horizon line to separate your mountains from the sky. You can include a basic water reflection at the bottom if you want to make it more interesting.
Focus on using only a few colors or stick to pencil sketching. This approach helps you concentrate on shapes and composition rather than complex details. The simplicity makes it less overwhelming.
Mountain sketches offer an excellent introduction to landscape art. By starting with basic lines and gradually building up textures, you’ll boost your drawing abilities significantly.
Use light, confident strokes when drawing your mountain outlines. Don’t worry about making them perfectly symmetrical – real mountains have natural variations that make them more appealing.
This exercise helps make complex landscapes feel more manageable. You’ll develop fundamental skills that apply to more advanced landscape drawings later.

Essential Drawing Tools for Beginners
The right pencils, paper, and erasers form the foundation of successful drawing. Quality basic tools make learning easier and help you achieve better results from the start.
Choosing the Right Paper
Drawing paper weight affects how well your pencils perform. Standard copy paper works for quick sketches, but heavier paper prevents tearing and handles erasing better.
Medium-weight drawing paper (70-90 gsm) offers the best balance for beginners. It’s affordable and works well with most pencil techniques.
Texture matters too. Smooth paper creates clean lines and fine details. Slightly textured paper grabs graphite better and produces richer tones.
Paper Types for Beginners:
- Sketch pads: 70-90 gsm weight
- Smooth finish: Best for detailed work
- Light texture: Good for shading practice
Avoid very thin paper that tears easily. Skip expensive specialty papers until you develop your skills. A basic sketch pad from any art store gives you everything needed to start.
Basic Pencil Selection
You need just three pencils to begin drawing effectively. 2H, HB, and 2B pencils cover all essential line weights and shading needs.
2H pencils create light, precise lines for initial sketches. The hard graphite doesn’t smudge easily and erases cleanly.
HB pencils work perfectly for general drawing and medium tones. This balanced hardness handles most drawing tasks without being too light or dark.
2B pencils produce rich, dark lines and deep shadows. The softer graphite blends well for smooth shading effects.
Essential Pencil Kit:
| Pencil Type | Best For |
|---|---|
| 2H | Light sketching, details |
| HB | General drawing, outlines |
| 2B | Dark lines, heavy shading |
Start with these three pencils before buying larger sets. Most drawing techniques use this range effectively.
Using Erasers Effectively
Different erasers serve specific purposes in drawing. Kneaded erasers and white vinyl erasers handle most correction and artistic needs.
Kneaded erasers lift graphite without damaging paper. You can shape them into points for precise erasing or dab them gently to lighten areas without removing lines completely.
White vinyl erasers remove marks cleanly without leaving residue. They work best for complete corrections and cleaning up finished drawings.
Eraser Functions:
- Kneaded: Lightening, blending, creating highlights
- Vinyl: Complete removal, final cleanup
Pink erasers often tear paper and leave smudges. Avoid using them for careful drawing work.
Press lightly when erasing to prevent paper damage. Clean erasers regularly by kneading or using the eraser against scrap paper.
Building Confidence Through Practice
Consistent practice sessions and strategic approaches help you push past mental barriers while establishing productive drawing routines. Daily exercises and creative problem-solving techniques transform drawing from an intimidating challenge into an enjoyable skill-building process.
Overcoming Creative Blocks
Creative blocks happen when you stare at blank paper without knowing what to draw. Start with simple warm-up exercises like drawing basic shapes, lines, or circles for 5-10 minutes.
Keep a list of go-to subjects ready for these moments:
- Objects within arm’s reach (phone, keys, water bottle)
- Simple geometric forms
- Basic facial features (eyes, noses, mouths)
- Nature elements (leaves, flowers, clouds)
Try the scribble method when feeling stuck. Make random marks on paper, then turn those scribbles into recognizable objects or patterns.
Set a two-minute timer and draw whatever comes to mind first. This removes pressure to create something perfect and gets your hand moving.
Change your drawing tool or paper size to spark fresh ideas. Switch from pencil to pen, or try drawing on sticky notes instead of large sheets.
Developing a Consistent Drawing Habit
Start with 10-15 minutes daily rather than long weekend sessions. Short, regular practice builds muscle memory faster than sporadic marathon drawing periods.
Create a simple daily routine:
| Time | Activity | Duration |
|---|---|---|
| Morning | Basic shapes/lines | 5 minutes |
| Afternoon | One everyday object | 5-10 minutes |
| Evening | Free sketching | 5 minutes |
Pick the same time each day for drawing practice. Morning coffee time or before bed works well for most people.
Use a small sketchbook you can carry everywhere. Draw during lunch breaks, commutes, or waiting periods.
Track your progress with daily photos of your drawings. Seeing improvement over weeks motivates continued practice.
Don’t judge your daily sketches harshly. Focus on completing the practice session rather than creating museum-worthy art.
- 494shares
- Facebook0
- Pinterest494
- Twitter0
- Reddit0

