Most advice on how to prepare your home for winter arrives as a long October chore list: seal this, clean that, change a filter, move on. The list is useful, but it can hide the two decisions that have the greatest effect on comfort and cost. First, are your windows merely cold, or are they actually leaking? Second, does your heating system need routine service, a targeted repair, or a serious replacement conversation?
Those questions are connected. A furnace or heat pump cannot compensate efficiently for an envelope that keeps losing warm air, while new windows will not rescue equipment that is short-cycling or struggling to distribute heat. Treat the house as one system and winter preparation becomes much easier to prioritize.
- Why “winterizing” is really two decisions, not a checklist
- Windows: how much heat are you actually losing?
- Your HVAC system’s real lifecycle
- Repair or replace? Use a decision process, not a sales pitch
- Seal the envelope: small jobs with an outsized return
- Build a seasonal rhythm that protects the investment
- Frequently asked questions
- How much heat does a home actually lose through its windows?
- How long should an HVAC system last before I need to replace it?
- Is it better to repair or replace an aging HVAC system?
- How can I tell if a window needs weatherstripping or full replacement?
- Why do rock salt and corrosion matter for HVAC equipment near a home?
- What is the highest-return fix before winter?
The goal is not to buy everything before the first frost. It is to identify the weak link, make the smallest reliable correction, and leave enough time to get a second opinion when the quote is large.

Why “winterizing” is really two decisions, not a checklist
A generic checklist assumes every house starts in the same condition. Real homes do not. One may have sound double glazing and a neglected heat pump; another may have a recently serviced furnace working against warped window frames. Giving both homes the same sequence of chores can waste time and money.
Windows and HVAC equipment are long-lived assets with maintenance histories, failure patterns, and replacement costs. They deserve diagnosis before action. For gutters, pipes, chimneys, and the rest of the seasonal jobs, use The Ultimate Checklist for Winterizing Your Home. Here, the focus is narrower: finding out where heat is escaping and whether the equipment replacing that heat is still dependable.
A good winter plan starts with evidence: where you feel the problem, when it appears, and what has changed since last season.
Windows: how much heat are you actually losing?
Windows are an obvious place to investigate because glass and frames sit directly between heated rooms and cold outdoor air. One widely cited estimate says about 30% of a home’s heating energy can be lost through windows. That figure will not describe every house, but it explains why a few weak openings can make an otherwise comfortable room feel impossible to heat.
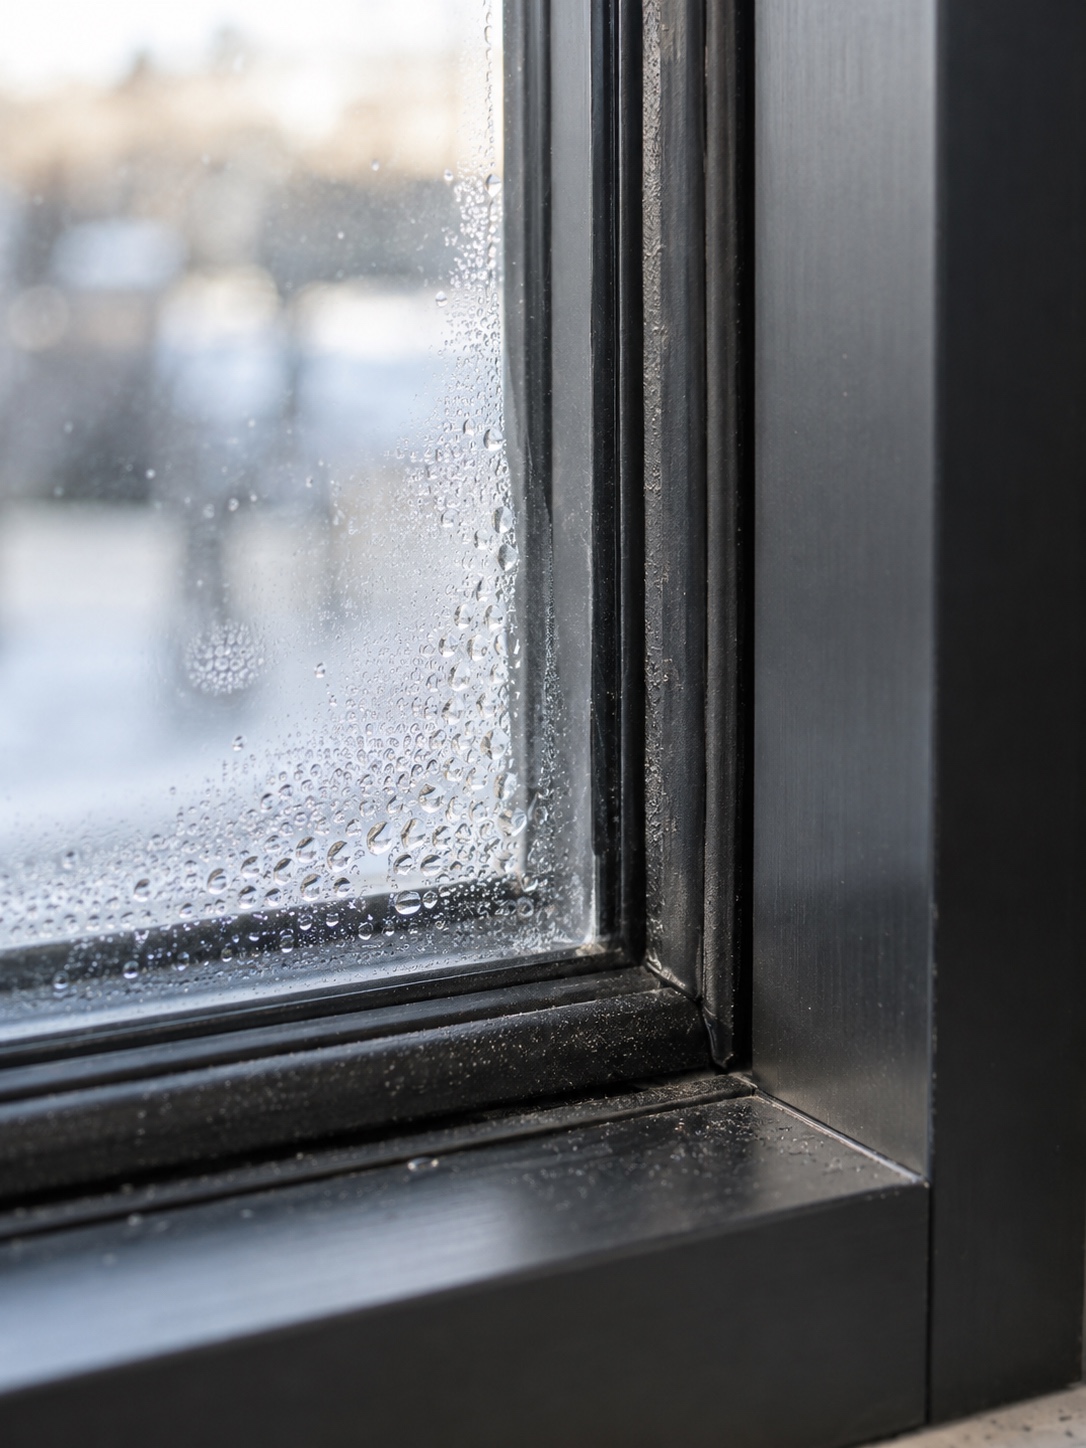
Do not assume that every cool pane is defective. Even good glazing can feel cooler than an interior wall. The useful distinction is between broad, even coolness across the glass and a sharp stream of cold air at a joint. The first is mainly conductive heat transfer. The second points to an air leak that weatherstripping, sealant, or a frame repair may address.

Read drafts like evidence, not a vague discomfort
Choose a cold, windy day and move slowly around each opening. Check the meeting rails, sash edges, lower corners, lock side, trim, and the joint between frame and wall. A damp hand can make a faint air current easier to notice, but avoid using an open flame. Note whether the draft follows the operable part of the window or appears between the frame and the wall; those are different repairs.
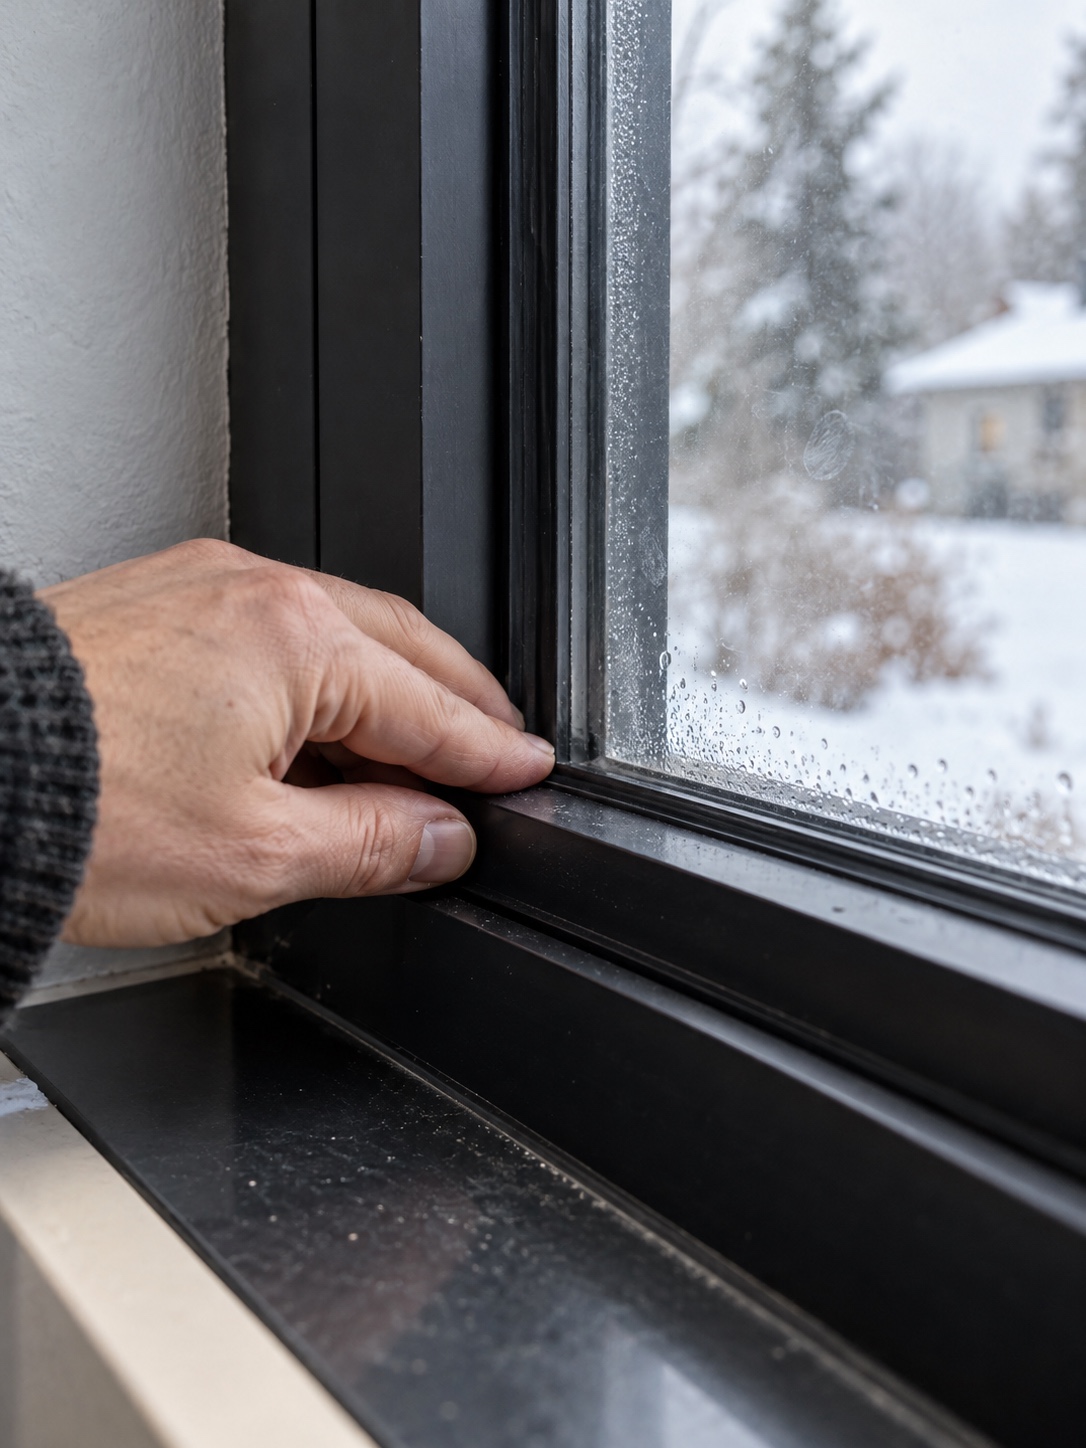
- Cool glass with no air movement: start with coverings and overall glazing performance.
- Air at an operable joint: inspect the weatherstripping and hardware adjustment.
- Air between frame and wall: investigate the perimeter seal and insulation gap.
- Fogging between panes: the insulated-glass seal has probably failed.
- A sash that will not sit square: look for frame movement, damaged hardware, or settlement.
When the pattern is unclear, compare it with the examples in Window seal failure: how damaged glass changes comfort, light, and home energy use. A written room-by-room note is more useful than trying to remember which corner felt cold after a contractor arrives.
When weatherstripping is enough—and when it is not
If the frame is sound and the leak is limited to a worn contact seal, new weatherstripping is often the right first move. Caulk can close a stationary joint between compatible materials. Neither should be used to glue shut drainage paths or parts designed to move. Clean the surface, match the material to the joint, and test the window after the repair rather than assuming more sealant is always better.
A heavier thermal curtain can help after air leaks are controlled, particularly on large north-facing windows. Leave enough clearance for air to circulate and watch for condensation. A covering that traps moist room air against very cold glass can conceal moisture damage instead of solving it.

Replacement becomes a more reasonable discussion when the frame is visibly warped, the insulated unit is fogged between panes, rot has reached structural wood, or repeated seal repairs no longer hold. At that point, compare the full opening—not just the glass. Frame material, installation quality, solar exposure, and the visual proportions of the facade all matter. The guide to Home Window Design is useful here because replacement is both a building-performance decision and a design decision.
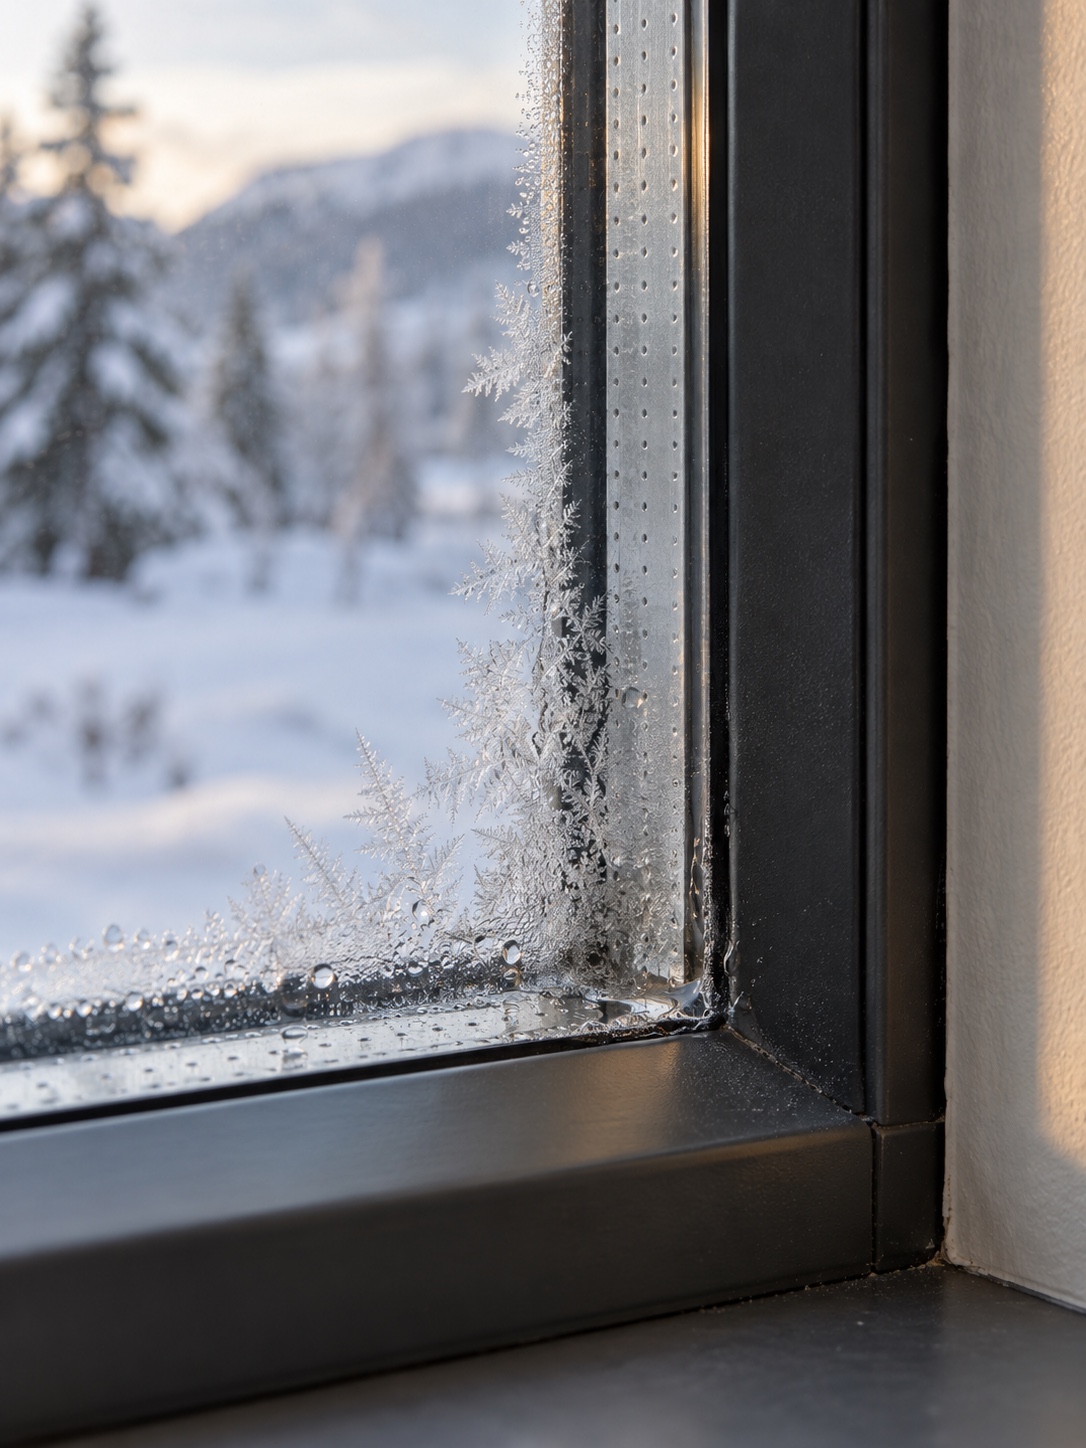
Vinyl, wood, aluminum, and fiberglass respond differently to moisture and temperature swings. No frame material cancels the need for good installation. Before ordering replacements, ask how the installer will handle flashing, drainage, air sealing, interior trim, and the transition to the existing wall. A high-performance unit installed into a poorly sealed opening is still a weak window.
Your HVAC system’s real lifecycle
Age is a useful clue, not a verdict. Many residential systems last 15 to 25 years, but climate, equipment type, installation, run time, maintenance, and repair history can move an individual unit toward either end of that range. A neglected ten-year-old system may be in worse condition than a carefully maintained older one.
What influences whether equipment reaches the long end of the range
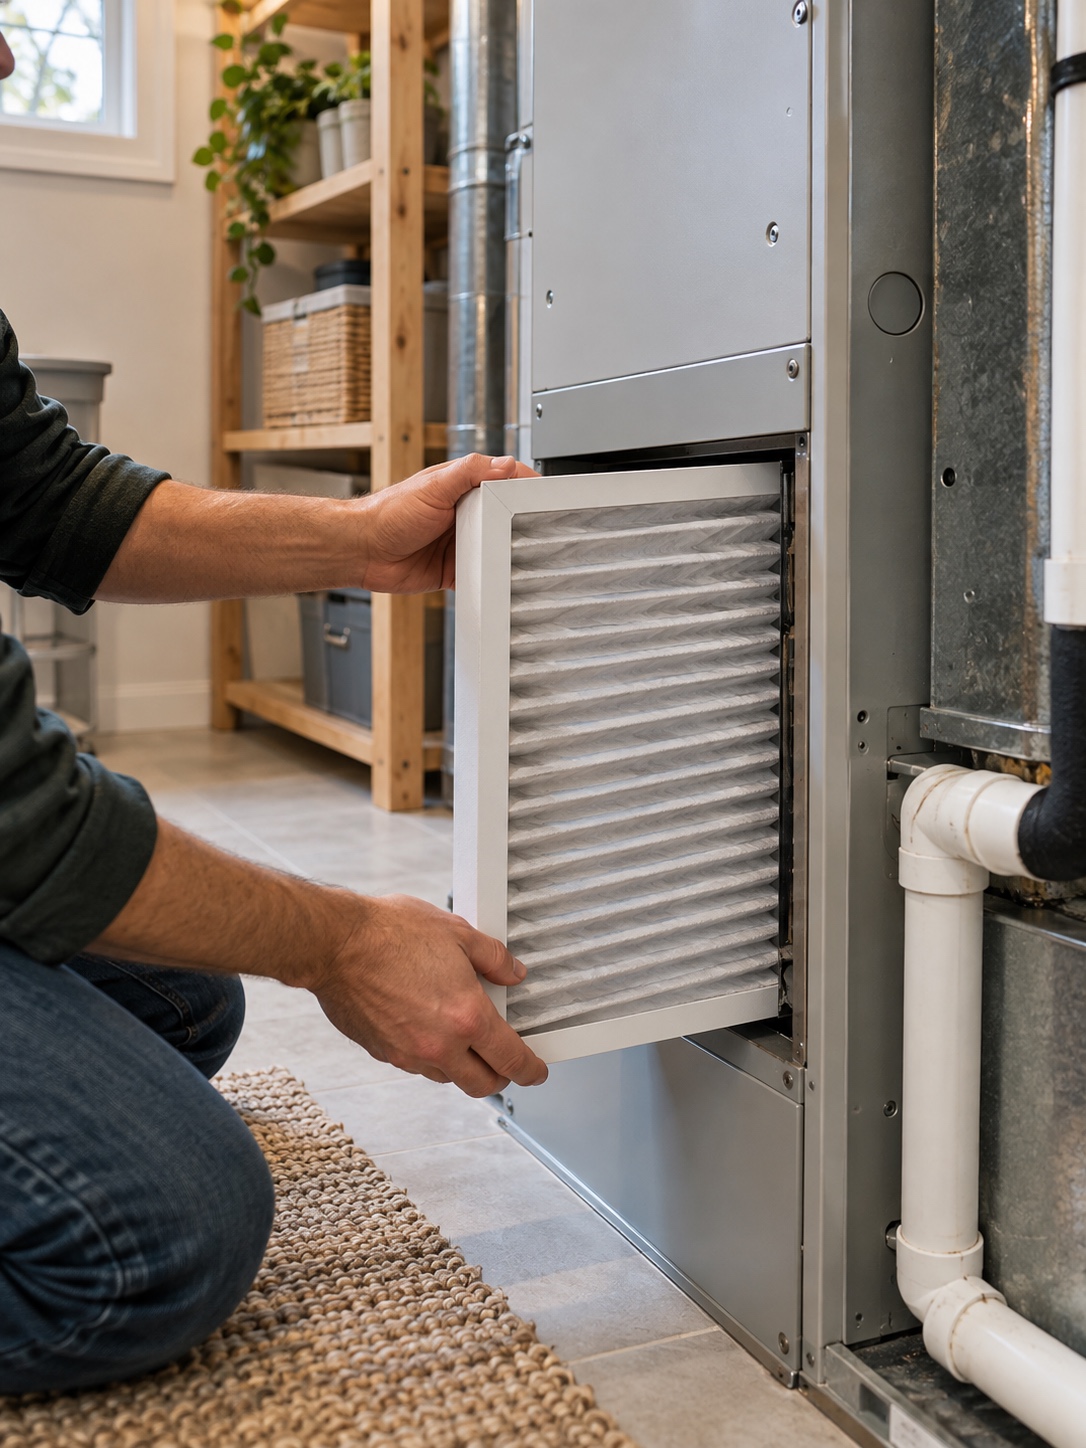
Filters that are changed at an appropriate interval, clean coils, unobstructed airflow, correct refrigerant charge where applicable, sound electrical connections, and sensible controls all reduce avoidable stress. The aim of a pre-season inspection is not to guarantee that nothing will fail. It is to find the smaller problems that are easier to repair before the system is running at full demand.
A smart thermostat can also reduce unnecessary runtime when it is configured for the actual system and household. Keep setbacks reasonable, especially with heat pumps or homes that recover slowly. Controls can improve scheduling; they cannot correct undersized ducts, a dirty coil, or failing mechanical parts. For other upgrades that reduce repetitive upkeep, see 10 Low-Maintenance Home Improvements That Save Time for Years.

Warning signs worth documenting before winter
One odd sound does not automatically mean replacement. A cluster of changes deserves attention: rooms that no longer reach the same temperature, unusually frequent starts and stops, new startup noise, weak airflow, repeated breaker trips, persistent odors, or a bill increase that cannot be explained by weather or usage. Record when each symptom occurs and what the thermostat is doing at the time.

Safety issues are different from comfort complaints. If you smell gas, a carbon-monoxide alarm sounds, or equipment is visibly overheating, follow the manufacturer and utility emergency guidance and leave diagnosis to a qualified professional. Winter preparation should never involve opening fuel-burning equipment or bypassing safety controls.
Repair or replace? Use a decision process, not a sales pitch
The U.S. heating and air-conditioning contractor market is substantial—one industry estimate puts annual revenue at approximately $156.2 billion. A market that large includes excellent technicians, average installers, and businesses with very different incentives. A single recommendation is useful information, but a major replacement proposal should still be clear enough to verify.
| What you find | First response | What would change the decision |
|---|---|---|
| A younger system with one failed serviceable component | Request a written repair estimate and check warranty coverage | A safety-critical failure, unavailable parts, or evidence of wider damage |
| An older system with a major compressor or heat-exchanger problem | Compare repair cost, replacement cost, efficiency, and expected remaining life | A second diagnosis shows the failure is isolated and the rest of the equipment is sound |
| High bills without a confirmed mechanical fault | Check weather, rate changes, filters, airflow, controls, and envelope leaks | Measured performance confirms the equipment is operating outside specification |
Get a second opinion before a major replacement
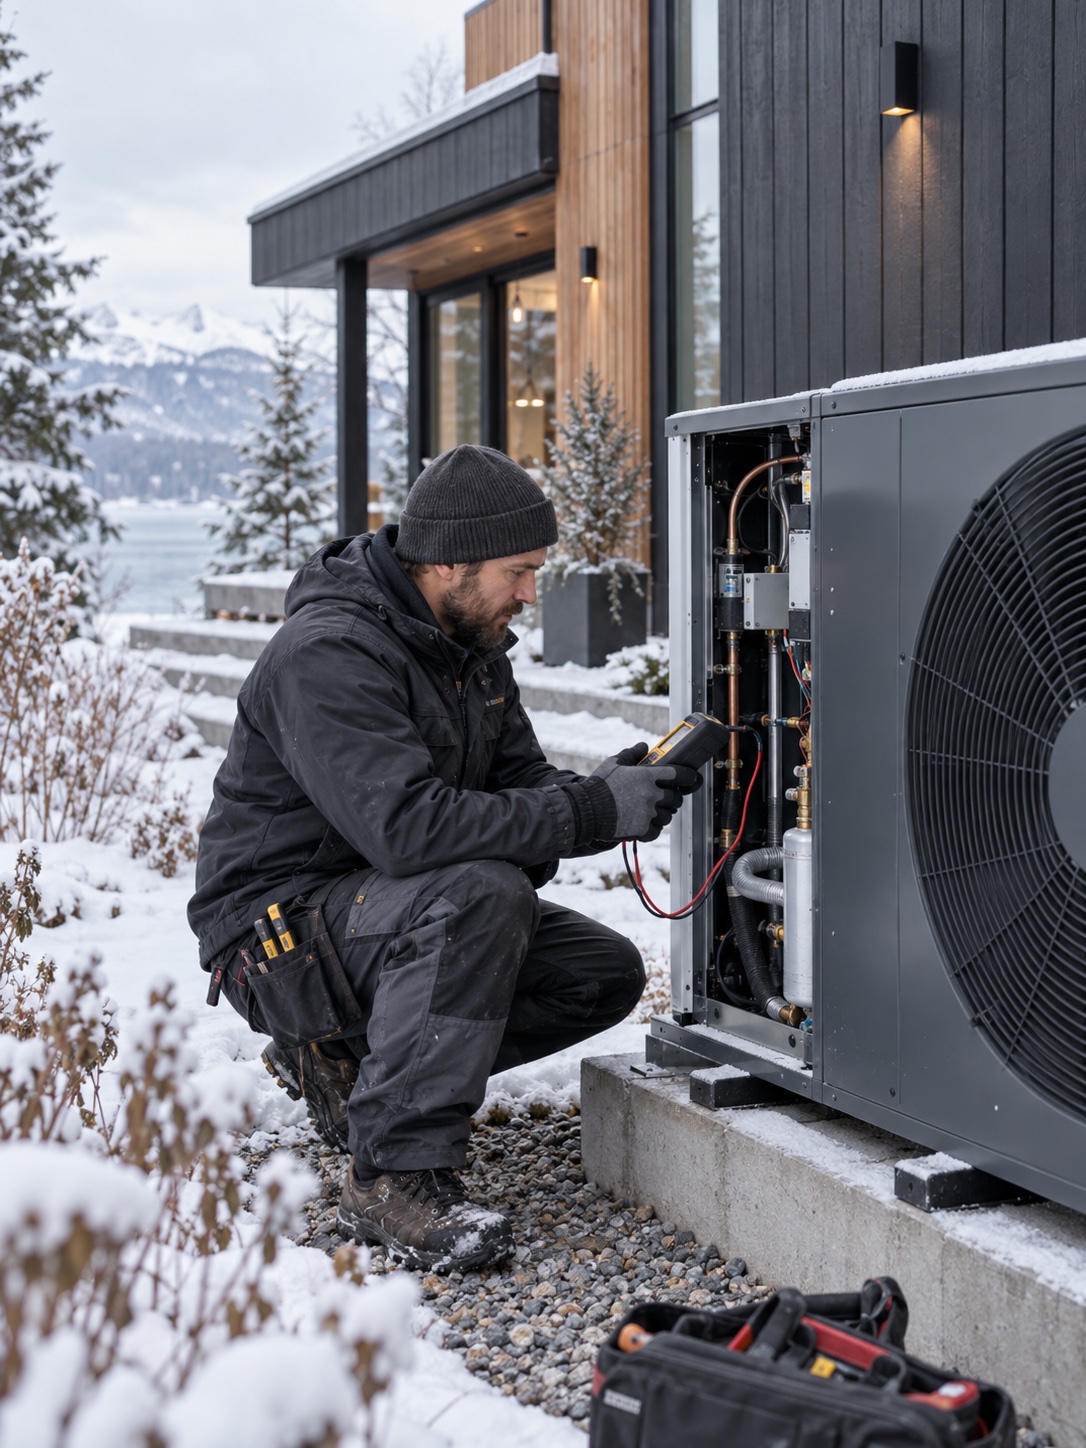
There is no universal age at which repair stops making sense. Ask the technician to identify the failed component, explain the test that confirmed it, describe whether the cause is isolated or systemic, and state what warranty remains. Then compare the repair cost with a properly scoped replacement—not simply the lowest headline price. New equipment needs correct sizing, compatible controls, duct evaluation, commissioning, and a clear warranty.
- Ask for the diagnosis and measurement in writing.
- Confirm parts, labor, and equipment warranty status.
- Request an itemized repair and an itemized replacement option.
- For a large proposal, obtain an independent second diagnosis.
- Compare comfort, reliability, and operating cost—not age alone.
Protect outdoor equipment from winter corrosion
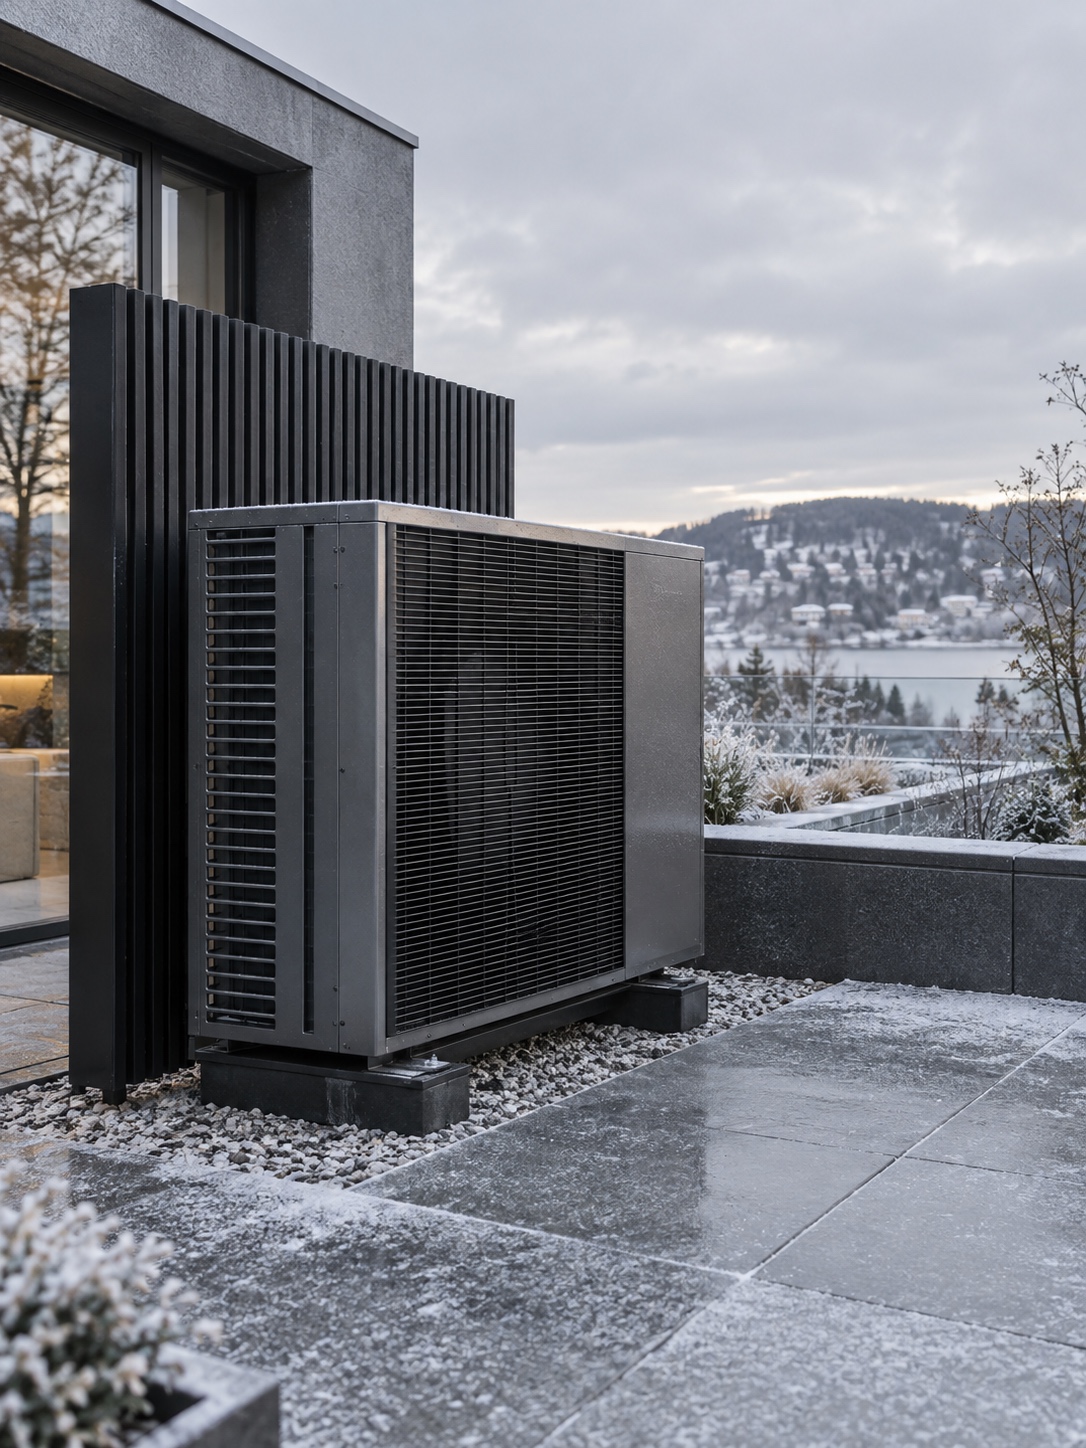
A condenser or heat pump beside a salted driveway receives a very different winter exposure from one behind a planted buffer. Inspect the drainage path before snow arrives. De-icing runoff and spray can accelerate corrosion of the casing and delicate coil fins, while drifting snow or stored objects can obstruct airflow. Keep the manufacturer’s required clearance and never wrap an operating heat pump in an airtight cover.
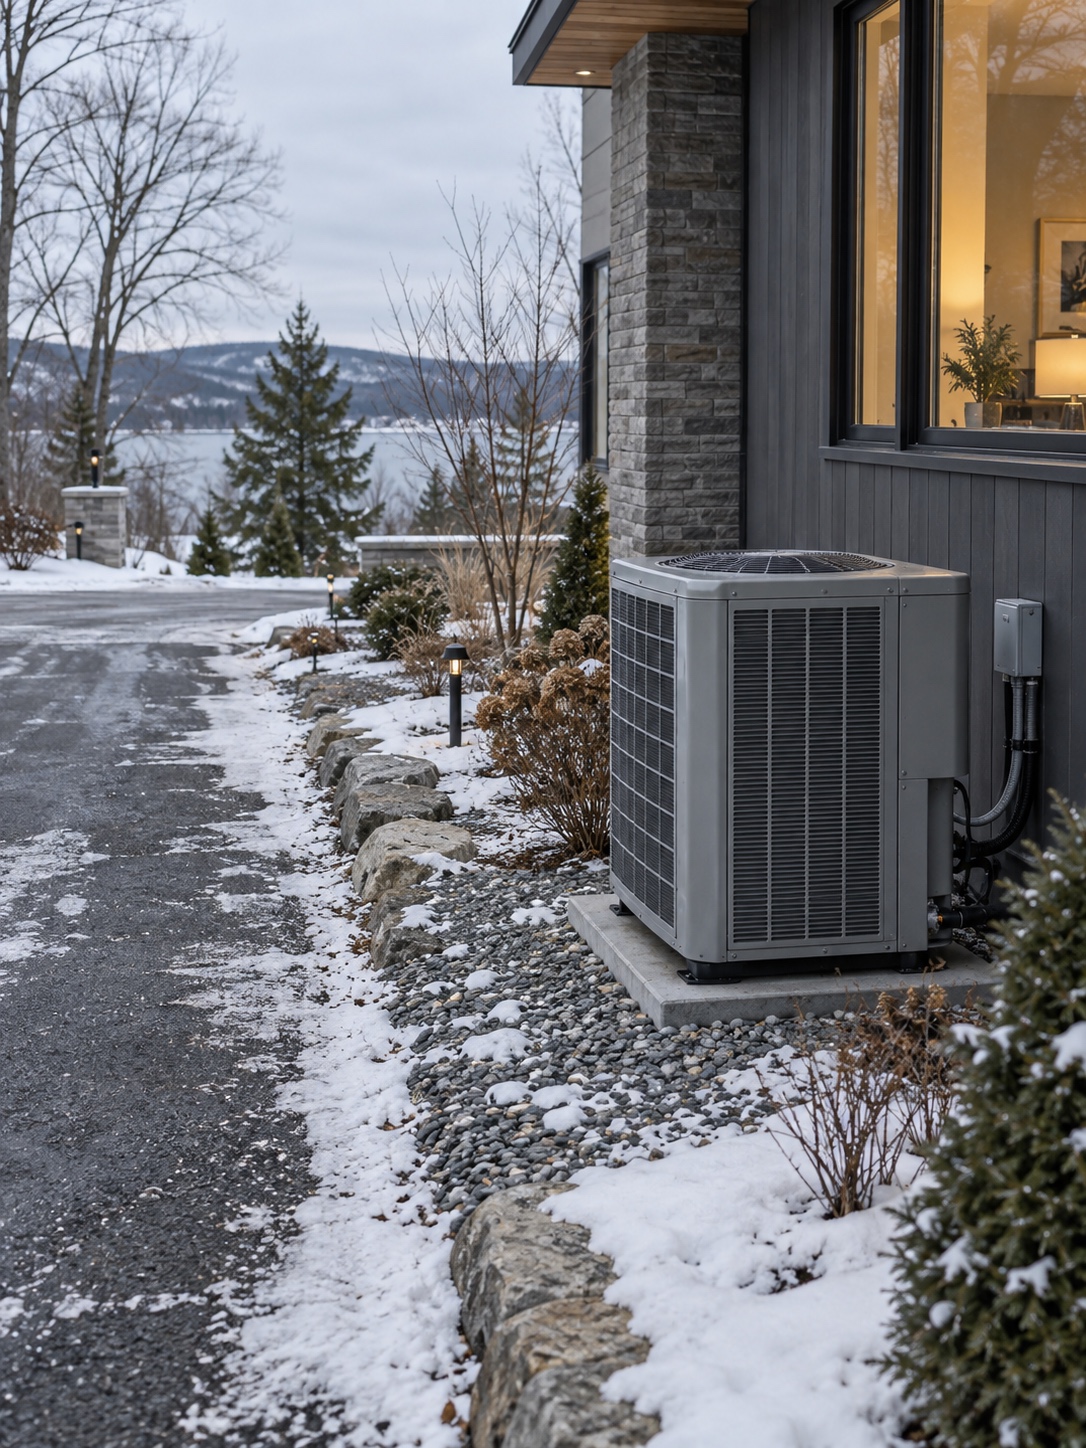
If relocation is unrealistic, redirect runoff without sending water toward the foundation, and use a barrier only if it preserves service access and airflow. Rinse salt residue according to the manufacturer’s guidance when weather allows. Bent fins, heavy corrosion, loose wiring, or unusual ice buildup are reasons to call a professional rather than improvise a repair.
Seal the envelope: small jobs with an outsized return
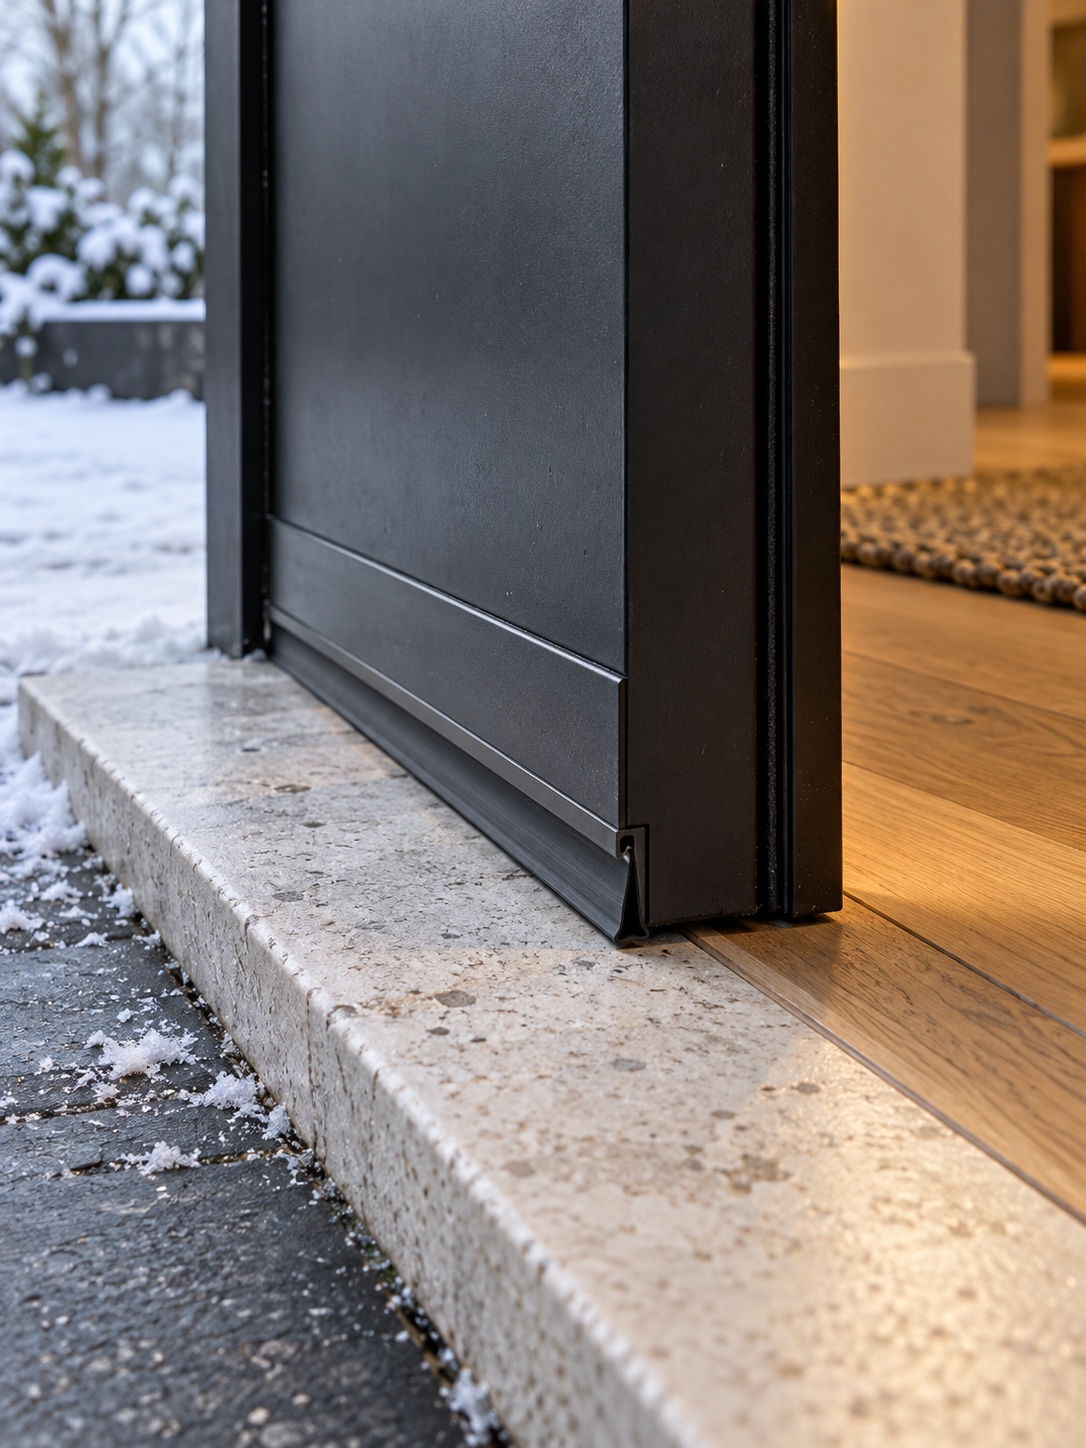
After the windows and heating equipment have been assessed, move to the inexpensive gaps that quietly add up. Exterior doors are common offenders. Check the sweep, latch side, hinge side, and the junction between threshold and floor. The door should close without force while the seals make continuous contact.
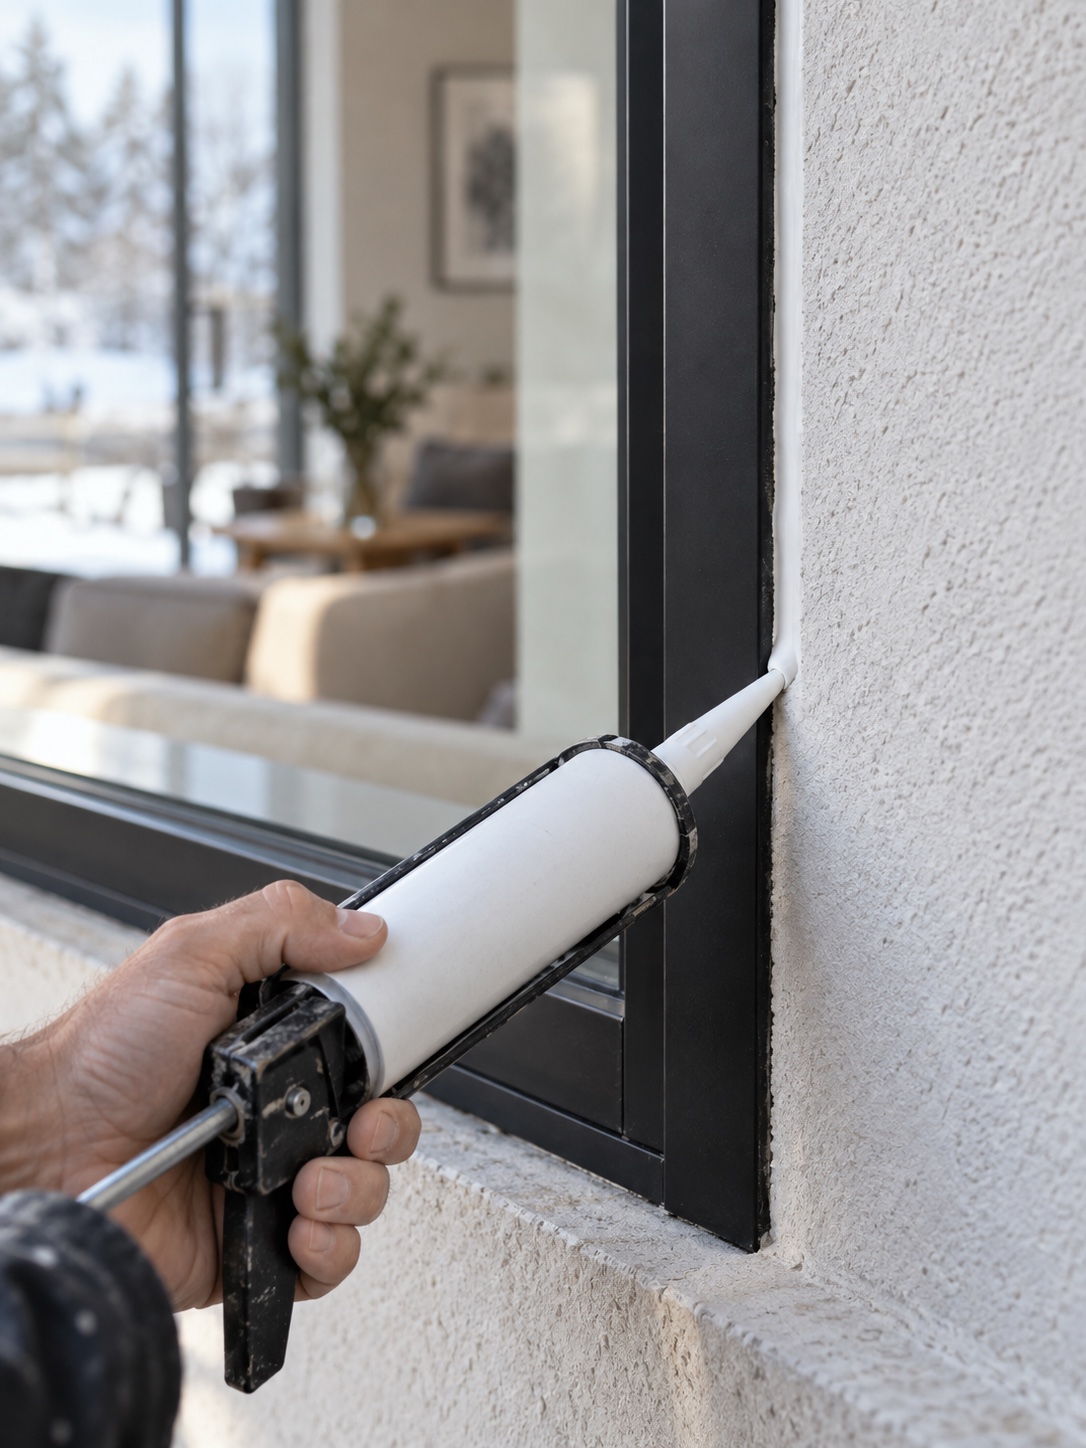
Then inspect penetrations for pipes, cables, exhaust ducts, and exterior fixtures. Choose a sealant compatible with the materials and exposure. For a deeper joint, backer rod controls sealant depth and helps it flex. Low-expansion foam can suit some concealed gaps around frames, but excess foam may bow components or block drainage. If the assembly’s water-management path is unclear, stop before filling it.
A practical order of work
- Map the drafts and rooms with comfort problems.
- Service obvious seal and airflow issues.
- Schedule an HVAC inspection while appointments are still available.
- Collect written evidence before approving major work.
- Recheck comfort and runtime after the smallest reliable fixes.
Build a seasonal rhythm that protects the investment
The best time to make these decisions is early fall, not the first freezing night. A short inspection then gives you time to order the right weatherstripping, book a technician, compare quotes, and see whether a small repair actually changes performance. It also separates urgent safety work from upgrades that can wait for a planned renovation.
Keep one simple home record: equipment model and serial numbers, installation date if known, filter size, service dates, repair invoices, thermostat changes, and a list of windows or doors that draft under specific conditions. Photographs of condensation, error codes, or ice patterns can be useful because the symptom may disappear before the appointment.

A winter-ready home is not one with the most new products. It is one where the envelope and mechanical system work together, and where replacement decisions are supported by evidence. Seal the clear leaks, maintain the equipment, question expensive conclusions, and leave room in the calendar for the repair you did not expect.
Frequently asked questions
How much heat does a home actually lose through its windows?
A commonly cited estimate is about 30%, but the actual share varies with window age, frame material, glazing, air leakage, climate, and the rest of the building envelope. Diagnose specific openings instead of assuming every window is equally responsible.
How long should an HVAC system last before I need to replace it?
Many well-maintained residential systems last roughly 15 to 25 years. Installation quality, climate, equipment type, runtime, maintenance, and repair history all affect where a particular system lands in that range, so age alone should not decide replacement.
Is it better to repair or replace an aging HVAC system?
It depends on the failed component, safety, warranty, repair cost, overall condition, efficiency, and expected remaining life. For a major recommendation, get the diagnosis in writing and seek an independent second opinion before committing to replacement.
How can I tell if a window needs weatherstripping or full replacement?
Air movement at an operable joint often points to weatherstripping or adjustment. A warped or rotten frame, fogging between panes, repeated seal failure, or an opening that no longer sits square makes repair less straightforward and may justify a replacement assessment.
Why do rock salt and corrosion matter for HVAC equipment near a home?
Salt spray and de-icing runoff can accelerate corrosion on outdoor equipment, including casings and coil fins. Check drainage paths, preserve the manufacturer’s airflow clearance, and keep the unit away from direct runoff where practical.
What is the highest-return fix before winter?
For many homes, sealing confirmed air leaks around windows and exterior doors is an inexpensive place to start. The best return still depends on the diagnosis: a clogged filter, failed control, or serious window defect may need attention first.
- 0shares
- Facebook0
- Pinterest0
- Twitter0
- Reddit0