Upcycled DIY decor works best when an existing object or reclaimed material solves a specific problem in the room. Start with one missing piece, such as wall art, a frame, useful storage, or a refreshed table, then match its scale and colors to what is already there. This guide focuses on reclaimed wood, picture frames, mason jars, old furniture, and reusable candle containers, with enough planning detail to decide whether an item is worth saving.
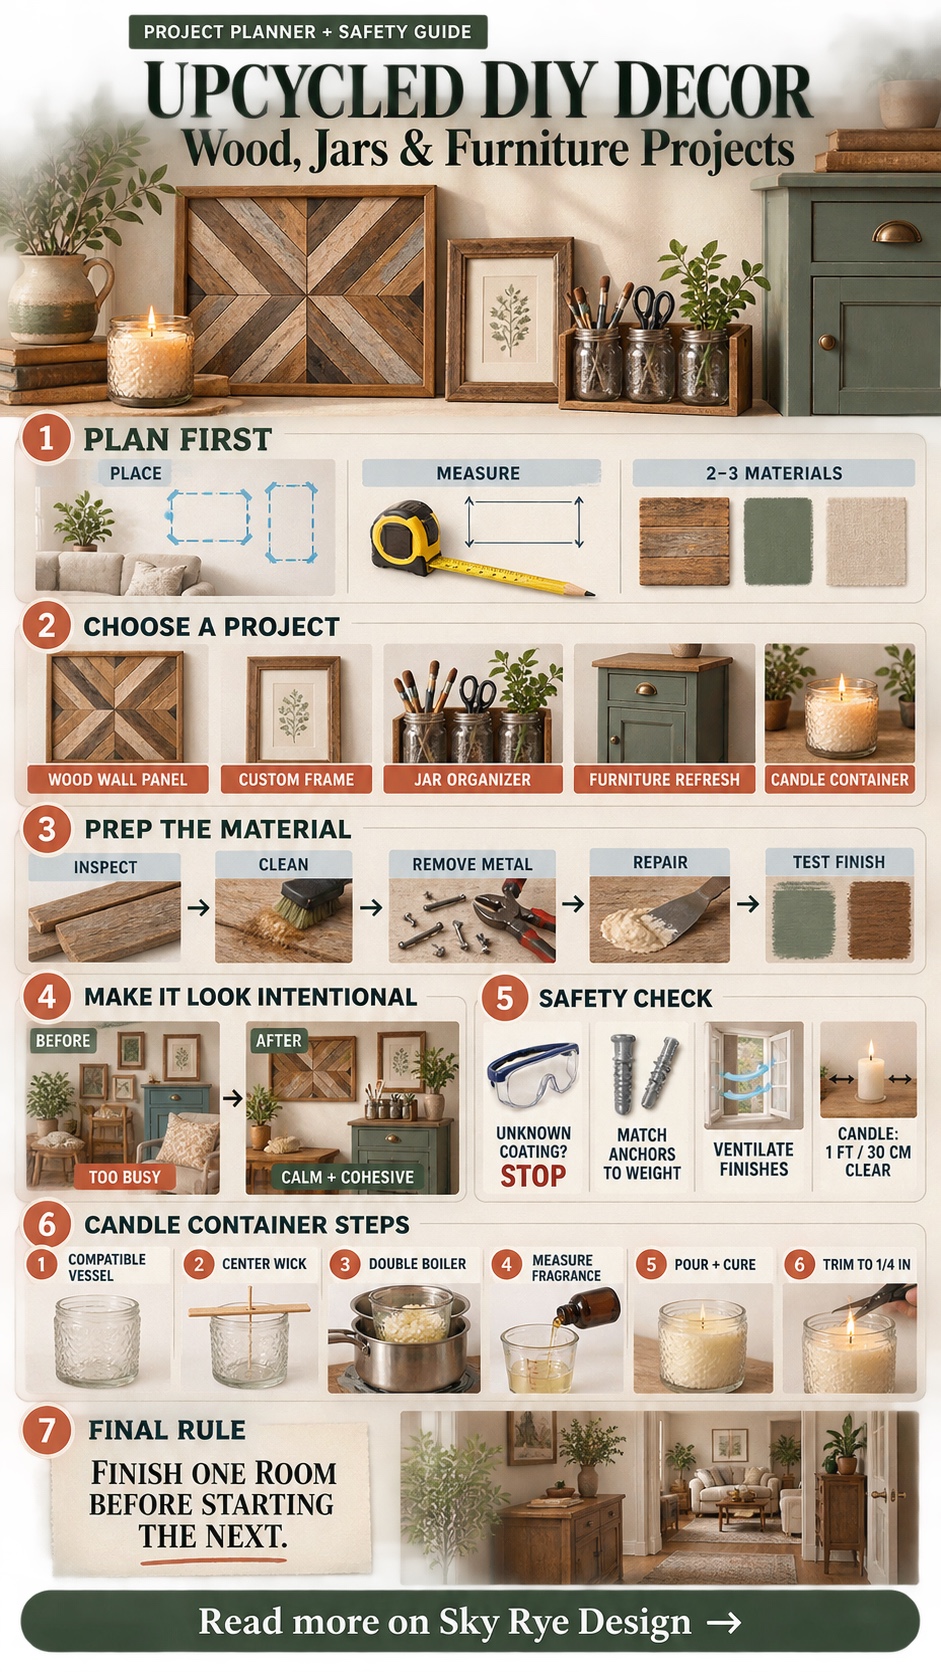
Before buying supplies, decide where the finished piece will sit, measure that area, and limit yourself to two or three materials. A small material palette keeps handmade decor from feeling busy and makes it easier to repeat a color, wood tone, or metal finish elsewhere in the room.

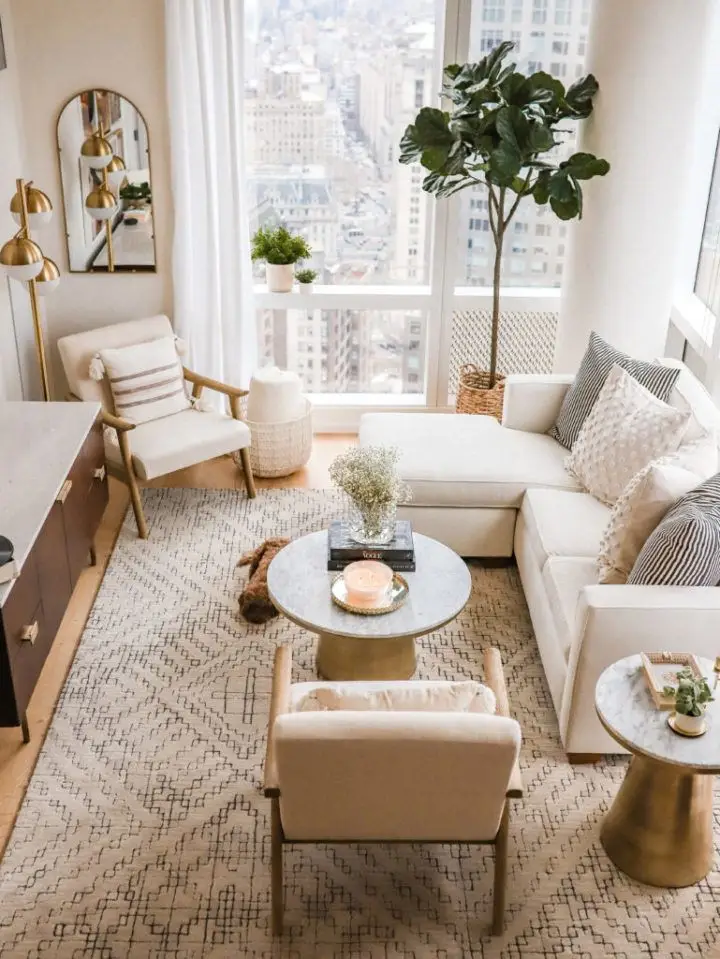
How to make upcycled DIY decor look intentional
Choose the location before the project. Measure the available wall, shelf, or floor area, photograph the room in daylight, and pull one dominant color plus one accent from the existing furniture or textiles. Build a quick sample on scrap material before committing to the full piece. If the sample looks disconnected, adjust the scale or finish rather than adding more decoration.
| Project | Main materials | Skill level | Best placement |
|---|---|---|---|
| Reclaimed wood wall panel | Clean wood, saw, sandpaper, finish | Intermediate | Living room or entry wall |
| Custom picture frame | Wood or molding, glue, clamps | Intermediate | Gallery wall or shelf |
| Mason jar organizer | Jars, board, brackets | Beginner | Kitchen, office, or craft area |
| Furniture refresh | Cleaner, sandpaper, primer, paint | Intermediate | Bedroom or living room |
| Container candle | Wax, matched wick, heat-safe vessel | Intermediate | Open, supervised area |
Key takeaways
- Measure the intended location before choosing a project or material.
- Repeat one color, wood tone, or metal finish already present in the room.
- Prepare, repair, and test the surface before applying the final finish.
- Check old paint, reclaimed wood, wall fixings, and candle materials for safety.
Planning an upcycled decor project
Write down the object’s purpose, finished size, color, and mounting method before shopping. That short brief keeps the project focused and exposes practical problems early, such as a frame that is too heavy for the wall or a finish that needs more ventilation than the room provides.
Choosing a theme
Start by selecting a theme that resonates with your style and space. Consider whether you prefer a modern, rustic, or eclectic look. Having a distinct theme guides your decisions throughout the project.
- Inspiration Sources: Browse Pinterest, home decor magazines, or visit local furniture stores for ideas.
- Color Palette: Choose a cohesive color scheme that fits your theme. Use color swatches to visualize how different shades work together.
Narrowing down your style will make it easier to identify the materials and techniques needed for your project. Don’t hesitate to mix elements; you can combine various themes through creative repurposing of materials.
Gathering materials
Once you have your theme, it’s time to gather materials. Think about items you already have at home that can be upcycled or repurposed.
- Essential Supplies: Create a list that includes tools, paints, and any decorative elements you want. Common items for DIY projects are:
- Paint (for refreshing old furniture)
- Fabric (for soft furnishings or wall art)
- Found objects (like jars or frames)
Check thrift shops, reuse centers, and your own storage before buying new supplies. Make a complete material list, including primer, fasteners, brushes, and protective finish, so the project does not stall halfway through.
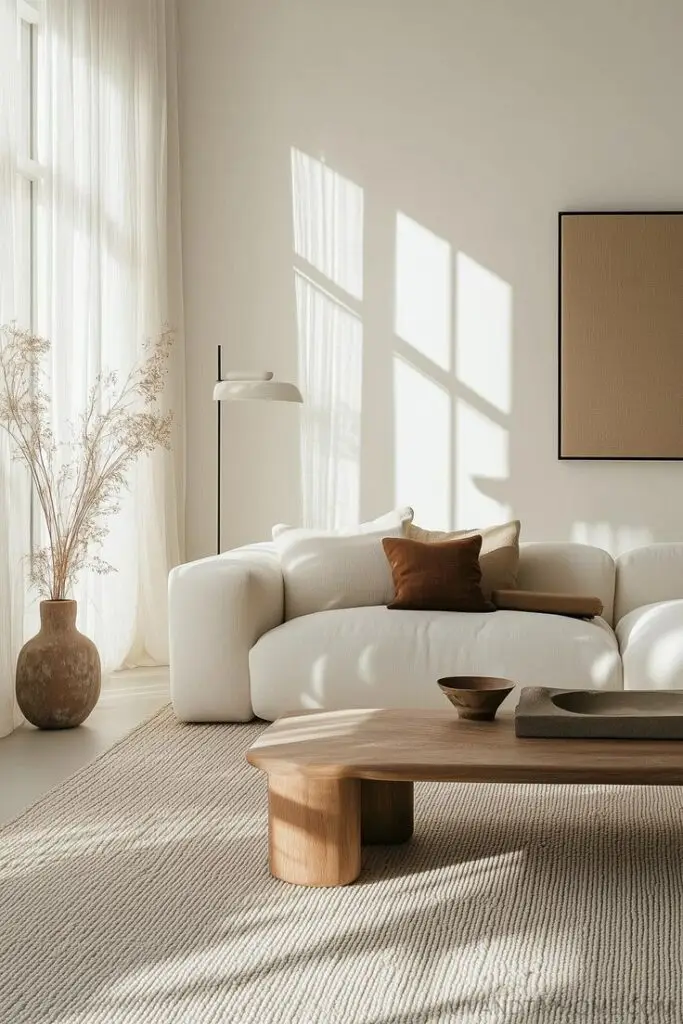

Creating upcycled wall art
Simple wall art can be sized and finished for the exact space you have. The following options use reclaimed wood, design custom picture frames, and repurpose mason jars for artful displays.
Designing with reclaimed wood
Reclaimed wood can add visible grain and wear to a wall piece, but inspect it before bringing it indoors. Remove metal, reject damaged boards, clean the surface, and sand only after checking the coating and treatment history.
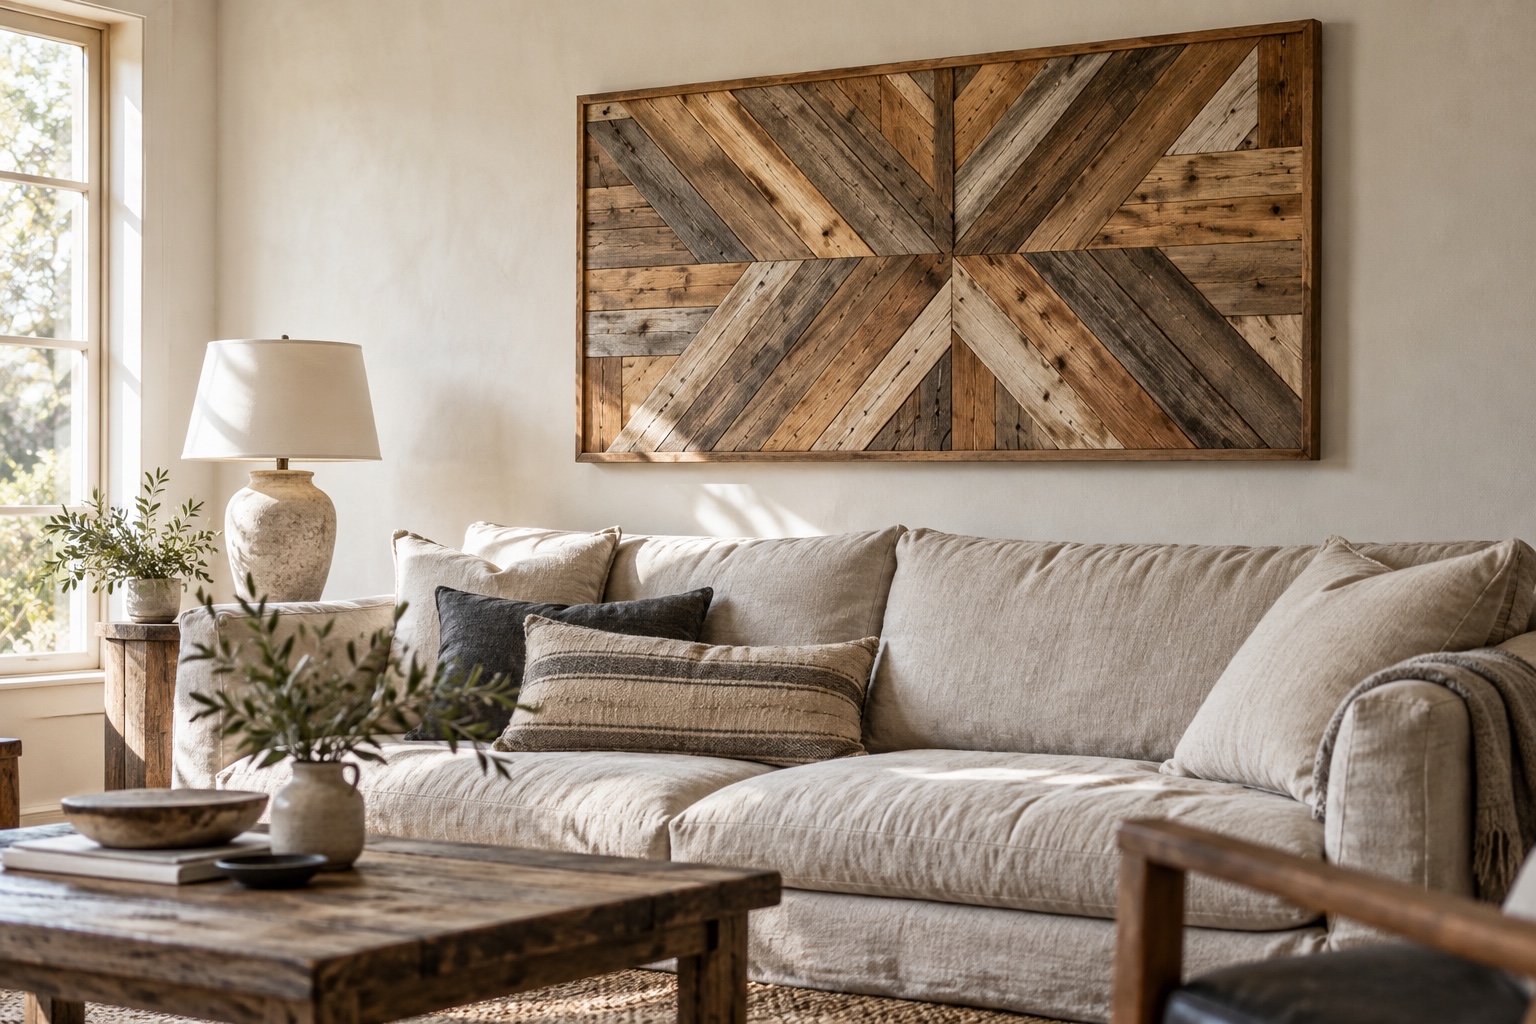
Consider creating a geometric pattern on your wall. Cut the wood into different shapes and sizes, then attach them using wood glue or nails. Leave the grain visible for a rustic finish, or use one muted color already present in the room.
Apply a finish rated for indoor use and let it cure for the full time listed on the label before hanging the panel.


Making custom picture frames
Custom picture frames allow you to showcase cherished memories while adding a decorative element to your walls. You can use leftover wood or buy affordable materials specifically for the frames.
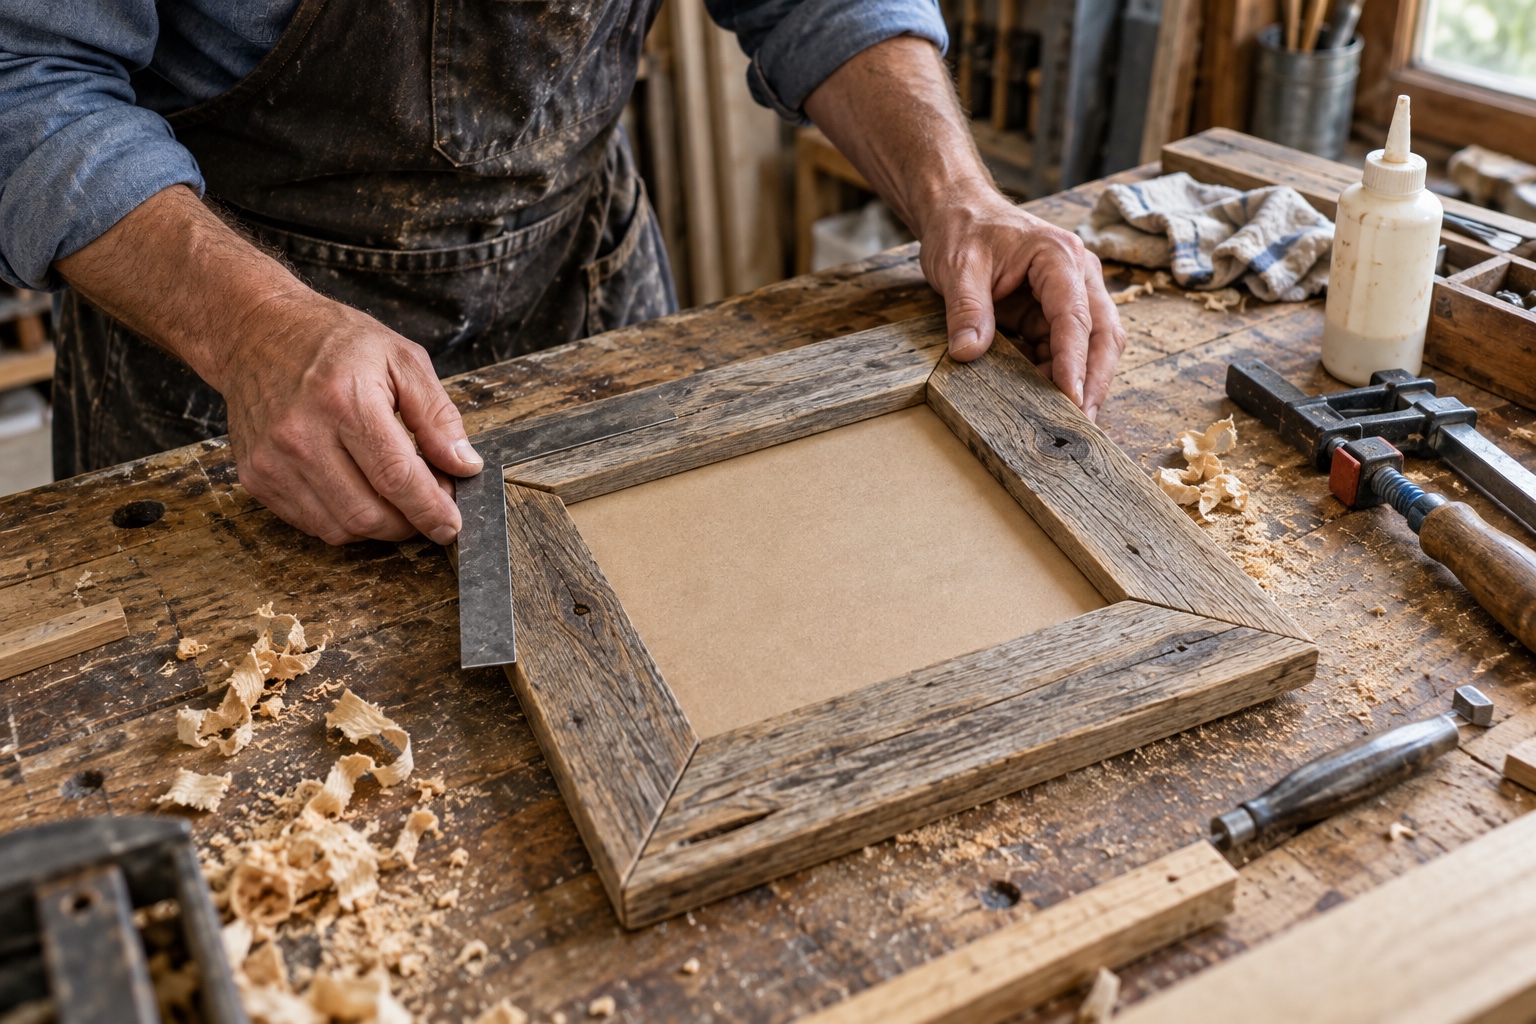
To start, measure your desired photo size and cut the wood accordingly. Use a miter saw for angled cuts to create a polished look. Assemble the frame by attaching the pieces with wood glue and clamps, allowing them to dry.
Consider adding embellishments like paint, stains, or decorative molding to enhance the frames. For a gallery wall, repeat one frame finish and vary the sizes instead of changing every color and profile.
Crafting with mason jars
Mason jars work best when they hold something useful, such as brushes, flowers, or small craft tools. Choose jars with intact rims, then leave the glass clear or paint the exterior to match the room.
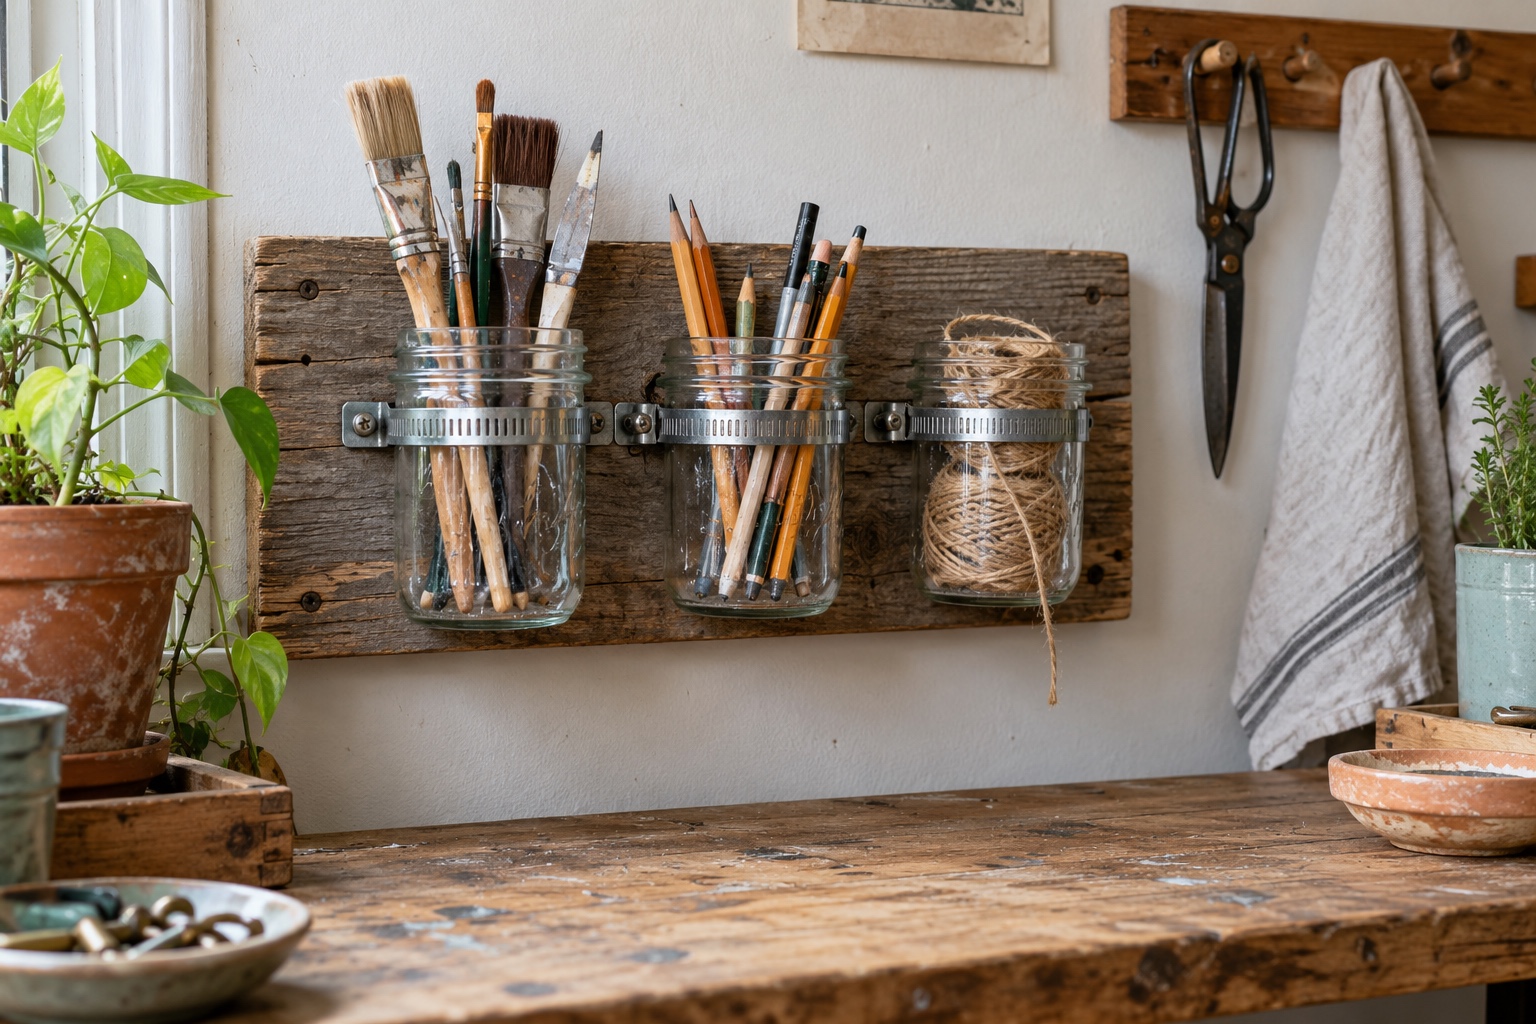
Secure them to a wooden board or directly on the wall using brackets. Fill the jars with items like dried flowers, fairy lights, or even paintbrushes for a functional and artistic display.
Keep the brackets aligned and leave enough clearance to lift each jar out for cleaning. A repeated jar size creates a calmer rhythm; mixed sizes suit a looser craft-room display.


Upcycling everyday items and furniture
Upcycling is worth the effort when the original object is sound and the new use is practical. Repurpose everyday objects or refinish old furniture, then use the result to enhance your living space.
Repurposing everyday objects
Common objects can become useful decor with a clear purpose. Glass jars make simple storage or vases; paint only the exterior, or add a narrow band of twine if the room already uses natural fibers.
A pallet can become wall art or outdoor furniture only after you confirm that the wood is clean, sound, and suitable for the intended use. Remove fasteners, repair splits, sand carefully, and use a finish rated for that location.
Another idea is to use old books. Stack them to form a side table or turn them into art by displaying their colorful spines on a shelf.
Transforming old furniture
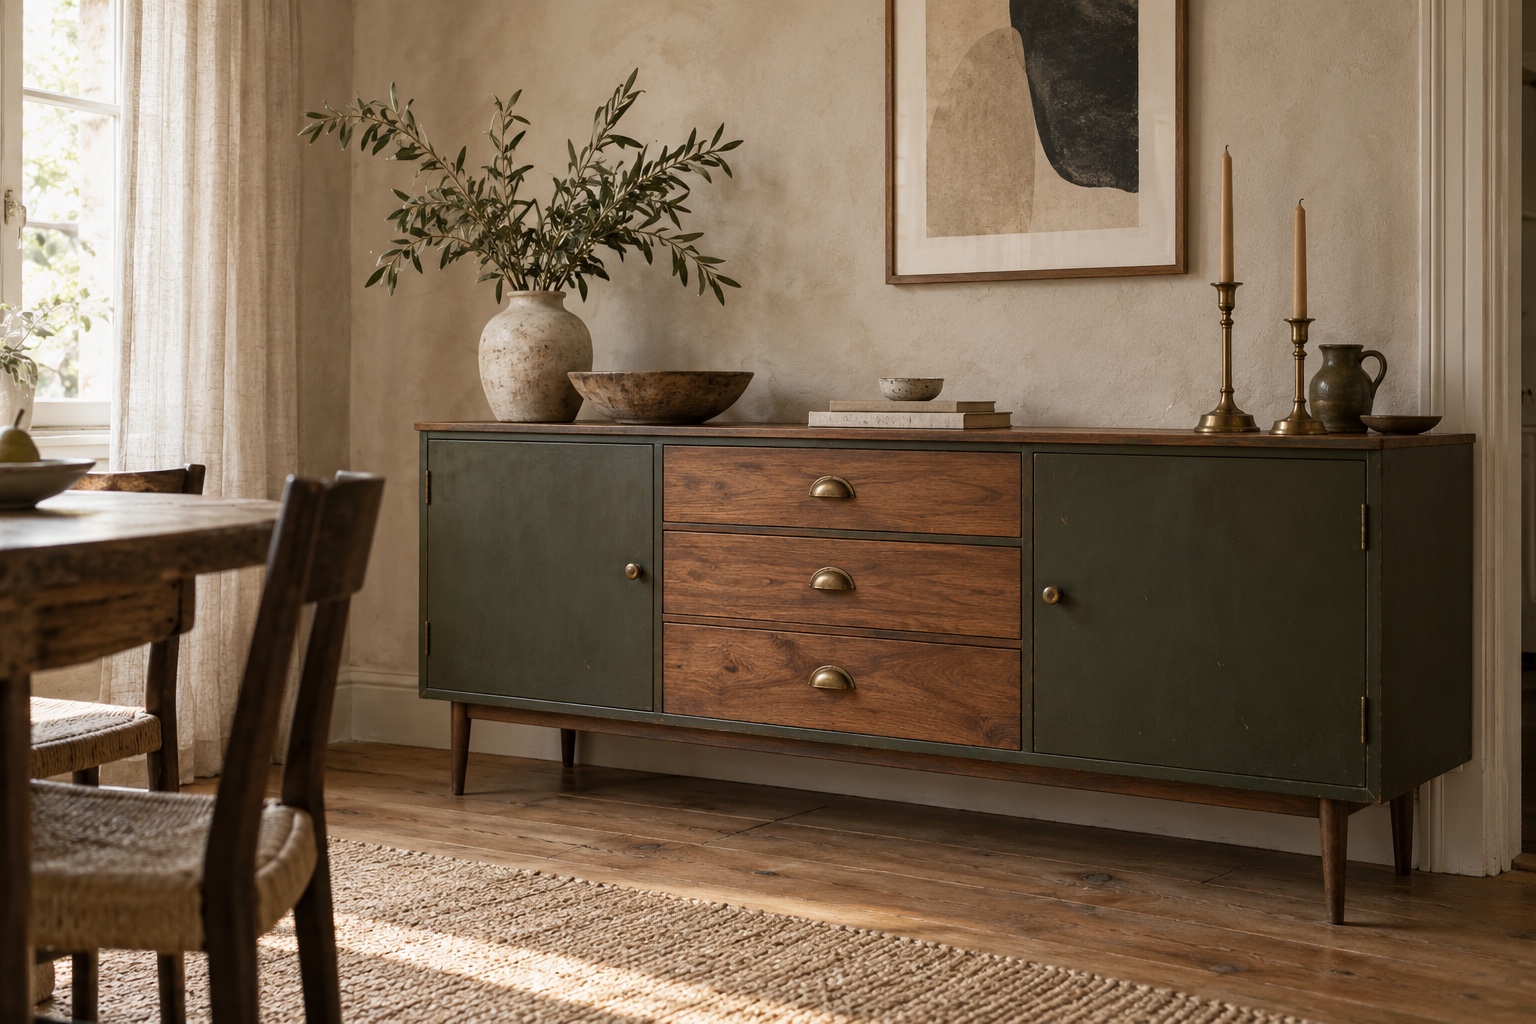
Refinish old furniture only when its frame and joints are sound. A sturdy dresser can become a media cabinet after the drawers, cable route, ventilation, and equipment weight have been planned.
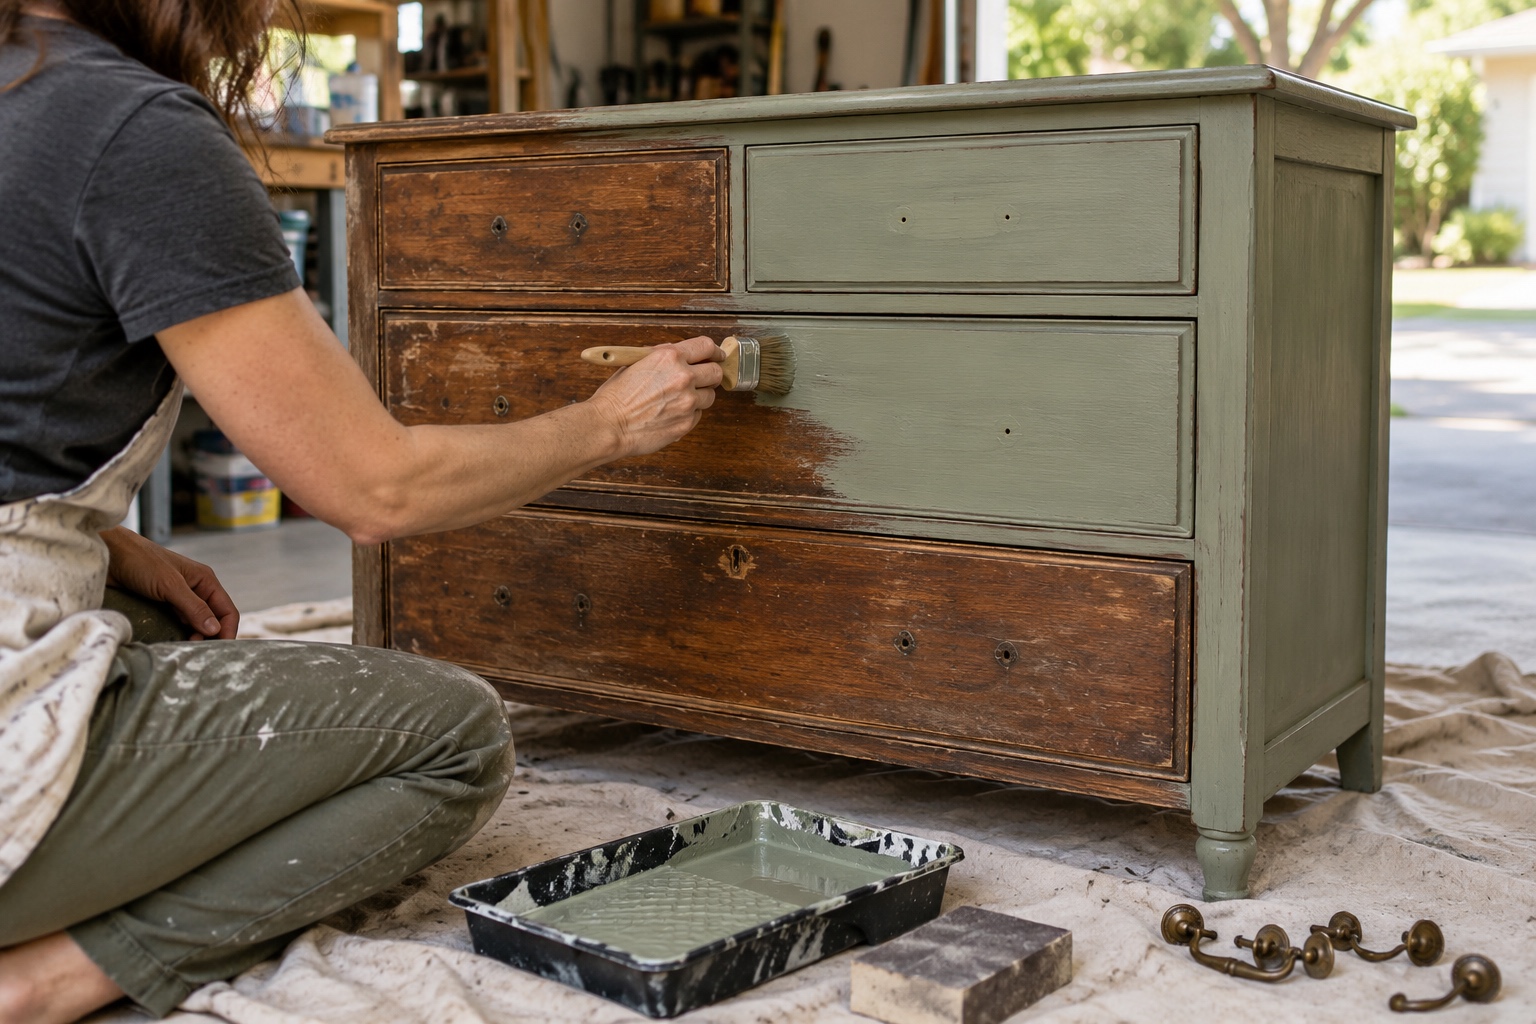
Simply remove the drawers, sand the surface, and paint it in a bold color. Adding new hardware can further modernize the design.
A sound chair can be refreshed with paint or new upholstery. Repeat a fabric color already used in the room and repair loose joints before covering the frame.
Do not hide a loose or damaged table under a decorative finish. Repair the joints first, and avoid changing the height or structure unless you know the altered frame will carry its intended load.

Safety checks for upcycled decor materials
Old materials need more inspection than new craft supplies. Remove nails and staples from reclaimed wood, reject pieces with rot or an unknown chemical treatment, and wear suitable eye and respiratory protection when cutting or sanding. If you may disturb paint in a pre-1978 home, review the EPA’s lead-safe renovation guidance for DIYers before starting.
| Risk | Practical check |
|---|---|
| Wall-mounted decor | Match anchors and fasteners to the wall type and finished weight. |
| Paint and finish | Use ventilation and follow the label for preparation, drying, and curing. |
| Reclaimed furniture | Check joints, stability, pests, sharp edges, and unknown coatings. |
| Power tools | Clamp the workpiece and use the guard and protective equipment specified by the tool maker. |
| Candles | Use a stable, heat-safe container and keep a burning candle at least 1 foot from anything combustible. |
A finished candle is still an open flame. The National Fire Protection Association candle-safety sheet recommends sturdy holders, an uncluttered surface, and extinguishing candles before leaving the room or going to bed.
A step-by-step candle-container project
A container candle is a useful small project because it combines color, scent, and a decorative vessel. The materials must work together, though. Choose wax, fragrance, wick, and a vessel designed for candle making rather than treating them as interchangeable craft supplies.
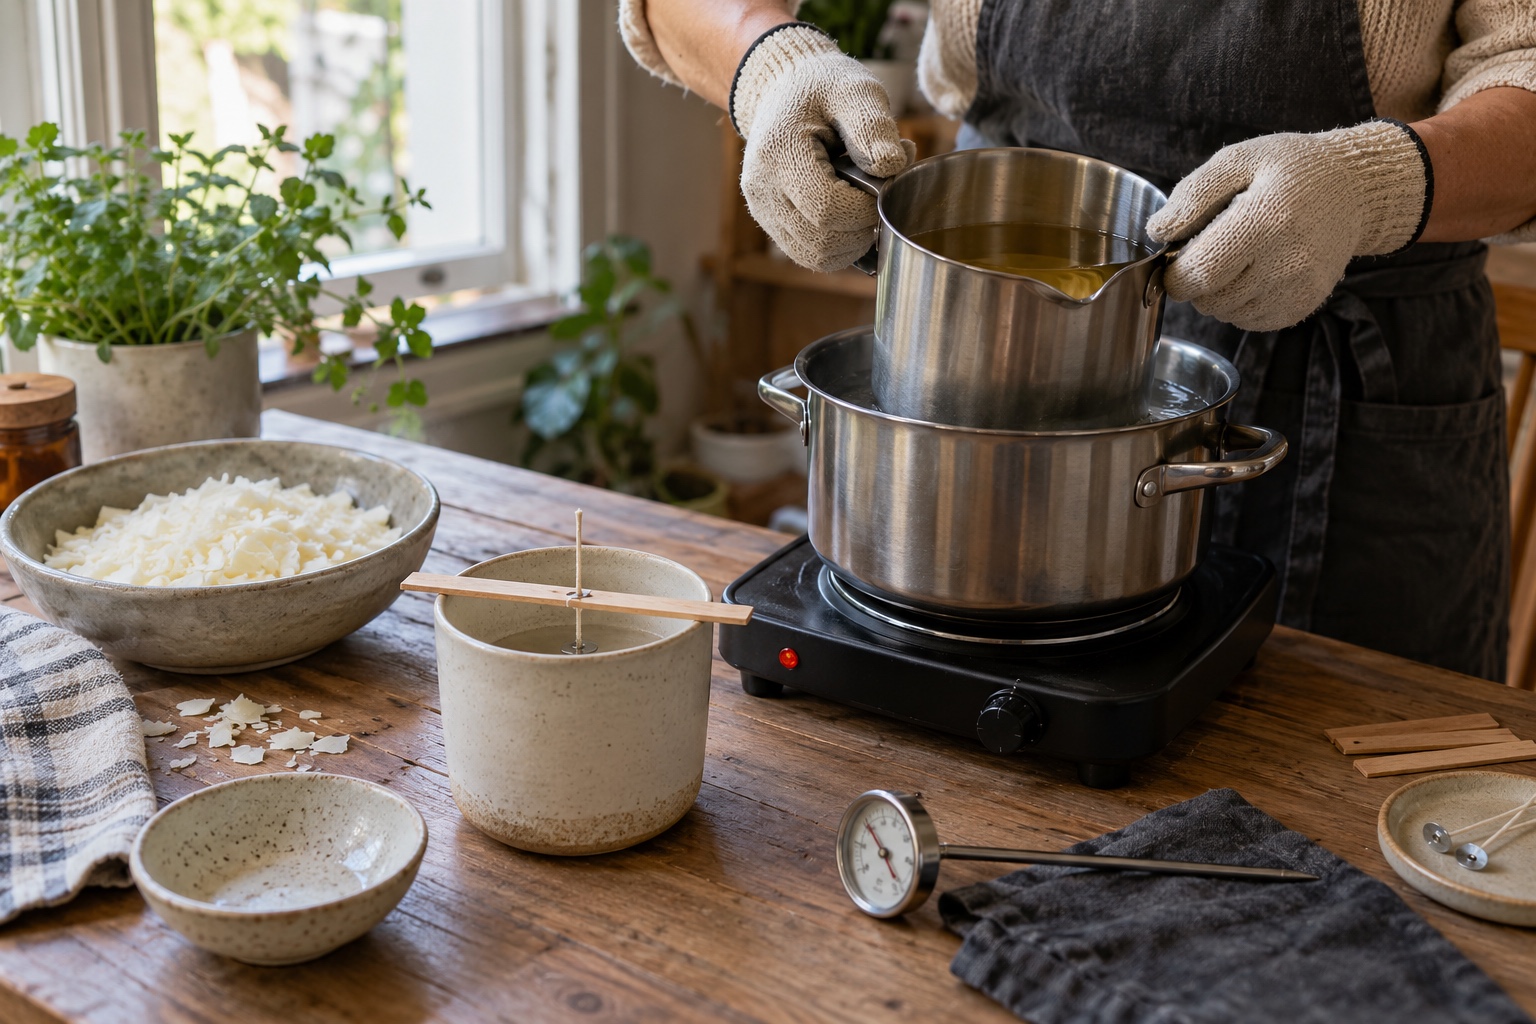
Assembling your own DIY candle
- Check compatibility. Use a heat-safe candle vessel and choose a wick intended for its diameter and your wax type. Do not substitute a drinking glass or an unknown decorative container.
- Prepare the workspace. Protect the surface, secure the wick in the center, and keep water, loose fabric, children, and pets away from the melting area.
- Melt the wax gently. Use a double boiler and thermometer. Follow the wax maker’s temperature range instead of applying one temperature to paraffin, soy, and beeswax.
- Add fragrance within the stated limit. The correct temperature and maximum fragrance load depend on the wax. Measure by weight and follow the supplier’s instructions.
- Pour and cure. Pour slowly, keep the wick centered, and let the candle cool on a level, heat-resistant surface. Respect the recommended cure time before testing it.
- Trim and test. Trim the wick to about 1/4 inch, then make the first burn in a clear, supervised area. Stop if the container cracks, overheats, smokes heavily, or the flame becomes unstable.
Finish one room before starting the next
The most convincing DIY decor usually comes from restraint. Complete one piece, place it in the room, and look at it from the doorway before planning another. If the scale and finish work, repeat one small detail elsewhere. If they do not, fix the proportion or color instead of surrounding the piece with more accessories.
Upcycled DIY decor FAQ
What is upcycled DIY decor?
Upcycled DIY decor is a decorative or functional piece made by adapting an existing object or reclaimed material for a new use. It can be as small as a jar organizer or as involved as refinishing a dresser. The goal is not simply to reuse something; the finished piece still needs the right scale, color, finish, and construction for the room.
How do you make upcycled decor look polished?
Limit each project to a small palette of colors and materials, prepare the surface carefully, and repeat one detail already used in the room. Clean edges, even spacing, aligned hardware, and a consistent sheen make a bigger difference than expensive supplies. Test paint or stain on an offcut first, then stop adding embellishments once the piece has a clear focal point.
What are the best upcycled decor materials for beginners?
Start with forgiving materials: unfinished wood, water-based paint, removable wall hooks, fabric, paper, glass jars, and simple frames. Choose a project that needs only basic measuring, sanding, painting, or assembly. Avoid structural furniture repairs, mains electrical work, and unknown finishes until you have the right tools, ventilation, and safety knowledge.
How much should an upcycled decor project cost?
Set a spending cap before buying supplies and compare it with the price of a finished piece. Include consumables such as sandpaper, primer, sealant, blades, brushes, and mounting hardware, not only the main material. Reusing a sound frame or piece of furniture can save money, but buying many one-use tools can make a small project more expensive than expected.
How long does a simple upcycling project take?
A jar organizer, painted frame, or small wall-art panel can often be assembled in an afternoon, but drying and curing may add a day or more. Furniture updates usually take a weekend because cleaning, repairs, sanding, primer, paint, and protective finish need separate stages. Follow the product label rather than rushing a second coat onto a surface that still feels tacky.
What mistakes make upcycled decor look messy?
The common problems are poor surface preparation, too many competing colors, weak proportions, visible glue, crooked mounting, and hardware that does not match the weight of the piece. Another mistake is copying an inspiration photo without checking scale. Mark the planned outline with painter's tape first so you can judge the size from across the room.
Is reclaimed wood safe to use indoors?
Use reclaimed wood only when you can inspect and clean it properly. Remove nails and staples, check for rot or pests, and avoid boards with unknown chemical treatment or heavy contamination. Painted pieces from older buildings may contain lead. If the age or coating is uncertain, follow lead-safe guidance or choose clean, untreated lumber for an indoor project.
Related DIY decor guides
For a broader room-by-room overview, start with these easy DIY home decor ideas, then compare 25 DIY home decor ideas. Continue with focused guides to modern craft projects for home decor, ten DIY crafts for home decor, making your own wall art, and budget-friendly DIY decor ideas.
- 60shares
- Facebook0
- Pinterest57
- Twitter3
- Reddit0