DIY woodworking is a popular hobby that allows individuals to create functional and stylish pieces of furniture and decor for their homes. With the rise of online tutorials and easy-to-use tools, more and more people are turning to woodworking as a way to express their creativity and save money on home decor.
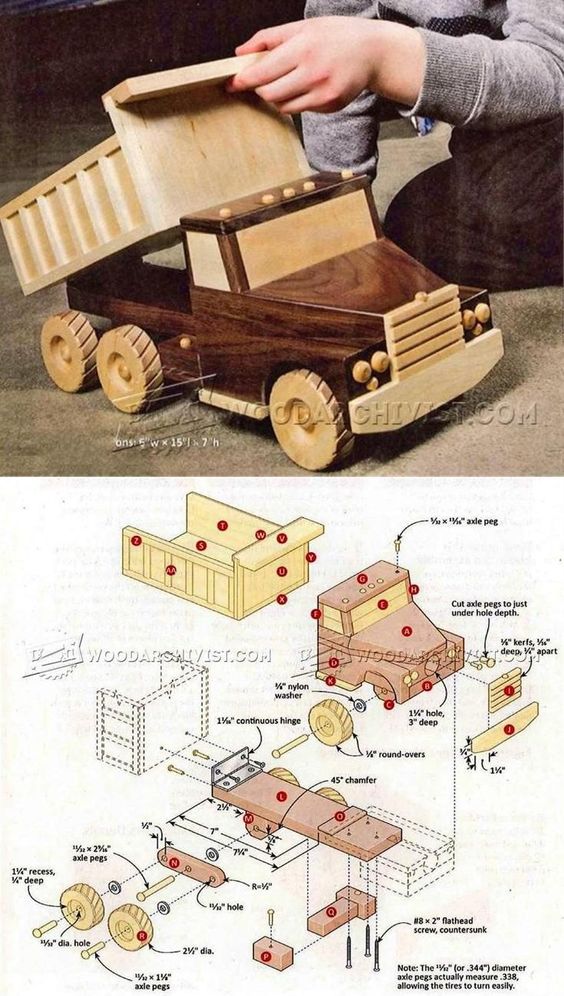
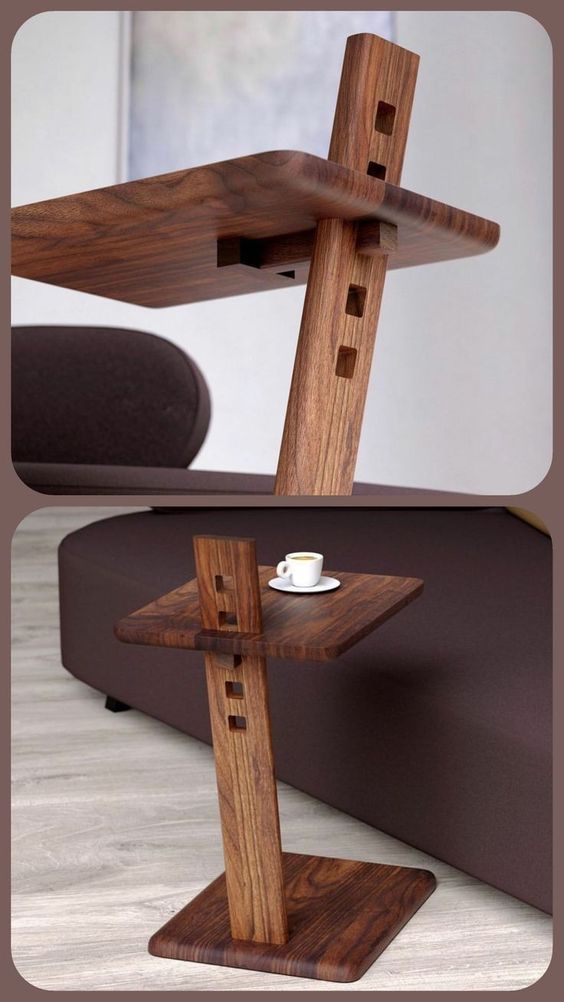
Fundamentals of woodworking include understanding the properties of different types of wood, learning how to use hand and power tools safely, and mastering basic woodworking techniques such as measuring, cutting, and sanding. Planning your DIY woodworking project involves selecting a design, creating a materials list, and estimating the time and cost required to complete the project.


Executing your woodworking project requires patience, attention to detail, and a steady hand. Advanced woodworking techniques include creating intricate joinery, carving and shaping wood, and using wood stains and finishes to enhance the natural beauty of the wood.
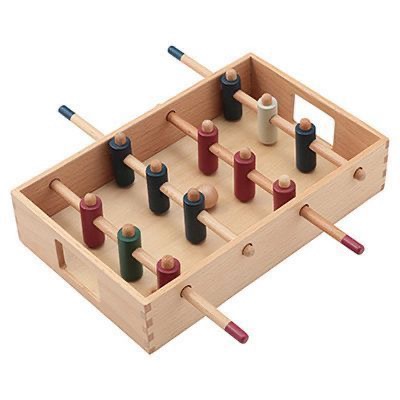

Troubleshooting common woodworking problems such as warped wood or uneven cuts is also an important skill for any DIY woodworker. Maintaining your woodworking tools is essential to ensure they remain in good working condition and last for years to come.
Key Takeaways
- DIY woodworking is a popular hobby that allows individuals to create functional and stylish pieces of furniture and decor for their homes.
- Fundamental skills of woodworking include understanding wood properties, using hand and power tools safely, and mastering basic techniques such as measuring, cutting, and sanding.
- Executing a woodworking project requires patience, attention to detail, and a steady hand, and advanced techniques include intricate joinery, carving, and shaping wood.
Fundamentals of Woodworking
Woodworking is a satisfying hobby that allows individuals to create beautiful and functional pieces from a natural and versatile material. However, before diving into a project, it is essential to understand the fundamentals of woodworking.


Understanding Wood Types
Wood comes in various types and grades, each with its unique characteristics and properties. Understanding the different types of wood is crucial to select the right material for your project. Here are some common types of wood:
| Wood Type | Characteristics |
|---|---|
| Pine | Softwood, light in color, easy to work with |
| Oak | Hardwood, strong, durable, and resistant to moisture |
| Maple | Hardwood, fine texture, and uniform grain pattern |
| Cherry | Hardwood, reddish-brown color, and smooth texture |
Woodworking Tools Basics
Having the right tools is crucial to achieve a successful woodworking project. Here are some essential tools that every woodworker should have:
- Saw: A handsaw or a power saw is necessary to cut wood into the desired shape and size.
- Hammer: Used to drive nails into the wood.
- Chisel: Used for carving and shaping wood.
- Drill: Used to make holes in the wood for screws and other fasteners.
- Measuring Tools: A tape measure and a square are essential for accurate measurements.
Safety Measures in Woodworking

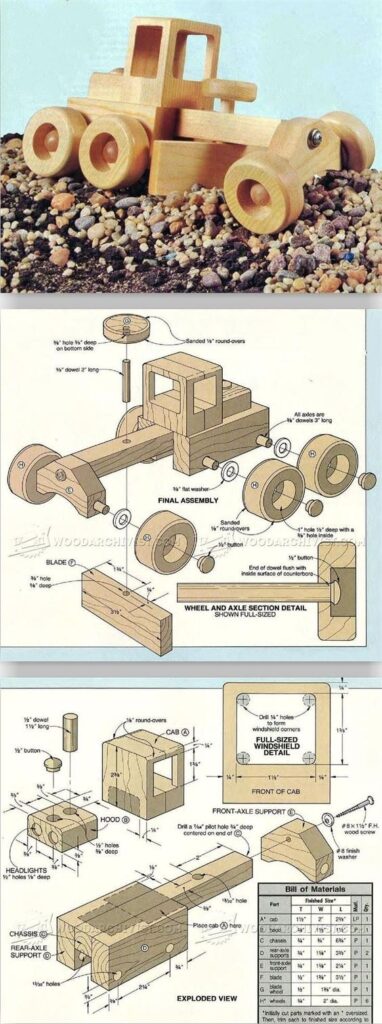
Safety should always be a top priority in woodworking. Here are some safety measures to follow:
- Wear protective gear such as safety glasses, gloves, and earplugs.
- Keep the work area clean and free of clutter.
- Use tools properly and follow instructions carefully.
- Always use sharp tools to prevent accidents.
- Keep children and pets away from the work area.
By understanding the fundamentals of woodworking, selecting the right wood type, having the essential tools, and following safety measures, anyone can create beautiful and functional pieces of art.
Planning Your DIY Woodworking Project
When it comes to DIY woodworking, planning is key to a successful project. Before starting any project, it’s important to have a clear plan in place. This section will cover the essential steps to take when planning your DIY woodworking project.
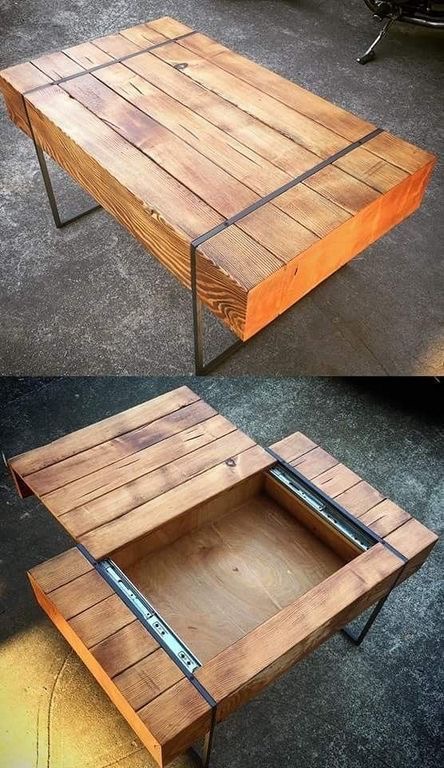

Designing Woodwork Plans
The first step in planning your DIY woodworking project is to create a detailed plan. This plan should include a list of materials, tools, and a step-by-step guide for building the project. There are many resources available for finding woodworking plans, including online resources, woodworking magazines, and books.


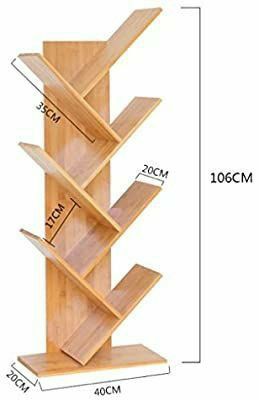

When designing your woodworking plans, it’s important to consider the level of difficulty. For beginners, it’s best to start with simple projects that require basic tools and materials. As skills improve, more complex projects can be attempted.
Choosing the Right Wood
Choosing the right type of wood is essential for a successful DIY woodworking project. Different types of wood have varying characteristics, including color, texture, and hardness. Some woods are better suited for certain projects than others.

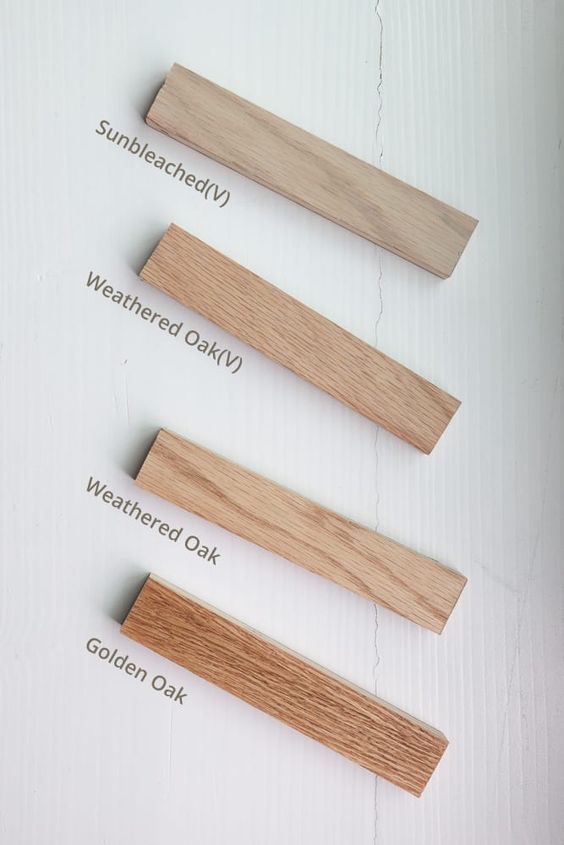
When selecting wood, it’s important to consider the project’s intended use. For example, if the project will be used outdoors, it’s important to choose a wood that is resistant to weather and insects. If the project will be painted or stained, it’s important to choose a wood that will take the finish well.
Estimating Material Costs
Estimating material costs is an important part of planning your DIY woodworking project. It’s important to have a clear understanding of the cost of materials before starting the project to avoid any surprises.
To estimate material costs, it’s important to create a detailed list of all materials needed for the project. This list should include the cost per unit and the total amount needed. Once the total cost of materials is determined, it’s important to factor in any additional costs, such as tools or hardware.

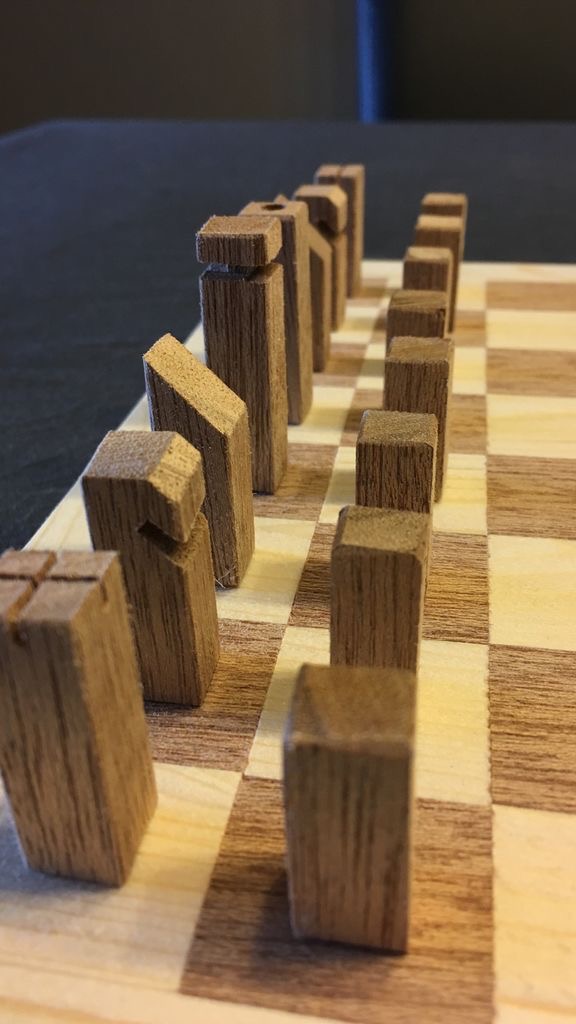
In conclusion, planning is essential for a successful DIY woodworking project. By designing detailed plans, choosing the right wood, and estimating material costs, woodworkers can ensure their projects are a success.
Executing Your Woodworking Project
Before starting your DIY woodworking project, it’s important to understand the basic techniques involved in woodworking. The following sub-sections will provide you with an overview of cutting techniques, joining methods, and finishing techniques to help you execute your woodworking project successfully.
Cutting Techniques
Cutting is an essential part of woodworking, and there are several techniques you can use to achieve different cuts. Here are some of the most common cutting techniques:
- Crosscut: Cutting across the grain of the wood.
- Rip Cut: Cutting along the grain of the wood.
- Miter Cut: Cutting at an angle across the face of the wood.
- Bevel Cut: Cutting at an angle across the edge of the wood.
To achieve precise cuts, it’s important to use the right tools and techniques.
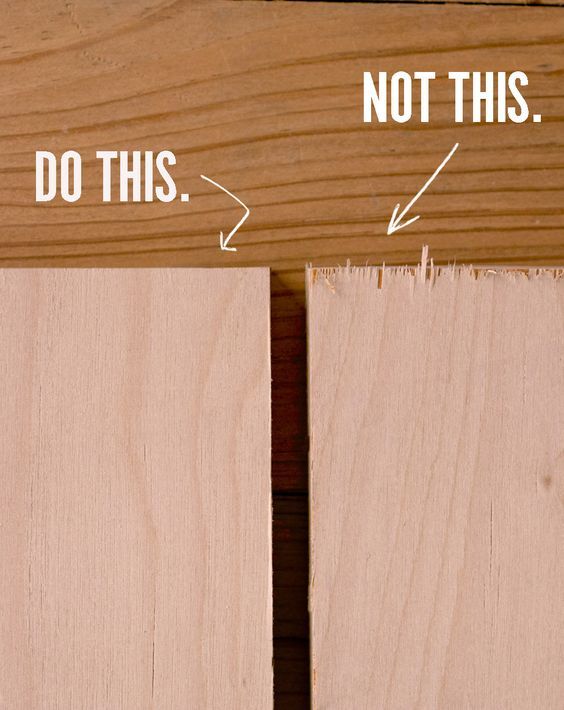
A table saw, circular saw, or handsaw can be used for most cuts. For more intricate cuts, a jigsaw or band saw may be necessary.
Joining Methods
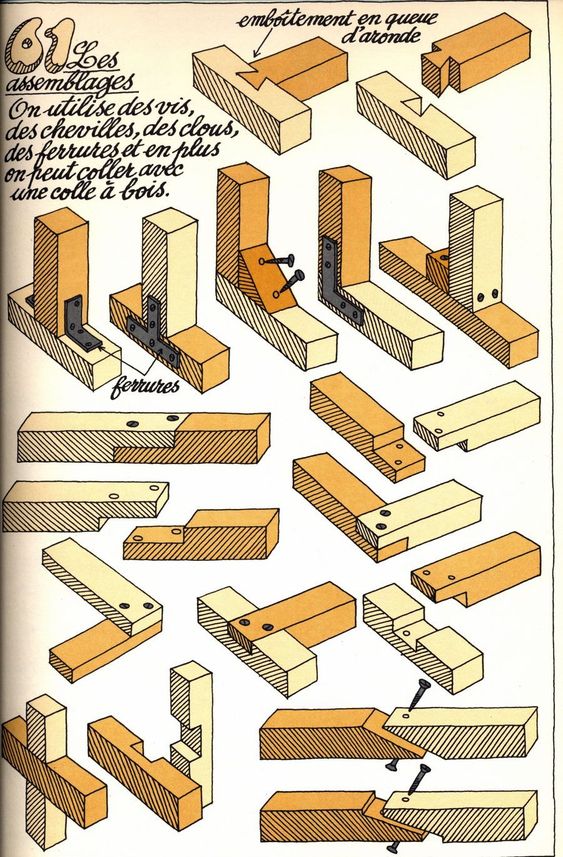
Joining is the process of connecting two pieces of wood together. There are several methods you can use to join wood, including:
- Butt Joint: Joining the end of one piece of wood to the face of another.
- Lap Joint: Overlapping two pieces of wood and joining them together.
- Dovetail Joint: A joint that interlocks two pieces of wood together.
- Mortise and Tenon Joint: A joint that involves a hole (mortise) and a projection (tenon) that fits into the hole.


To achieve a strong joint, it’s important to use the right technique and tools. A drill, chisel, or router can be used for most joints. For more complex joints, a specialized jig or machine may be necessary.
Finishing Techniques
Finishing is the final step in the woodworking process and involves applying a protective coating to the wood. Some common finishing techniques include:
- Staining: Applying a colored stain to the wood to enhance its natural beauty.
- Varnishing: Applying a clear coating to protect the wood from moisture and wear.
- Painting: Applying a coat of paint to the wood for a decorative finish.


To achieve a professional-looking finish, it’s important to prepare the wood properly and apply the finish evenly. Sandpaper, brushes, and spray guns can be used for most finishing techniques.
Advanced Woodworking Techniques
Woodworking is a craft that requires patience, skill, and precision. Advanced woodworking techniques can take your craft to the next level, allowing you to create intricate and beautiful pieces that are both functional and aesthetically pleasing.

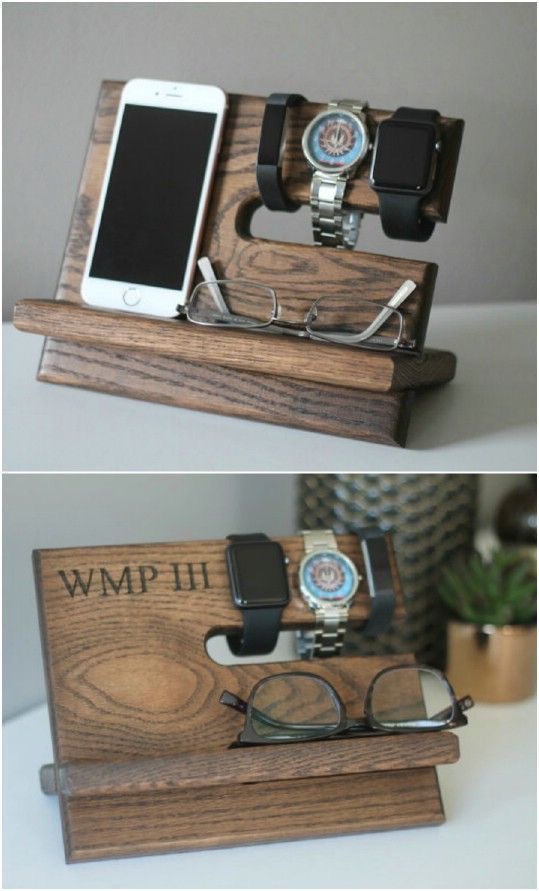
Here are some advanced woodworking techniques that can help you take your woodworking skills to the next level.
Creating Wood Joints
One of the most important aspects of woodworking is creating strong and durable joints. There are many different types of wood joints, each with its own strengths and weaknesses. Some of the most common types of wood joints include:
- Mortise and tenon joints
- Dovetail joints
- Box joints
- Finger joints
- Lap joints
Each of these joints requires a different level of skill and precision to create. Mortise and tenon joints are one of the strongest and most durable types of wood joints, but they also require a high level of skill to create. Dovetail joints are another popular type of joint that can add both strength and beauty to your woodworking projects.
Carving and Sculpting
Carving and sculpting are advanced woodworking techniques that can add intricate details and designs to your woodworking projects. There are many different tools and techniques that can be used for carving and sculpting, including:
- Chisels
- Gouges
- Rasps
- Knives
- Power carving tools
When carving and sculpting, it is important to have a clear idea of the design you want to create and to work slowly and carefully to achieve the desired result. Practice and patience are key to mastering these advanced woodworking techniques.
Veneering and Inlaying
Veneering and inlaying are techniques that can add visual interest and complexity to your woodworking projects. Veneering involves applying a thin layer of wood, known as veneer, to the surface of a piece of furniture or other woodworking project. Inlaying involves cutting a design or pattern into the surface of the wood and filling it with a contrasting material, such as metal or another type of wood.


Both veneering and inlaying require a high level of skill and precision to achieve a professional-looking result. It is important to choose the right materials and tools for the job and to work slowly and carefully to achieve the desired result.

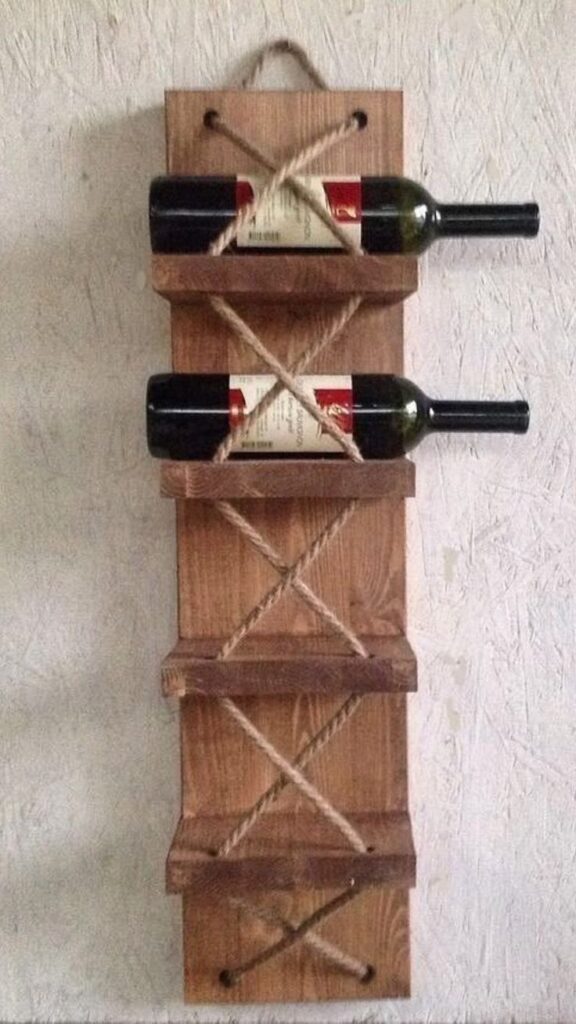
Overall, advanced woodworking techniques can take your craft to the next level, allowing you to create beautiful and functional pieces that will last for years to come. With practice and patience, you can master these techniques and create woodworking projects that are both impressive and satisfying to create.
Troubleshooting Common Woodworking Problems
Woodworking can be a rewarding and satisfying hobby, but it is not without its challenges. Even the most experienced woodworkers can run into problems during a project. Here are some common woodworking problems and how to troubleshoot them.

Fixing Cracks and Splits
Cracks and splits can be caused by a variety of factors, including changes in temperature and humidity, improper drying, and using the wrong type of wood. To fix cracks and splits, follow these steps:
- Clean the area around the crack or split.
- Apply wood glue to the crack or split.
- Use clamps to hold the wood together while the glue dries.
- Sand the area smooth.
Removing Stains
Stains can be caused by a variety of factors, including spills, water damage, and exposure to sunlight. To remove stains, follow these steps:
- Sand the stained area with fine-grit sandpaper.
- Apply wood bleach to the area.
- Let the bleach sit for 15-20 minutes.
- Rinse the area with water.
- Sand the area smooth.
Repairing Warped Wood
Warped wood can be caused by changes in temperature and humidity, improper drying, and using the wrong type of wood. To repair warped wood, follow these steps:
- Identify the direction of the warp.
- Apply moisture to the concave side of the wood.
- Apply heat to the convex side of the wood.
- Use clamps to hold the wood in place while it dries.
By following these troubleshooting tips, woodworkers can overcome common problems and complete their projects with success.
Maintaining Your Woodworking Tools
Woodworking tools are an essential investment for any DIY enthusiast. Proper maintenance of these tools is crucial to ensure they remain in optimal condition and last for years to come. Here are some tips on how to maintain your woodworking tools.


Cleaning Your Tools
Regular cleaning of your woodworking tools is essential for maintaining their performance and longevity. After every use, make it a habit to wipe down the tools with a clean cloth or brush to remove any loose particles.

Here are some additional tips on how to clean your woodworking tools:
- Start with a wet rag to wipe off any sawdust. This will get the loose dust off your tools, cleaning them up nicely.
- For small amounts of grease or light dirt, put a teaspoon of Dawn Dish Soap in a gallon of water that’s as hot as your hands can handle.
- For tougher grime, use a degreaser or mineral spirits. Be sure to follow the manufacturer’s instructions and wear protective gloves.
Sharpening Tools
A dull tool is not only frustrating to use but can also be dangerous.

Sharpening your woodworking tools is crucial to maintain their performance. Here are some tips on how to sharpen your woodworking tools:
- Use a sharpening stone or diamond plate to sharpen your chisels and plane blades.
- For saw blades, use a file or specialized saw sharpening tool.
- Be sure to maintain the proper angle when sharpening your tools. A sharpening guide can help you achieve the proper angle.
Proper Tool Storage
Proper storage of your woodworking tools is crucial to their longevity. Here are some tips on how to store your woodworking tools:
- Keep your tools in a dry, cool place to prevent rust and corrosion.
- Use a tool chest or cabinet to store your tools. This will protect them from dust and debris.
- Use tool racks or pegboards to keep your tools organized and easily accessible.
By following these tips, you can ensure that your woodworking tools remain in top condition and last for years to come.
- 10.5Kshares
- Facebook0
- Pinterest10.5K
- Twitter0

