Drawing hibiscus Hawaiian flowers is a fun and rewarding way to capture the beauty of tropical nature. These flowers have bold shapes and simple lines, making them great for artists of all skill levels. The key to drawing a hibiscus flower well is to focus on its large petals and the distinctive stamen in the center.
Artists can start with basic shapes and add details like leaf veins and smooth curves to bring the flower to life. Many enjoy following step-by-step guides or watching quick sketch videos to learn the process. Drawing hibiscus flowers not only improves skills but also brings a touch of Hawaii’s vibrant spirit to any artwork.
Understanding Hibiscus Hawaiian Flowers
The hibiscus is more than just a pretty flower in Hawaii. It carries deep meaning, shows up in many forms, and can be used to express different ideas, especially through its colors.
Hibiscus Symbolism and Significance

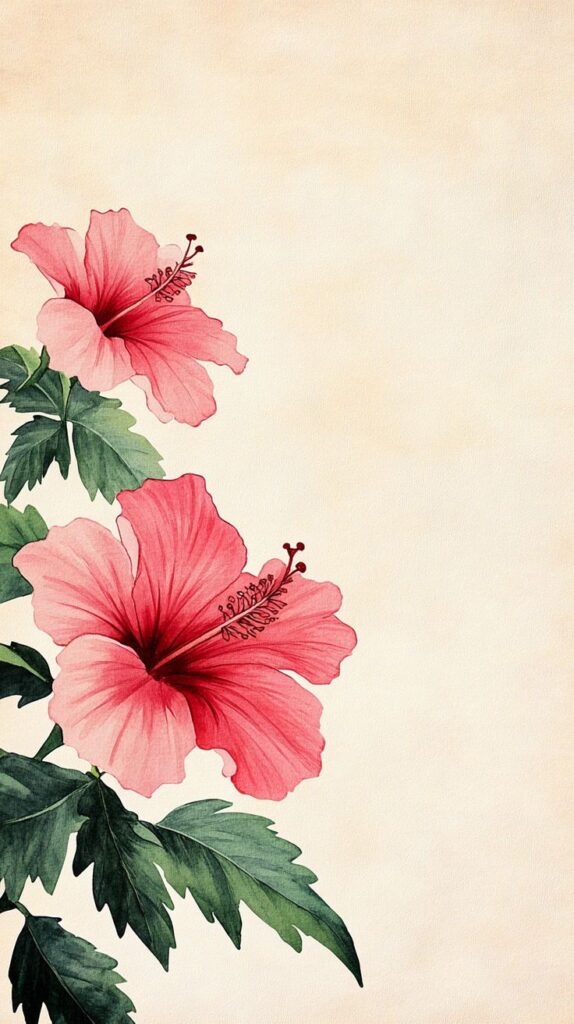
In Hawaiian culture, the hibiscus is a strong symbol of beauty, love, and hospitality. It is often called “pua hibiscus,” which means hibiscus flower. The flower represents the spirit of aloha—the kindness and warmth the islands are known for.
People wear hibiscus flowers to show friendship and welcome guests. It also acts as a symbol of identity for Hawaiians, connecting them with their heritage and traditions. This makes the flower a popular subject in art and design, where it reminds people of Hawaii’s culture and natural beauty.
Varieties of Hawaiian Hibiscus


There are several varieties of hibiscus found in Hawaii. The most famous is the Hibiscus rosa-sinensis, which has large, showy petals. Another native type is the Hibiscus brackenridgei, Hawaii’s state flower, known for its bright yellow color.
Each variety differs in petal shape and size. Some have smooth edges, while others have ruffled ones. These differences make it fun and interesting to draw the hibiscus since artists can choose which look they want to create.
Color Meanings in Hibiscus Art

Colors in hibiscus art carry special meanings. For example:
- Red: Represents passion and strong love.
- Yellow: Stands for friendship and happiness.
- Pink: Shows gentle love and romance.
- White: Symbolizes purity and peace.
Artists often use these colors to express different emotions or messages in their drawings. Choosing the right color can help tell a story or set the mood when drawing hibiscus flowers.
Essential Drawing Materials
To draw a hibiscus flower well, having the right materials helps a lot. The type of pencil and paper affects how easy it is to sketch and add details. The drawing tools influence the colors and lines, while extra accessories can make the process smoother and more enjoyable.
Recommended Pencils and Paper


For drawing hibiscus flowers, pencils with different hardness levels are best. An HB pencil is good for basic sketching because it leaves clear but light lines. A 2B pencil works well for darkening details and adding shading.
Paper choice matters too. Smooth drawing paper between 80 to 100 lb weight lets pencils glide easily and can handle erasing without tearing. Sketchbooks with a slightly textured surface give more grip for shading but may show pencil texture more.
Using good quality pencils and paper helps create clean lines and smooth shading, which are important for the hibiscus’ delicate petals and stamen.
Choosing the Right Drawing Tools
Besides pencils, colored pencils are great for adding color to the hibiscus flower. They offer control for blending and layering colors like red, pink, and yellow. Watercolor pencils can also be used if the artist wants a softer, painted look.
Markers with fine tips help create sharp edges and add brightness. Light colored markers or pastel crayons can be useful for highlighting.
Sharp tools and a good eraser improve precision. A kneaded eraser is especially helpful because it lifts graphite gently without damaging the paper.
Helpful Accessories for Flower Art
Some extra tools can improve the drawing experience. A good pencil sharpener keeps points fine for detailed work. A ruler or stencil can help with drawing petals evenly.
A blending stump or tortillon smooths pencil shading, making petals look soft. A clean cloth or tissue works well for light blending without smudging too much.
Organizers or pencil cases keep materials tidy, which makes it easier to focus on the drawing itself. Having these accessories ready can save time and improve results when creating a hibiscus flower artwork.
Step-by-Step Drawing Techniques
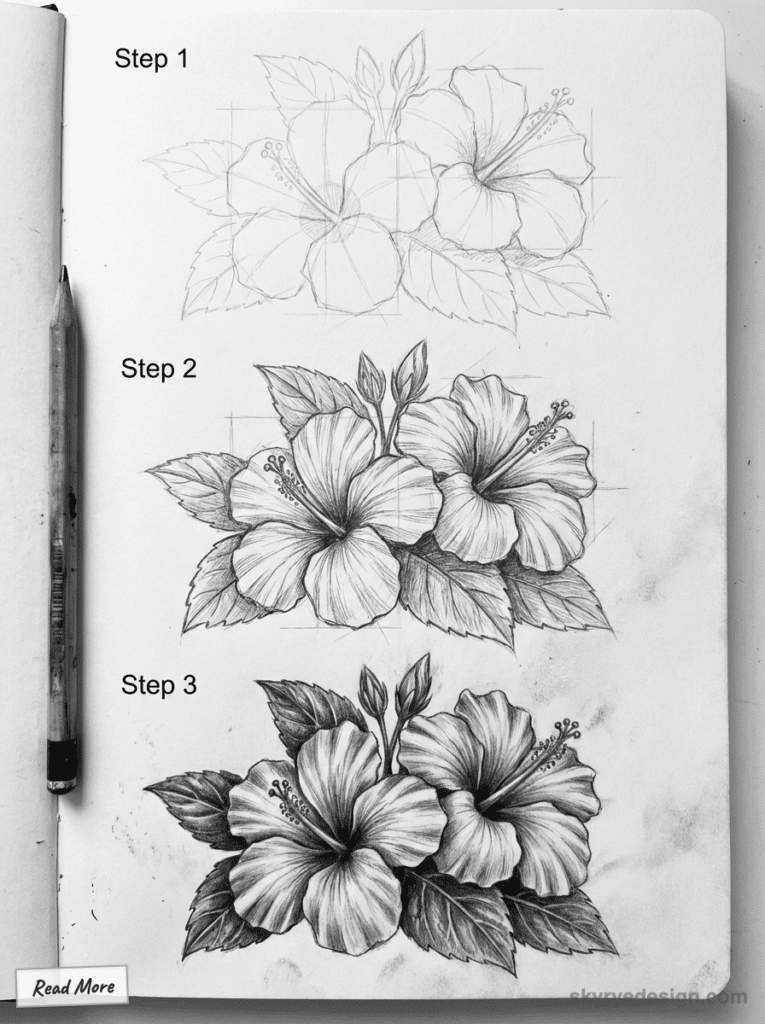
Drawing a hibiscus flower involves careful attention to shapes, textures, and details. Starting with soft sketches of petals, moving on to the leaves, then refining the stamens, and finally putting the whole flower together helps create a clear, realistic look.
Sketching Hibiscus Petals


The petals of a hibiscus are large and slightly ruffled. It helps to begin with a light circle or oval to shape the flower’s base.


Each petal should be drawn with smooth, curved lines that meet in the center. They often overlap, so showing a bit of that layering makes the petals look more natural.
Starting with five petals is common. The edges can be drawn with small waves or gentle points to mimic the real flower’s texture.
Drawing Detailed Leaves


Hibiscus leaves are broad and have jagged edges. They usually come in pairs or clusters around the flower.
To draw leaves, start by sketching a simple oval with a pointed tip. Then, add a central vein running down the middle.
Small veins branch out from the central vein. These veins are slightly curved and help give the leaf its texture.
Adding some shading along the veins and edges of the leaf creates depth and realism.
Adding Realistic Stamens
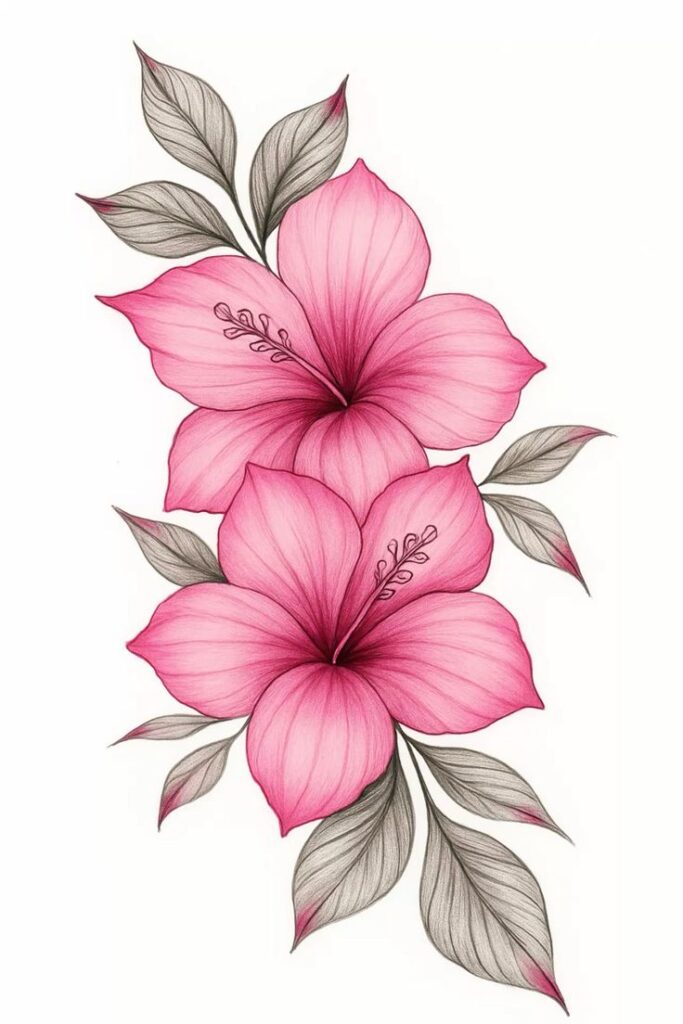
The hibiscus stamen is one of its most unique features. It extends from the flower’s center and ends with a cluster of small round shapes.
Begin the stamen by drawing a thin line gently curving outward from the center.
At the tip, draw small oval shapes clustered together. These represent the pollen-filled parts called anthers.
Adding tiny dots on the anthers can give a textured, realistic look. Keeping the stamen thinner than the petals helps it stand out.
Composing a Full Hibiscus


To compose the whole flower, start by placing the petals in a circular shape with some overlap.
Add the leaves around the flower base or along the stem, making sure they balance the flower visually.
Finally, place the stamen in the center, making it the flower’s focal point.
Using light, smooth strokes first allows fixing small mistakes easily before adding darker, final lines. Coloring the petals bright red, pink, or yellow brings the drawing to life.
Coloring and Shading Hibiscus Flowers
Coloring and shading bring hibiscus flower drawings to life by adding depth and texture. Choosing the right colors, blending smoothly, and using highlights and shadows all make the petals look more natural and vibrant.
Selecting Vibrant Color Palettes
Hibiscus flowers are known for their bright, bold colors. Artists often pick reds, pinks, oranges, and yellows for the petals. Greens are used for the leaves. To make the flower stand out, choosing colors that contrast well—like a deep red petal with bright yellow stamens—is key.
Using colored pencils or markers with various shades of the same color helps create a more realistic look. For example, a mix of light and dark pink can give the petals more texture. Keeping the colors vibrant but balanced helps keep the flower looking fresh and eye-catching.
Blending Techniques for Petals
Smooth color transitions are important for making petals look soft. Artists blend colors by layering lighter shades first, then gradually adding darker tones. Using blending tools like a colorless blender pen or cotton swabs can help soften harsh lines.
For markers, blending can be done by working while the ink is still wet. This allows colors to merge smoothly. For colored pencils, artists use small, circular strokes to blend colors seamlessly. Blending colors carefully across the petals mimics how natural light hits the flower’s surface.
Highlighting and Shadows for Dimension
Adding highlights and shadows gives petals a 3D effect. Highlights usually go on the curved parts where light hits directly. Using white or very light colors in small areas brightens these spots.
Shadows are placed where petals overlap or fold inward. Darker shades or even a touch of soft gray work well. Careful placement of shadows under the petals or around the stamen helps the flower look more lifelike and adds depth.
Creative Hibiscus Drawing Ideas
Drawing hibiscus flowers can be more fun and eye-catching by mixing in Hawaiian themes, creating tropical compositions, or making the art uniquely personal. Each method helps bring out the beauty of this iconic flower in different ways.
Combining Hibiscus with Hawaiian Motifs

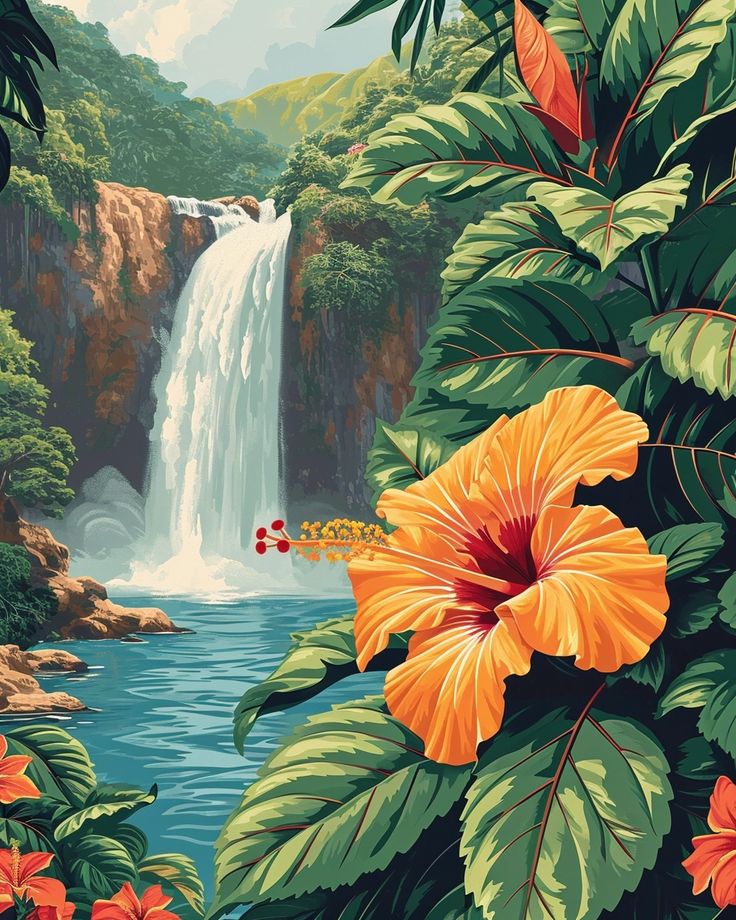
Artists often pair hibiscus drawings with classic Hawaiian symbols like palm leaves, surfboards, or ocean waves. These elements help show the flower’s cultural background and island vibe.
Using bold lines and simple shapes can balance the detailed petals of the hibiscus. Colors like bright reds, yellows, and greens add energy and life to the designs.
Adding traditional patterns like tapa cloth prints or tribal tattoos around the flowers creates a rich Hawaiian feel. This mix makes the artwork stand out and connects with the island’s spirit.
Designing Tropical Flower Arrangements
Creating a bunch of tropical flowers with hibiscus at the center makes a vibrant picture. Drawing different flowers nearby—like plumeria or bird of paradise—adds variety and texture.
Artists focus on layering petals and leaves to create depth. Using different shades of green for leaves and bright colors for flowers brings the arrangement to life.
It’s helpful to sketch the layout lightly first, making sure each flower fits well with others. This careful planning results in a balanced and natural-looking bouquet.
Personalizing Hibiscus Artworks
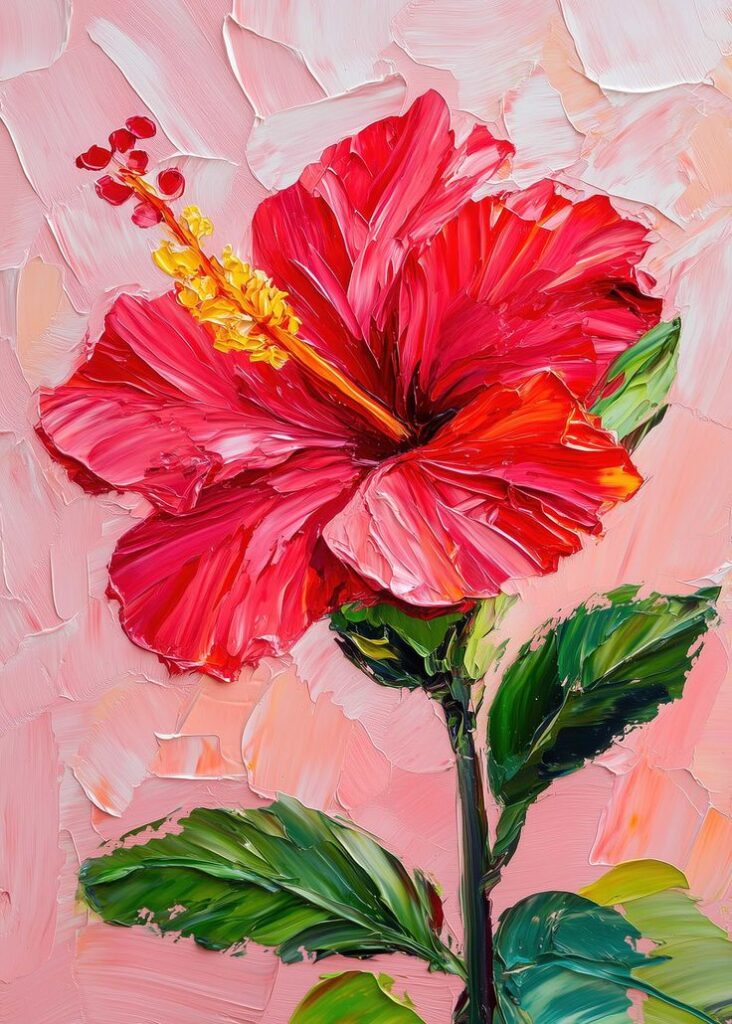

Making hibiscus drawings personal can involve adding names, dates, or special messages around the flower. This makes each piece unique and meaningful.
Changing the color scheme also helps. For example, soft pastels give a gentle feel, while bold colors create a striking look.
Some artists add backgrounds like sunsets or beach scenes to tell a story. Others include small animals like hummingbirds or butterflies to bring more life into the drawing.
- 193shares
- Facebook0
- Pinterest193
- Twitter0
- Reddit0
