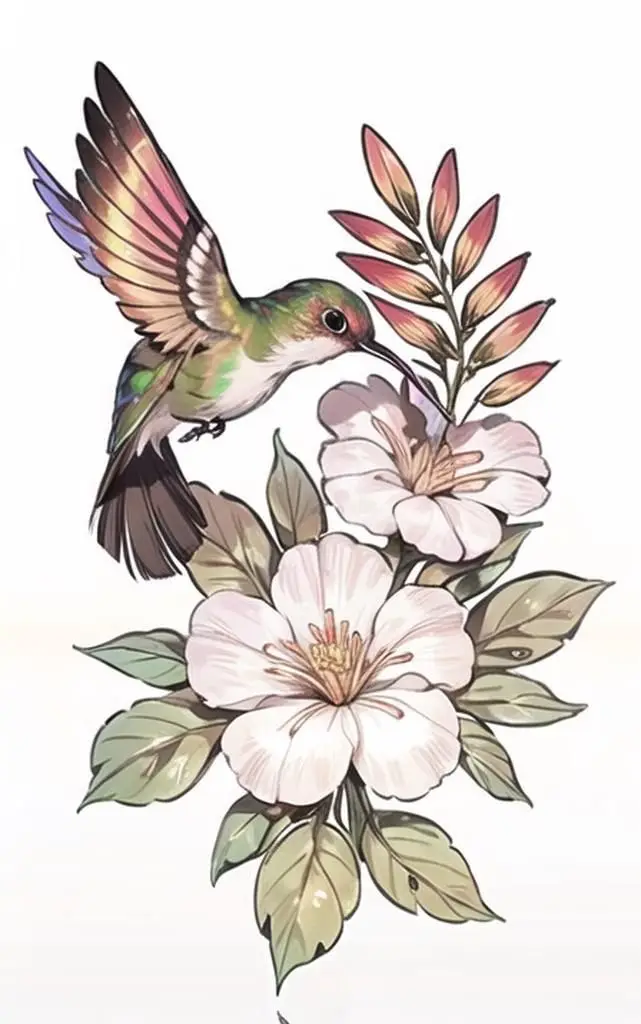
A good hummingbird drawing starts with a tiny, readable silhouette: compact body, small head, needle beak, quick wings, and a flower or branch that explains the pose. If the outline works, the color and feather texture have somewhere to land. If the outline is weak, even beautiful shading will feel pasted on.
Use this guide to sketch a hummingbird from simple construction lines to a finished pencil, ink, watercolor, or colored-pencil study. I would keep the first pass very light, check the beak angle against the body, then decide whether the wings should read as crisp line art or a soft blur.
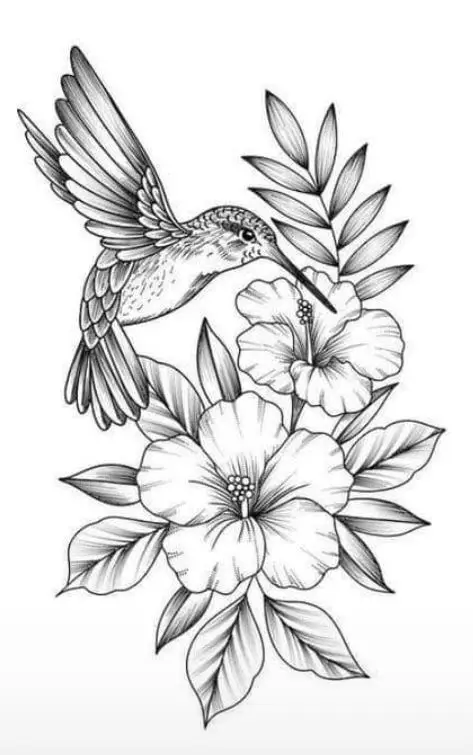
Key takeaways
- Use an oval body, small head, long beak, and swept wing shape before adding detail.
- Treat the wings as motion first; too many hard feather lines can make the bird look stiff.
- Layer color lightly so the throat, back, and head keep a small iridescent highlight.
How to draw a hummingbird step by step
To draw a hummingbird, block in the body as a small tilted oval, add a round head and long beak, then place the wing shape before any feather detail. Sketch the tail as a short fan, mark the eye close to the beak line, and use a flower or feeder to show why the bird is hovering.
Finish with light feather texture, a few dark accents, and small highlights on the throat and back.
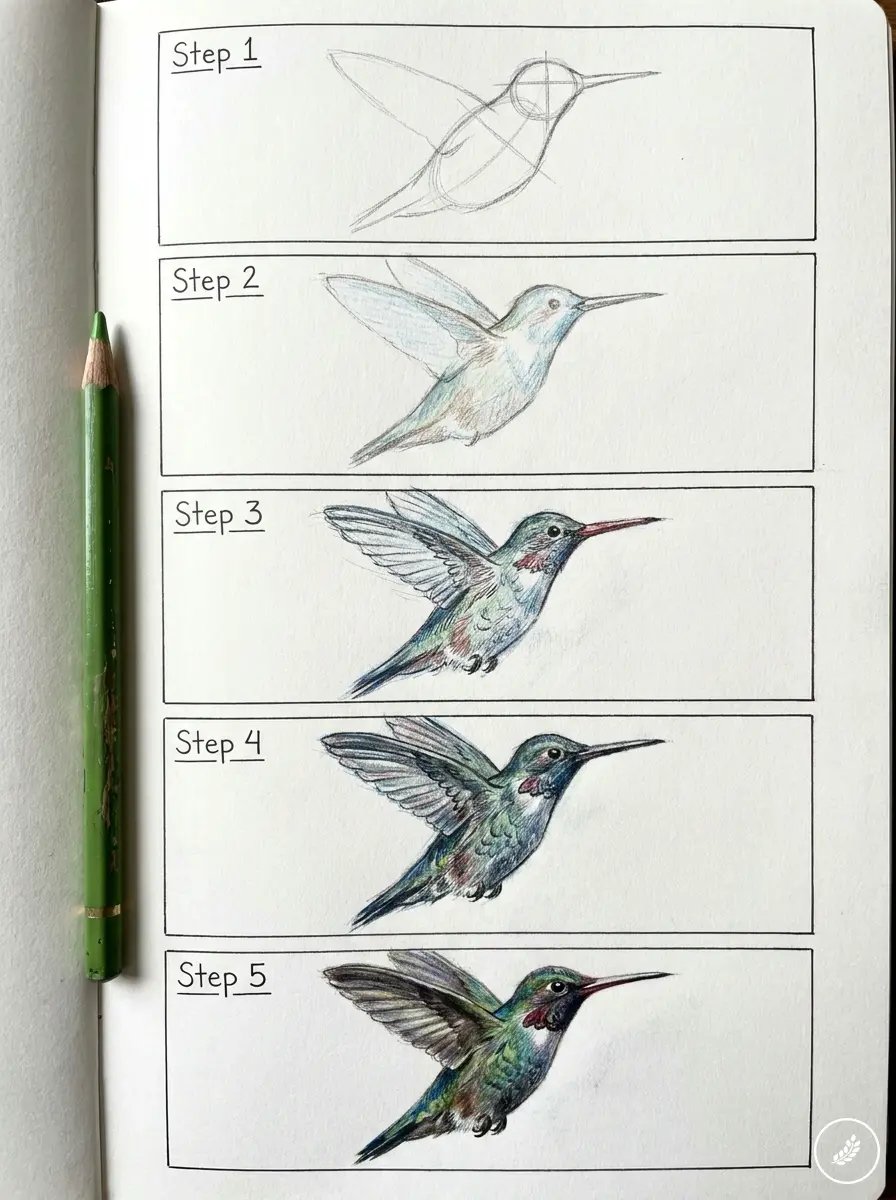
| Step | What to draw | What to check |
| 1 | Oval body and small head | The bird should feel compact, not pigeon-shaped. |
| 2 | Long beak and eye line | The beak points toward the flower or feeder. |
| 3 | Wing motion shape | Use a soft fan or blur before adding feather lines. |
| 4 | Tail and feet | Keep both small so they do not steal attention. |
| 5 | Color, shadows, and highlights | Layer gently and leave iridescent bright spots. |
Capturing the Essence of Hummingbirds

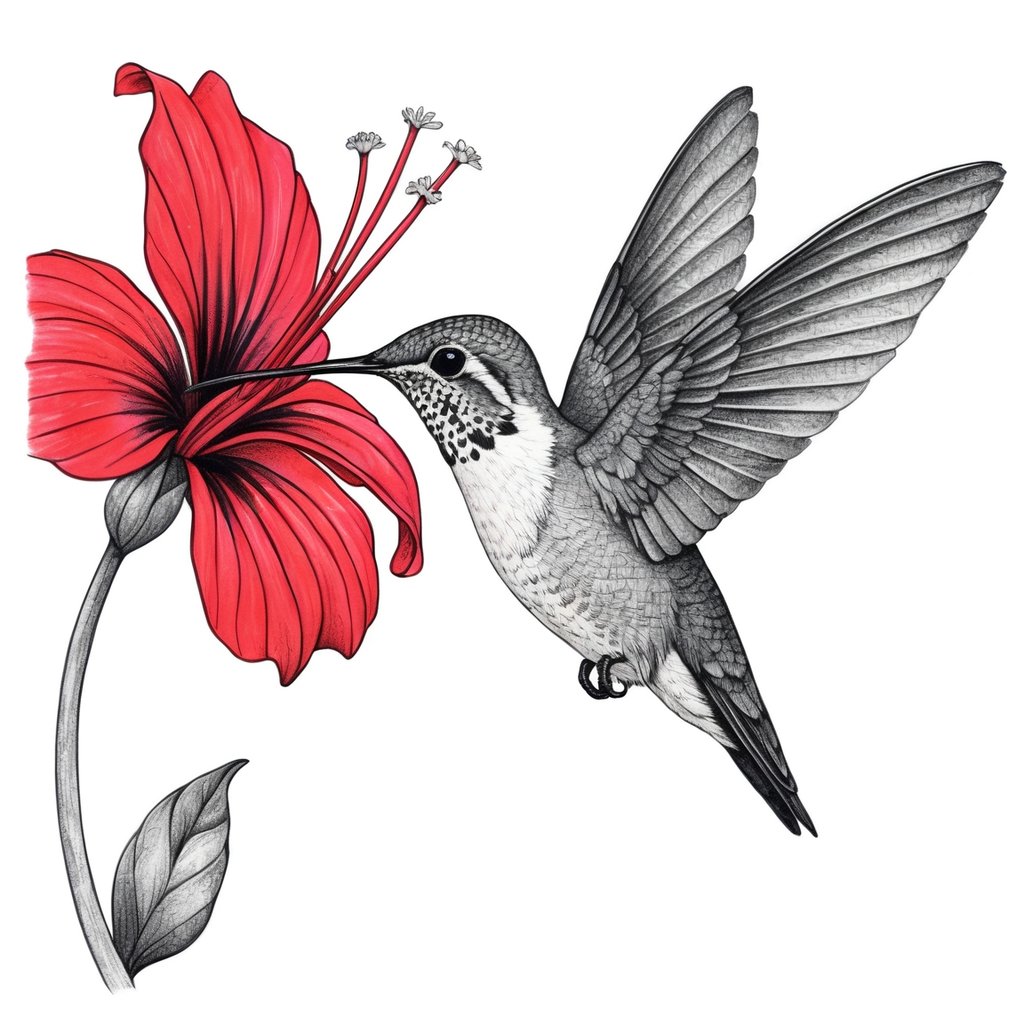
Hummingbirds are known for their vibrant colors and unique flying abilities. Artists often aim to capture these stunning features in their drawings. Understanding hummingbird anatomy and their representation in art helps create more realistic and beautiful illustrations.
Anatomy of a Hummingbird
Hummingbirds have a small, lightweight body that allows them to hover in place. They possess long, slender beaks designed for reaching nectar in flowers. Their wings can beat rapidly, often up to 70 times per second.
Key anatomical features include:
- Feathers: Hummingbirds have iridescent feathers that create a dazzling display of colors.
- Size: Most species are small, ranging from 3 to 5 inches in length.
- Heart Rate: Their heart can beat up to 1,200 times per minute during flight.
These aspects contribute to their beauty and make them a popular subject for artists.
Hummingbird wing drawing notes
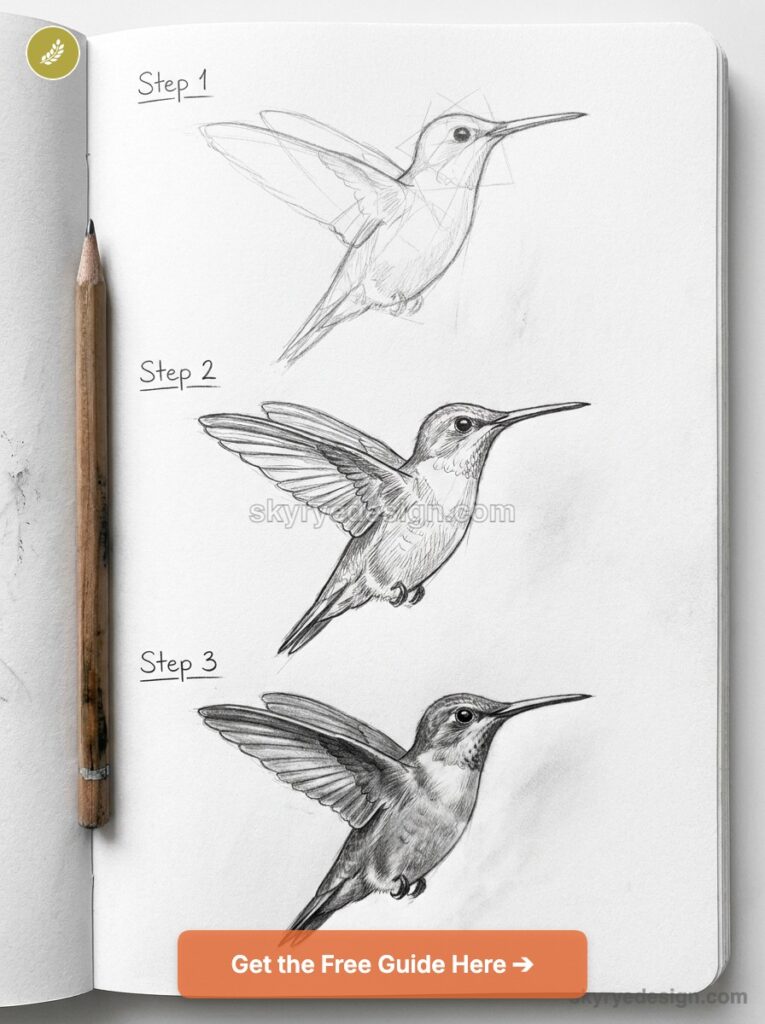
The wing is the part that usually decides whether a hummingbird sketch feels alive. Hummingbirds hover because their wings move with a fast, figure-eight-like action rather than a slow flap. For drawing, simplify that movement into a curved triangular blur, then add a few sharper feather marks only near the wing tip.
For a factual reference point, Audubon notes that some hummingbirds can reach extremely fast wingbeats, while the Cornell Lab profile of Anna’s Hummingbird is useful for studying body shape, hovering behavior, and iridescent throat color. Those details help a drawing feel observed instead of decorative.
- For a line drawing: show one clean upper wing edge and keep the lower edge lighter.
- For realism: blur part of the wing and sharpen the head, eye, and beak.
- For a diagram: label the beak, head, body, wing arc, tail fan, and flower direction.
The Beauty of Hummingbirds in Art
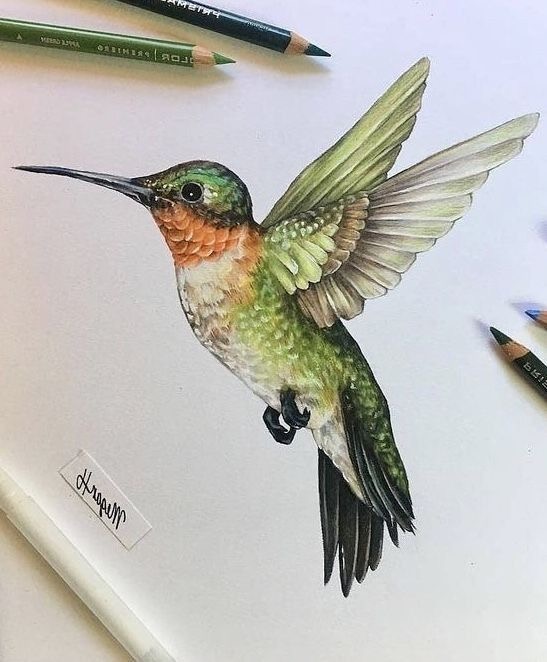

Hummingbirds have inspired many artists due to their dynamic appearance. Capturing their motion and colors adds life to any artwork. Many artists focus on the following elements:
- Color: Artists use bright, vivid colors to showcase the iridescence of hummingbirds.
- Movement: Illustrations often depict their ability to hover, giving the art a sense of energy.
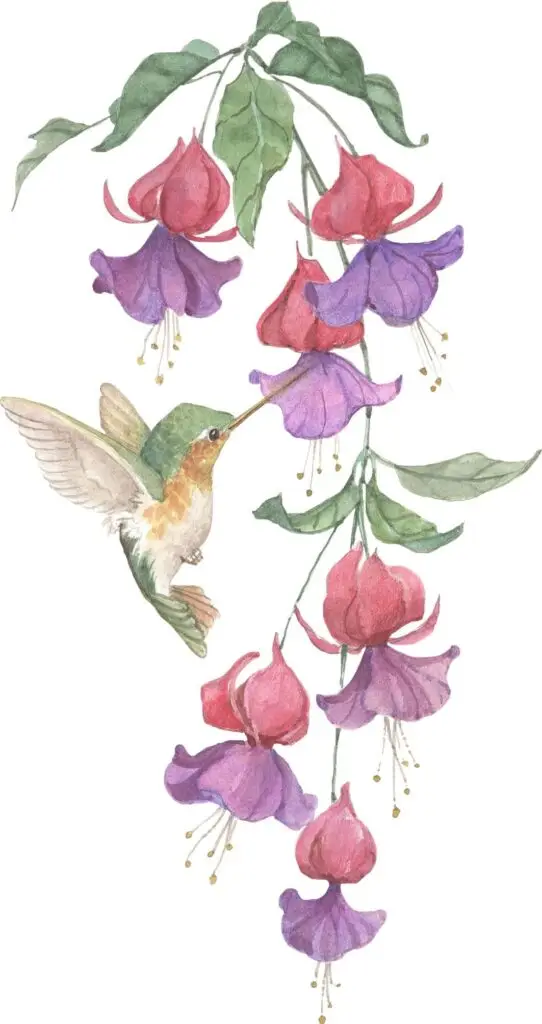
- Environment: Artists may include flowers or natural settings to enhance the hummingbird’s beauty.
Through these choices, artists express the unique charm of hummingbirds, making them a beloved subject in art galleries and personal collections.
Starting Your Drawing Journey

Beginning a hummingbird drawing is exciting. Choosing the right materials and learning basic techniques sets a solid foundation for creating beautiful art. Here’s how to start the journey.
Materials and Supplies
Having the right materials makes a big difference. For a hummingbird drawing, consider these supplies:
- Pencils: Start with a range, including H for lighter lines and B for darker ones.
- Paper: Use smooth drawing paper or sketch paper for detailing.
- Erasers: A kneaded eraser is great for lifting graphite without damaging the paper.
- Inking Tools: Try pens for clean, sharp lines. Micron or fine-tipped pens work well.
- Coloring Material: Colored pencils or watercolors can add vibrancy.
Some supplies may be found for free or at a low cost at local art stores or online. Experiment with different tools to find what works best.
Fundamental Drawing Techniques
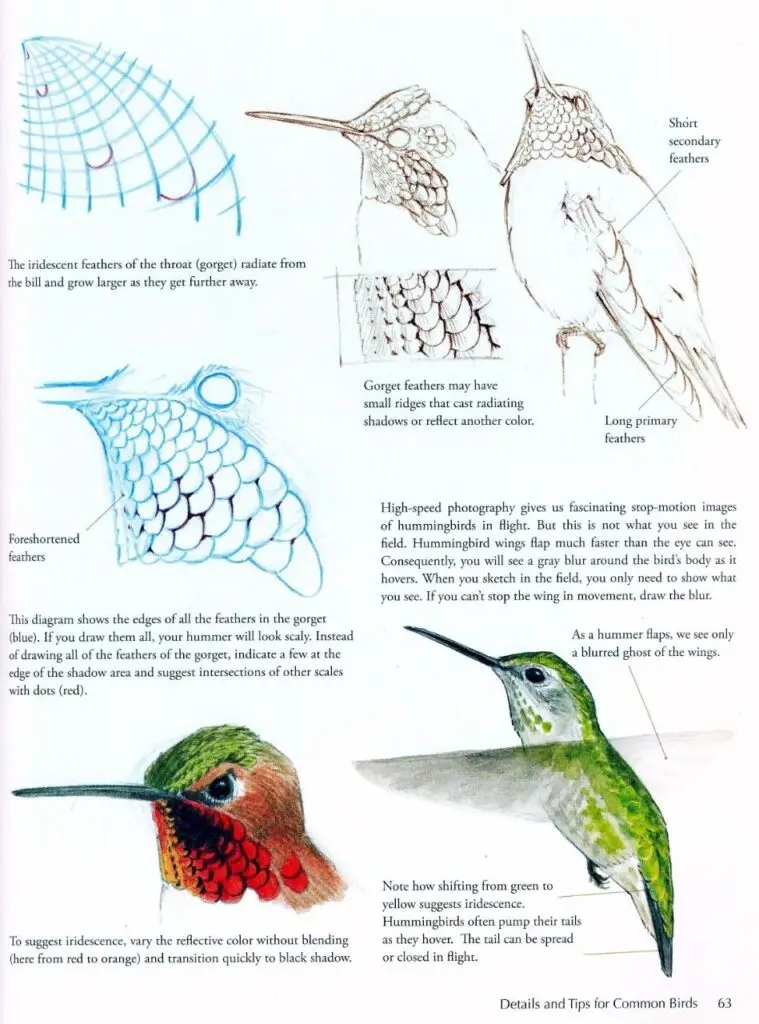
Learning basic techniques is key for a successful hummingbird drawing. Here are some helpful tips:
- Start with Shapes: Begin by sketching basic shapes that form the hummingbird’s body, wings, and head.
- Focus on Proportions: Pay attention to the size of the head compared to the body. Hummingbirds have unique proportions.
- Add Details: Once the basic shapes are in place, slowly add details like feathers, eyes, and markings.
- Practice Shading: Use lighter and darker pencil strokes to create depth. This adds a realistic look.
Practicing these techniques helps develop skills. Over time, confidence will build, making the drawing process enjoyable.
Drawing Hummingbirds Step by Step

Creating a hummingbird drawing involves a few simple steps. Artists can break the process down into sketching, adding details, and using color. Each step builds on the previous one, leading to a balanced final piece.
Sketching the Basic Outline

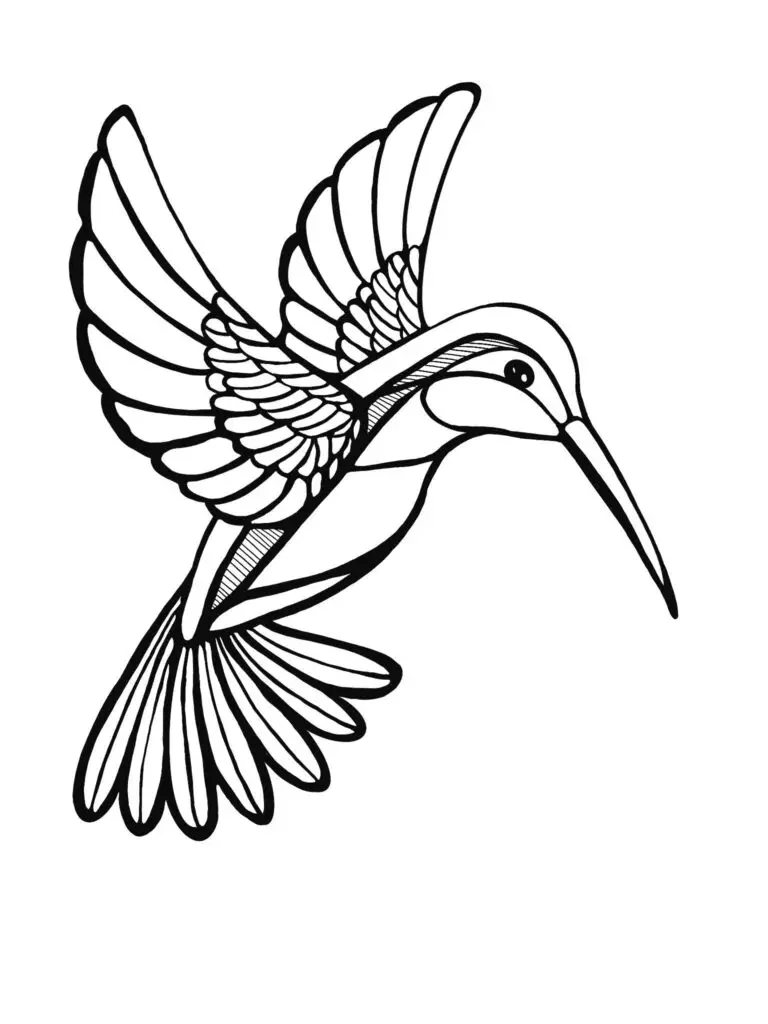
Start by lightly sketching the basic shapes. Use a pencil for easy adjustments. Draw an oval for the body and a smaller circle for the head. Add guidelines for the wings and tail.
Step-by-step process:
- Body: Draw the main oval shape.
- Head: Place a small circle on one end of the body.
- Wings: Use lines to mark the wings, extending outward.
- Tail: Sketch a few triangular shapes for the tail feathers.
This outline helps create the right proportions. It makes it easy to adjust before moving to the next step.
Adding Details and Textures

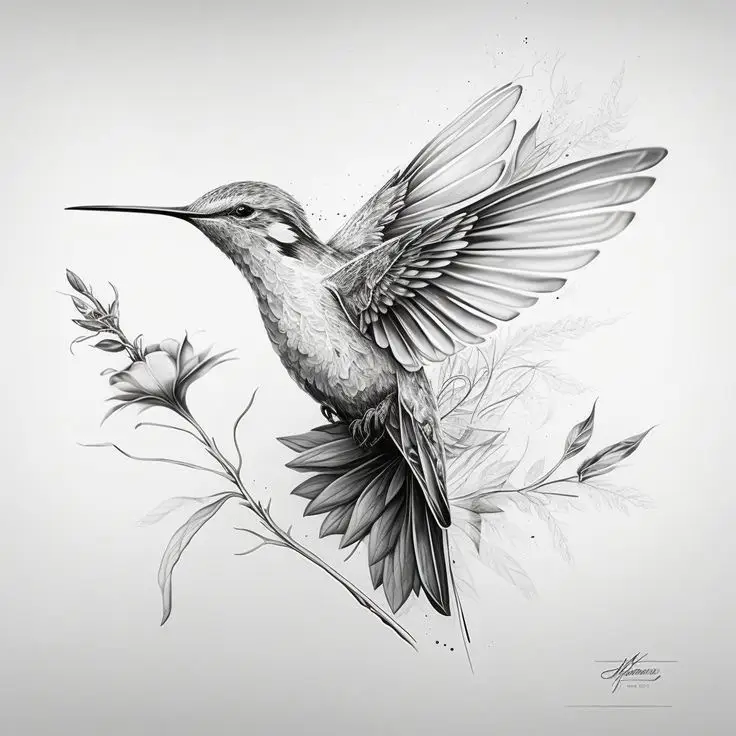
Once the outline looks good, start adding details. Focus on the beak, feathers, and eyes. The beak should be long and thin, while the body should have curved lines for feathers.
Detailing checklist:
- Beak: Define the shape with curves.
- Eyes: Add small circles, giving expression.
- Feathers: Use short, overlapping lines to show texture.
This stage adds depth to the drawing. Each detail enhances the realism of the hummingbird. Remember to keep lines light so changes can be made easily.
Incorporating Color and Shadows
The final step is adding color. Use colored pencils or watercolors for vibrant results. Start with the main colors, then layer for depth.
Color application steps:
- Body Color: Choose a bright shade for the body.
- Feather Highlights: Add lighter colors to areas that catch light.
- Shadows: Use darker shades to create depth under wings and tail.
Applying color carefully gives the hummingbird a lively appearance. Shadows enhance the three-dimensional look, making the drawing stand out.
Common hummingbird drawing mistakes
- Making the body too big: hummingbirds are compact. Keep the body small compared with the wing gesture.
- Shortening the beak: the long beak is one of the clearest shape cues, especially near flowers.
- Drawing every wing feather: hovering wings often need blur, not a hard feather-by-feather outline.
- Using flat color: layer greens, blues, violets, or reds lightly and save a few bright highlights.
- Forgetting the pose story: a flower, feeder, or branch explains why the bird is hovering in place.
Bringing Your Drawings to Life

To create lively hummingbird drawings, focus on movement and realism. Use lighting and perspective to enhance the overall effect. These techniques help capture the beauty and energy of hummingbirds.
Creating Movement and Realism
Adding movement to hummingbird drawings is key to making them vibrant. Use dynamic poses, such as a bird mid-flight or hovering. Experiment with angles to show action.
Pay attention to details like wing positions. Hummingbirds flap their wings very fast. Draw their wings in a blurred effect to show speed. This adds life to the drawing.

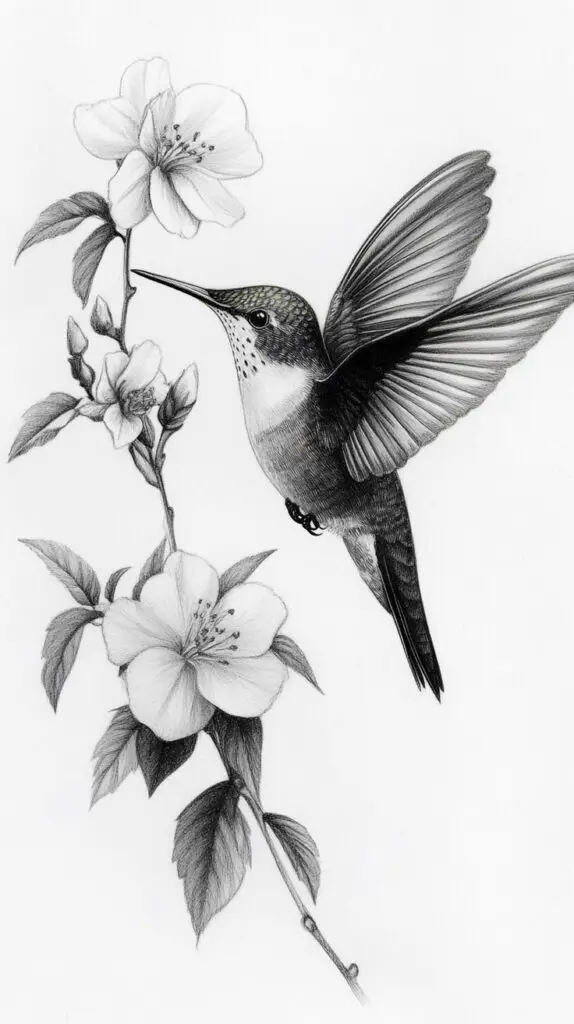
Include surrounding elements, like flowers or leaves. They give context and enhance the feeling of movement. Use lines to suggest direction. These guide the viewer’s eye through the drawing.
Lighting and Perspective Techniques
Good lighting creates depth in hummingbird drawings. Use highlights and shadows to show shapes. A light source can create vibrant hues on the bird’s feathers.
Consider the time of day. Early mornings have soft light, while afternoons offer bold colors. Use these variations to create mood in the drawing.

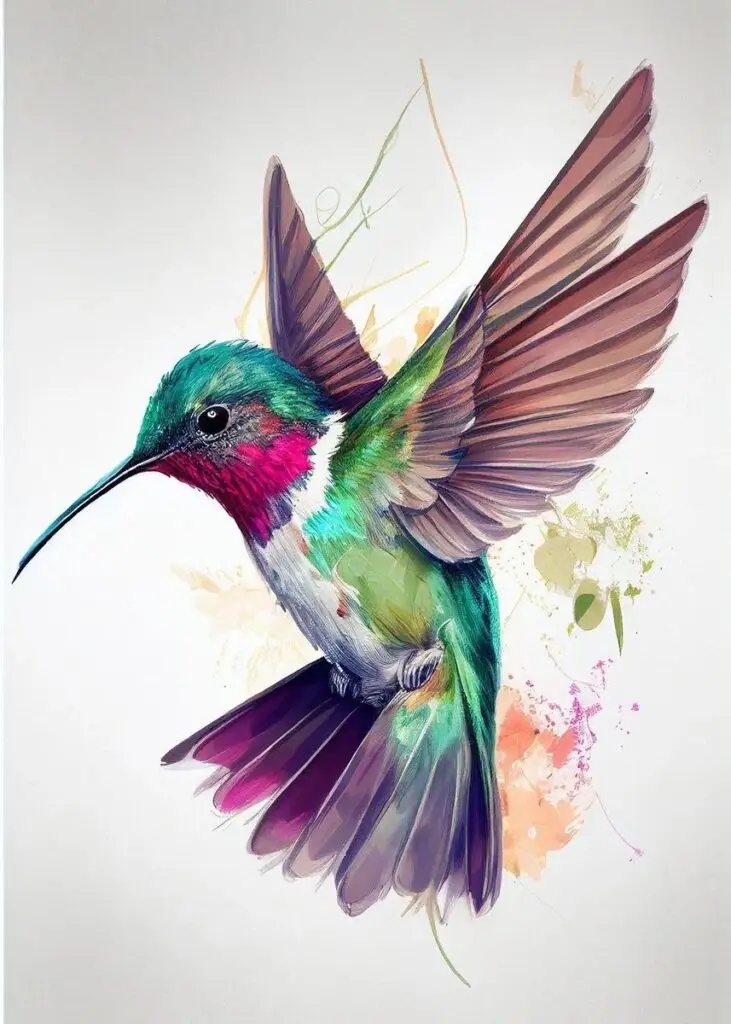
For perspective, think about where the viewer is. A low angle might make the bird appear larger and more impressive. Use overlapping shapes to show layers and depth. This engages the viewer and creates a more immersive scene.
Setting a Scene for Your Hummingbird
Creating the right setting is important for hummingbird drawings. A thoughtful background complements the bird’s beauty. It can enhance the overall look of the artwork. Including specific plants and flowers makes the scene more inviting and realistic.

Choosing the Right Background
Selecting a background is key for hummingbird drawings. A soft, natural scene works well. Consider using light skies or blurred greenery. These choices help the hummingbird stand out. Avoid busy patterns that might distract from the focus.
Textures like clouds or a gentle sunset can add depth. A simple garden scene can reflect where these birds often feed. Keep colors in the background muted. This allows the bright colors of the hummingbird to shine.
Incorporating Plants and Flowers
Plants and flowers are essential in a hummingbird scene. They attract the birds and serve as a source of food. Choosing the right types of flowers is important. Bright red, orange, and pink flowers can draw in hummingbirds.
Popular options include hibiscus, trumpet vine, and bee balm. Arrange the flowers around the hummingbird to create a natural look. Keep the leaves and stems simple to highlight the flowers. Add a few blurred leaves to suggest depth. This makes the drawing feel alive and vibrant.
Drawing for Different Purposes

Hummingbird drawings serve many purposes, each with unique goals. Some may aim to teach, while others focus on artistic expression. Both approaches provide enjoyment and beauty for the artist and viewer.
Educational Illustrations

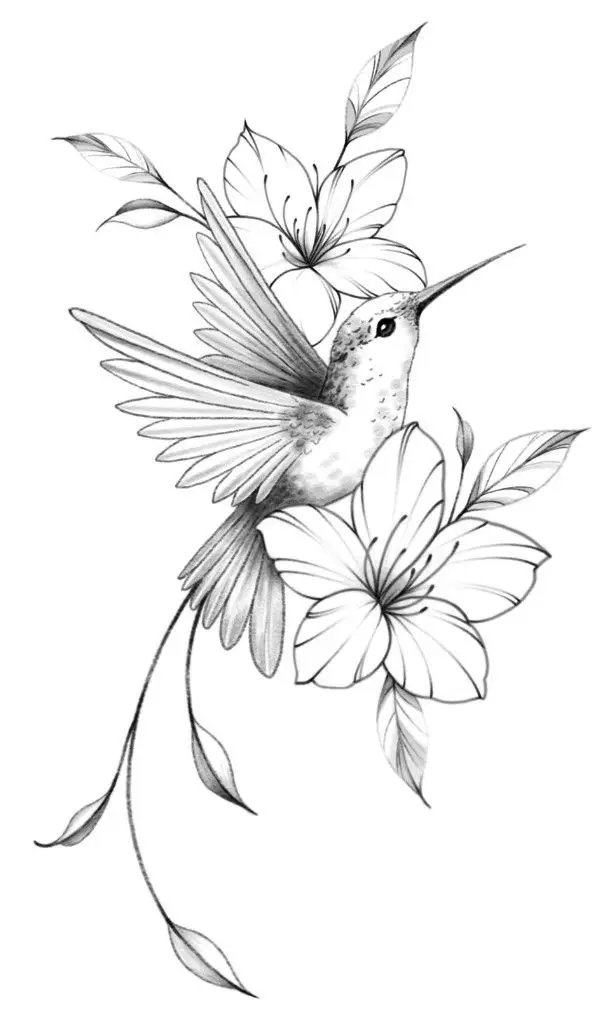
Educational illustrations of hummingbirds are essential in schools and nature programs. These drawings help explain the bird’s anatomy, feeding habits, and behaviors. Clear and accurate details are vital for educational purposes.
Key elements include:
- Labeling parts of the hummingbird, like wings and beak.
- Showcasing different species to highlight diversity.
- Including habitats to connect birds with their environments.
These illustrations make learning fun. They grab attention and encourage curiosity about nature. Many students find color and detail in drawings engaging, which fosters a love for learning.
Artistic Compositions
Artistic compositions focus on capturing hummingbirds’ beauty. Artists use various styles and techniques to express their vision. This creativity adds a personal touch to each piece.
Choices for artistic drawings:
- Realism: Detailed and lifelike representations of hummingbirds.
- Abstract: Using colors and shapes to invoke emotion.
- Mixed Media: Combining different materials for unique effects.
Artists can depict hummingbirds in action, like hovering or feeding. These moments showcase the grace and agility of the birds. Artistic hummingbird drawings can beautify homes or be displayed in galleries, allowing others to admire their elegance.
Sharing and Promoting Your Art

Artists can use various methods to share and promote their hummingbird drawings effectively. Engaging with audiences through social media and physical events can help increase visibility and interest.
Social Media and Digital Platforms
Social media is a powerful tool for artists. Platforms like Instagram, Facebook, and Pinterest allow artists to showcase their hummingbird drawings to a wide audience. Regularly posting images of the artwork, along with engaging captions, can attract followers.

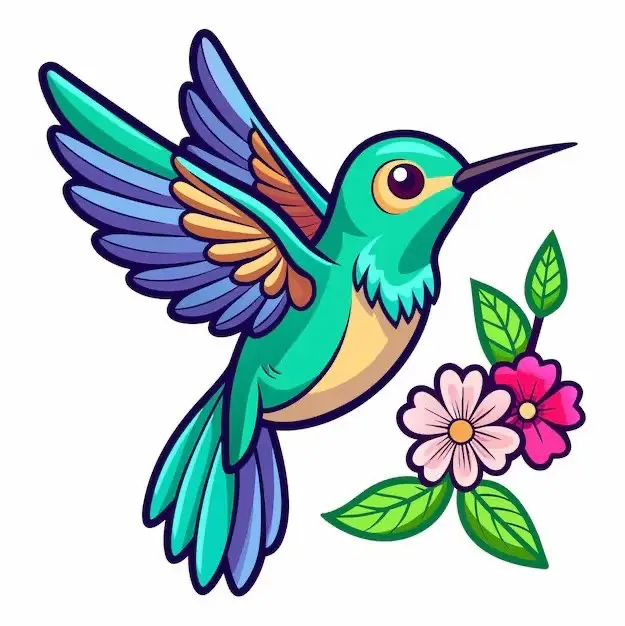
Using hashtags like #hummingbirddrawing can help reach people interested in art. Artists should also interact with followers by responding to comments and sharing insights about their process.
Participating in online art challenges or creating a dedicated artist page can build a community. This encourages more engagement and can lead to sales. Artists can also use digital platforms to showcase their work in virtual exhibitions or galleries.
Physical Displays and Exhibitions
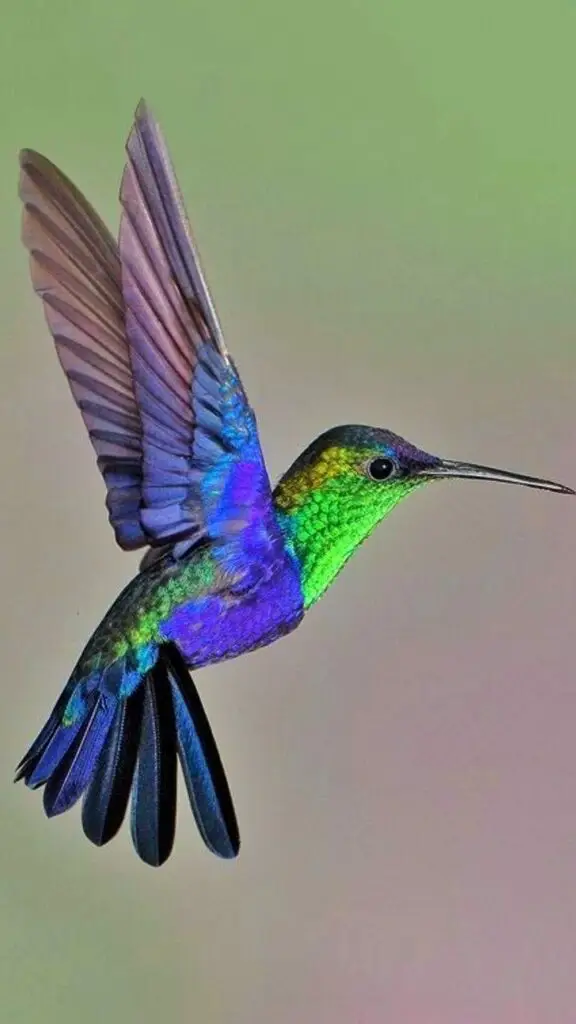
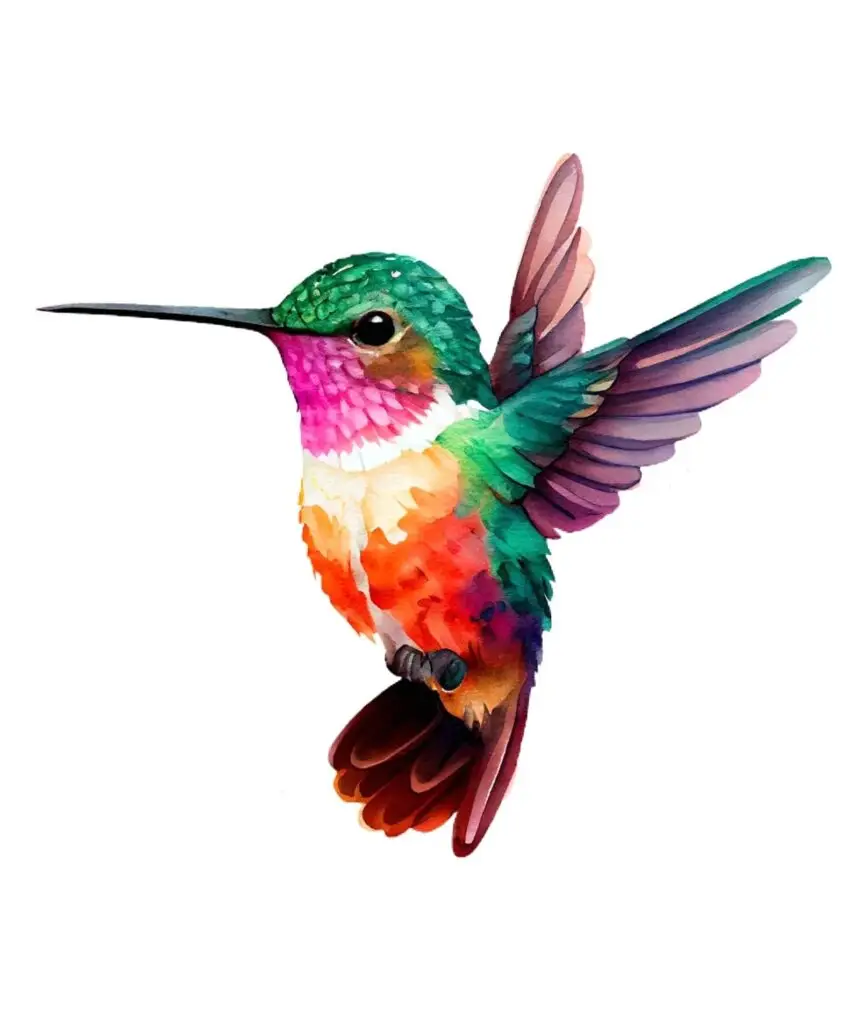
Physical events play a crucial role in promoting artwork. Exhibiting hummingbird drawings at local galleries or art fairs can attract visitors. Artists should look for community events where they can display their work.
Setting up a booth at an art festival provides an opportunity to meet art lovers. Having a display that highlights the beauty of hummingbird drawings can spark interest.
Artists can also engage their audience with hands-on activities, such as workshops for kids or families. This not only showcases their work but also fosters creativity in others. Live painting events can similarly capture attention and generate excitement about the artist’s style and theme.
Related drawing practice
If you want to keep building this sketchbook cluster, move from the hummingbird into nearby subjects that train the same skills: bird drawing techniques for body structure, bird drawing ideas for references, nature drawing ideas for outdoor subjects, spring drawing ideas for flowers and wildlife, hibiscus flower drawing for tropical petals, and watercolor ideas for beginners if you want to paint the bird instead of keeping it in pencil.
Hummingbird drawing FAQ
Q: What is the easiest way to start a hummingbird drawing?
A: Start with three simple shapes: a small oval for the body, a smaller circle for the head, and a long tapered line for the beak. Add the wing as a swept triangle or soft oval before drawing feathers. Keep the first sketch light so you can adjust the body angle and beak direction before adding details.
Q: How do you draw hummingbird wings?
A: Draw hummingbird wings as a motion shape first, not as individual feathers. In a hovering pose, the wings often read like a soft blur or a long curved fan. Mark the shoulder, wing tip, and lower edge, then add only a few feather lines near the outer wing so the drawing still feels fast.
Q: What colors work best for a realistic hummingbird drawing?
A: Use a green or blue-green base for the body, then layer yellow, teal, violet, or red accents where the feathers catch light. Hummingbird color changes with angle, so do not color every feather equally. Leave small highlights on the head, throat, and back to suggest iridescence.
Q: How can beginners make a hummingbird sketch look more realistic?
A: Check the proportions before adding detail. The beak should feel long and thin, the body should stay compact, and the eye should sit close to the beak line. Add flowers or a feeder only after the bird reads clearly. A simple shadow under the wing also helps the form feel less flat.
Q: Should I draw a hummingbird from a photo or from imagination?
A: Use a reference photo for the first sketch, especially for the wing angle, beak length, and tail shape. Hummingbirds move too quickly to study every detail from life. Once you understand the proportions, you can simplify the pose from imagination and still keep it believable.
Q: What mistakes make hummingbird drawings look wrong?
A: The most common mistakes are drawing the body too large, making the beak too short, outlining every wing feather, and using flat color without highlights. Hummingbirds need a compact silhouette, a clear beak direction, and a sense of speed. Fix those first before adding decorative detail.
- 2.2Kshares
- Facebook0
- Pinterest2.2K
- Twitter3
- Reddit0