Portrait watercolor painting offers a unique way to capture the subtle nuances of a face using delicate washes and controlled brushwork. Mastering this art involves understanding how to blend transparent layers, mix natural skin tones, and highlight key facial features with precision. With watercolor, you can create lifelike portraits that emphasize light and emotion with a fluid, spontaneous quality.
You will find that success in portrait watercolor comes from balancing technical skills like mixing colors and controlling water flow with an observational eye. Exploring different techniques, such as dry-brush-on-moist or alla prima, helps you achieve depth and texture while preserving the vibrant transparency of watercolor. This combination allows you to bring out a subject’s personality and essence.
Whether you are a beginner or looking to refine your approach, learning the essential steps and strategies makes painting portraits in watercolor both approachable and rewarding. Your ability to capture likeness and expression will improve as you practice layering, shading, and managing details carefully.
Key Takeways
- Understanding color mixing is key to realistic skin tones.
- Control of water and brush technique affects texture and detail.
- Observing facial features closely improves likeness and expression.


Understanding Portrait Watercolor
Watercolor portrait painting combines transparency, fluidity, and precision. You work with delicate layers and variation in pigment concentration to capture likeness and expression. This requires control over brushwork, timing, and color blending to reveal depth without heavy textures or harsh lines.
What Is a Watercolor Portrait
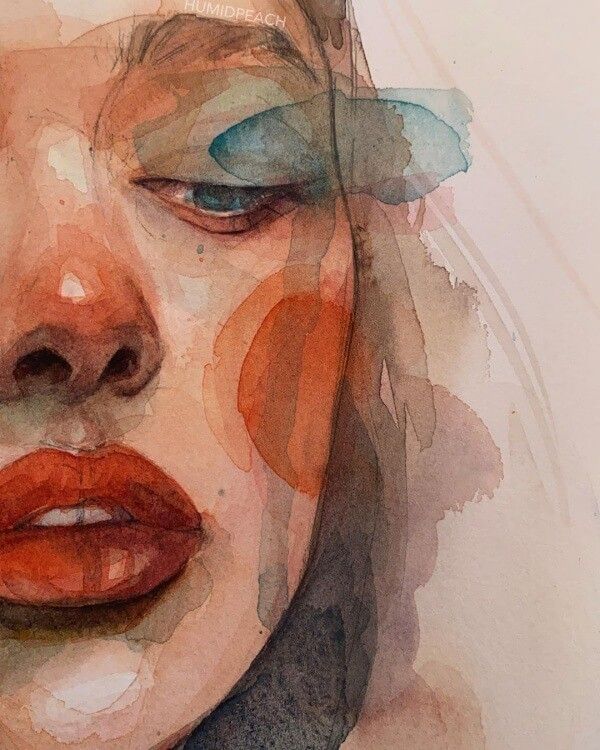
A watercolor portrait is an artwork created with water-based pigments applied to paper. It captures the facial features, emotions, and personality of a subject using transparent washes and subtle tonal shifts.
Unlike opaque mediums, watercolor relies on light passing through layers, so you must plan highlights and shadows carefully. The paper’s texture influences how pigment spreads, affecting skin tones and fine details. You often use minimal brush strokes to imply form rather than define every feature.
This medium demands an understanding of water and pigment flow to balance softness and definition in a lifelike way. Precision and spontaneity work together in painting realistic yet expressive portraits.
Key Differences from Other Portrait Painting Media
Watercolor differs from oils or acrylics by its transparency and quick drying time. You cannot easily correct mistakes or layer thick paint, so precision and planning are essential.
Where oil portrait painting allows for heavy textures and blending over long periods, watercolor absorbs into paper quickly, requiring immediate decisions on value and color intensity.
Watercolor also needs a lighter touch. Brushstrokes are often thinner and more intentional. The medium’s unpredictability means you must embrace variations and accidental effects as part of your portrait’s character.
Because of these properties, your approach to skin tones and facial features must adjust. You blend wet colors directly on the paper rather than mixing extensively on a palette for realism and subtle gradations.
Popular Styles of Watercolor Portraiture
You can choose from several common styles depending on your purpose and skill level:
- Realist: Detailed likeness with smooth transitions and precise proportions.
- Expressive: Bold colors and loose brushwork focusing on mood rather than exact facial features.
- Illustrative: Clear line work combined with watercolor washes, often stylized or simplified.
- Contemporary: Mix of traditional techniques with abstract elements or unusual palettes.
Each style requires different techniques for layering, pigment control, and brush use. Experimenting helps you find your preferred method to convey personality and mood uniquely.
Understanding these styles will help you focus your practice on the effects and challenges suited to your artistic goals as a fine artist working in watercolor portraiture.
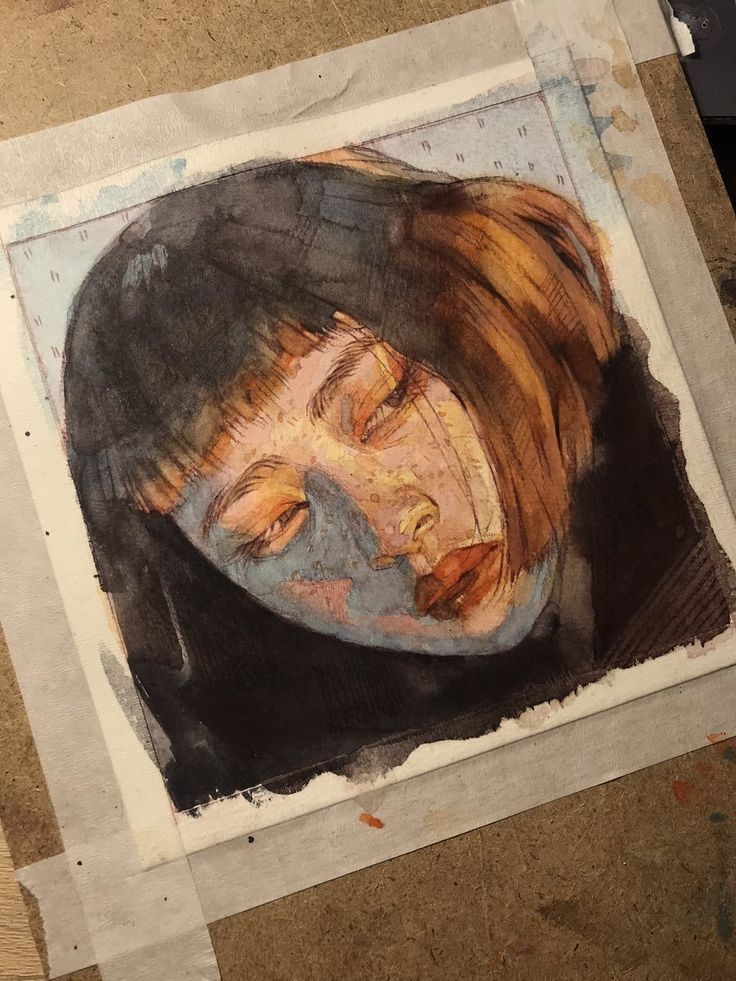
Essential Materials for Watercolor Portraits
To create a detailed watercolor portrait, you need carefully selected materials that affect texture, color control, and accuracy. Choosing the right paper, brushes, paints, and reference photos plays a crucial role in capturing lifelike skin tones and facial features.
Choosing the Right Watercolor Paper
Watercolor paper forms the foundation of your portrait. Opt for cold-pressed or rough textured paper with a weight of at least 140 lb (300 gsm). This weight handles multiple wet layers without buckling.
Cotton paper is preferable for durability and better pigment absorption. The texture helps control how water and pigment spread, which is important for blending skin tones smoothly.
A smooth (hot-pressed) surface suits detailed facial features, but it can be less forgiving with washes. Test a small sheet before committing to a full sheet to ensure it suits your style.
Selecting Brushes for Portraits
Brush choice impacts precision and blending. You want a range that allows you to work on fine details like eyes and hair, as well as broader washes for skin.
Recommended brush types:
- Round brushes (sizes 2-8) for detail and contouring
- Flat brushes (1/2 inch or smaller) for washes and edges
- A fine liner brush for hair strands and eyelashes
Natural hair brushes like squirrel or Kolinsky sable retain water and form a fine point, which helps with smooth transitions in skin tone. Synthetic brushes can be more affordable and work well, especially for beginners.
Types of Watercolor Paints and Pigments
Use artist-grade paints for stronger pigmentation and lightfastness. Look for a palette that covers a range of skin tones such as raw sienna, burnt umber, cadmium red light, and yellow ochre.
Include some cool colors (like cobalt blue or ultramarine) for shadows. Avoid using black paint for shadows, as it can appear flat.
Tube paints or pan sets both work, but tube paints offer more control over color mixing. A well-organized palette with enough space for mixing helps avoid muddy colors.
Reference Photo Selection
Select a high-quality reference photo with good lighting and clear facial details. Natural light photos with soft shadows will help you accurately depict contours and skin tones.
Avoid overly edited photos or harsh lighting that flatten facial features. A front-facing shot or a slight angle works best for practicing proportions.
Choose a subject with expressive features and slight color variations for more dynamic paintings. Keep the photo visible during painting to maintain accuracy in skin tone and facial structure.
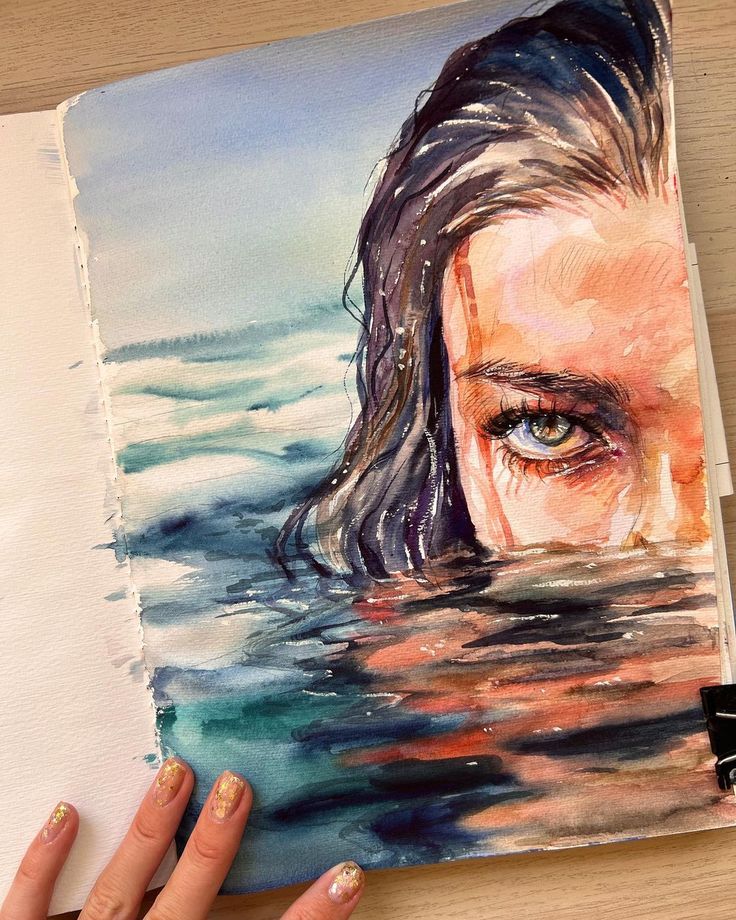
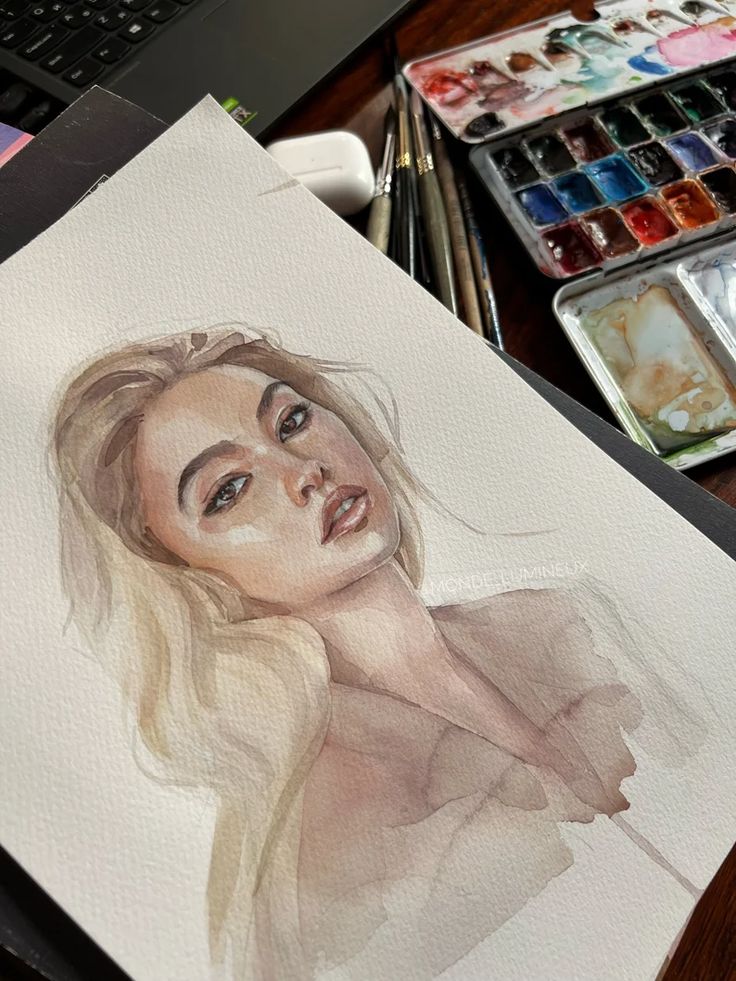
Key Techniques in Watercolor Portrait Painting
To achieve depth and realism in a watercolor portrait, focus on controlling transparency, managing highlights, and blending colors smoothly. Mastering these aspects helps you build dimension and capture the subtleties of skin tones and features in your work.
Layering and Glazing
Layering involves applying multiple thin washes of color to gradually build up tone and detail. You start with light washes and let each layer dry completely before adding the next one. This technique allows you to create depth without muddying colors.
Glazing is a specialized form of layering where you use transparent layers to adjust color intensity and luminosity. When glazing, use a soft brush and dilute pigments with plenty of water to maintain translucency. This helps you refine shadows and highlights without losing vibrancy.
Remember to keep your layers thin and avoid overworking the paper. Patience is key for a balanced, glowing effect that defines facial features clearly.
Using Masking Fluid for Highlights
Masking fluid preserves white areas or light highlights by protecting the paper from paint. Apply it with a fine brush or a masking pen on parts of the portrait such as the glint of eyes, reflections on the lips, or strands of hair.
Once the masking fluid dries, you paint freely over the entire area. After completing the layers, carefully remove the masking fluid to reveal crisp, untouched white paper beneath. This sharp contrast enhances the realism of highlights.
Use this technique sparingly and only on spots where you want sharp, bright highlights. Overuse can make the painting appear artificial or overly busy.
Creating Smooth Transitions and Edges
Smooth transitions between tones are essential for realistic skin texture. To achieve this, work with plenty of water to soften edges and blend colors seamlessly. Use a damp brush to gently merge one wash into another while both are still wet.
For sharper edges, switch to a smaller, dry brush and apply paint carefully after the first layer dries. This contrast between soft and hard edges guides the viewer’s eye and defines facial contours.
Avoid harsh or abrupt color changes unless intentionally emphasizing features. Controlled blending improves natural gradation and gives your portrait a polished final appearance.
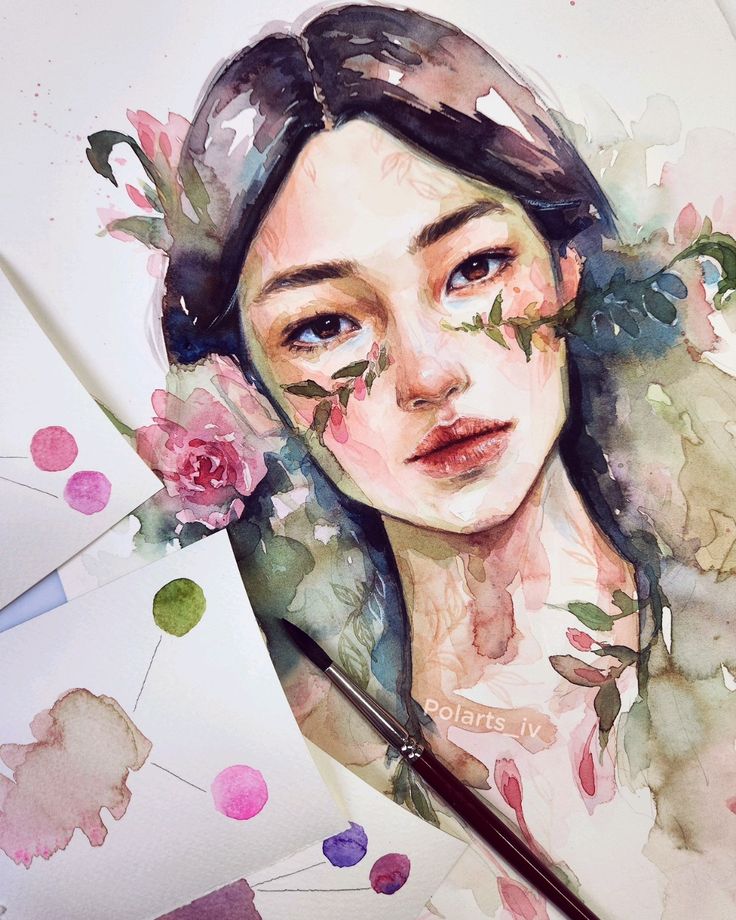
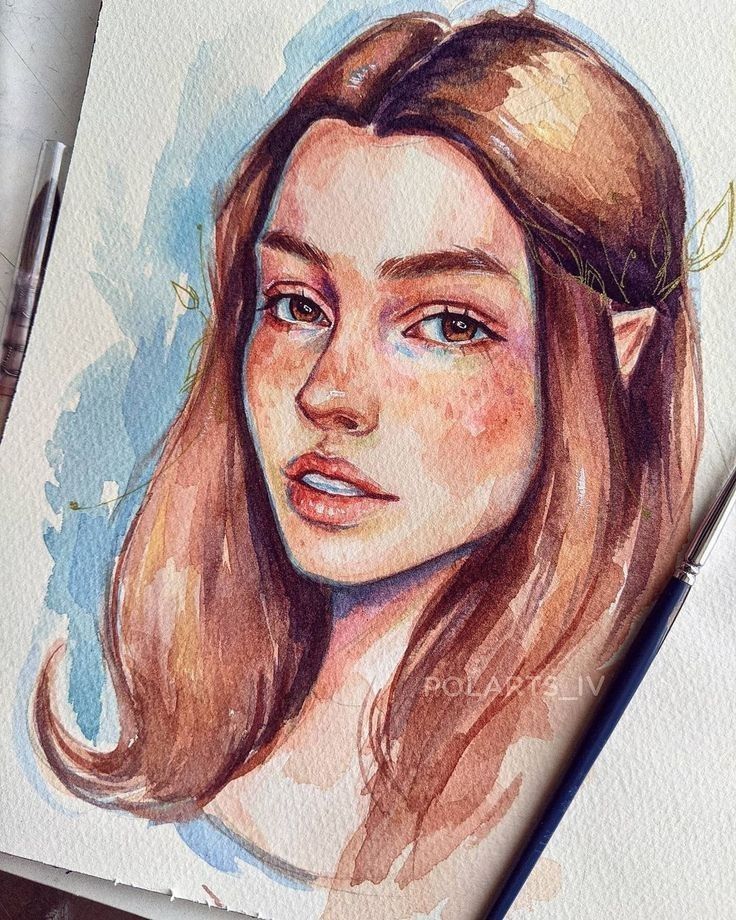
Mixing and Applying Colors and Skin Tones
You need a solid grasp of specific colors and how they interact to capture realistic skin tones in portrait watercolor. Mixing skin tones requires attention to subtle shifts in warmth, coolness, and lightness. Applying these tones in layers builds the depth and texture necessary for lifelike portraits.
Color Theory for Portraits
Understanding color theory is essential for mixing accurate skin tones. You start with the primary colors—red, blue, and yellow—but the key is mixing these to achieve the right balance of warm and cool tones. Warmer tones come from reds and yellows, while adding blue cools the hue.
Skin is rarely a single flat color; it contains subtle variations depending on light and shadow. Complementary colors help neutralize unwanted hues, and controlling saturation will give you natural tones instead of harsh or artificial colors.
Essential Colors: Burnt Sienna, Raw Sienna, Alizarin Crimson, Cobalt Blue
These four colors form a reliable palette for most skin tones. Burnt Sienna offers a warm, earthy base. Raw Sienna is lighter and cooler, perfect for highlights and mid-tones. Alizarin Crimson gives a rich red that simulates blood beneath the skin, useful for cheeks and lips. Cobalt Blue cools the mixture when you need to add shadows or balance overly warm areas.
By varying the ratios of these pigments, you create a spectrum of tones from light peach to deep brown. Keep each pigment’s transparency in mind, especially with alizarin crimson, which is more transparent than burnt sienna.
Techniques for Mixing Skin Tones
Start by mixing burnt sienna and raw sienna for a general skin base. Add alizarin crimson drop by drop to introduce warmth and blush. To darken or cool the tones, carefully introduce cobalt blue. Keep your mixes thin to maintain translucency.
Creating a “family” of tones is crucial. This means mixing variations from light to dark, warm to cool, that you can use to paint shadows, mid-tones, and highlights. Testing small swatches before painting ensures you understand how your skin tones will interact on paper.
Applying Light Washes and Tonal Values
Begin your portrait with light washes to set the base skin tone. Use a diluted mix of your base colors to apply even, transparent layers. This light wash provides a foundation that allows the paper’s texture to interact with the pigment, adding natural luminosity.
Build up tonal values by layering slightly more concentrated color for shadows and contours. Avoid heavy application early on—gradual buildup is key. Use softer brushes to blend edges and maintain subtle transitions between tones for realistic shading.
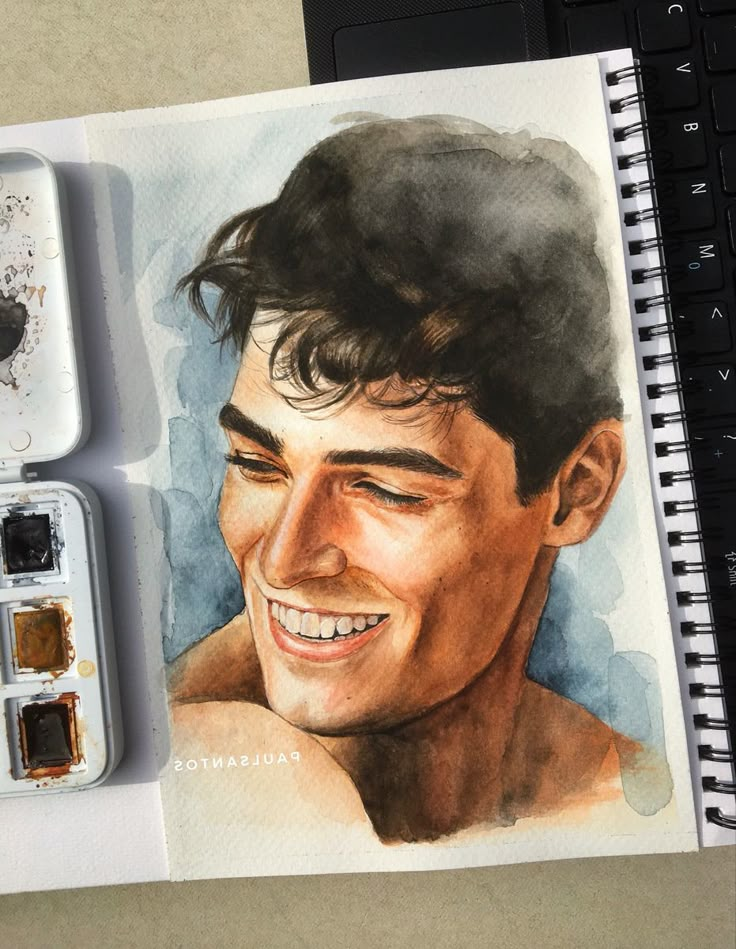
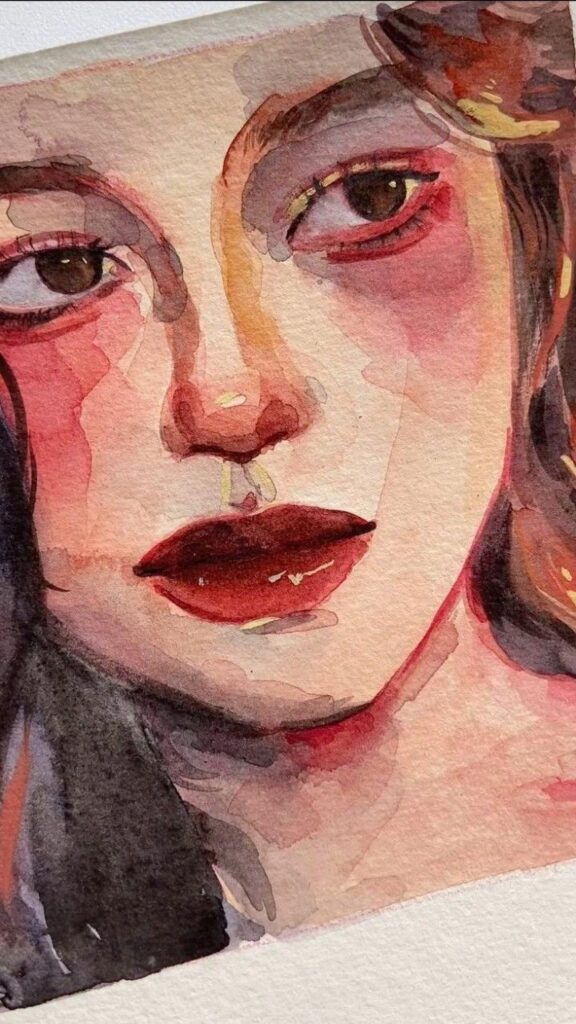
Capturing Facial Features and Achieving Likeness
To create a convincing watercolor portrait, you must understand the face’s basic structure, focus on key facial features, and pay attention to proportional relationships. These factors strongly influence how well your portrait resembles the subject.
Mapping Facial Structure
Start by sketching the underlying shape of the head using simple geometric forms. Place the eyes roughly halfway down the face, the bottom of the nose about halfway between the eyes and chin, and the mouth slightly above the chin.
Use light guidelines to help align features symmetrically. Check distances between features—like the space between the eyes or the width of the nose—as small shifts can disrupt likeness.
This proportional mapping provides a solid foundation to build on and ensures that the placement of elements reflects the unique anatomy of your subject.
Rendering Eyes, Nose, and Mouth
The eyes, nose, and mouth are crucial for capturing expression and identity. Focus on the location and spacing of the eyes rather than exact shapes or colors.
When painting eyes, observe how they interact with surrounding areas: the slight lift of cheeks or subtle shadows under eyelids contribute to realism.
For the nose and mouth, avoid over-detailing early. Suggest shapes through value and color shifts rather than precise lines.
Expressive features come from subtle observation—note how a smile affects both mouth and eyes, not just the lips alone.
Tips for a Good Likeness
Achieving likeness depends more on relationships and proportions than on copying every detail. Use measuring tools or compare features continually during your work.
Practice moderate layering in watercolor to build depth without losing control of the shapes. Keep refining the relationships between features instead of focusing on individual lines.
Be patient with yourself—likeness improves with experience, careful observation, and understanding how features relate spatially. Consistent practice of these principles will enhance the quality of your portrait likeness.
- 352shares
- Facebook0
- Pinterest349
- Twitter3
- Reddit0
