If you’ve ever wanted to draw a car but felt unsure where to begin, you’re not alone. With a few easy steps and helpful tips, you can sketch a simple car that looks great—no advanced drawing skills required. Simple car drawings are an excellent way to build your confidence and practice your creativity.
These approachable guides break down the process to make each step clear and manageable, whether you’re aiming for a basic cartoon style or looking to add a bit more detail. You’ll learn the easiest techniques for drawing car shapes, wheels, and windows, while also discovering new ways to personalize your creation.
Key Takeaways
- You can draw a car using simple step-by-step instructions.
- Practicing basic shapes helps you improve your car drawing skills.
- Creative ideas and inspiration make your car drawings unique.
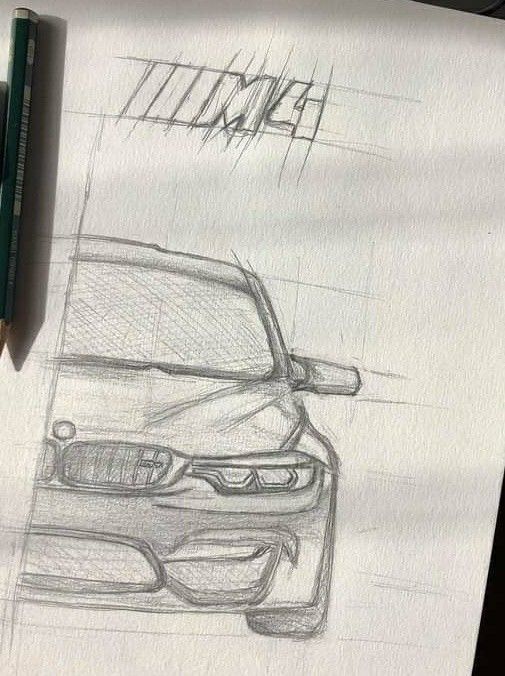
Getting Started With Easy Car Drawing
To draw a car with ease and clarity, you need to start with the right materials and select reliable tools. The right setup helps you create lines and shapes that make your car drawing both simple and effective.
Basic Materials Needed
Having suitable materials creates a smoother workflow. You should prepare a clean sheet of drawing paper or a sketchbook with a medium weight (at least 70 gsm) to avoid tearing or smudging.
A standard graphite pencil (HB or 2B) is ideal for sketching because it provides a balance between dark lines and easy erasing. Keep a good eraser handy for correcting shapes as you refine your car’s outline or details.
You may want to use a ruler for drawing the car’s straight edges such as doors, windows, or the roofline. For the wheels, a circular template or even the rim of a cup will help you draw accurate circles.
Having a sharpener nearby keeps your pencil point fine for sketching crisp lines. Avoid using pens or markers at the early sketch stage so you can make changes without leaving marks.
Recommended Drawing Tools
Selecting the right drawing tools can help improve accuracy and achieve clean results in your car drawing. Mechanical pencils maintain a consistent line and are suitable for outlining finer details like the car’s headlights or grill.
Consider colored pencils or markers if you wish to add color and depth after your sketch is finished. A set of fineliner pens can be used for inking the final outline, after you’re happy with your car’s form.
A soft blending stump helps to blend pencil shading smoothly, especially when adding shadows under the car or around the wheels. When working digitally, a drawing tablet and stylus with pressure sensitivity offer precise control.
Keep your drawing surface flat and well-lit to see all details as you progress. This setup gives you more confidence and control as you draw a car, whether it’s a simple sketch or a more refined illustration.
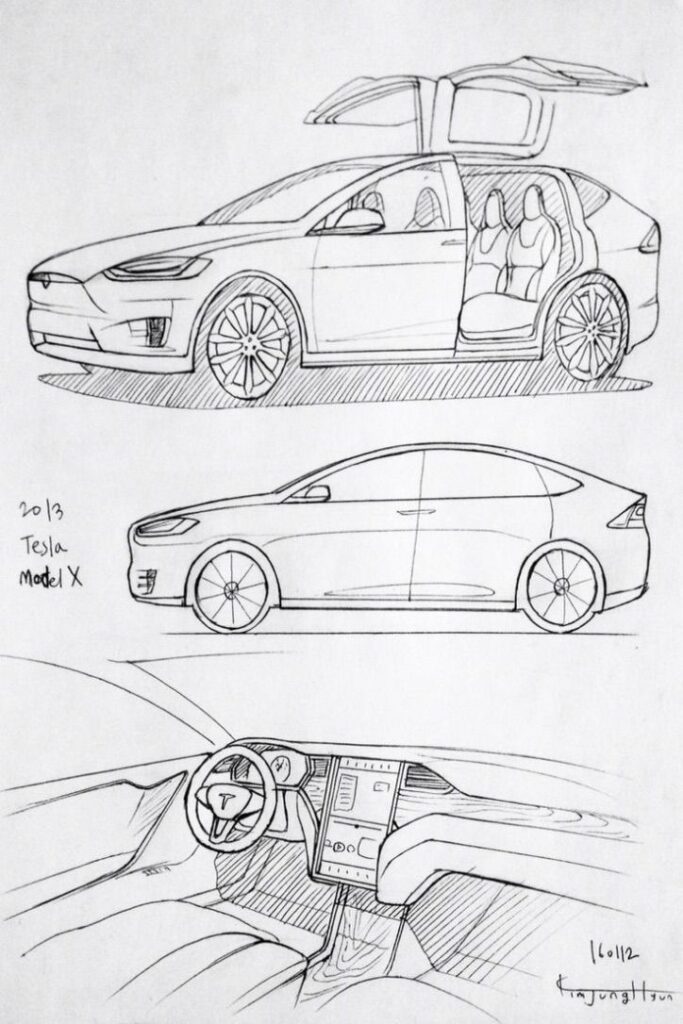
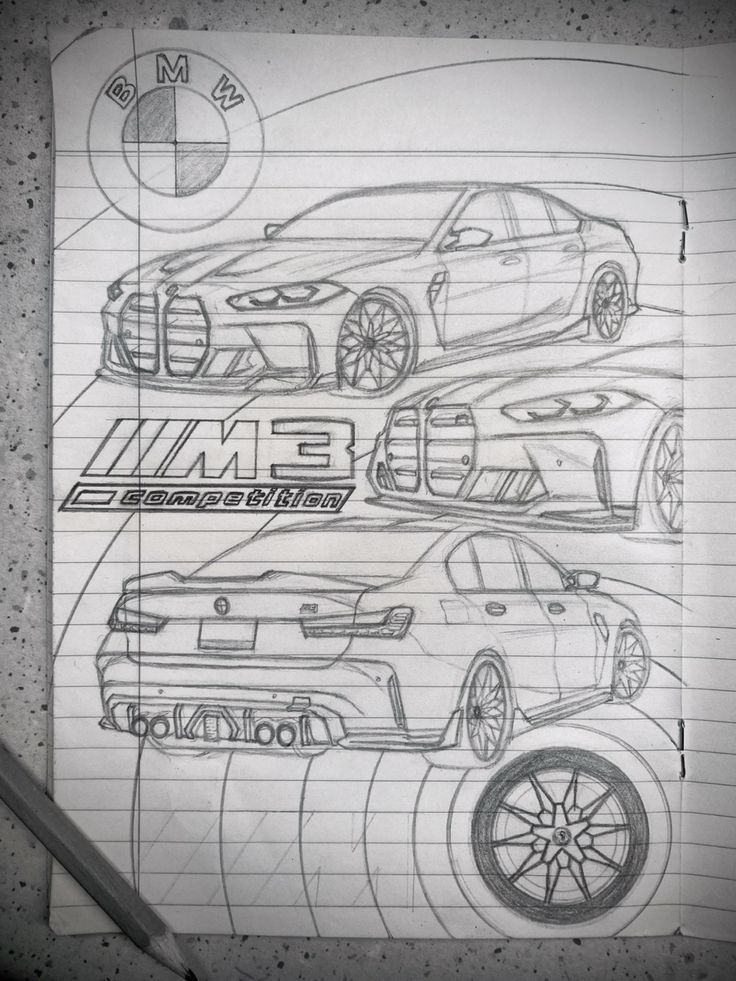
Step-By-Step Tutorial for Drawing a Car
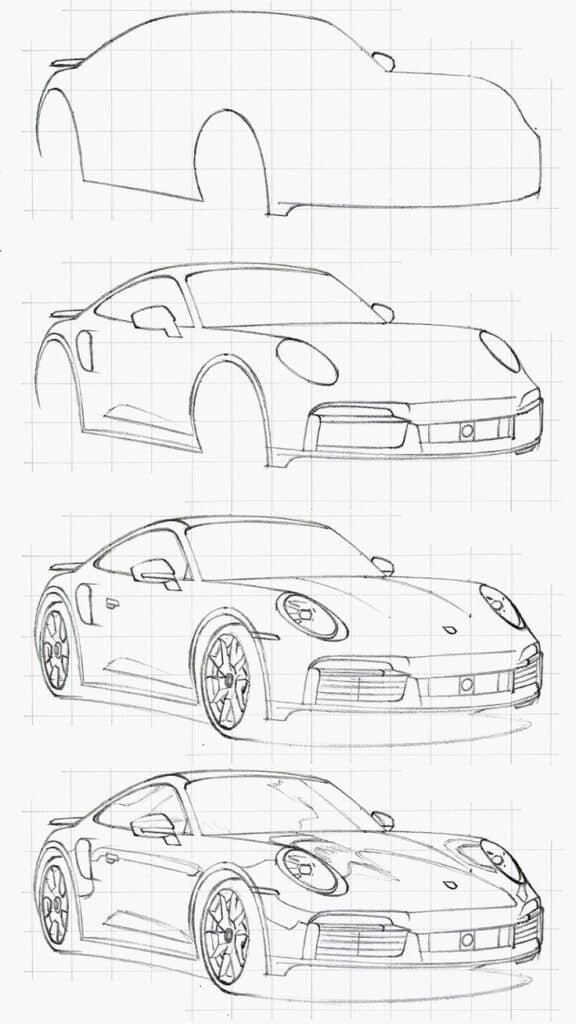
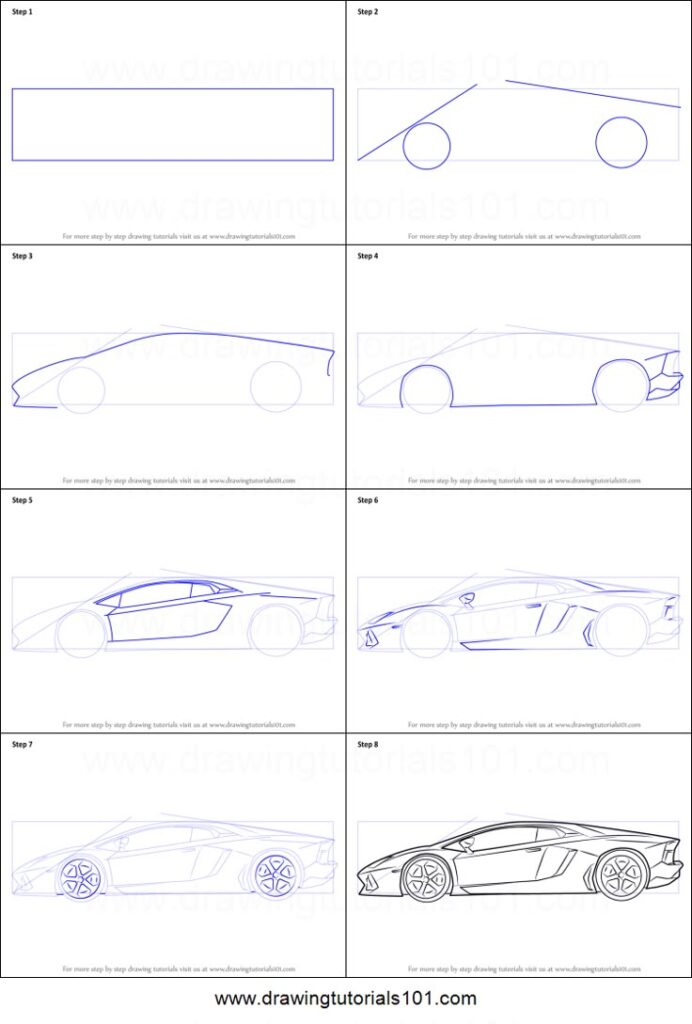
Learning to draw a car is easier when you break the process into clear, manageable steps. Focusing on the main shapes, wheel placement, and simple details will help you create a neat and recognizable car drawing suitable for any beginner.
Drawing Simple Car Shapes
Begin with a horizontal rectangle. This forms the base of the car’s body. Draw a slightly smaller rectangle or trapezoid on top of this for the cabin where the windows are located.
Place a line along the length of the main rectangle to separate the car’s side from the roof. Use straight and gently curved lines for a realistic outline. Avoid adding details at this stage to keep your shape clean and easy to adjust.
Once the main shape looks correct, refine the proportions using a pencil so you can erase and make quick changes. Maintain symmetry by checking both sides of the car as you sketch.
Tip: (A simple guide to remember):
| Shape | Purpose |
|---|---|
| Rectangle | Car body base |
| Trapezoid | Cabin or roof area |
| Line | Hood/trunk, windows |
Sketching Car Wheels
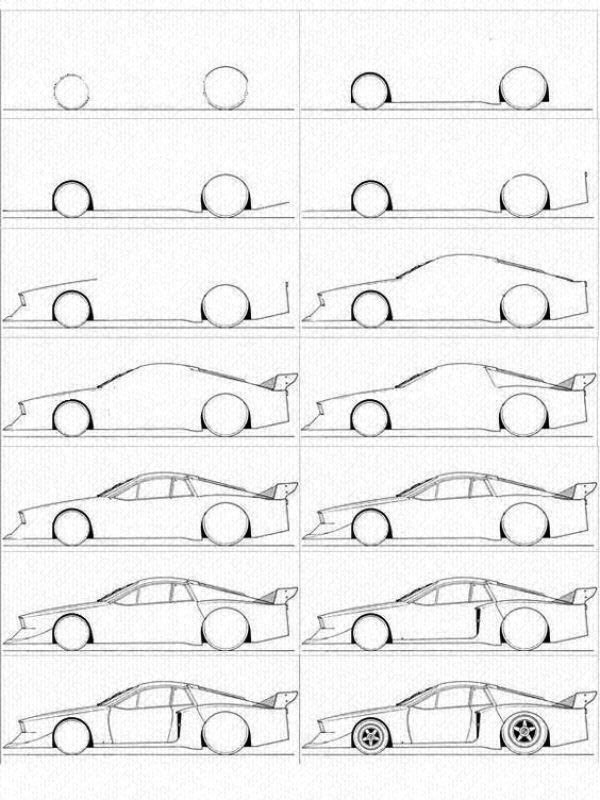
Draw two circles beneath the car body for the wheels. Spacing is crucial—wheels placed too close make the car look short, while wheels spaced wide apart create an elongated look.
Keep the wheels even in size and aligned horizontally. Lightly sketch the wheel arches by drawing semi-circles above each wheel. This adds depth and defines where the wheels sit within the car body.
Use short, curved lines to indicate the tires. Sketch a smaller circle inside each wheel for the hubcap. Ensure both wheels are consistently shaped for a balanced appearance.
Checklist for wheels:
- Circles are equal in size.
- Lower half sits below the car body.
- Arches match wheel placement.
Adding Details and Finishing Touches
Outline windows with rectangles or soft-edged shapes along the cabin section. Add dividing lines for doors and a front grille using simple, straight strokes.
Draw headlights as small ovals at the car’s front corners. Mark taillights at the rear with rectangles or circles. Sketch side mirrors as small ovals or rectangles attached near the windows.
Use a fine pen or marker to outline the final drawing. Erase any extra pencil lines. For a polished look, shade the tires, darken the windows, and add simple reflections using white pencil or eraser marks.
List of quick details to add:
- Door handles
- Headlights and taillights
- Side mirrors
- License plate (rectangle)
- Grill lines at the front
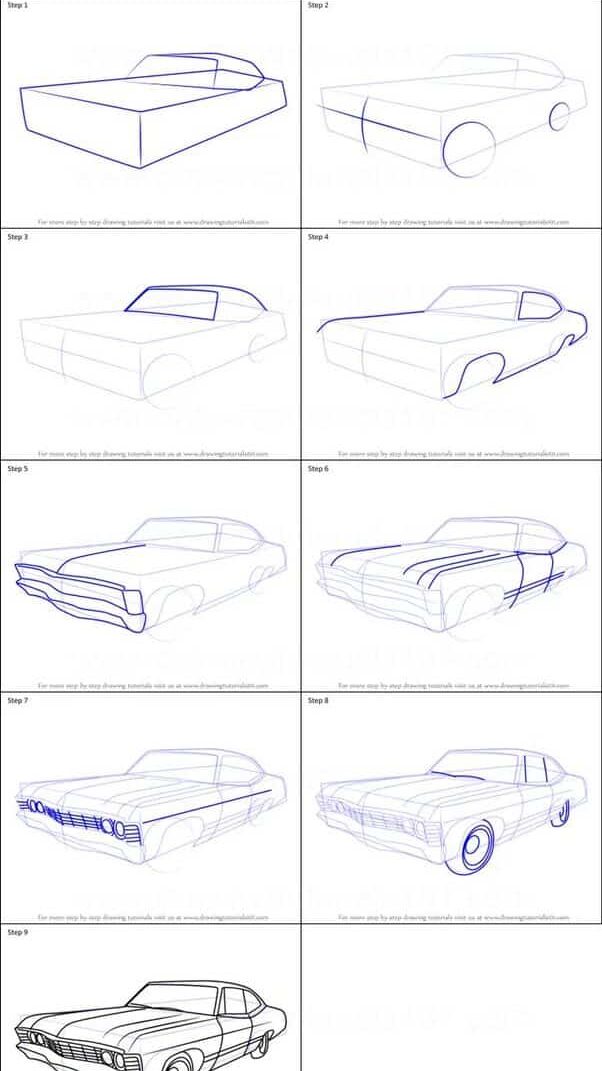
Creating a Cartoon Style Car Drawing
Cartoon car drawing focuses on playful lines, bold shapes, and bright colors. By using exaggeration and simple techniques, you can make your car art more appealing and expressive.
Exaggerating Features for Fun Effects
Start by sketching the body of the car using large, rounded shapes. Oversized wheels and a curved roof give your cartoon car a friendly look. Draw big headlights and a wide, smiling grille to add character.
Experiment with proportions by making the windows bigger and the wheels unusually thick. Adjust the length and height of the car to create different effects, such as a compact, stubby style or an elongated, swoopy one.
Use expressive details like prominent fenders, roof racks, and playful bumpers. Add accessories, such as racing stripes or cartoonish spoilers, to enhance the personality of your drawing. Here are a few ideas you can try:
- Bulging tires for a sporty appearance
- Tiny rear-view mirrors for a whimsical touch
- Thick outlines to define shapes clearly
These features help your cartoon car stand out and give it a lively, cheerful vibe.
Coloring and Shading Techniques
Choose a bright and bold color palette. Primary colors such as red, blue, and yellow work well for a cartoon style. Fill in the main sections with flat, saturated colors for a clean, simple look.
Add darker shades along the bottom edge of the car body and inside the wheel wells to give your drawing more depth. Lightly blend lighter tones on the roof or hood to create shine and highlight effects.
Use black or dark outlines around the car and its features to separate different parts clearly. Don’t forget small details like reflections on the windows and glossy highlights on the paint. You can use colored markers, pencils, or digital tools for this.
For an easy reference, see the table below:
| Element | Suggestion |
|---|---|
| Body Color | Bright, vivid hues |
| Shadows | Under car/wheel arches |
| Highlights | Roof, hood, window edges |
These coloring and shading steps help your car drawing pop and look more energetic while staying easy to follow.
Tips to Improve Your Car Drawing Skills
Paying attention to proportions, perspective, and avoiding common errors helps your car drawing look realistic and precise. Careful observation and regular practice are key to mastering how to draw a car.
Practicing Proportions and Perspective
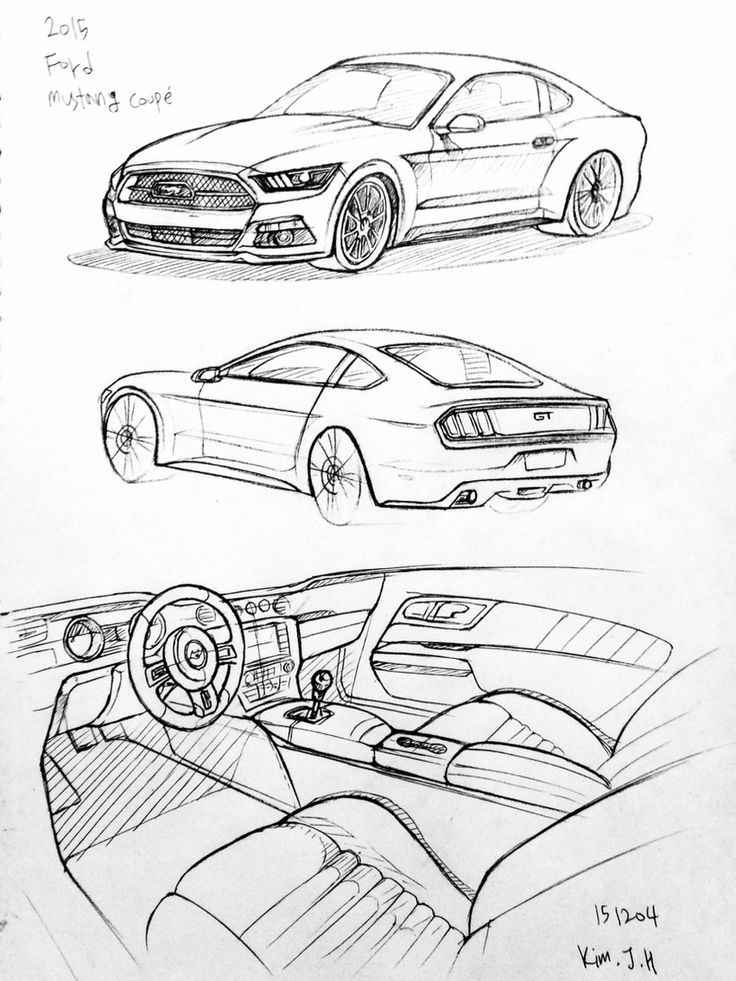
Getting the proportions right is essential in car drawing. Start by choosing clear reference photos with visible outlines and angles. Break the car down into basic geometric shapes such as rectangles, circles, and ellipses to create accurate guidelines for the body and wheels.
Use an H-grade pencil for sketching so you can adjust without staining the paper. Mark the wheelbase and main features before adding details. This helps align the wheels, windows, and doors correctly, which is especially important for drawing cars from different angles.
When you draw a car, practice basic perspective. Positioning the car along a horizon line and using vanishing points brings depth and realism. The size of features, like wheels closer to the viewer, should be slightly larger due to foreshortening.
Observe how curves and contours interact with light and shadow. Even small changes in the perspective or proportion can make a car drawing feel inaccurate, so take your time checking each line and angle.
Common Mistakes to Avoid
Several frequent mistakes can affect how to draw a car with accuracy. Misaligning the wheels is a common error—it can make the car appear unstable or unnatural. Always double-check that both wheels touch the ground and share the correct angle.
Ignoring perspective is another issue. If parts do not follow the same vanishing points, the car may look distorted. Watch for disproportionate sections, such as oversized windows or undersized headlights.
Overusing dark lines too early hampers flexibility. Instead, start with light strokes and reinforce lines only once you are confident. Smudging is also a concern, especially if using soft pencils; keep a scrap piece of paper under your hand to prevent it.
Check for symmetry between left and right sides since most cars are designed with balance in mind. Consistent observation, slow adjustments, and patience lead to more convincing results in your car drawing practice.
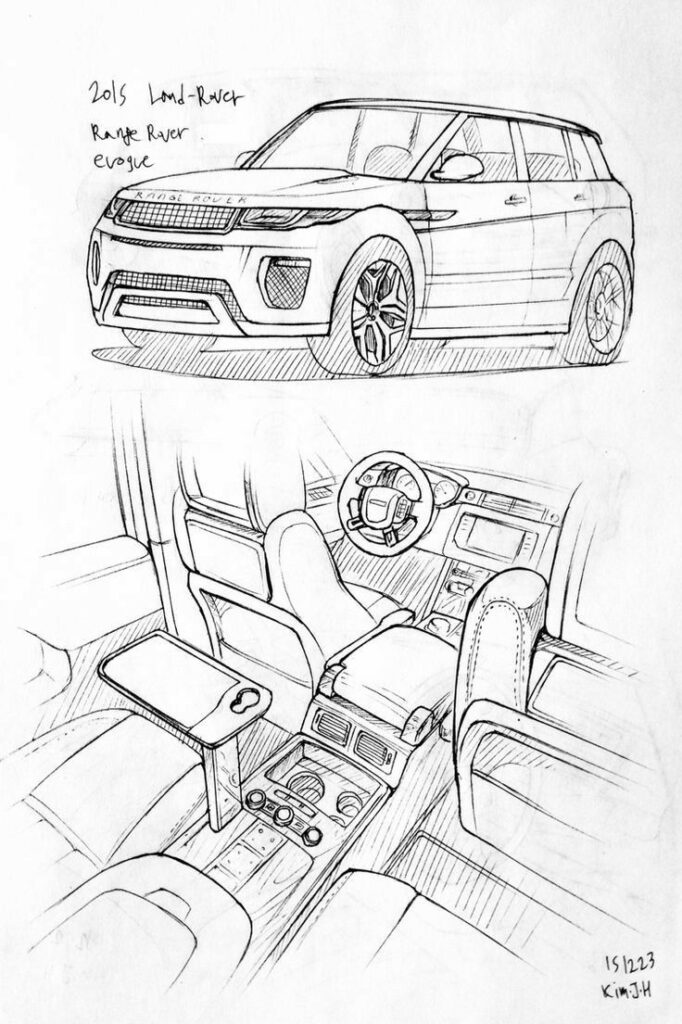
Inspiration and Creative Car Drawing Ideas
Inspiration can come from exploring a range of car models and then making each drawing reflect your interests and style. Trying various approaches, including cartoon style and realistic designs, helps you develop foundational skills while keeping the process engaging.
Exploring Different Car Types
Start with basic car shapes like sedans, hatchbacks, or classic coupes. Drawing well-known models, such as a Volkswagen Beetle with its rounded body or a sports car with sleek lines, is a good way to practice your observation and proportion skills.
Try sketching vehicles from different angles—side, three-quarter view, or front-on—to see how the wheels and body shift. Use a simple table to brainstorm ideas:
| Car Type | Unique Features | Difficulty |
|---|---|---|
| Cartoon Cars | Exaggerated shapes, big eyes | Very Easy |
| Classic Sedans | Flat roofs, boxy shapes | Easy |
| Sports Cars | Streamlined, spoilers | Moderate |
| Vintage Beetle | Rounded, distinct headlights | Easy |
Explore cartoon style by playing with exaggerated features, such as oversized wheels or expressive headlights. This approach lets you focus on creativity rather than precision.
Personalizing Your Car Artwork
Add personality by adjusting the car’s color, adding racing stripes, or changing the wheel designs. Giving your vehicles custom details like stickers, creative patterns, or themed accessories (such as surfboards or roof racks) sets your drawings apart.
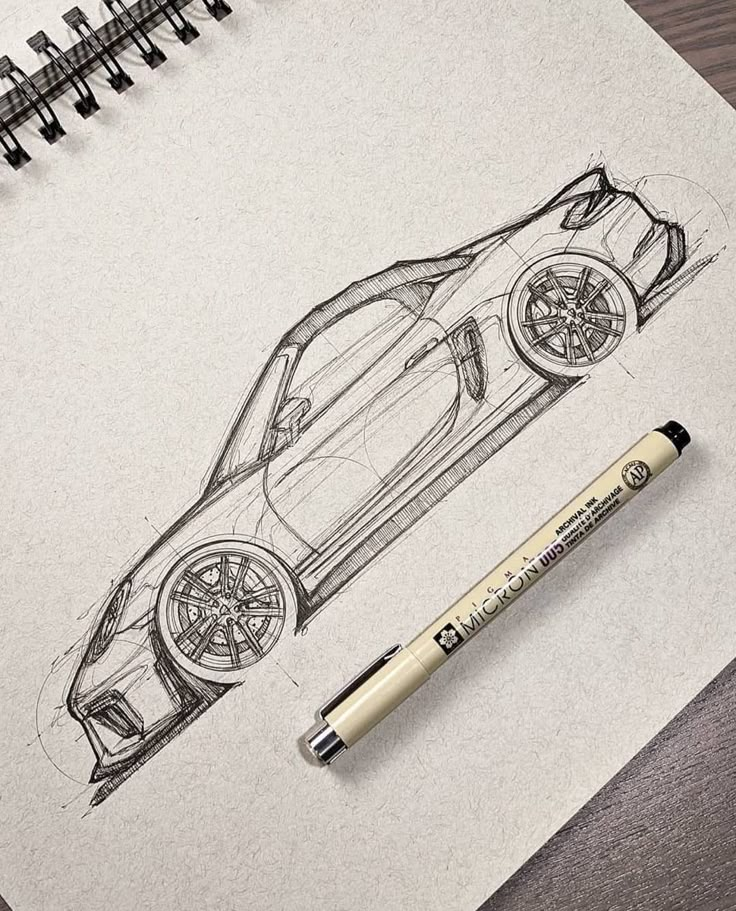
Experiment with backgrounds, like city streets or racetracks, to give context and add depth. Use a mix of markers, pencils, and pens to highlight different textures and create effects such as shiny metal or matte finishes.
Experiment with perspective by tilting the car or showing it in motion for dynamic results. The more you personalize details, the more unique your car drawing becomes, no matter the style you choose.
- 10.7Kshares
- Facebook0
- Pinterest10.7K
- Twitter0

