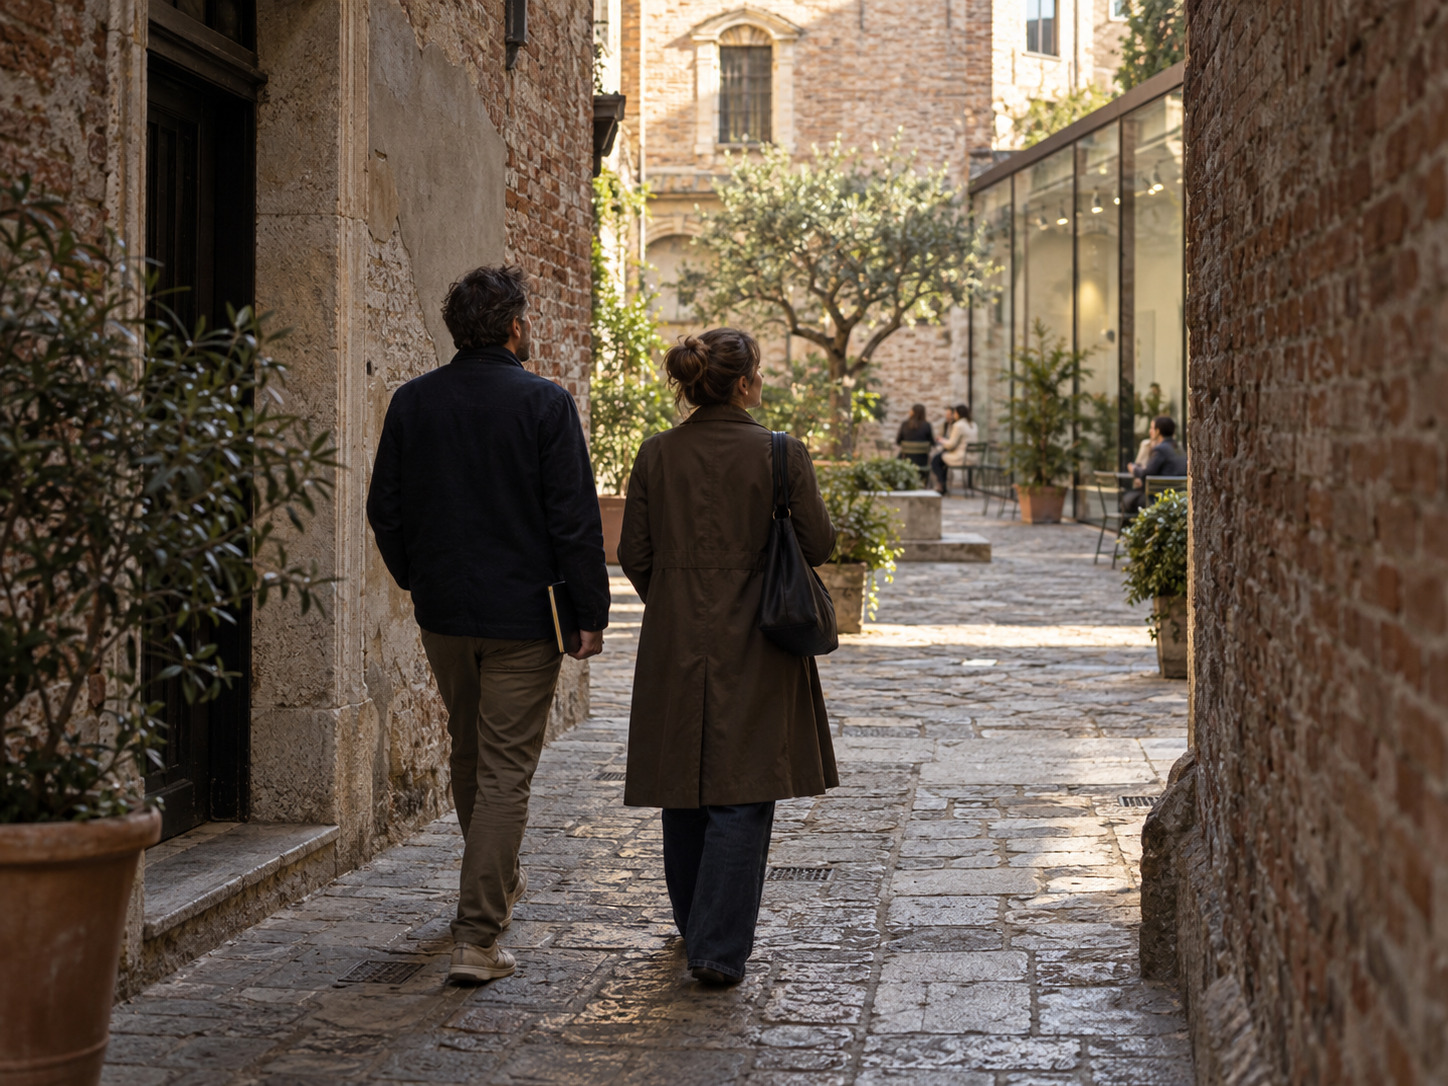
An architectural walk gets more interesting when you stop checking your phone every few steps. You notice the rhythm of a window row, the join between old stone and new glass, and the side of the street people choose on a hot day. A hands-free audio guide can explain what you’re seeing while your eyes stay on the buildings. Pause it when a place deserves more than the allotted minute.
If you prefer an architect’s company, AIA New York offers guided walking tours. For a day shaped around your own schedule, try a self-guided route. Plan it around what you want to see, then let the phone stay in your pocket as much as possible.
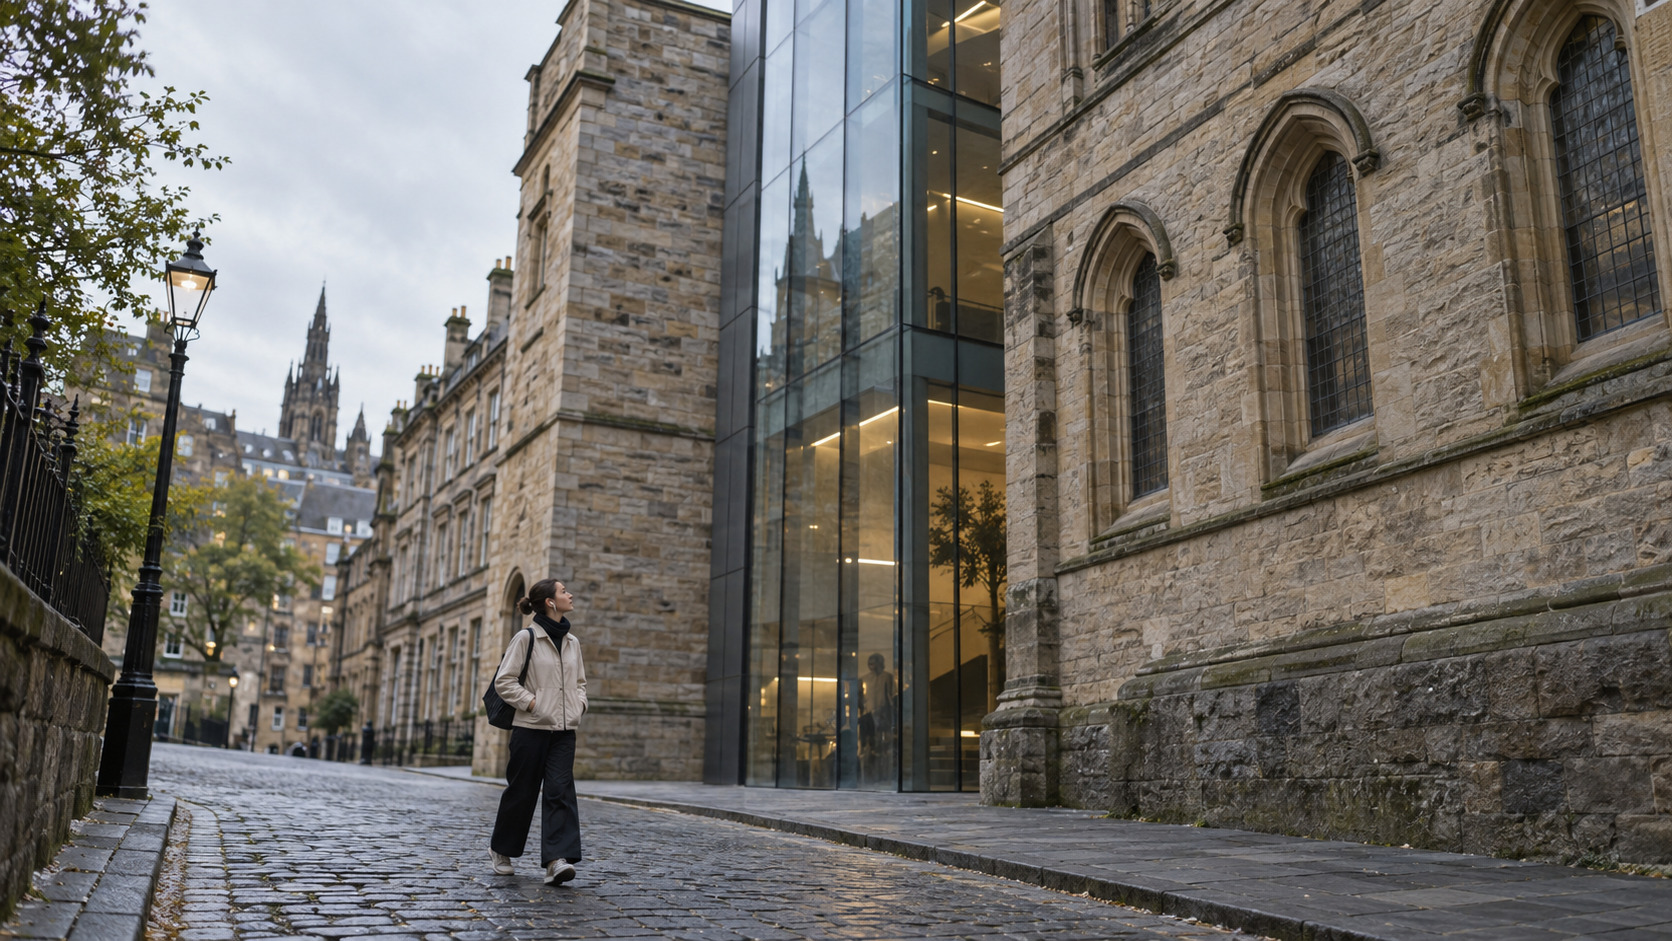
Start with a question about the city
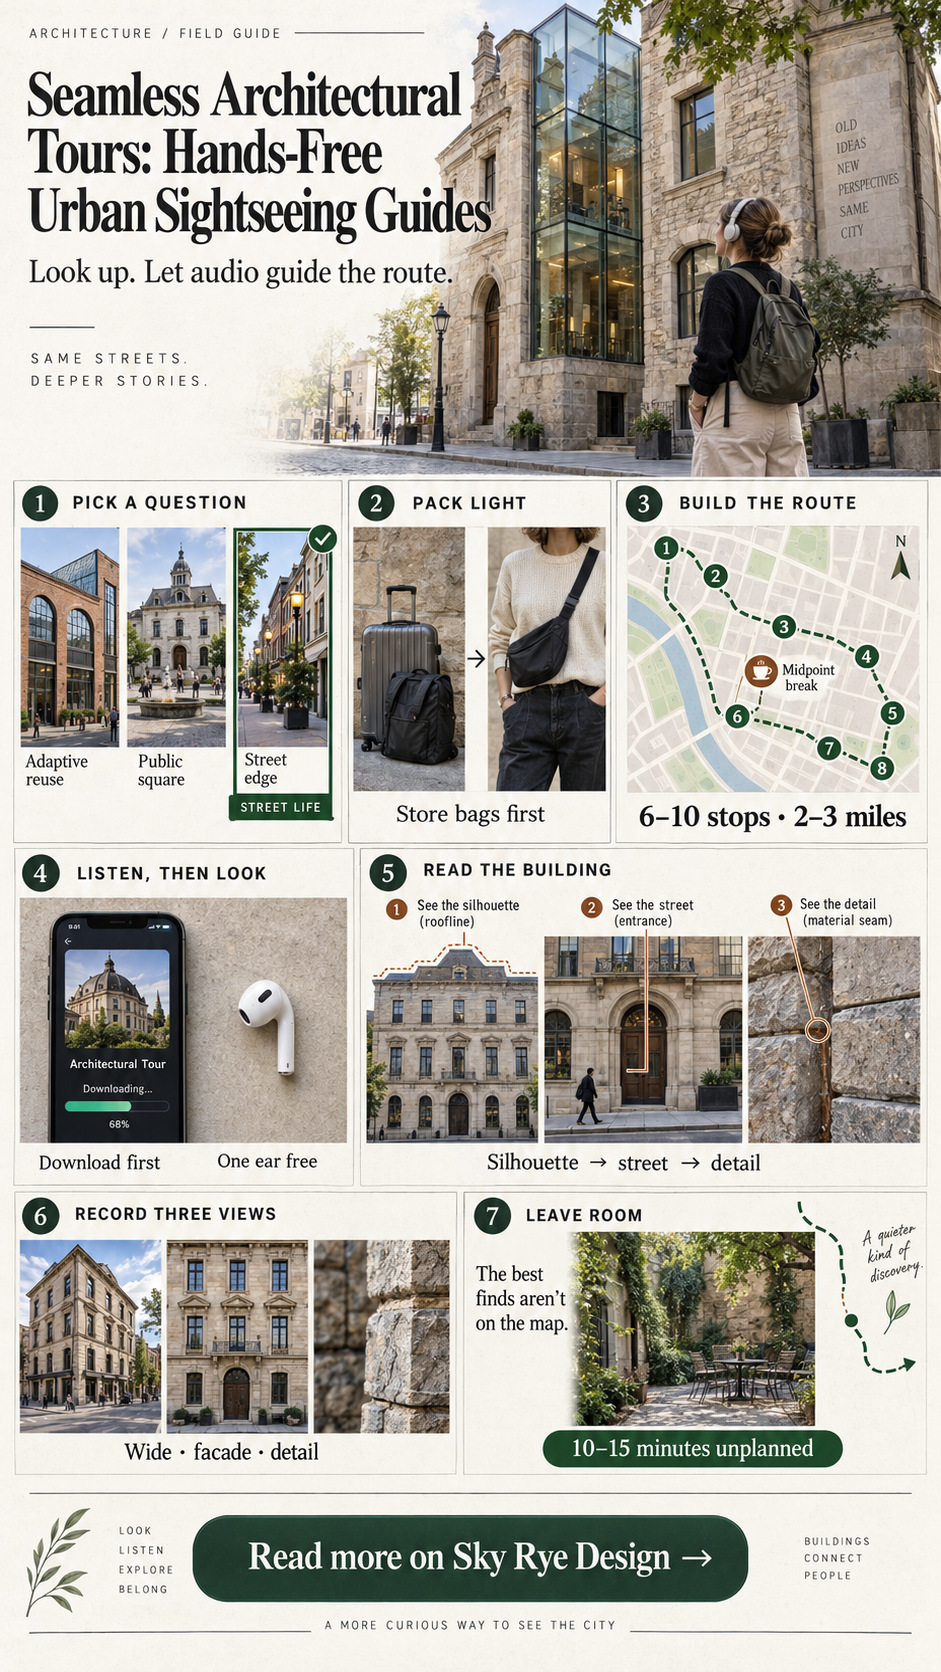
Before choosing stops, pick one question. How have warehouses found new uses? Where do public buildings make room for people to gather? What happens to a street when a tower pulls back from the sidewalk? Use your question to cut stops that don’t belong. A famous façade isn’t automatically worth a detour.
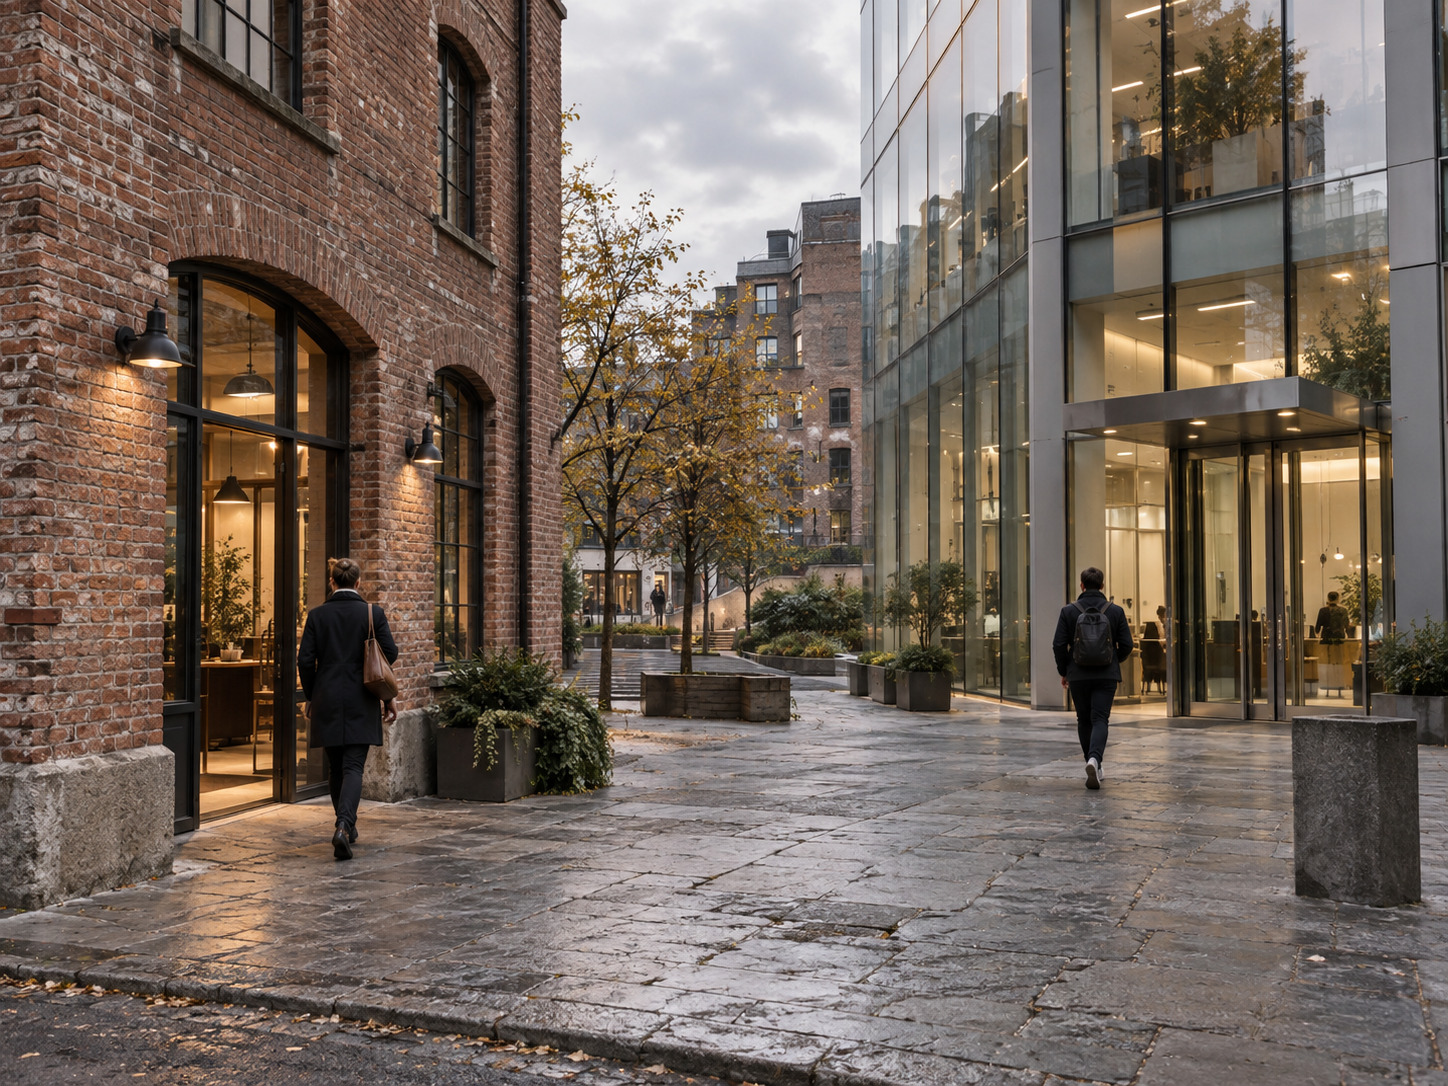
When I size up a building, I start with its silhouette, then look at how it meets the street. Details come last. Try the same approach. From across the road, compare the roofline and window spacing with neighboring buildings. At the entrance, look at the threshold, the material changes and the way people actually move through the space. Decorative stonework is interesting; a door that everyone avoids can be just as revealing.
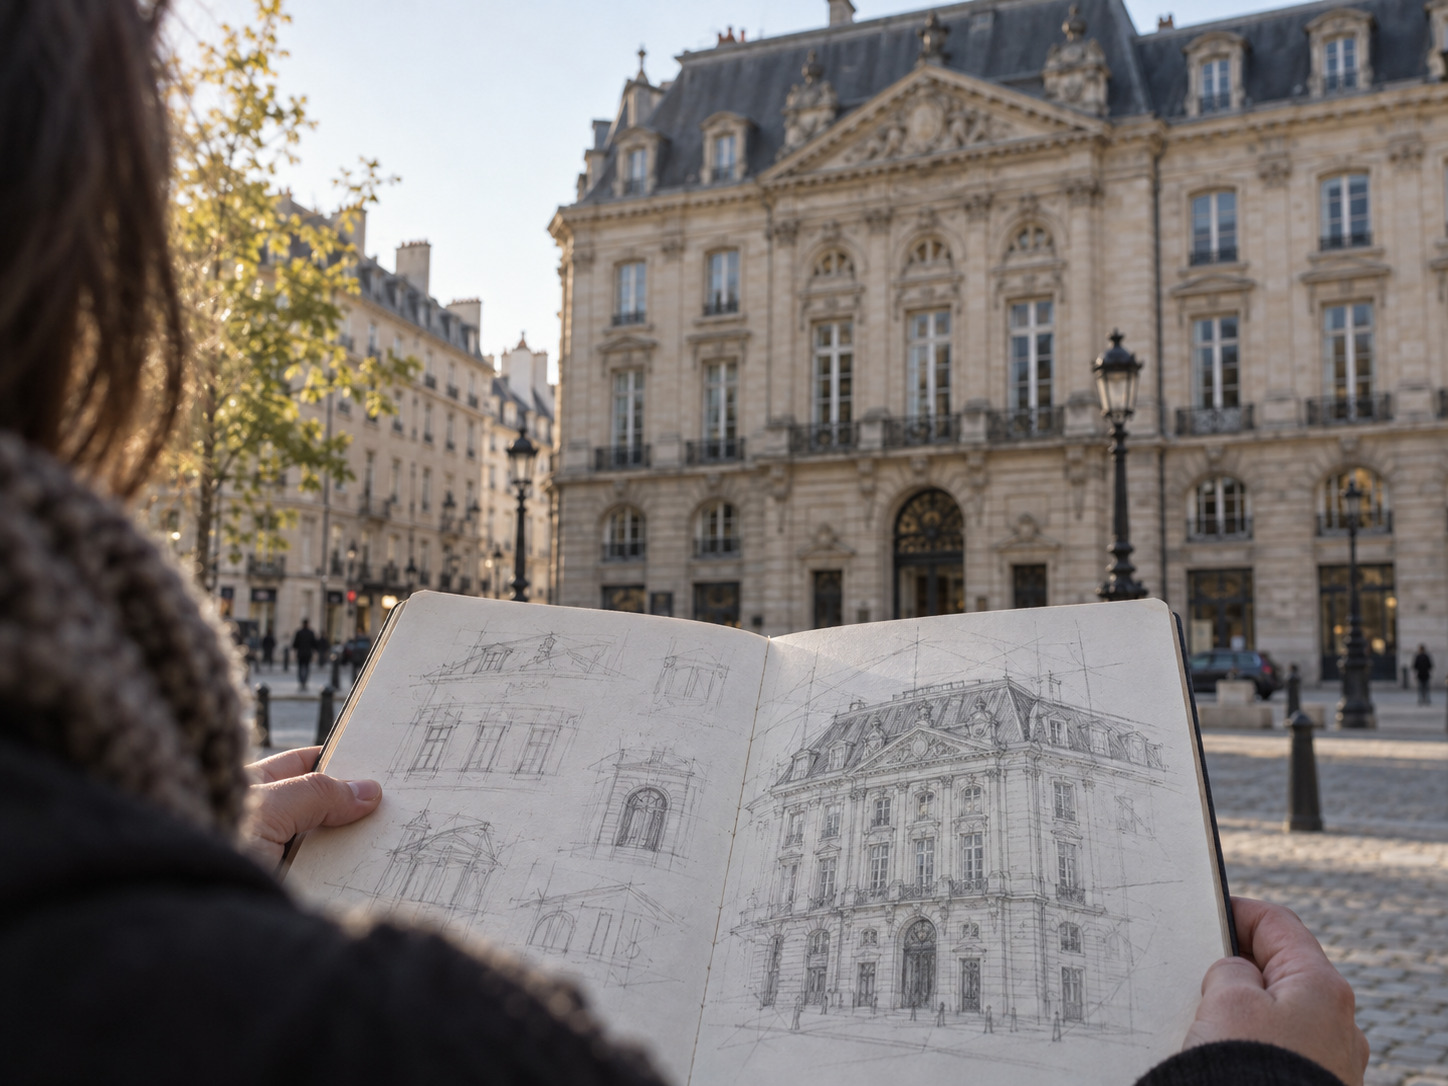
Audio works best when it leaves gaps for this kind of looking. A useful recording explains a feature as you approach it, then gives you time to inspect it. Pause when the view opens up or the light changes. If the guide is still talking, let it wait.
Leave the luggage out of the itinerary
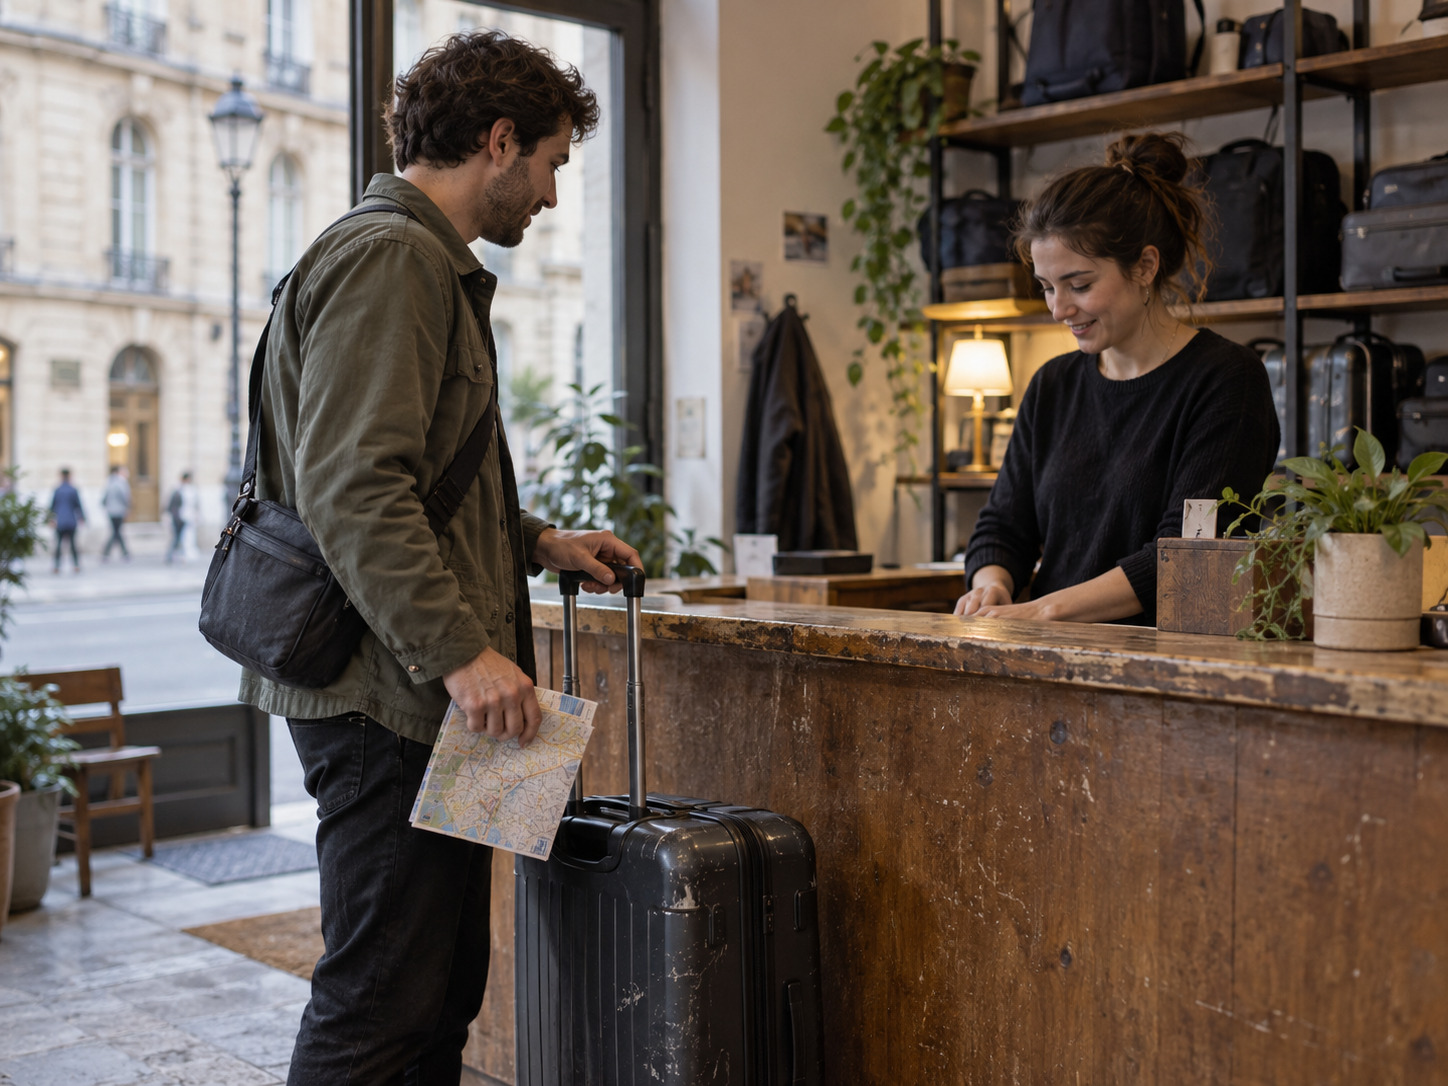
A suitcase changes how you experience a city. Wheels catch on paving joints, crowded interiors become awkward, and your attention drops to the curb just when you want to study the buildings above it. On a checkout day, deal with your bags before starting the tour.
For an arrival-day walk in Sydney, the practical question is where I can store my bags in Sydney. Compare locations near the day’s route and reserve a place before setting off. Choose a drop-off point with the final stop and onward transport in mind. A storage spot beside your hotel may be convenient in the morning but frustrating if you have to cross the city to collect everything later.
Check the location’s hours and allow time for the return trip. Then carry only what the walk needs: water, a light layer, your phone, a charger and perhaps a small notebook. A crossbody bag keeps both hands available for a camera or sketchbook without making every doorway a squeeze.
Design a route you can actually enjoy
For a two- or three-mile walk, start with six to ten stops and trim the list if the crossings or hills take longer than expected. A short route with time to cross the street for a better view beats a long one spent racing between pins.
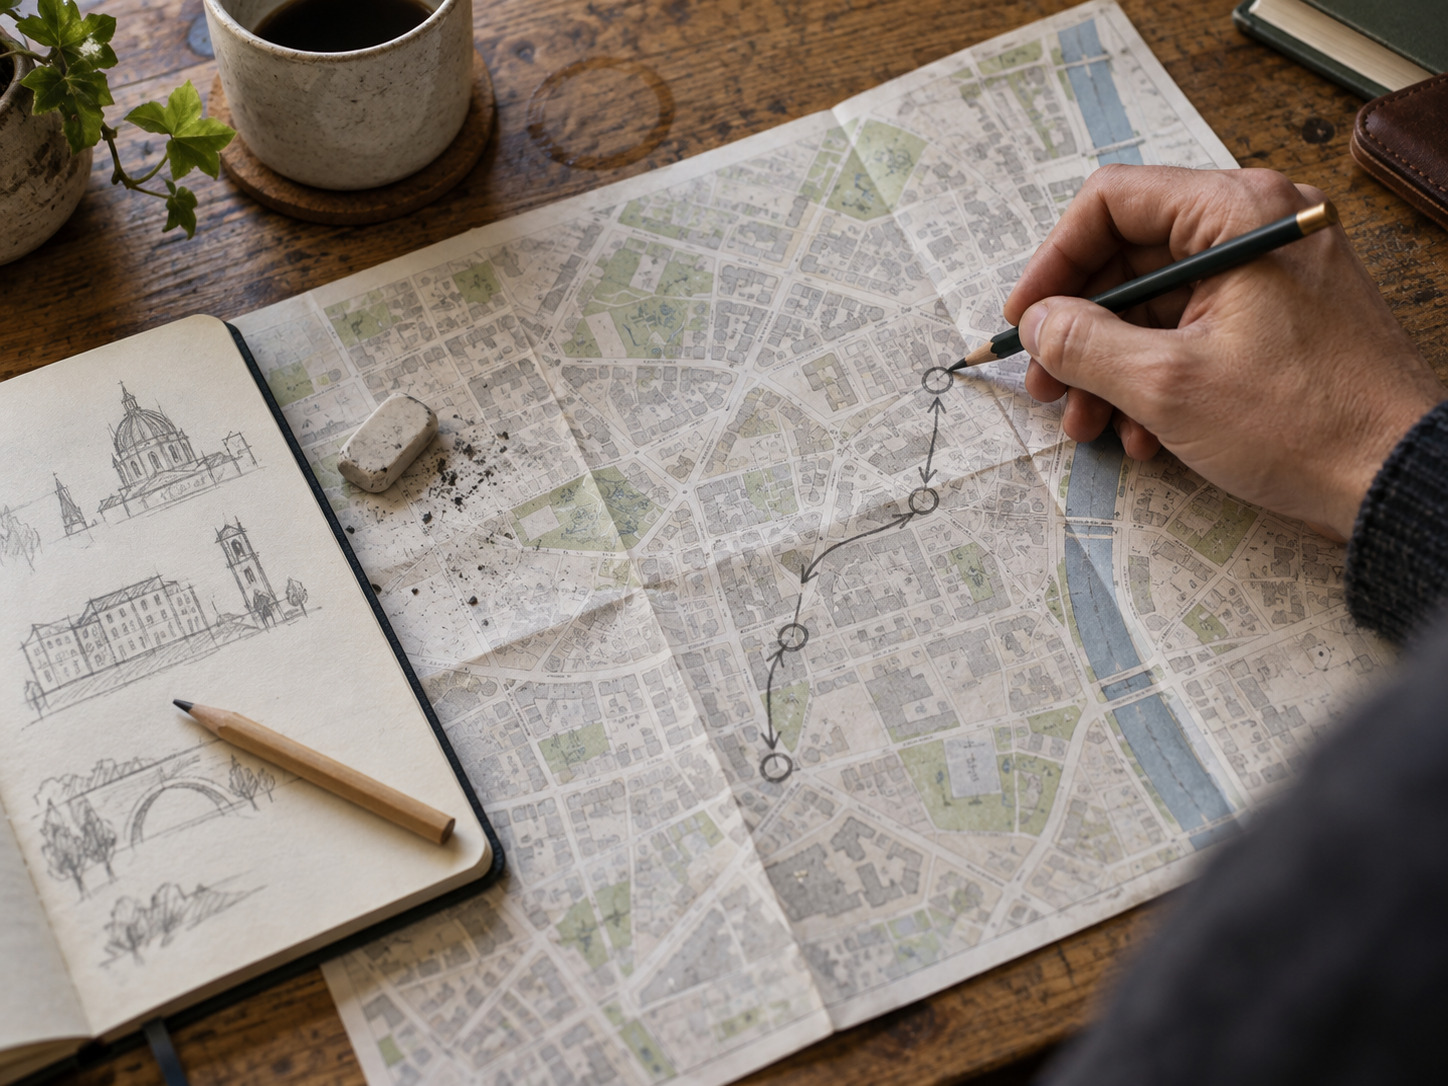
Put the strongest stop near the beginning, when everyone is fresh. Follow it with buildings that develop the same idea in different ways. A converted warehouse, a new civic lobby and a shaded public square, for example, can show how a district treats shared space across several decades. Add a café, restroom or sheltered passage around the midpoint, plus a sensible place to leave the route early if the weather turns.
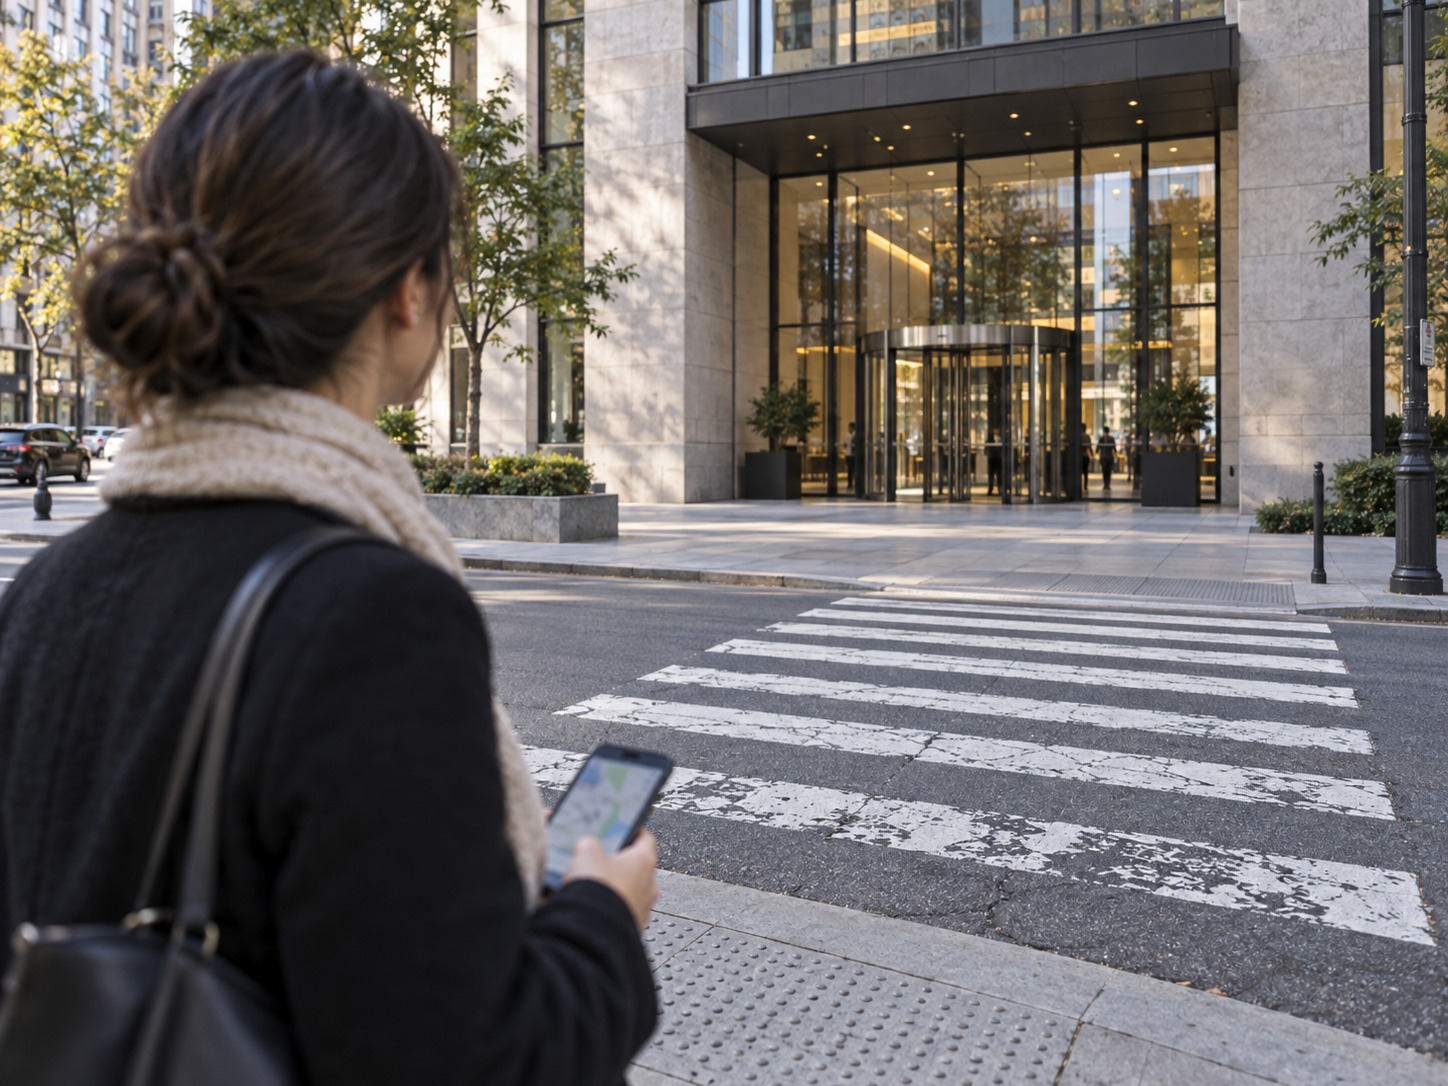
Existing audio routes can help you judge pacing. The New York audio tours on VoiceMap show how narration, walking instructions and GPS playback can fit together. Read the stop list before buying or downloading any tour: a route that visits famous buildings may still say little about their design. If you’re building your own walk, use Google Maps directions to check distances and crossings, then save the main stops separately. A map pin on a large building may lead to a service entrance or the wrong side of the block.
Make the audio easy to use
Download what you can over Wi-Fi before leaving. Tall buildings, underground passages and thick walls can interrupt mobile reception. Charge your phone, pack a power bank with the right cable, and test the first audio segment with the screen locked. That small check catches playback problems before you’re standing at the first stop.
Apps handle directions differently. Some start a story when you reach a GPS point; others need a tap. The UCPlaces tour guide app is one option built around self-guided GPS audio tours. Before choosing an app, check the route preview, offline access, playback controls and whether the available commentary actually covers the architecture you came to see.
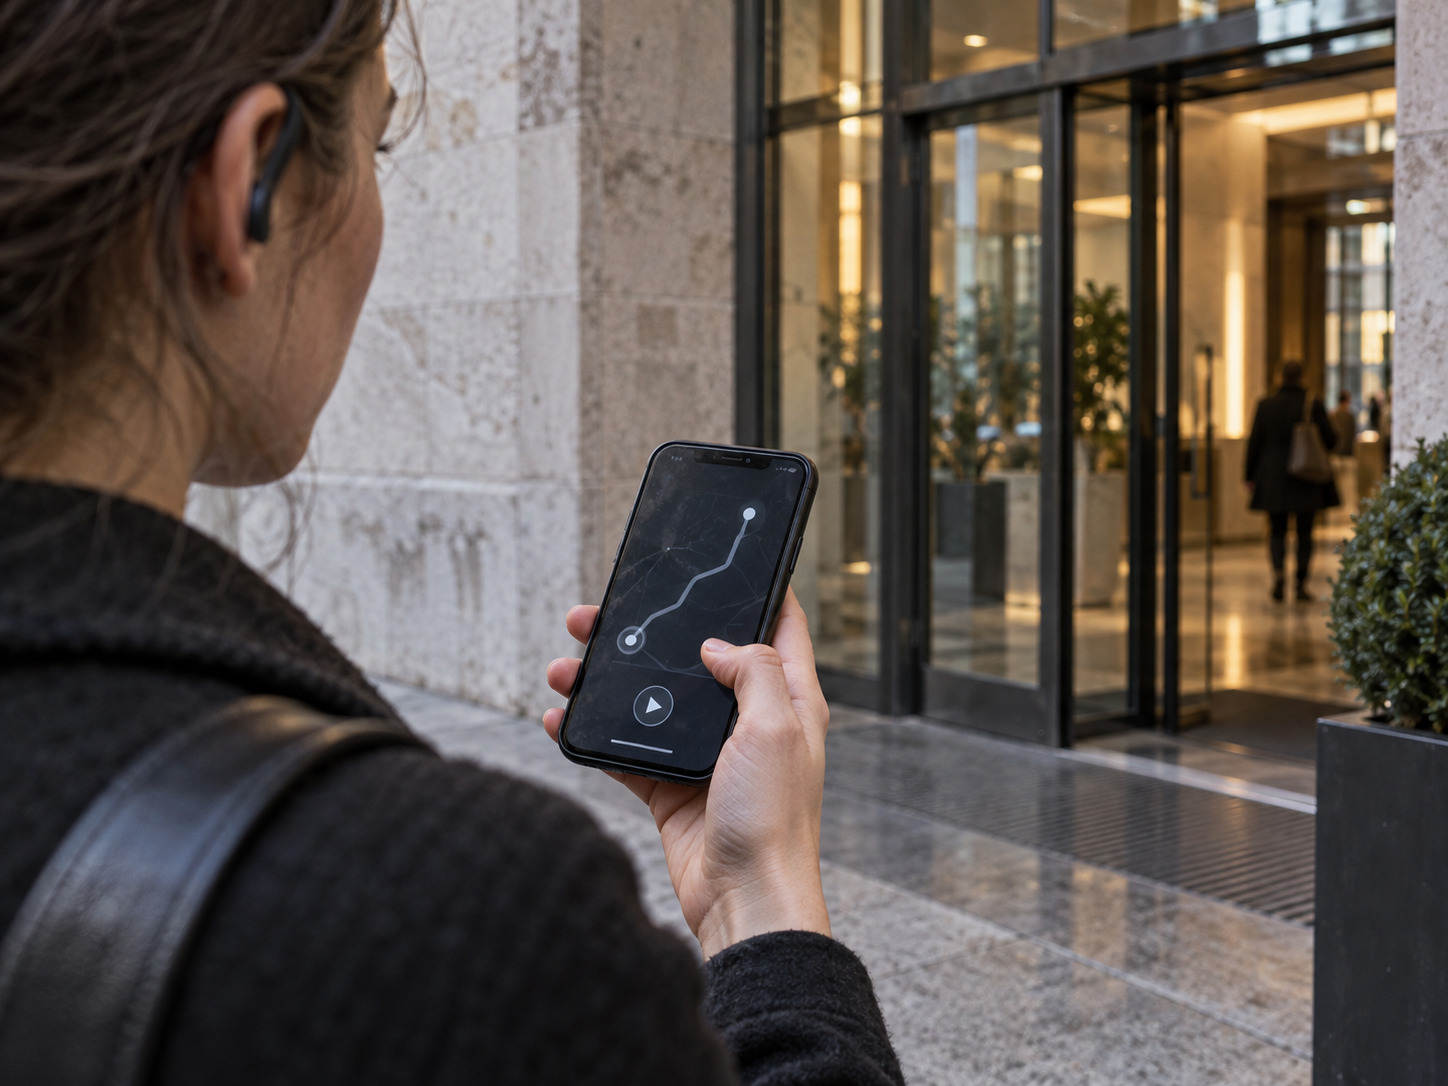
Keep one ear free on busy streets or use a transparency setting. Lower the volume at crossings, and stop walking if you need to study a map. You should still hear a bicycle bell and the person asking to get past you.
Let the light change your viewing order
The same façade can look flat at noon and deeply cut an hour later. Light catches a window reveal, throws a cornice shadow across brick, or makes a glass addition reflect the building opposite it. If one stop depends on relief or texture, check which side of the street faces the sun when you plan the route. You don’t need a perfect forecast. You do need enough time to move around the building.
At each stop, look once from the bright side and once from the shade if public access allows it. Ask which parts of the form still read clearly. A strong entrance is usually legible even when its ornament disappears into shadow; a weak one may depend on a particular photograph angle. This is a useful design test and a better reason to change position than simply trying to fit the whole building into your camera frame.
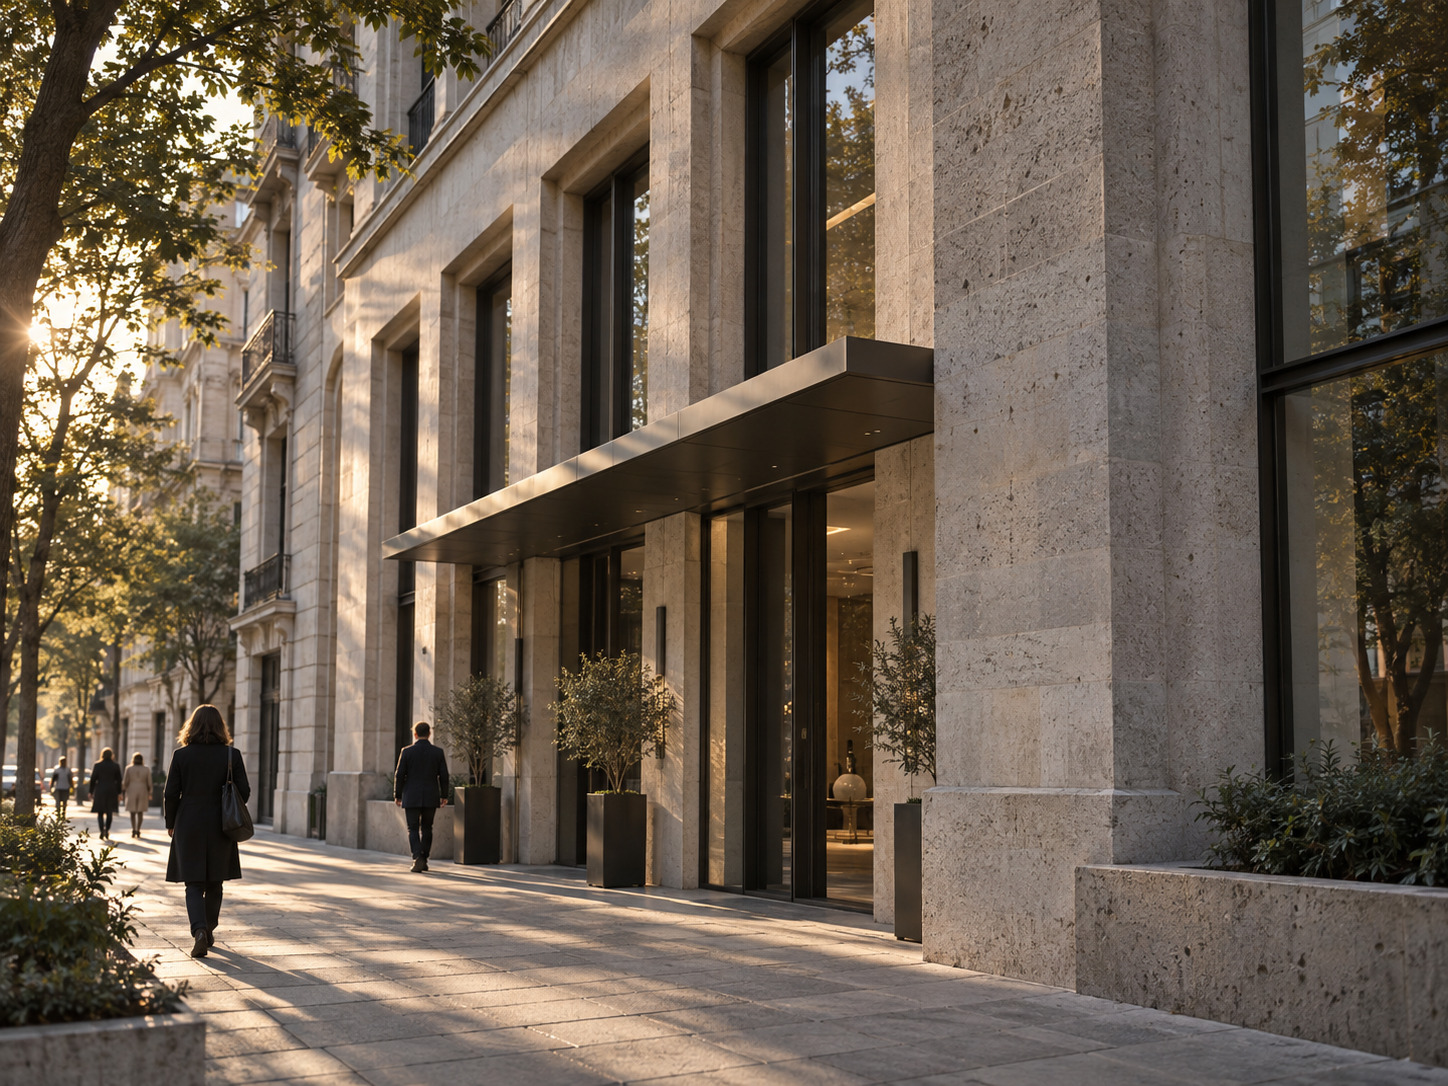
Rain can make materials easier to compare. Wet stone darkens, metal catches reflections, and sheltered passages suddenly show what they were designed to do. Keep the phone protected and shorten the route if the pavement becomes slippery, but don’t assume overcast weather has ruined the walk.
Look beyond the façade
The most useful view is often from the opposite sidewalk. From there you can read the building’s proportions, setbacks and window pattern in one glance. Move closer afterward to see how the ground floor meets the street. Does the entrance welcome you in, or does the building turn its back on pedestrians? Are benches placed where people have shade? Has a newer addition changed the original circulation?
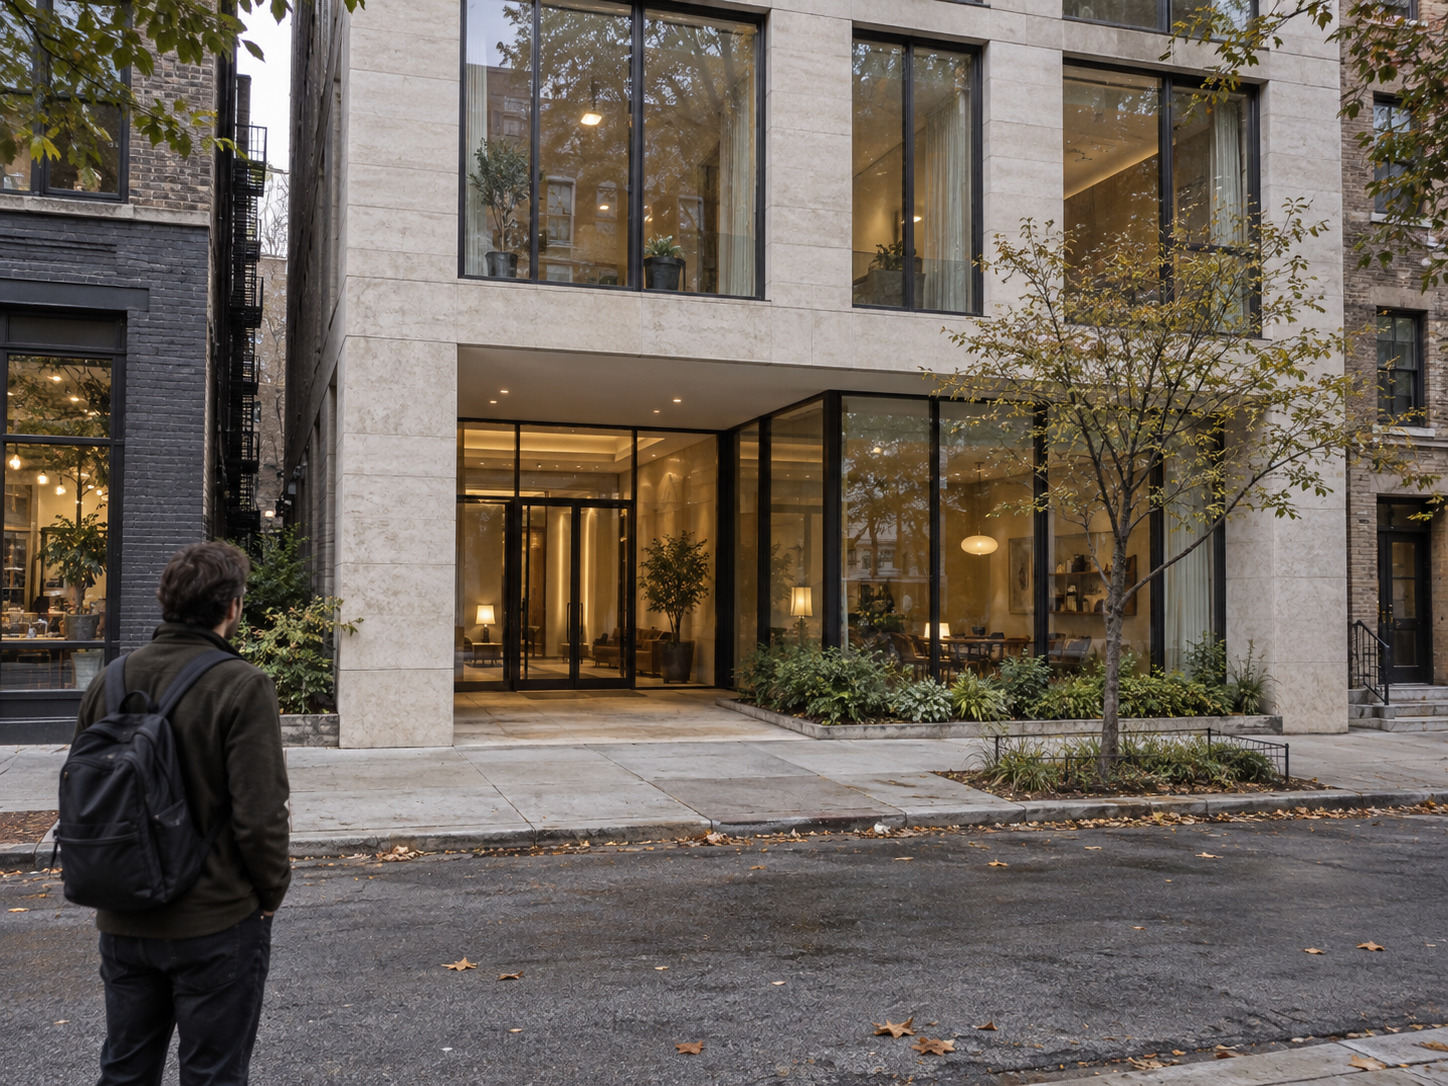
Photograph the relationship before the ornament. Take one wide frame that includes the neighboring buildings and street, one closer view of the façade, and one detail that explains its material or construction. Those three images will be more useful later than ten nearly identical shots of the front door. If you sketch, block in the main mass first and mark the strongest shadow. Details can wait until the proportions make sense.
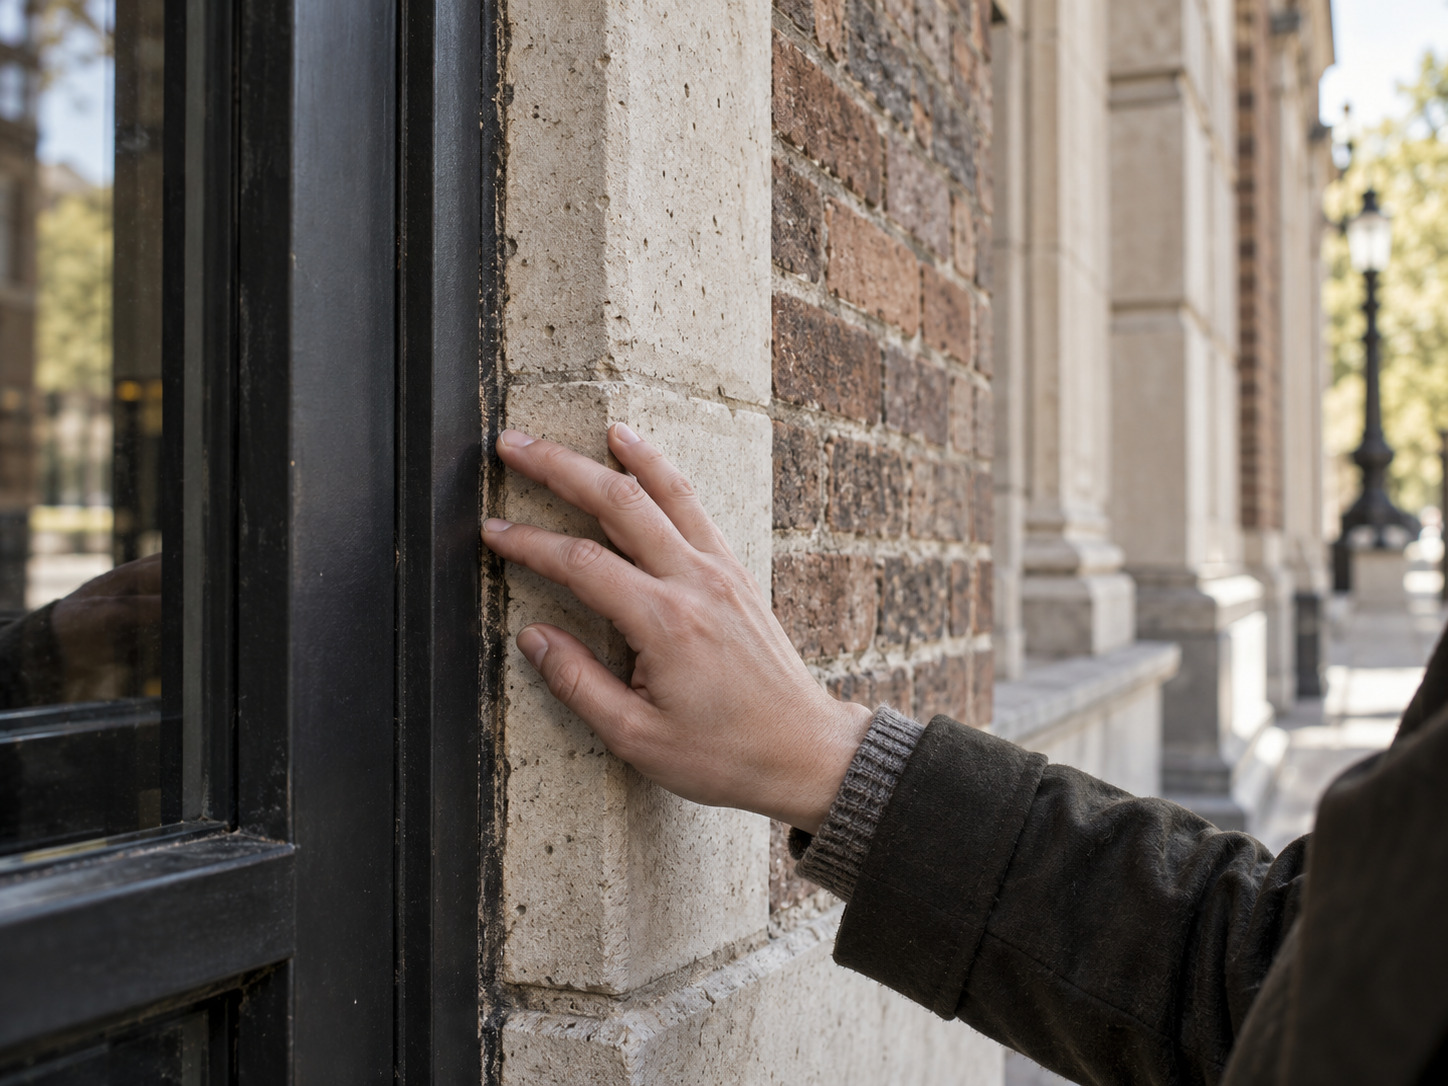
Watch how the space is used, too. People may sit on the edge of a planter rather than the formal benches, or cut through a plaza along a path the designer did not emphasize. Those small choices tell you how the architecture works in daily life. They are easy to miss when your only goal is to reach the next landmark.
Look for the building’s second life
Many city buildings have been altered so often that the most revealing part is the join. A new shopfront may sit below older masonry. A former loading bay may now open into a café. Look for changes in brick color, mismatched window spacing, filled-in openings and a shift in floor level. These clues don’t tell you the full history, but they give you better questions for the audio guide or a later search.
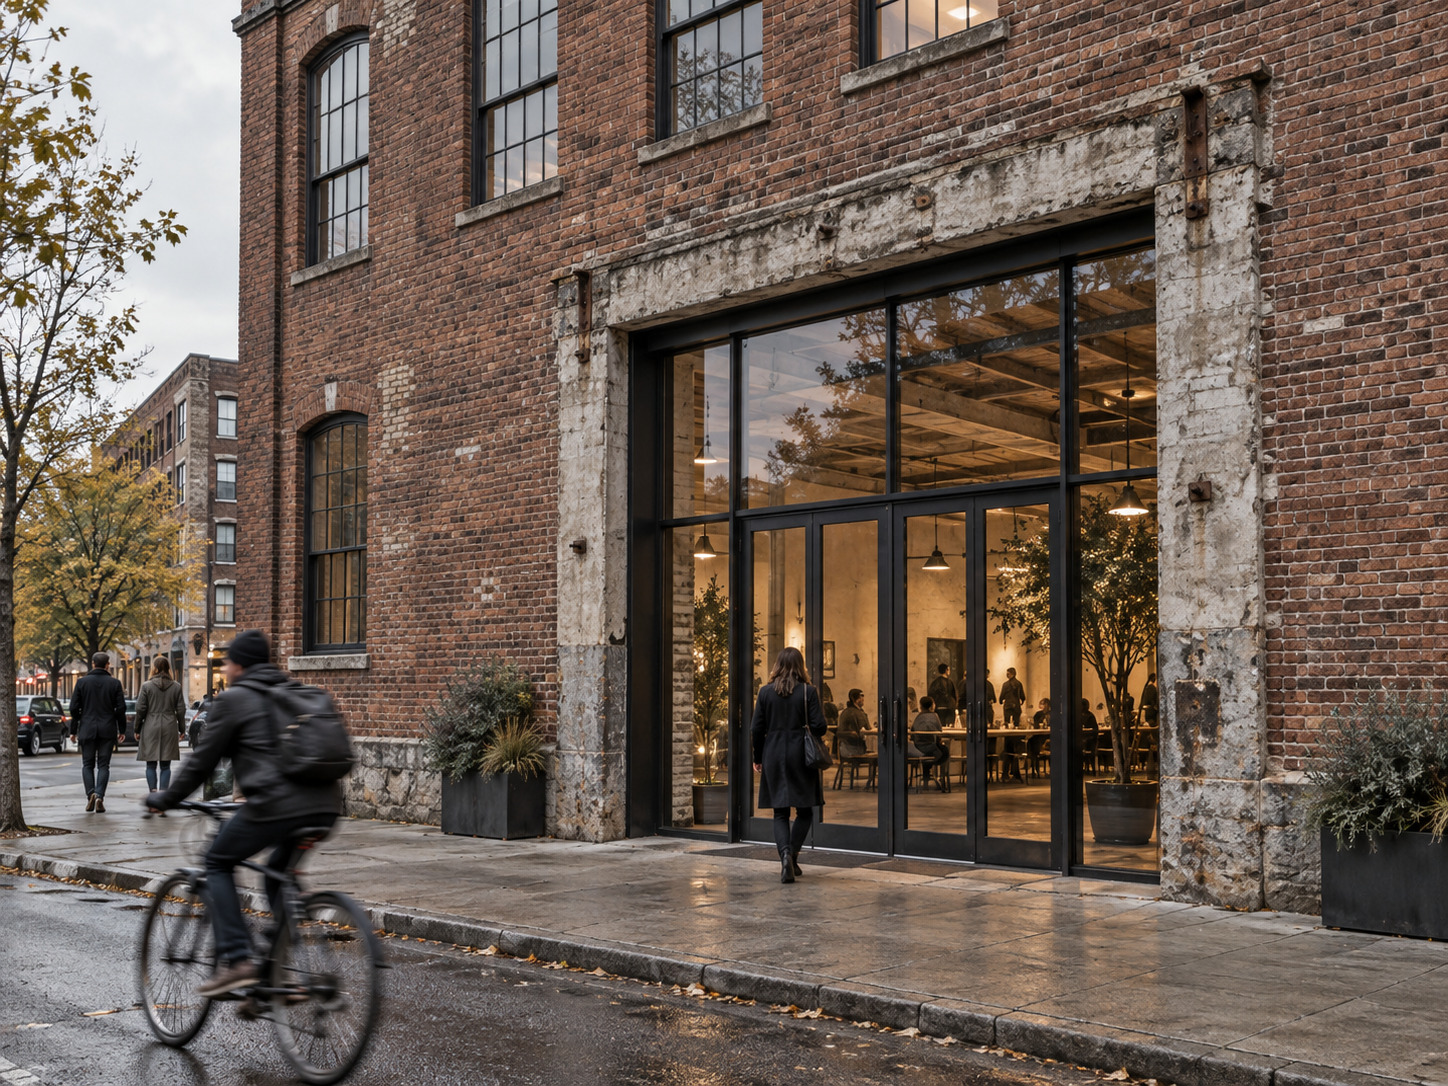
Start with what you can verify by looking. “The windows on the top floor are a different size” is an observation. “The floor was added in the 1920s” needs a source. Keeping those apart makes the walk more interesting: you get to test your first impression against a plaque, an archive photo or the guide’s account instead of repeating a story you guessed from the street.
Try taking two pictures of one change: a wide view that shows how the altered part fits the building, then a close view of the seam. If you sketch, a quick outline with one shaded plane can make the change in depth clearer than a detailed photo. You’ll have a small record of the design decision, not just another image of the landmark.
Keep room for the unexpected
Check steps, slopes, uneven paving and accessible entrances before going, especially if anyone in your group needs a level route. Match the timing to the district: morning can be quieter for business streets, while midday may suit a walk with indoor stops. Leave a little space between audio segments so people can compare what they noticed instead of listening continuously.
And keep ten or fifteen minutes unassigned near the end. A side street, open lobby or patch of late light might be the best part of the walk. With your bags accounted for, a workable route on your phone and the audio paused when it should be, you can give that discovery the attention it deserves.
FAQ
How long should a self-guided architecture walk take?
Allow about two hours for six to ten stops, then add time if you want to sketch, enter public buildings or sit in a plaza. Walking distance alone is a poor estimate. Crossing a busy road for the right view and waiting for a clear photograph both take time. If you’re collecting luggage afterward, decide when you need to turn back before you start.
Do I need a dedicated tour app?
No. A saved map, a short stop list and a few downloaded audio tracks are enough for a simple route. An app becomes useful when you want narration to start near each building or spoken directions between stops. Preview the route first. If the commentary focuses on dates while you’re interested in materials and public space, build your own stop list instead.
Will the tour work without mobile data?
It depends on the app and what you’ve downloaded. Save the tour and map before leaving Wi-Fi, then switch off mobile data briefly and test playback and directions. Keep the address of your final stop and luggage pickup somewhere you can reach offline. A screenshot is less elegant than an app, but it can save a walk when the signal drops.
How can I make the route easier to walk?
Check slopes, stairs, crossing points and accessible entrances before you go. A building’s main door may not be its step-free entrance, and a short route on the map can still have awkward paving. Put a place to sit near the midpoint. If you’re going with someone else, agree on an easy exit point so nobody feels obliged to finish every stop.
Is it safe to listen to audio while walking in traffic?
Keep the volume low enough to hear crossings, bicycles and people around you. Use one earbud or a transparency setting, and pause the narration before a complicated junction. If you need to read the screen, step aside first. The point of hands-free guidance is to spend more attention on the street, including the things moving through it.
What should I record at each building?
Take a wide view, a closer view and one detail you want to remember. Add a short note about what caught your eye: an entrance that feels hidden, a shadow that shows the depth of a wall, or a newer material meeting an older one. If you’re sketching, mark the big shapes before the ornament. That small set of observations is easier to use later than a phone full of near-identical photos.
- 7shares
- Facebook0
- Pinterest7
- Twitter0
- Reddit0