Five beautifully exposed shots can still feel like five unrelated files. The focus is crisp, the color grade is tasteful, and the camera movement is smooth. Yet nothing changes for the viewer. That usually happens when the camera decision arrives before the visual idea.
My industrial design and life-drawing training taught me to judge an image before getting lost in its details. Where does the eye land first? Which shape carries the most weight? Does the empty space create tension, calm, or confusion? The same questions sit behind strong cinematic storytelling. A sharper lens will only record a weak composition more clearly.
- Cinematic storytelling starts before the camera
- Plan the emotional beat, then design the sequence
- Use shot composition to control what the viewer feels
- Shape emotion with light, color, and controlled movement
- Choose camera settings for meaning, not a formula
- Build rhythm with B-roll, sound, and editing
- Practise with a five-shot story on any camera
- Cinematic storytelling FAQ
- Make every shot earn its place
The useful shift is simple: stop treating each shot as a separate beauty image. Treat it as one sentence in a sequence. Camera distance can reveal intimacy or isolation. Light can make a familiar room feel safe, clinical, or uncertain. A cut can complete an action, interrupt it, or reveal its consequence.
This guide turns cinematic shots into a clear visual narrative: plan the decisions, connect composition with movement and sound, then shoot with the camera you already have.
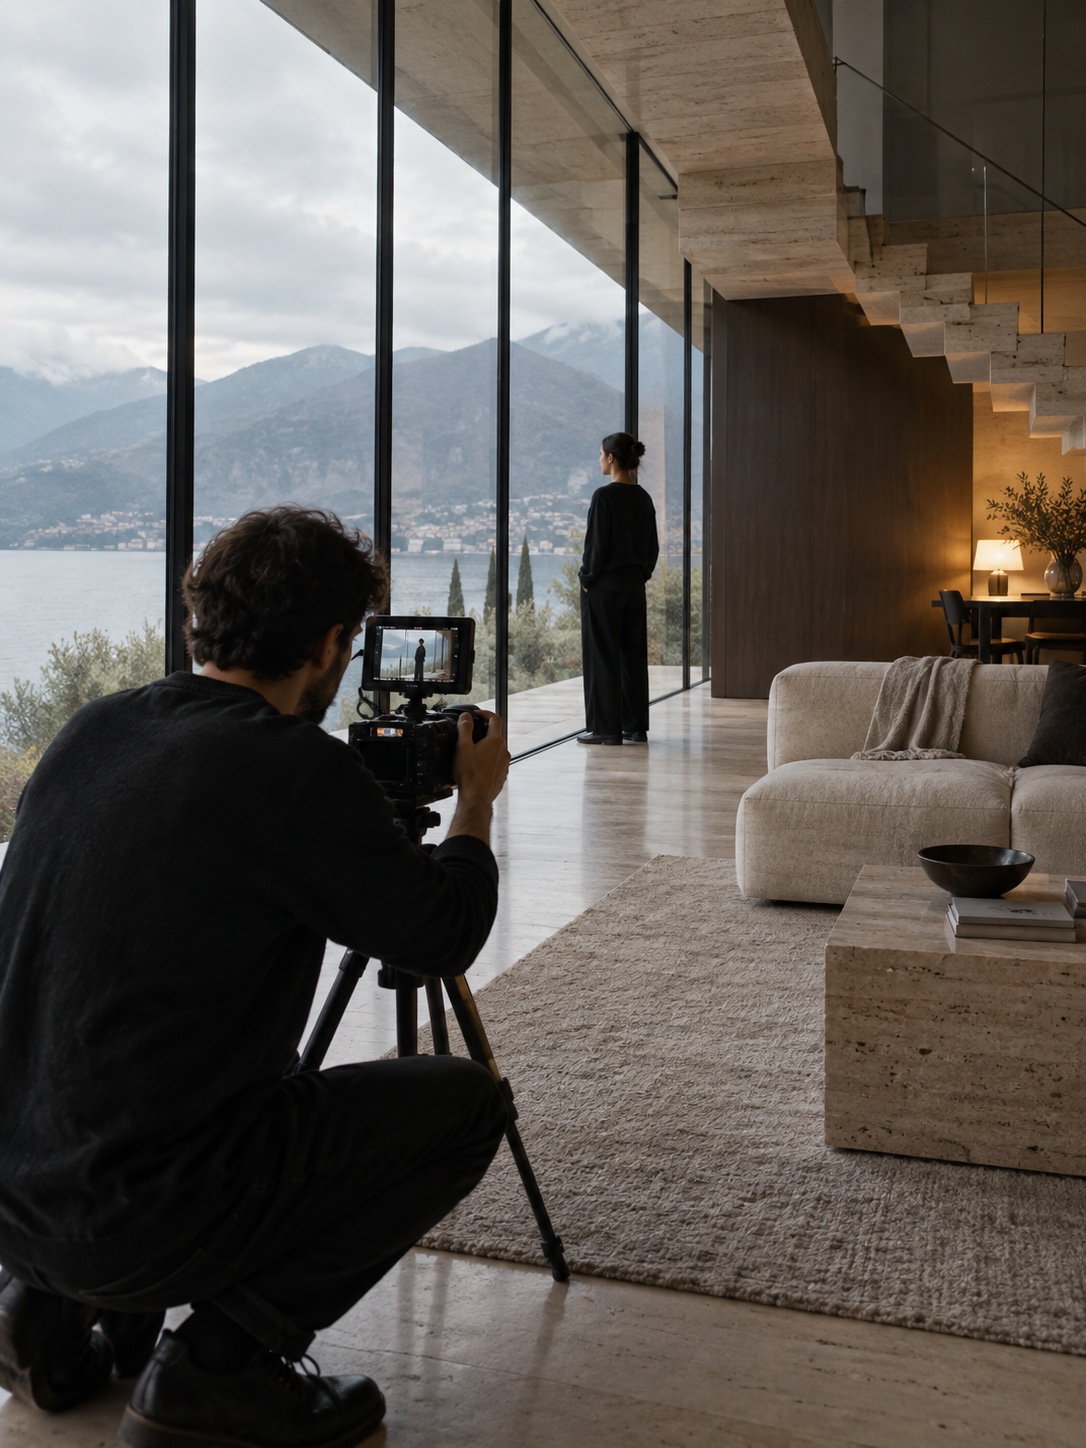
Cinematic storytelling starts before the camera
A shallow depth of field can make a coffee cup look expensive. Black bars can suggest a movie trailer. Neither tells us why the cup matters or what changed when someone picked it up.
A cinematic look covers lens character, contrast, color, texture, and motion. A visual story carries information and feeling from one shot to the next. Story comes first.
A cinematic look is surface; a visual story creates change
In In the Mood for Love (2000), Wong Kar-wai, Christopher Doyle, and Mark Lee Ping-bin use doorframes, curtains, and narrow corridors to hold characters apart. The compositions make emotional restraint visible.
In Parasite (2019), Bong Joon-ho and Hong Kyung-pyo arrange stairs, basement rooms, windows, and elevated streets vertically. Architecture makes power and social position legible before dialogue explains them.
A shot should establish place, reveal a relationship, show intention, introduce an obstacle, or register a consequence. Otherwise, it is attractive B-roll that does not move the story.
I use the same test in design work. One focal point beats three equal accents. If my eye has nowhere to land in a thumbnail, texture rarely fixes it.
Use a four-question frame diagnostic
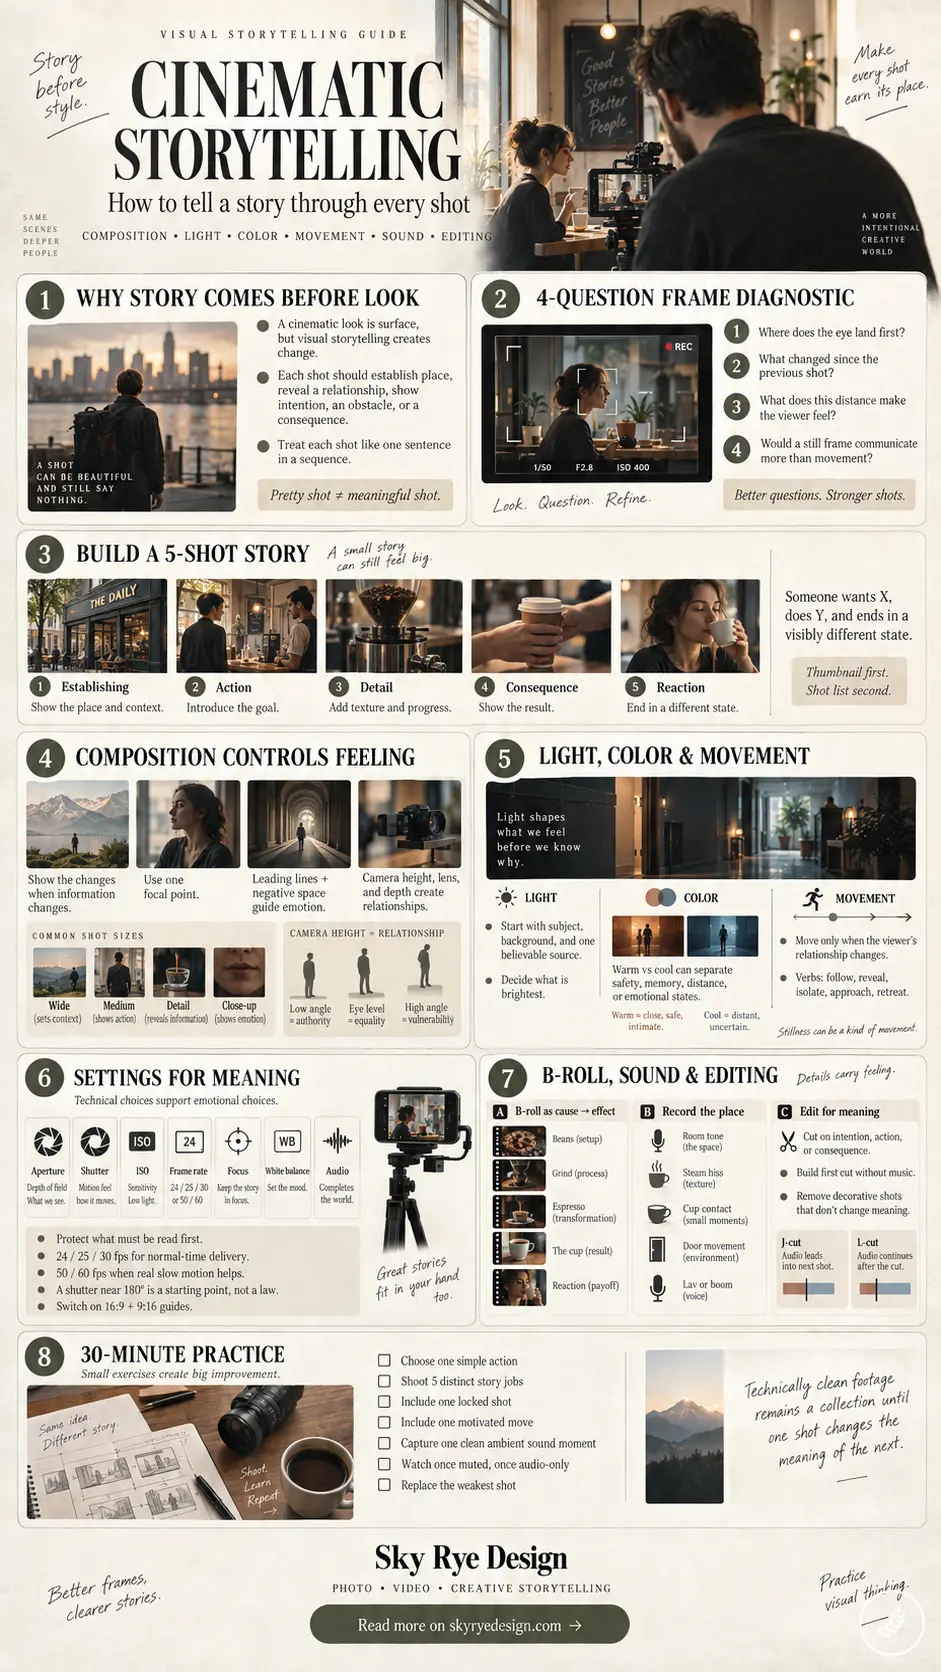
Before recording, pause and ask four questions:
- Where does the eye land first?
- What has changed since the previous shot?
- What does this camera distance make the viewer feel?
- Would a still frame communicate more than a moving one?
Run the test on a rough phone preview or a two-inch storyboard sketch. Keep the answers short. “The hand reaches for the key” is useful; “the shot feels creative” is not. I covered more ways images carry meaning in this guide to visual storytelling techniques.
Once every frame has a clear job, you can arrange those jobs into an emotional sequence before the camera leaves its bag.
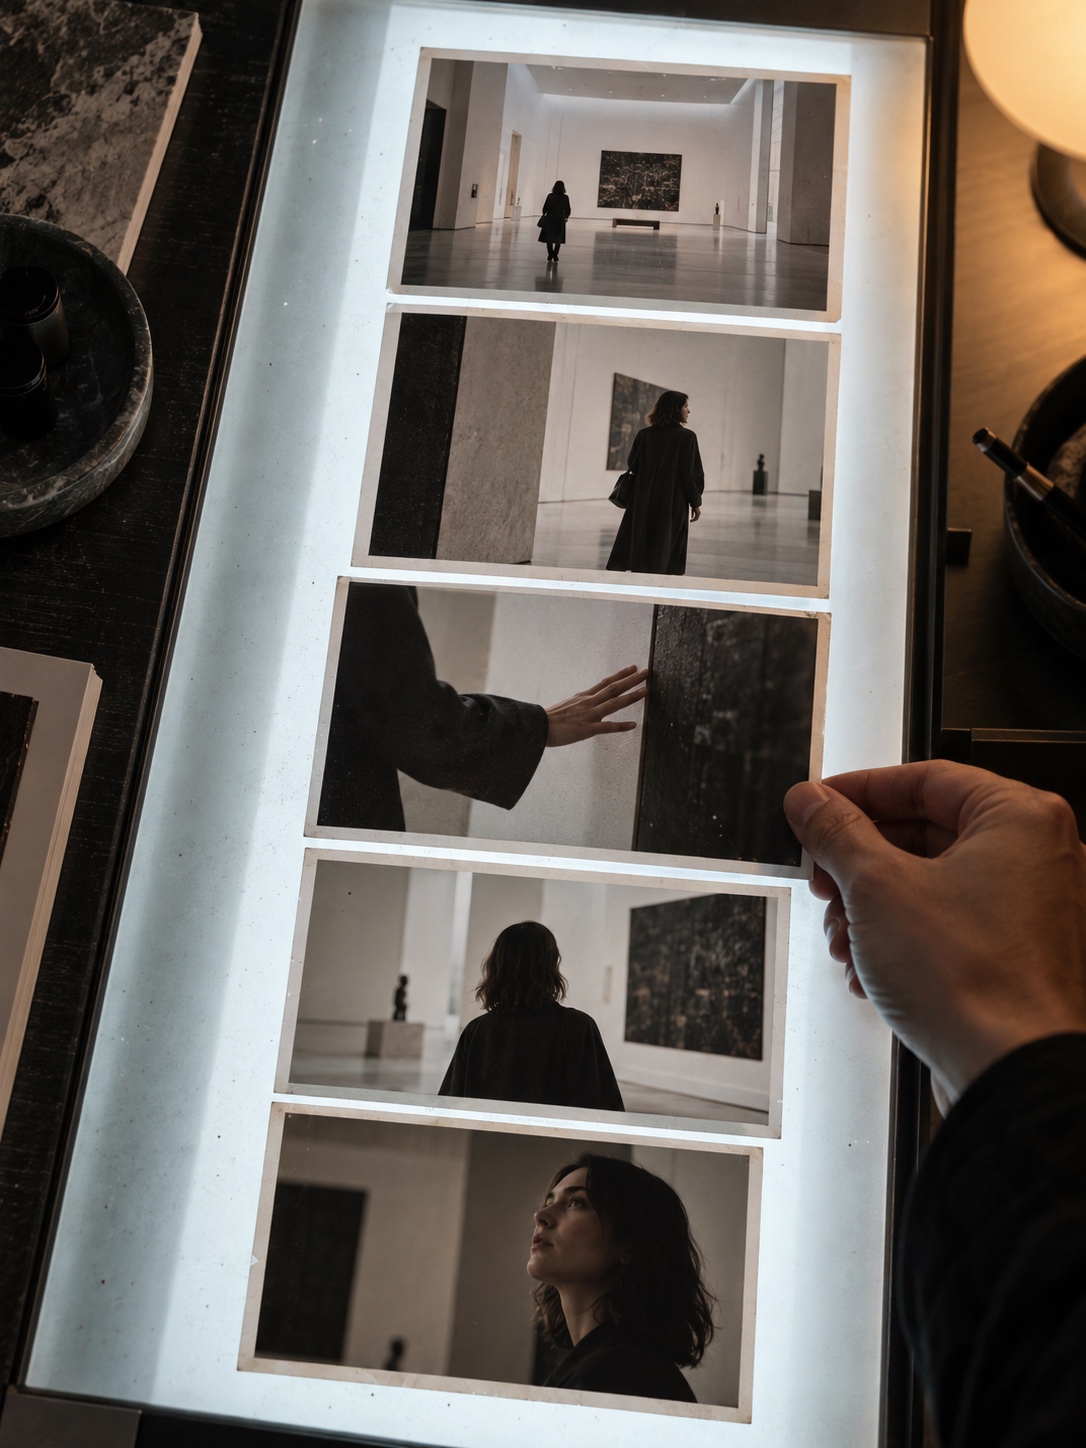
Plan the emotional beat, then design the sequence
Start with visible change. “A person gets coffee” is an activity. “A tired commuter enters a quiet café and relaxes after the first sip” is a story beat. Film fatigue, anticipation, warmth, and release.
Reduce the idea to one visible change
Write your premise in one sentence:
Someone wants X, does Y, and ends in a visibly different state.
Begin outside as the commuter pauses at the door, shoulders tight. Inside, show the order, grinder, espresso, and steam. End on their hand loosening around the cup.
The wide shot establishes separation, details slow time, and the reaction completes the beat.
Thumbnail before writing the full shot list
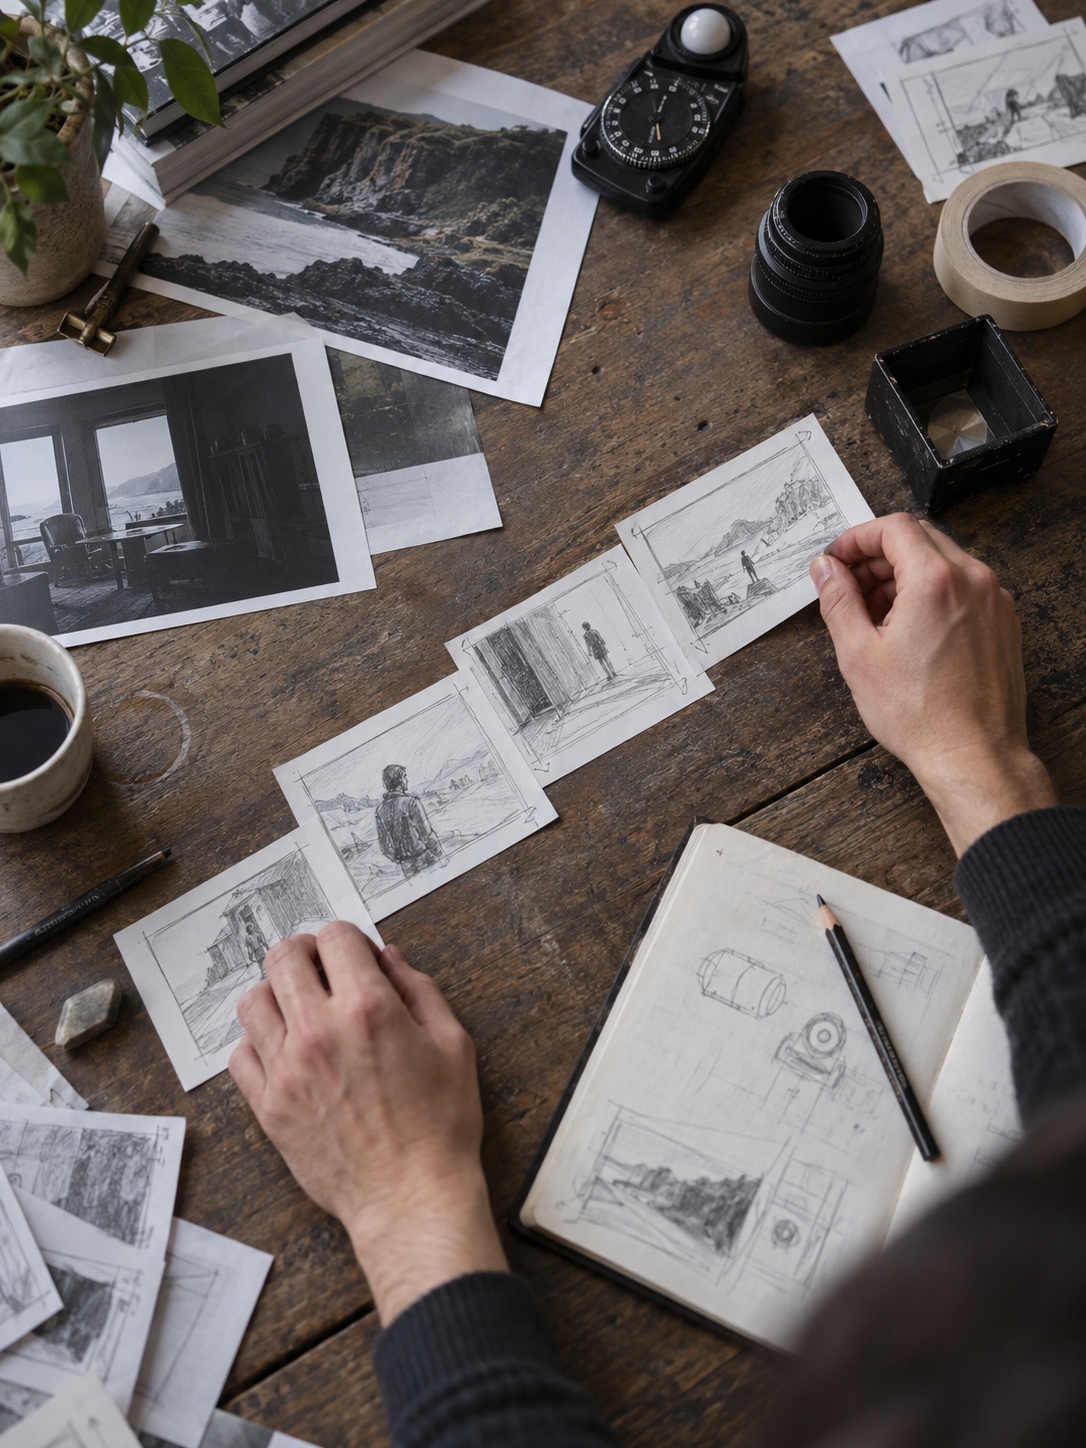
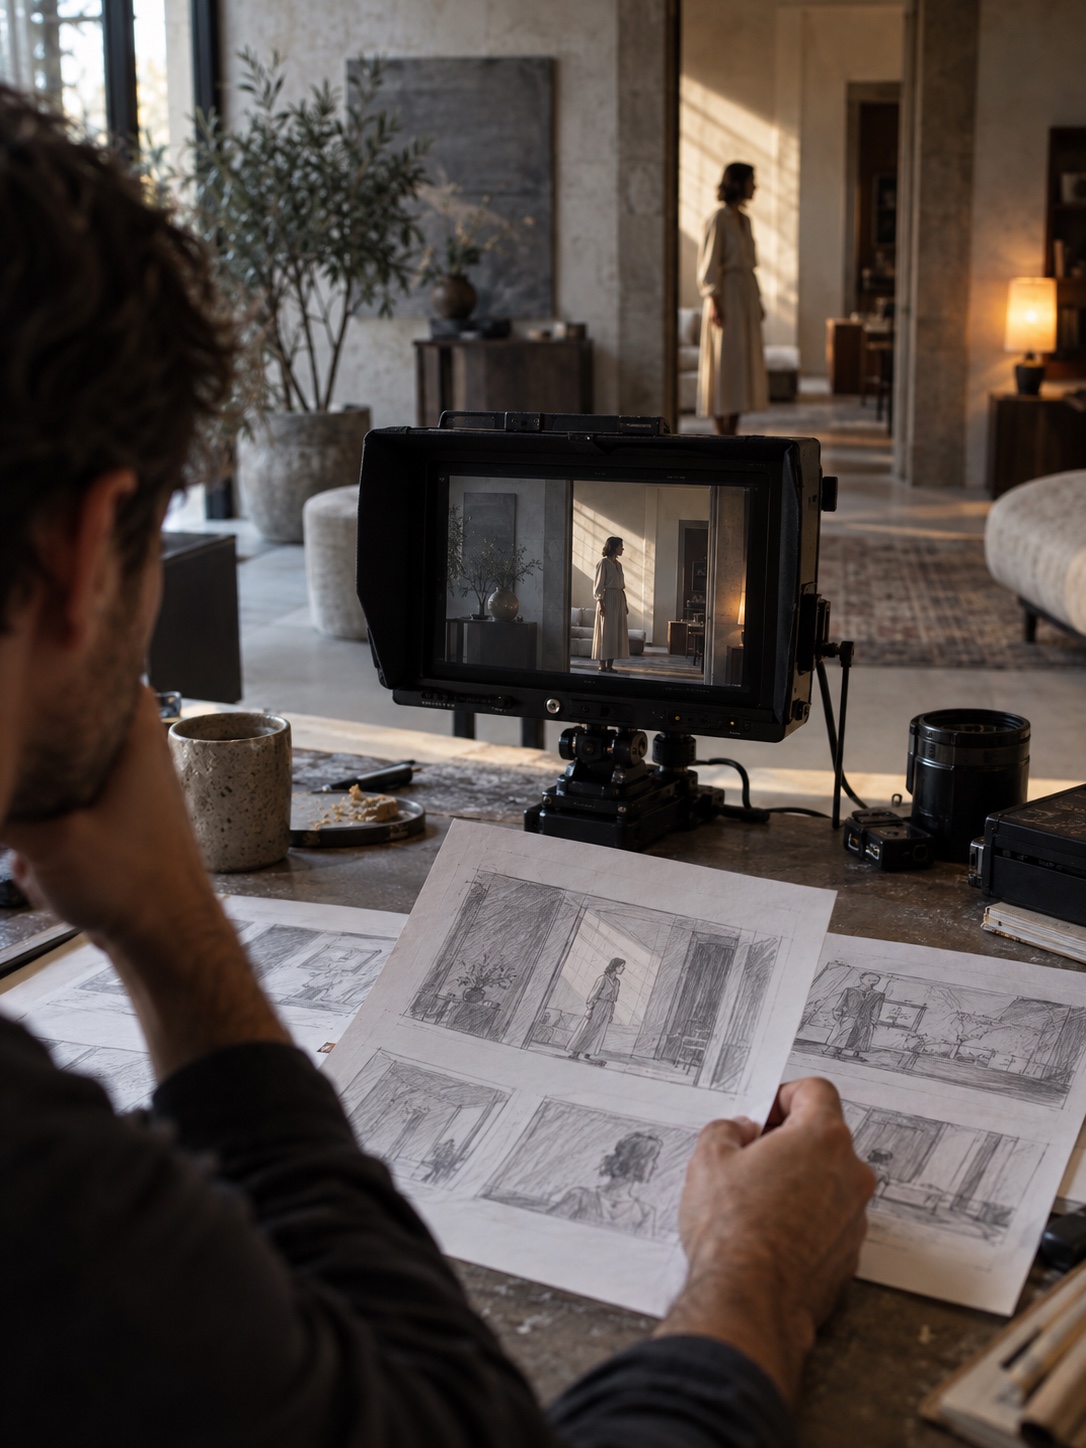
Draw five business-card rectangles: establishing view, action, detail, consequence, and reaction. Stick figures are enough. Check placement, value shapes, and movement.
Automotive design taught me to test a silhouette before reflections or surface lines. If the profile fails at thumbnail size, rendering cannot rescue it. Squint at the storyboard and check whether its focal point survives.
The same principle drives storyboarding for comics: what changes between panels matters more than one polished panel.
Protect continuity while changes are cheap
Mark each entrance, exit, eyeline, prop position, and light direction. Once viewers notice a continuity error, they start solving it instead of following the action.
A coverage list requests sizes. A storyboard explains their order, what each reveals, and where attention moves next.
Martin Scorsese’s hand-drawn storyboards for Silence (2016) gave cinematographer Rodrigo Prieto a starting point for shot purpose and movement. They made intention discussable before production pressure arrived.
Adobe Firefly Boards can carry references across panels and test camera motion. It cannot decide whether the commuter feels relieved, lonely, or unresolved. That belongs in the brief.
For branded work, track color, typography, and product emphasis as one brand video design system.
With the emotional beat and continuity mapped, the next decision is scale: how close should the viewer stand to each moment?
Use shot composition to control what the viewer feels
Camera distance should change the information. A wide separates the commuter from the warm café; a medium shows the order, an insert shows the grounds, and a close-up reveals the response.
Routine coverage gives an editor options, not an argument. Move closer for private information; pull back when the setting changes its meaning.
Change shot size when the information changes
Frame one action at three distances. Ask what appears or disappears. Keep the scale that answers a new question, not ten angles with equal narrative value.
Cut to a reaction when a glance, pause, or posture reveals what the previous action cost.
Treat the frame like a designed surface
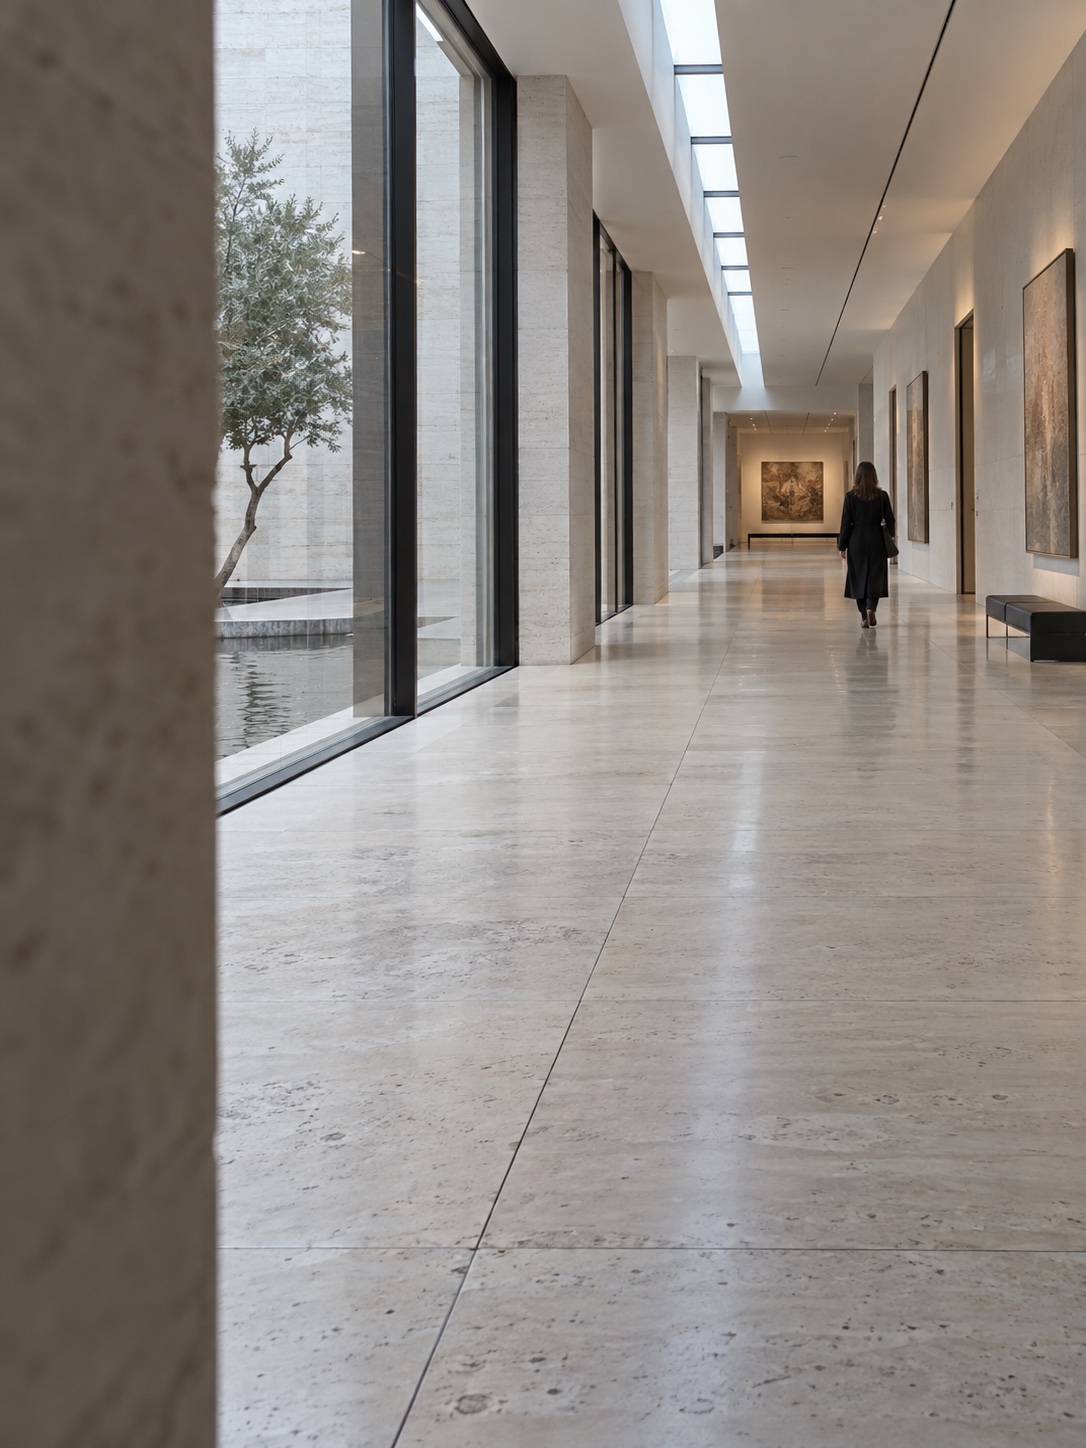
In cinematic composition, thirds, symmetry, leading lines, foreground framing, and negative space direct attention. None carries a fixed emotion; symmetry can feel calm or oppressive.
In Ida (2013), director Paweł Pawlikowski and cinematographers Łukasz Żal and Ryszard Lenczewski often place figures low in the 4:3 frame. The space above them can suggest isolation, spiritual pressure, or possibility.
Life drawing taught me to group light and dark shapes before texture. For shot composition, use one focal point, one supporting path, and no third equal accent. If the subject disappears when you squint, move the camera before adding light.
Camera height, lens, and depth create relationships
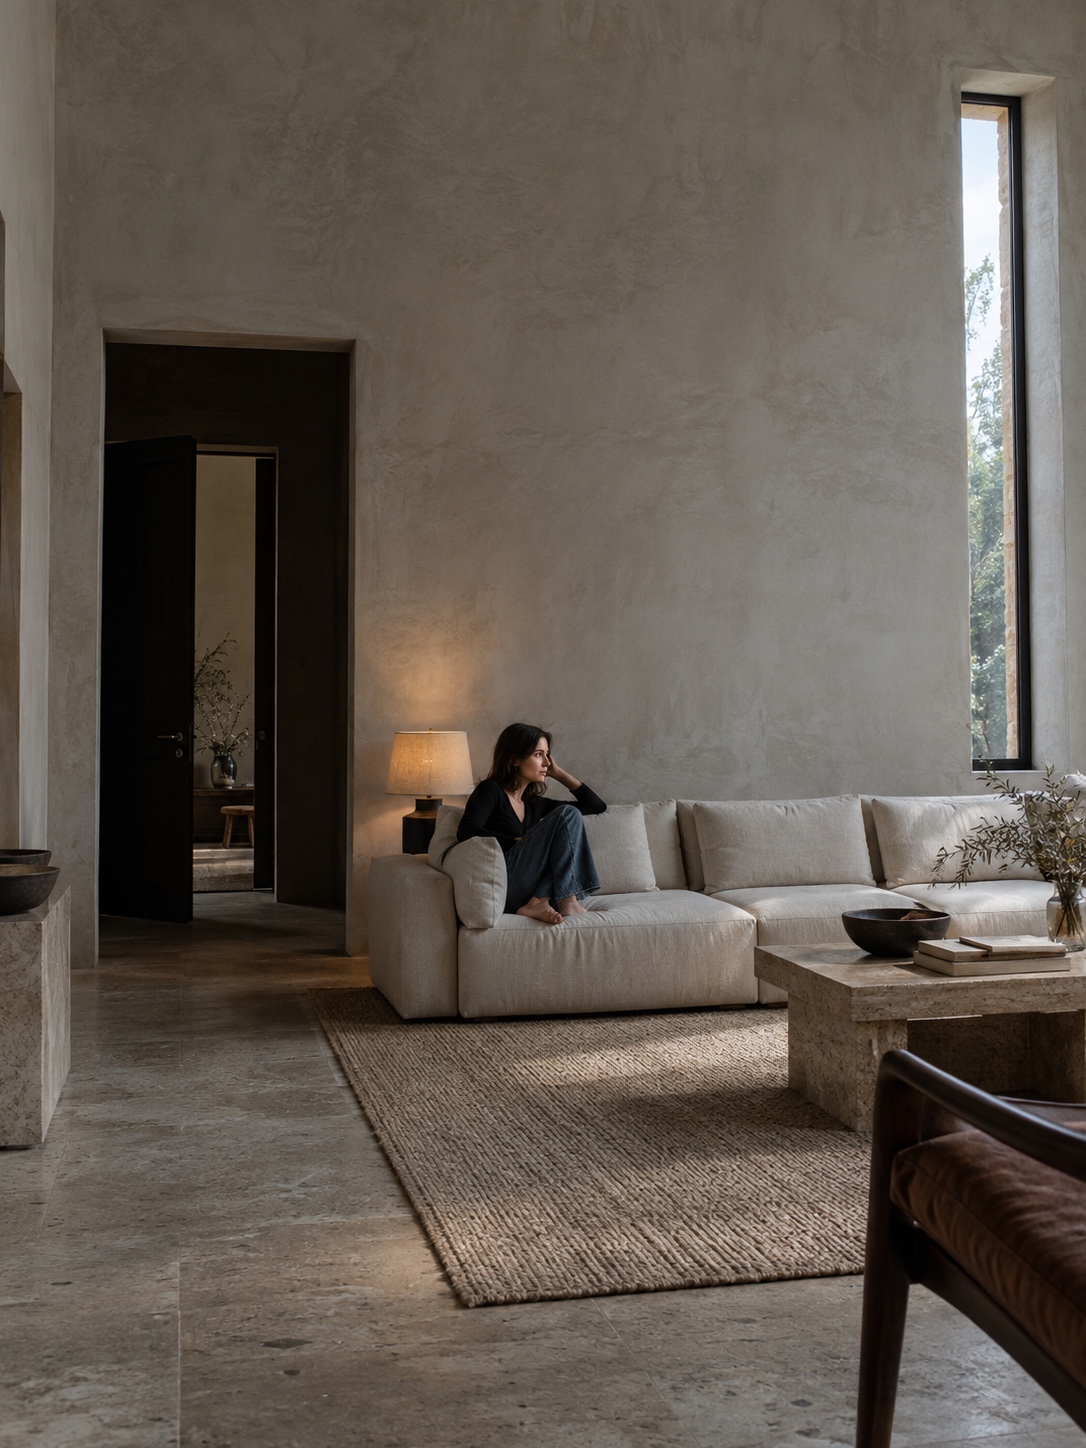
Eye level can imply equality. A low camera may lend authority; a high angle may expose vulnerability or explain the floor plan. Context decides.
Lens choice changes the relationship too. In Cold War (2018), Żal used wider 28mm, 32mm, and 40mm lenses with deeper focus for the Polish passages. Paris shifts toward 50mm and 65mm lenses with shallower focus, supporting the lovers’ growing discord and Zula’s alienation.
Treat foreground, midground, and background like an architectural section. A wide lens close to the commuter enlarges the cup and stretches the café behind it. A longer lens compresses those layers. Use point of view or rack focus only to pass attention from one story fact to another.
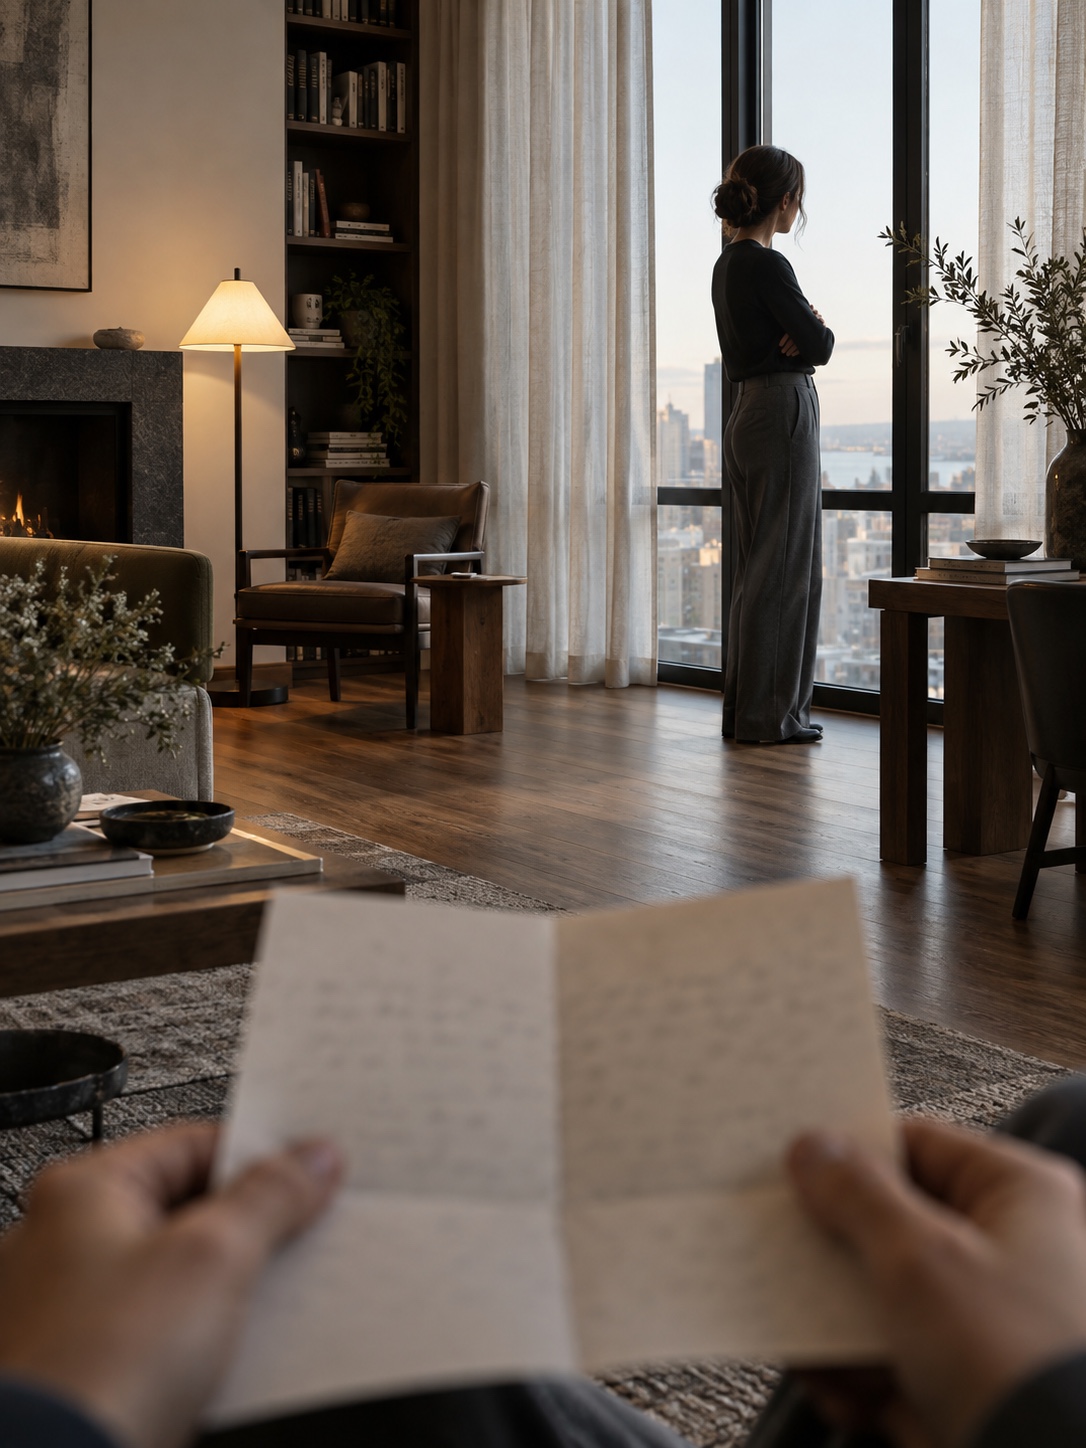
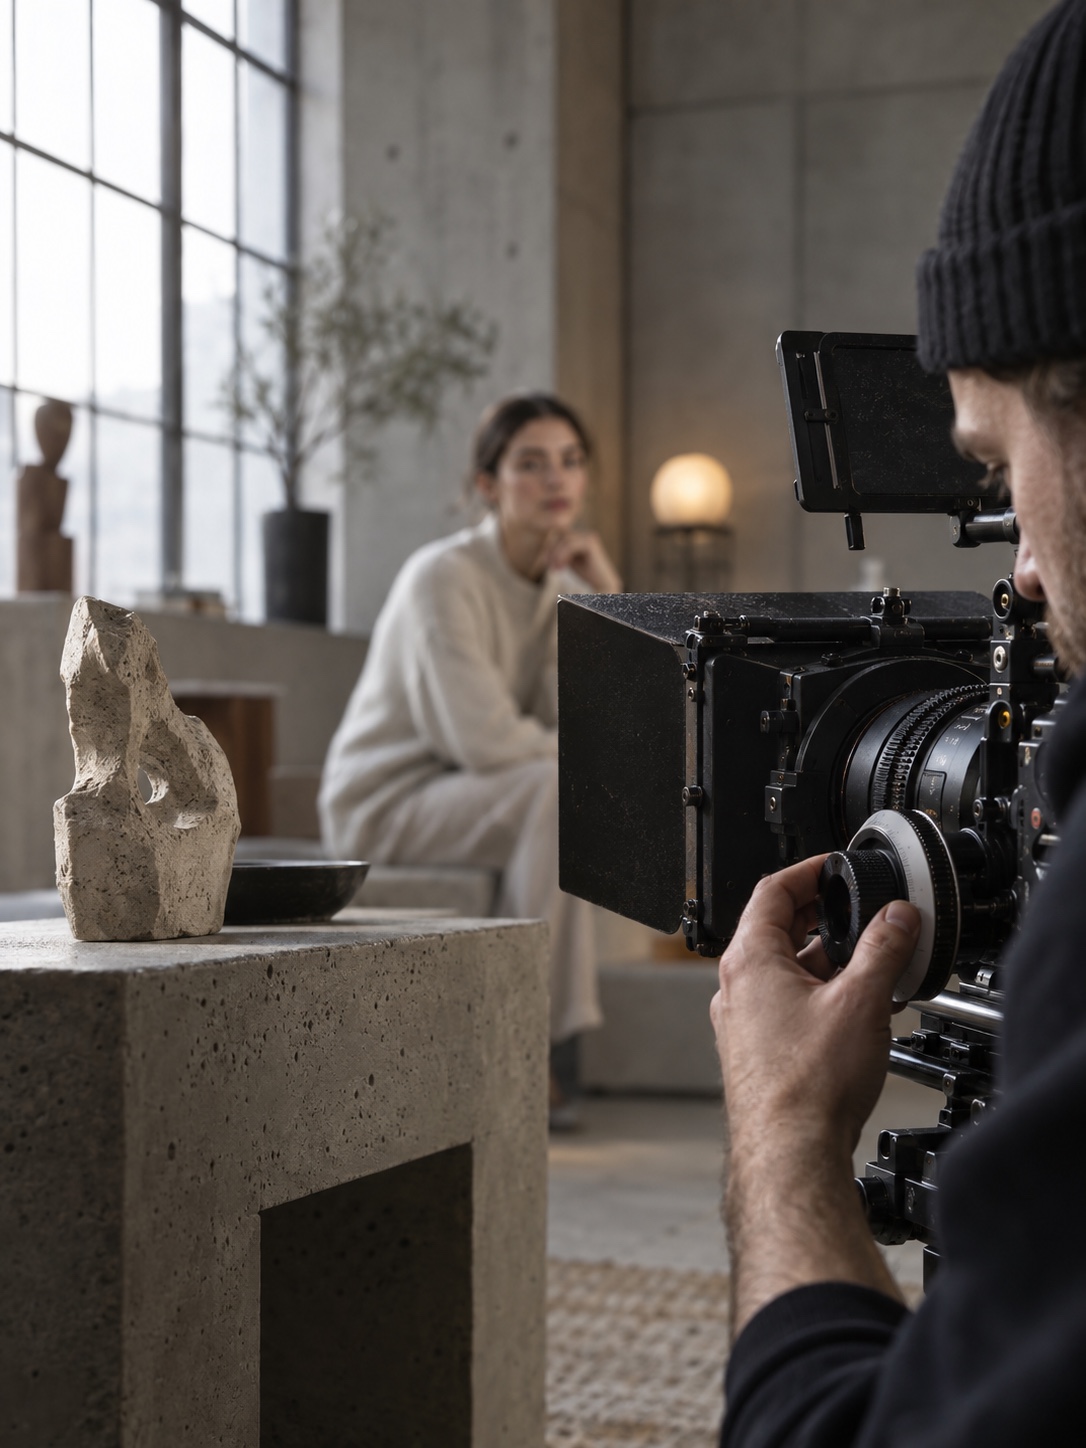
Once distance, visual weight, and depth are doing their jobs, light and color can shape how that composition feels.
Shape emotion with light, color, and controlled movement
Start lighting with the subject, background, and one believable source. Decide which is brightest and where the shadow falls before adding fixtures.
Build the value pattern before adding fixtures
Hard light can sharpen tension or texture; a large soft source lowers contrast for a quieter exchange. Choose the one that supports the beat and separates subject from background.
Academic drawing trained me to compare value masses before highlights. View the monitor in black and white. If the face, hands, and practical lamp merge into one midtone, move the subject or subtract stray light.
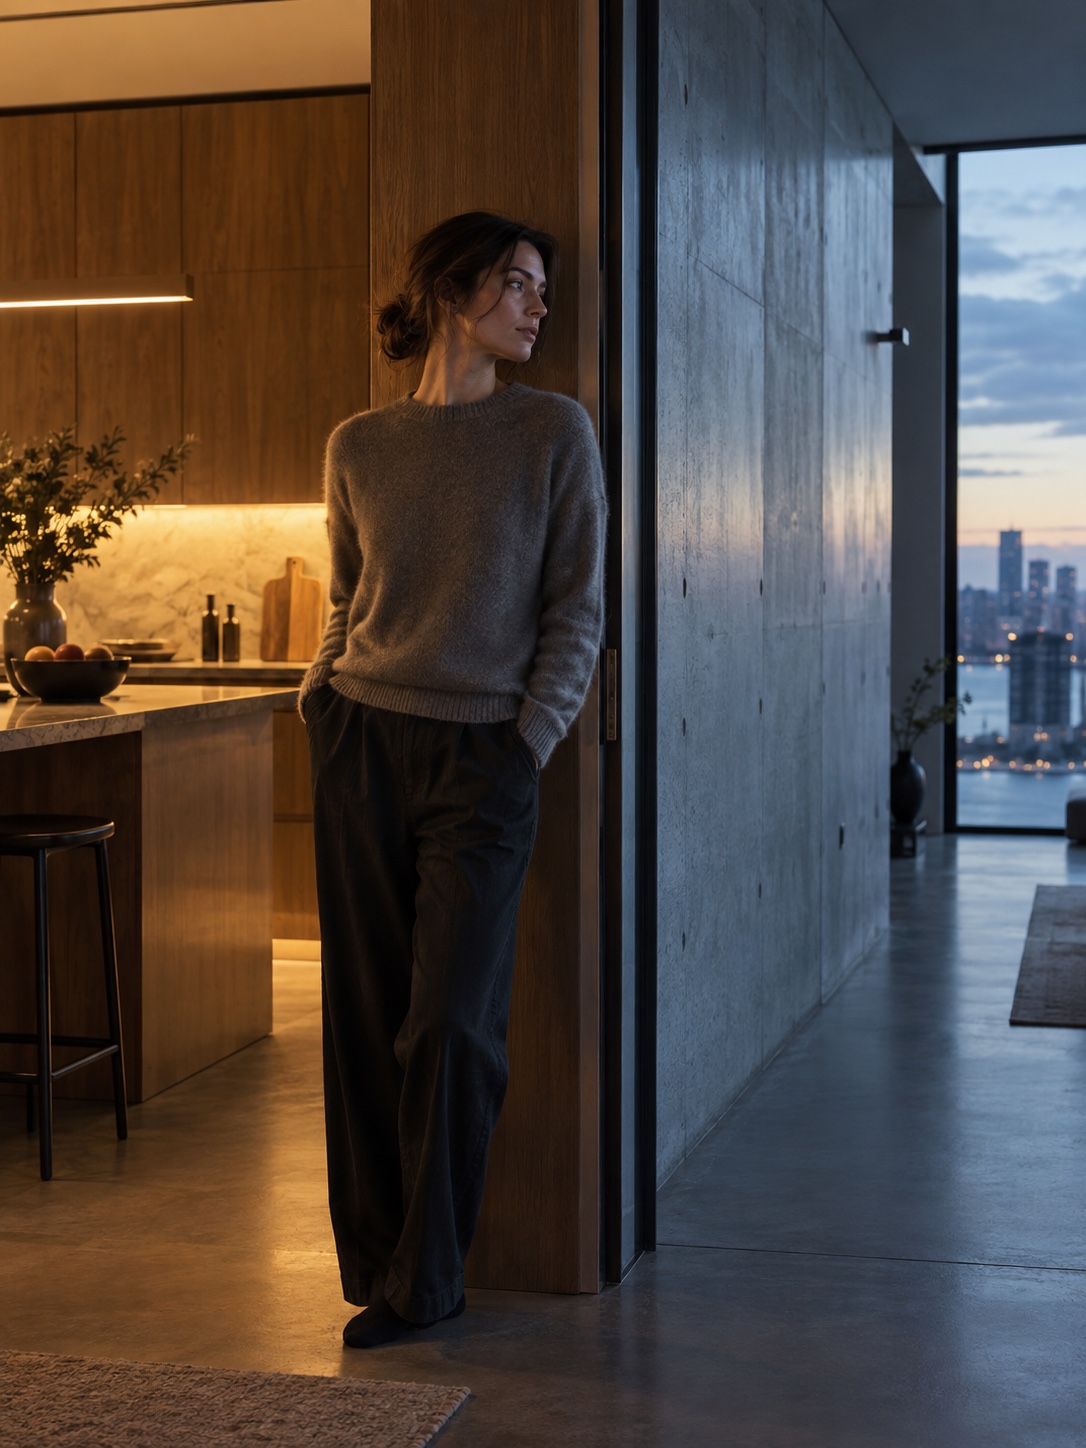
In the café, a warm pendant can motivate the light on the cup while cool window spill outlines the commuter. The contrast makes the move from street to shelter readable without dialogue.
Give color a story job
Warm and cool tones can distinguish safety from distance, one room from another, or the present from a memory. Fix white balance deliberately so the relationship stays stable across the sequence.
In Barry Jenkins and James Laxton’s Moonlight (2016), color follows Chiron’s changing identity. Colorist Alex Bickel used different film-emulation starting points for its chapters: Fuji for childhood, Agfa for adolescence, and Kodak for adulthood. Pink, blue, and cyan belong to specific people, places, and pressures rather than one decorative grade.
Move only when the viewer’s relationship changes
A locked frame observes. A slow push can narrow emotional distance. Tracking shares a subject’s path, while handheld motion can place instability inside the viewer’s body. Give every move a start, destination, or reveal.
In Roma (2018), Alfonso Cuarón avoids handheld and Steadicam work. Pans and lateral tracking let events unfold in context, with shots continuing to their natural consequence rather than advertising their length.
Before switching on a gimbal, name the movement with one verb: follow, reveal, isolate, approach, or retreat. If no verb fits, lock the camera. Aimless drift adds motion but weakens point of view.
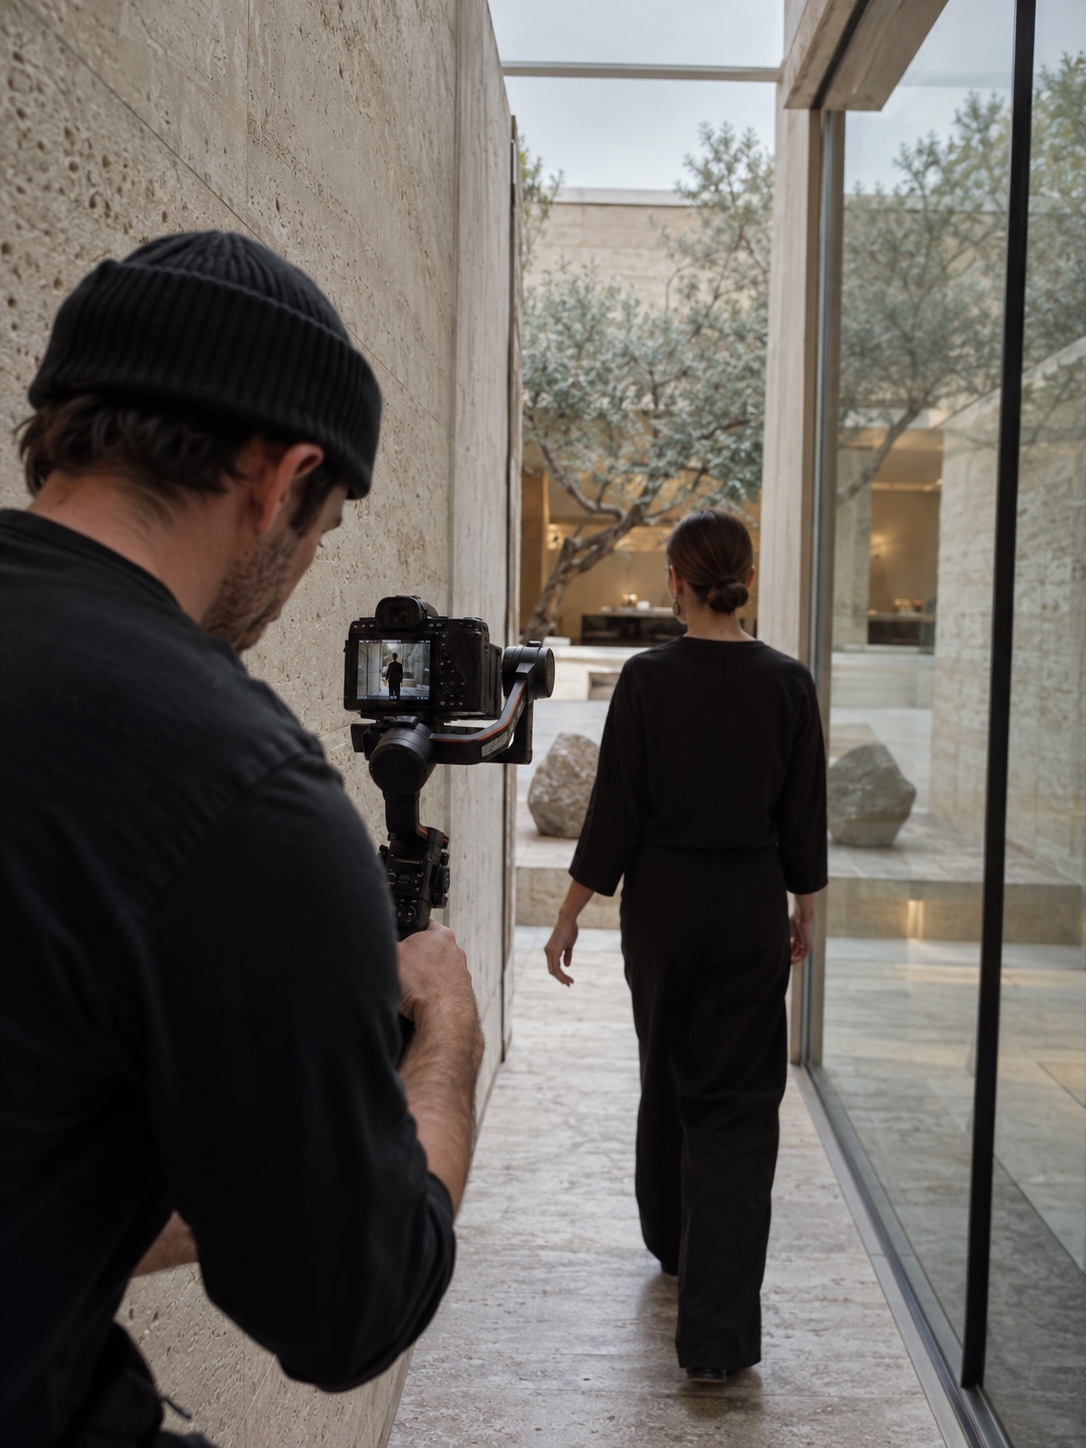
Once light, color, and movement have a narrative purpose, camera settings can be chosen to preserve those decisions rather than imitate a preset look.
Choose camera settings for meaning, not a formula
No exposure recipe makes every video cinematic. A bright window, dark jacket, moving hand, and quiet face place different demands on the camera. Each setting affects the others.
Exposure controls attention as well as brightness
Aperture affects exposure and depth of field. Shutter changes exposure and motion rendering. Raising ISO may rescue a dim scene but reduce highlight tolerance or add noise.
I treat exposure like poster hierarchy: protect what must be read first. In the café, expose for the face and keep the window within range. Zebras or a histogram reveal clipping better than a small monitor. If the window dominates, change the angle, diffuse it, or move the subject.
Match frame rate and shutter to the movement
Use 24, 25, or 30 fps for normal-time delivery according to the project and region. Record at 50 or 60 fps when a real moment benefits from slow motion and you have enough light and storage. A shutter near 180 degrees is a practical starting point, not a law.
In Saving Private Ryan (1998), Janusz Kamiński used 45- and 90-degree shutter angles for parts of the combat footage, making explosions and airborne sand sharper. Gemini Man (2019), photographed by Dion Beebe in 3D at 120 fps, demanded roughly 2.5 to 3 stops more light than a conventional 24 fps shoot and changed the approach to focus and shadows.
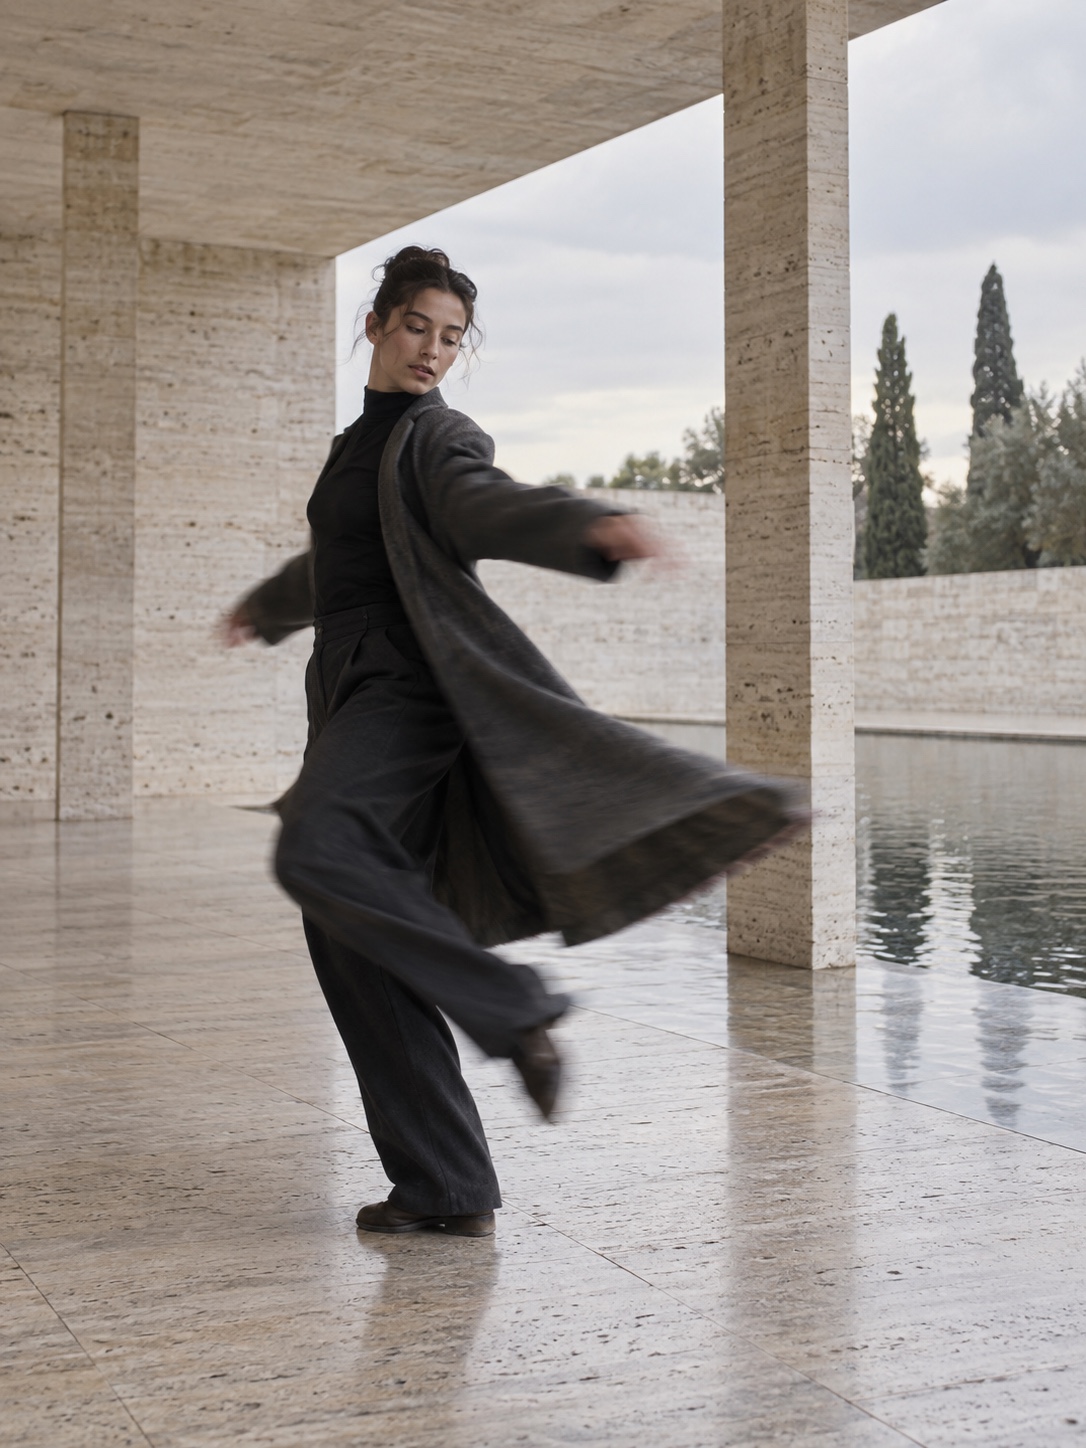
Learn the controls as one connected system
Focus, focal length, exposure, white balance, frame rate, and audio monitoring affect one another. Structured practice through a videography course can help a beginner learn these controls as one system instead of collecting disconnected settings tips.
Switch on 16:9 and 9:16 guides before recording. Keep faces, gestures, and negative space safe in both crops. A wider master adapts better than two story points trapped at opposite edges.
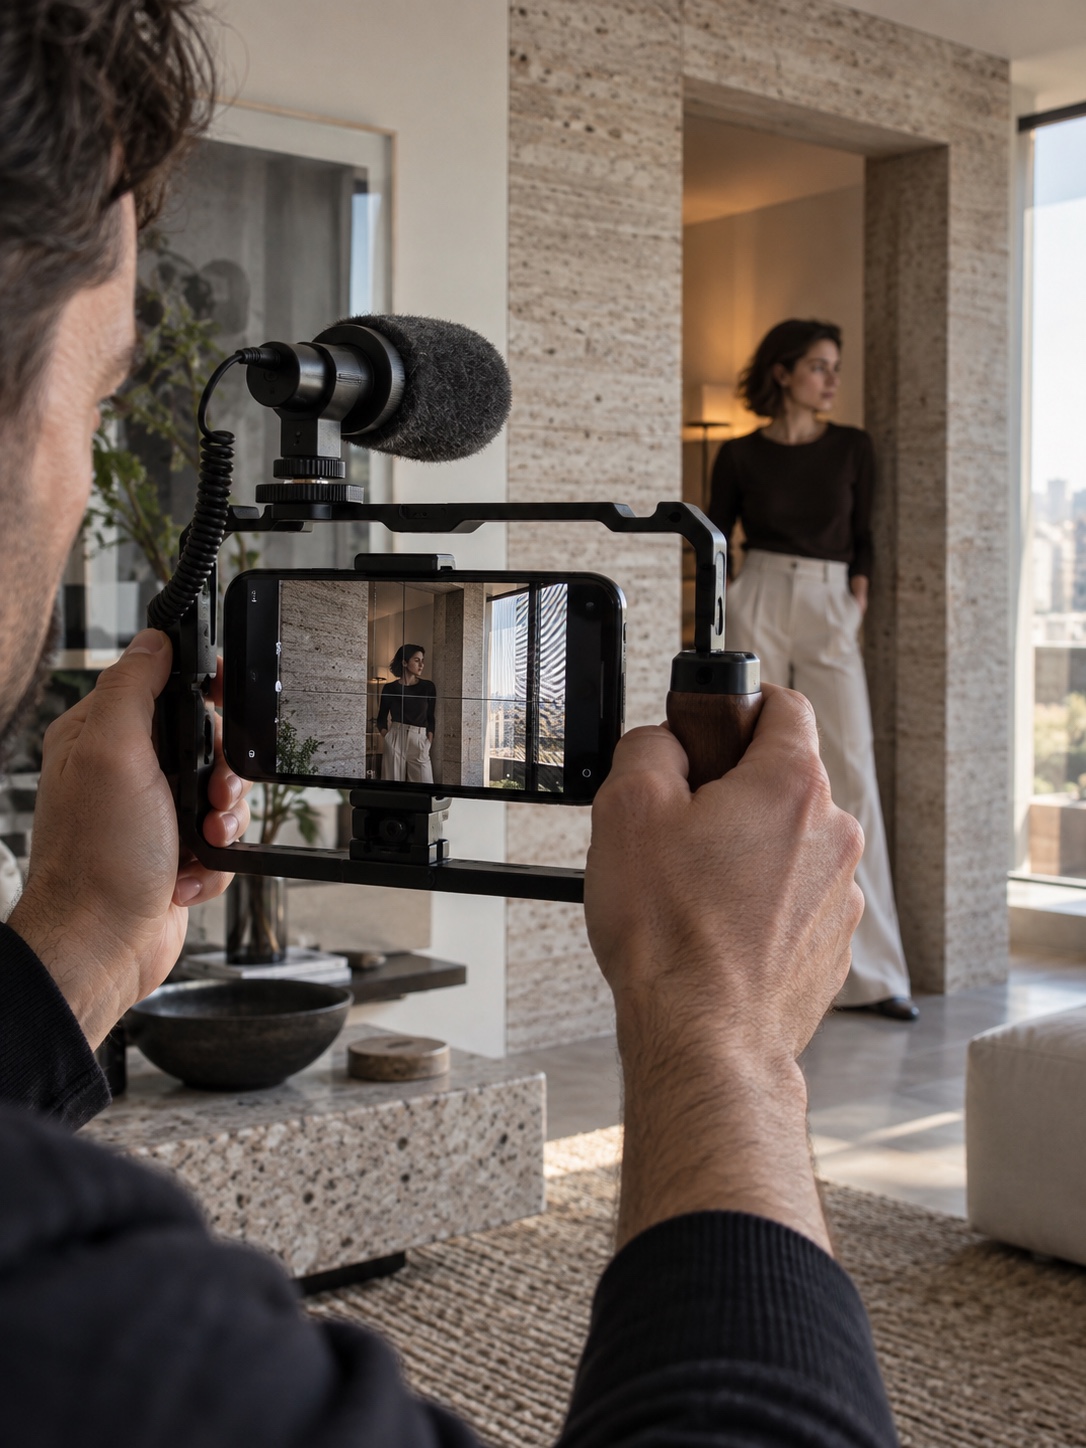
Once the image is technically secure, B-roll, sound, and editing determine whether the separate shots become a coherent experience.
Build rhythm with B-roll, sound, and editing
B-roll should complete an idea, not hide a cut. Treat each detail as cause, consequence, or evidence, then let sound bind the fragments.
Shoot B-roll as cause and effect
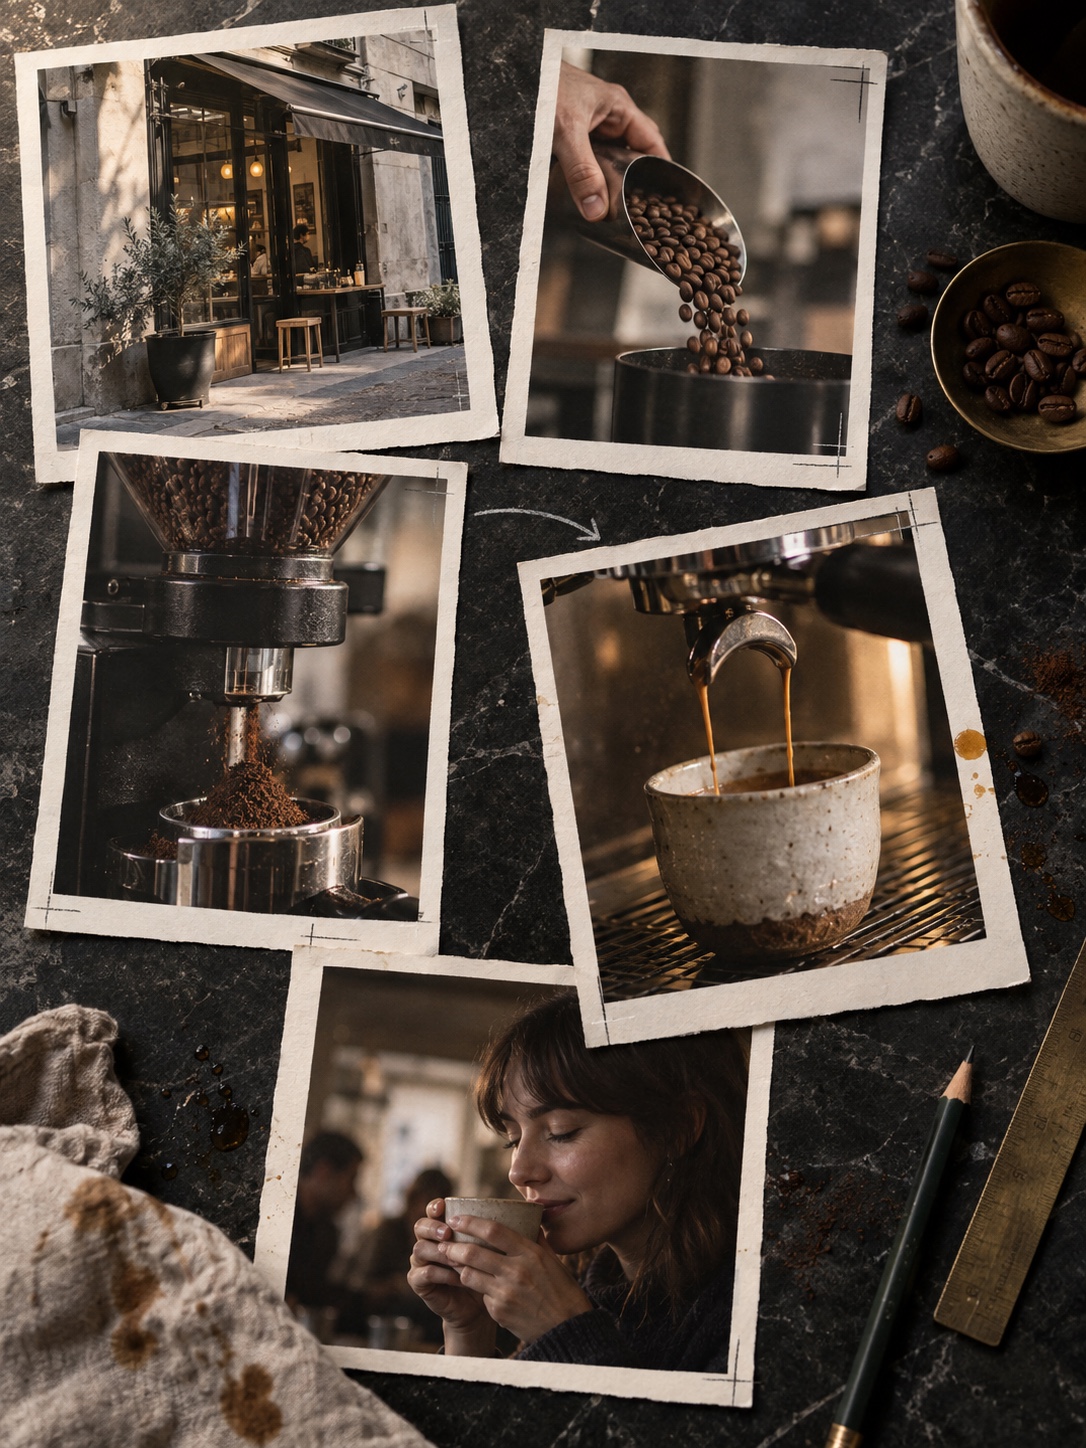
Return to the café. The exterior locates us. Beans enter the grinder; the burrs turn; grounds fall; espresso fills the cup; the barista passes it across; the commuter reacts. Each image answers the previous one.
This beats a folder of unrelated steam, signage, and slow-motion hands. Record two seconds before and after each action to create editing handles. Keep the handoff moving in one screen direction, and capture an insert when a detail changes the result.
Record the place, not only the dialogue
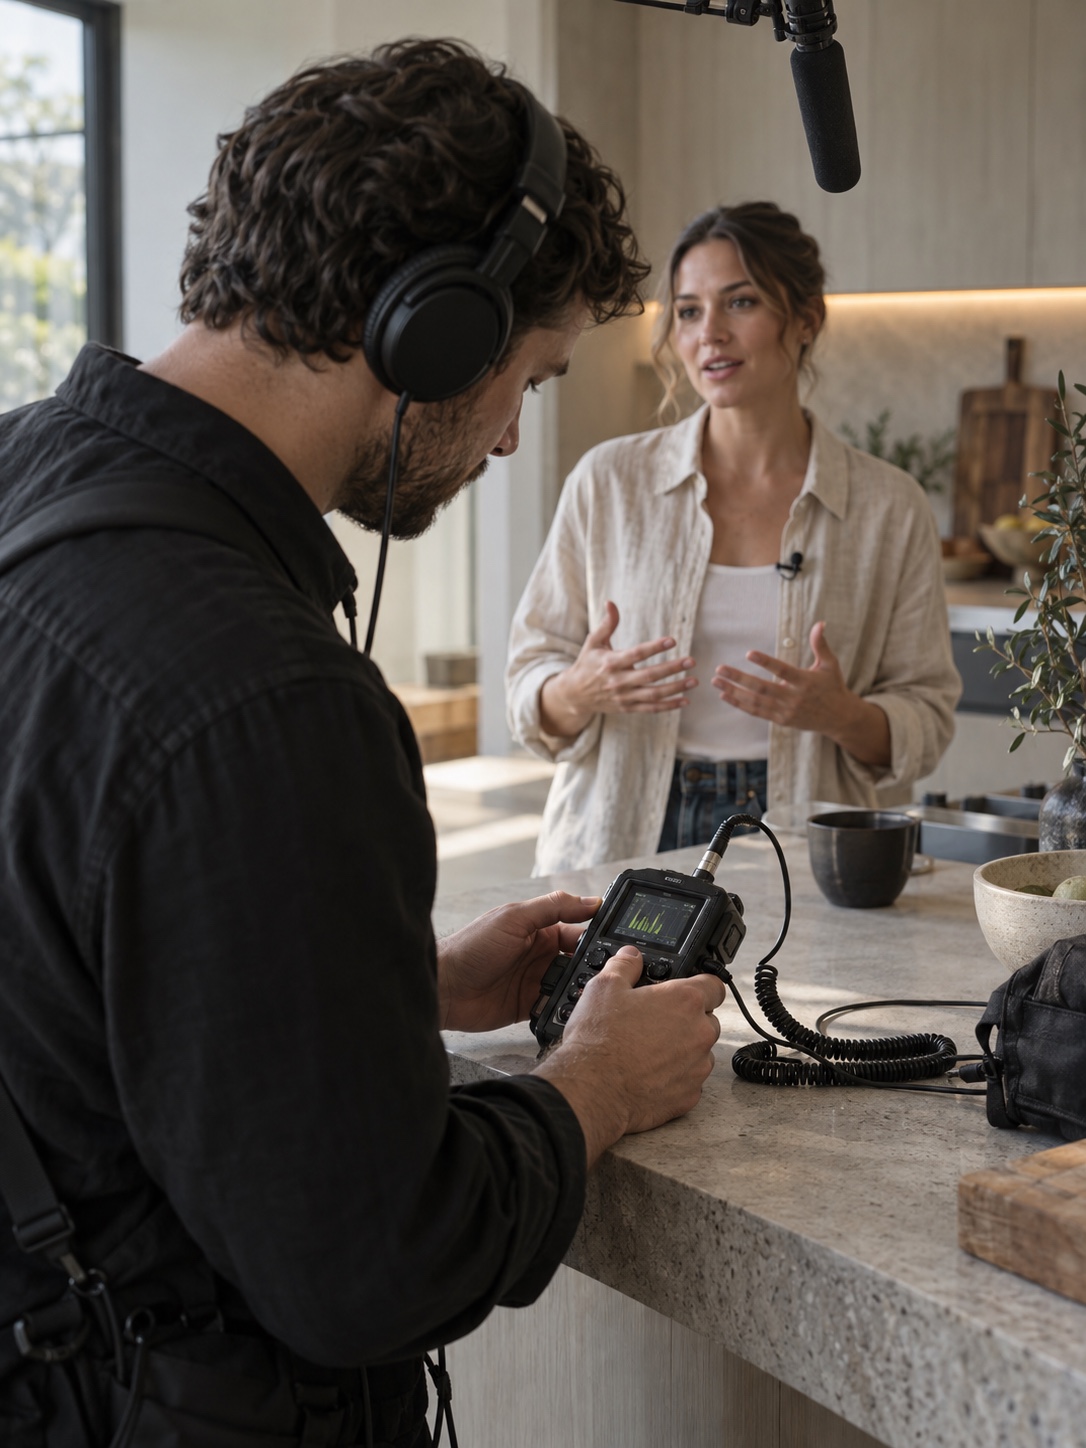
A lavalier or boom may capture a clear voice while the scene still feels empty. Add café room tone, grinder motor, cup contact, steam hiss, door movement, and deliberate silence.
Before leaving, ask everyone to stay still and record 30 seconds of room tone. Capture close wild tracks of important actions too. They conceal dialogue edits and restore texture lost through noise reduction.
Sound can lead the picture. A J-cut starts the next scene’s audio early; an L-cut carries the current audio under the next image. Both connect spaces without a transition preset.
Let the edit decide what matters
Build the first cut without transitions or music. Cut on intention, action, or consequence. A match on action conceals the edit; an intentional jump cut removes time and leaves the break visible.
Design reviews taught me that subtraction exposes hierarchy. Remove one shot and watch again. If the meaning survives, it was probably decoration. If the sequence breaks, you found a necessary link.
Correct exposure and white balance before applying a look, then match neighboring shots. Anticipation may need longer holds; preparation can tighten as the first sip approaches. Hold the reaction long enough for the change to register.
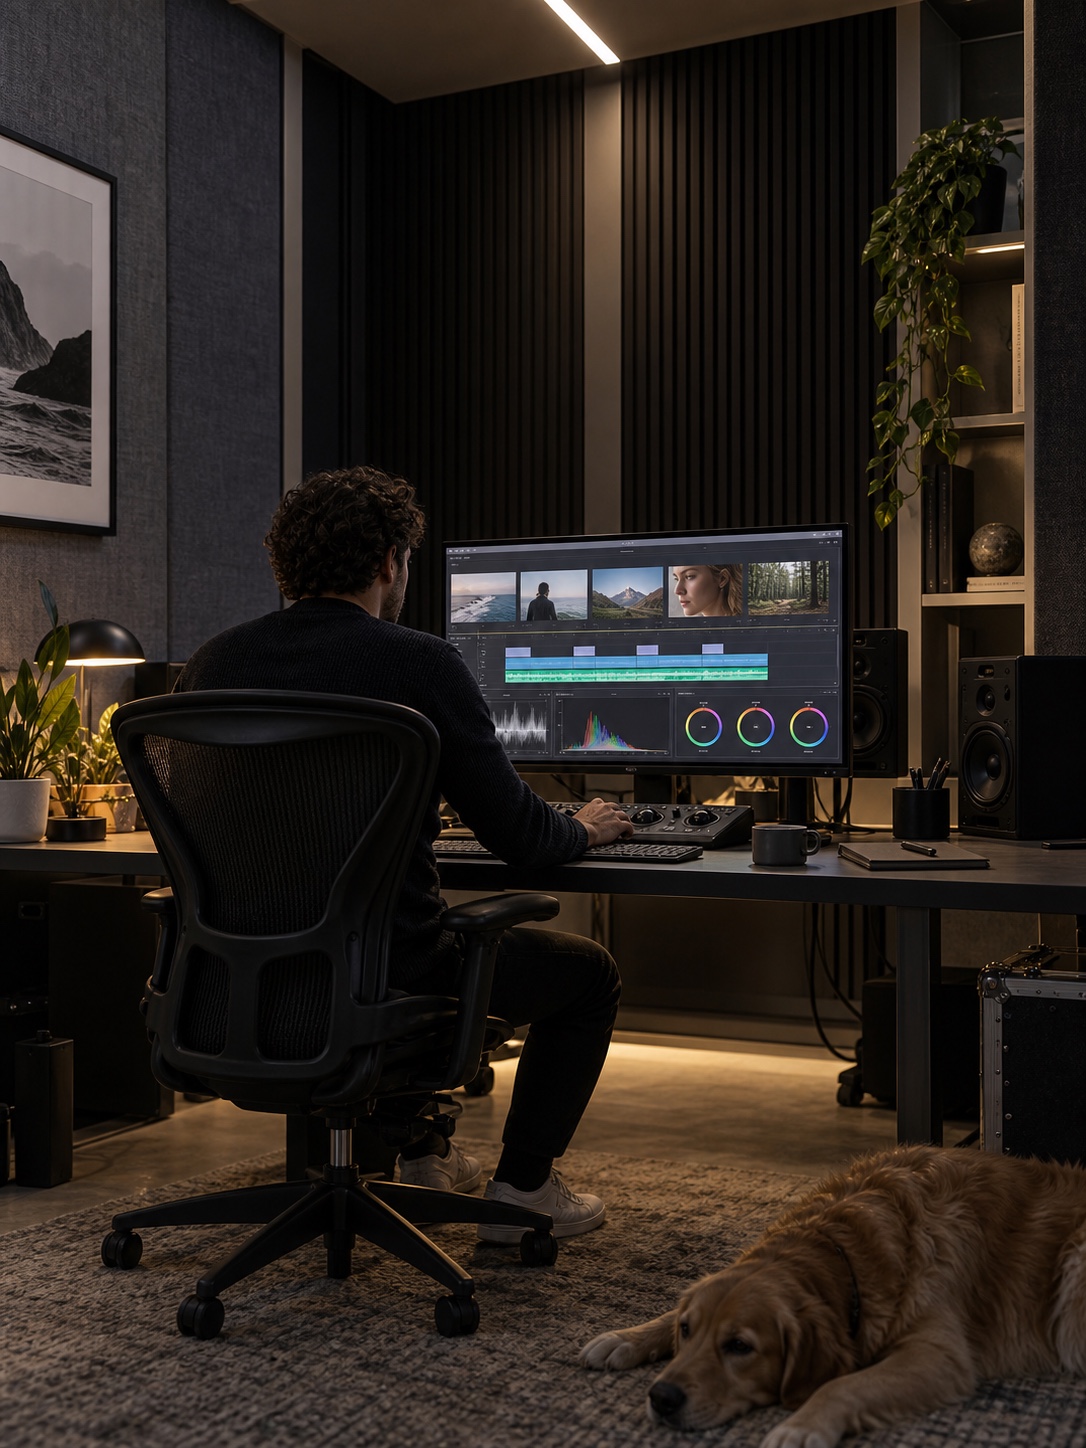
The final test is to make a complete five-shot story with the camera and editing tools already available to you.
Practise with a five-shot story on any camera
Choose one action with a visible beginning and end: making tea, sharpening a pencil, opening a sketchbook, or adjusting a bicycle chain. Give yourself 30 minutes. The limit prevents equipment and endless coverage from replacing decisions.
The 30-minute exercise
Film five shots:
- An establishing shot that locates the subject.
- An action shot that begins the task.
- A detail that reveals important evidence.
- A consequence showing what the action changed.
- A reaction that completes the emotional beat.
Include one locked shot, one motivated camera move, and one clean ambient sound moment. Use a phone’s native camera or an app such as Blackmagic Camera if you want to lock frame rate, shutter, ISO, and white balance. Do not add a sixth shot until all five have distinct jobs.
Review meaning before image quality
Watch the edit muted. Can you understand the action and notice the final change? Next, listen without looking. Do the sound layers describe a believable place? Only then inspect focus, exposure, continuity, pacing, and color.
Replace the weakest shot rather than reshooting everything. In design practice, repeating one brief with a single variable changed exposes more than abandoning it for a new idea. Keep the action but alter the camera distance, lighting direction, or final hold.
Continue learning with a visual reference
This beginner videography guide on YouTube provides a visual companion for camera settings, frame rates, composition, lighting, audio, movement, editing, and color correction as you repeat the exercise.
Export or archive the first version, then film the same action with a different intention. Make tea feel hurried instead of calm, or make opening a sketchbook feel uncertain instead of hopeful. Compare the two cuts shot by shot. The gear stays the same; the story decisions become visible.
To extend the exercise into a daily series, this visual Instagram diary guide shows how recurring images can build continuity over time.
Cinematic storytelling FAQ
What is cinematic storytelling?
A: Cinematic storytelling is the deliberate use of images, sound, performance, and editing to show change. Each shot gives the viewer new information or alters how a moment feels. A shallow background, widescreen crop, or film-style grade may influence appearance, but the story comes from the relationship between shots and the consequences they reveal.
How is cinematic storytelling different from cinematography?
A: Cinematography techniques cover camera position, lenses, exposure, lighting, framing, and movement. Cinematic storytelling is the wider process those choices support. It also includes production design, blocking, performance, sound, and editing. Good cinematography can produce an impressive image; storytelling makes that image necessary to the sequence around it.
How can I tell a story without dialogue?
A: Give the subject a visible intention, then show action and reaction. A hand reaching for a locked door, a missing key, and a disappointed pause can form a complete beat without speech. Shot size, props, eyelines, light, screen direction, ambient sound, and the order of cuts tell the viewer what changed and why it matters.
Which five shots should a beginner practise first?
A: Start with an establishing shot, an action, a meaningful detail, a consequence, and a reaction. These are story functions rather than fixed camera sizes. The detail might need a close-up, while the consequence may read better in a wide shot. Use each new frame to answer a question created by the previous one.
What camera settings make a video look cinematic?
A: No single combination guarantees a cinematic result. Choose 24, 25, or 30 fps for normal-time footage according to delivery needs, then begin with a shutter near 180 degrees. Set aperture for the required depth, protect important highlights, lock white balance, and place focus deliberately. Change those settings when the story needs different motion, texture, or separation.
Can I practise cinematic storytelling with a smartphone?
A: Yes. Plan the beat and compositions before worrying about the camera body. A native phone camera is enough for the five-shot exercise; an app with manual exposure, white balance, focus, and frame guides gives more control. Add a small microphone if available, but careful positioning, stable settings, clean room tone, and purposeful editing matter more than accessories.
Make every shot earn its place
Technically clean footage remains a collection until one shot changes the meaning of the next. Define a visible emotional change, sketch five frames, and assign each image one job. Then choose distance, light, color, movement, and sound to make that job readable. In the edit, keep only what advances the beat.
Design training has taught me to trust hierarchy and subtraction. Removing a competing object often improves a frame faster than adding another light, lens, or transition. The same discipline keeps video storytelling clear when the equipment is modest and the schedule is short.
Shoot the five-shot exercise twice. Make the first version calm and the second uneasy without changing the action. Compare the framing, pace, sound, and final reaction. Those differences are where your visual voice begins.
- 337shares
- Facebook0
- Pinterest337
- Twitter0
- Reddit0