Every design decision in a home eventually runs into a wall it can’t get past — literally. The kitchen island you want, the walk-in shower with two heads, the home office wired for real work: none of it is actually a materials or layout question first. It’s a capacity question, decided by systems nobody photographs, and the decision window for getting it right closes the moment drywall goes up.
Before opening walls, it is worth asking whether the existing house can realistically support the life you want. This framework for deciding whether to remodel or move compares the design potential and tradeoffs of both options.
I’ve spent years working across architecture and spatial design projects, and one thing has become clear across every discipline I’ve touched: the most interesting design constraint is rarely the one you can see. A car’s surfacing decisions are downstream of what the chassis and powertrain can actually support. A building’s floor plan is downstream of structural spans and mechanical routing.
- Why Modern Home Design Starts Behind the Walls
- Plan Electrical Capacity Before Choosing Appliances
- Check Plumbing Capacity Before You Commit to Fixtures
- Make the Water Heater a Design-System Decision
- Inspect Old Pipes and Drainage Before Finishes Go In
- Add Utility Upgrades as Their Own Budget Line
- Final Thoughts
- FAQ
A home’s design potential — genuinely, not aspirationally — is downstream of what the electrical panel and plumbing lines behind the wall can deliver. Treat that infrastructure as a technical afterthought and you’ll spend the rest of the project designing around limitations that were never necessary in the first place.

Why Modern Home Design Starts Behind the Walls
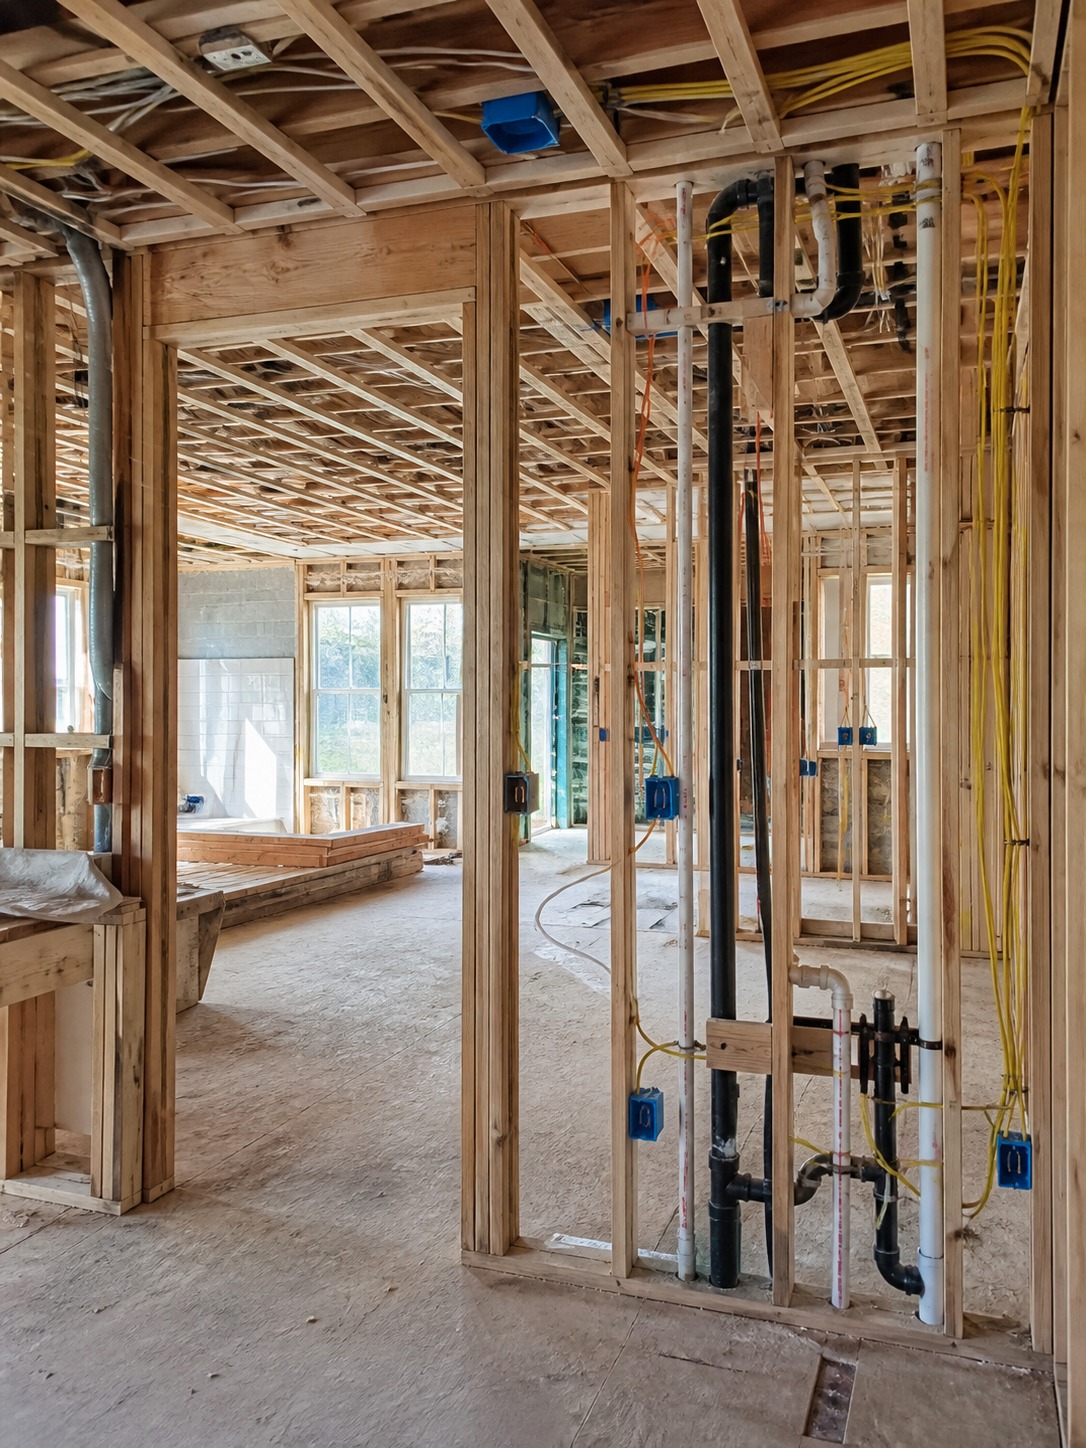
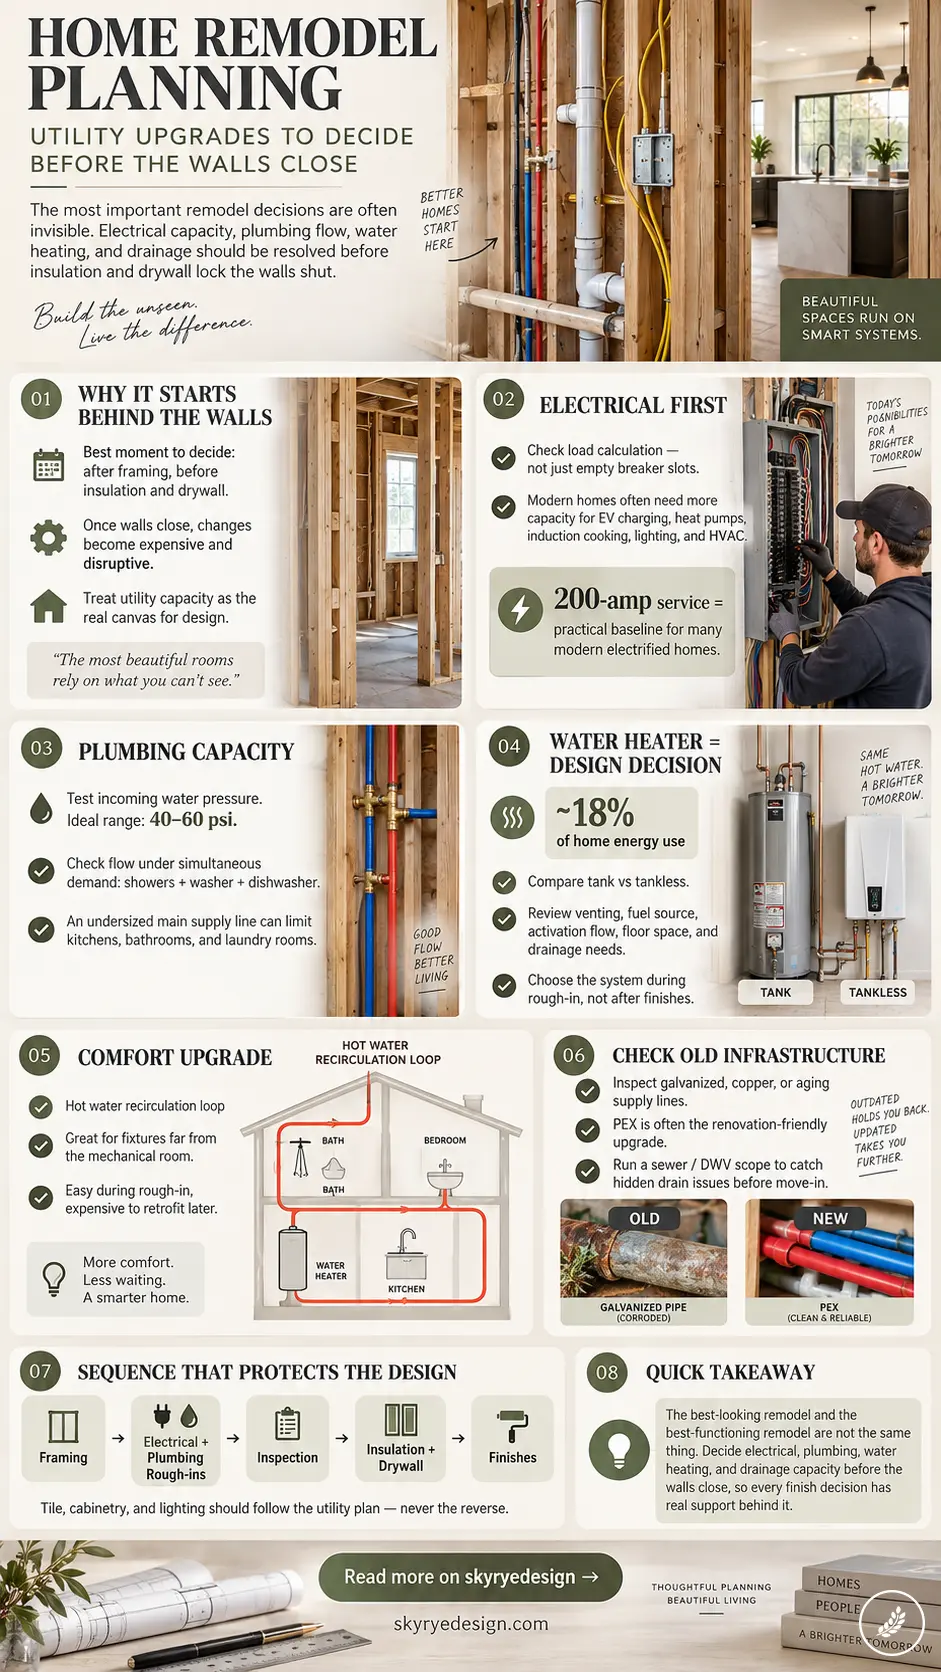
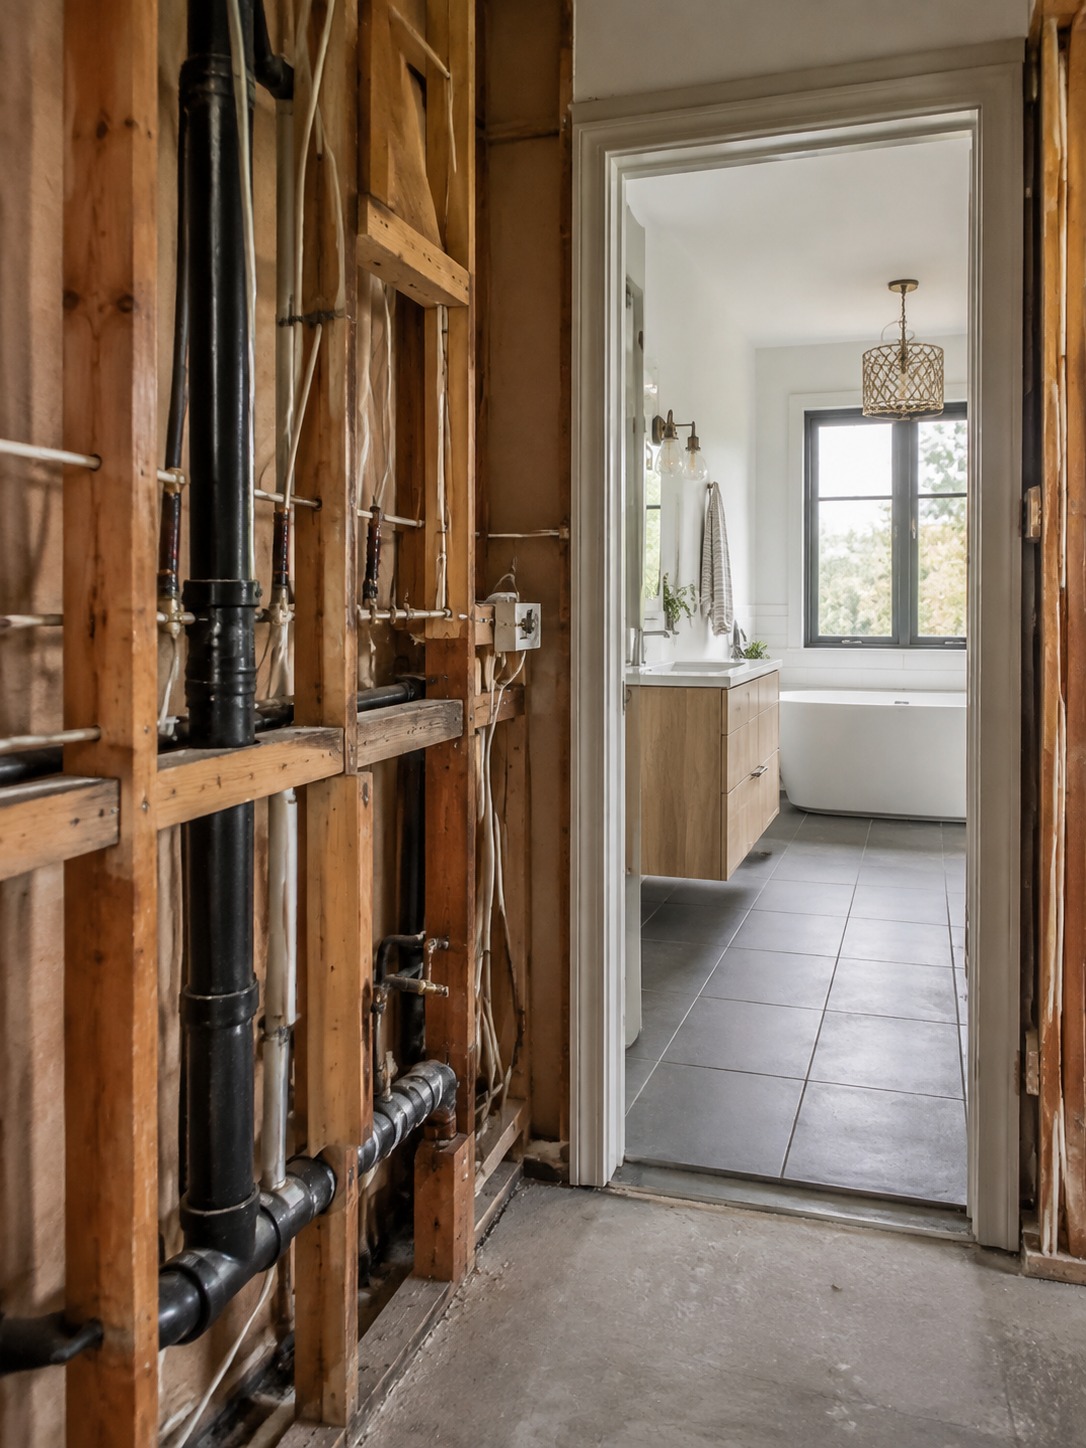
There’s a narrow window in any renovation where the systems are actually visible — after framing, before insulation and drywall close everything up. That window is where a designer actually has room to work with the systems, not just the surfaces. Once the walls close, every subsequent change to what’s behind them means cutting into finished surfaces, and “cheap and easy” becomes “expensive and disruptive” in the space of one construction milestone.
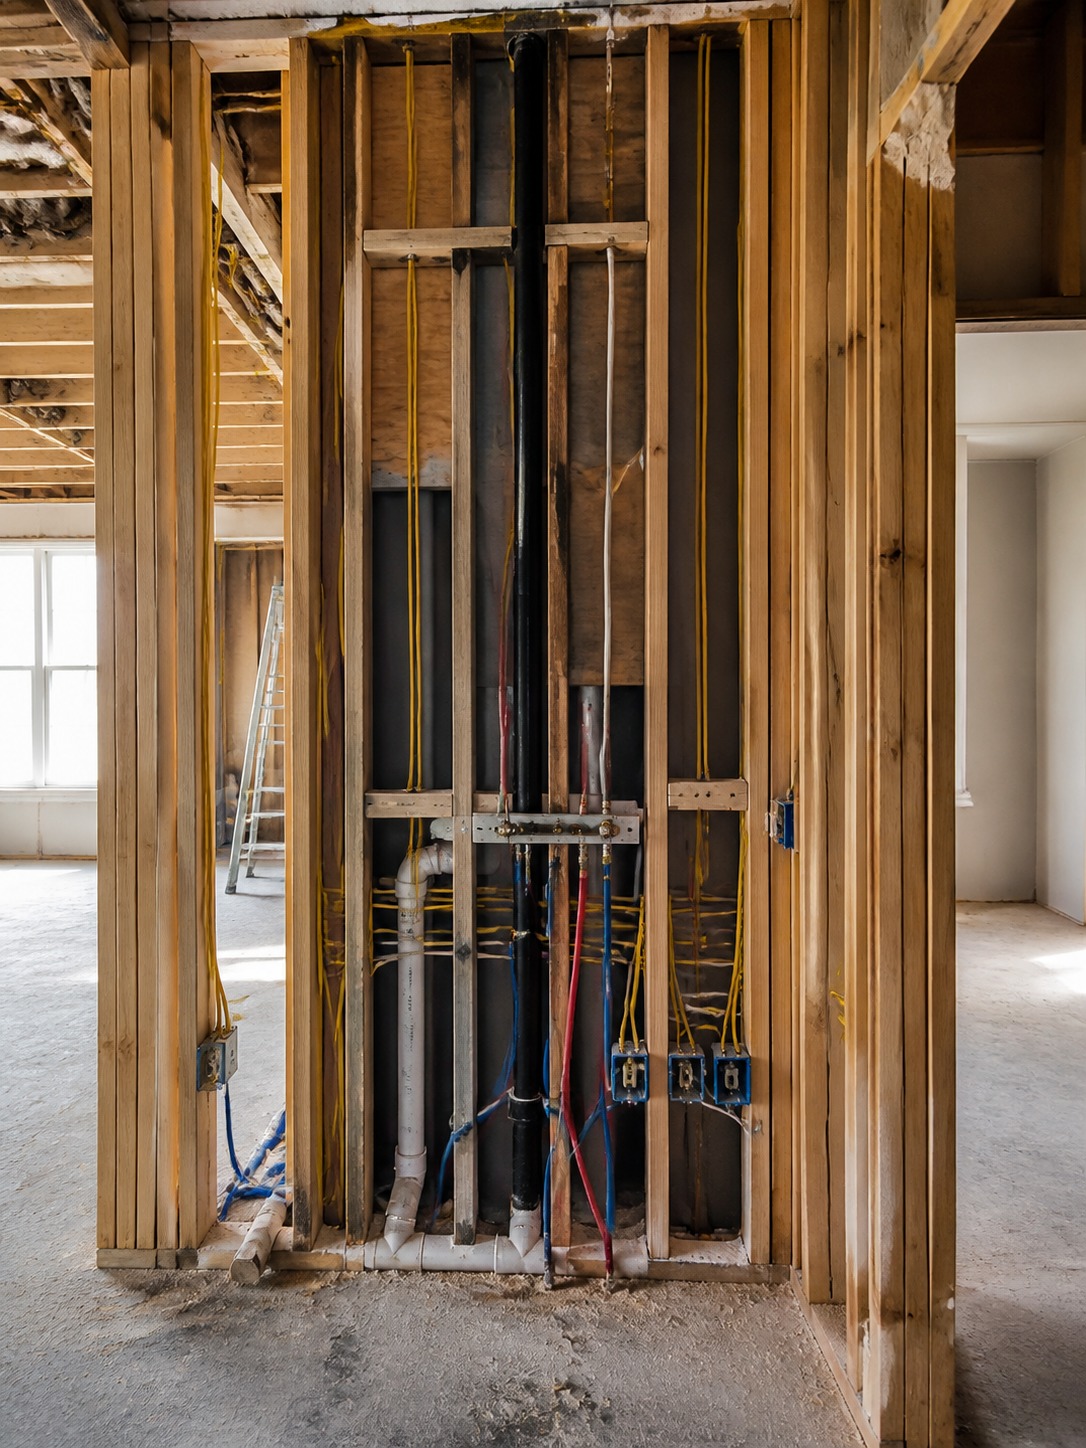
Most design decisions get made in the wrong order because of this. Finishes get chosen first — the tile, the fixtures, the cabinetry — and the systems get squeezed into whatever capacity happens to already exist. That’s backwards. A house’s utility capacity is the actual canvas; everything else is composition on top of it. Our guide on the hidden problems that arise from neglected home systems covers what happens when this sequencing gets ignored, and it’s worth reading before a single finish gets specified.
Plan Electrical Capacity Before Choosing Appliances
An appliance selection is a design decision with a hidden dependency, and the dependency is capacity, not aesthetics.
Load calculation vs. empty breaker slots
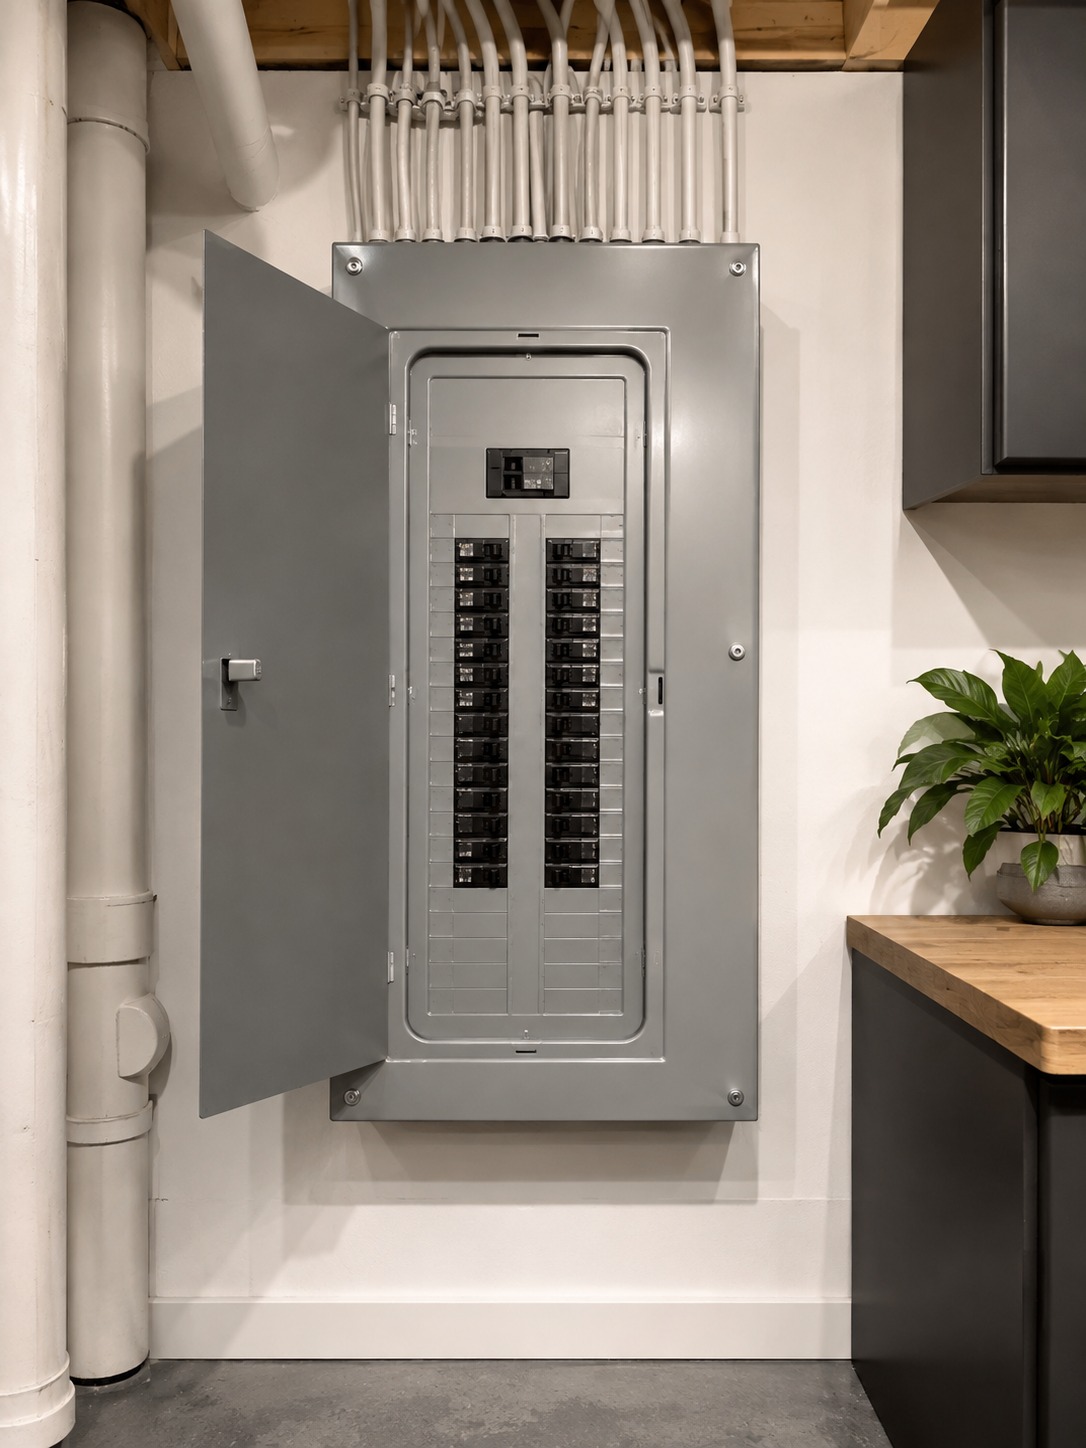
Breaker count is a red herring — it tells you how many circuits exist, not what the panel can actually deliver. A proper load calculation, run by a licensed electrician, adds up real demand against service size, and that number is the honest one.
I think of this the same way I’d think about a structural load path in architecture: you don’t design a cantilever around how many beams happen to be lying around, you design it around what the load path can genuinely bear. Our piece on why electrical expertise matters in designing safe, functional interiors makes this same case from the design side rather than the code-compliance side.

When a 200 amp panel becomes part of the design brief
Older homes running on 60- or 100-amp service were designed for a completely different appliance language — no EV chargers, no heat pumps, no induction cooktops competing for the same finite supply. Stack a Level 2 EV charger, a heat pump water heater, and an induction range onto a 100-amp panel today and you’re frequently past safe capacity before HVAC and lighting even enter the calculation.
A 200-amp panel has become the practical baseline for a genuinely modern, electrified design brief — and the upgrade is its own project, with its own permit and inspection, that has to be decided before a single new circuit gets run for the kitchen or the garage. This isn’t a compliance footnote; it’s the ceiling on what your design brief can actually promise a client or yourself. Our modern electrical solutions for luxe living spaces guide covers how that capacity ceiling translates directly into the layered lighting and appliance flexibility a high-end interior actually needs to deliver.
Check Plumbing Capacity Before You Commit to Fixtures
A beautiful fixture spec sheet means nothing if the infrastructure behind the wall can’t support the experience the fixture is supposed to deliver.
Water pressure, GPM, and simultaneous demand
Incoming pressure is the first real number worth knowing — a gauge on an outdoor spigot should read 40 to 60 psi. Below that, even a gorgeous rainfall showerhead reads as underwhelming no matter how it looked in the showroom. Above it, you risk shortening the life of every fixture and appliance valve in the house.
The number almost nobody checks is flow rate under simultaneous demand — whether the house can run two showers, a washer, and a dishwasher at once without every fixture losing pressure. That’s a genuinely different design question than “does the tap run fine,” and it’s the one that actually determines whether a multi-fixture bathroom design works in real use.

Why the main supply line matters for bathrooms, laundry, and kitchens
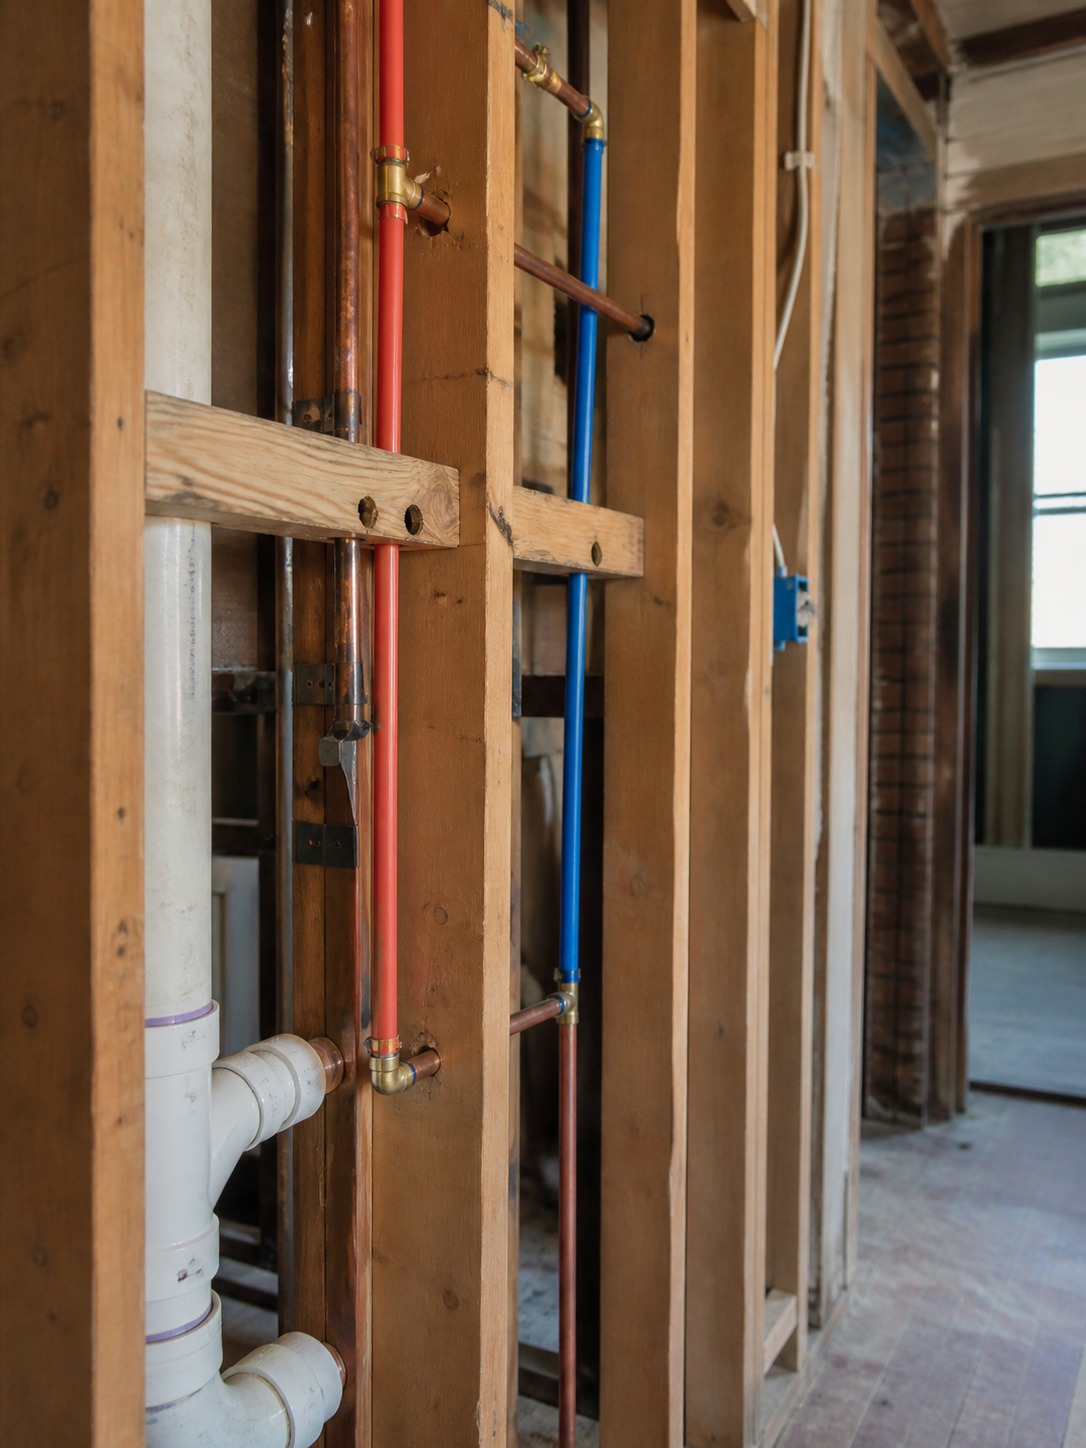
Simultaneous capacity traces back to the main supply line from the street, and an undersized main is invisible in daily single-fixture use right up until a household actually behaves like a household — mornings, everyone getting ready at once. If the existing line can’t support the fixture count you’re designing toward, that’s a supply-line conversation that belongs at rough-in, not a surprise after the tile’s already down. Our designer’s guide to smart plumbing choices covers how this capacity groundwork is what actually lets a bathroom or kitchen design reach its intended style rather than quietly underperforming it.
Make the Water Heater a Design-System Decision
Nothing else in a remodel has this much influence over daily comfort while receiving this little design attention.
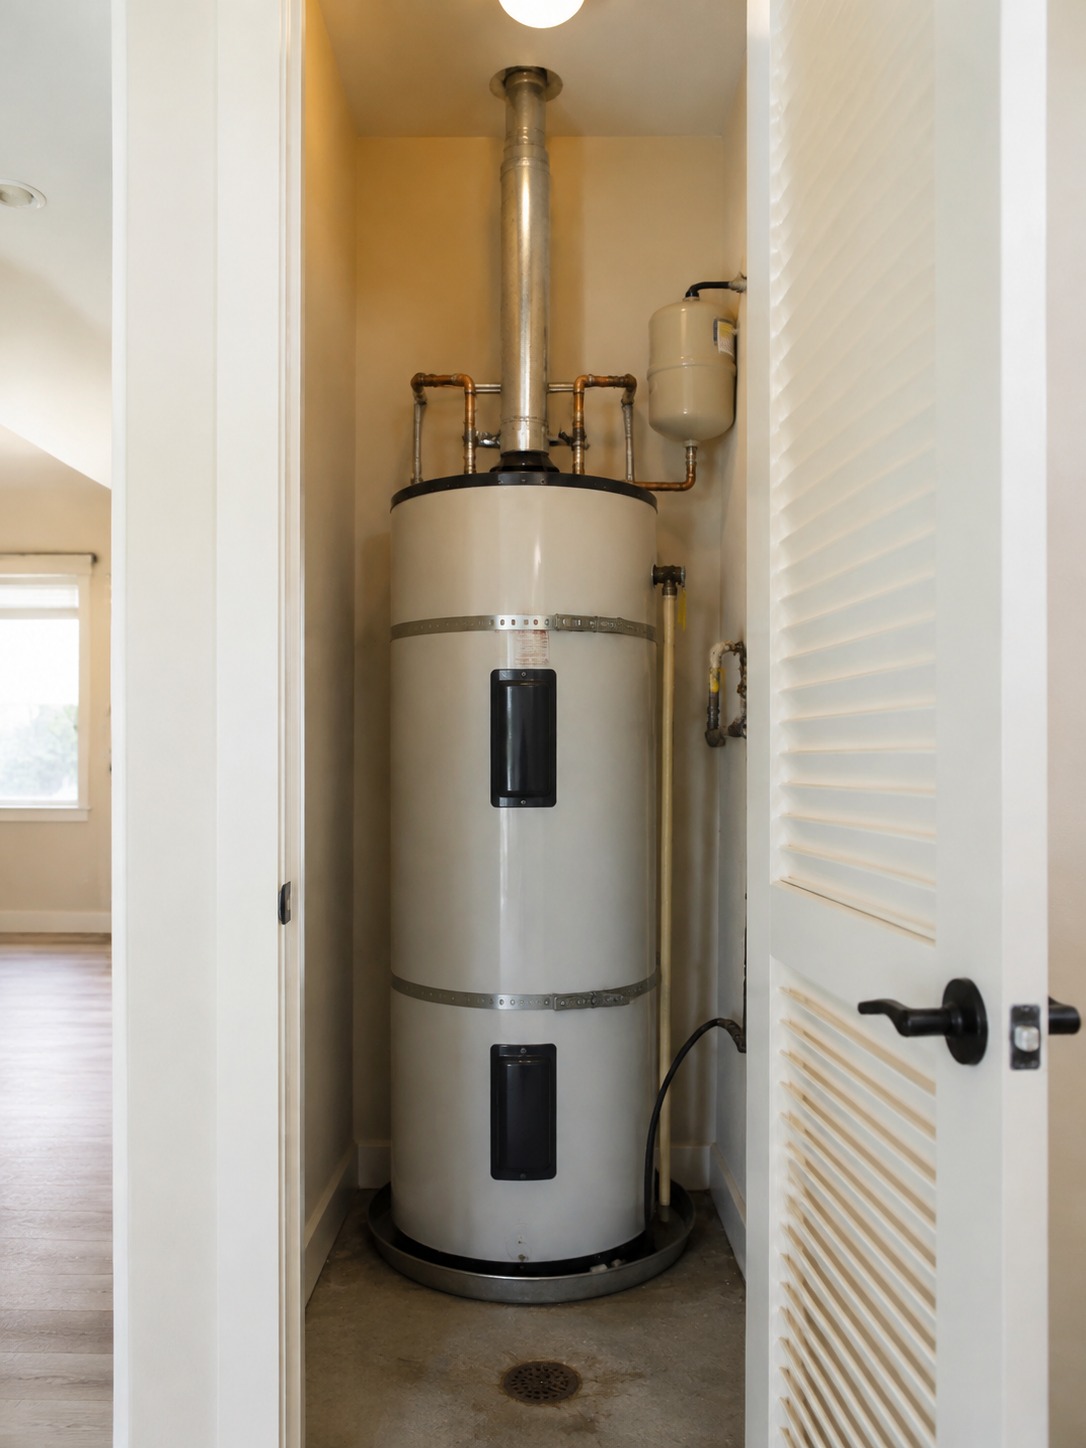
Tank, tankless, venting, fuel source, and floor-space requirements
Water heating accounts for roughly 18% of a home’s energy use according to the U.S. Department of Energy — the second-largest energy cost after heating and cooling, which makes it a genuinely poor candidate for a last-minute decision.
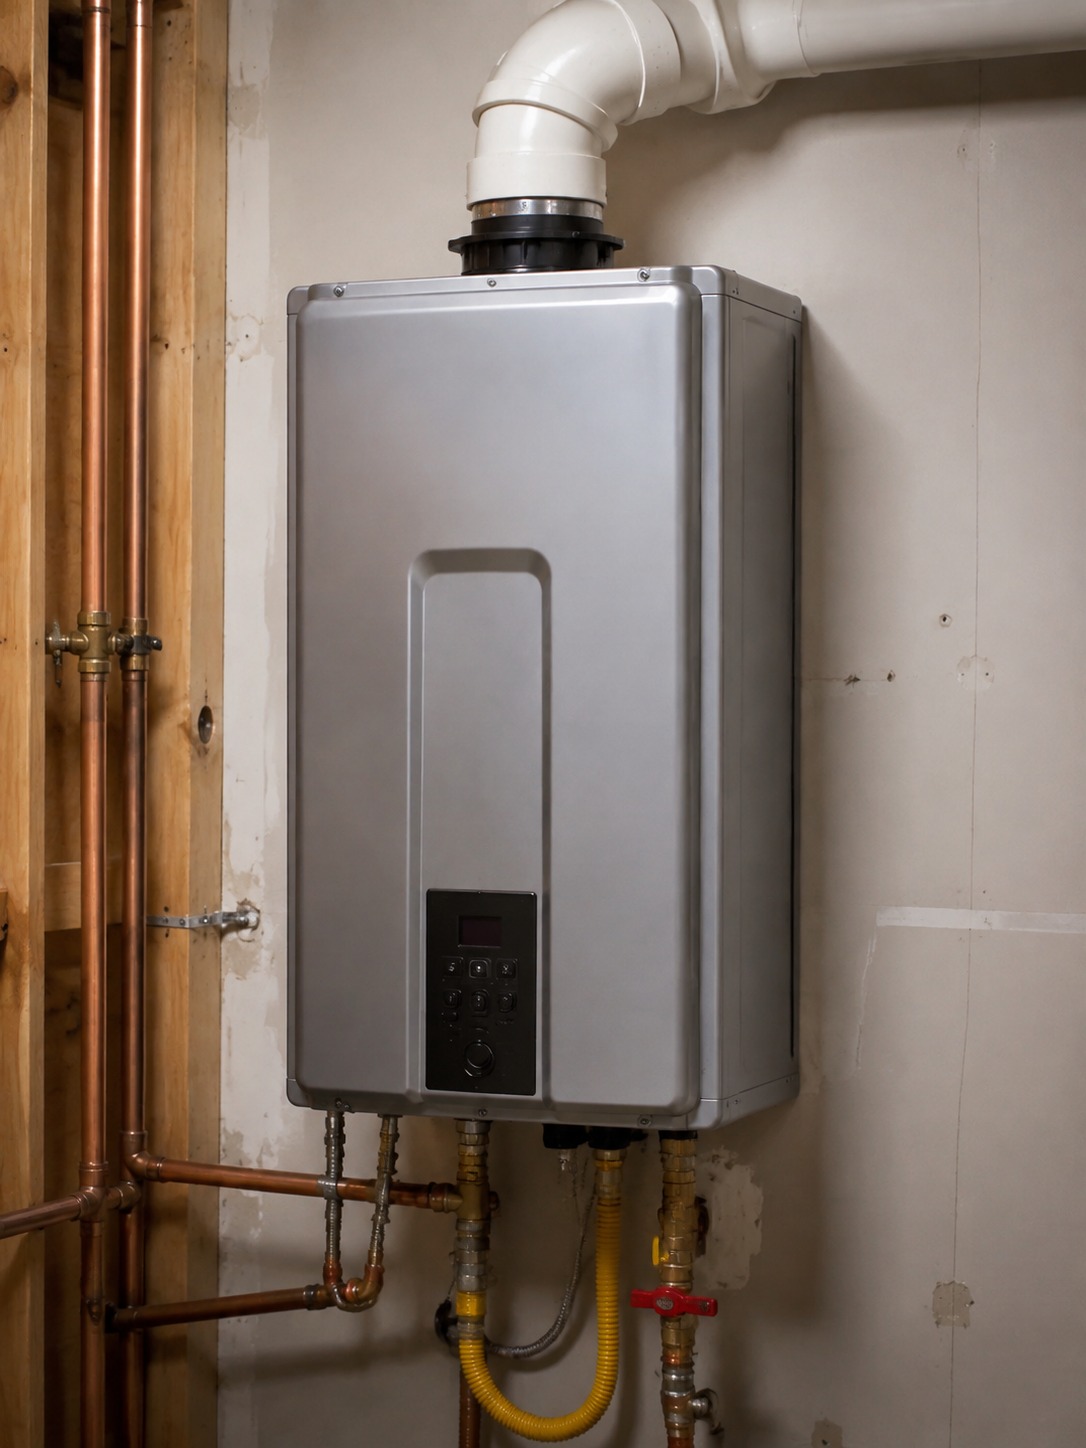
A storage tank needs dedicated floor space, a condensation drain, and proper venting; a tankless unit demands higher activation flow and specific electrical or venting infrastructure, sometimes both. Treating this as a design-system decision means bringing in a licensed plumber to assess flow rate, fuel source, and venting constraints before a model gets chosen — planned water heater installation at rough-in means the gas line, vent routing, or circuit becomes part of the framing itself rather than a retrofit fighting finished walls later.
Skip that step and the house’s hot-water experience gets permanently inherited from whatever the previous owner or builder happened to install. Our guide to choosing the best water heater for your home goes deeper on the model-specific design trade-offs.
Hot water recirculation as a comfort upgrade
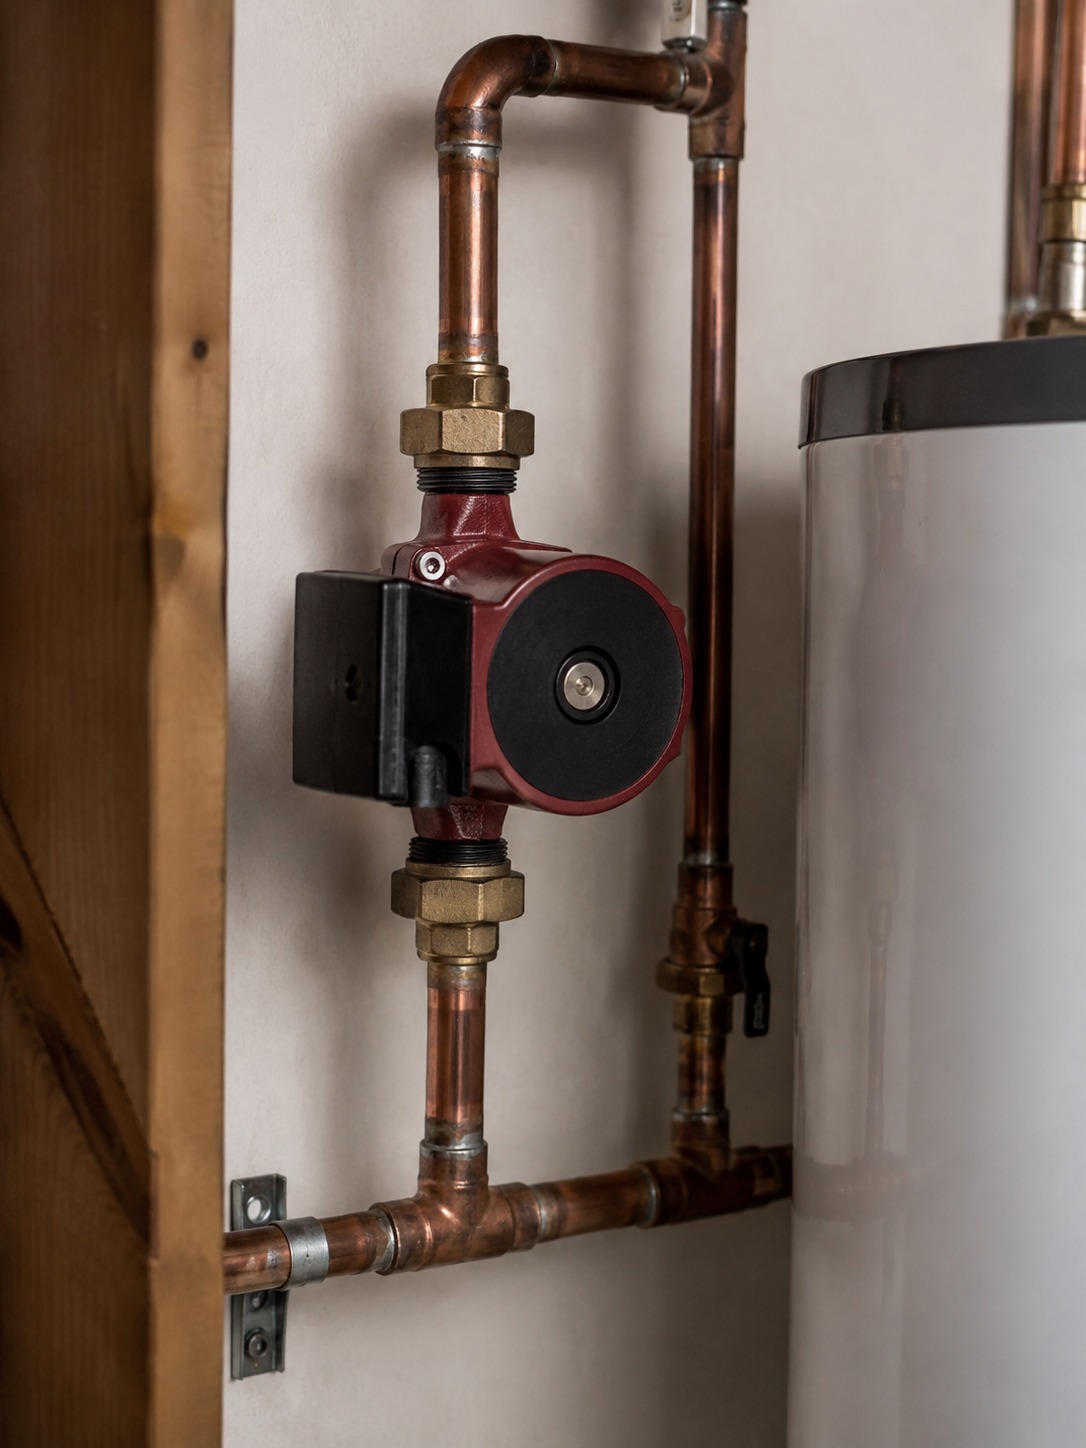
A hot water recirculation loop is one of the most consequential, lowest-visibility design decisions available during rough-in — a return line that eliminates the ninety-second wait for hot water at a fixture two floors from the heater. Installed during rough-in, it’s a minor addition to plumbing already underway.
Installed afterward, it means opening finished walls across potentially multiple floors to route the same line — a design decision that’s nearly free now and genuinely expensive to retrofit. If your design brief includes a primary suite far from the mechanical room, this is the moment that comfort gets designed in or permanently designed out.
Inspect Old Pipes and Drainage Before Finishes Go In
A gorgeous fixture package sitting on top of degraded infrastructure is a design that’s lying to itself.
Galvanized, copper, PEX, and repiping decisions
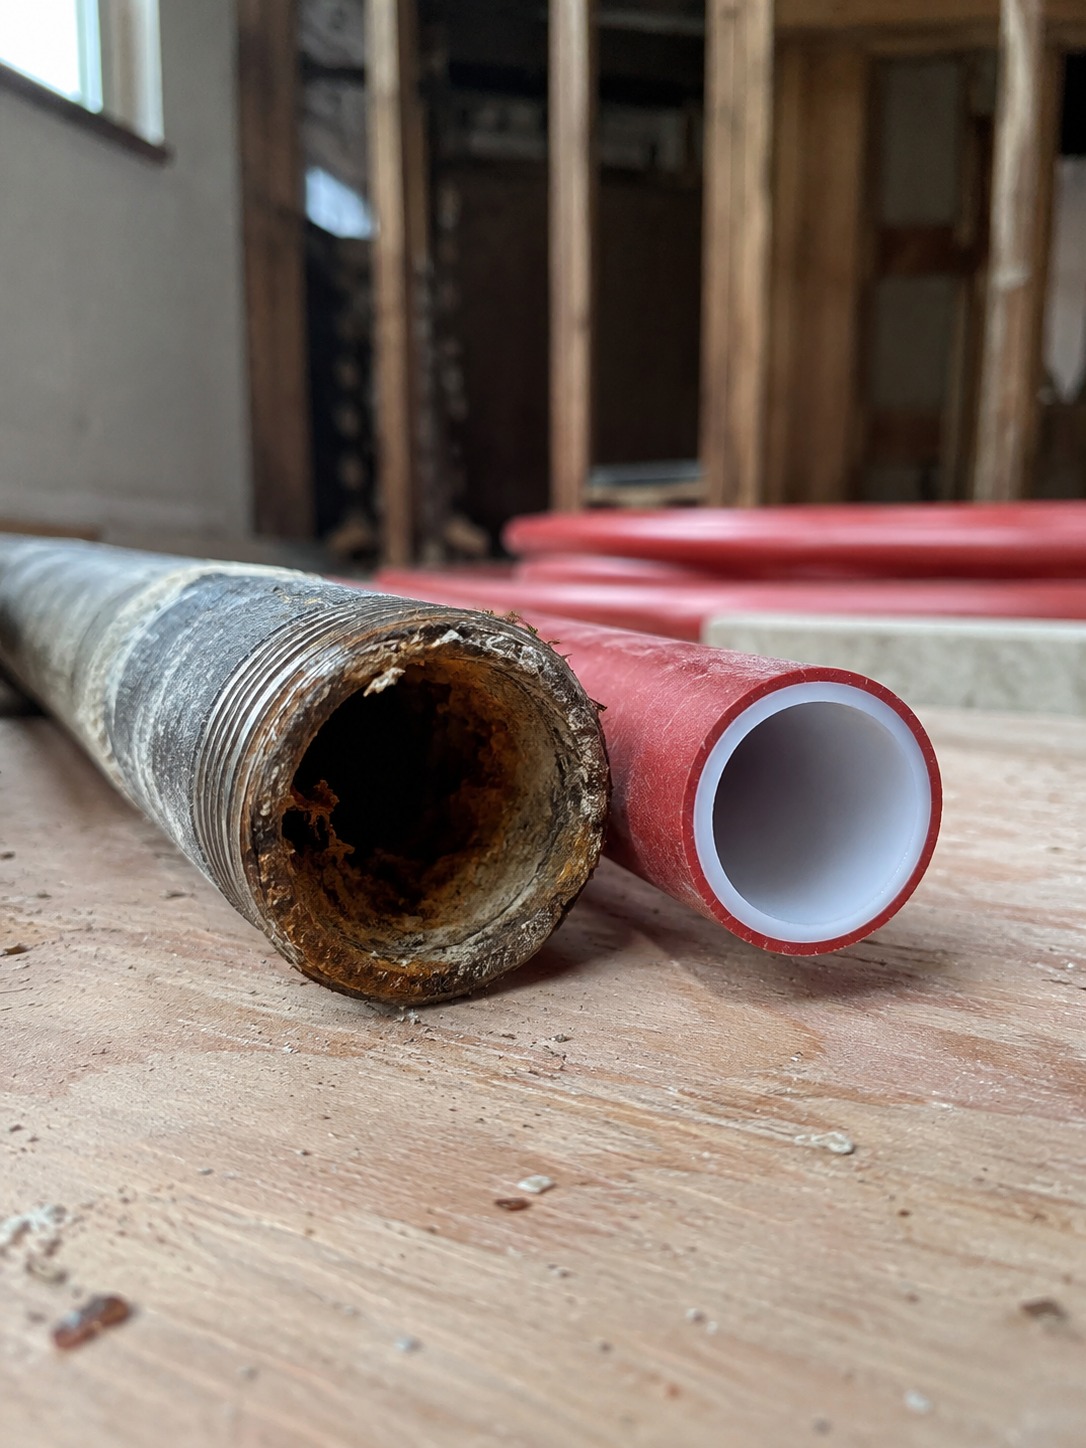
Galvanized pipe corrodes internally over decades; copper accumulates sediment and, in places, pitting — both processes invisible from the outside, with declining pressure sometimes the only clue behind a finished wall. PEX doesn’t share this failure mode, which is part of why it’s become the default in serious renovation work.
You can’t actually know how much internal diameter old pipe has lost without a flow test or a direct look, and a remodel — walls already open — is the one moment a full or partial repipe costs a fraction of what it would once everything is finished and painted over.
DWV and sewer scope checks before move-in problems appear
The drain-waste-vent system fails just as expensively as the supply side, and it fails quietly — slow drains, gurgling, sewer gas smell, usually weeks after move-in rather than during a walk-through. A sewer scope inspection (a camera down the outgoing line) is cheap insurance against what it would cost to excavate a yard or slab later. If the design process already has walls and floors open, checking the condition of buried pipe is a natural extension of the same work, not an added expense.

Add Utility Upgrades as Their Own Budget Line
A design brief that treats utility capacity as a line item rather than an afterthought is the difference between a renovation that photographs well and one that actually performs.
Rough-in, inspection, insulation, drywall, then finishes
The sequencing that protects a design brief runs: framing, then electrical and plumbing rough-ins, then municipal inspection, then insulation and drywall — finishes designed around the utility plan, never the reverse. Reverse that order and the systems get squeezed into whatever space finish decisions left behind, baking capacity limitations into the house for another twenty years. Our house planning ideas guide and renovation checklist both cover this sequencing at the full-project level, useful context beyond utility rough-in specifically.

What to decide before tile, cabinetry, and lighting are finalized
Electrical service size, plumbing main capacity, water heater configuration, and DWV condition are the actual foundation a finish plan gets built on — deciding them after cabinetry and tile is like designing a facade before confirming the structure can hold it up. Our energy efficient home upgrades guide pairs naturally with this stage, since the highest-value efficiency upgrades are directly downstream of the capacity decisions made here.
Final Thoughts
The best-looking renovation and the best-functioning renovation are two different design problems, and the gap between them is almost always invisible in photographs.
For a UK property you have not yet bought, check the acquisition assumptions before committing to service upgrades. This renovation buyer’s UK property data checklist connects comparable sales, planning records, flood information and the EPC with the work budget.
It shows up the first time an induction range and an EV charger both want power the panel doesn’t have, or three people try to shower on the same morning. Decide the capacity questions before the walls close, and every finish decision that follows has something real to stand on.
FAQ
What should be checked before starting a home remodel?
Electrical load capacity (via a real load calculation, not breaker count), water pressure and simultaneous flow demand, water heater configuration and venting, and the condition of existing supply and drain pipes — all before any finish material gets specified.
Is a 200 amp panel necessary for a modern home?
For a home designed around electrified appliances — EV charging, heat pumps, induction cooking — 200 amps has become the practical baseline. Older 60- or 100-amp service is frequently insufficient once those loads stack against existing HVAC and lighting demand.
When should plumbing rough-in be planned?
Immediately after framing, before insulation or drywall close the walls. It’s the only point where supply lines, DWV routing, and recirculation loops can be added or resized without cutting into finished surfaces.
Should a water heater be replaced during a remodel?
If it’s original to an older home or mismatched to current household demand, yes — a remodel is the design window where venting, fuel source, and capacity can all be corrected while the framing is already open.
Is hot water recirculation worth adding during renovation?
For any layout with fixtures far from the water heater, yes. It’s a minor design addition during rough-in and a genuinely expensive retrofit afterward, since adding it later means opening finished walls across potentially multiple floors.
- 27shares
- Facebook0
- Pinterest27
- Twitter0
- Reddit0