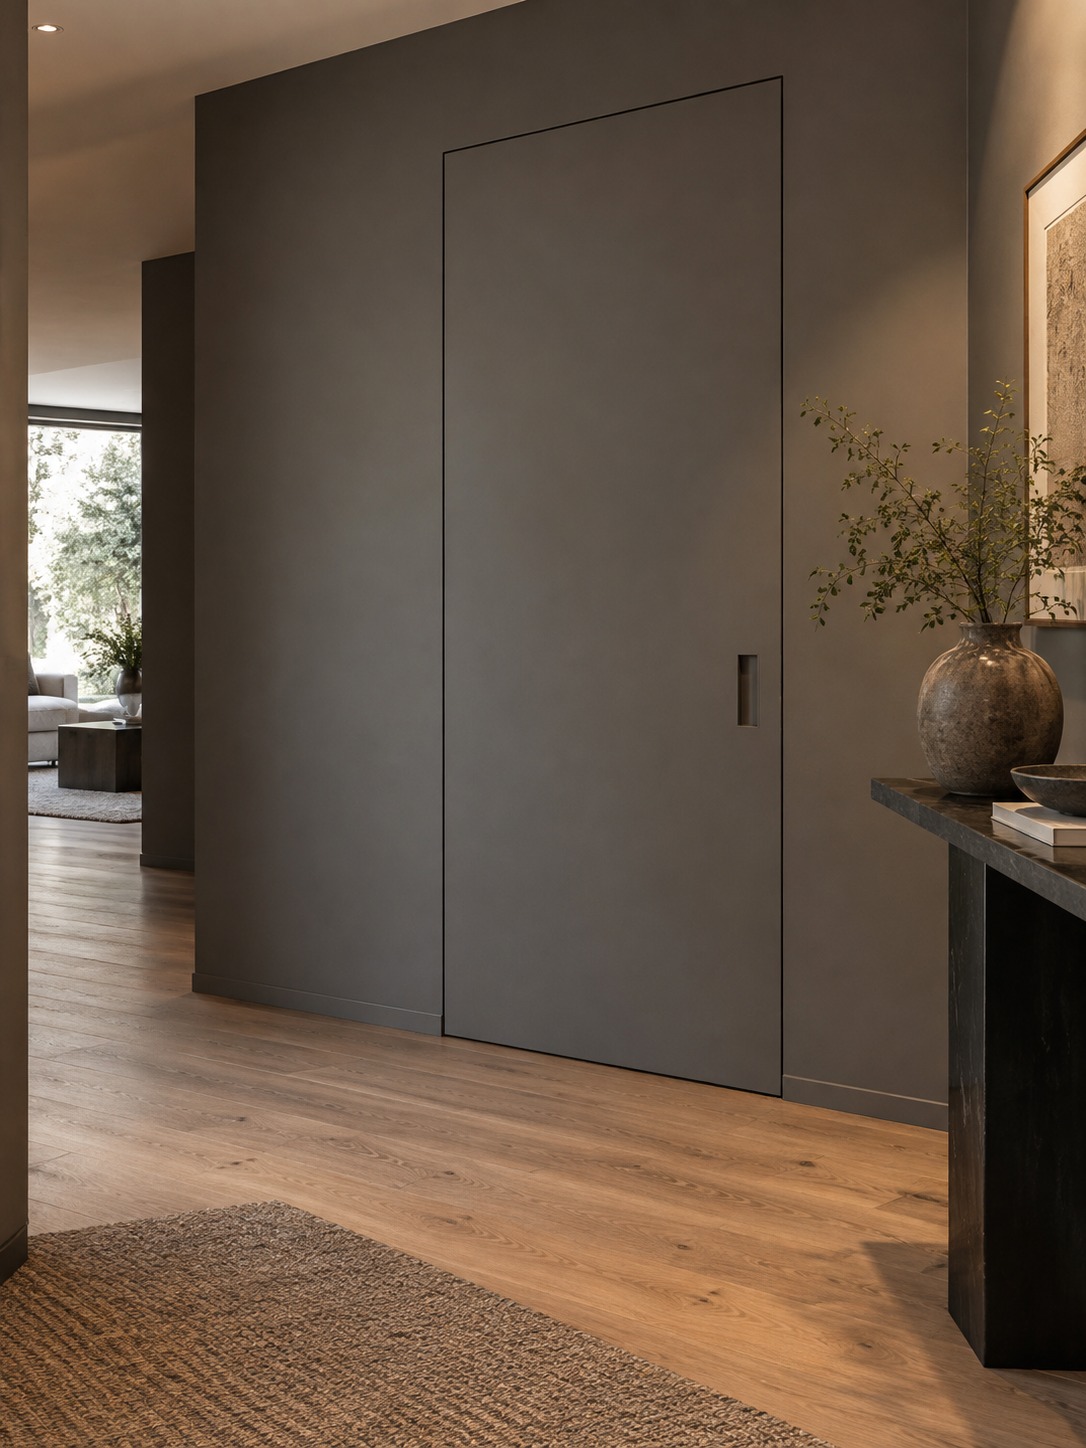
The best utility closet ideas do two things at once: quiet the visual noise of pipes and equipment, and keep every important connection easy to reach. A flush door may help the closet disappear into a hallway, but the service zone behind it should be obvious, bright, and ready to use.
That balance is decided early. A beautiful panel that cannot be opened quickly is not thoughtful millwork; it is a future problem. Plan access first, then build the finish palette around it.
- What a utility closet should solve before it stores anything
- Where to place a utility closet in the floor plan
- How to hide the systems without hiding access
- Small utility closet ideas that preserve service space
- Emergency-ready plumbing details to mark on the plan
- What should never be covered or blocked
- When the design plan ends and an emergency plumber takes over
- Utility closet design checklist before the walls close
- Utility closet FAQ
- Final thoughts
This guide approaches the utility closet as a small piece of interior architecture. It covers placement, doors, storage, lighting, moisture control, and the details that help a household respond calmly when something leaks.
What a utility closet should solve before it stores anything
Before adding a shelf or basket, solve four priorities: access, visibility, lighting, and water containment. Everyone in the household should be able to reach the main controls without tools or demolition. Gauges, warning lights, and labels need to remain visible without moving supplies out of the way.
Lighting should be bright enough to read a tag and notice a small drip. Any appliance or connection that could leak should sit above a surface made to handle water rather than raw subfloor or carpet.
Design tip: Solve access, visibility, lighting, and water containment before making a storage decision. A tidy closet that buries the shut-off valve has its priorities backward.
Treat these priorities as a sequence. Access and visibility determine where equipment sits. Lighting follows that layout, while moisture protection belongs in the floor and equipment platform. Storage is the final layer, not the starting point.
Where to place a utility closet in the floor plan
Group the water main, heater, and laundry connections
Locating the water main, water heater, and laundry connections near one another reduces redundant plumbing runs. It also gives you one compact service zone to design carefully instead of several mechanical afterthoughts scattered through the house.
A grouped layout is also easier to understand during a leak. The main valve and the likely source of the problem are in the same contained area rather than hidden in unrelated closets.
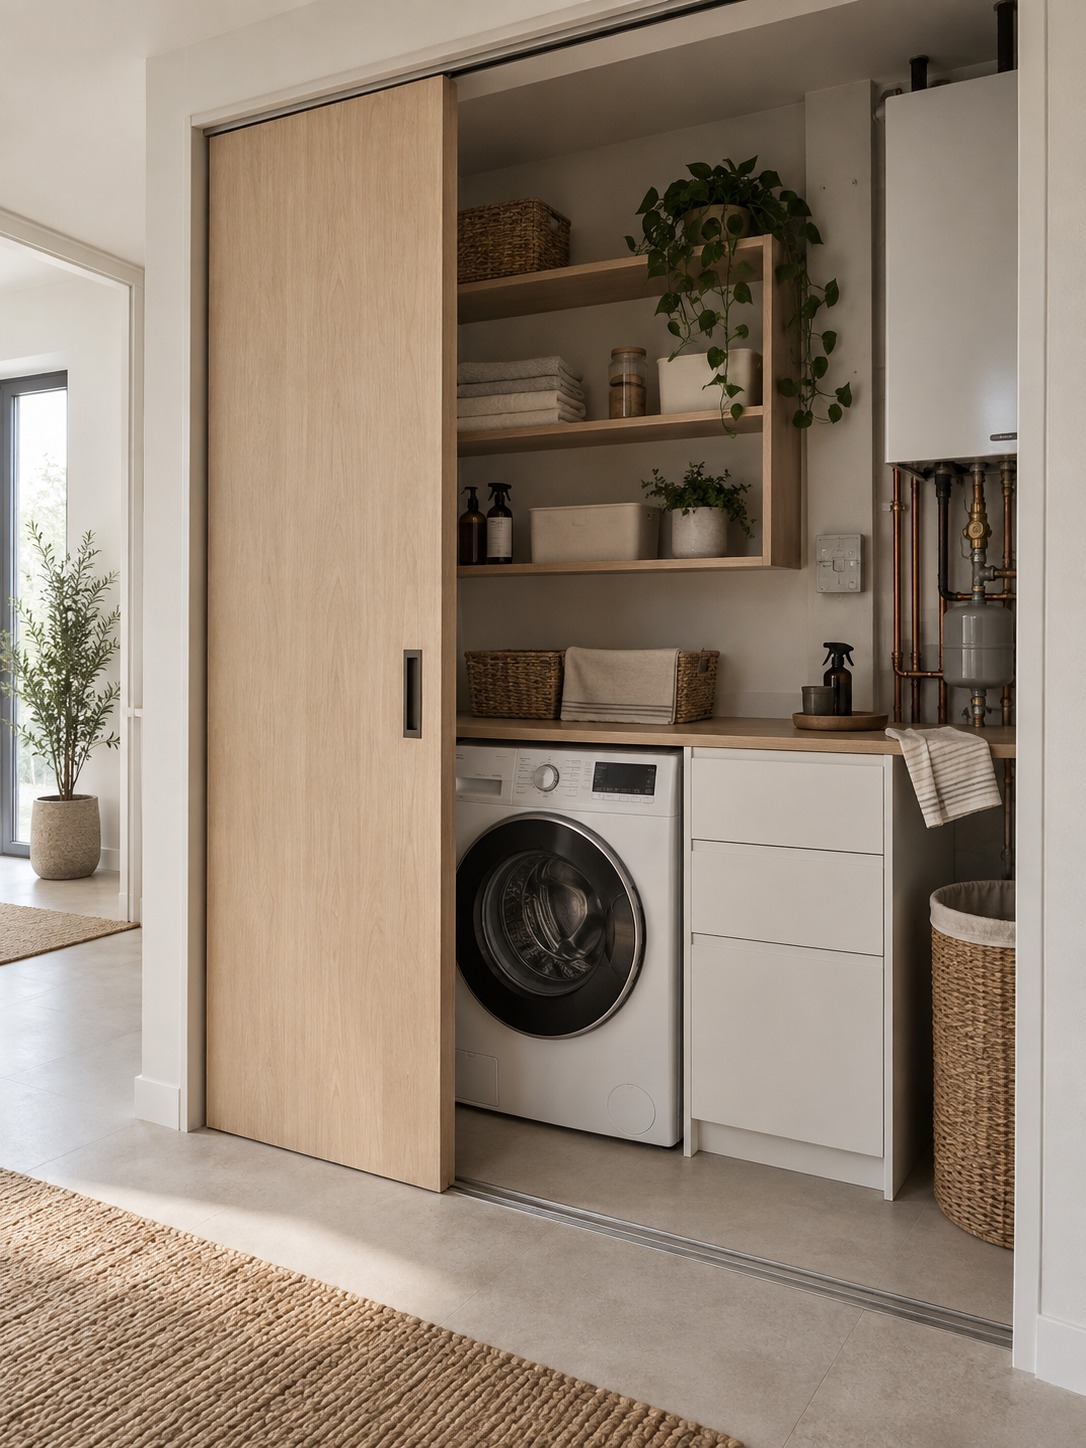
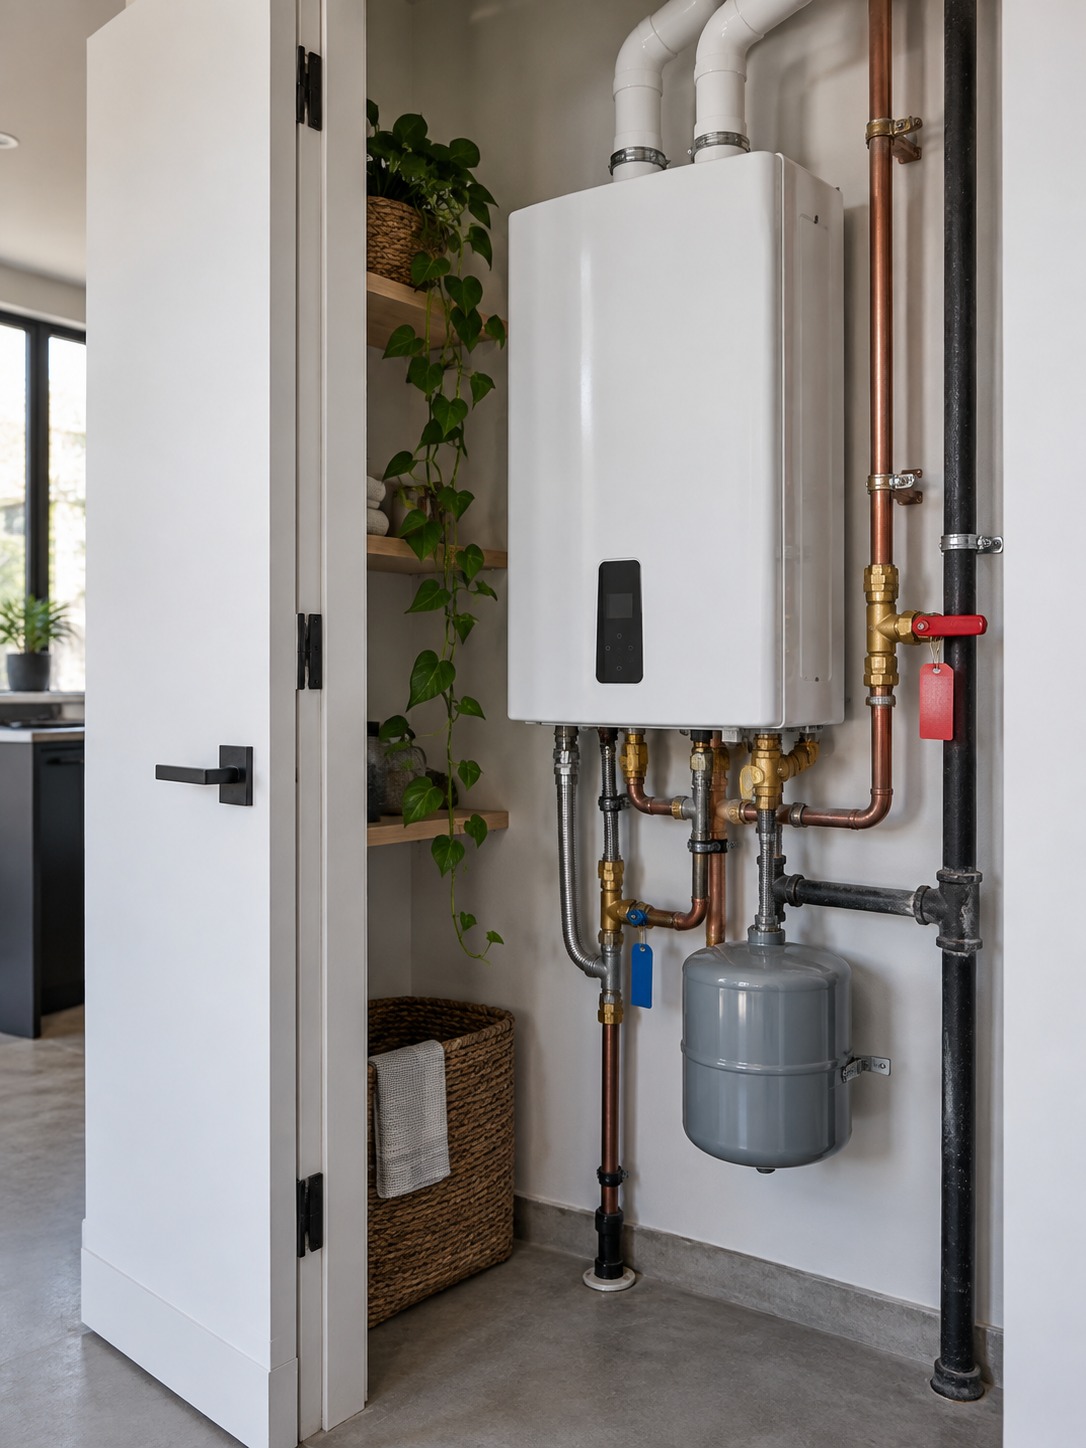
The right location depends on the home’s plumbing entry point, equipment type, and applicable code. Confirm the plan with the professionals handling the mechanical work before fixing the closet location or surrounding millwork.
Leave room for the door, the technician, and future replacement
The door should open fully without hitting stored items, nearby walls, or the equipment. Inside, leave enough space for a technician to stand and work rather than reach awkwardly through a narrow opening.
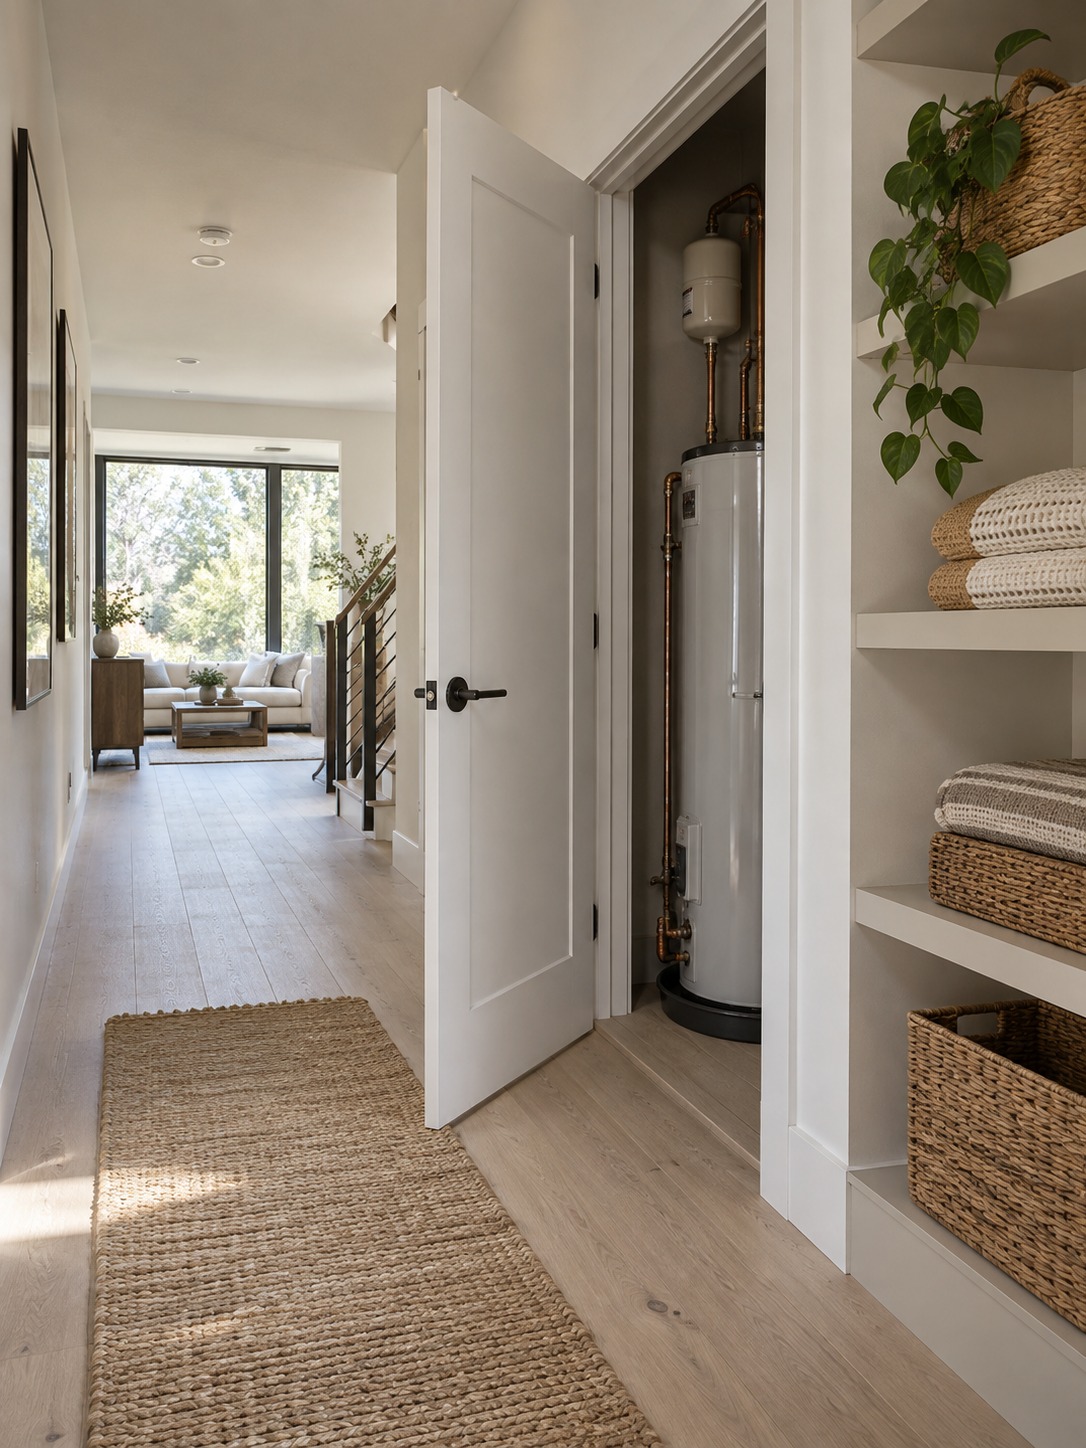
Then test the replacement route. Picture the largest appliance leaving on a hand truck and trace the path to an exterior door. If built-in furniture or a tight doorway blocks that route, revise the plan while it is still a drawing instead of waiting for it to become demolition.
Clearance requirements vary by appliance and jurisdiction, so use the manufacturer’s installation documents and a licensed professional rather than a generic dimension from a design article.
How to hide the systems without hiding access
Use flush doors, painted millwork, or slatted screens
A flush door painted to match the surrounding wall is the simplest way to calm a hallway or mudroom. It reads as part of the architecture while retaining the full opening of a conventional hinged or pocket door.
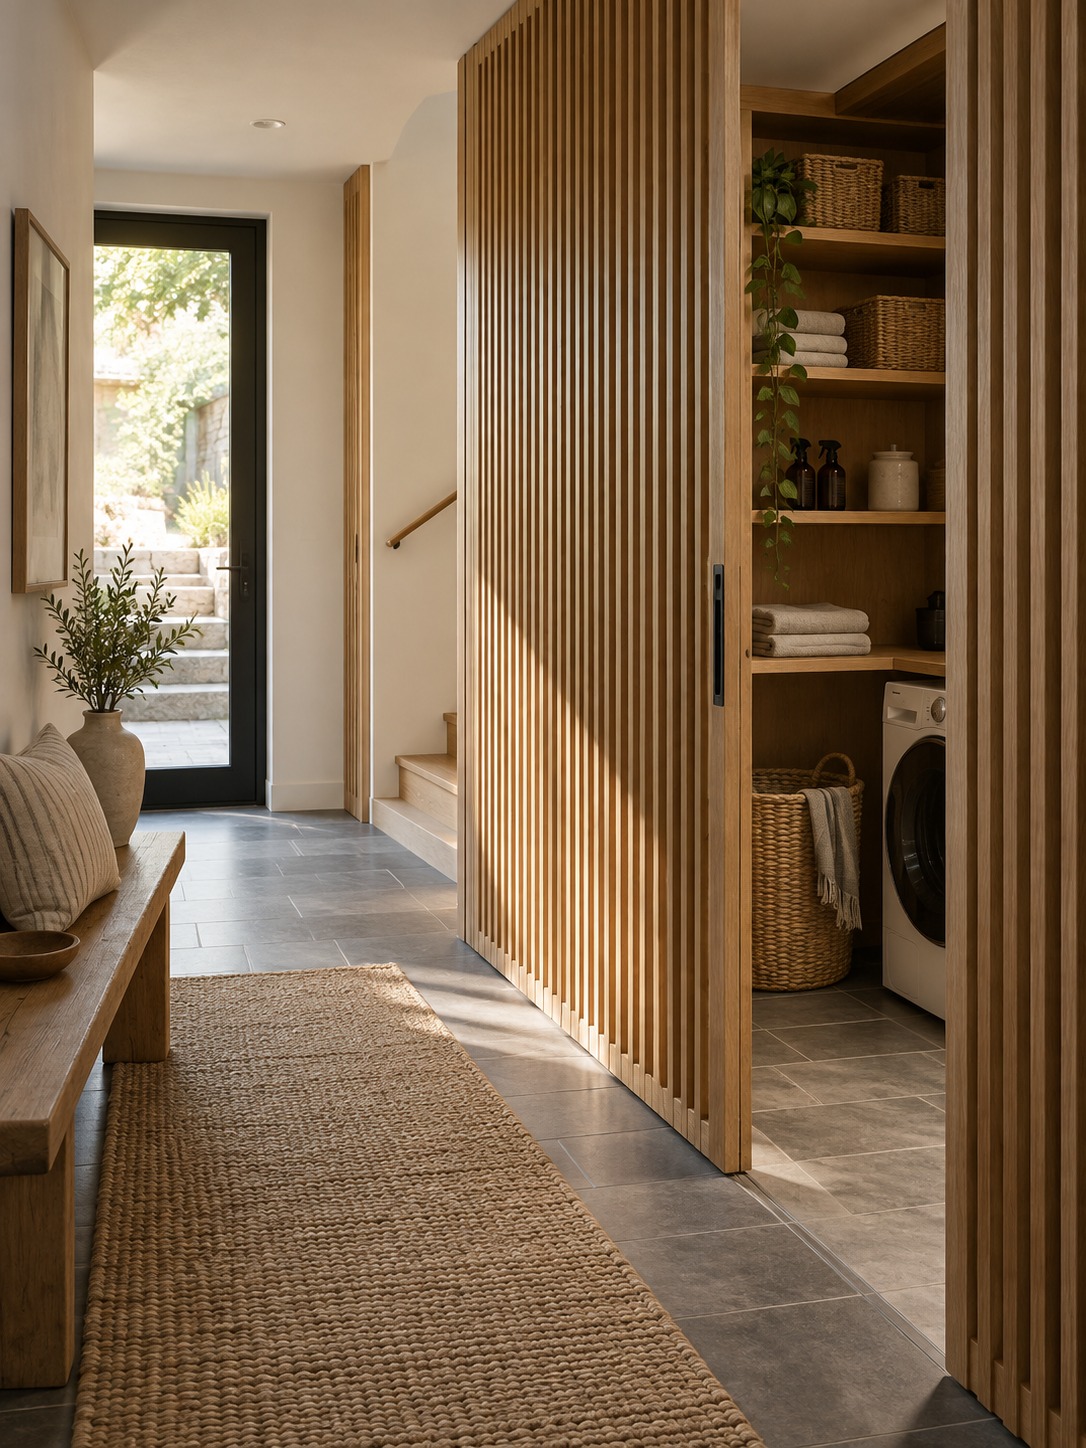
Painted millwork can give a more furniture-like finish in an open-plan room. A slatted wood or metal screen is useful when the equipment requires airflow, because it brings texture to the elevation without sealing the closet too tightly. Ventilation and combustion-air requirements always take priority over the screen pattern.
Choose removable panels over permanent finishes
Anything covering a valve, cleanout, or service point should come away without demolition. Magnetic catches, concealed hinges, or visible screws with finish-matched caps can all create a clean face while preserving access.
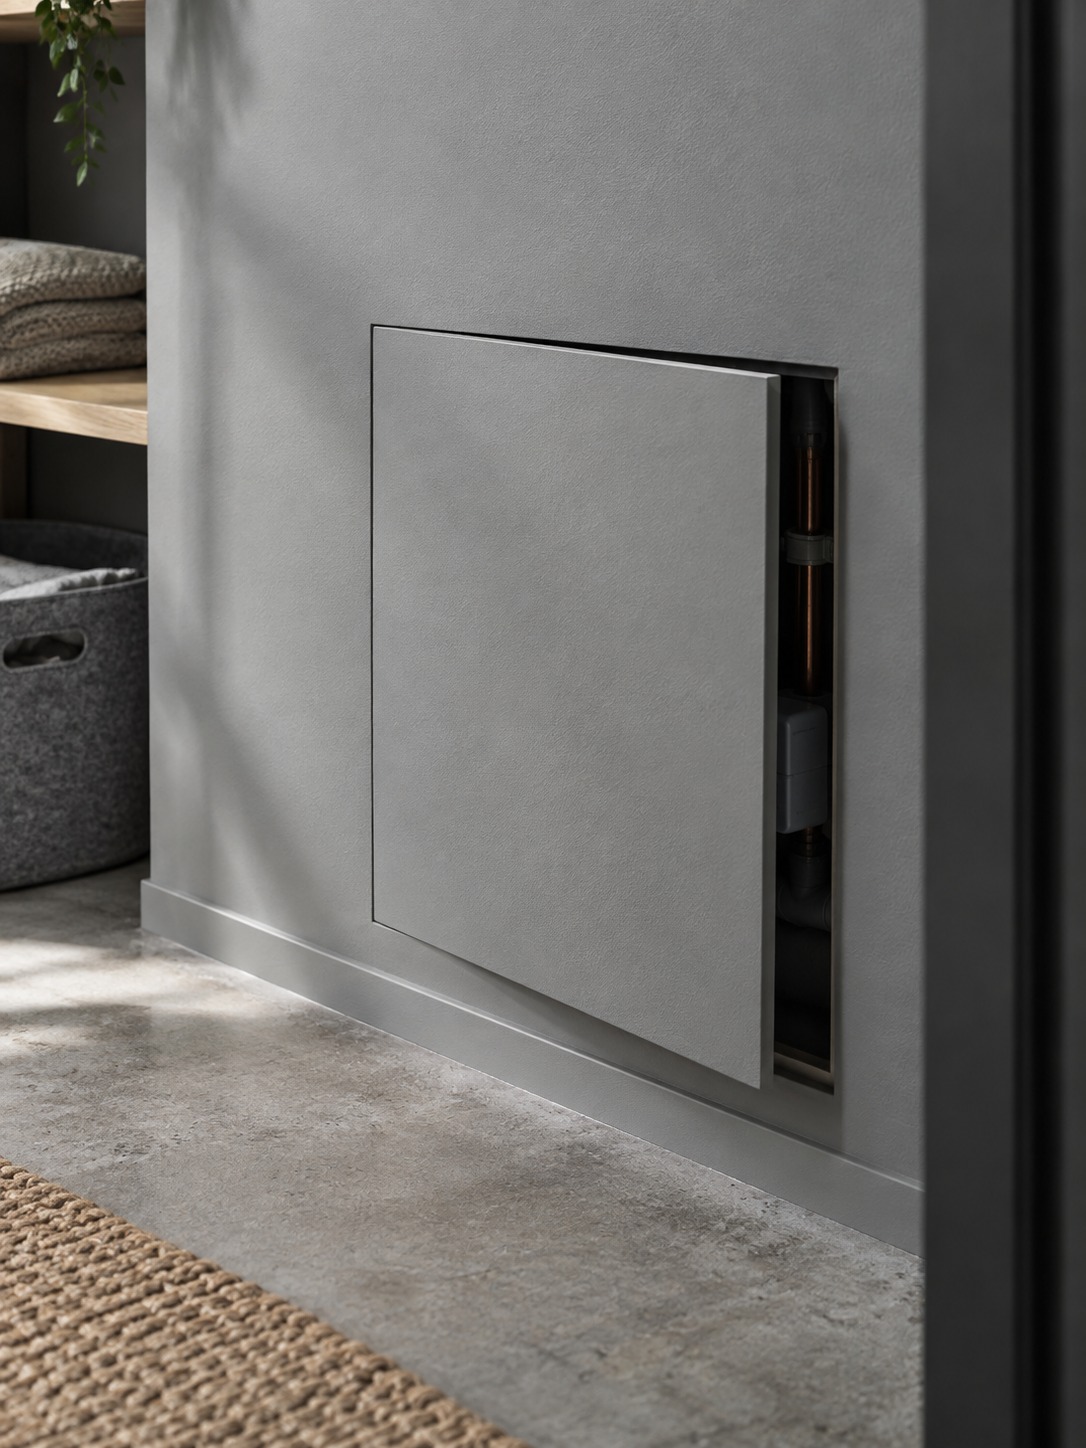
Reserve glued tile, sealed drywall, and permanently fastened cabinetry for surfaces that never need to open. Tell the contractor exactly which panels are removable before finishes begin; “make it look built-in” is too easy to interpret as permanent construction.
Connect the finish palette to the adjacent room
A utility closet feels intentional when the door, trim, threshold, and visible panels share the material language of the adjoining room. Matching the wall color or continuing the flooring across the threshold usually does more than adding decorative objects inside the closet.

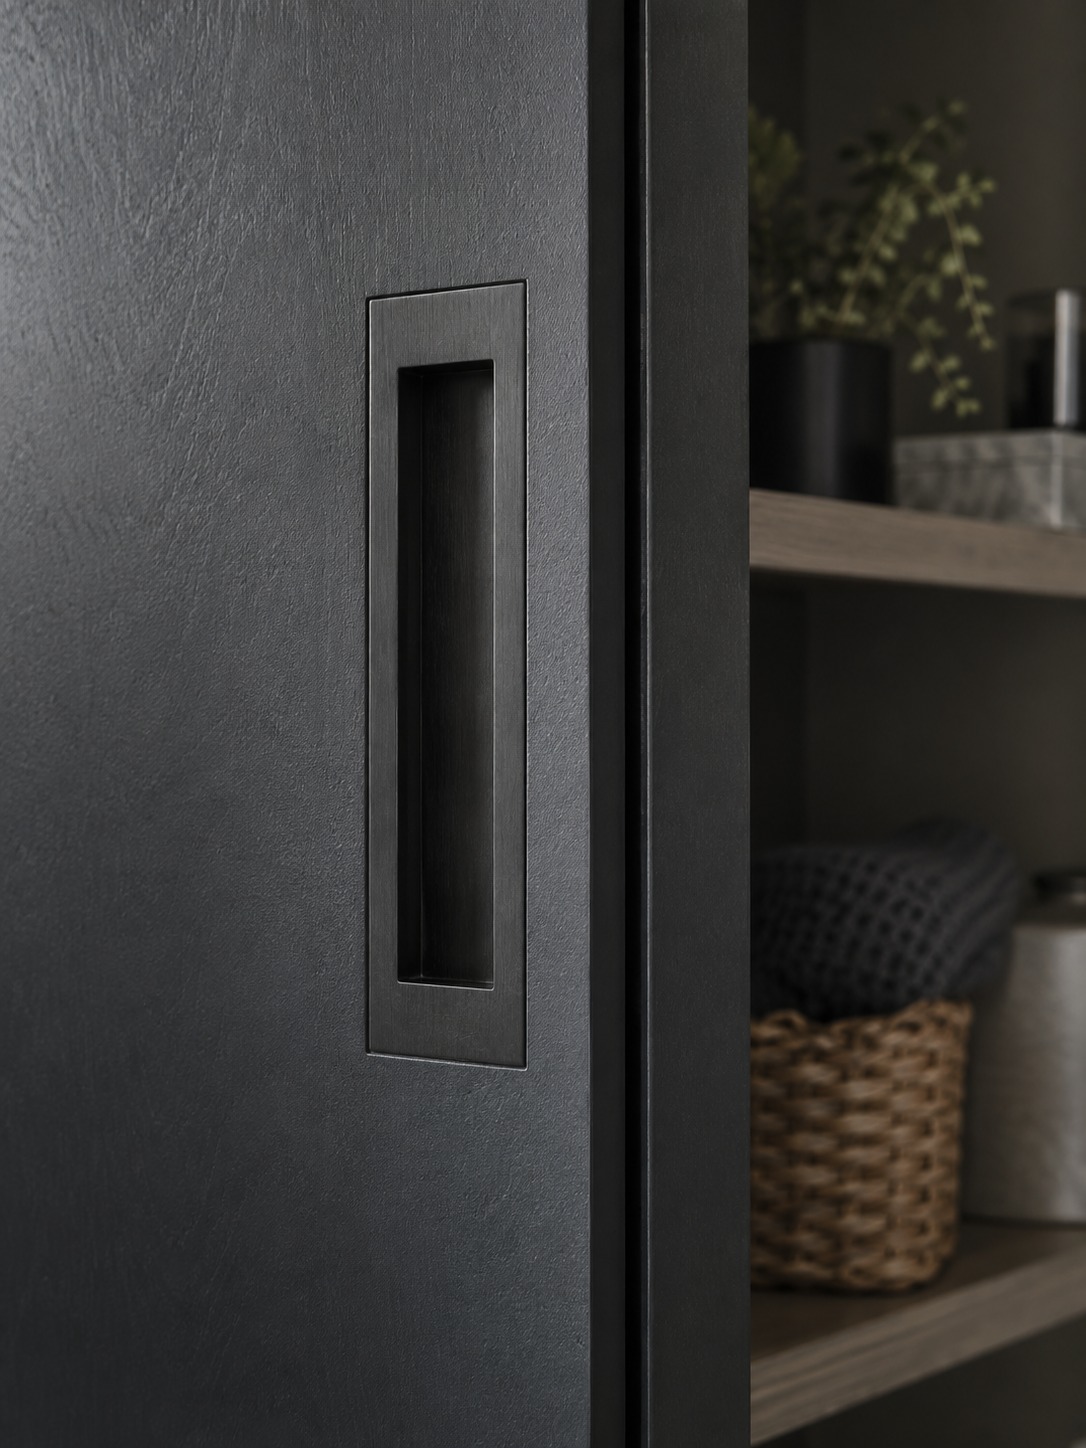
Hardware matters too. Repeat the finish used on nearby doors, or choose a recessed pull that sits quietly within the elevation. A mismatched, highly visible handle can reveal the closet before the door itself does.
Small utility closet ideas that preserve service space
Organize equipment, tools, and storage in vertical zones
In a compact closet, think in horizontal bands. Keep mechanical equipment and its required clearance at floor level, place emergency tools at an easy-to-reach middle height, and reserve the top shelf for light, infrequently used supplies.
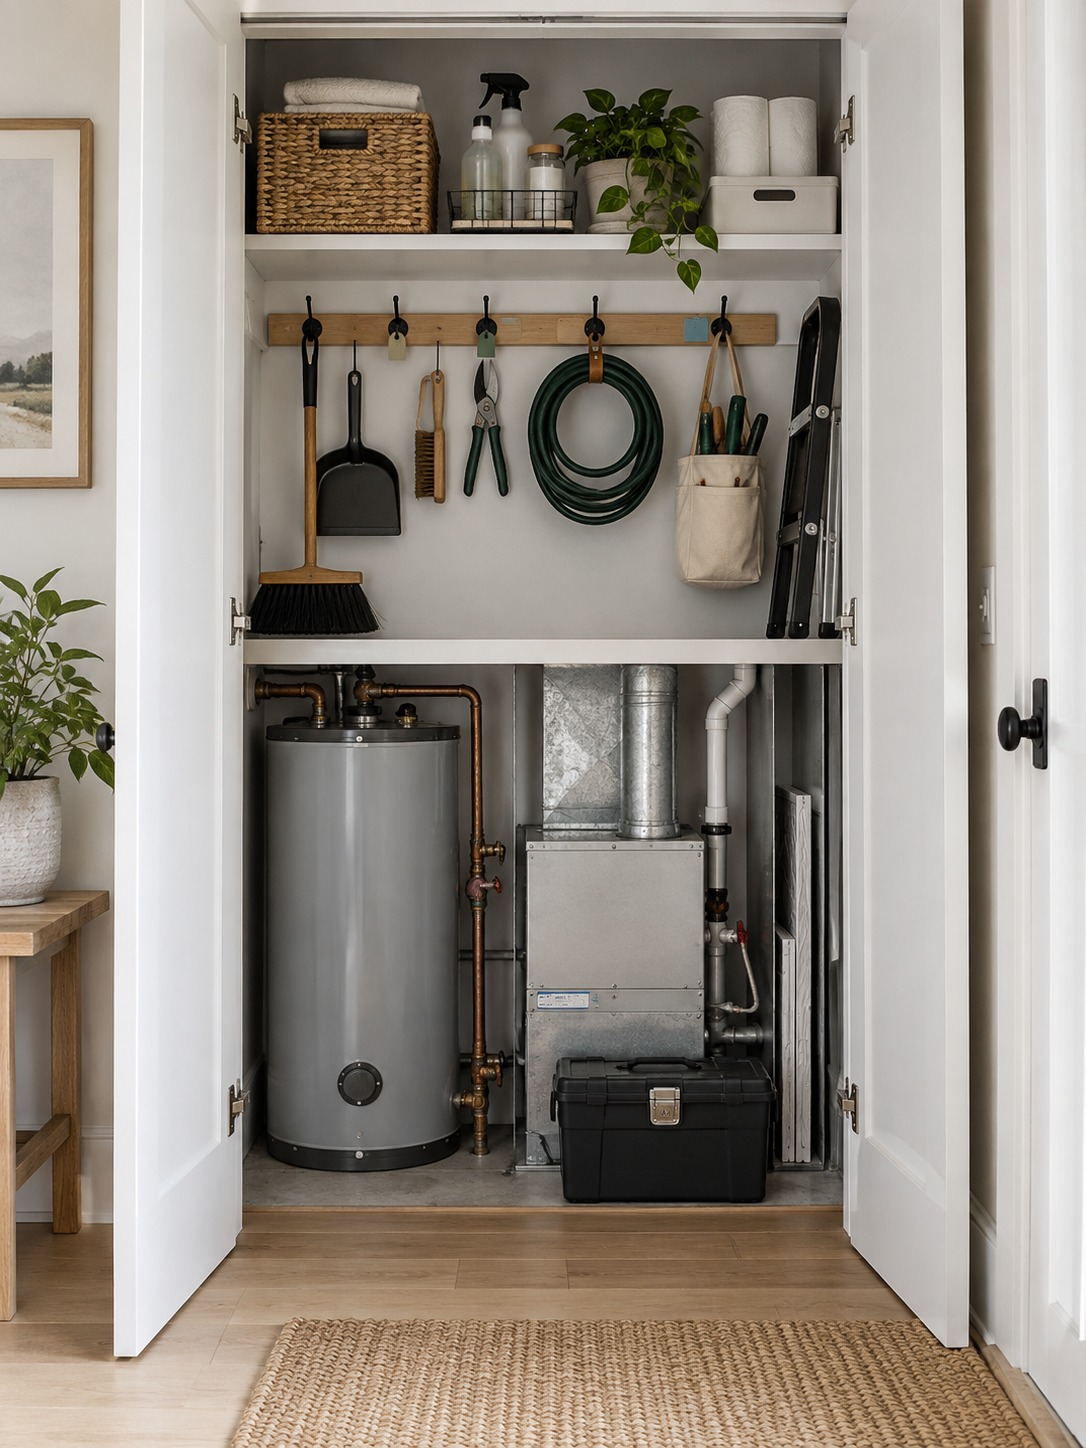
A shallow rail can hold a flashlight, shut-off key, and adjustable wrench without stealing working depth. This layout is more useful than deep shelving that invites bins to migrate in front of valves and service panels.
Add task lighting, ventilation, and acoustic control
Use a bright, wide-beam fixture positioned so the open door does not cast a shadow across the equipment. A linear LED under a shelf can illuminate valves and gauges more effectively than a weak ceiling lamp.
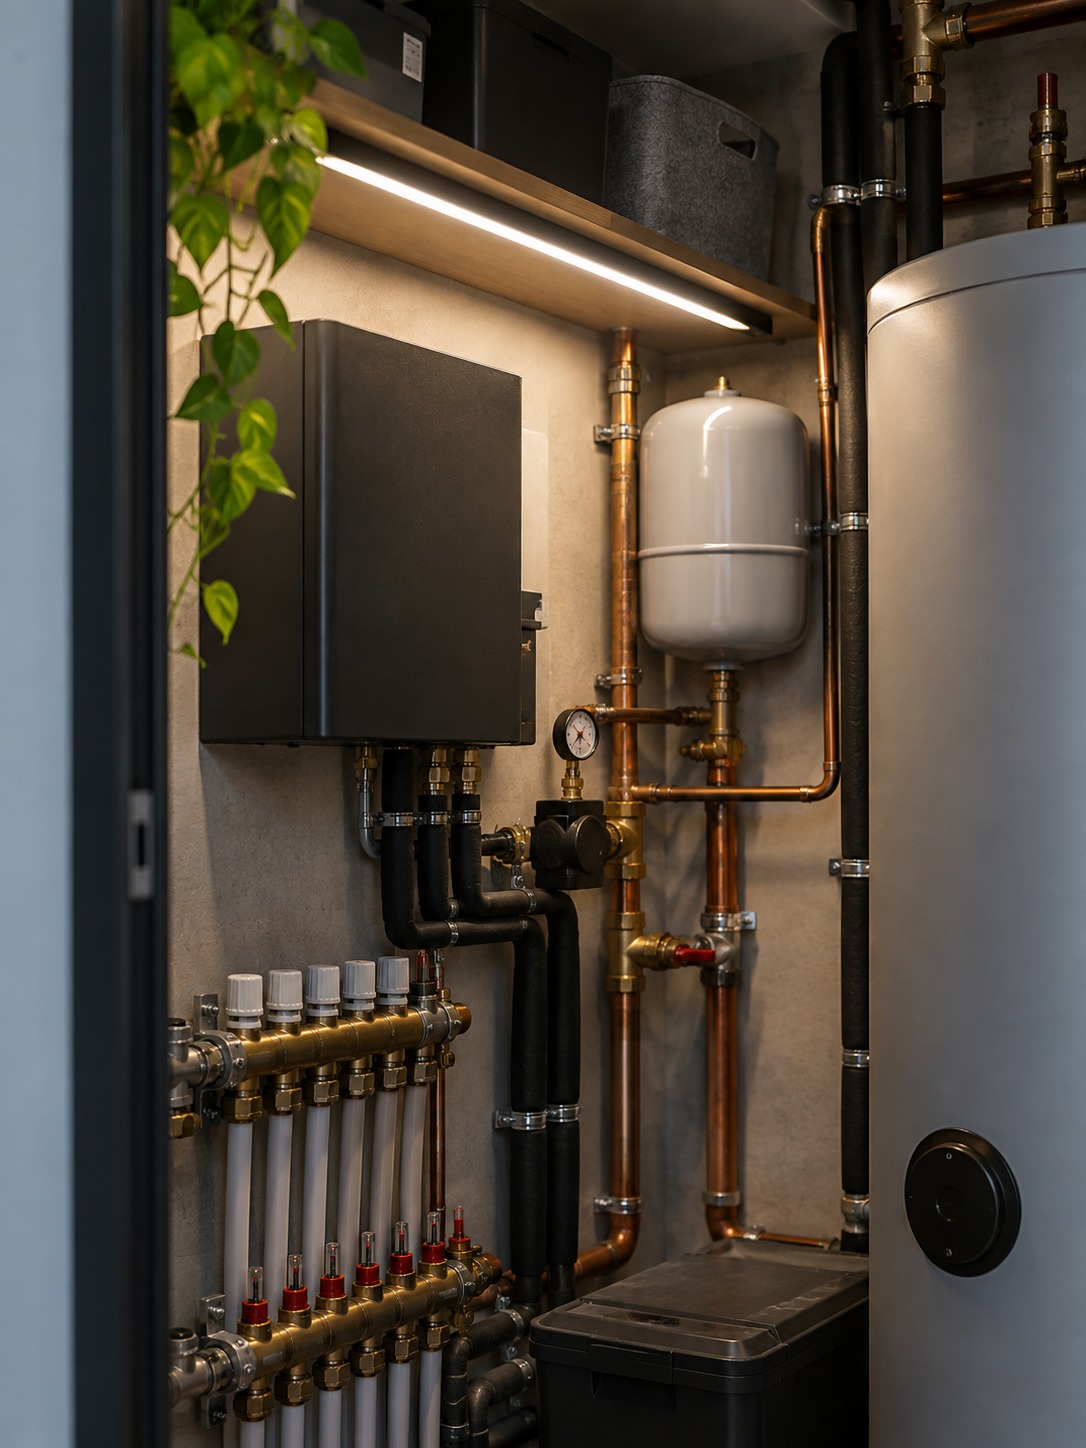
Confirm ventilation requirements for the installed equipment; a decorative enclosure cannot override them. If the closet shares a wall with a bedroom or living space, a solid-core door and added mass in the wall assembly can reduce operating noise from pumps, heaters, and laundry appliances.
Specify a moisture-resistant floor and cleanable walls
Assume water will reach the floor eventually. Sealed tile, sheet vinyl, or another moisture-resistant finish performs better than carpet or unsealed wood. Keep grout lines and corners easy to inspect rather than hiding them behind permanent plinths.
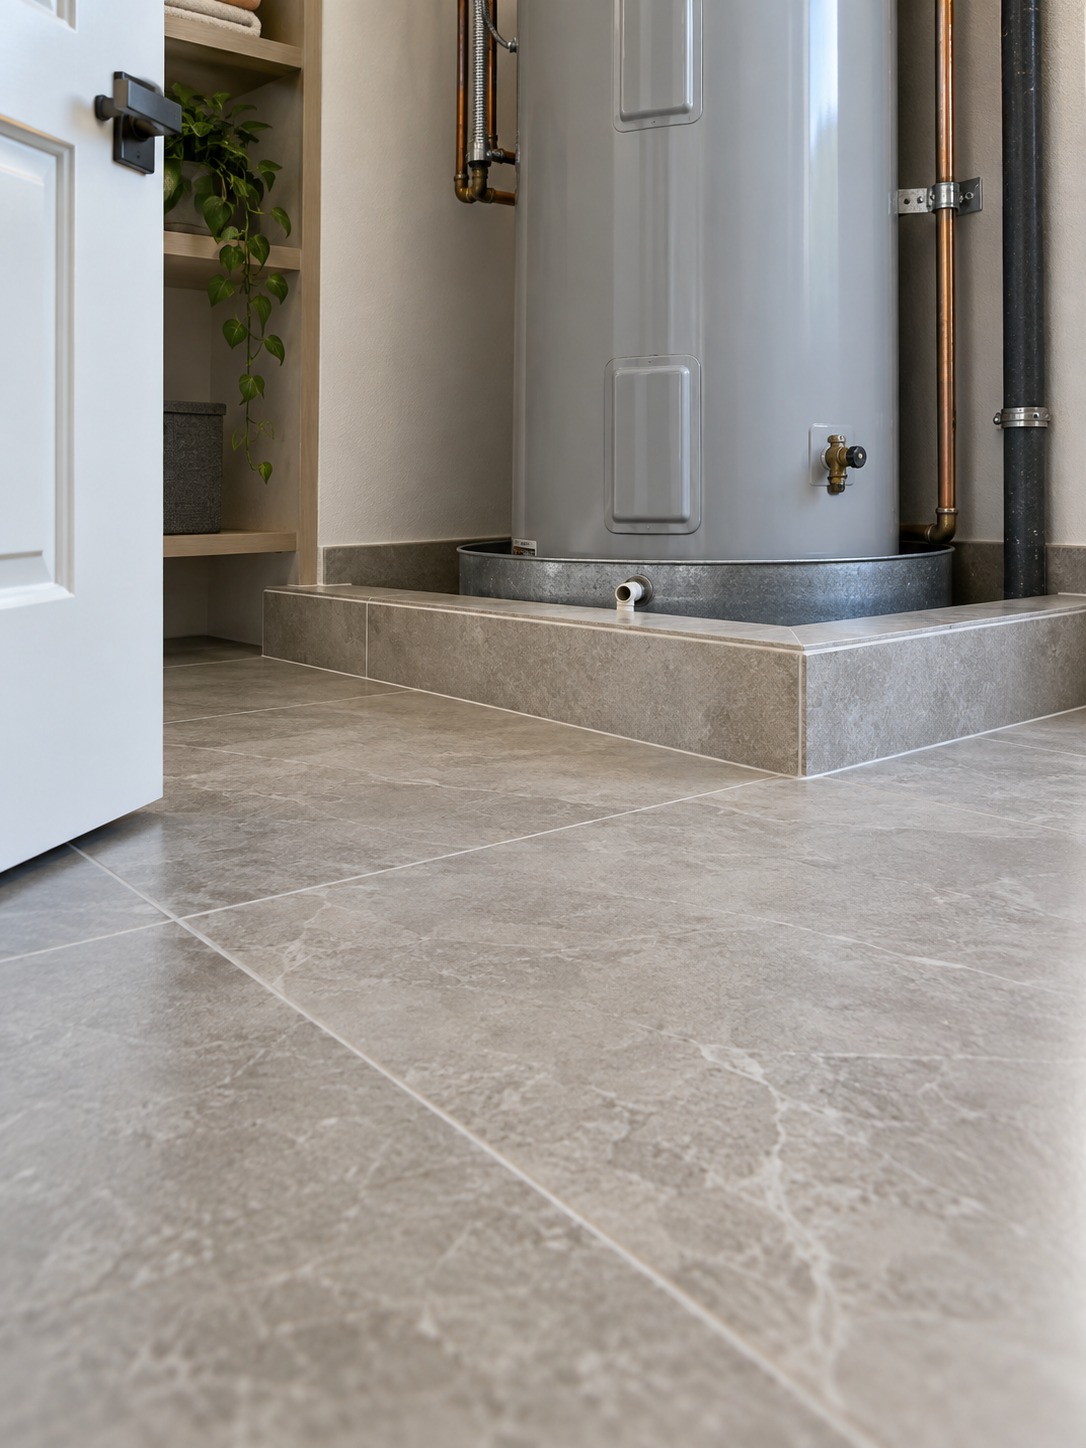
A correctly sized drain pan or raised curb can contain a slow failure long enough to provide a warning. Use a wall finish that tolerates wiping, dust, and the occasional splash without becoming precious.
Emergency-ready plumbing details to mark on the plan
Keep the main shut-off visible and unobstructed
The main water shut-off needs a durable label and a clear approach. Put it at a height that household members can reach without moving a stack of bins or finding a step stool during a leak.
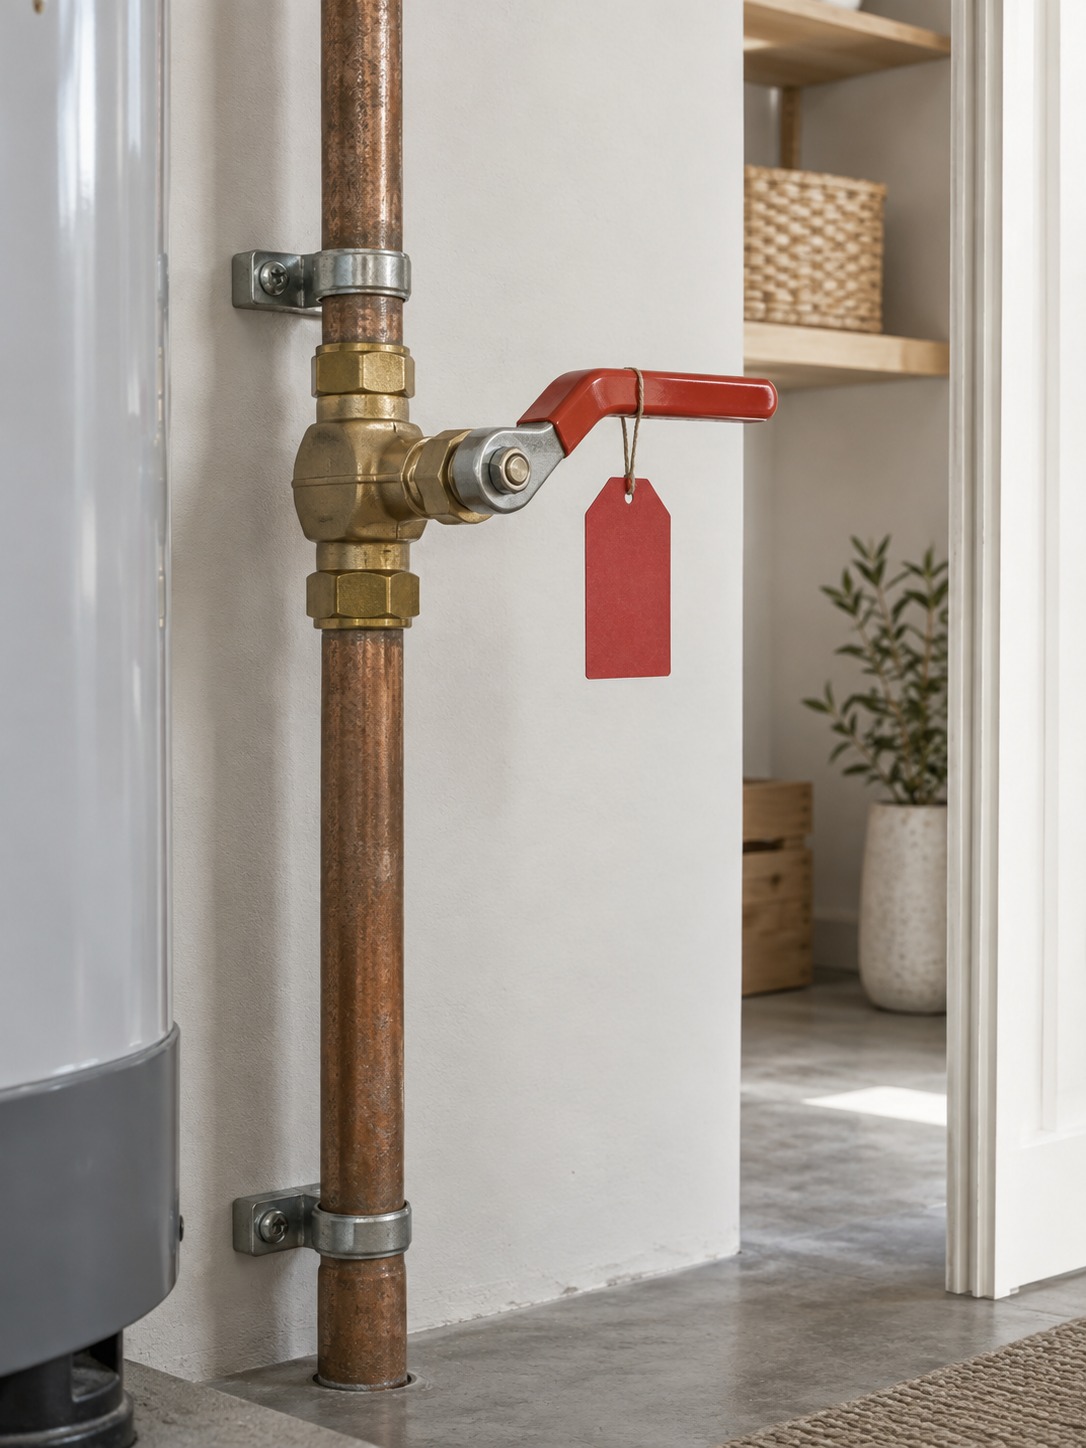
A valve hidden in a dark corner may satisfy the drawing, yet still fail the people who need it. Test the location with the shortest adult in the household and keep the handle’s full turning path clear.
Pair a leak sensor with a drain pan
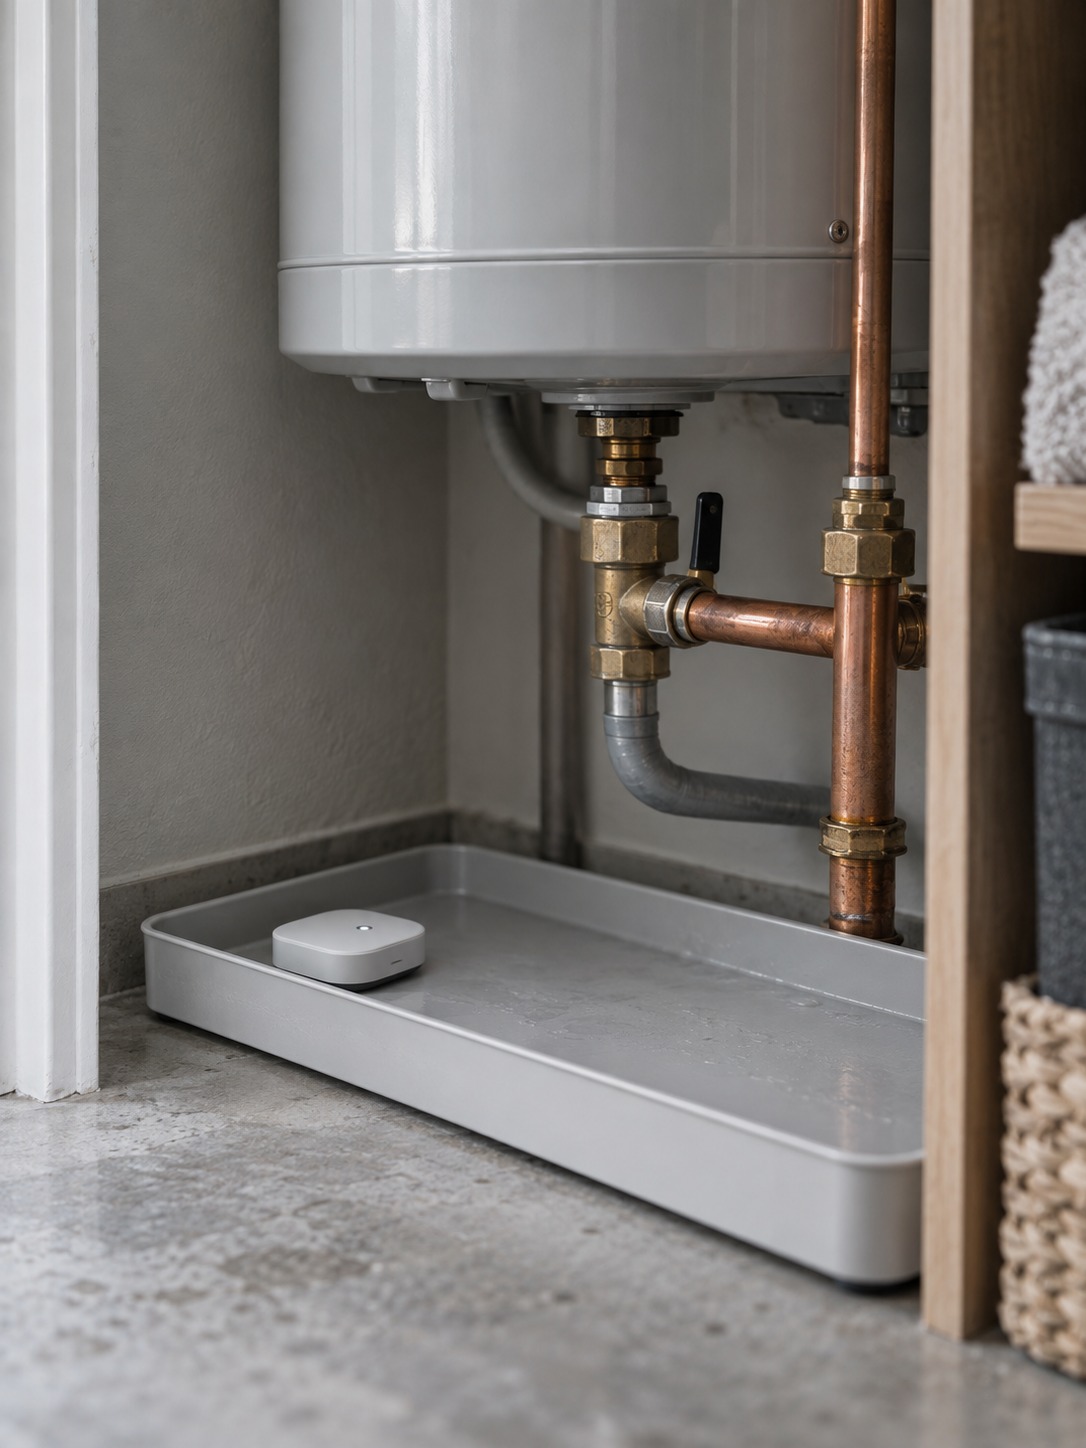
A small leak sensor near the water-heater base or exposed supply connections can alert you before damage appears in the next room. A drain pan adds passive protection, while a compatible automatic shut-off valve can respond when nobody is home.
Post a simple household valve map
Clip a one-page valve map to the inside of the door. Show which valve controls each fixture or zone, and use the same color tags on the drawing and the physical valves. The aim is recognition at a glance, not a technical plumbing schematic.
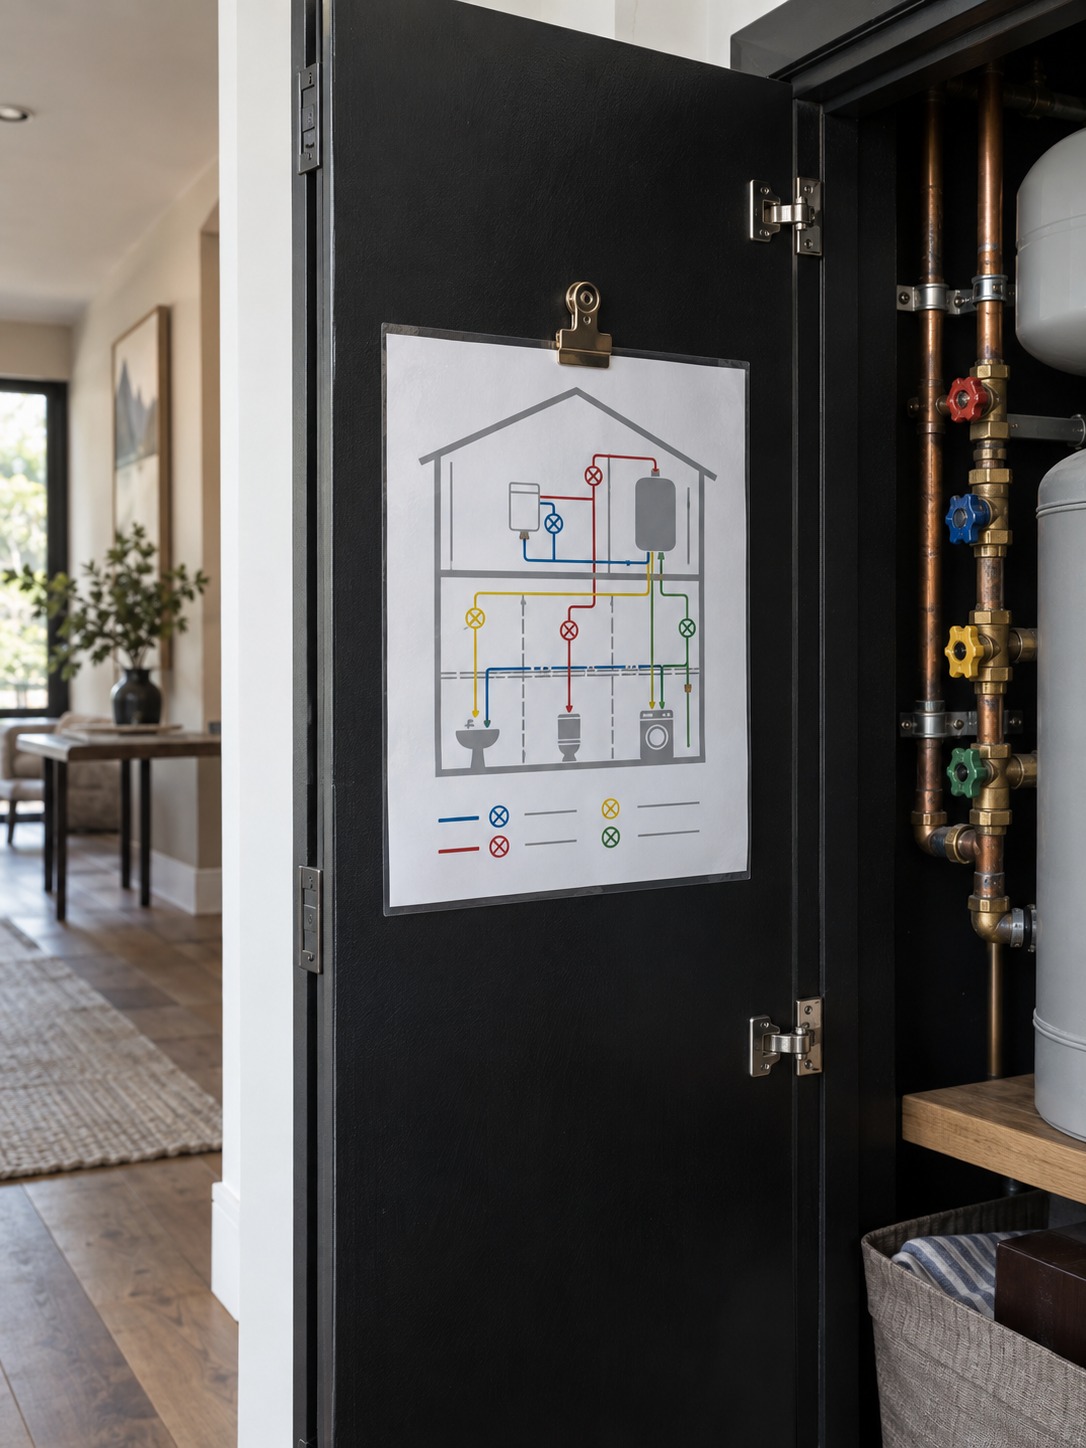
Update the map whenever plumbing work changes the system. An outdated diagram creates false confidence at the exact moment clarity matters most.
What should never be covered or blocked
Never finish over valves, cleanouts, service panels, drains, filters, or manufacturer-required clearance zones. Do not paint an access panel shut or let fixed shelving occupy the space needed to replace equipment. Concealment should reduce visual clutter, not cancel maintenance access.
Bathroom pipe concealment presents a different set of access problems. For that focused scenario, see how to hide bathroom plumbing without blocking future repairs.
When the design plan ends and an emergency plumber takes over
Good design reduces confusion, but it cannot prevent every failure. If water is actively leaking, close the main or affected-zone valve first. Do not step into standing water near electrical equipment, and do not attempt a repair beyond a safe shut-off unless you are qualified.
Toronto homeowners who need urgent licensed help can keep this guide to the best emergency plumbers in Toronto bookmarked before a leak begins.
Utility closet design checklist before the walls close
Review this table with the contractor or designer before drywall closes a wall containing mechanical or plumbing elements. It supports coordination; it does not replace professional approval or local code requirements.
| Item | Shown on plan | Accessible after finishes | Professional sign-off required |
|---|---|---|---|
| Main water shut-off valve | Yes | Yes, unobstructed | Yes |
| Water heater clearances | Yes | Yes, per manufacturer specification | Yes |
| Cleanouts | Yes | Yes | Yes |
| Leak sensor placement | Yes | Yes | Recommended |
| Drain pan or floor drain | Yes | Yes | Yes |
| Laundry supply and drain lines | Yes | Yes | Yes |
| Household valve map | No; posted rather than architectural | Yes, visible | No |
| Decorative door or panel finish | Yes | Removable if it covers access | No |
Utility closet FAQ
What is a utility closet?
A utility closet is a dedicated space for a home’s mechanical and plumbing essentials, often including the water heater, main shut-off valve, and laundry connections. A good design keeps these systems visually contained but accessible for maintenance and emergencies.
Can a water heater be enclosed in a utility closet?
Yes, provided the enclosure meets the manufacturer’s clearance and ventilation requirements as well as local code. Requirements vary by unit and installation type, so confirm them with the equipment documentation and a licensed installer.
Where should the main water shut-off be located?
Place it somewhere unobstructed, clearly identified, and reachable without tools or a step stool. Grouping it with other main connections makes sense, but the exact code-compliant location depends on the home’s plumbing layout and local requirements.
How do you make a utility closet look built-in?
Match the door and trim to the adjacent room, and repeat nearby wall, flooring, or millwork finishes. Keep any panel that covers a service point removable; a built-in appearance and full access can coexist when the detailing is planned early.
What must stay accessible inside a plumbing closet?
Shut-off valves, cleanouts, service panels, drains, filters, and every clearance zone required by the equipment manufacturer must remain accessible. None should be finished over, painted shut, or blocked by permanent storage.
Final thoughts
A well-designed utility closet does not need to announce itself. The door belongs to the room, the shut-off sits exactly where the valve map says it does, and the water heater has enough space to be serviced and eventually replaced.
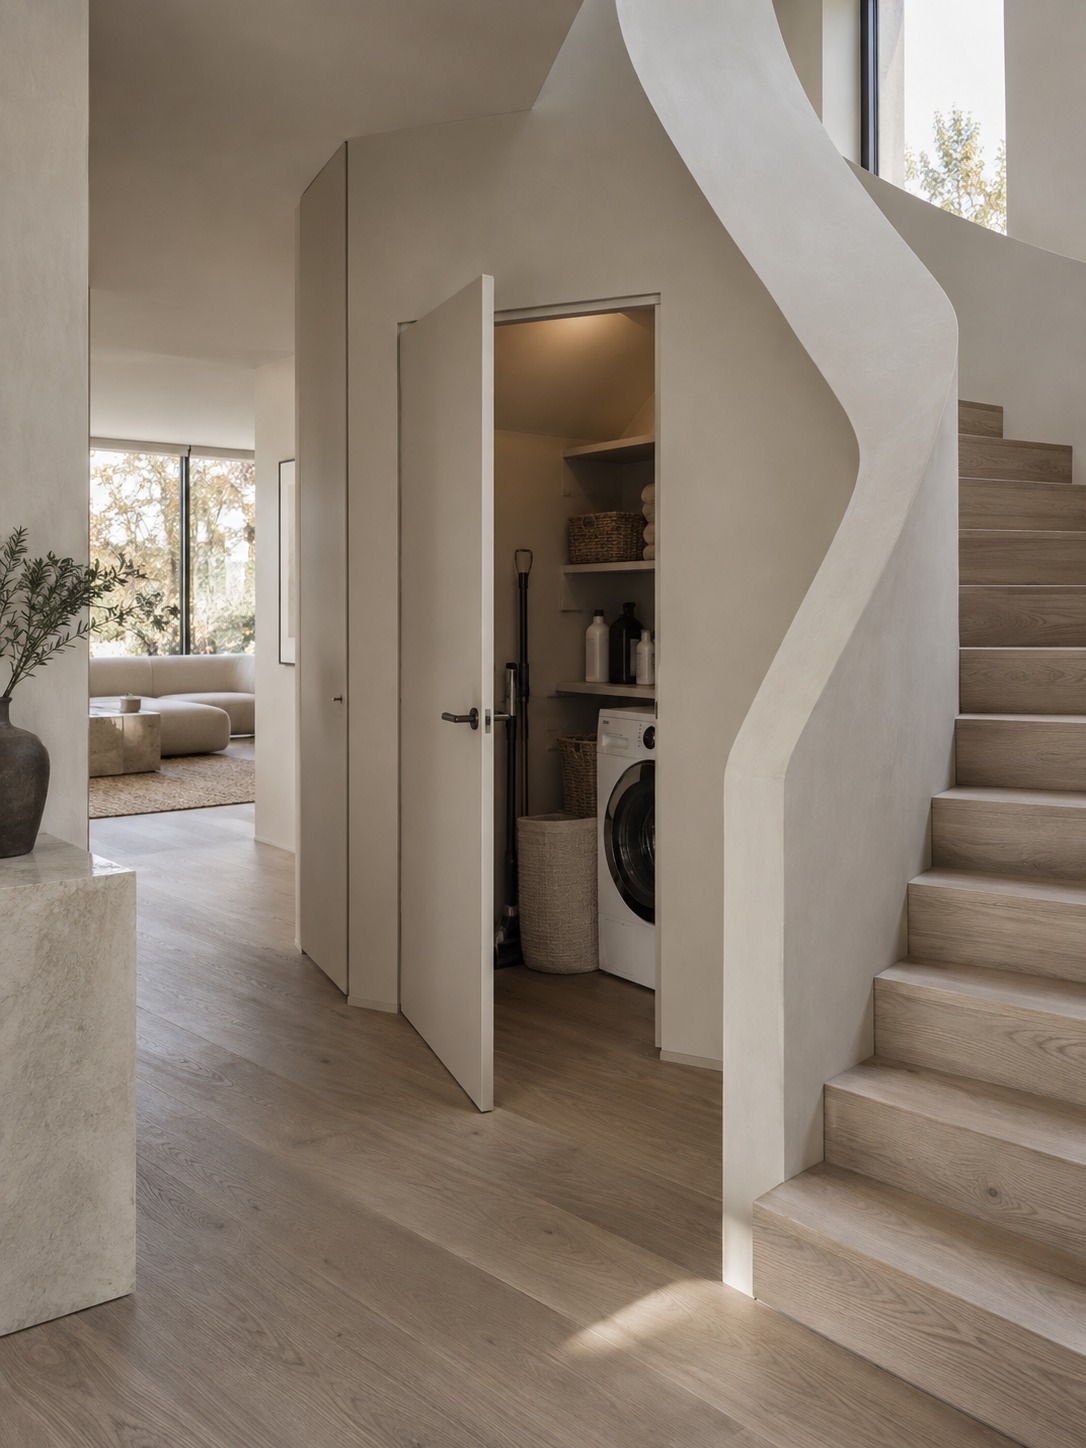
Walk through the four priorities one more time: access, visibility, lighting, and water containment. The weakest one is usually the most useful place to invest before choosing another basket, shelf, or decorative finish.
For related whole-house planning, explore finished basement ideas for a beautiful, storm-ready home and home remodel planning: utility upgrades to decide before the walls close. If HVAC shares the service zone, use the HVAC design checklist for interior designers to coordinate those systems without duplicating this plumbing-focused plan.
Want to go deeper on design fundamentals?
Browse interior design and home organization classes on Skillshare and get 30 days free using code AFF30D25. This is an affiliate link.
- 14shares
- Facebook0
- Pinterest14
- Twitter0
- Reddit0